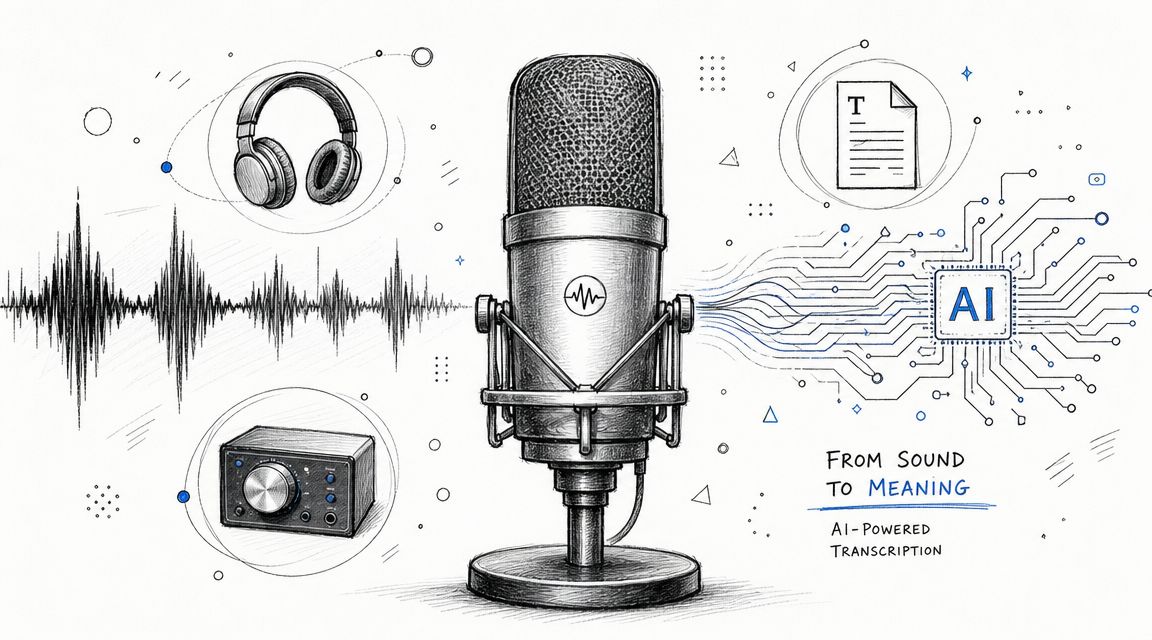
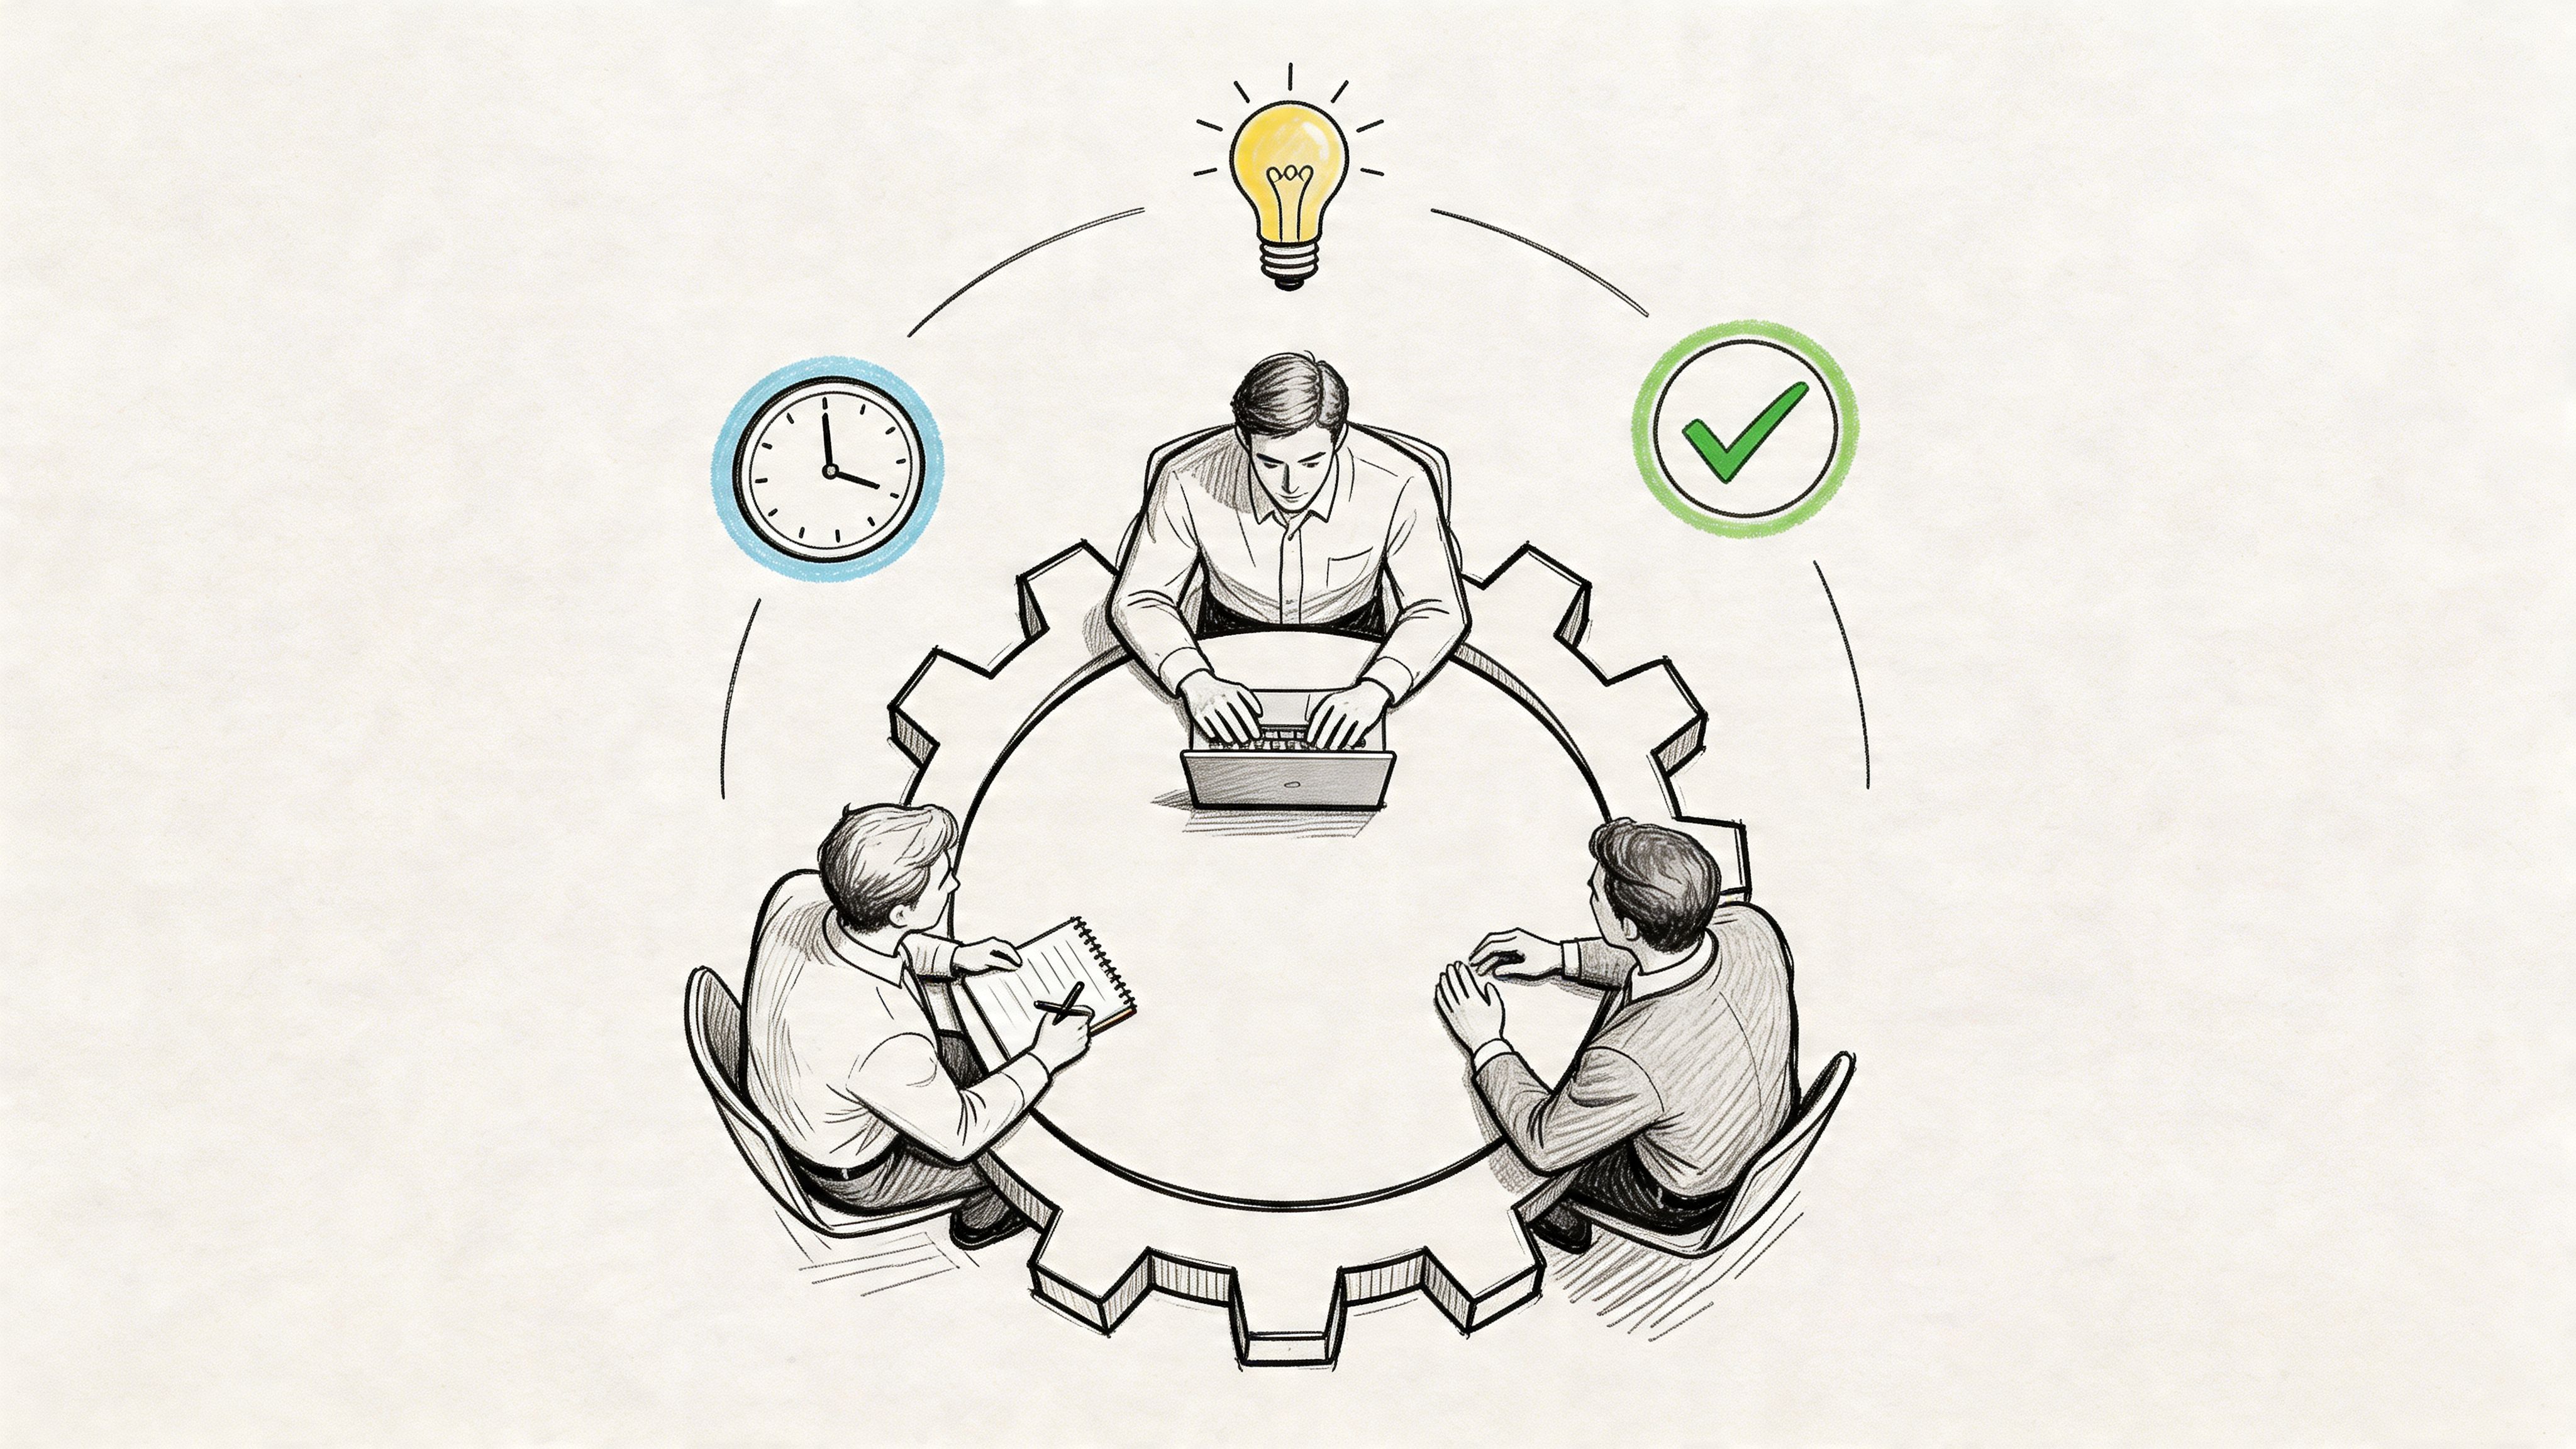
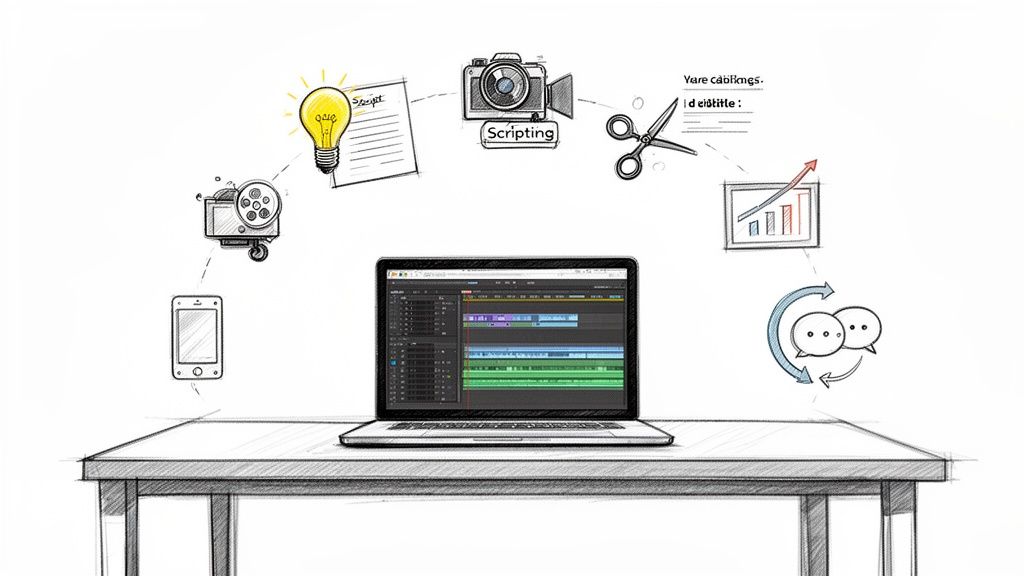
How to Record Conversations Legally & Clearly (2026)
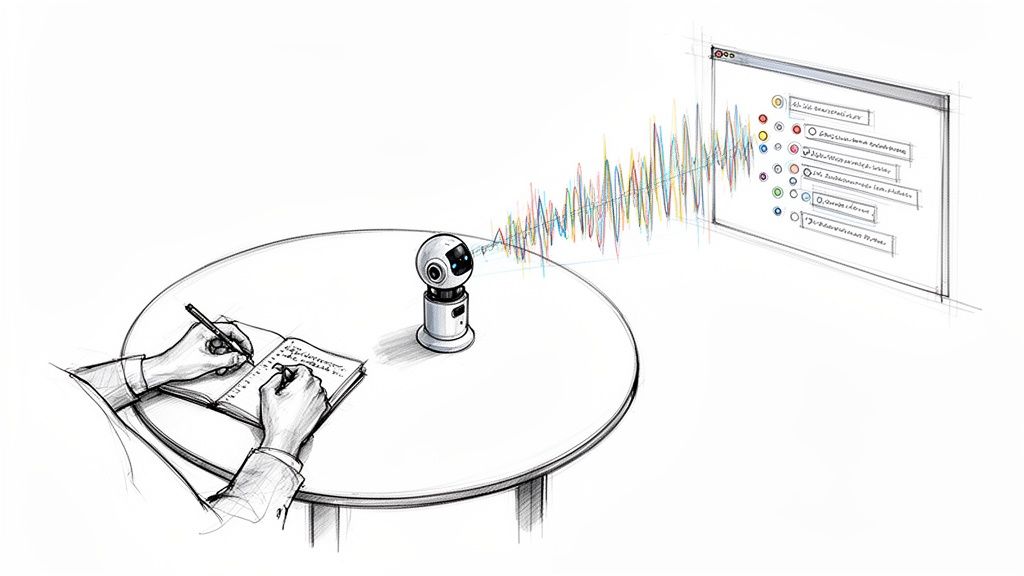
You’re usually not trying to create a “recording.” You’re trying to avoid losing something important.
It might be a source interview that has to be quoted accurately, a client call with details nobody wants to reconstruct from memory, a podcast conversation that needs clean audio, or a team meeting that will become action items later. A common mistake is treating recording as a button instead of a workflow. They hit record too late, choose the wrong device, forget consent, or save a file with a name like final_mix_new_REAL.wav and then can’t find it again.
Good conversation recording sits at the intersection of law, trust, mic technique, and file handling. If any one of those fails, the recording becomes risky, unusable, or both. The best setup is rarely the fanciest one. It’s the setup that gets clear speech, keeps participants comfortable, and produces audio you can use afterward.
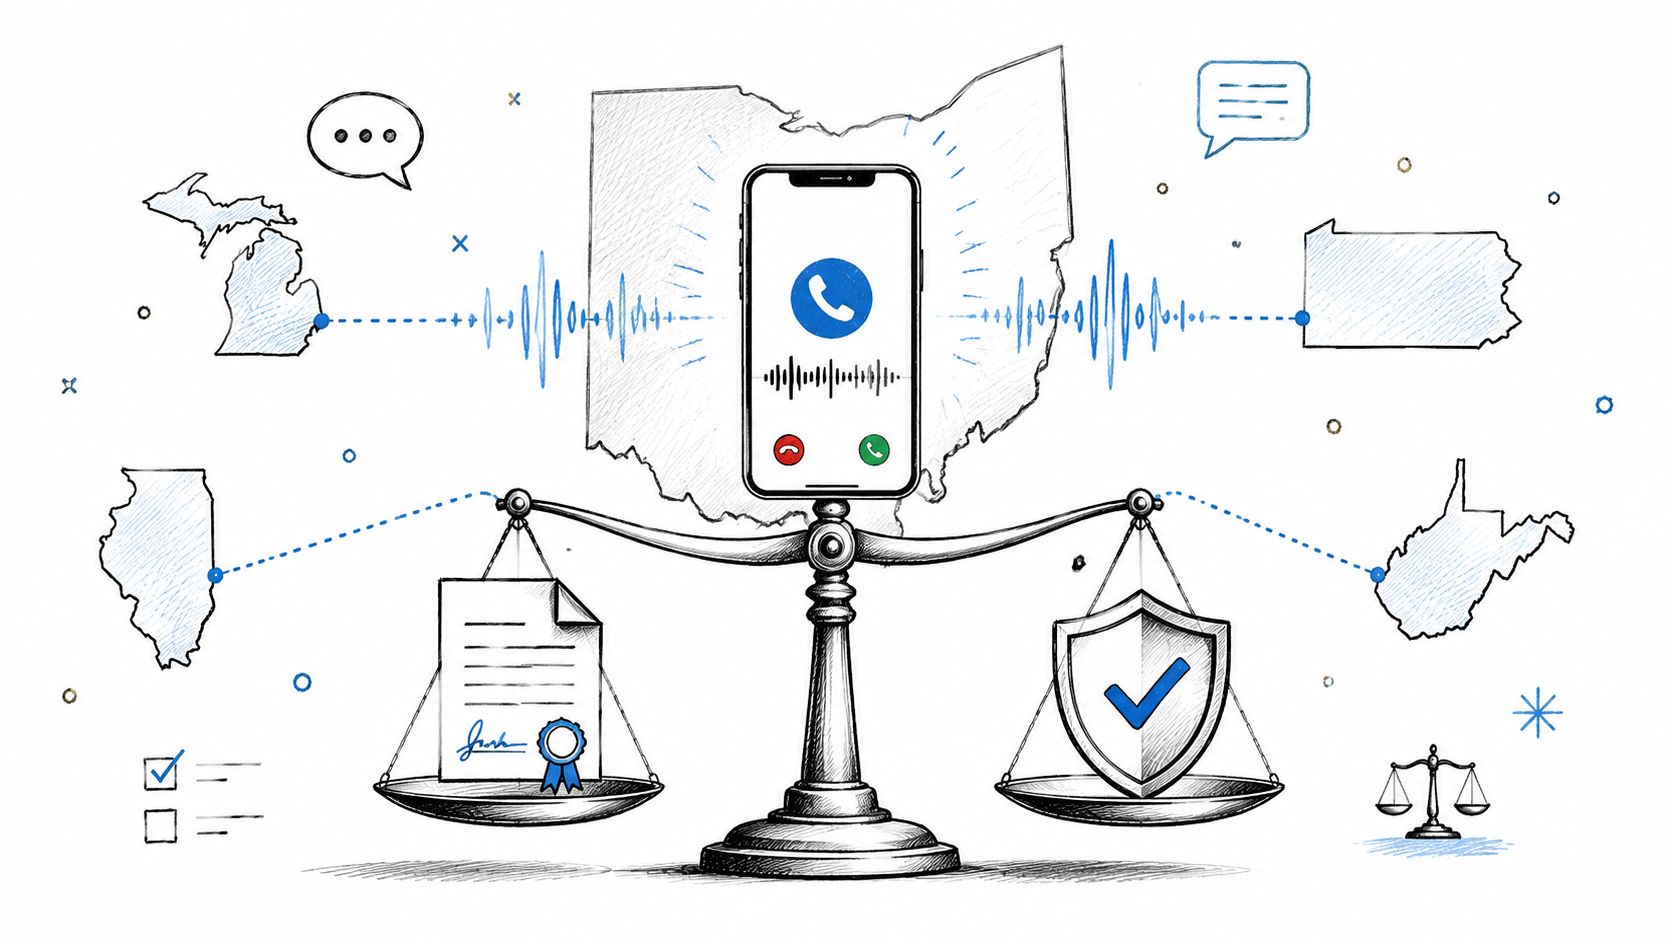
Before You Press Record Legal and Ethical Rules
Legal consent comes first. Not gear. Not apps. Not “I’ll clean it up later.”
In the United States, recording laws turn on one-party versus two-party consent. As of 2023, 38 states plus Washington D.C. follow one-party consent, while 12 states require two-party or all-party consent, including California and Florida. In California, violations can lead to fines up to $2,500 per recording or 1 year in jail under Penal Code §632. In the EU, GDPR requires explicit consent for processing personal data such as audio (recording consent laws overview).

Know which rule applies before the call starts
A simple working rule helps.
If you’re in a one-party consent jurisdiction and you’re part of the conversation, you can often record it lawfully. If you’re in an all-party consent jurisdiction, everyone involved needs to agree. That’s the big distinction.
Real life is messier because calls cross borders. One person may be in New York, another in California, and a third in Europe. Once that happens, the safest practical move is to act as if the strictest rule applies and get explicit permission from everyone.
Practical rule: If there’s any uncertainty about location, platform, or jurisdiction, ask for consent out loud and keep that consent in the recording.
For a more focused breakdown of state-by-state issues, this guide to whether it’s legal to record calls is a useful reference point before you start building a workflow.
Don’t confuse legality with trust
Even where one-party recording is legal, hidden recording can damage the conversation.
Journalists, podcasters, managers, and researchers all run into the same trade-off. Secret recording may feel efficient, but it changes the ethical footing of the exchange and can make publication, internal sharing, or later use much harder to defend. Consent isn’t only about avoiding penalties. It also improves cooperation. People speak more clearly when the ground rules are plain.
Use a short script. Keep it ordinary.
- State the fact that you’re recording.
- State the reason in plain language.
- Ask for verbal agreement before the primary discussion starts.
- Keep that agreement on the recording so there’s a usable record.
A practical example sounds like this: “I’d like to record this so I can quote you accurately and keep clean notes. Is that okay with you?”
That wording works because it explains purpose, not just process.
Document consent and handle the file responsibly
People often stop at “yes” and forget the next part. That’s where trouble starts.
If the recording includes sensitive material, private business information, or personal details, you need a storage plan. A legal recording can still become an ethical or compliance problem if it’s shared casually, uploaded to the wrong folder, or forwarded outside the intended group.
Use a short checklist before every session:
- Confirm who’s on the call and where they’re joining from.
- Announce recording clearly before any substantive discussion begins.
- Capture verbal consent in the audio itself.
- Name and store the file securely so access stays limited.
A recording that was captured lawfully can still create problems if it’s stored carelessly or shared too broadly.
There’s also a comfort issue that doesn’t get enough attention. The more “production gear” you put in front of someone, the more formal and guarded they may become. In professional settings, the cleanest ethical approach is often the least theatrical one. Be transparent. Keep the setup calm. Don’t bury a room in hardware just to prove you’re serious.
That balance matters if you’re learning how to record conversations in a way people will agree to.
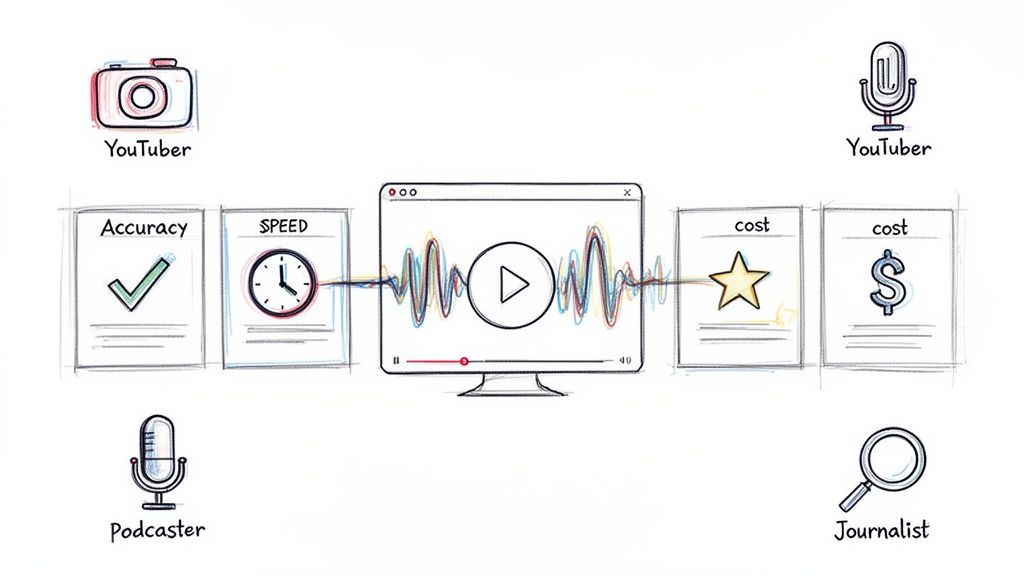
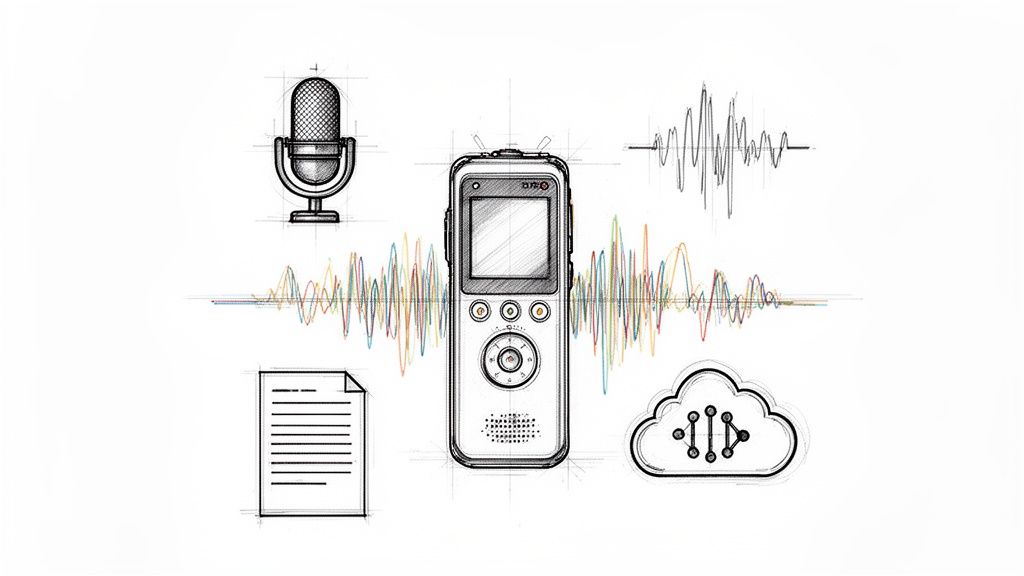
Choosing Your Recording Method and Gear
The right method depends less on brand loyalty and more on context. A café interview, a remote team meeting, and a sit-down podcast need different compromises.
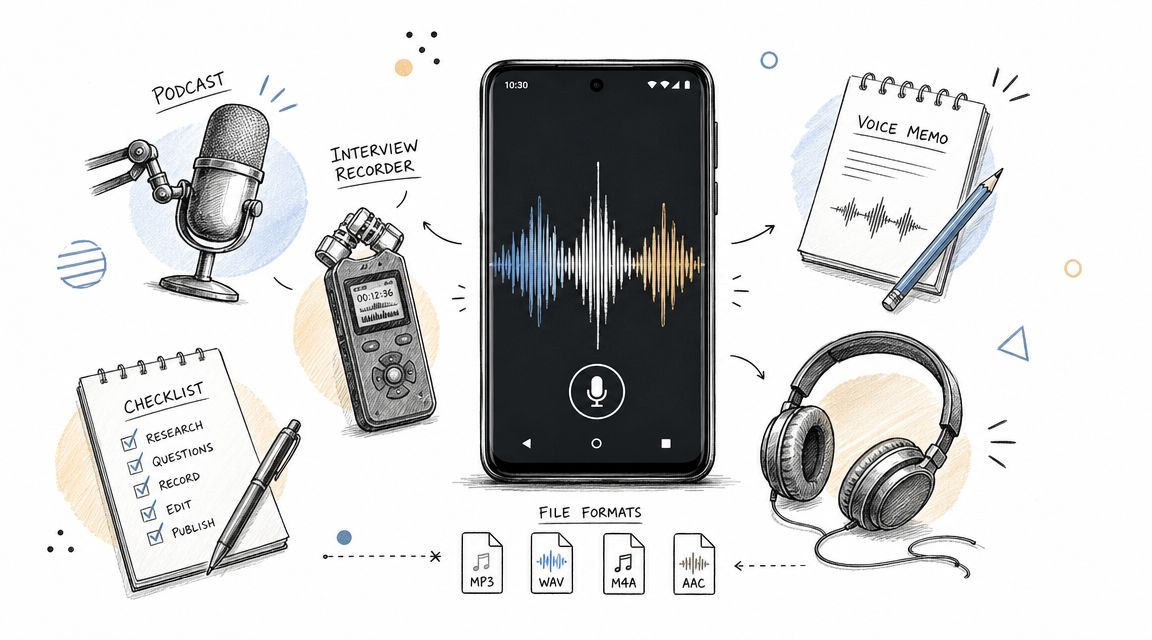
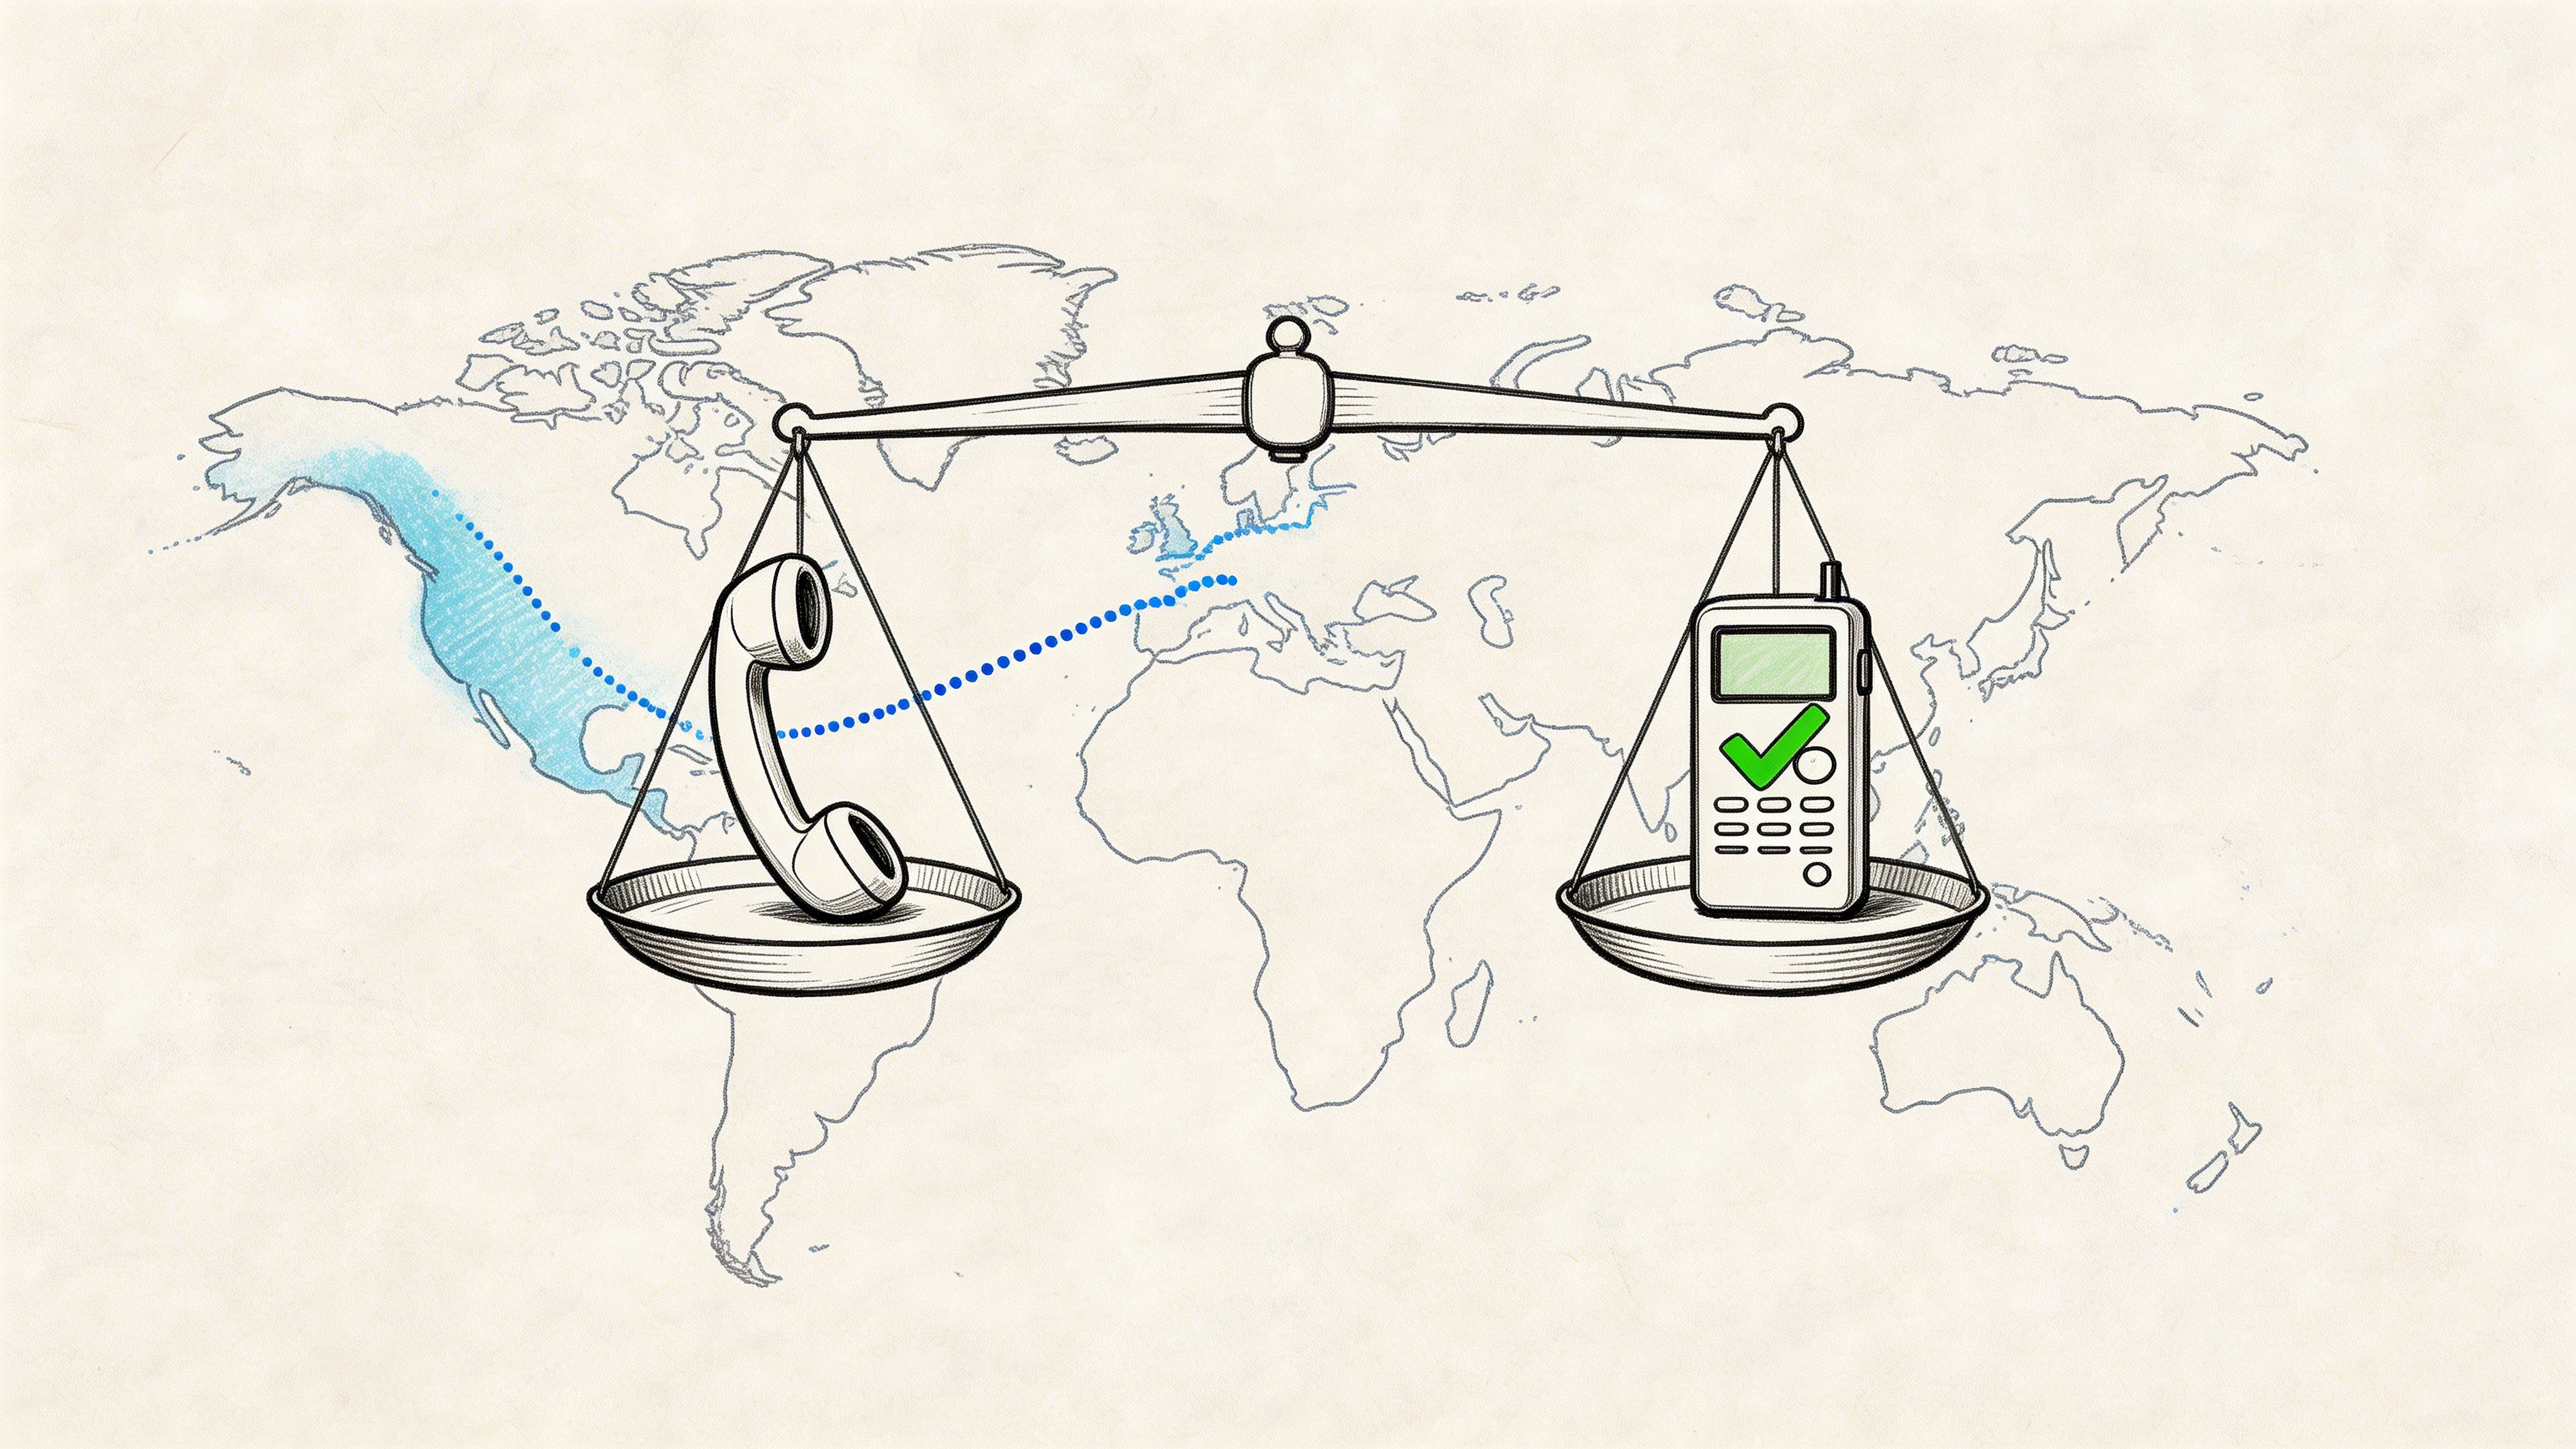
Individuals typically have three main choices. Phone, computer, or dedicated recorder. All three can work. All three can fail if you ask them to do the wrong job.
Conversation Recording Methods Compared
| Method | Audio Quality | Convenience | Best For |
|---|---|---|---|
| Smartphone | Good in quiet rooms, weaker in noisy spaces | Highest | Quick interviews, field notes, backup recording |
| Computer or meeting platform | Strong for remote audio when platform settings are correct | High | Zoom, Google Meet, Teams, webinars |
| Dedicated digital recorder | Best for controlled in-person speech | Moderate | Interviews, podcasts, research sessions, formal documentation |
When a smartphone is enough
A phone is a tool that many already possess, which matters. If you’re grabbing a quick quote after an event or recording a planning conversation in a quiet office, a phone is often enough.
Its weaknesses show up fast in reflective rooms and public places. Table vibration, HVAC hum, clattering cups, and distance from the speaker all hurt intelligibility. Phones also tempt people to multitask, and the same device handling your messages, notifications, and battery drain is now handling your recording.
Still, phones win when the alternative is not recording at all.
Choose a phone when:
- Speed matters most and you need to capture the conversation immediately.
- The room is quiet and the speakers are close together.
- You need a backup running alongside a second recorder.
When a computer or call platform makes more sense
For remote calls, platform-native recording is usually the cleanest option. It captures the call at the source instead of asking a laptop microphone to re-record speaker output from the room.
That’s a major difference. If you record a Zoom interview by placing your phone near your laptop speakers, you’re baking in echo, room tone, and whatever fan noise your machine adds. If you use host-side recording, you keep the signal much cleaner.
This is also where format decisions matter later. If you’re archiving interviews, editing clips, or sending files to a producer, it helps to understand the basics of understanding audio file types for premieres, especially the trade-offs between compressed and uncompressed files.
When a dedicated recorder earns its place
A dedicated digital recorder is still the most reliable choice for high-stakes in-person audio. It does one job. That simplicity helps.
These recorders are useful when you care about mic quality, battery life, and predictable files. They also create a better psychological environment than a laptop in many interviews. A laptop can feel like a meeting. A small recorder can feel like a conversation.
If you’re weighing specific hardware options, this guide to choosing an audio recorder device is a practical starting point.
The best recorder is the one that matches the room, the stakes, and the speaker’s comfort level. Not the one with the longest feature list.
A simple way to choose
Use this field rule:
- Interviewing one or two people in person in a controlled room: use a dedicated recorder.
- Capturing a remote meeting or client call: use the platform’s built-in recording.
- Catching spontaneous notes, quick reactions, or a backup track: use your phone.
What usually doesn’t work is forcing one setup into every situation. A phone in a noisy restaurant won’t sound like a recorder in a treated office. A USB podcast mic won’t help much if the other person is joining from a laptop across bad bandwidth. Matching tool to context is half the craft.
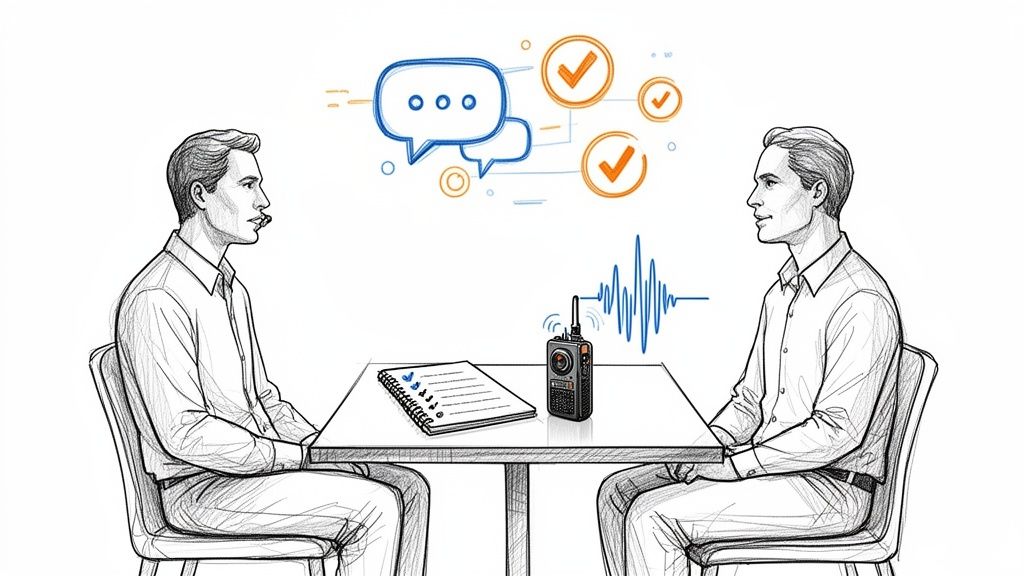
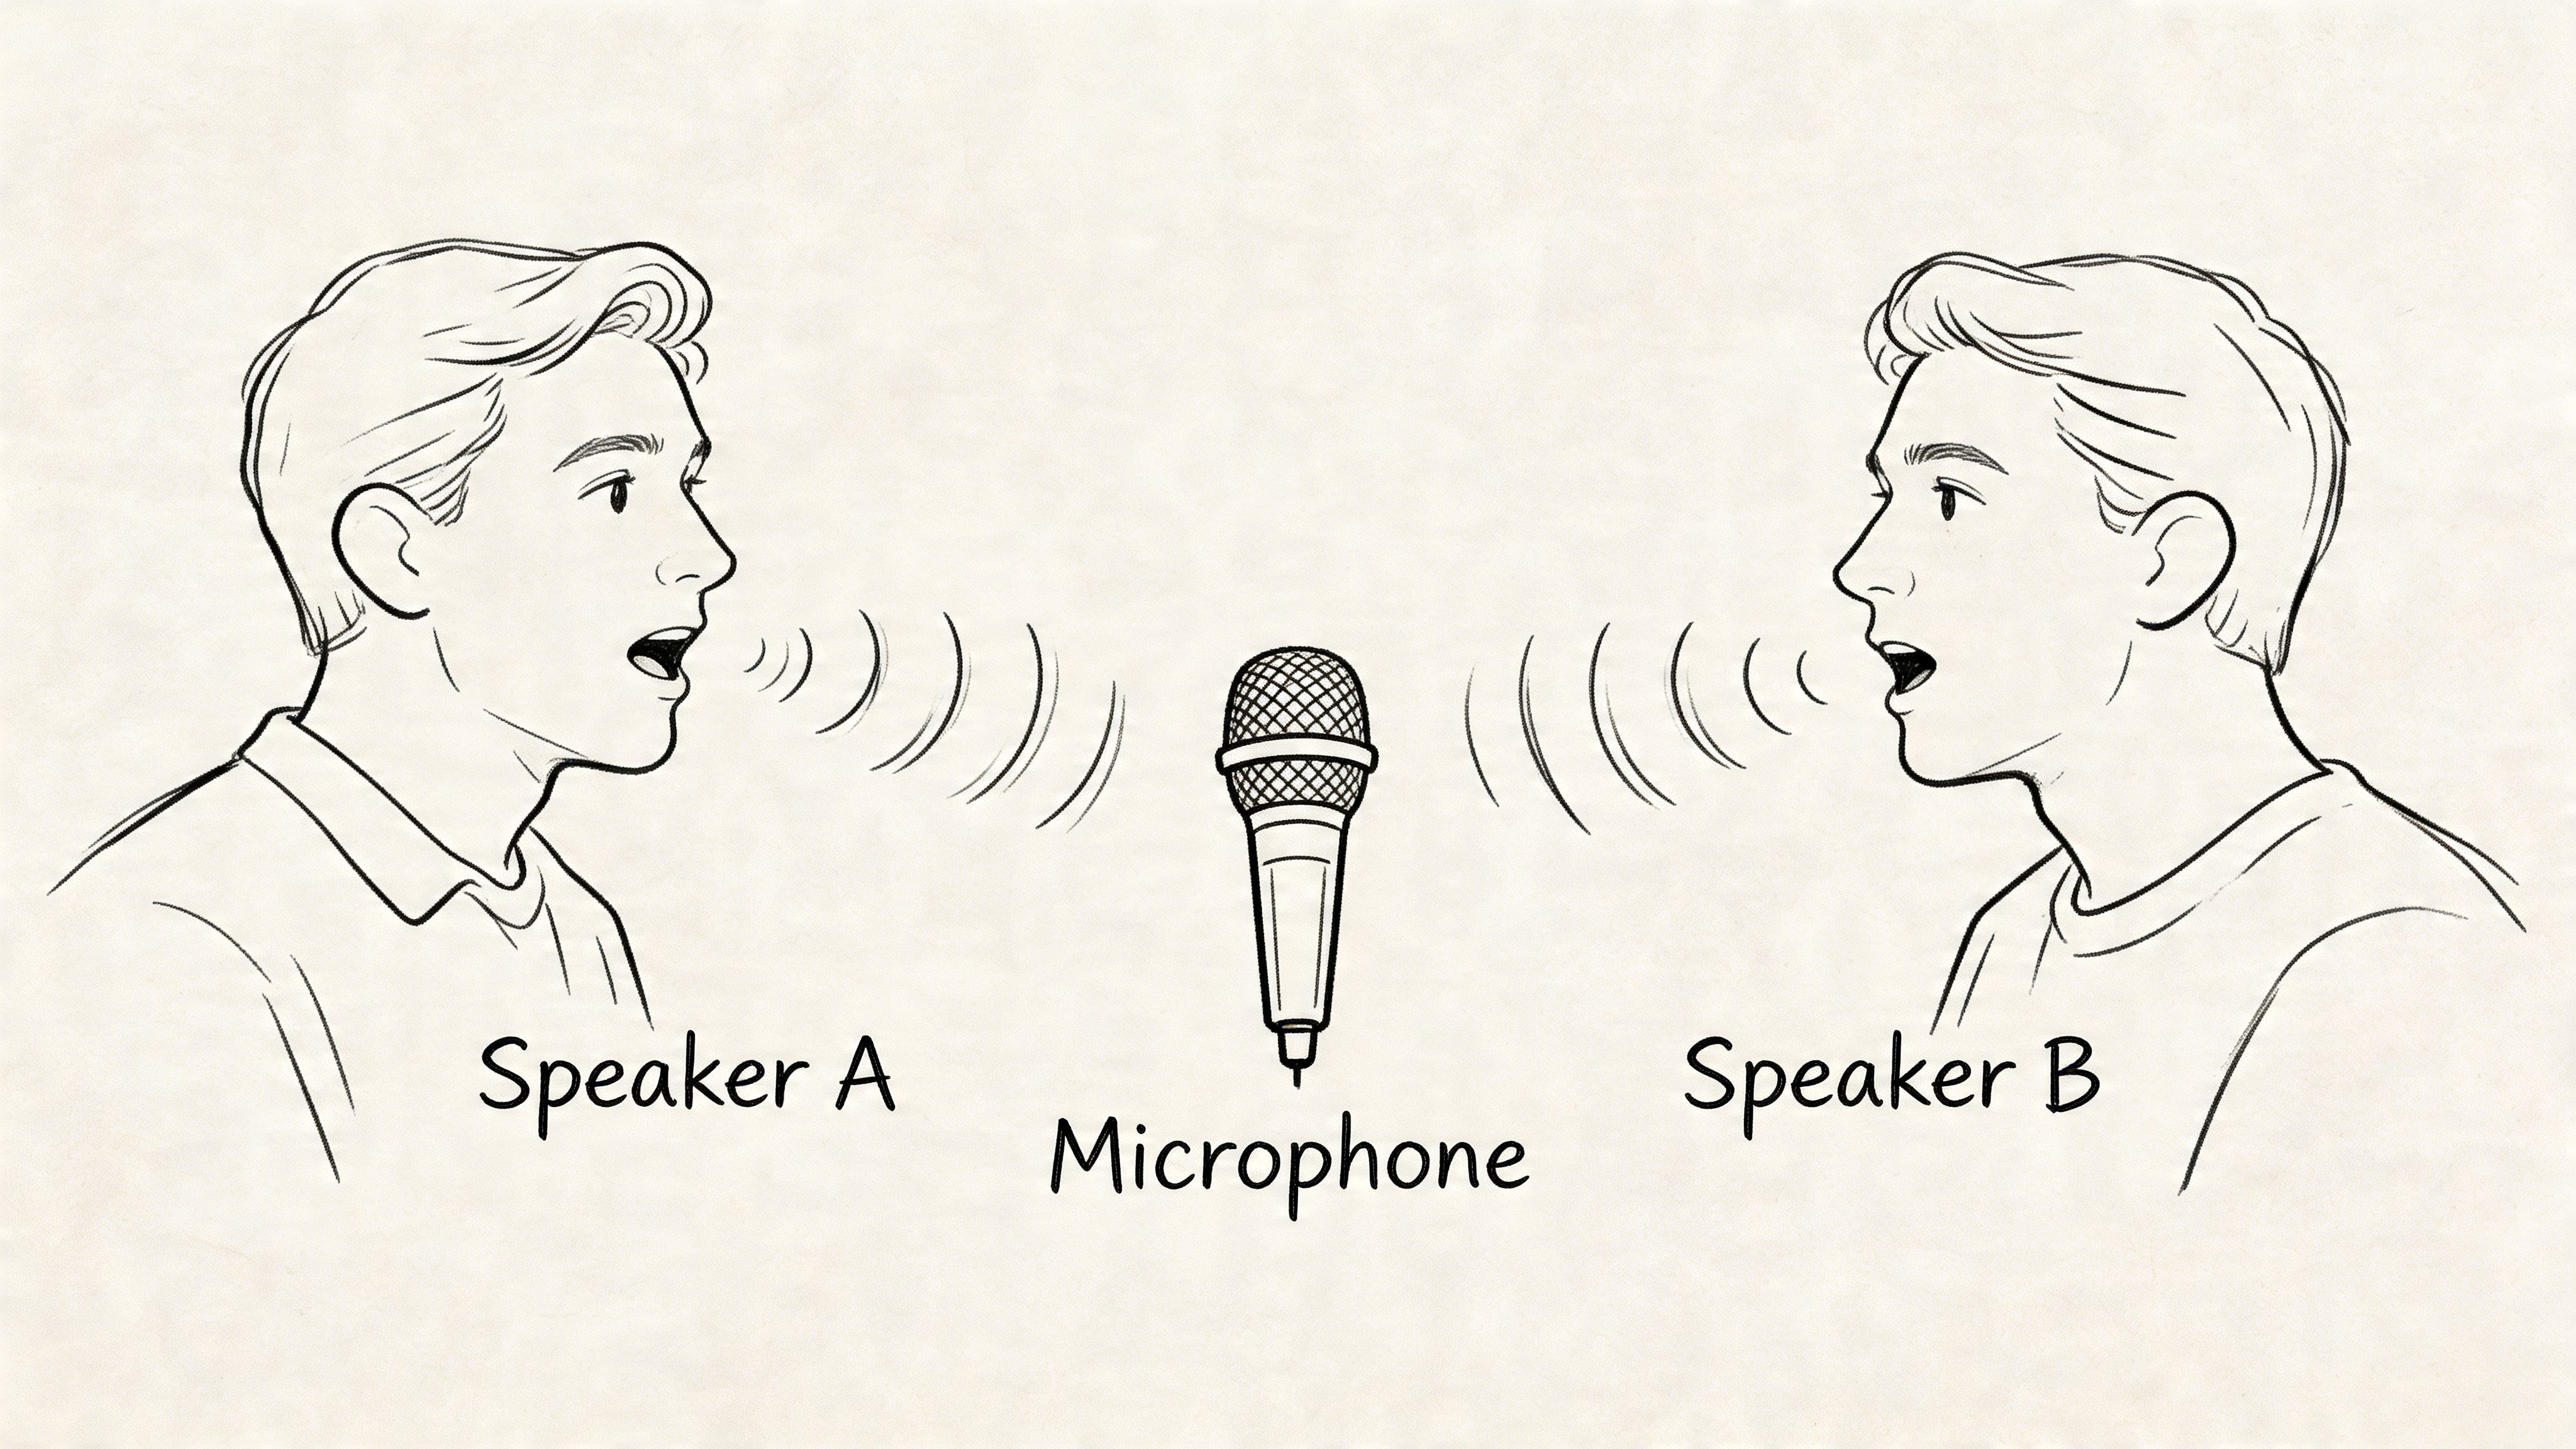
How to Record High-Quality Audio In Person
Most bad in-person recordings come from ordinary mistakes. The mic is too far away. The room is too hard and echoey. The device is placed on a surface that turns every tap into a low thud. None of this is exotic. It’s basic field discipline.
For in-person recording, placing the microphone 6 to 12 inches from the speaker can reduce background noise by 15 to 25 dB. Digital voice recorders with signal-to-noise ratios above 60 dB generally outperform smartphones, which can suffer 20 to 30 percent clarity loss in noisy environments. Pre-testing can raise the success rate for clear recordings from 70 percent to over 95 percent (in-person recording guidance).
Start with the room, not the recorder
The room shapes the recording before the mic does.
A carpeted office with curtains, bookshelves, or upholstered furniture will usually beat a stylish conference room with glass walls and a big empty table. Hard surfaces throw speech back at the microphone. That’s what makes voices sound distant even when the speaker is close.
If you have a choice, look for spaces with:
- Soft materials like rugs, curtains, coats, or padded chairs
- Low mechanical noise from HVAC, refrigerators, traffic, or projectors
- Fewer reflective surfaces such as bare walls, windows, and polished tables
A quick room test helps. Clap once. If you hear a sharp ring or tail, your mic will hear it too.
Use distance deliberately
Mic placement matters more than people expect. The 6 to 12 inch rule is practical because it keeps speech strong without forcing the mic into the speaker’s face.
If you’re using a handheld recorder on a table, don’t place it dead center just because the table has a center. Place it closer to the quieter speaker or to whoever tends to lean back. If one person dominates the conversation, angle the microphones to protect the softer voice rather than the loud one.
A few habits make a big difference:
- Raise the device with a notebook or soft case instead of placing it directly on a hard table.
- Keep it stable so hand bumps and table taps don’t travel into the file.
- Aim the microphone intentionally if the recorder has directional pickup.
- Use a windscreen or foam cover when plosives are likely.
Record closer than feels elegant. Most amateur recordings fail because the mic is listening to the room instead of the person.
Phones can work, but set them up like tools
If you’re using a smartphone, the biggest mistake is casual placement. People drop it flat on a table and assume software will rescue the result.
It won’t.
Put the phone in airplane mode if possible. Disable notifications. Place it on something soft. Turn the microphone end toward the speakers. If you’re recording two people across a wider table, move the phone closer to the quieter voice rather than splitting the distance perfectly.
A phone is often fine for transcription and note capture in a quiet room. It becomes much less reliable once cups clatter, chairs scrape, or several people speak over each other.
Run a one-minute test every time
Pre-testing is the least glamorous step and the one that saves the most recordings.
Do a short sample before the main conversation starts. Ask each person to say their name at normal volume, then one sentence in the same tone they’ll use during the actual talk. Listen back on headphones. Don’t trust the waveform alone.
Check for these failures:
- Clipping from a voice that’s too hot or too close
- Thin audio from a mic that’s too far away
- Rumble from traffic, HVAC, table vibration, or handling noise
- Uneven levels between speakers
If something sounds off in the test, it won’t become better after an hour of recording.
Protect comfort as well as quality
There’s a trade-off professionals know well but rarely say out loud. Better audio often means more visible gear, and more visible gear can make people stiffer.
That doesn’t mean you should hide devices. It means you should choose setups that feel proportionate to the conversation. For many interviews, a small recorder between chairs is better than clipping multiple mics onto people who already seem tense. In lower-stakes settings, a phone on a stand can be more humane than a full podcast rig.
The cleanest recording isn’t always the best recording. The best one is the cleanest audio you can get without changing how the person speaks.
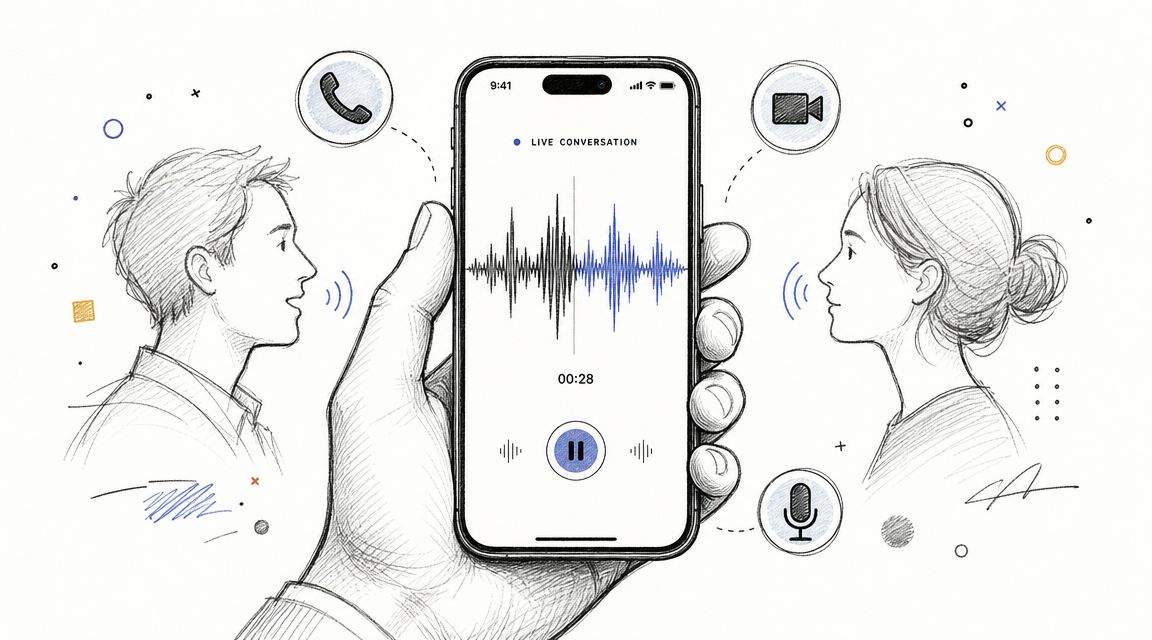
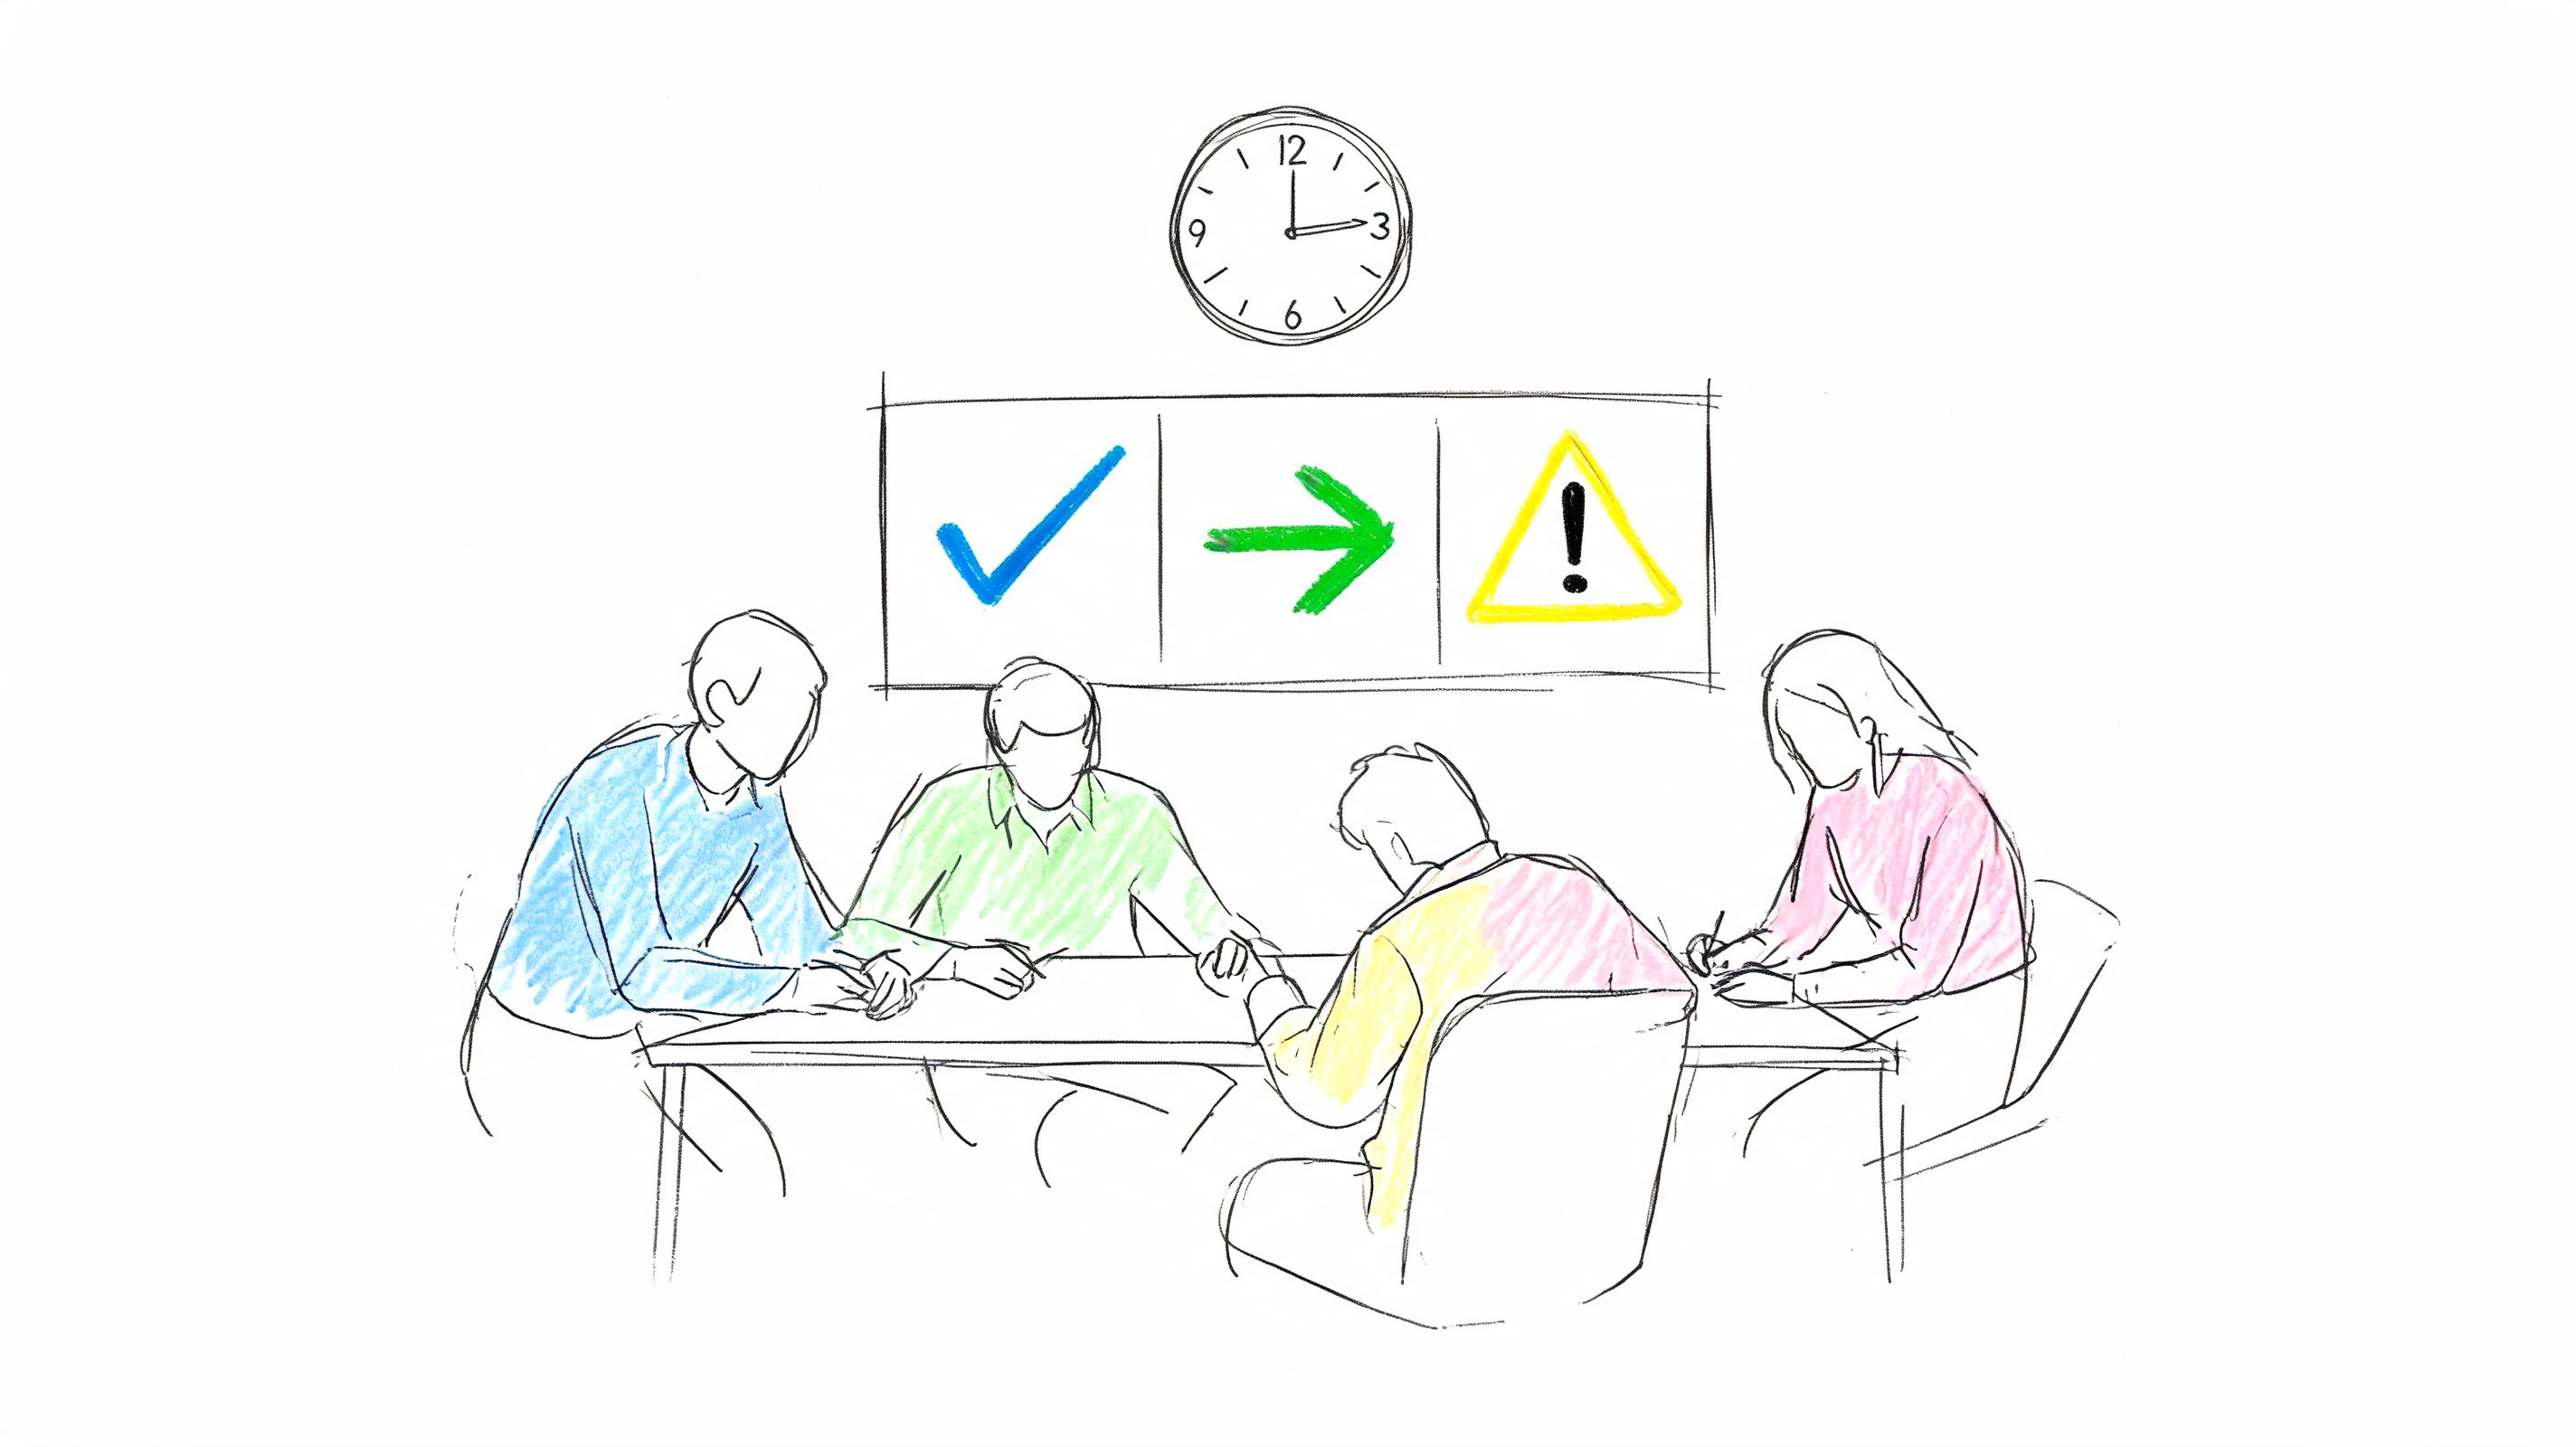
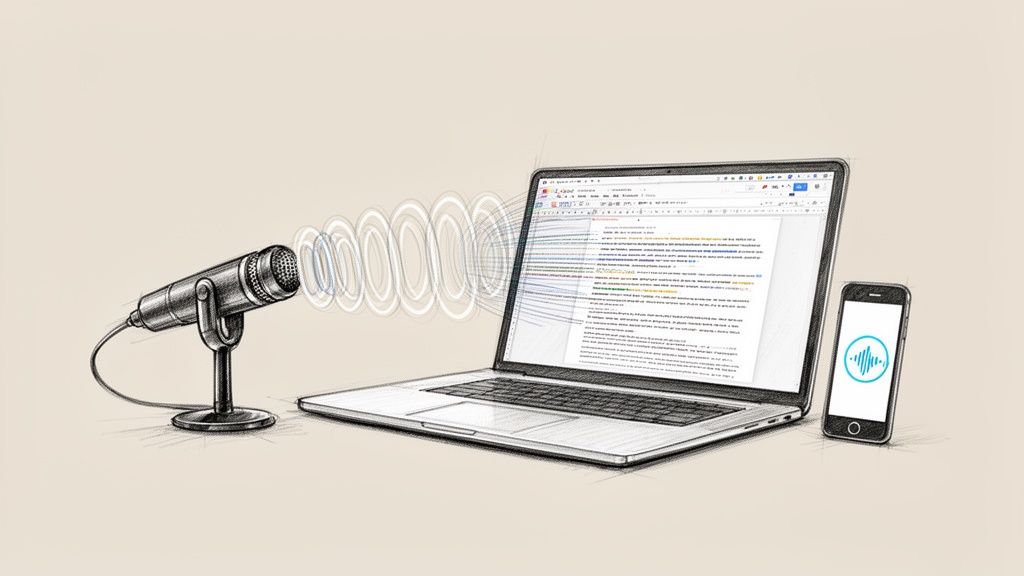
Recording Remote Calls and Virtual Meetings
Remote recording fails in different ways. In person, the enemy is usually room sound. Online, it’s bad routing, platform settings, inconsistent microphones, and people talking before consent is settled.
When remote conversations matter, record from the host side if you can. Host-side multi-track recording at stereo per participant and 48kHz/24-bit ensures 99 percent intelligibility, and it’s best practice to obtain explicit verbal consent before the session starts. Allowing 3 to 5 second silences can increase insight yield by 35 percent, while visible AI bots can reduce speaker openness by 20 to 30 percent (remote interview recording guidance).
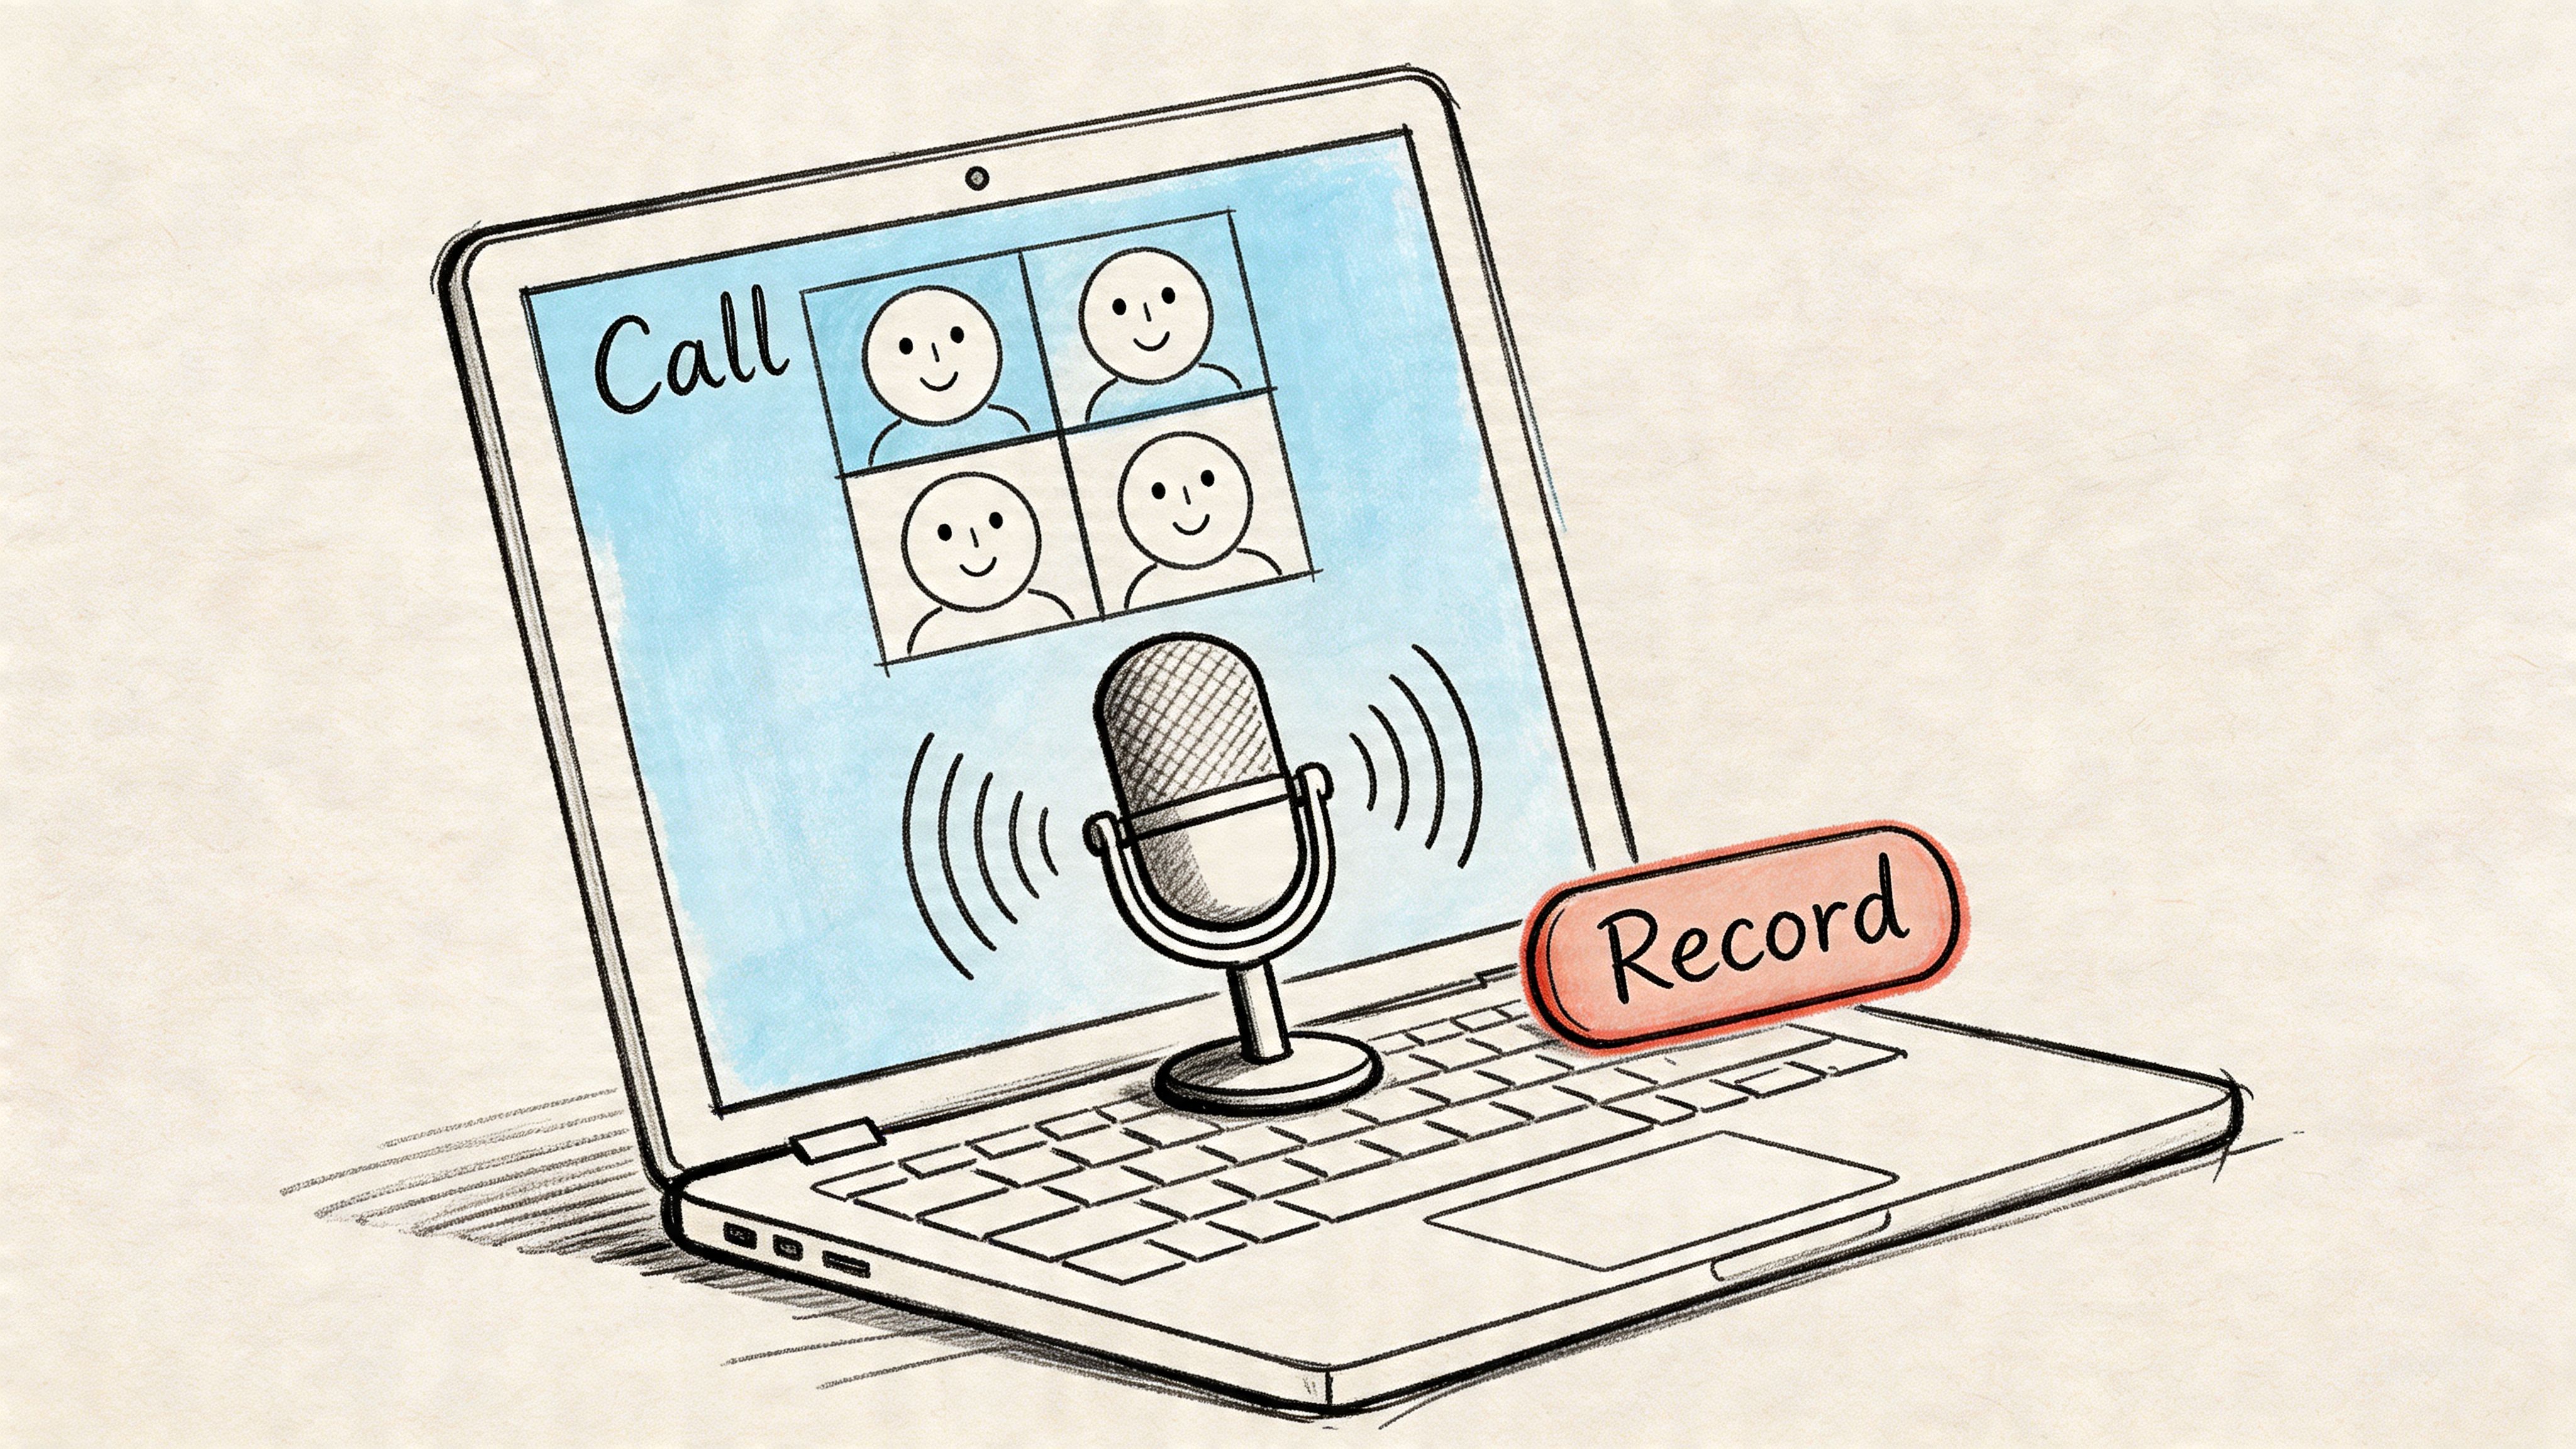
Use the platform’s recorder before you use a workaround
Zoom, Google Meet, and Microsoft Teams all make it tempting to improvise. Don’t.
The cleanest setup is usually the platform’s native recording feature, used by the host, with separate tracks enabled if available. Separate tracks matter because editing one blended track is messy. If one person is loud, another is quiet, and a third coughs over a key sentence, you have very little room to repair it once those voices are fused together.
Before the meeting begins, check:
- Who has host privileges
- Whether cloud or local recording is enabled
- Whether separate audio tracks are available
- Whether the recording notice is visible to participants
This is also the right moment to confirm consent out loud, not in a chat message people may miss.
The first minute sets the tone
Remote etiquette affects audio quality more than people think. When people don’t know a session is being recorded, they start with cross-talk, side comments, or half-finished introductions. That creates confusion in the file and in the transcript.
A clean opening sounds simple:
“Before we start, I’m recording this conversation for notes and accuracy. Is everyone comfortable with that?”
Then wait for actual responses.
Silence after the consent question is useful. Let people answer clearly instead of rushing into the first topic.
That same patience helps during the interview itself. The habit of leaving a few seconds after someone finishes speaking often draws out better answers, especially in research interviews, customer discovery calls, and source conversations.
Don’t let the laptop mic do all the work
One common mistake is recording the meeting with external software while also relying on the computer’s built-in microphone to capture the room. That approach produces a thin, echo-prone file if anyone is speaking in your physical space.
If you’re solo on the local side, headphones plus platform recording usually solve most of the issue. If you have multiple people in one room joining the same remote call, use a proper conference microphone or record a parallel local backup on a dedicated device placed for the in-room voices.
That hybrid setup helps when someone’s internet drops or a platform recording fails. It also gives you a cleaner safety track for important portions.
A short walkthrough can help if you want a visual explanation of the setup choices:
AI note takers are useful, but they change the room
Third-party AI note takers can be convenient, especially for long meetings. But they also introduce a social variable. A bot joining visibly as a participant can make people more guarded, especially in interviews, editorial conversations, or sensitive team discussions.
That doesn’t mean you should never use one. It means you should decide whether convenience is worth the shift in tone.
Use them when:
- The meeting is operational and participants expect automation
- The group is familiar with the tool
- You need fast summaries more than conversational ease
Avoid them when:
- The conversation is sensitive
- The guest is already cautious
- Rapport matters more than speed
A remote workflow that holds up
For reliable virtual recording, use this order:
- Set host permissions and recording settings before anyone joins.
- Confirm that all participants can see or hear the recording notice.
- Get verbal consent on the record.
- Use separate tracks where the platform allows it.
- Wear headphones and mute unrelated notifications.
- Keep a local backup if the conversation has real stakes.
That workflow is more boring than clever. That’s why it works.
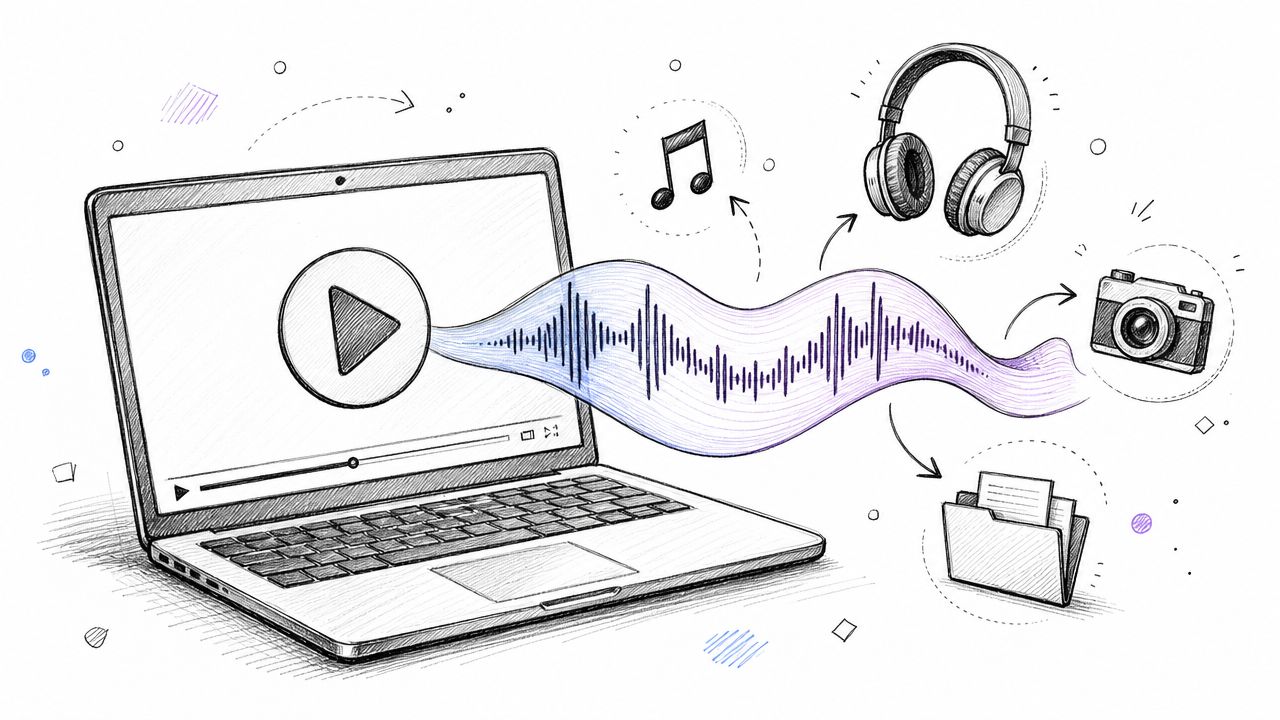
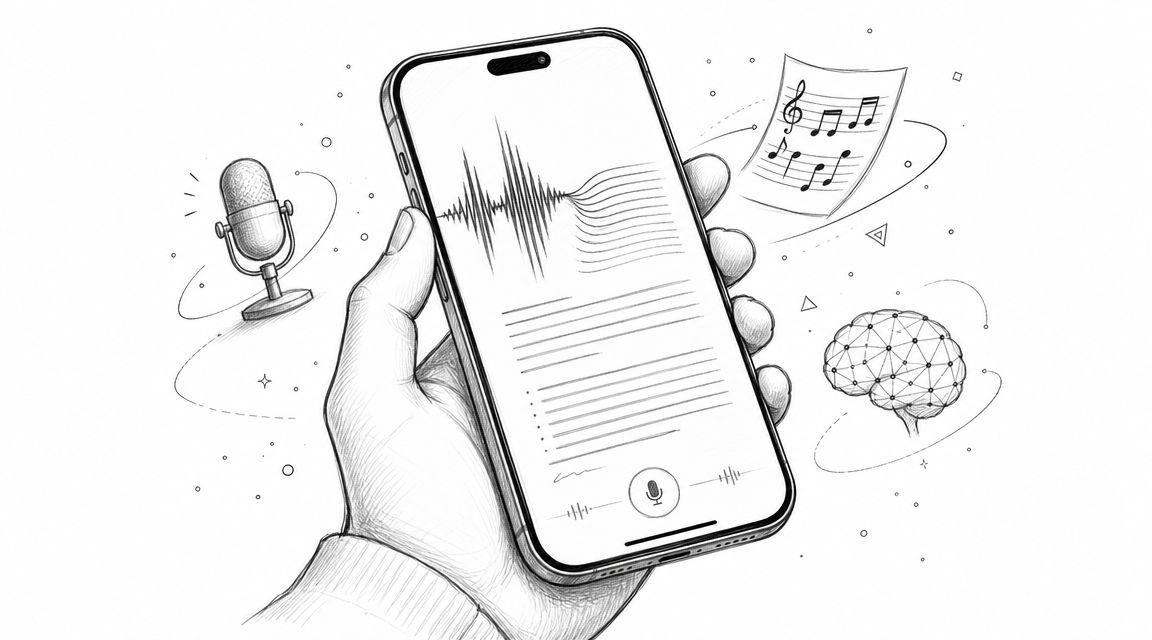
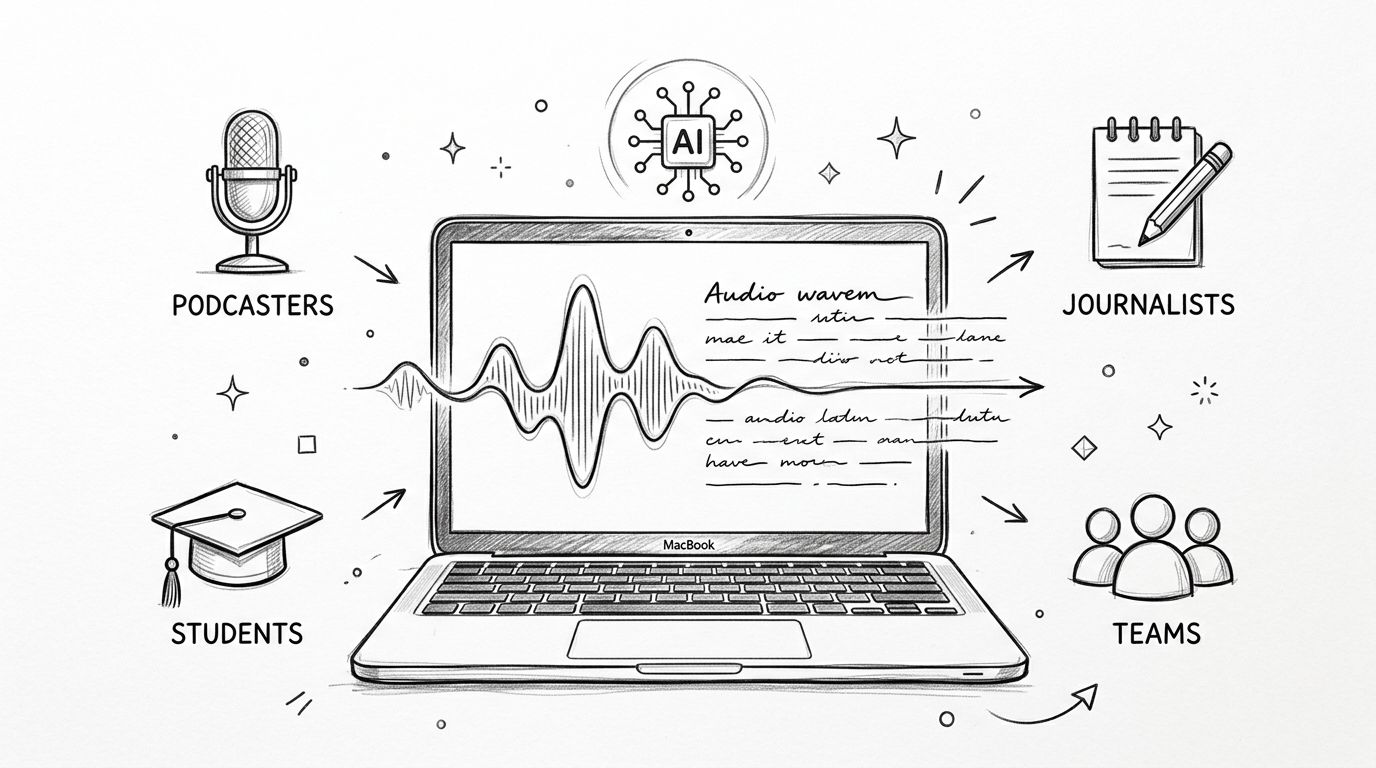
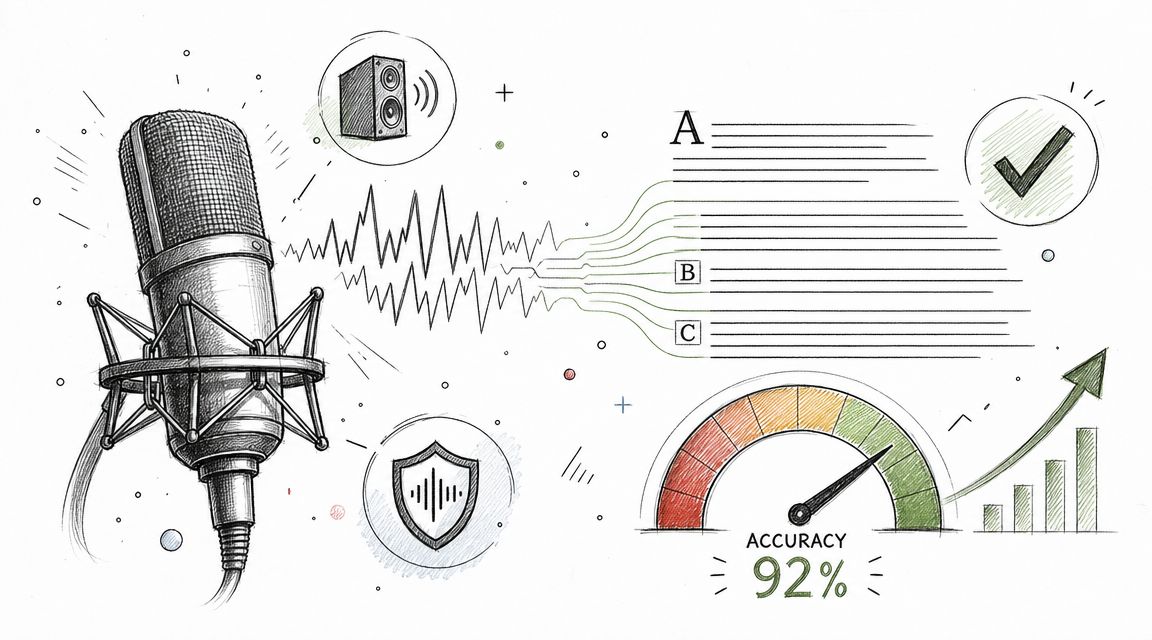
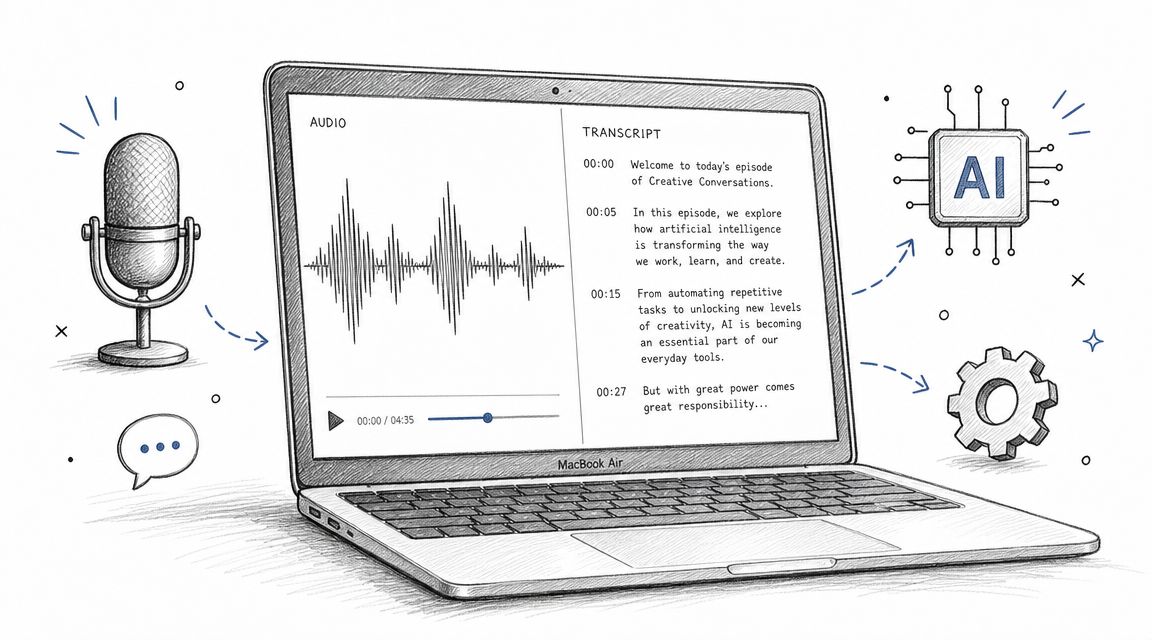
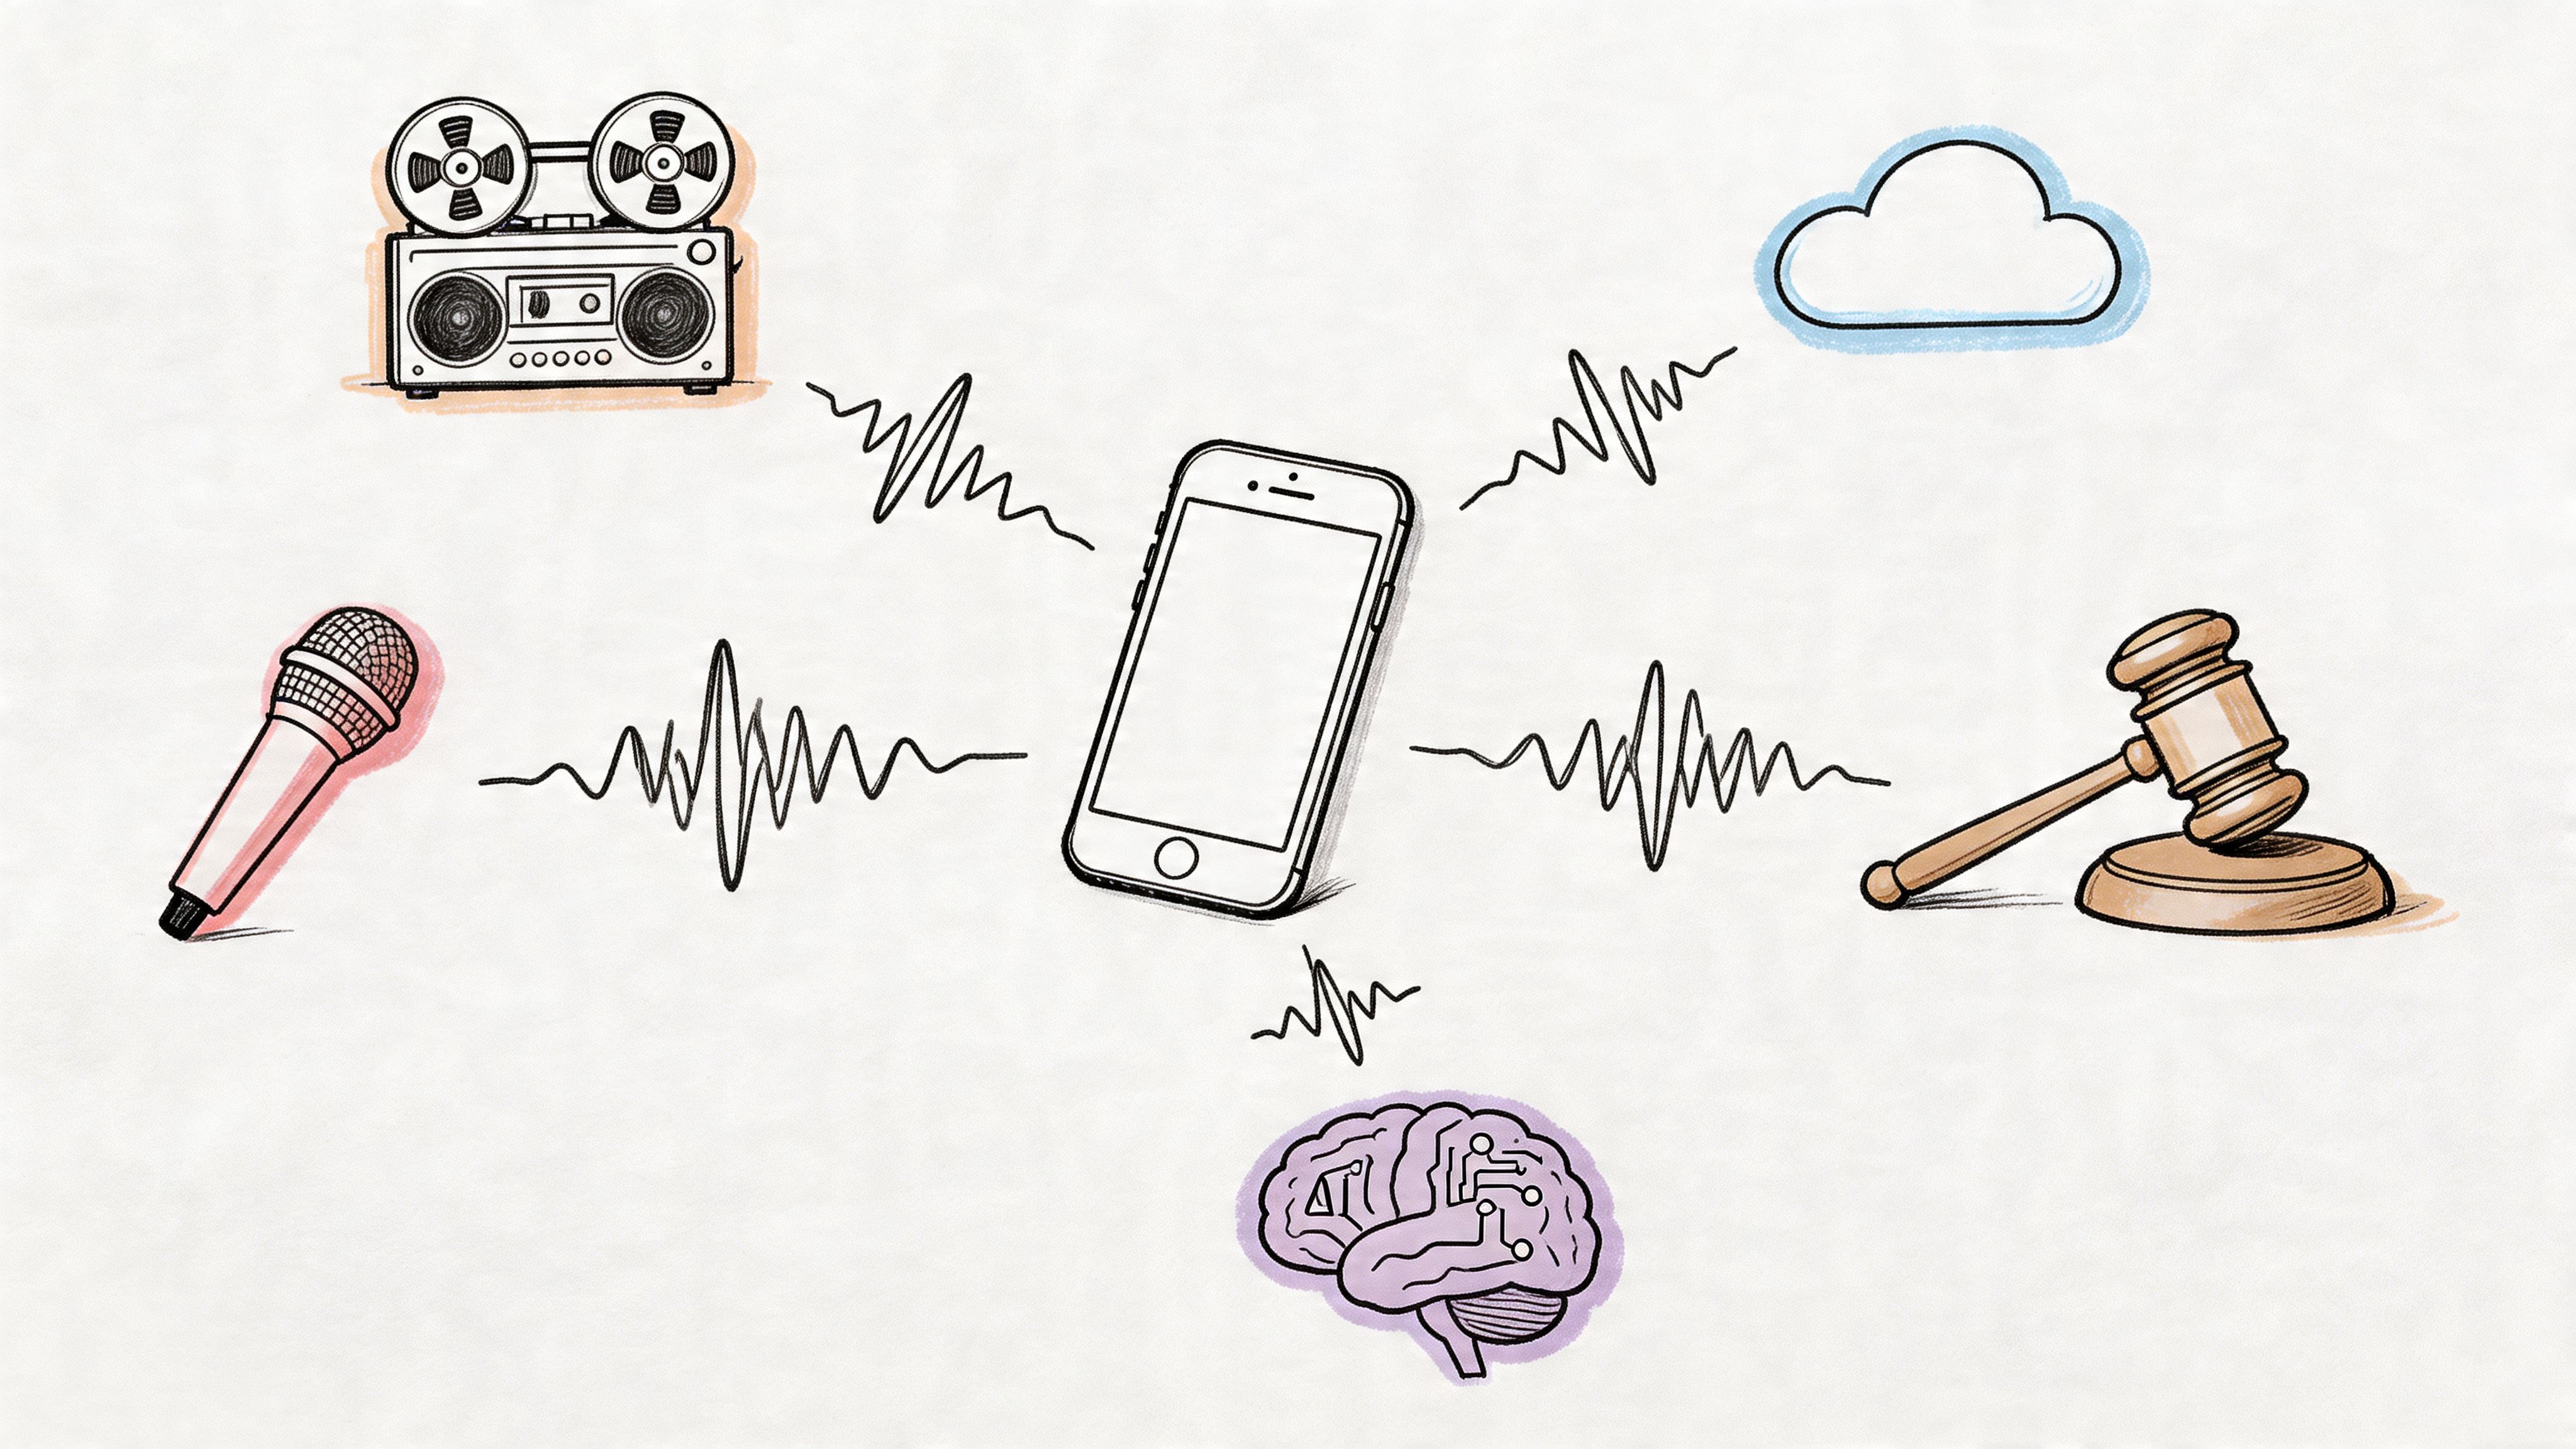
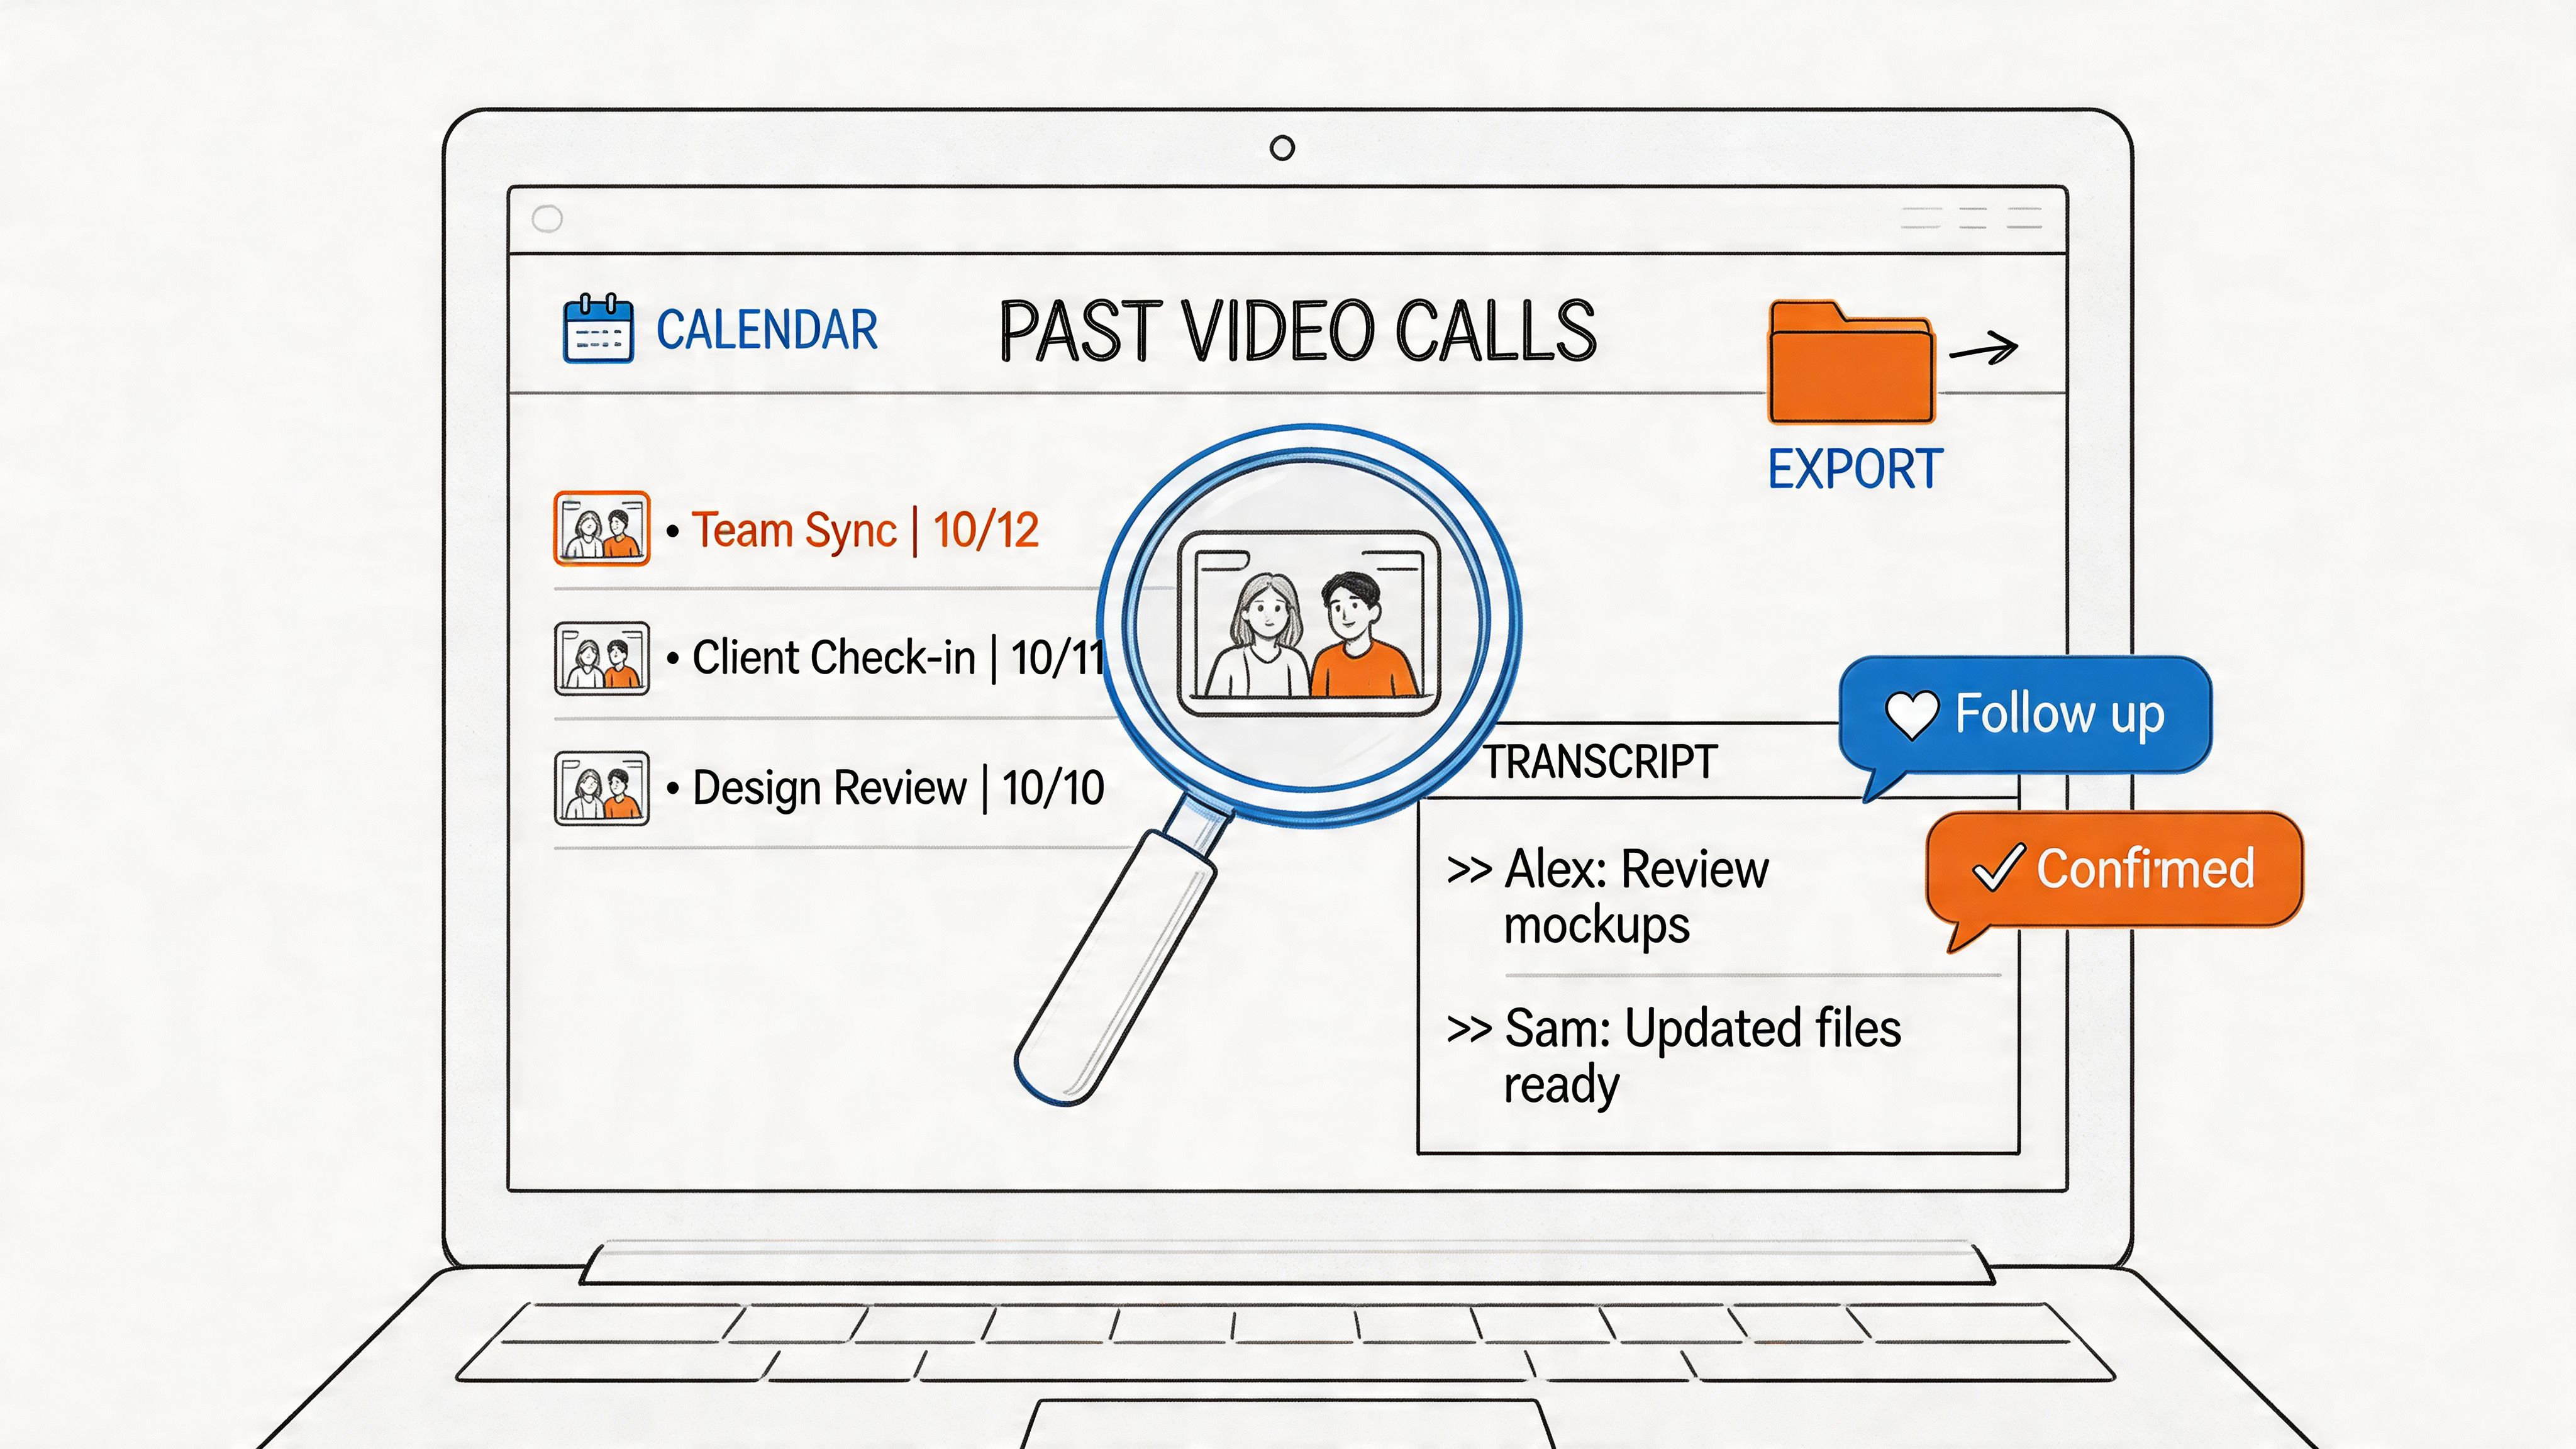
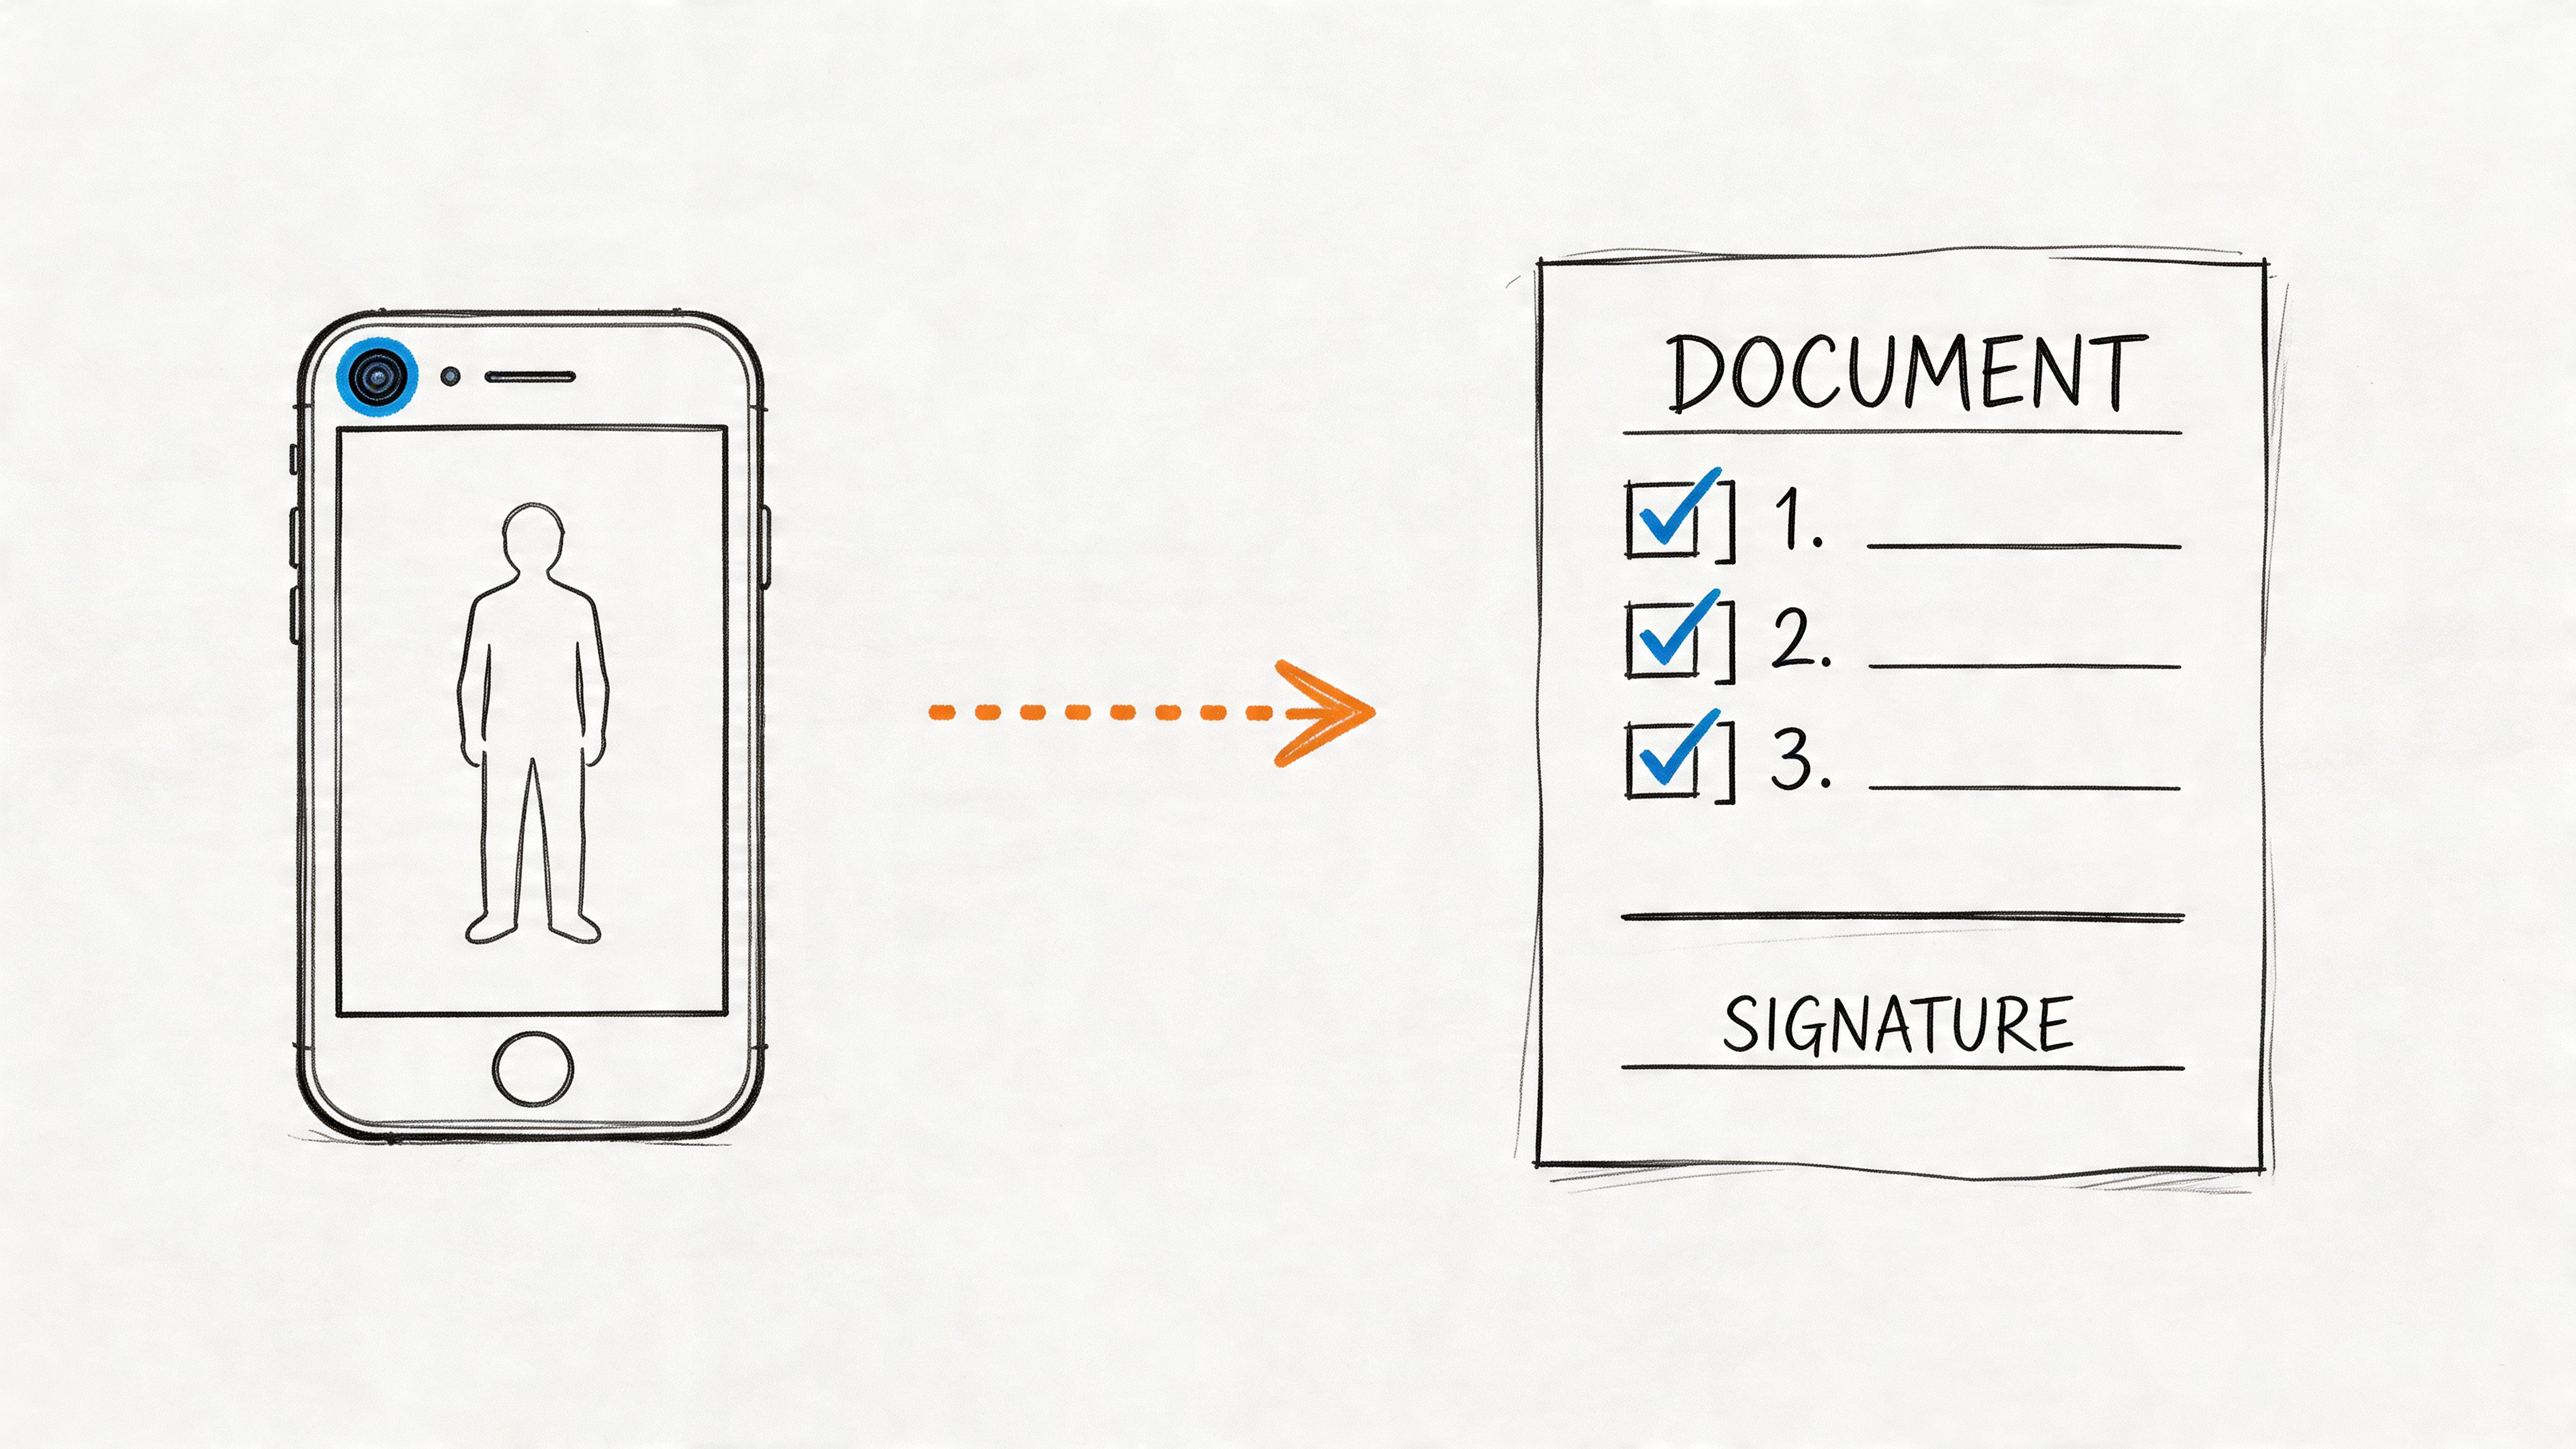
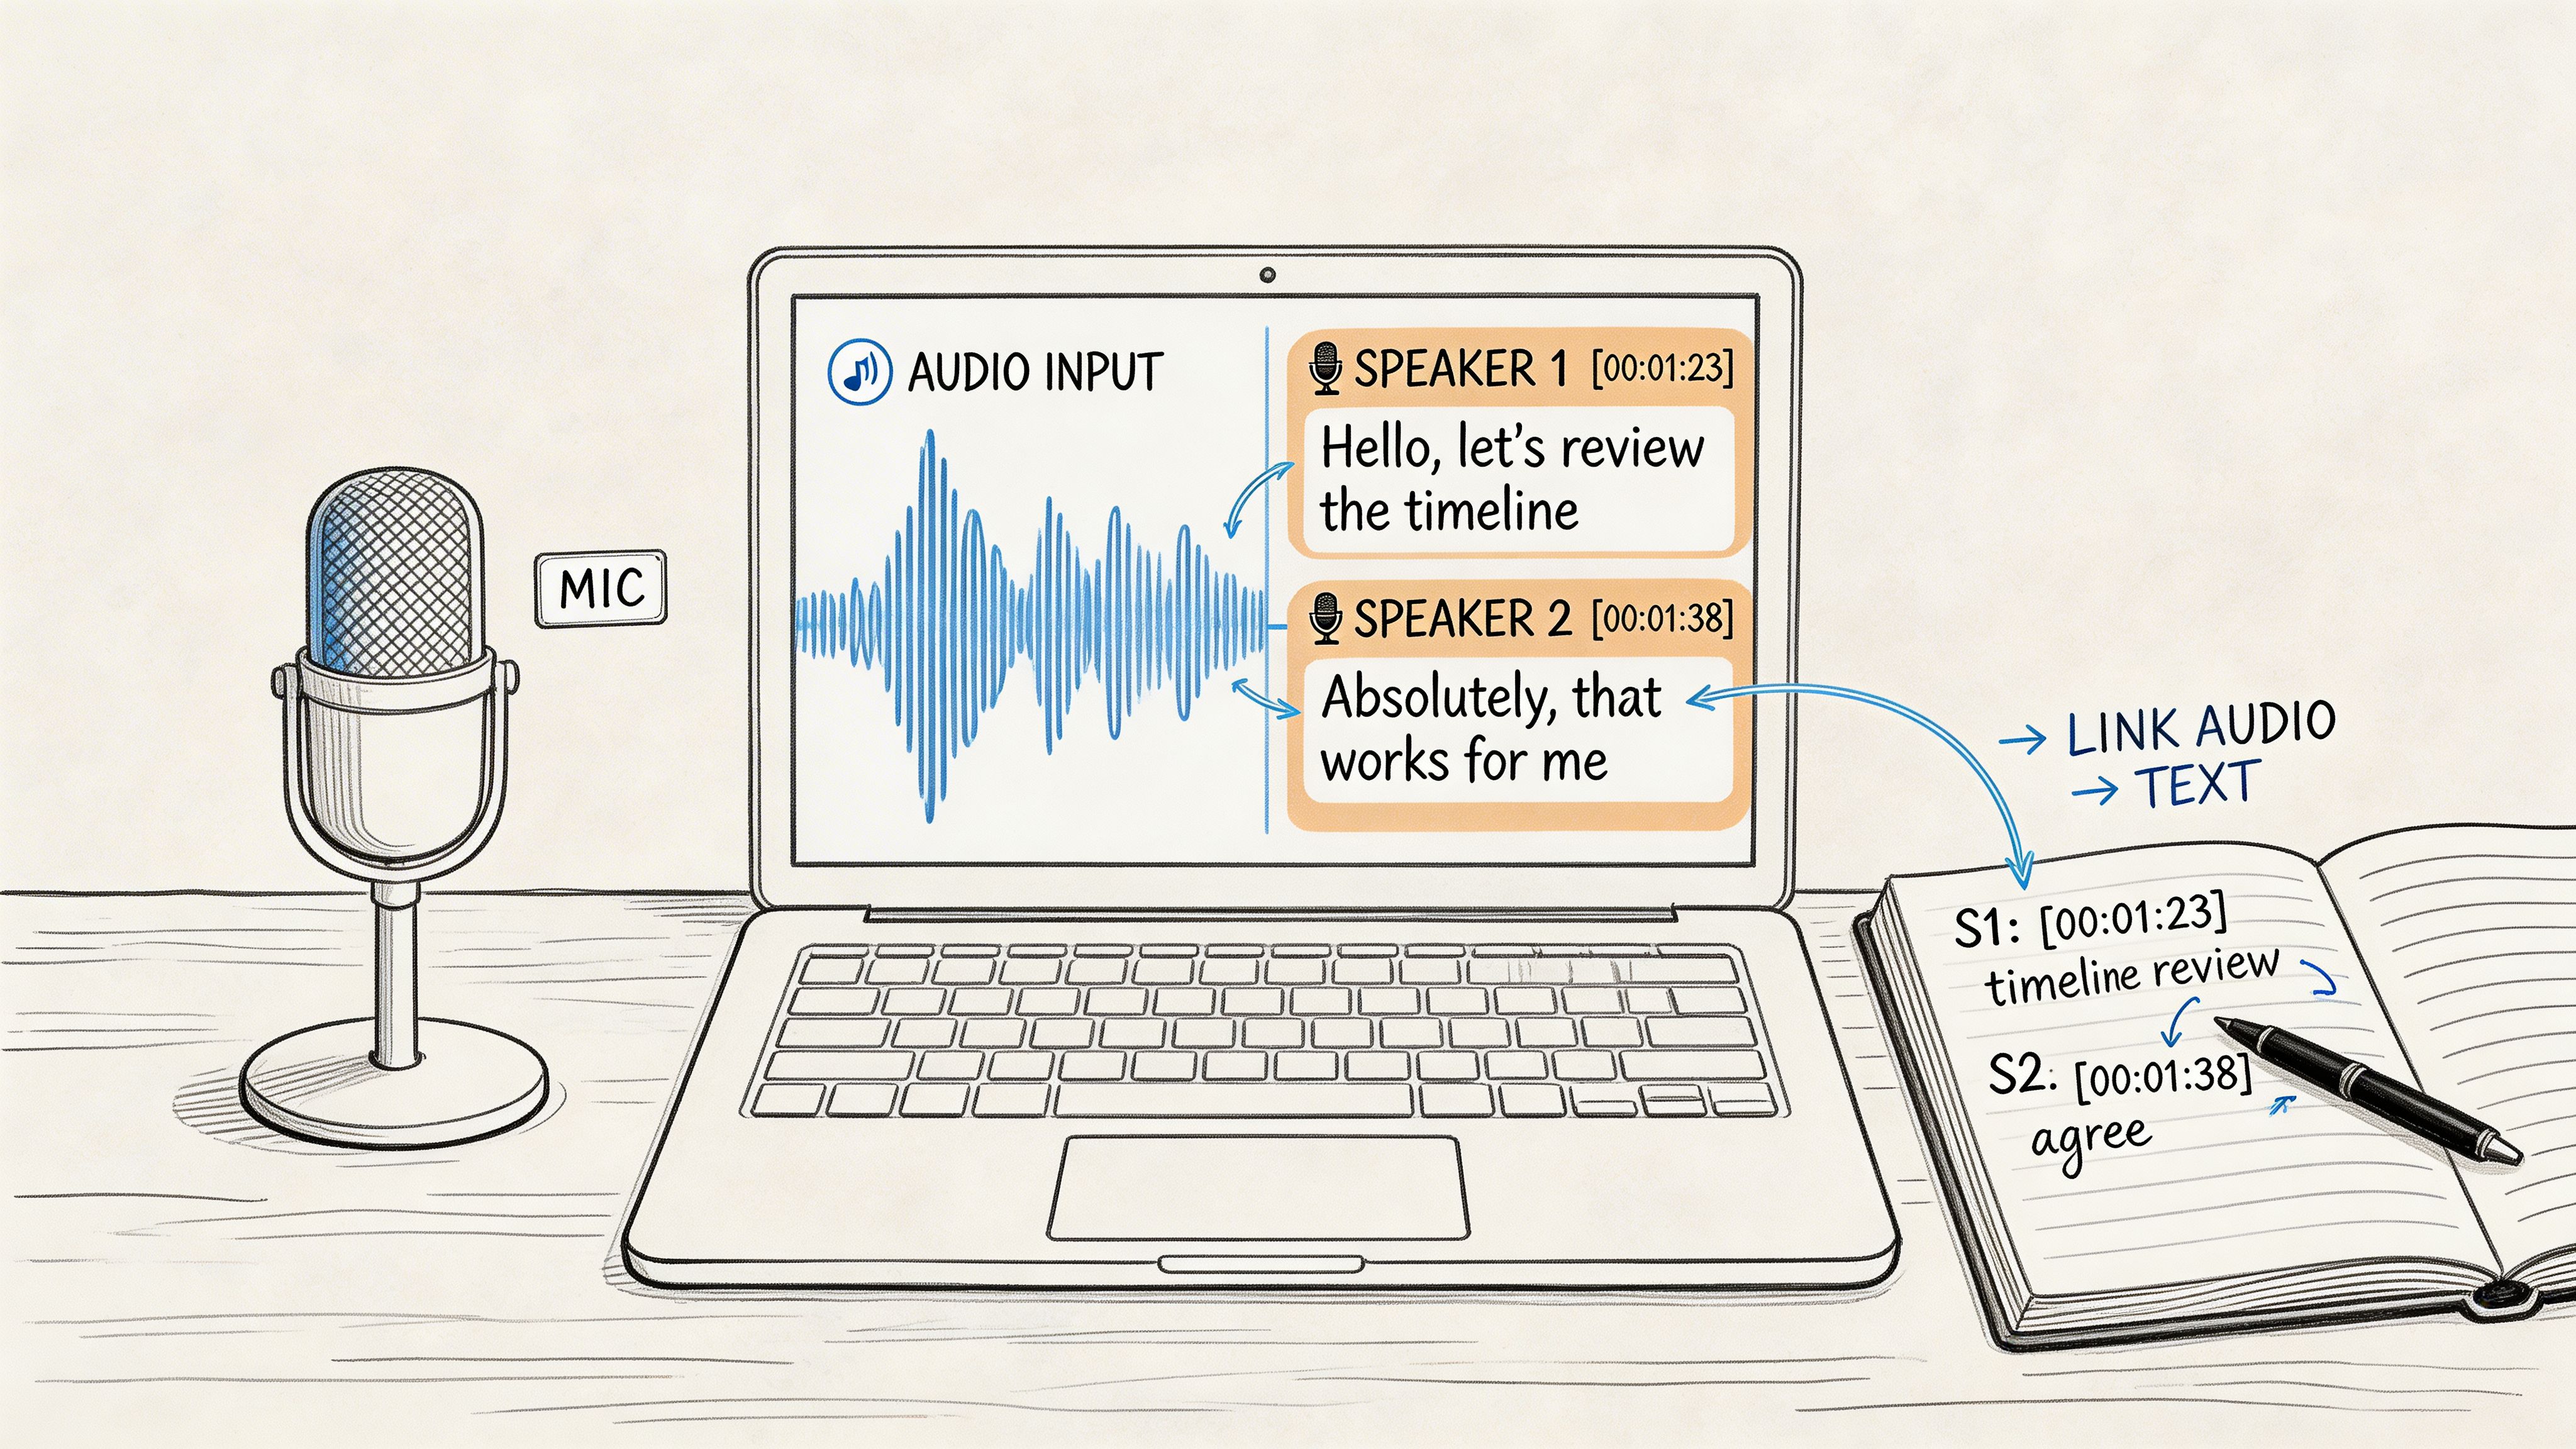
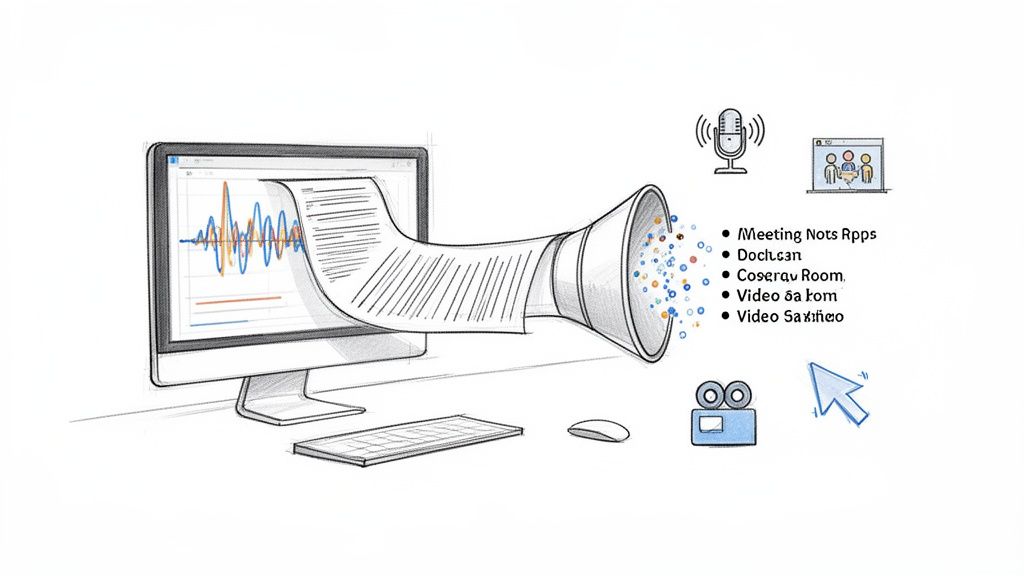
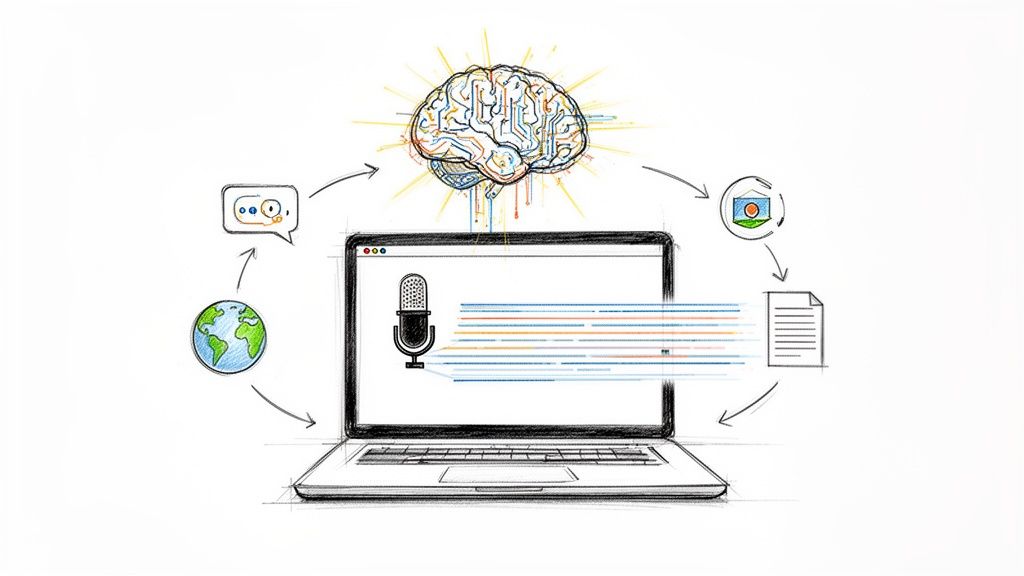
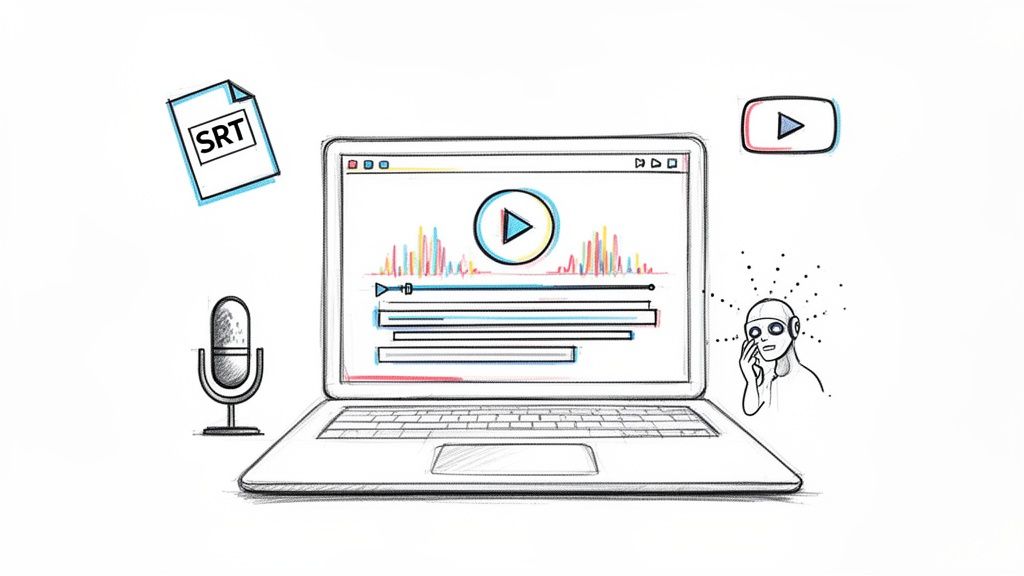
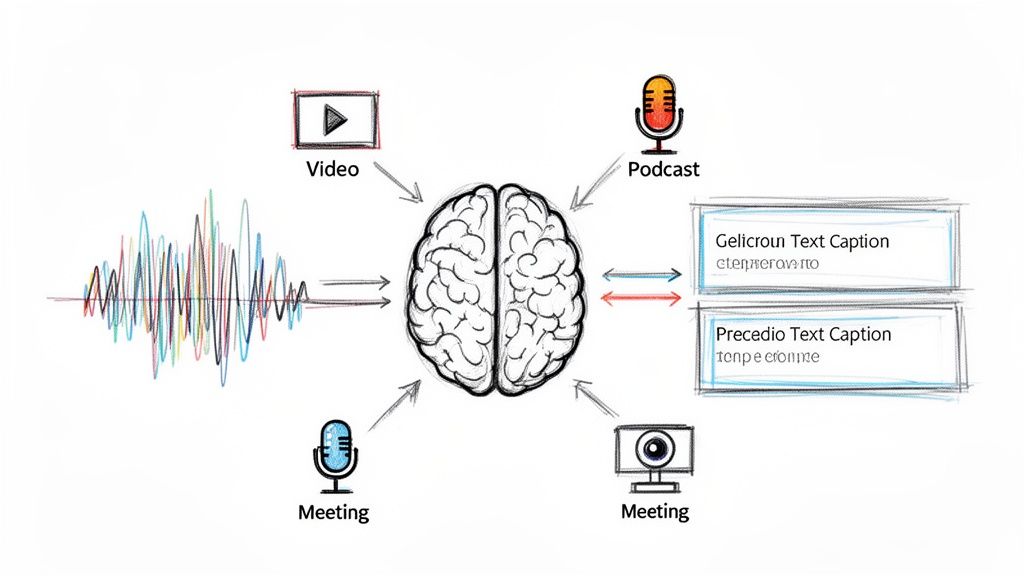
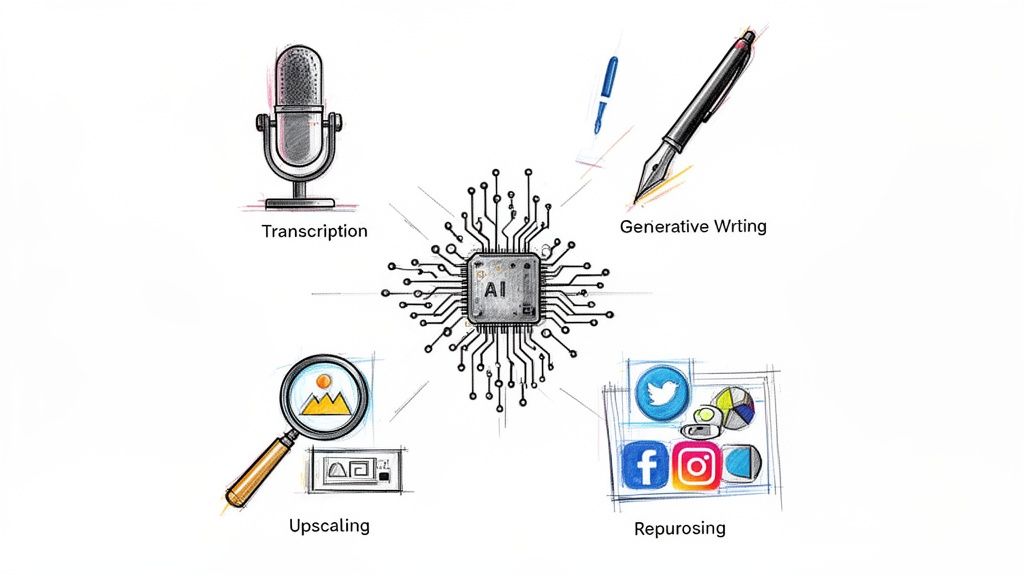
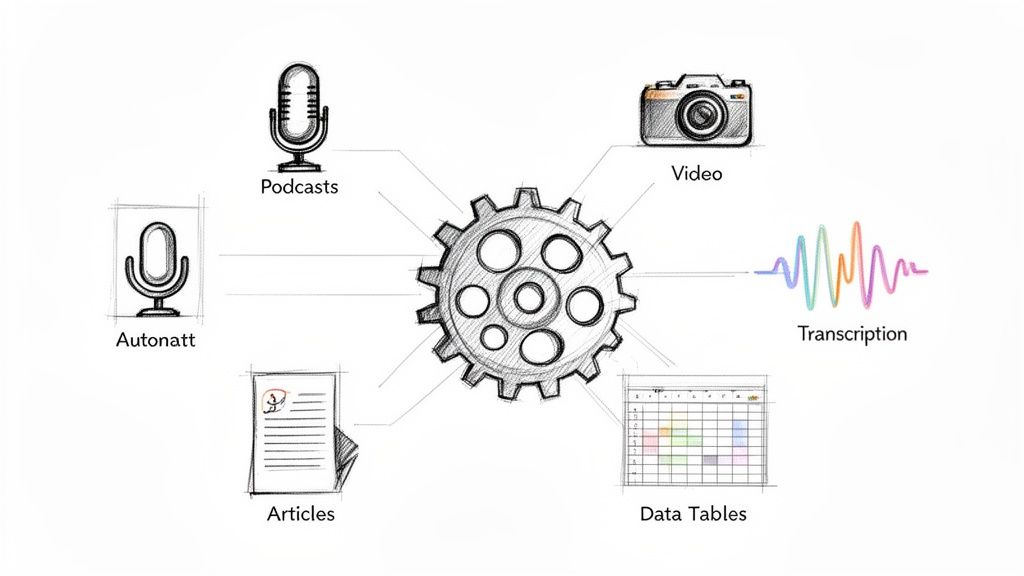
From Audio File to Actionable Insights with Whisper AI
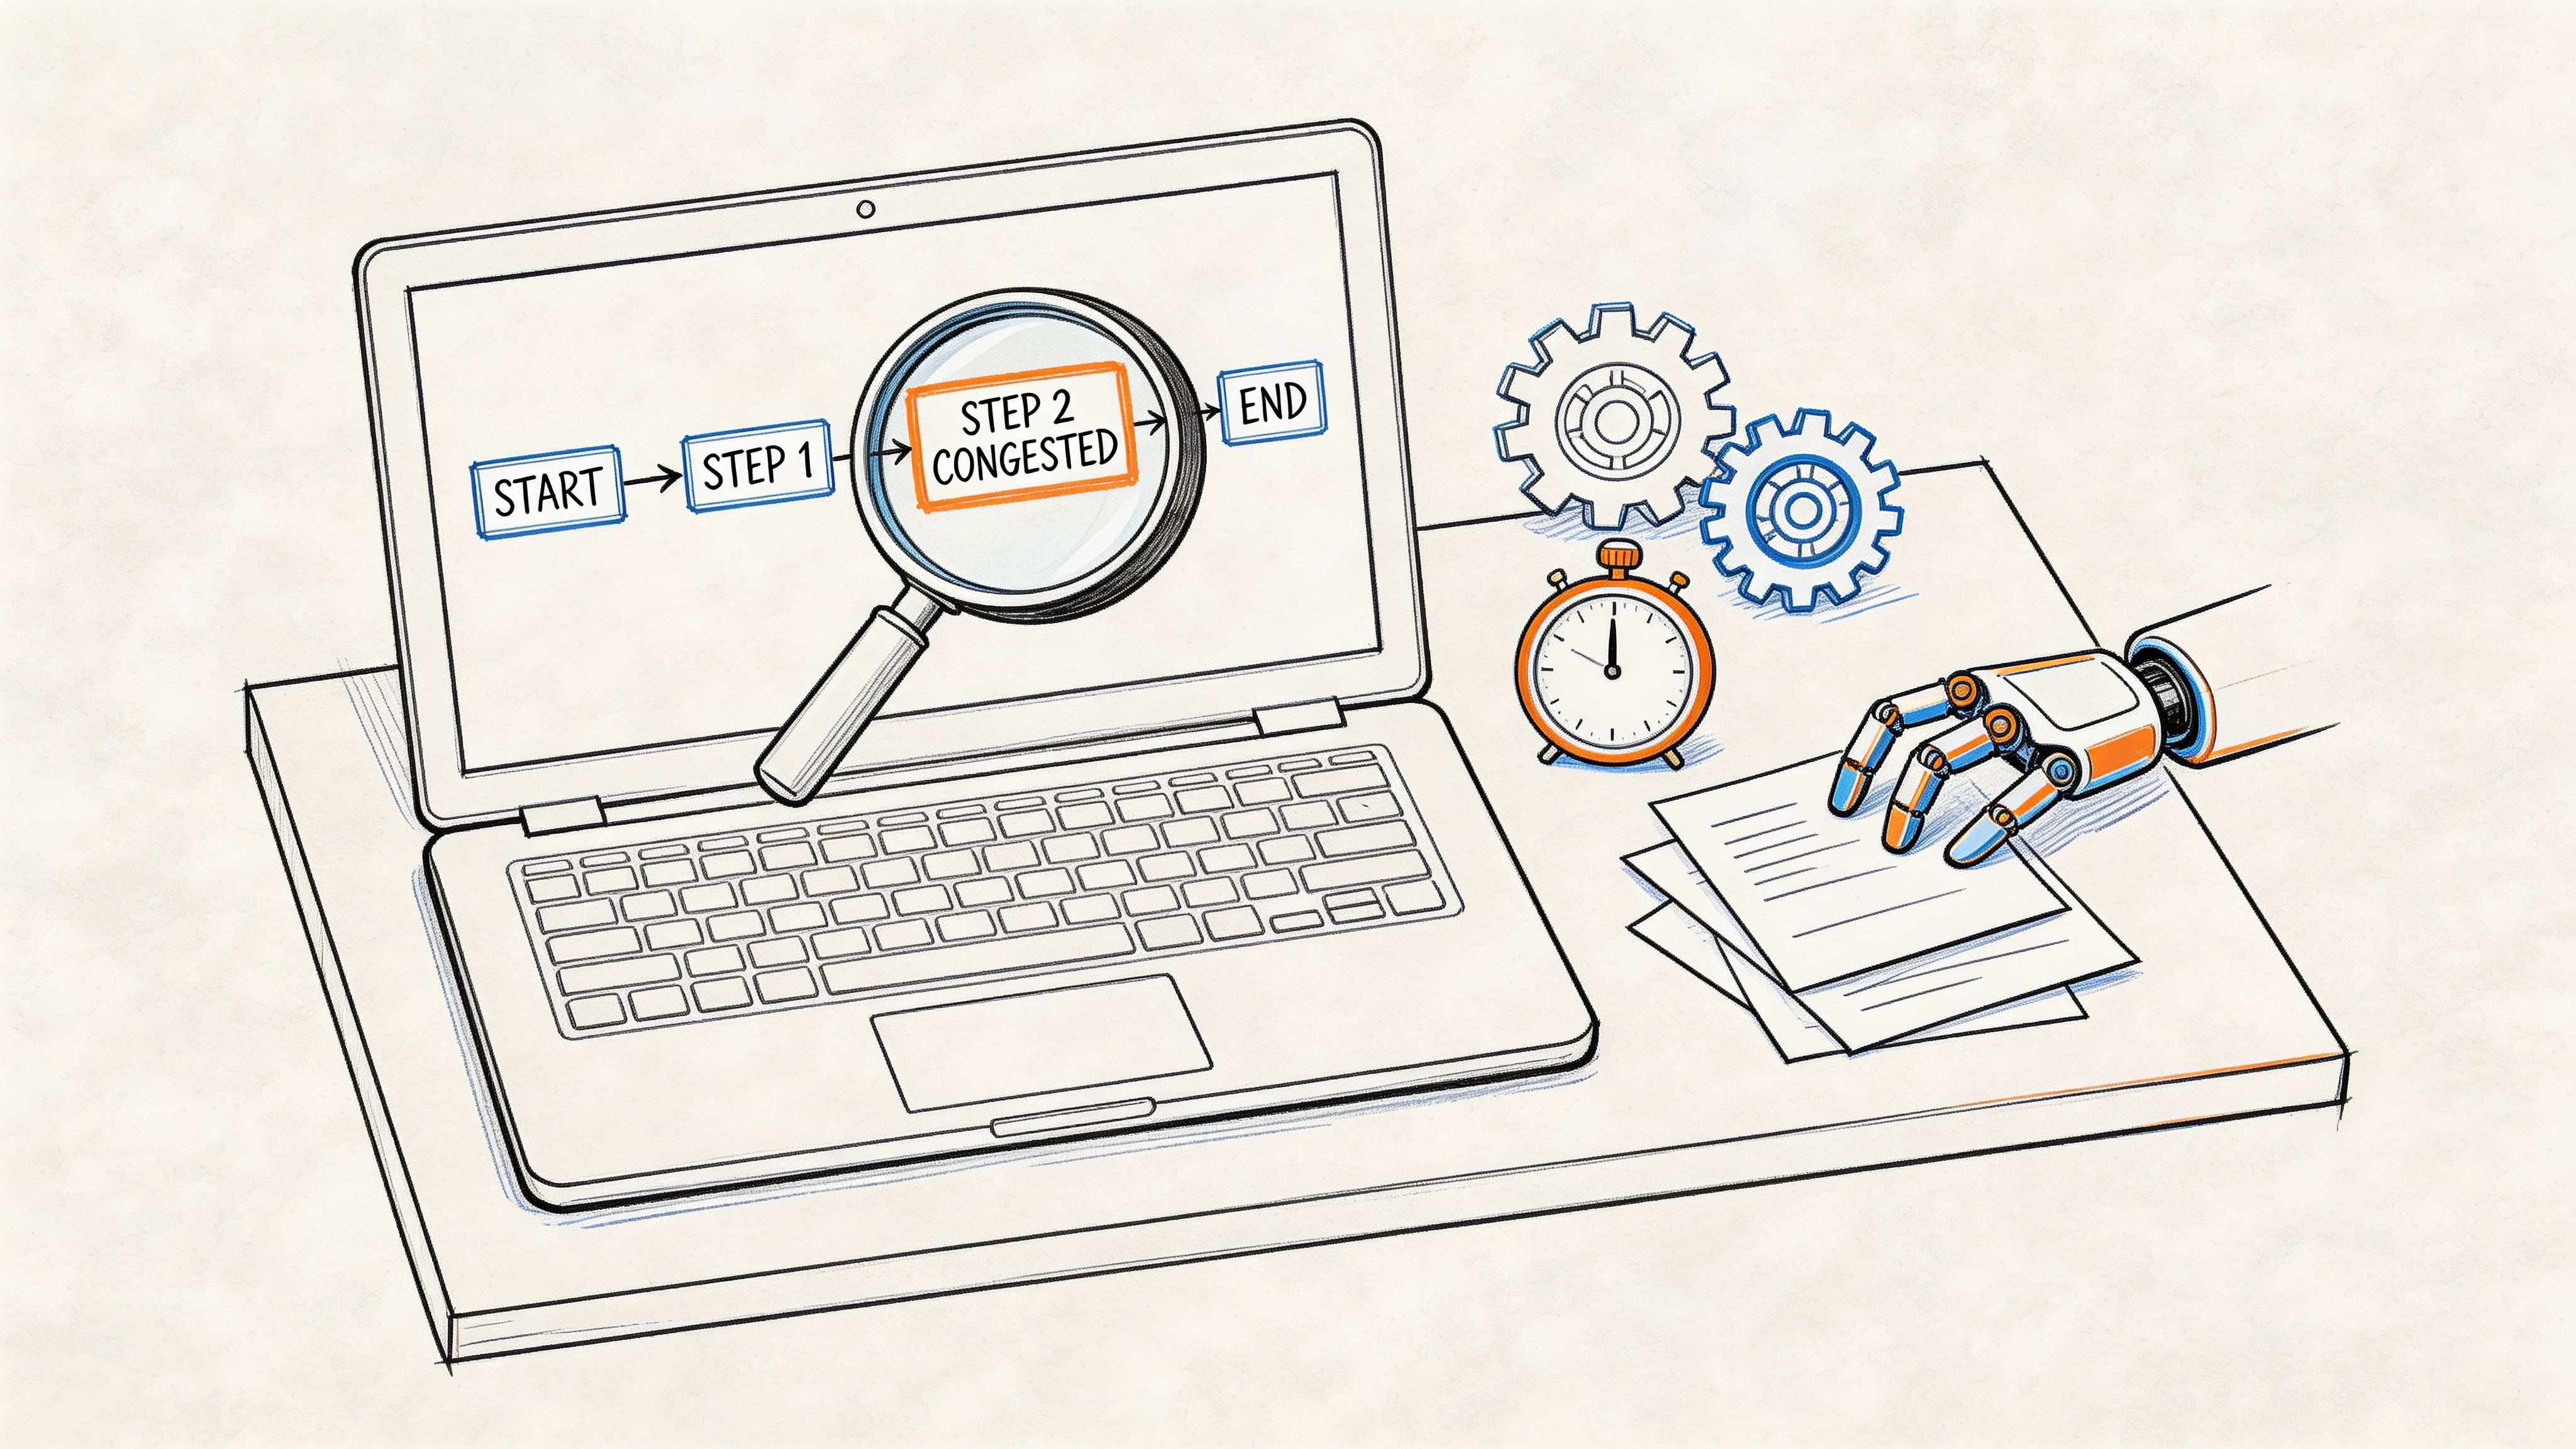
A recording isn’t valuable because it exists. It’s valuable because someone can use it.
That’s the part many workflows skip. They capture the audio, then let it sit in a downloads folder until it becomes digital clutter. True payoff comes when the file is organized, transcribed, searchable, and easy to repurpose.
The business case for doing that well is strong. 82% of businesses recording customer calls report a 20-30% sales uplift from analytics, and Gartner projects that by 2025, 80% of enterprises will use AI-driven conversation intelligence, processing 60 billion hours annually. Platforms like Whisper AI have processed over 60,000 hours for users, which shows how quickly recorded media is moving from archive material to working business input (conversation intelligence and call analytics).
Name files like you expect to find them again
Before you upload or share anything, fix the file hygiene.
A searchable system beats a clever one. Good names let you sort by date, person, project, or topic without opening every file. A simple convention such as YYYY-MM-DD_Name_Topic holds up well across interviews, meetings, and production work.
Examples:
- 2026-01-12_Sanchez_ProductInterview
- 2026-01-12_TeamWeekly_EditorialPlanning
- 2026-01-12_ClientCall_OnboardingNotes
This matters more than people expect. If the transcript later becomes a quote check, content asset, or legal reference, the name should make sense to someone who didn’t create it.
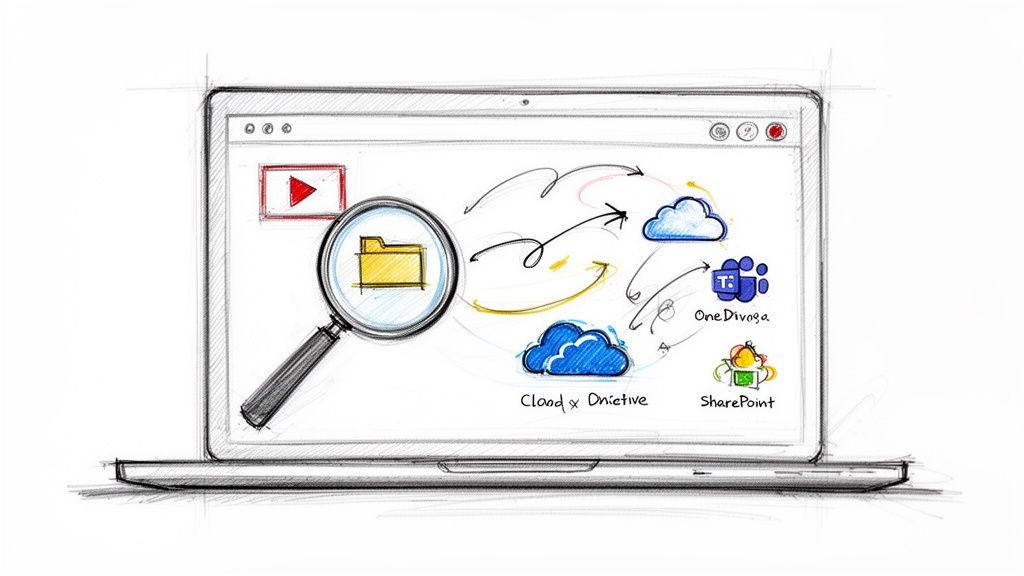
Store the original audio, then work from copies or platform exports. That way, you keep a clean source file if editing or conversion introduces errors.
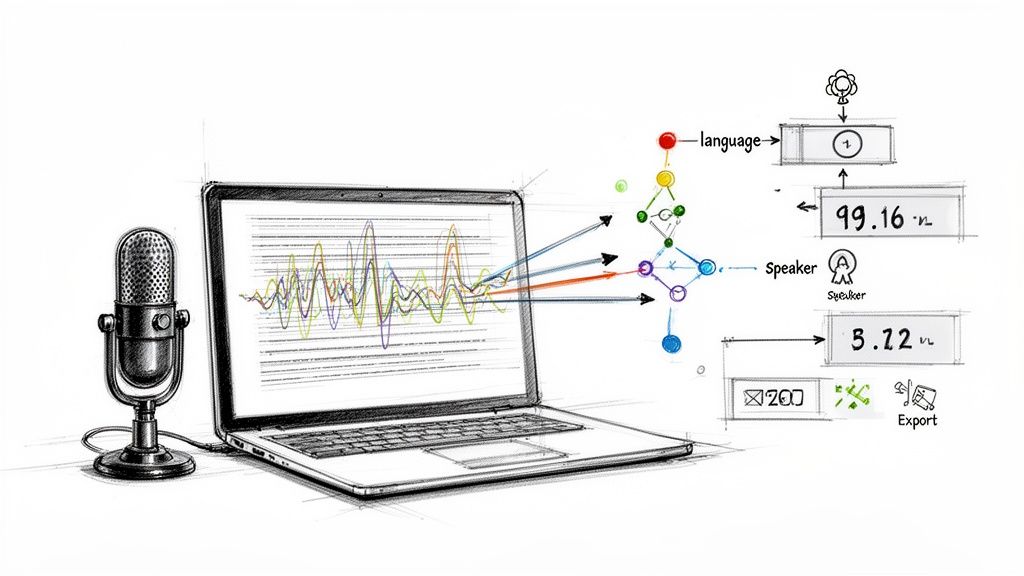
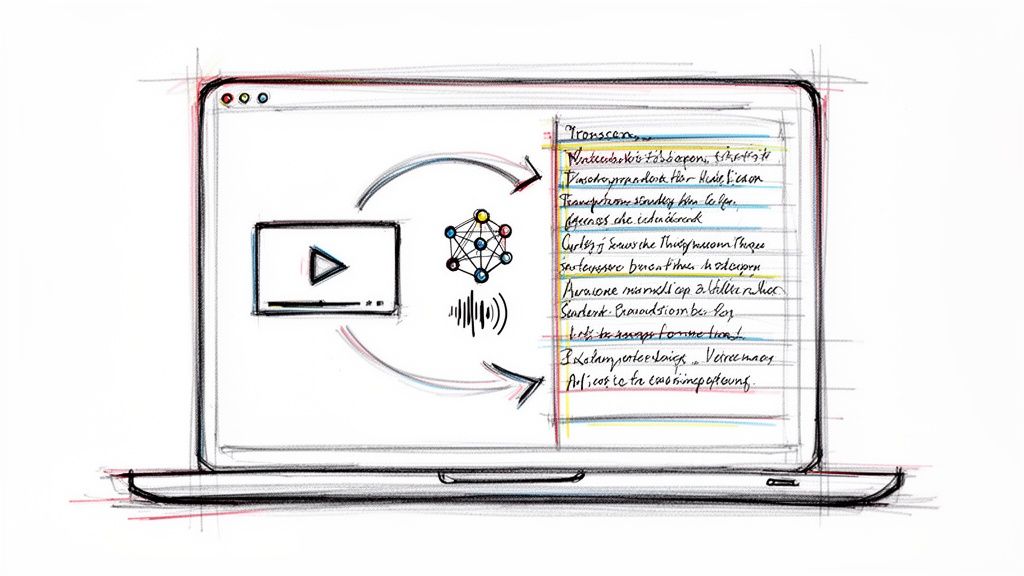
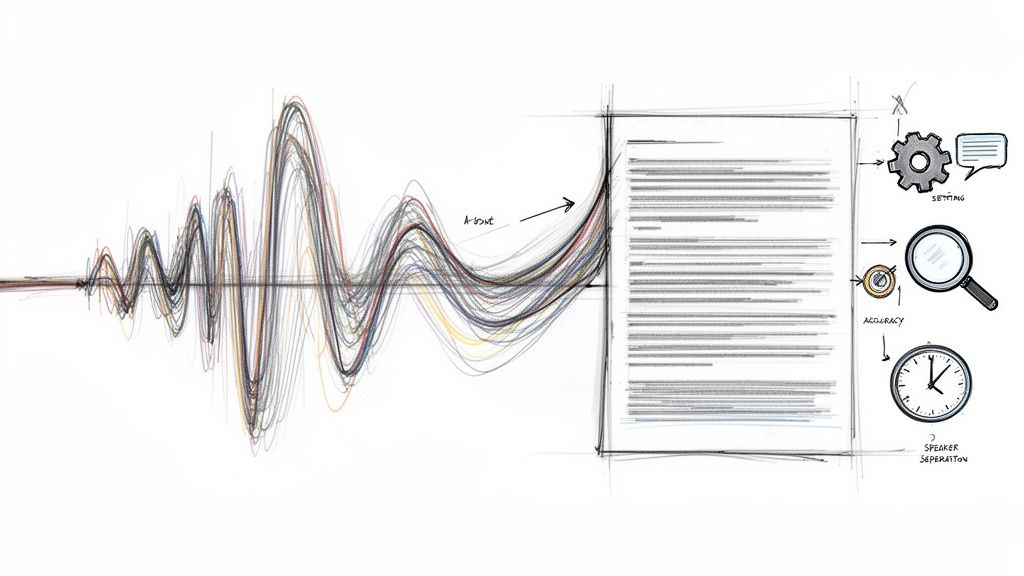
Good recordings produce better transcripts
Transcription quality doesn’t begin at upload. It begins with mic distance, room noise, speaker overlap, and whether you captured consent and introductions clearly.
That’s why the earlier steps matter. If the source audio is clean, AI can do much more than produce text. It can separate speakers more reliably, attach useful timestamps, and turn a long conversation into something you can skim and act on.
A transcript is only as useful as the recording behind it. Clean speech saves time twice, once during capture and again during review.
For teams that want a practical walkthrough, this guide on how to use Whisper AI shows the basic upload and transcript workflow.
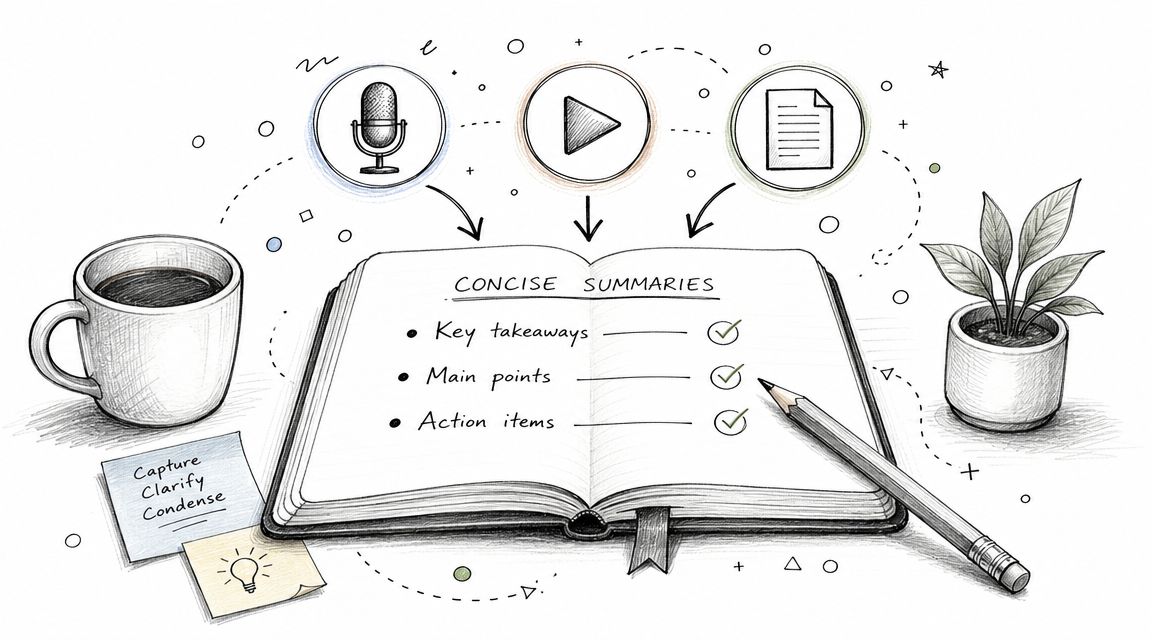
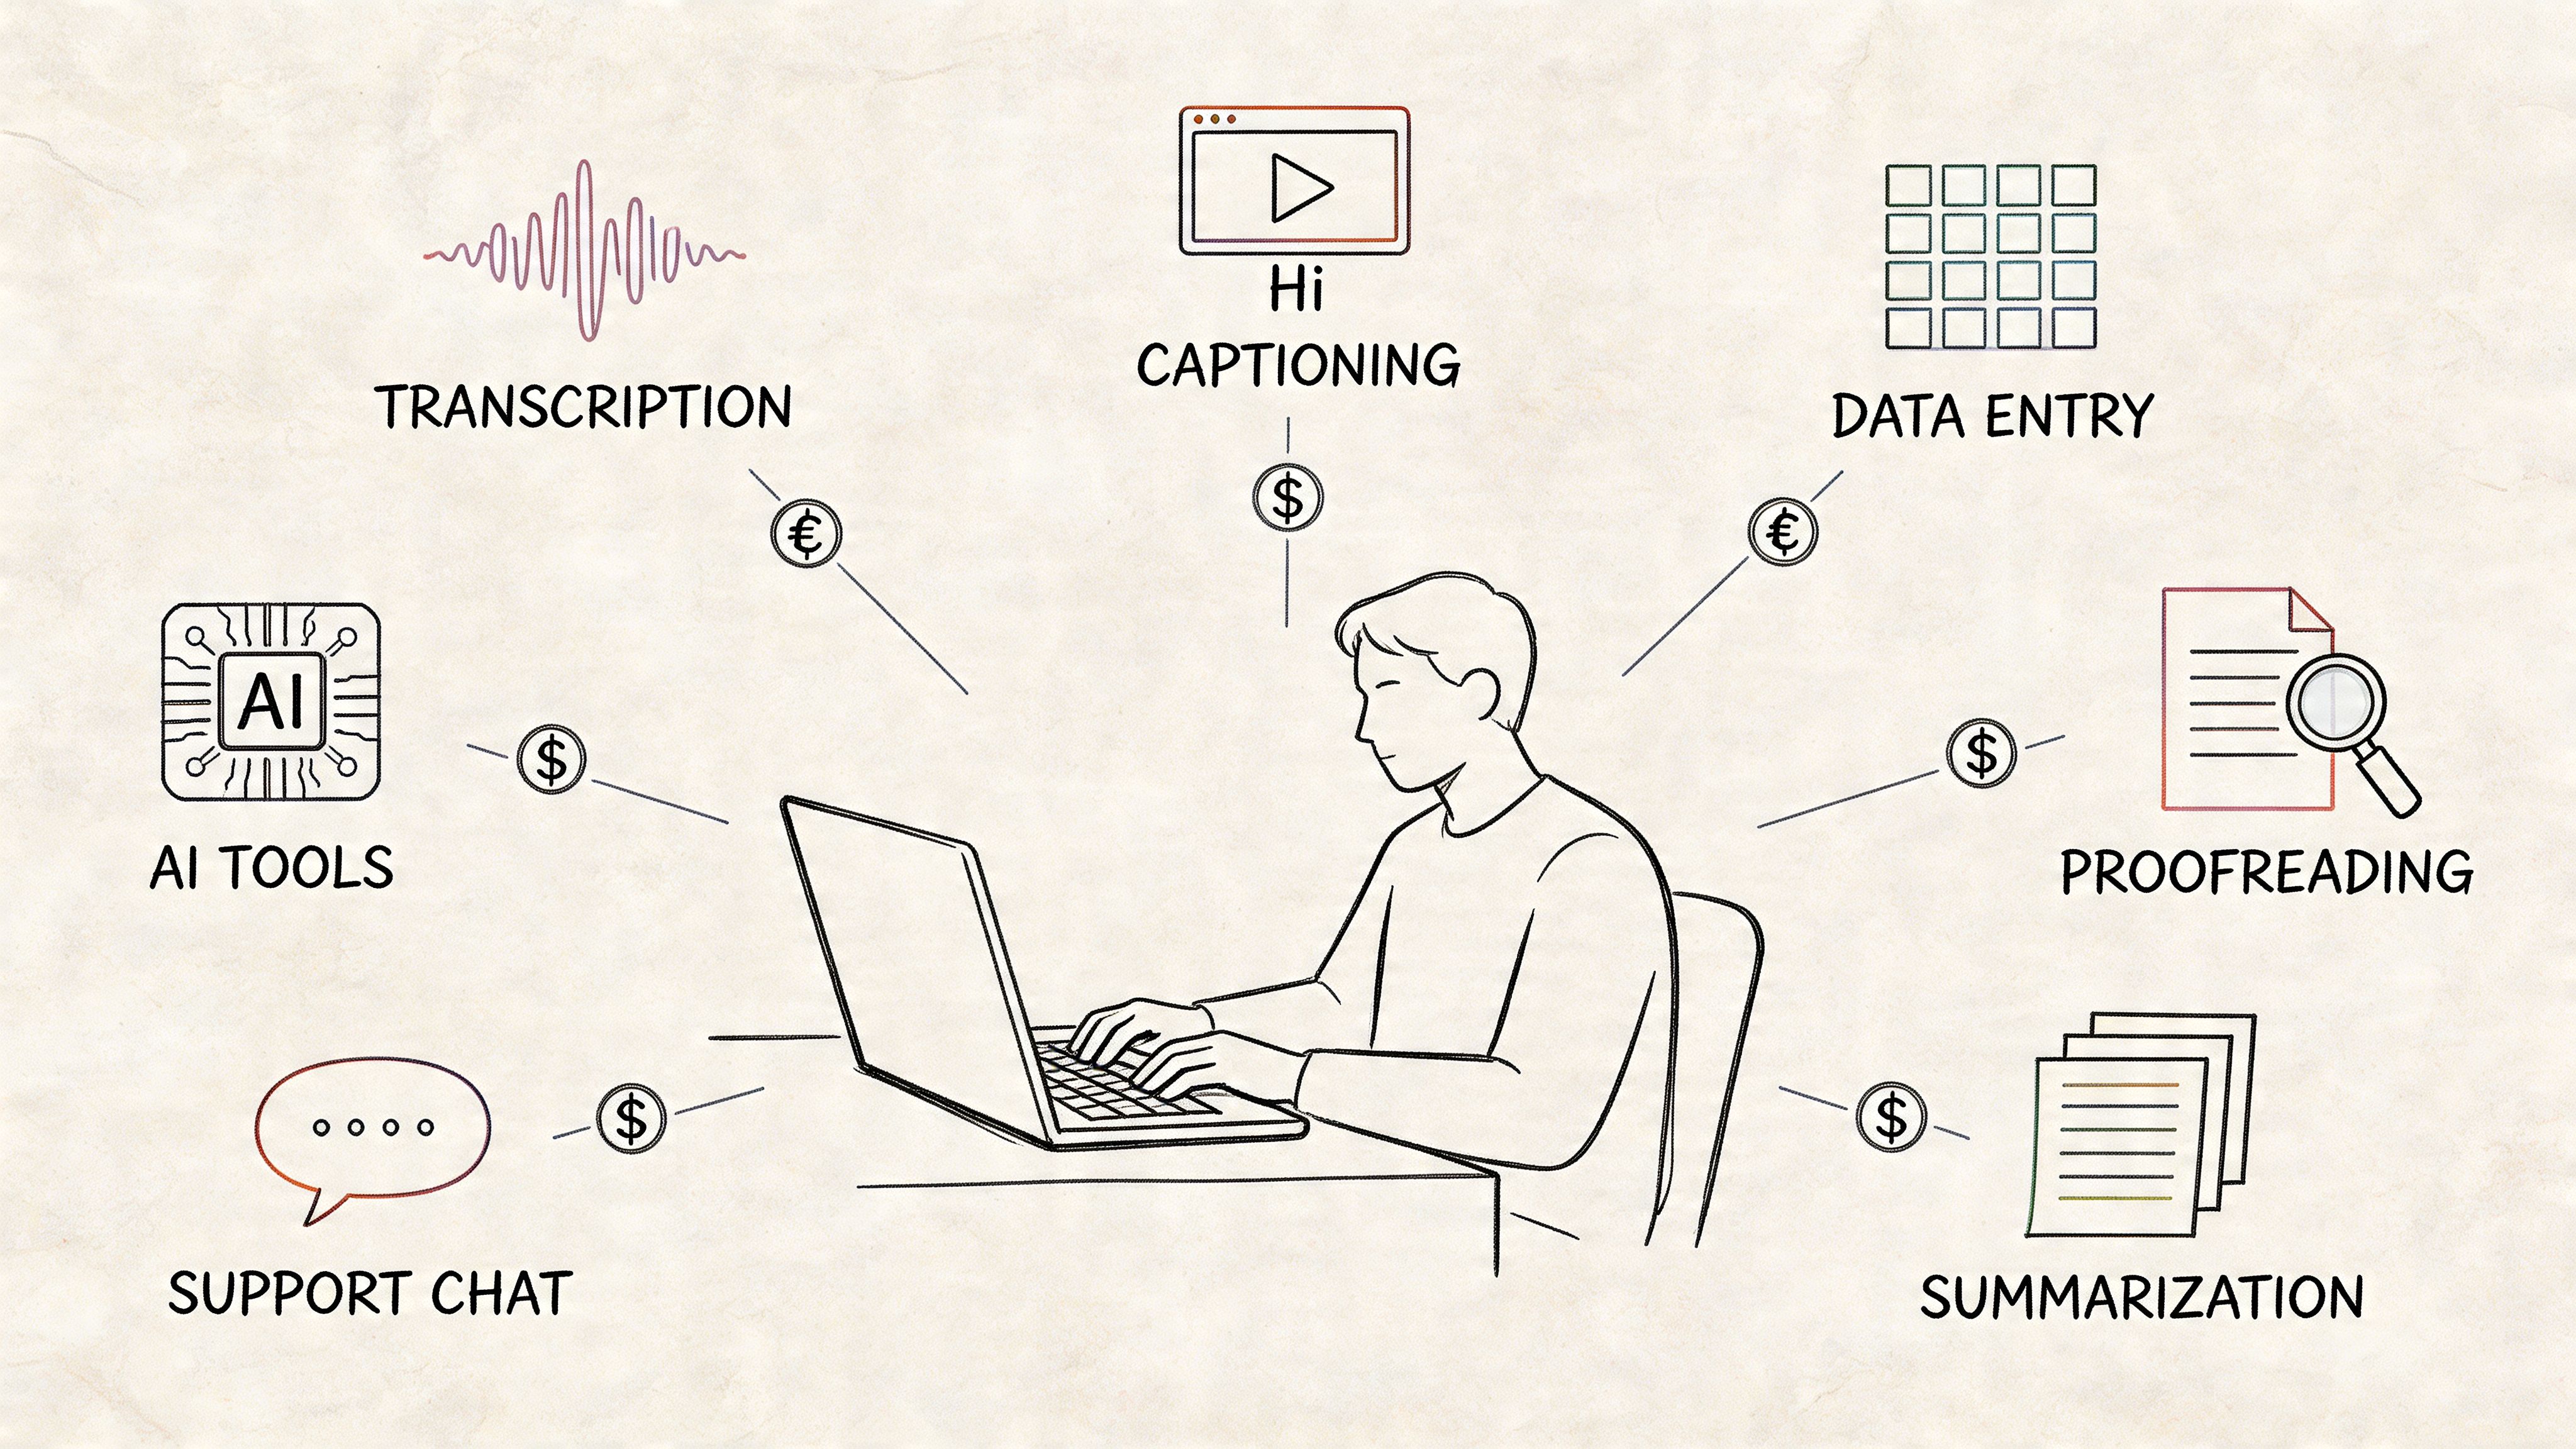
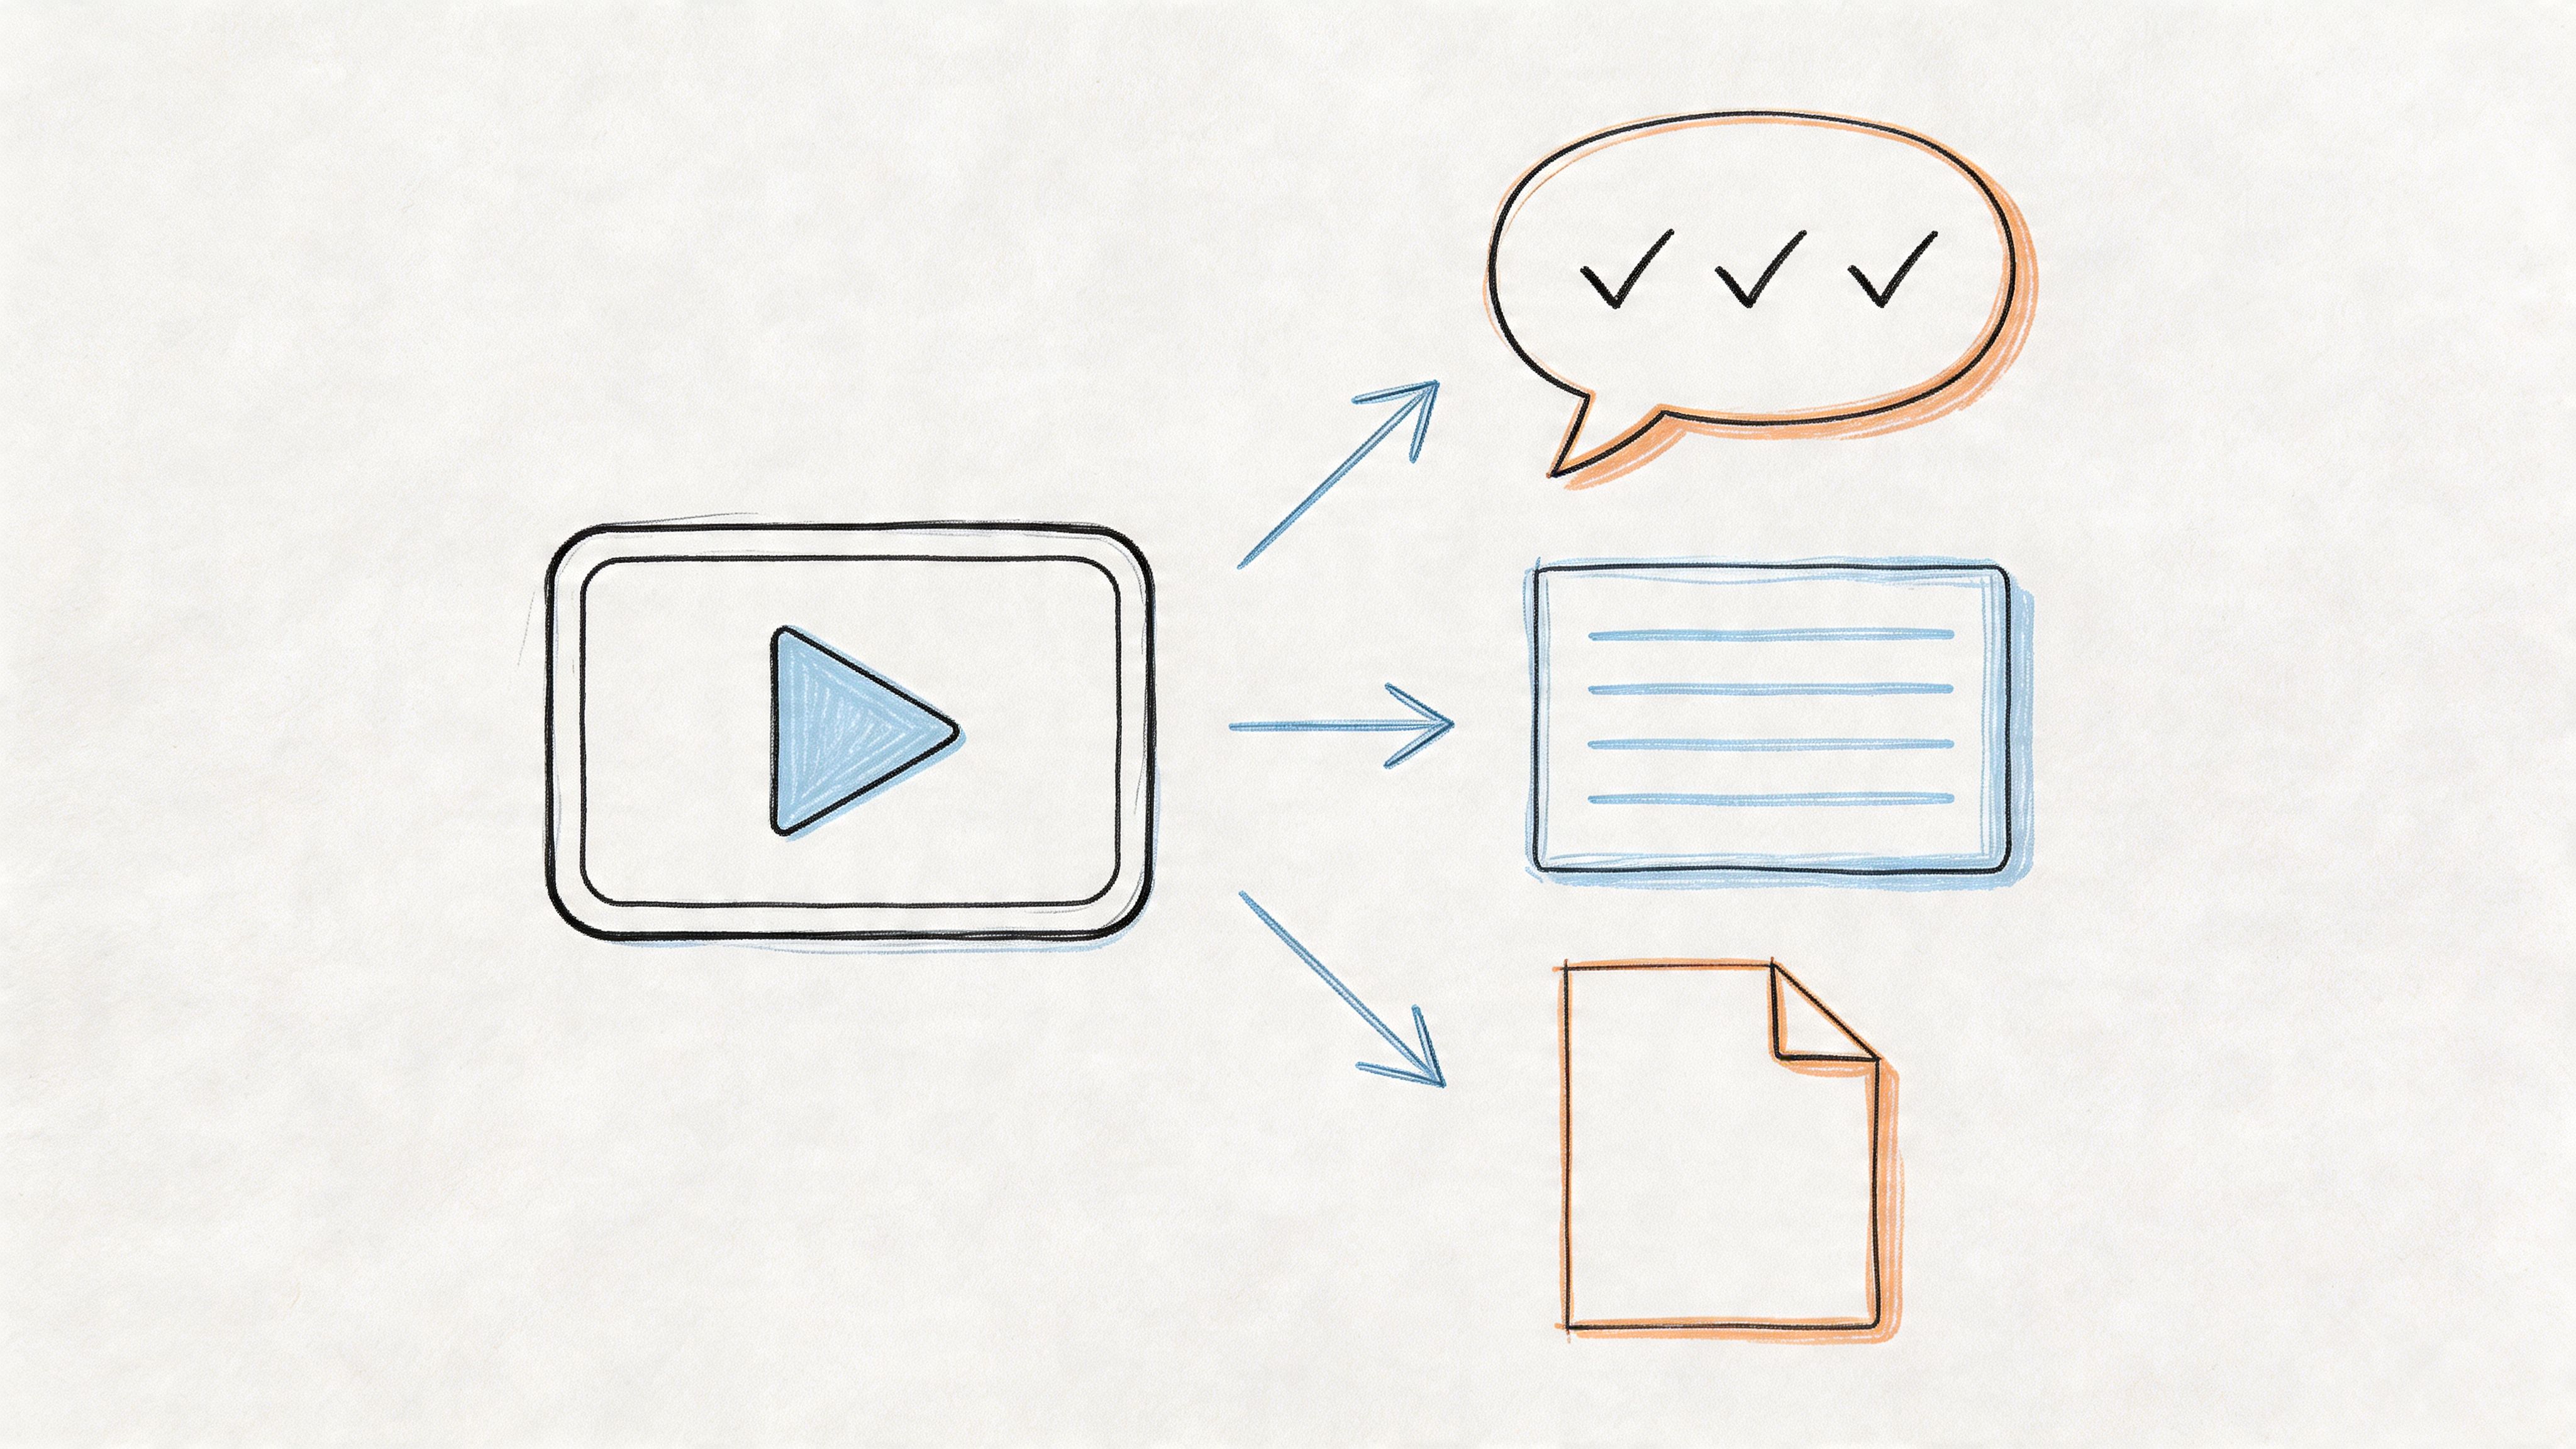
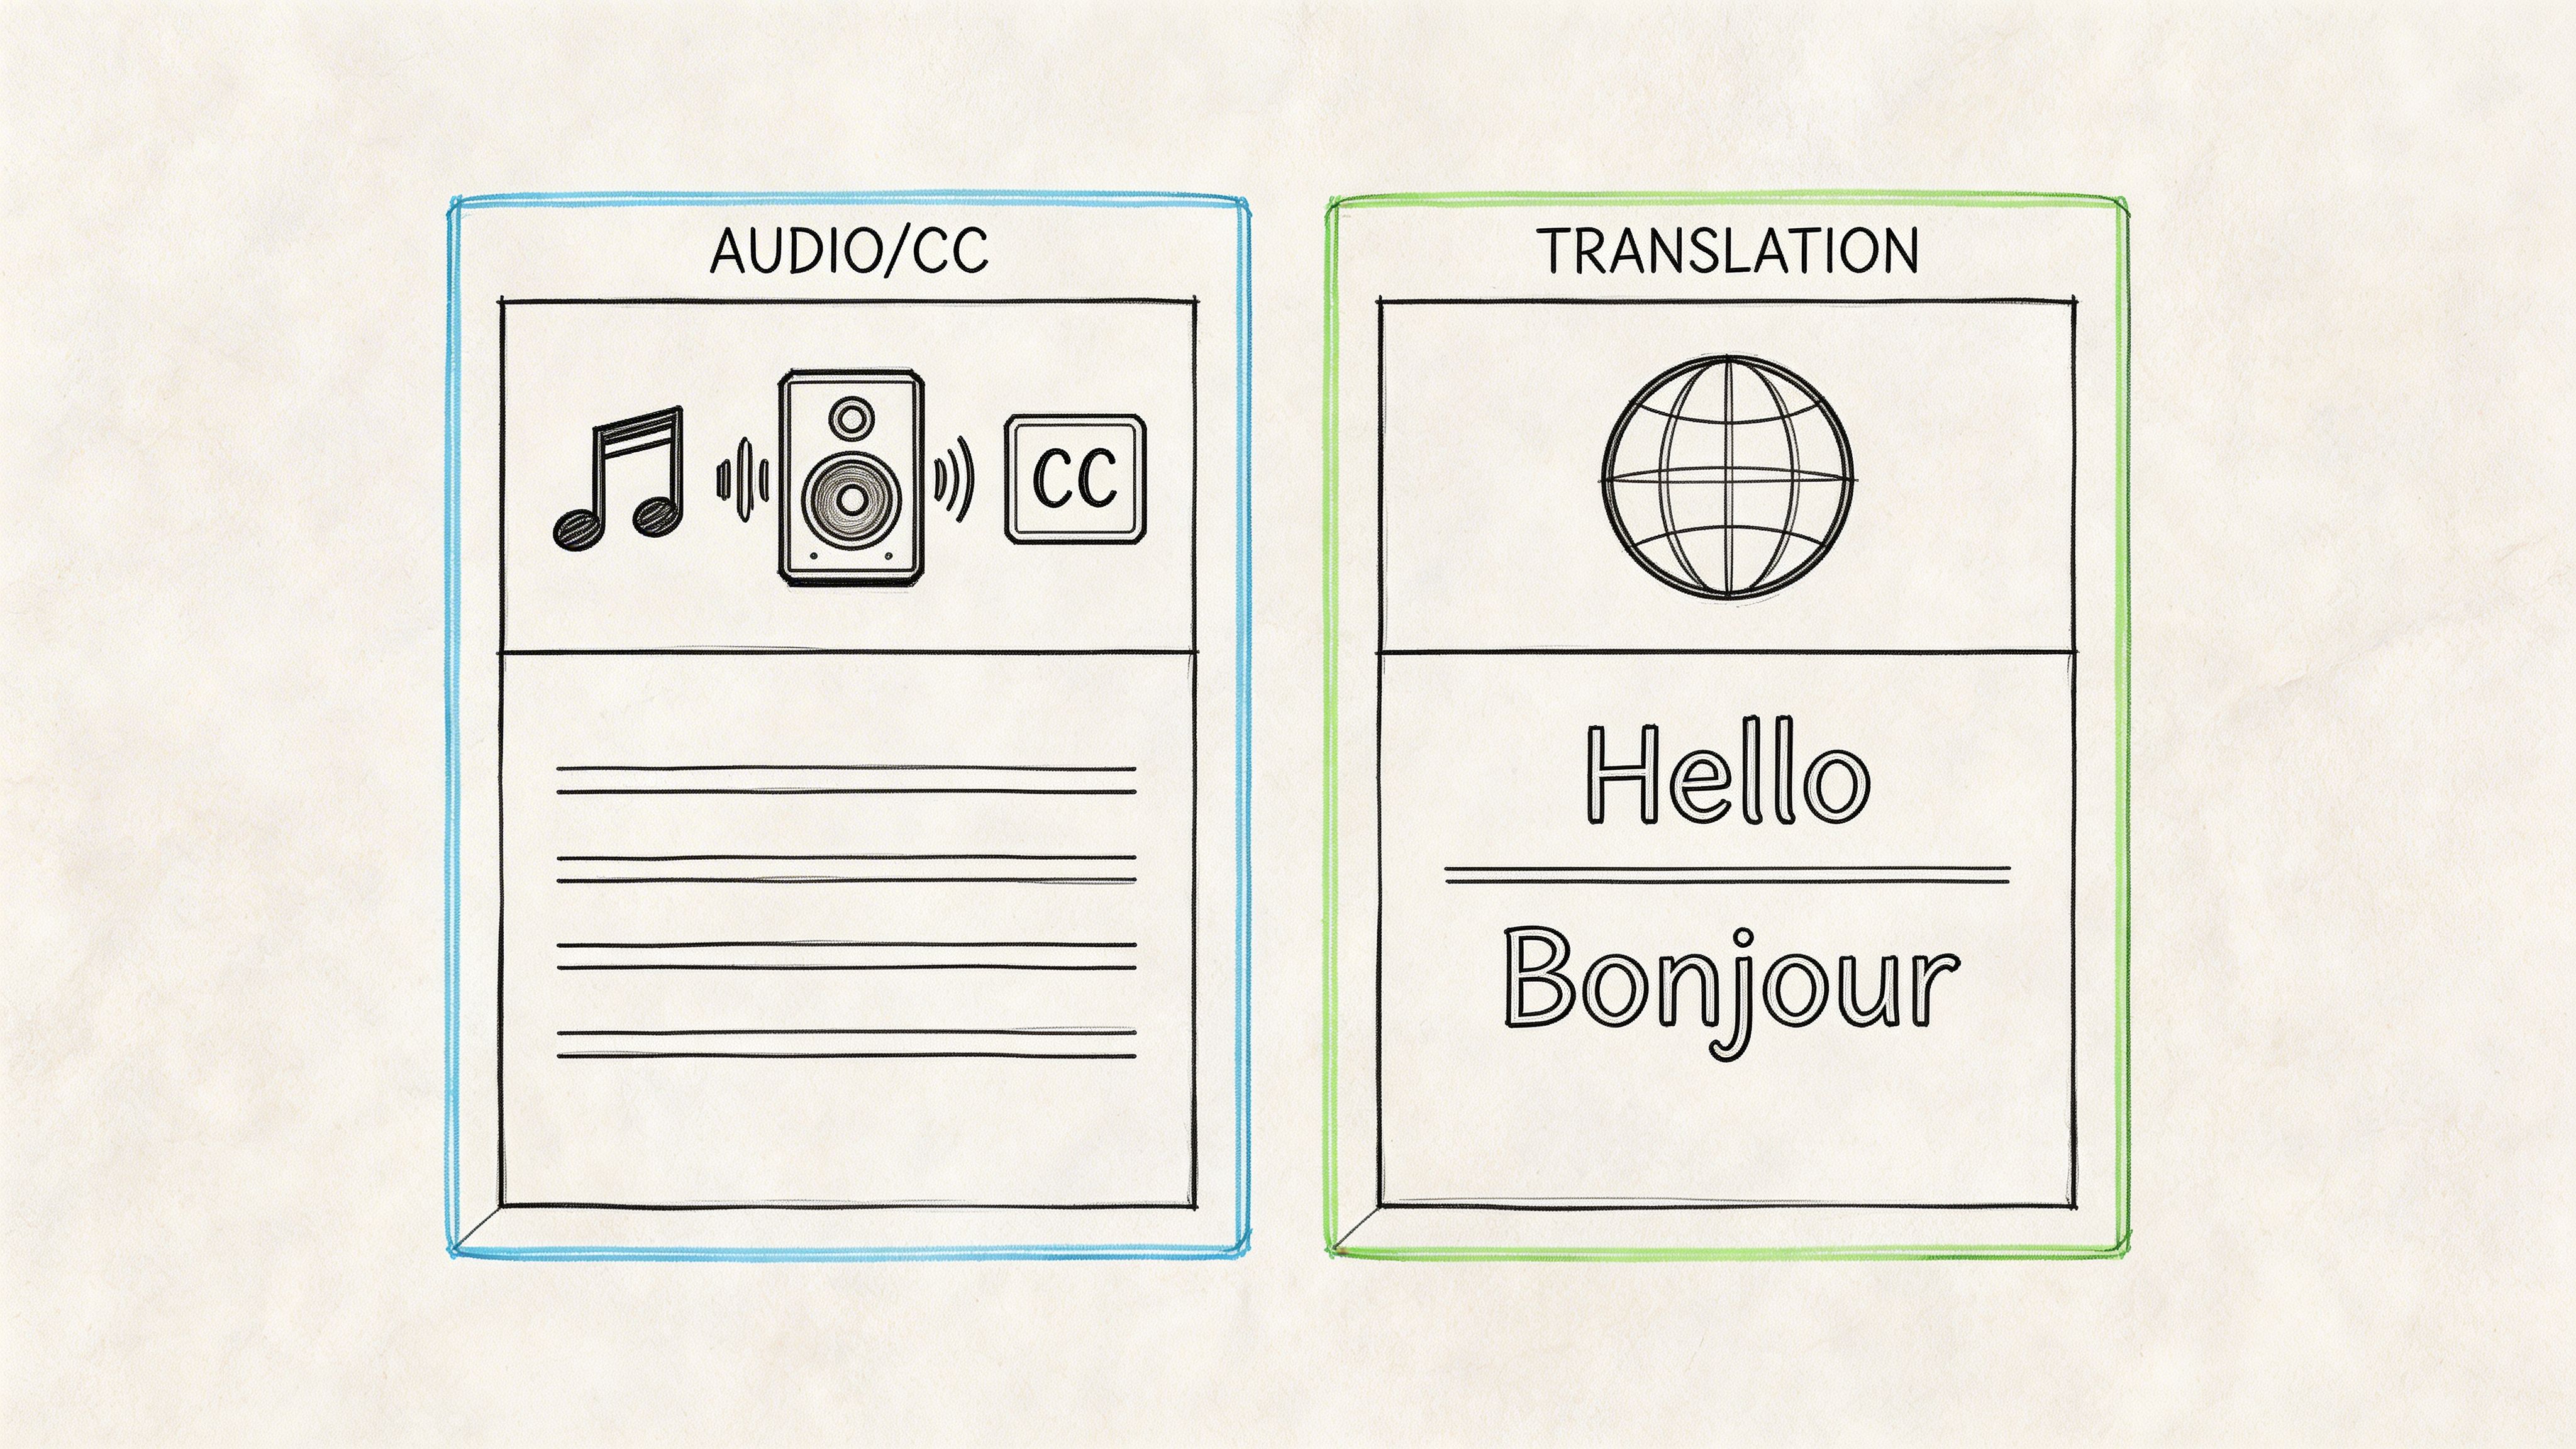
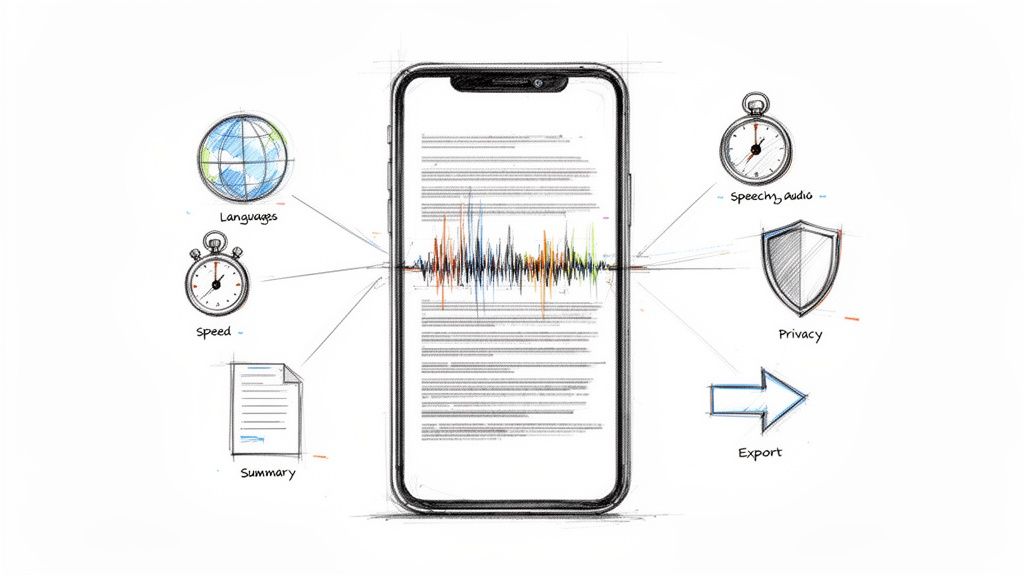
What to look for in the output
A raw transcript alone is often insufficient. What matters is whether you can move from “what was said” to “what matters.”
Useful outputs usually include:
- Speaker labels so you know who said what
- Timestamps for fast review and clip pulling
- Summaries that reduce long recordings to key themes
- Bullet highlights for decisions, risks, quotes, or action items
- Export options for Docs, Word, PDF, TXT, or Markdown
That mix turns a conversation into something operational. Journalists can verify quotes. Podcasters can pull episode beats. Researchers can isolate themes. Social teams can extract usable snippets without scrubbing through a whole file again.
It is when recording becomes more than documentation. It becomes raw material.
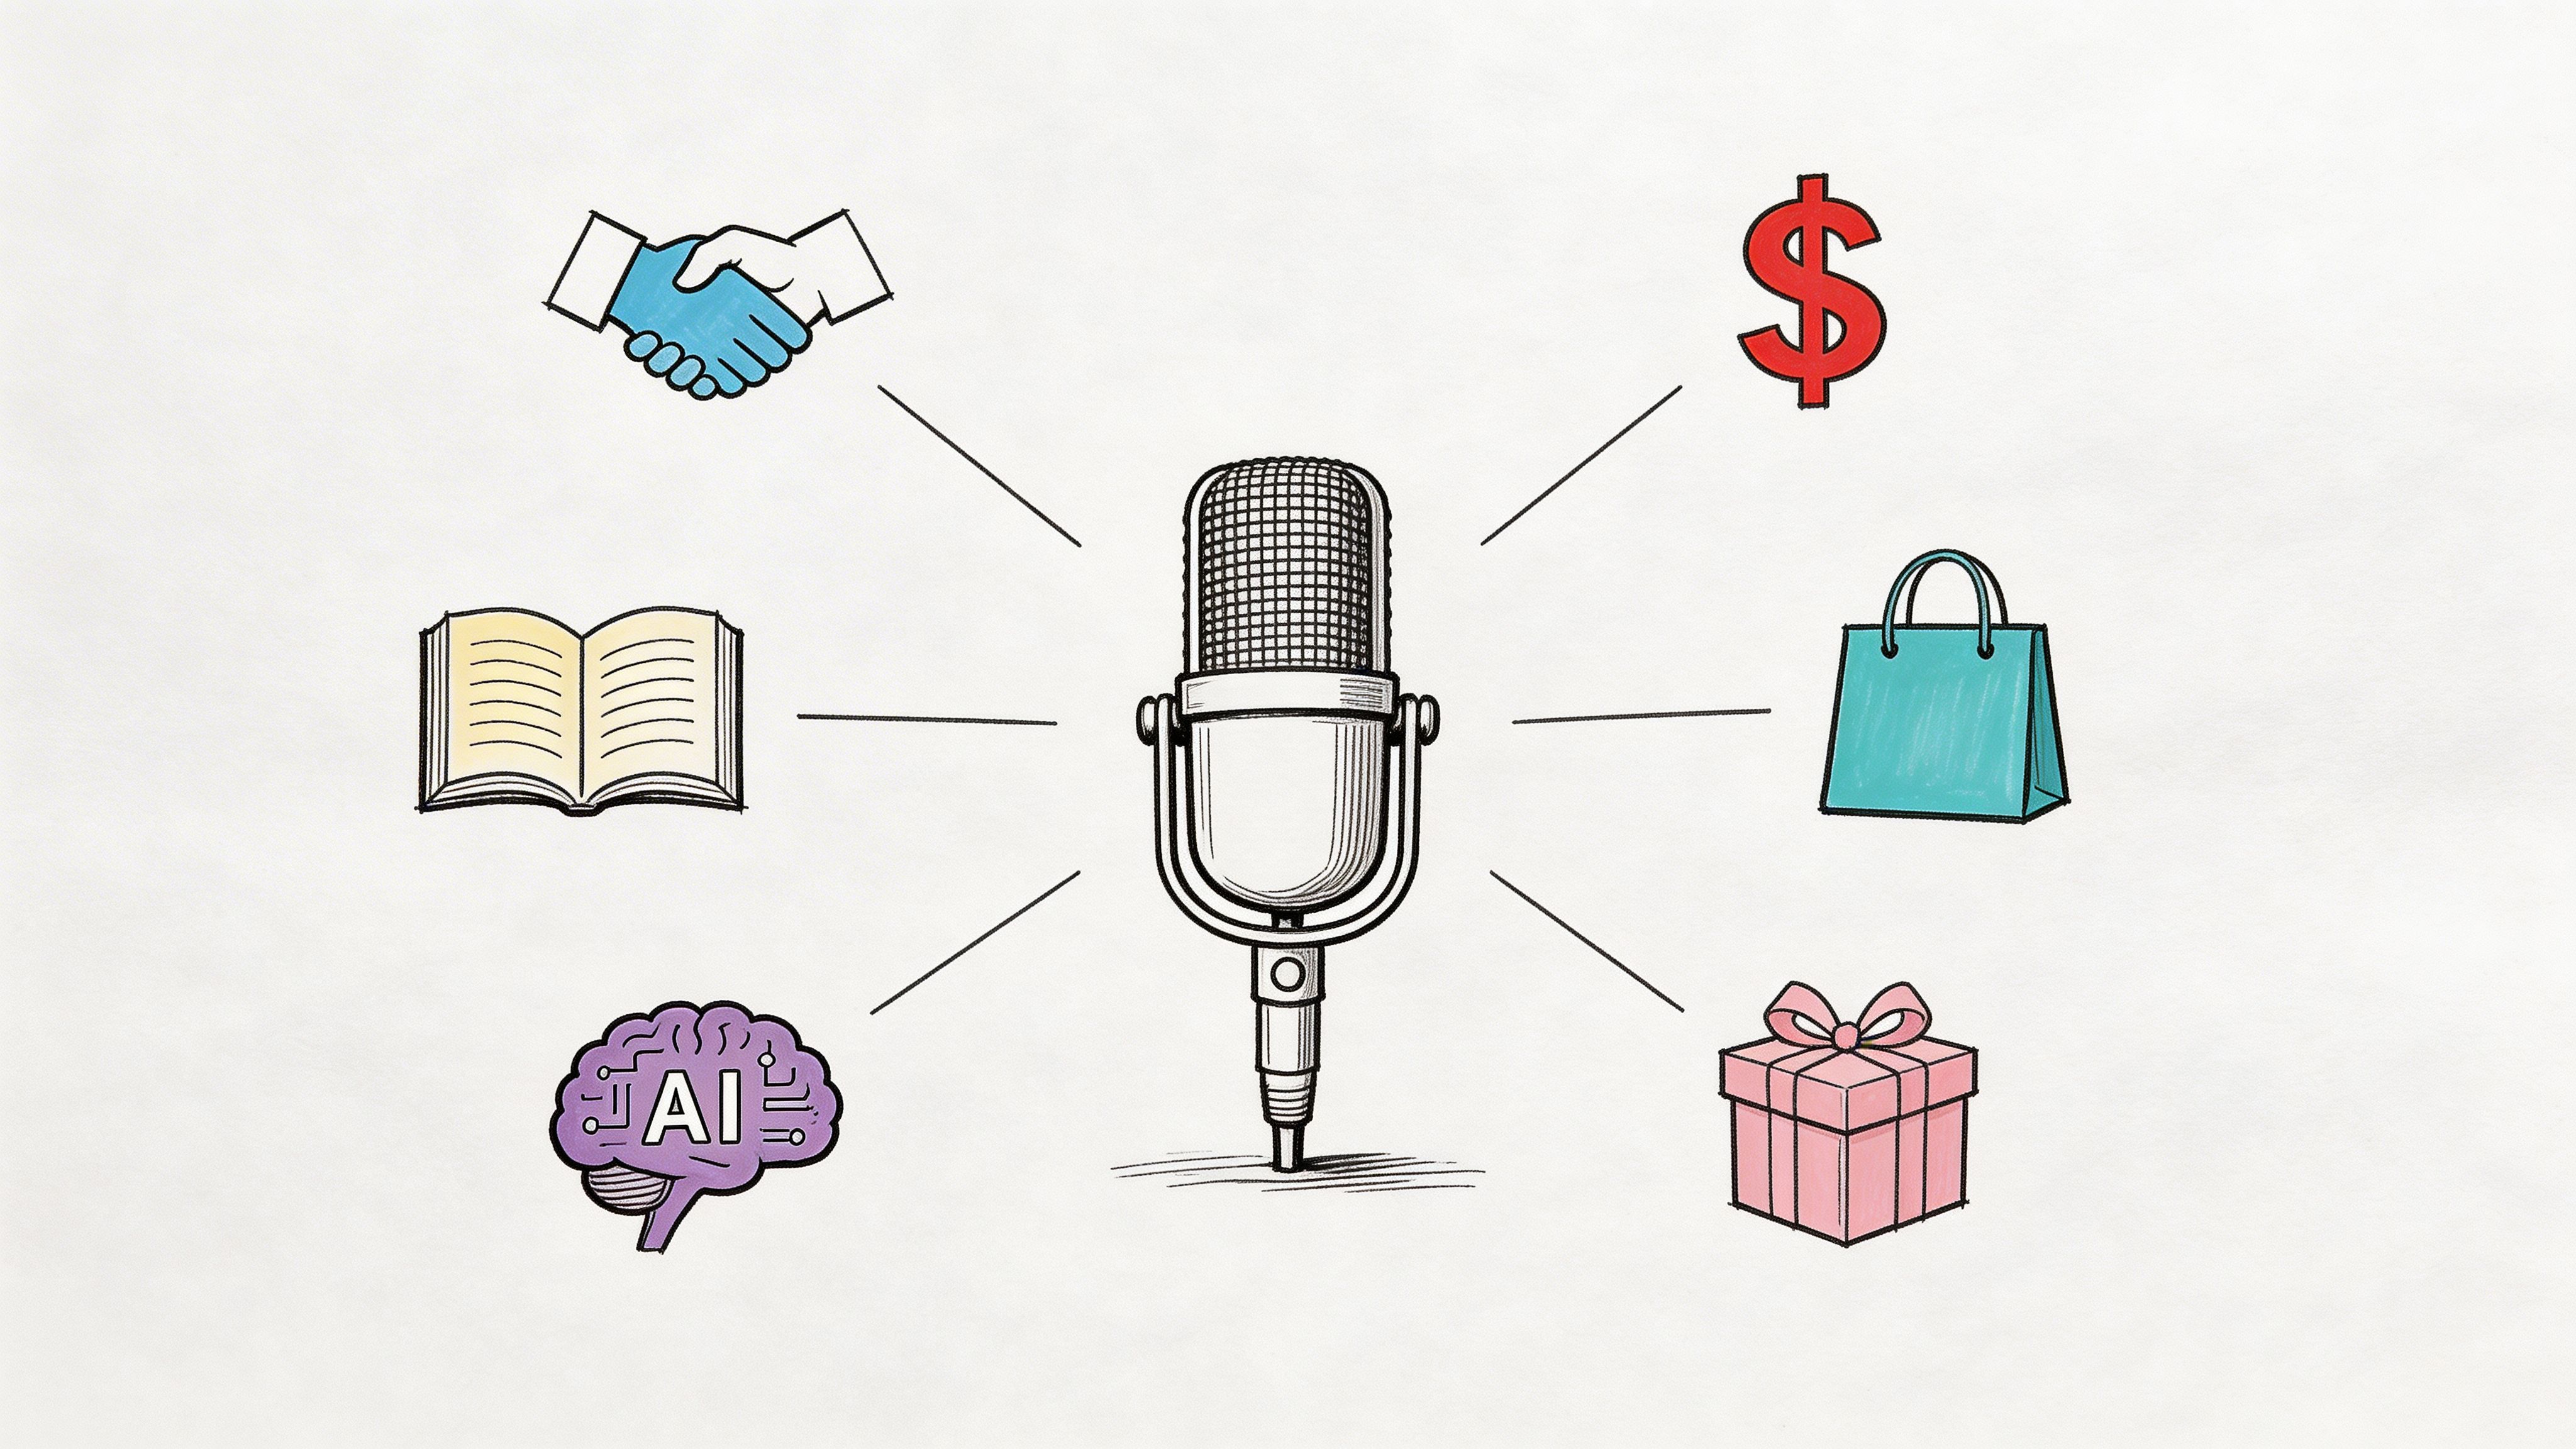
Repurposing matters more than archiving
Many people search how to record conversations because they want a dependable record. But once the audio is transcribed well, the use cases multiply.
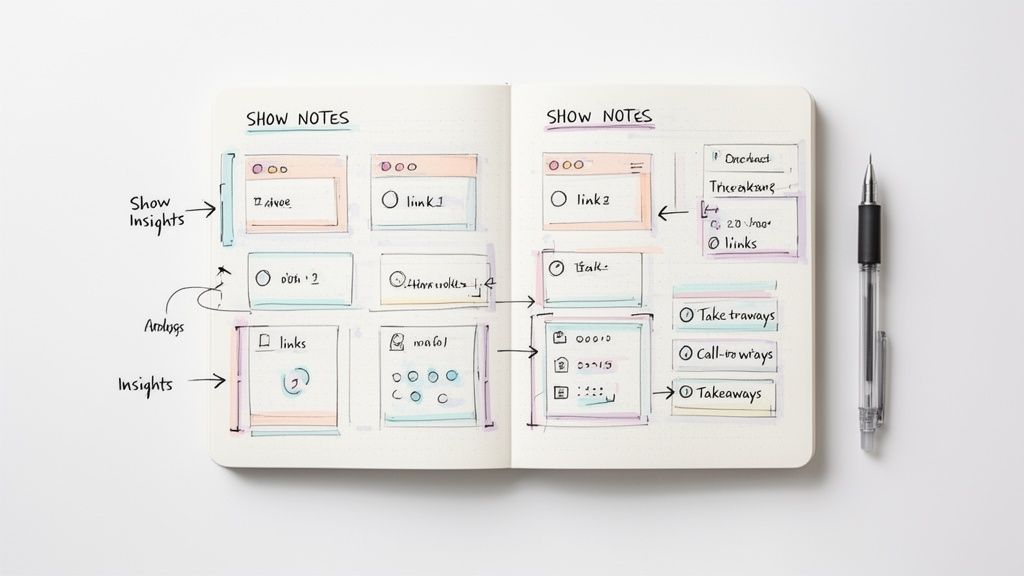
A podcast interview can become:
- show notes
- clipped social posts
- article quotes
- a newsletter section
- follow-up questions for a second interview
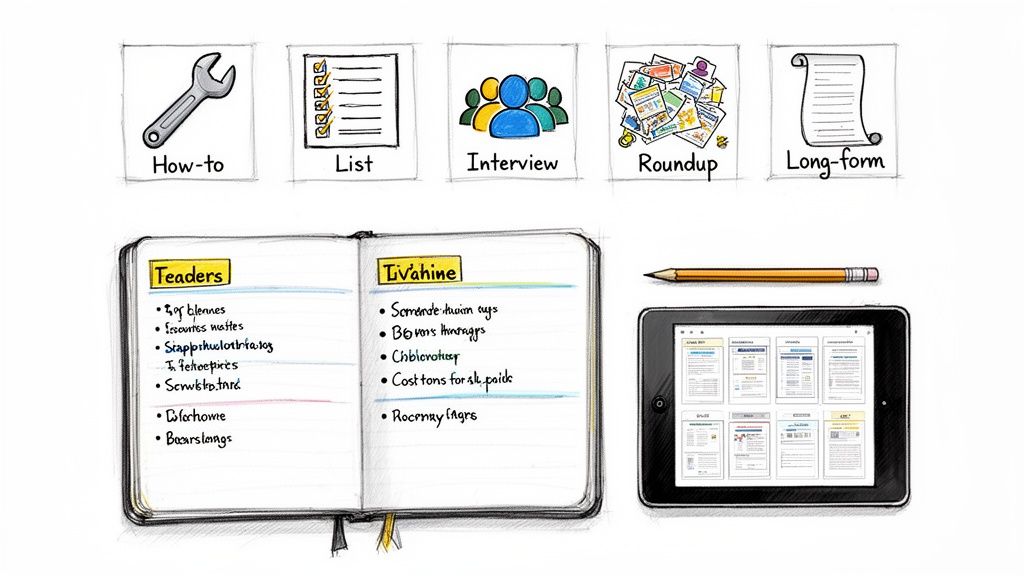
A client or research call can become:
- product objections
- messaging language taken from the customer’s own words
- next-step summaries
- internal briefing notes
A sermon, lecture, or long-form talk can also be broken into shorter content assets. If you work in that world, this guide on how to turn sermons into social posts is a good example of how strong transcripts support repurposing after the recording is done.
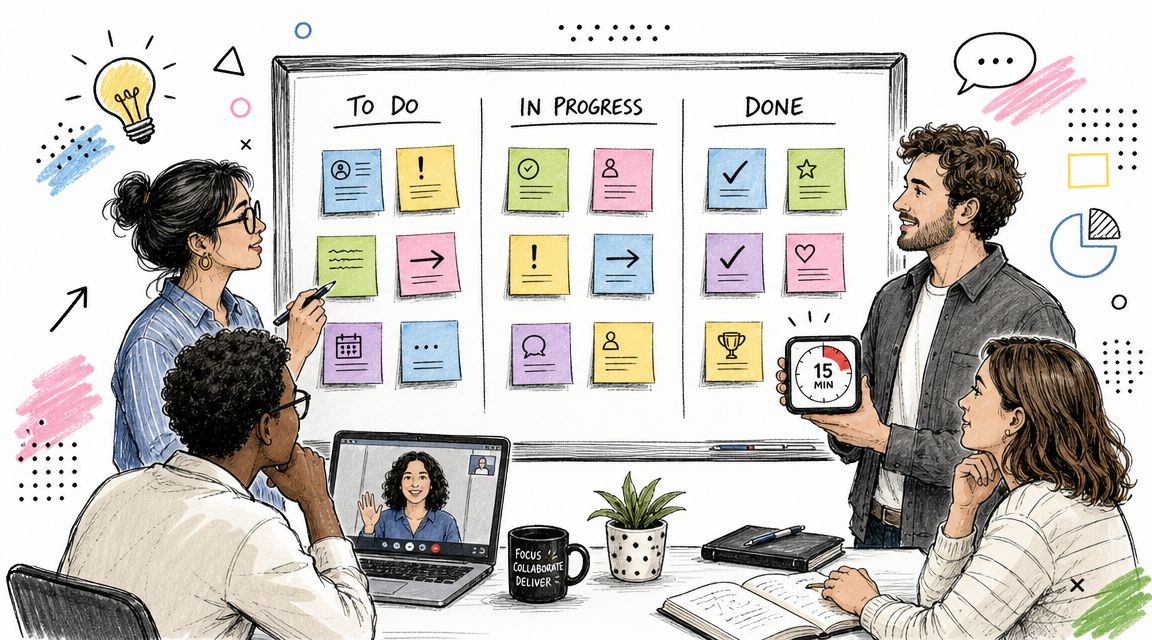
A practical workflow that saves time
The most reliable pattern looks like this:
- Capture the cleanest audio you reasonably can.
- Save the file with a consistent name immediately.
- Upload the original or best-quality version.
- Review speaker labels and timestamps early.
- Pull out summary points before memory fades.
- Export the transcript into the format your team uses.
The key is speed after capture. Recordings lose value when they sit untouched. The closer the transcript review is to the original conversation, the easier it is to correct names, clarify jargon, and turn loose discussion into decisions.
What works and what doesn’t
What works is simple. Clear consent. Close mic placement. Native platform recording for remote calls. Consistent naming. Fast transcription. Searchable outputs.
What doesn’t work is familiar too. Recordings buried in chat threads. Files named with no date or topic. One giant mixed track with overlapping speakers. Audio captured at a distance and “fixed” later with wishful thinking.
The professionals who make this look easy usually aren’t doing anything mysterious. They’ve just removed the fragile parts of the process.
Common Questions About Recording Conversations
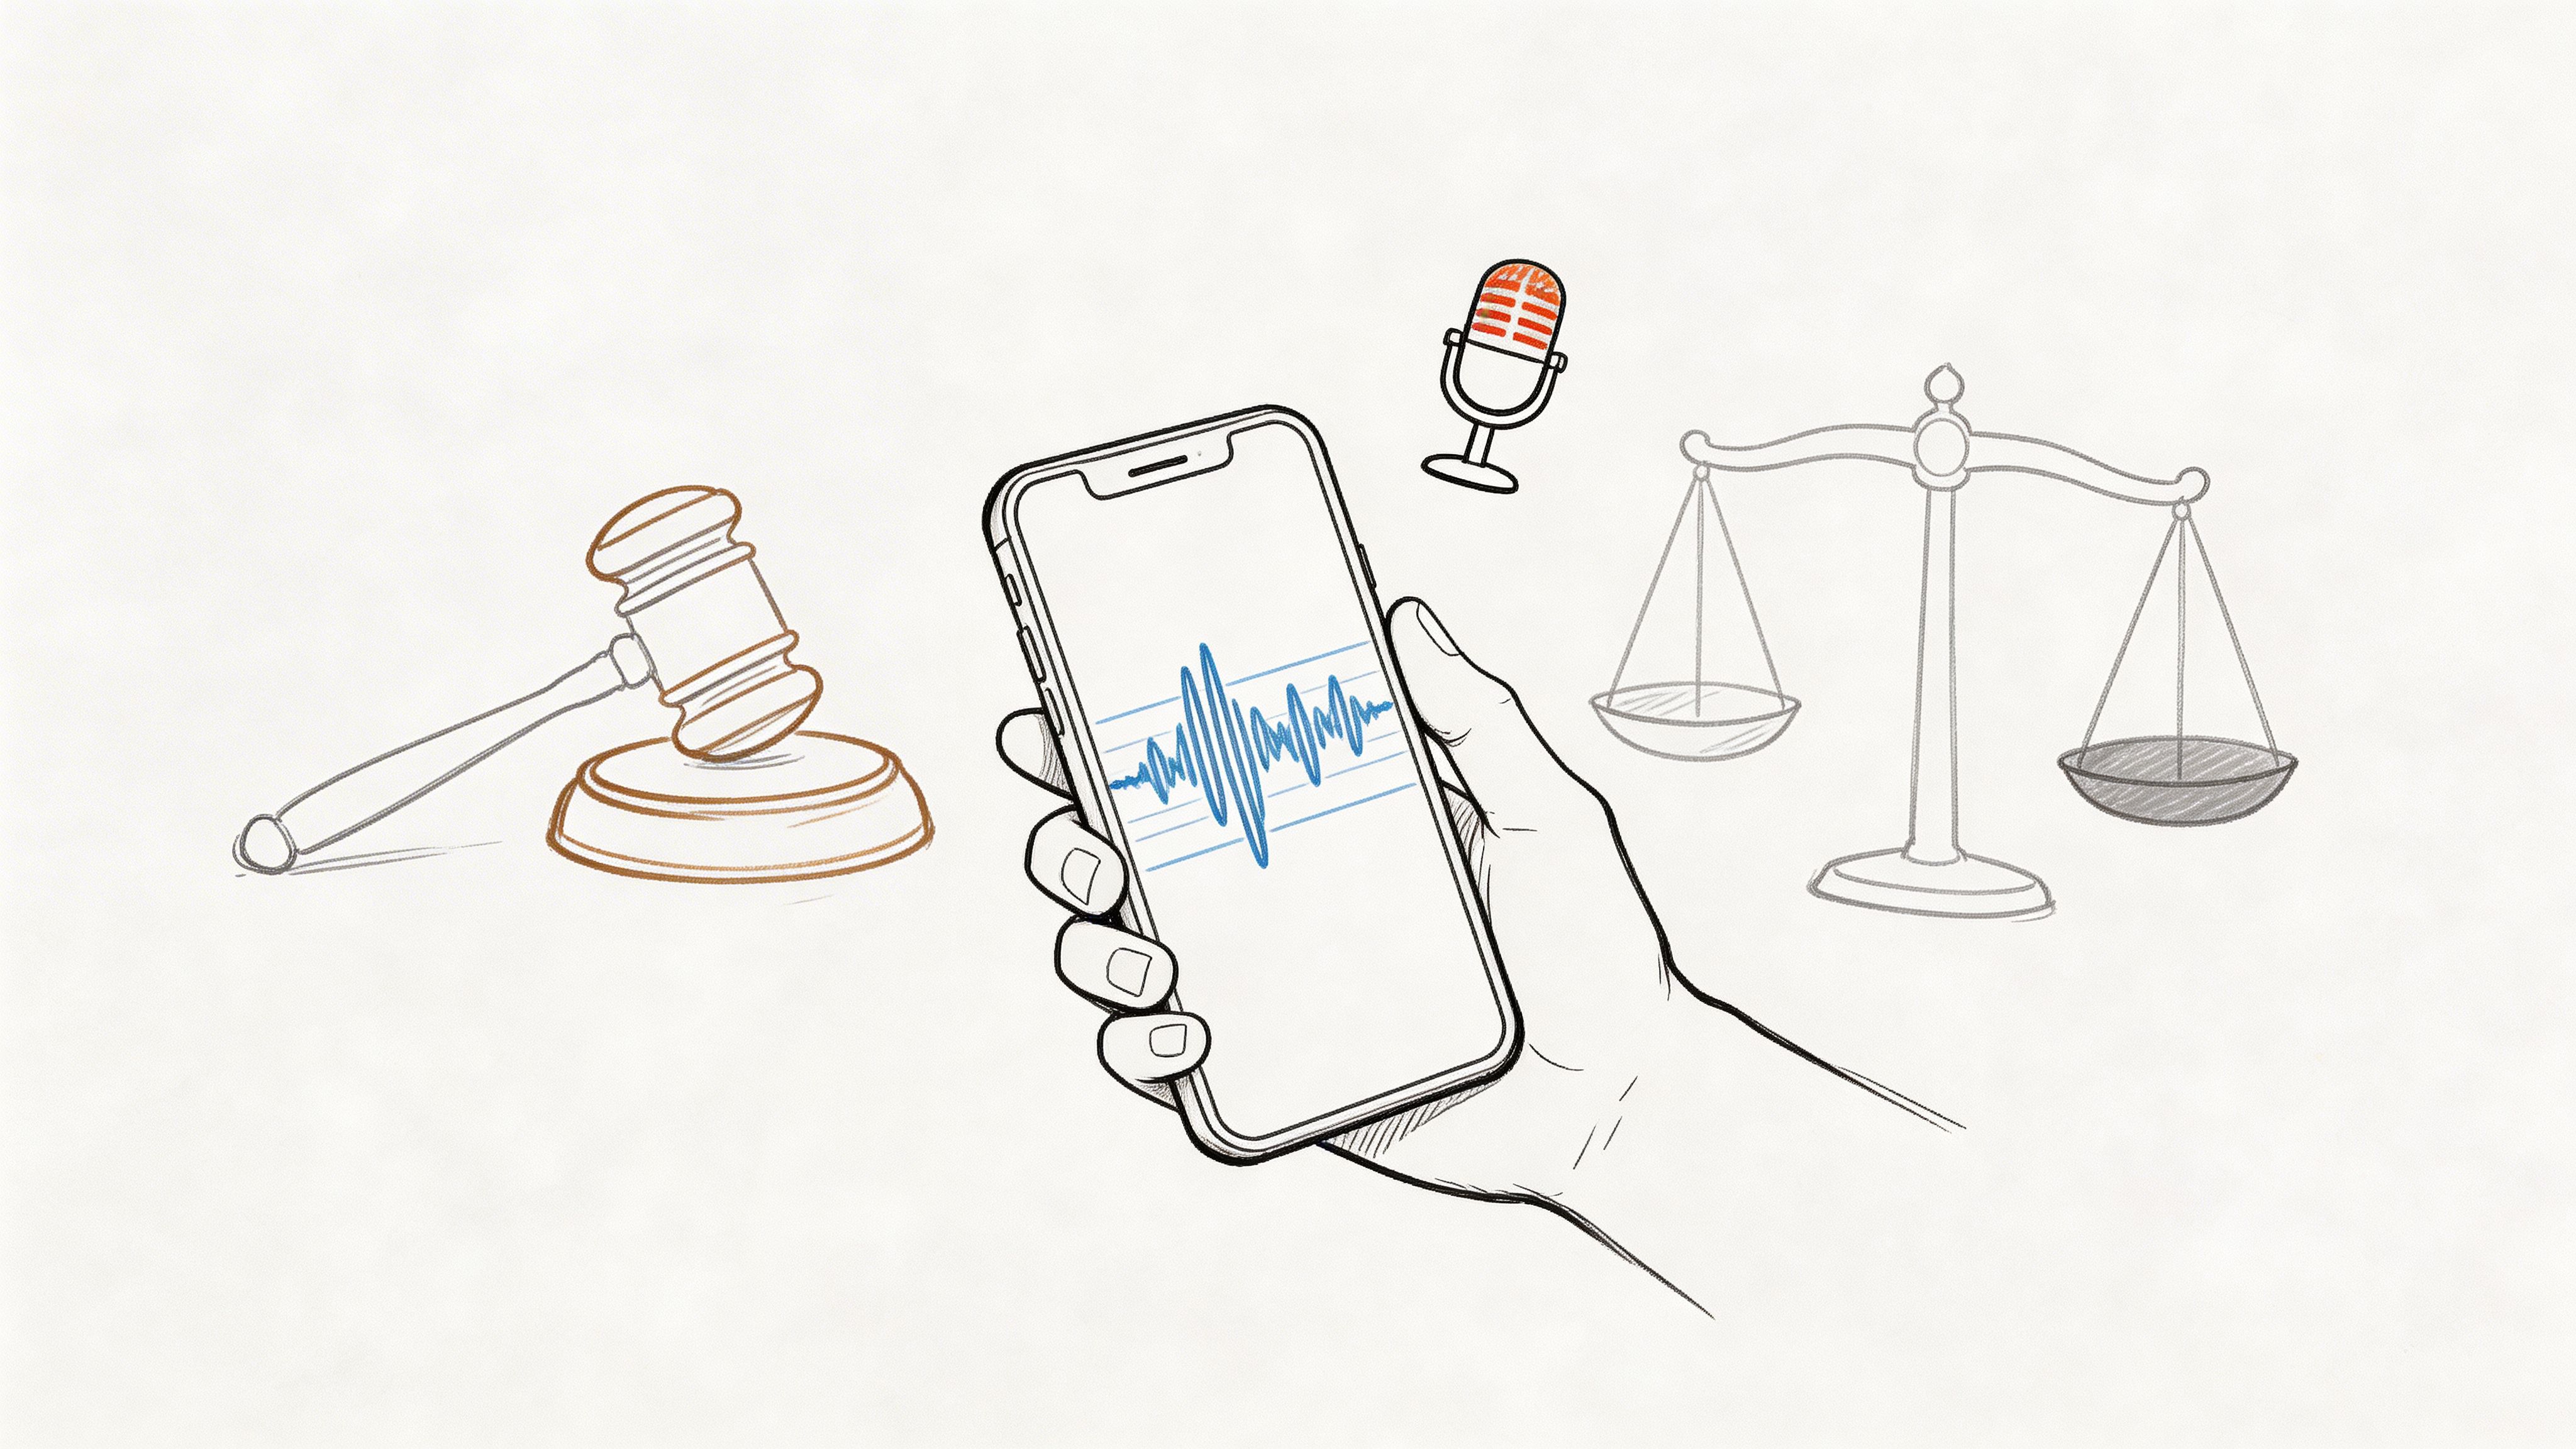
Can I legally record a conversation if I post a disclaimer
Not by itself. A disclaimer helps only if it satisfies the consent rules that apply to the people on the call. In some situations, continued participation after notice may support consent. In others, you should get a clear verbal yes before proceeding. If there’s uncertainty, use explicit consent and keep it in the recording.
What’s the best way to record a phone call on iPhone or Android
Use the method that gives you lawful consent and the cleanest source audio. In practice, that often means platform-based or service-based recording rather than speakerphone plus another device. If you do use a second device as backup, test levels first and keep both sides of the call audible. Don’t assume your phone’s built-in tools comply with every jurisdiction.
How do I remove background noise after recording
Start with cleanup, not miracles. Basic noise reduction can help with steady hum, light hiss, or room tone. It won’t reliably fix clipped voices, heavy overlap, or a microphone placed too far away. The better strategy is prevention. Record closer, choose a softer room, and test before the main conversation starts.
What if I’m recording an international call
Treat it cautiously. Different countries apply different privacy and data rules, and audio may count as personal data. The practical move is to tell everyone the call is being recorded, say why, get clear agreement from all participants, and store the file carefully.
Is it better to use visible recording gear or a more discreet setup
Use the least intrusive setup that still gets reliable sound. A large mic rig can improve audio but make a guest tense. A discreet phone or small recorder may create a more natural conversation, especially in journalism, research, and sensitive business meetings. Don’t hide devices. Do choose gear that doesn’t overpower the room.
Should I keep separate backup recordings
If the conversation matters, yes. A platform failure, bad cable, dead battery, or storage glitch can ruin an otherwise strong session. A modest backup is often enough. What matters is that it runs independently from the primary recording path.
If you want the part after recording to move faster, Whisper AI helps turn interviews, meetings, podcasts, and video clips into searchable transcripts with speaker labels, timestamps, summaries, and export-ready notes. It’s a practical way to go from raw audio to something you can publish, share, or act on without spending hours transcribing by hand.