Mastering Premiere Pro Subtitles: A Complete Guide for Creators
Adding Premiere Pro subtitles to videos used to be a technical chore, but for today's video creators, it's one of the most powerful tools for growing an audience. My workflow is all about efficiently generating, styling, and embedding text that doesn't just make content accessible—it genuinely boosts engagement and watch time on crucial platforms like YouTube and Instagram.
Why Your Video Workflow Needs a Subtitle Strategy
Let's be real: creating subtitles can feel like a massive bottleneck. It’s often the last, tedious step that slows down an entire edit. I've been there many times, bogged down in manual transcription, painstaking time-syncing, and endless accuracy checks.
But what if we stopped seeing it as a chore and started treating it as a core part of a growth strategy?
High-quality captions have a tangible impact on how videos perform. They’re not just an accessibility checkbox; they are a direct line to better engagement, longer watch times, and improved discoverability. A key reason for this is making sure content meets standards for digital accessibility, opening it up to a much wider audience.
More Than Just Words on a Screen
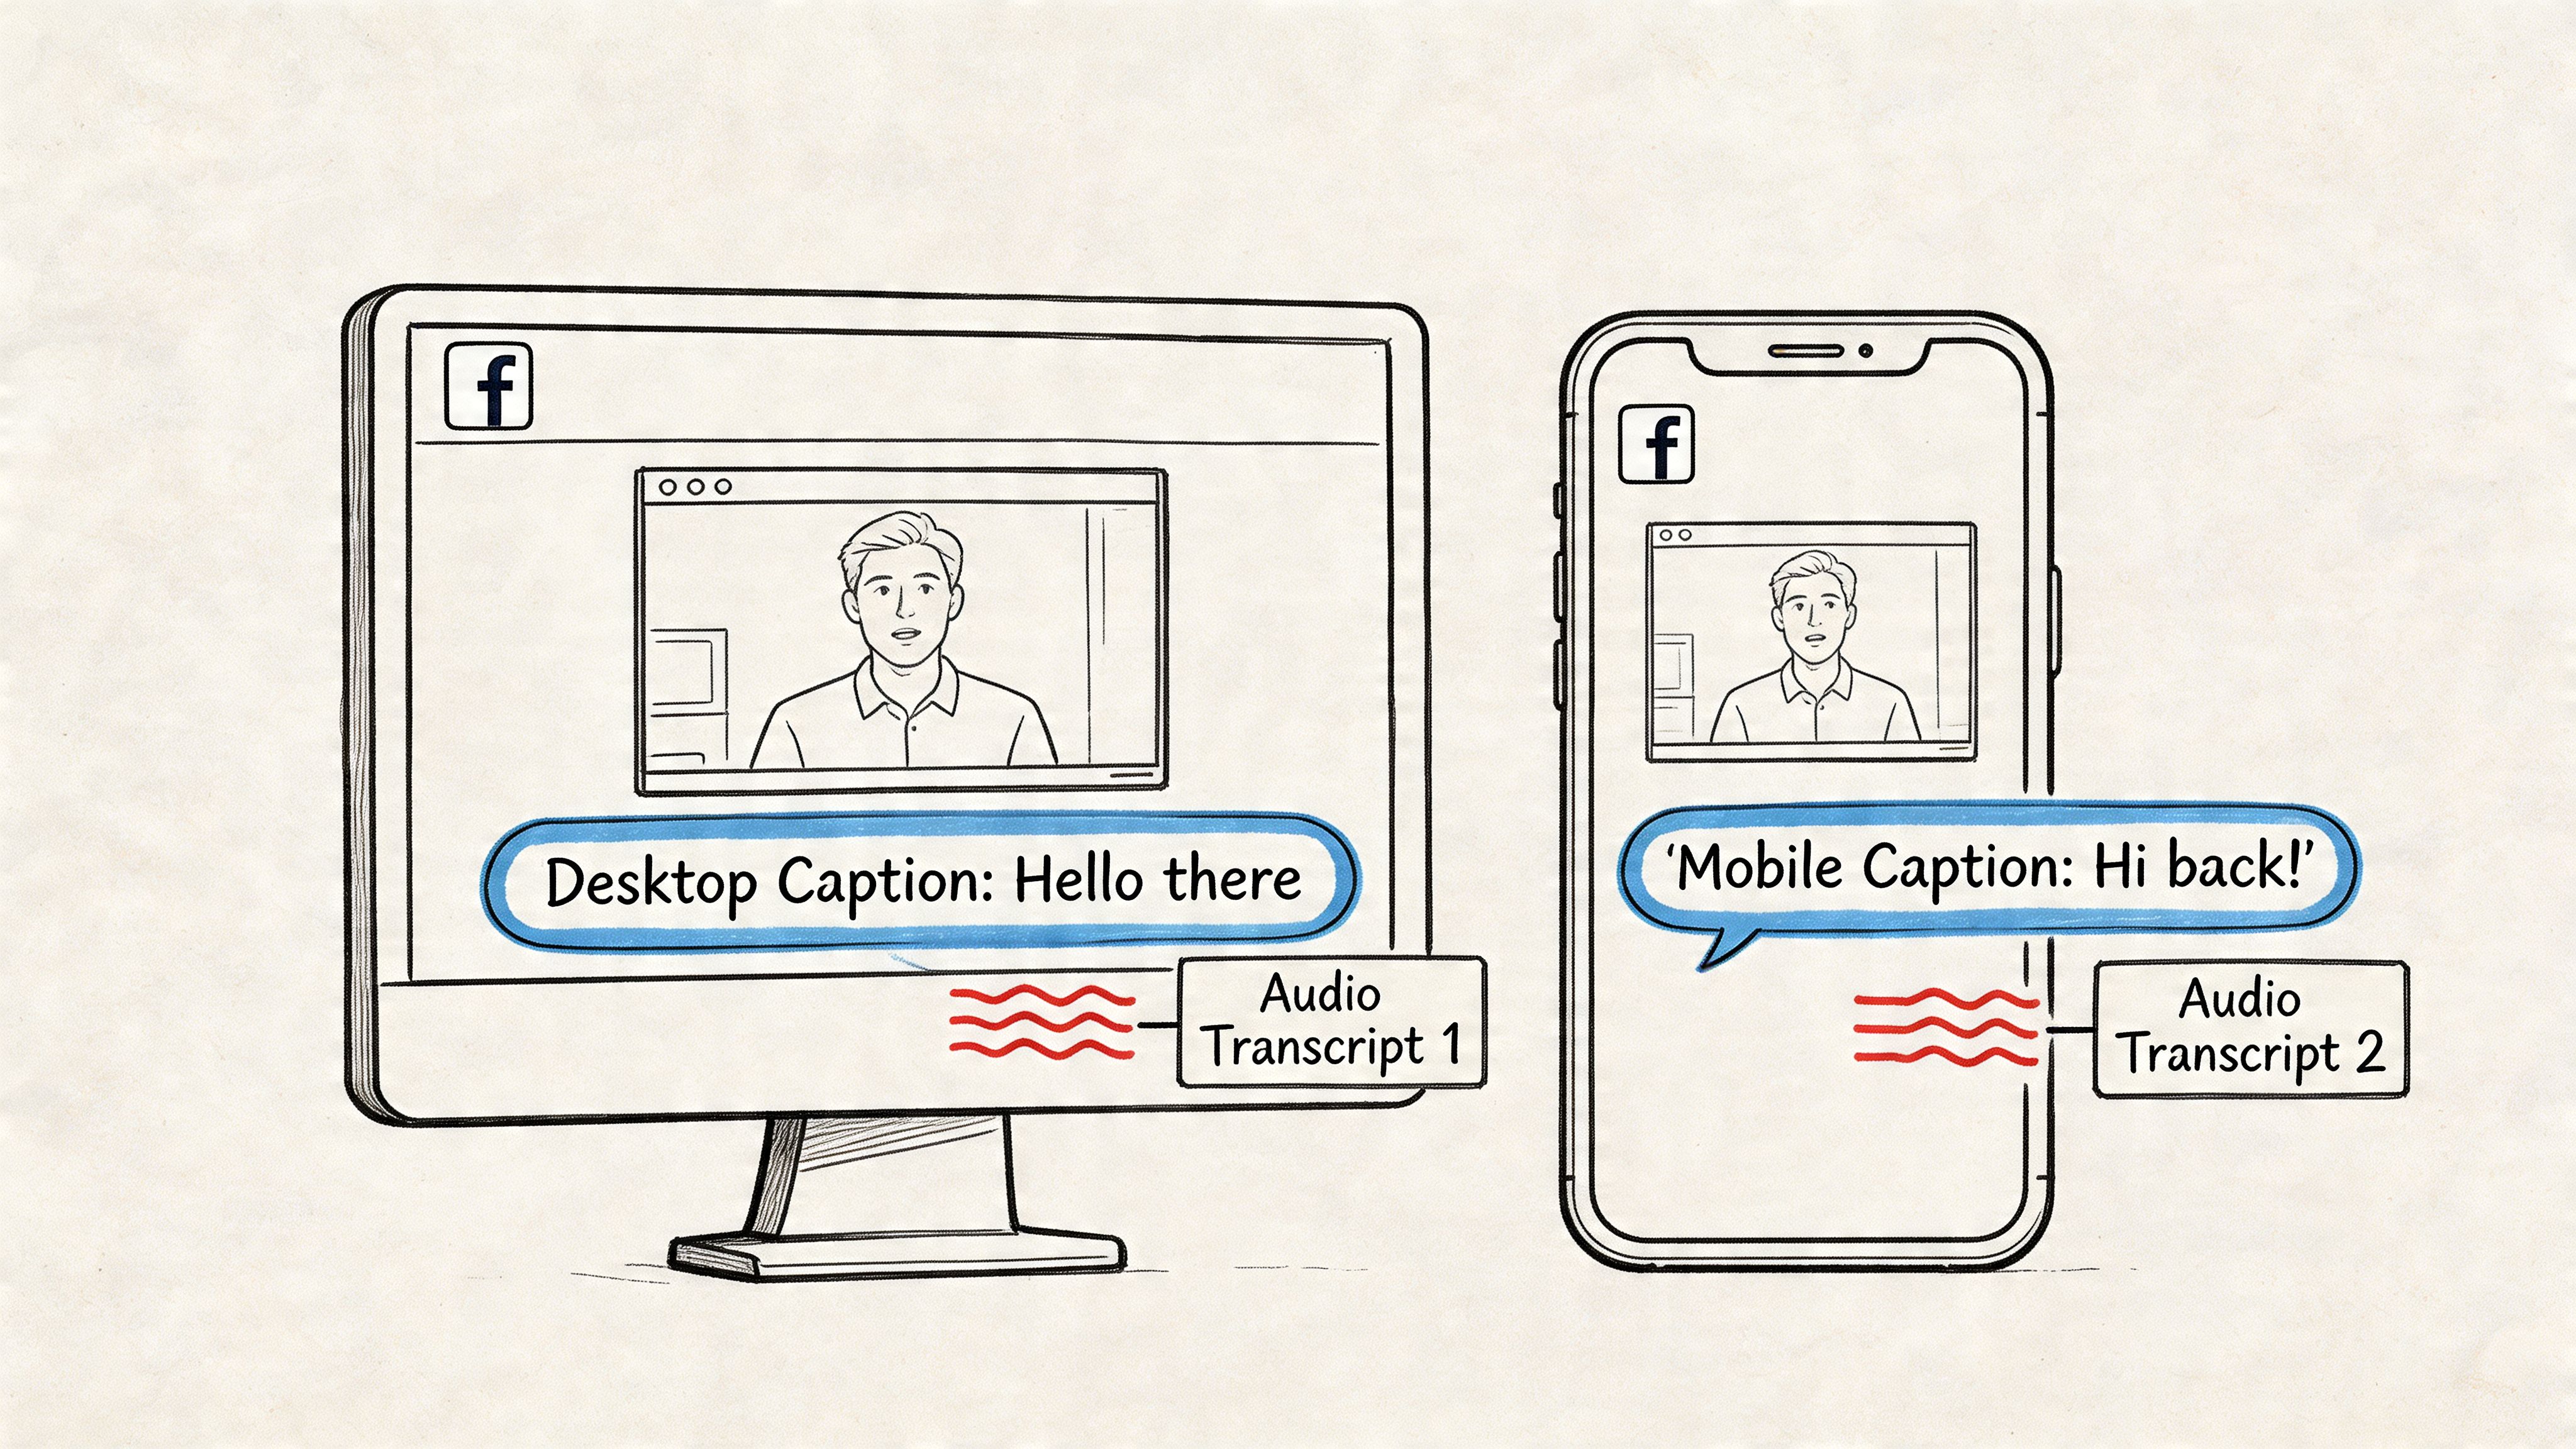
Viewing habits have completely changed. People watch videos everywhere, often in sound-off environments—on a crowded train, in a quiet office, or just scrolling through their feed late at night. Without captions, the message is totally lost. By adding clear, well-timed subtitles, you immediately grab those viewers and pull them into your story.
This is where the magic happens when you combine Premiere Pro’s robust native tools with the speed of AI transcription. From my experience, it's more than a shortcut; it's a smarter way to produce professional, accessible content faster than ever before. The numbers back this up. Adobe Premiere Pro now has an estimated 30 million users as of 2024—a huge leap from 9 million back in 2020. This explosive growth is driven, in part, by powerful subtitle tools becoming essential for creators. You can dig deeper into this trend and its impact on the Premiere Pro user base.
The biggest mindset shift is realizing subtitles are for everyone, not just for viewers with hearing impairments. They're for the commuter on a noisy train, the parent watching with a sleeping baby nearby, and the person who just prefers to read along.
The Real Impact on Your Content's Success
When you start thinking strategically about your Premiere Pro subtitles workflow, you see the direct benefits. For platforms like YouTube and Instagram, I've found that accurate captions are a goldmine for both SEO and audience retention.
Here’s what a solid subtitling process really unlocks:
- Sky-High Watch Time: Captions keep viewers hooked, even when they can't listen. This directly boosts watch time, a critical metric that platform algorithms use to push your content to new audiences.
- Better SEO and Discoverability: Search engine crawlers can actually read the text in your subtitle files (like SRTs). This gives them valuable keywords and context, helping your video rank higher in YouTube and Google search results.
- Deeper Viewer Comprehension: Subtitles reinforce key messages, clarify complex terms or thick accents, and make sure your points land. It all adds up to a much better, more memorable viewing experience.
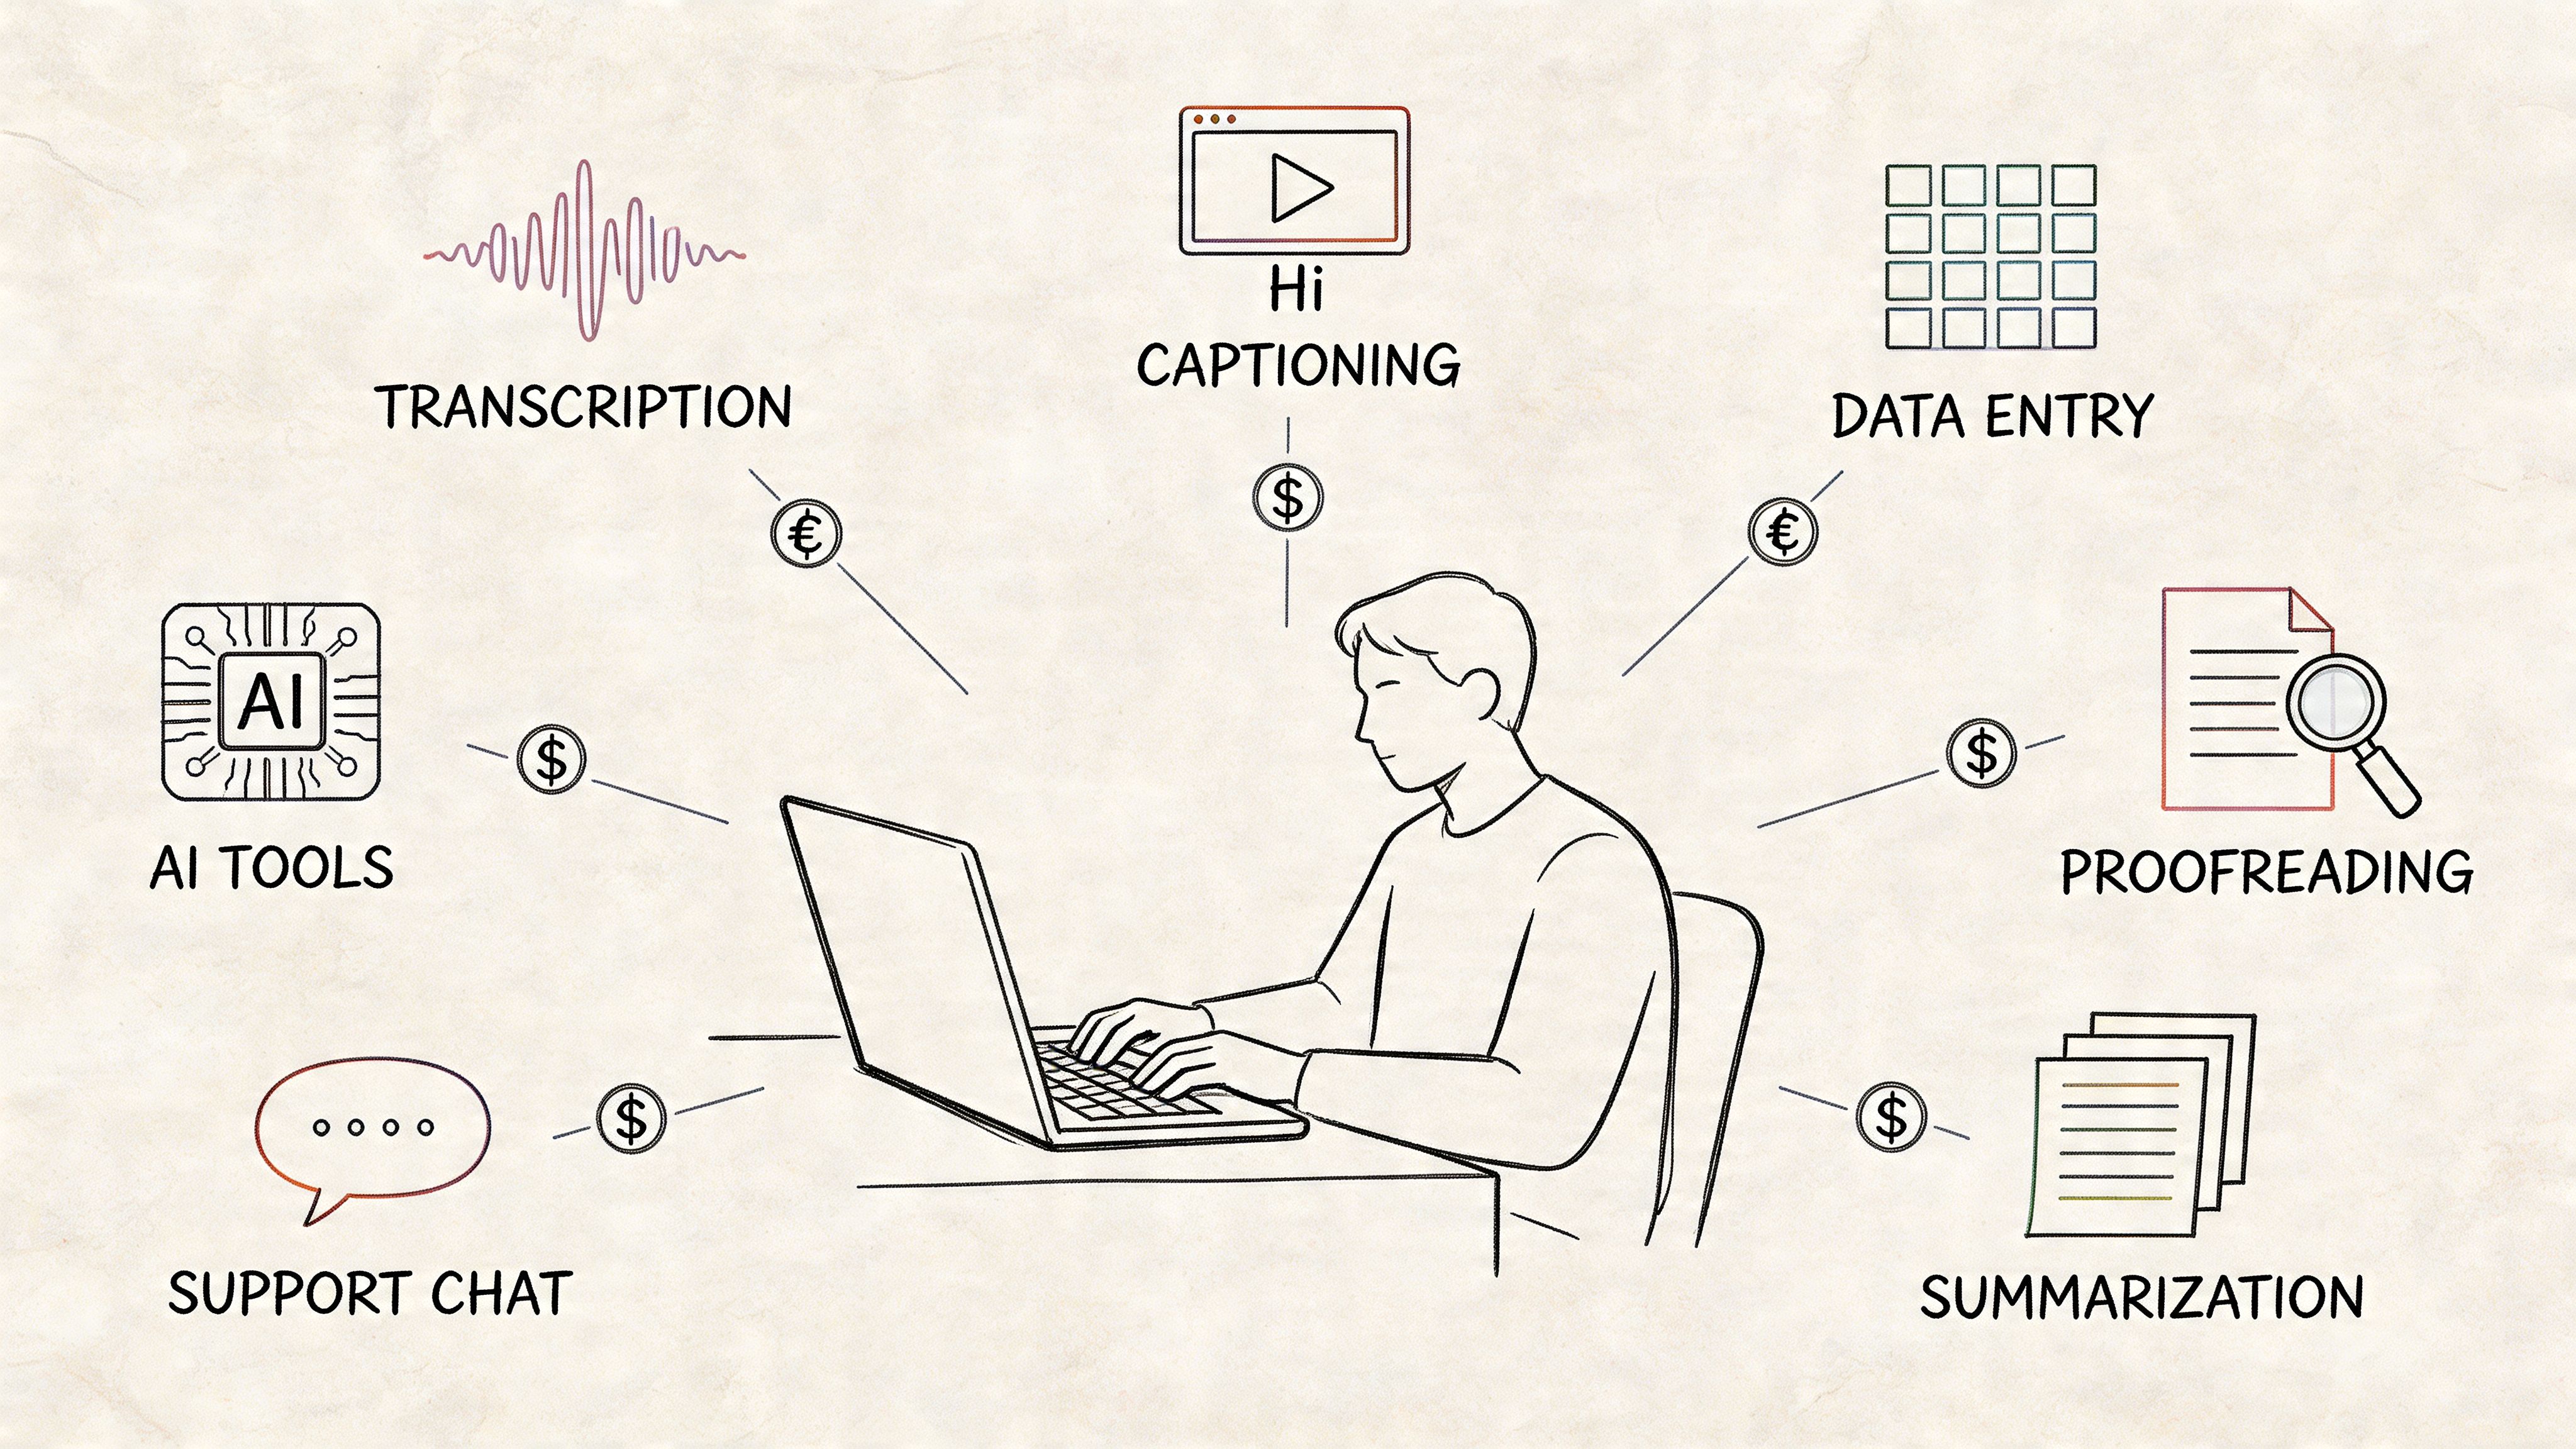
Letting AI Handle the Heavy Lifting: My Transcription Method
I think we can all agree: manually transcribing dialogue is one of the most soul-crushing parts of video editing. You’ve just spent hours, maybe days, getting an edit perfect, and now you’re staring down the barrel of typing out every single word. It’s a total momentum killer.
But what if you could finish a 20-minute video and have a near-perfect transcript ready in just a few minutes? This is exactly what happens when you start your Premiere Pro subtitles workflow outside of Premiere, using a dedicated AI transcription tool first.
This approach completely flips the script on the traditional process. Instead of relying on Premiere's built-in transcription as a first draft, I generate a clean, accurate, and perfectly timestamped SRT file externally. Taking this one simple step first saves me from the tedious cleanup work that plagues so many editors.
Why I Start with an External AI Tool
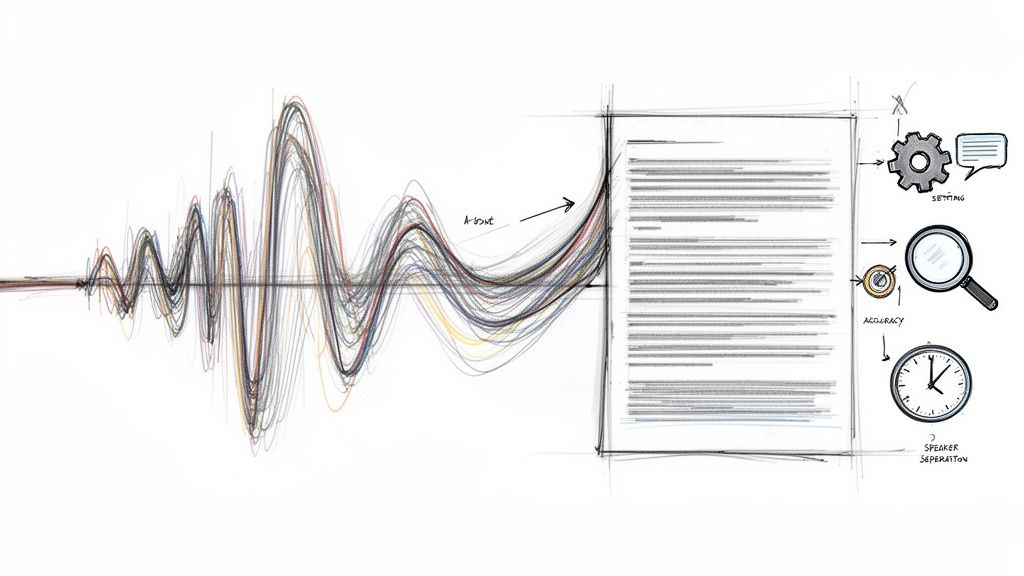
The biggest wins here are accuracy and speed. Premiere's native transcription has gotten better, but in my tests, it's still no match for specialized AI platforms trained on massive, diverse audio datasets. These tools can nail transcripts with over 98% accuracy right out of the gate, even when dealing with background noise, multiple speakers, or niche terminology.
Think of it as having a specialist do the most difficult part of the job before you even start the final assembly. It helps you dodge a lot of common headaches from the very beginning.
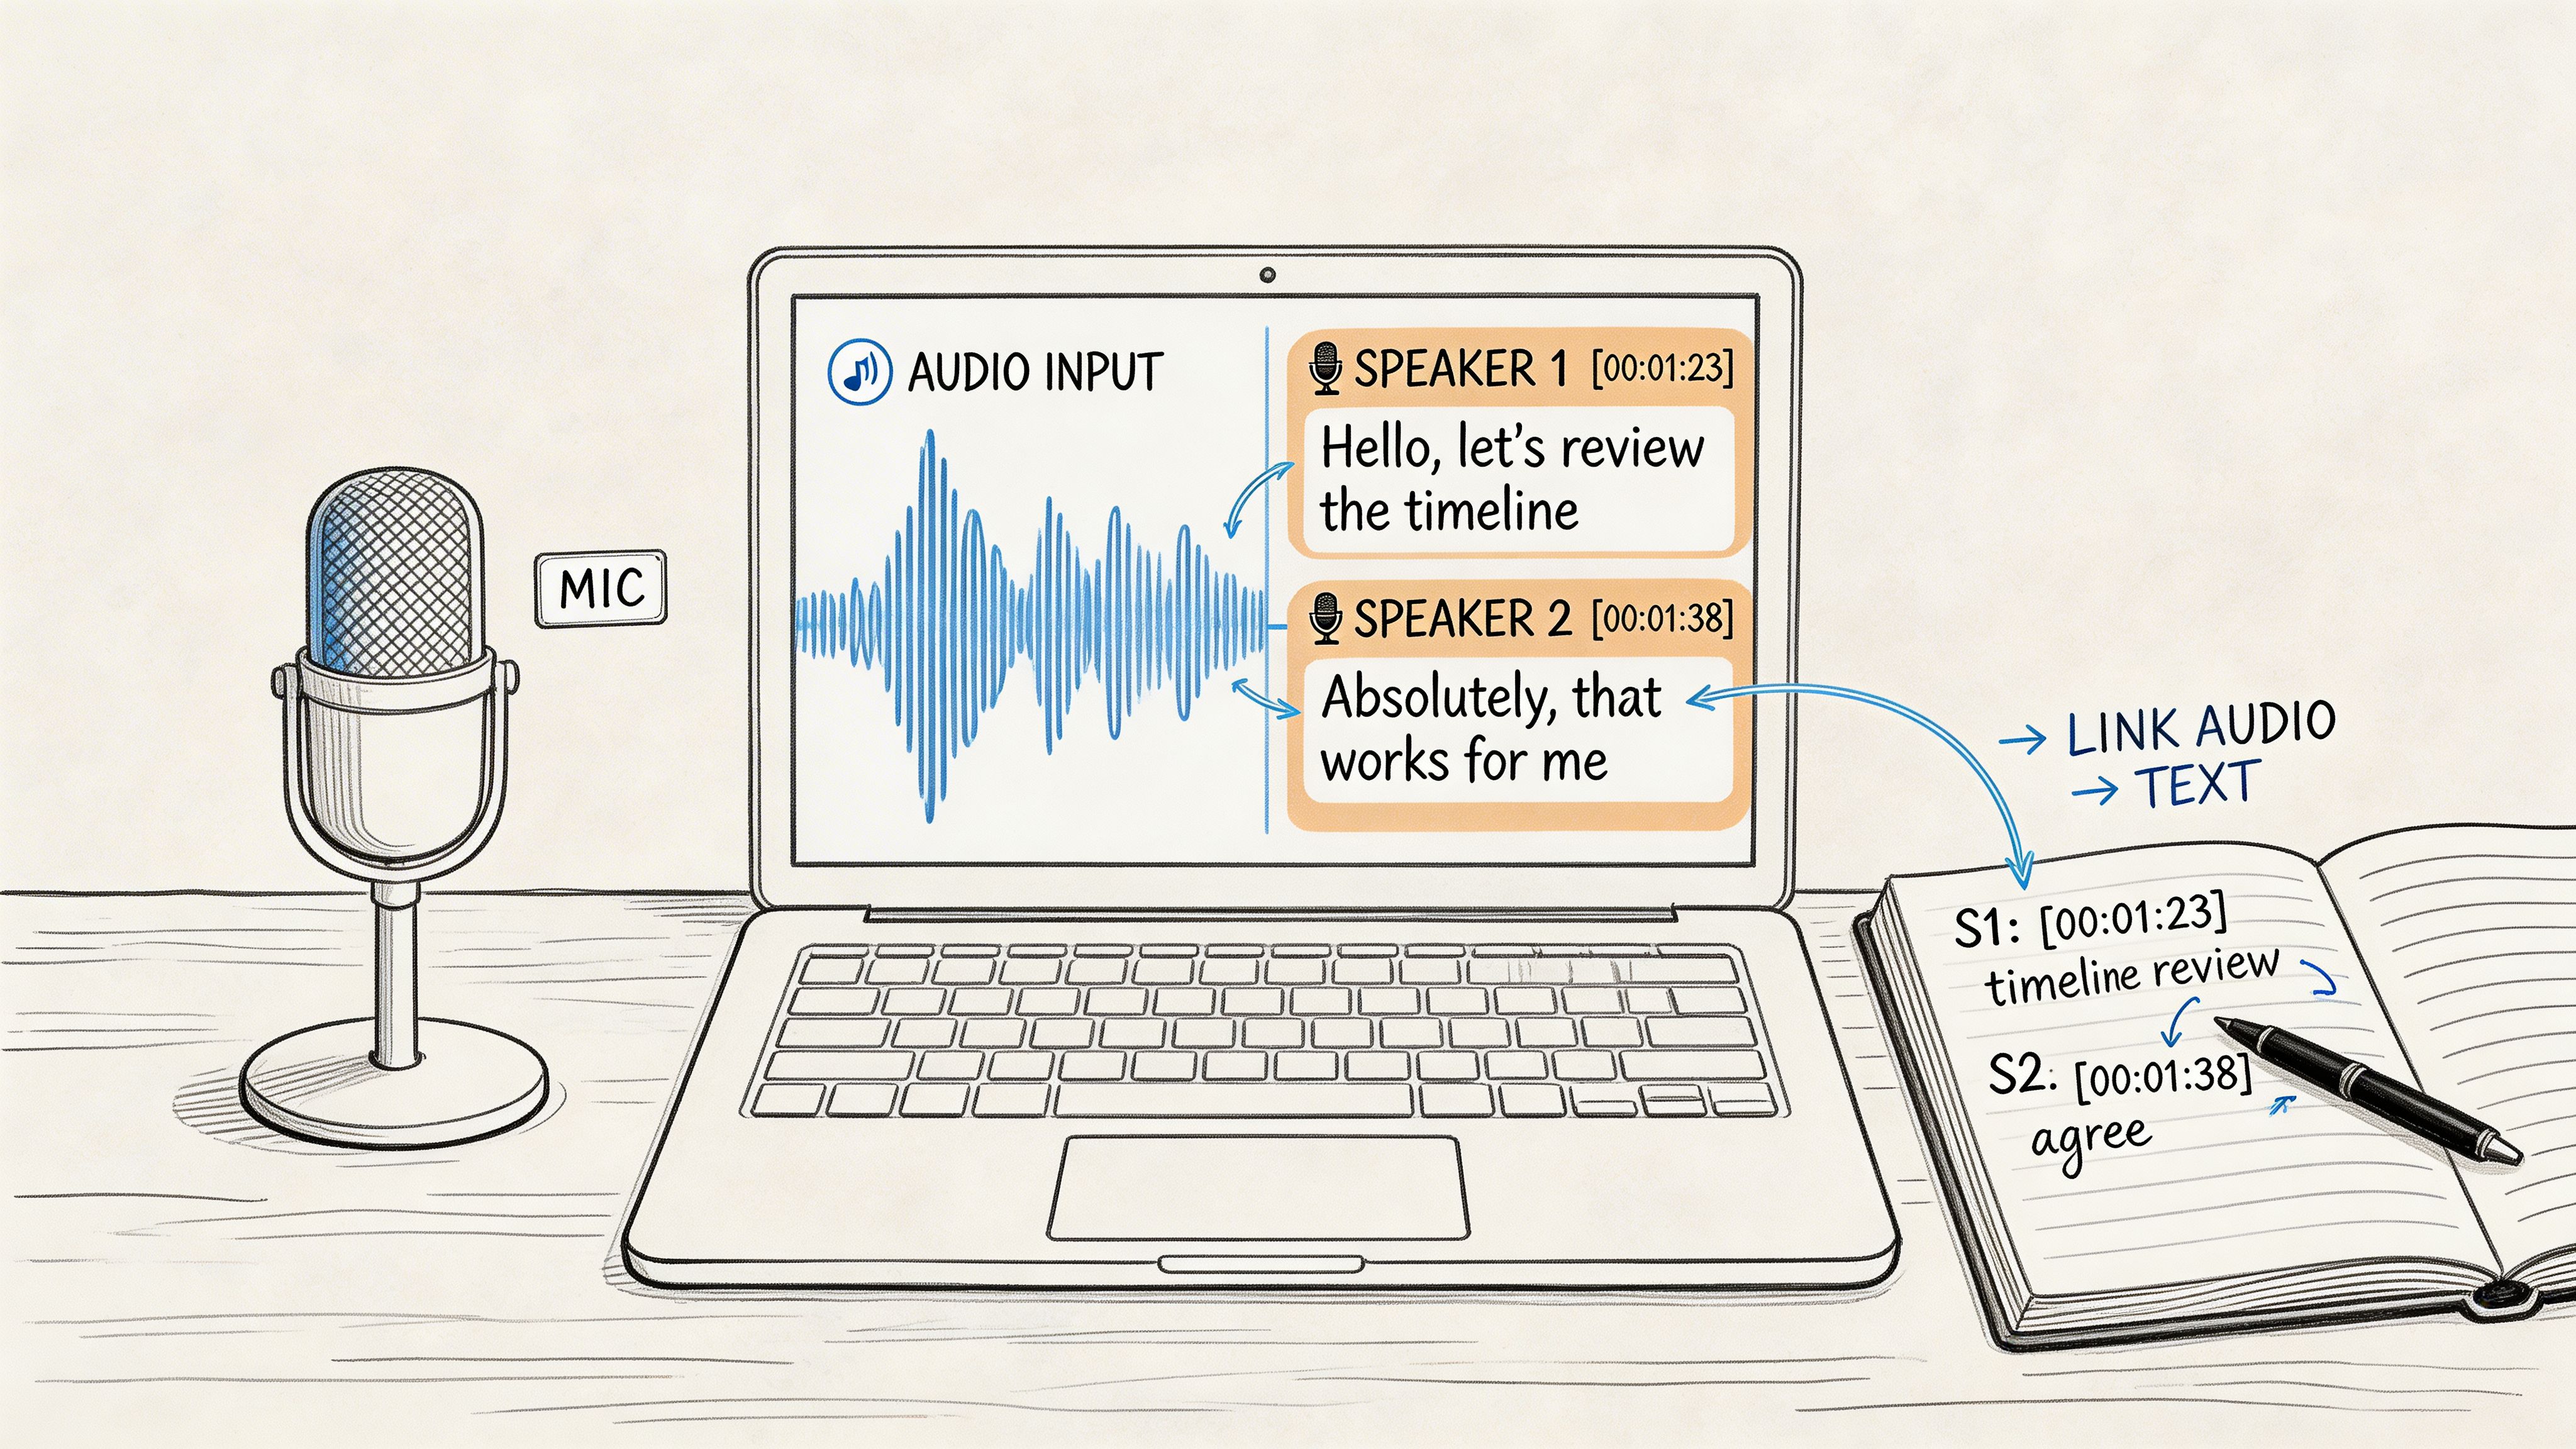
- Speaker Identification: A huge time-saver for interviews or podcasts. Many AI tools can automatically tell who is speaking and label them accordingly.
- Precise Timestamping: The AI generates incredibly tight timestamps, syncing the text to the spoken word down to the millisecond—far more precise than what you can do quickly by hand.
- Jargon and Accent Handling: More advanced AI models are fantastic at understanding technical jargon, brand names, and a wide variety of accents, which means fewer manual corrections for you.
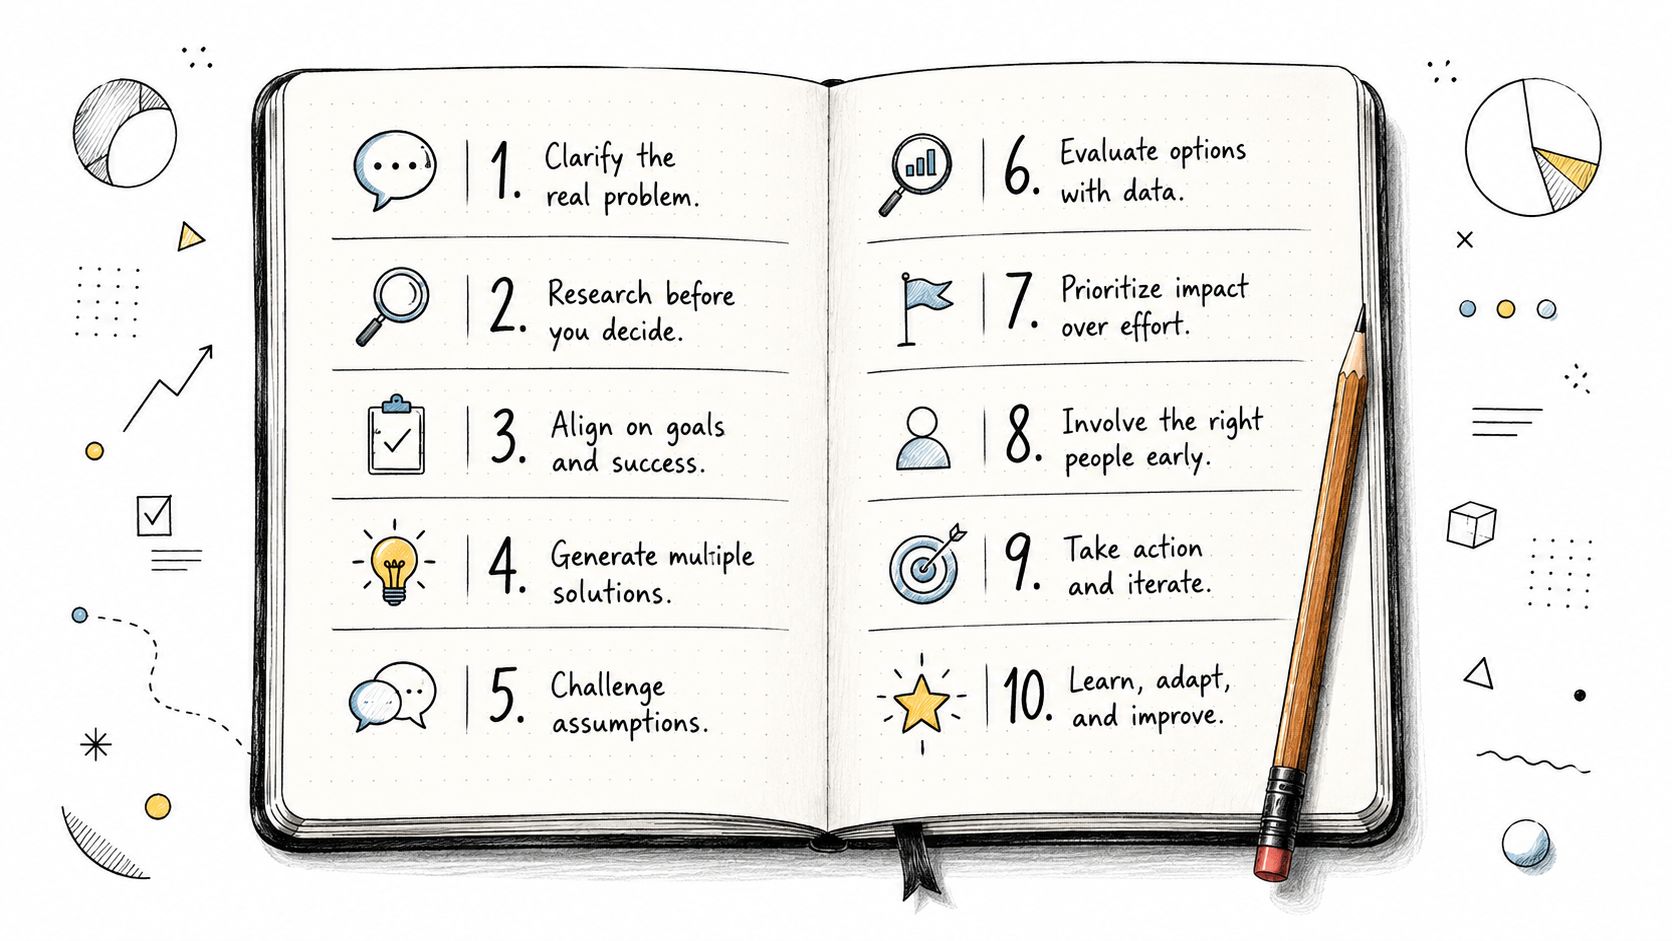
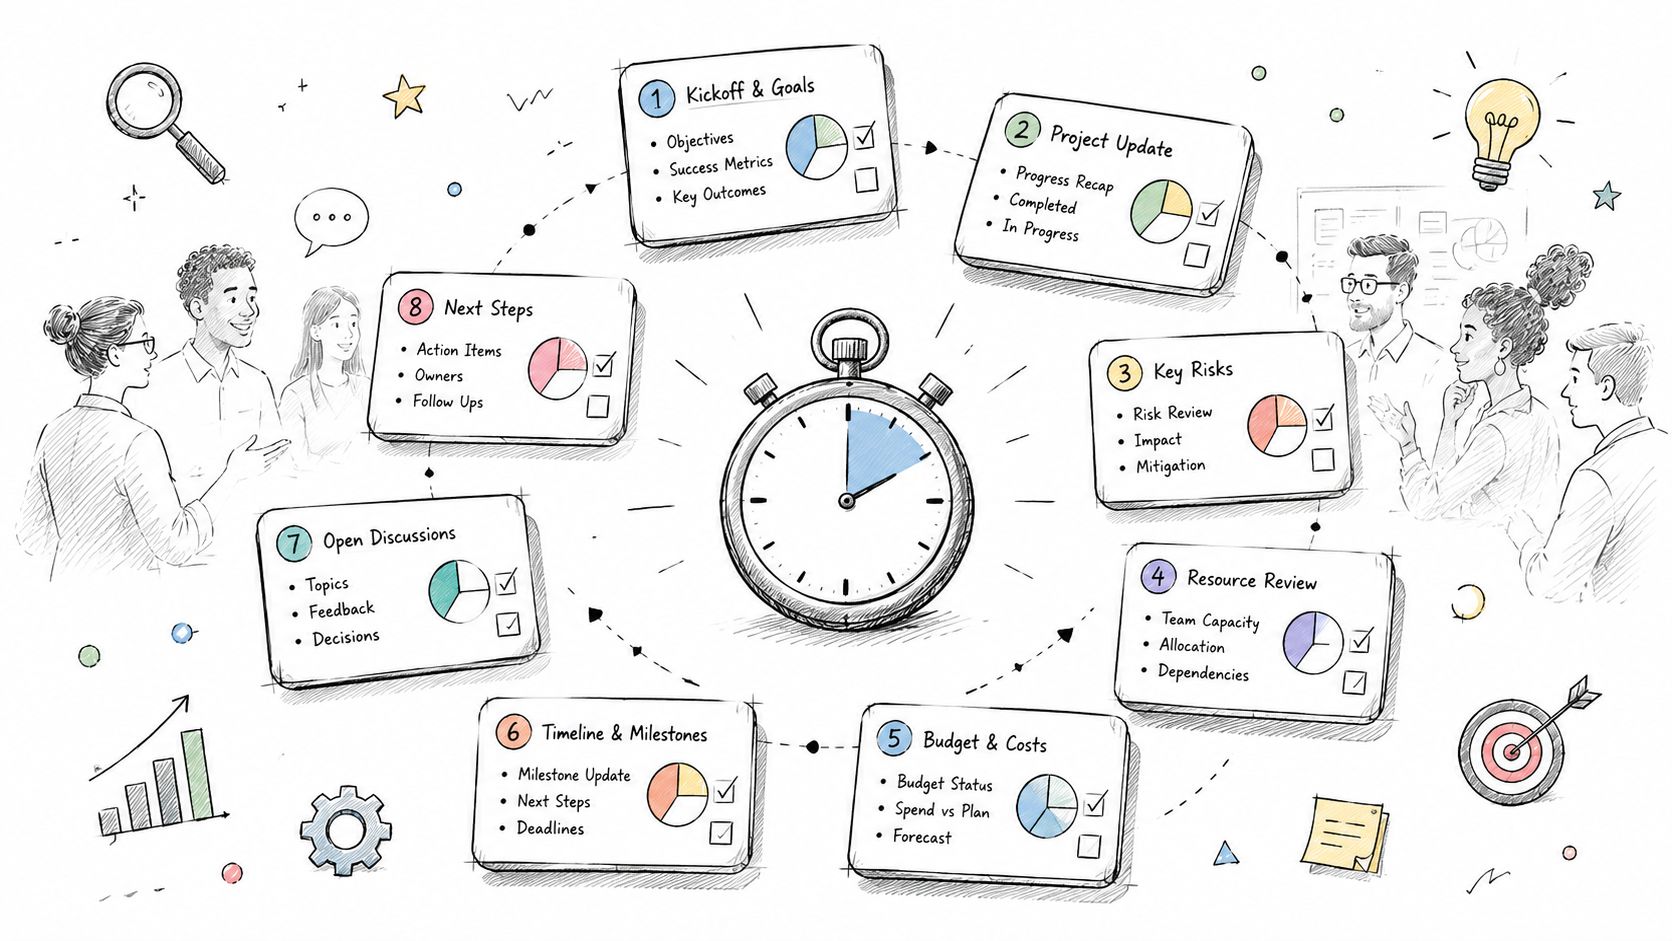
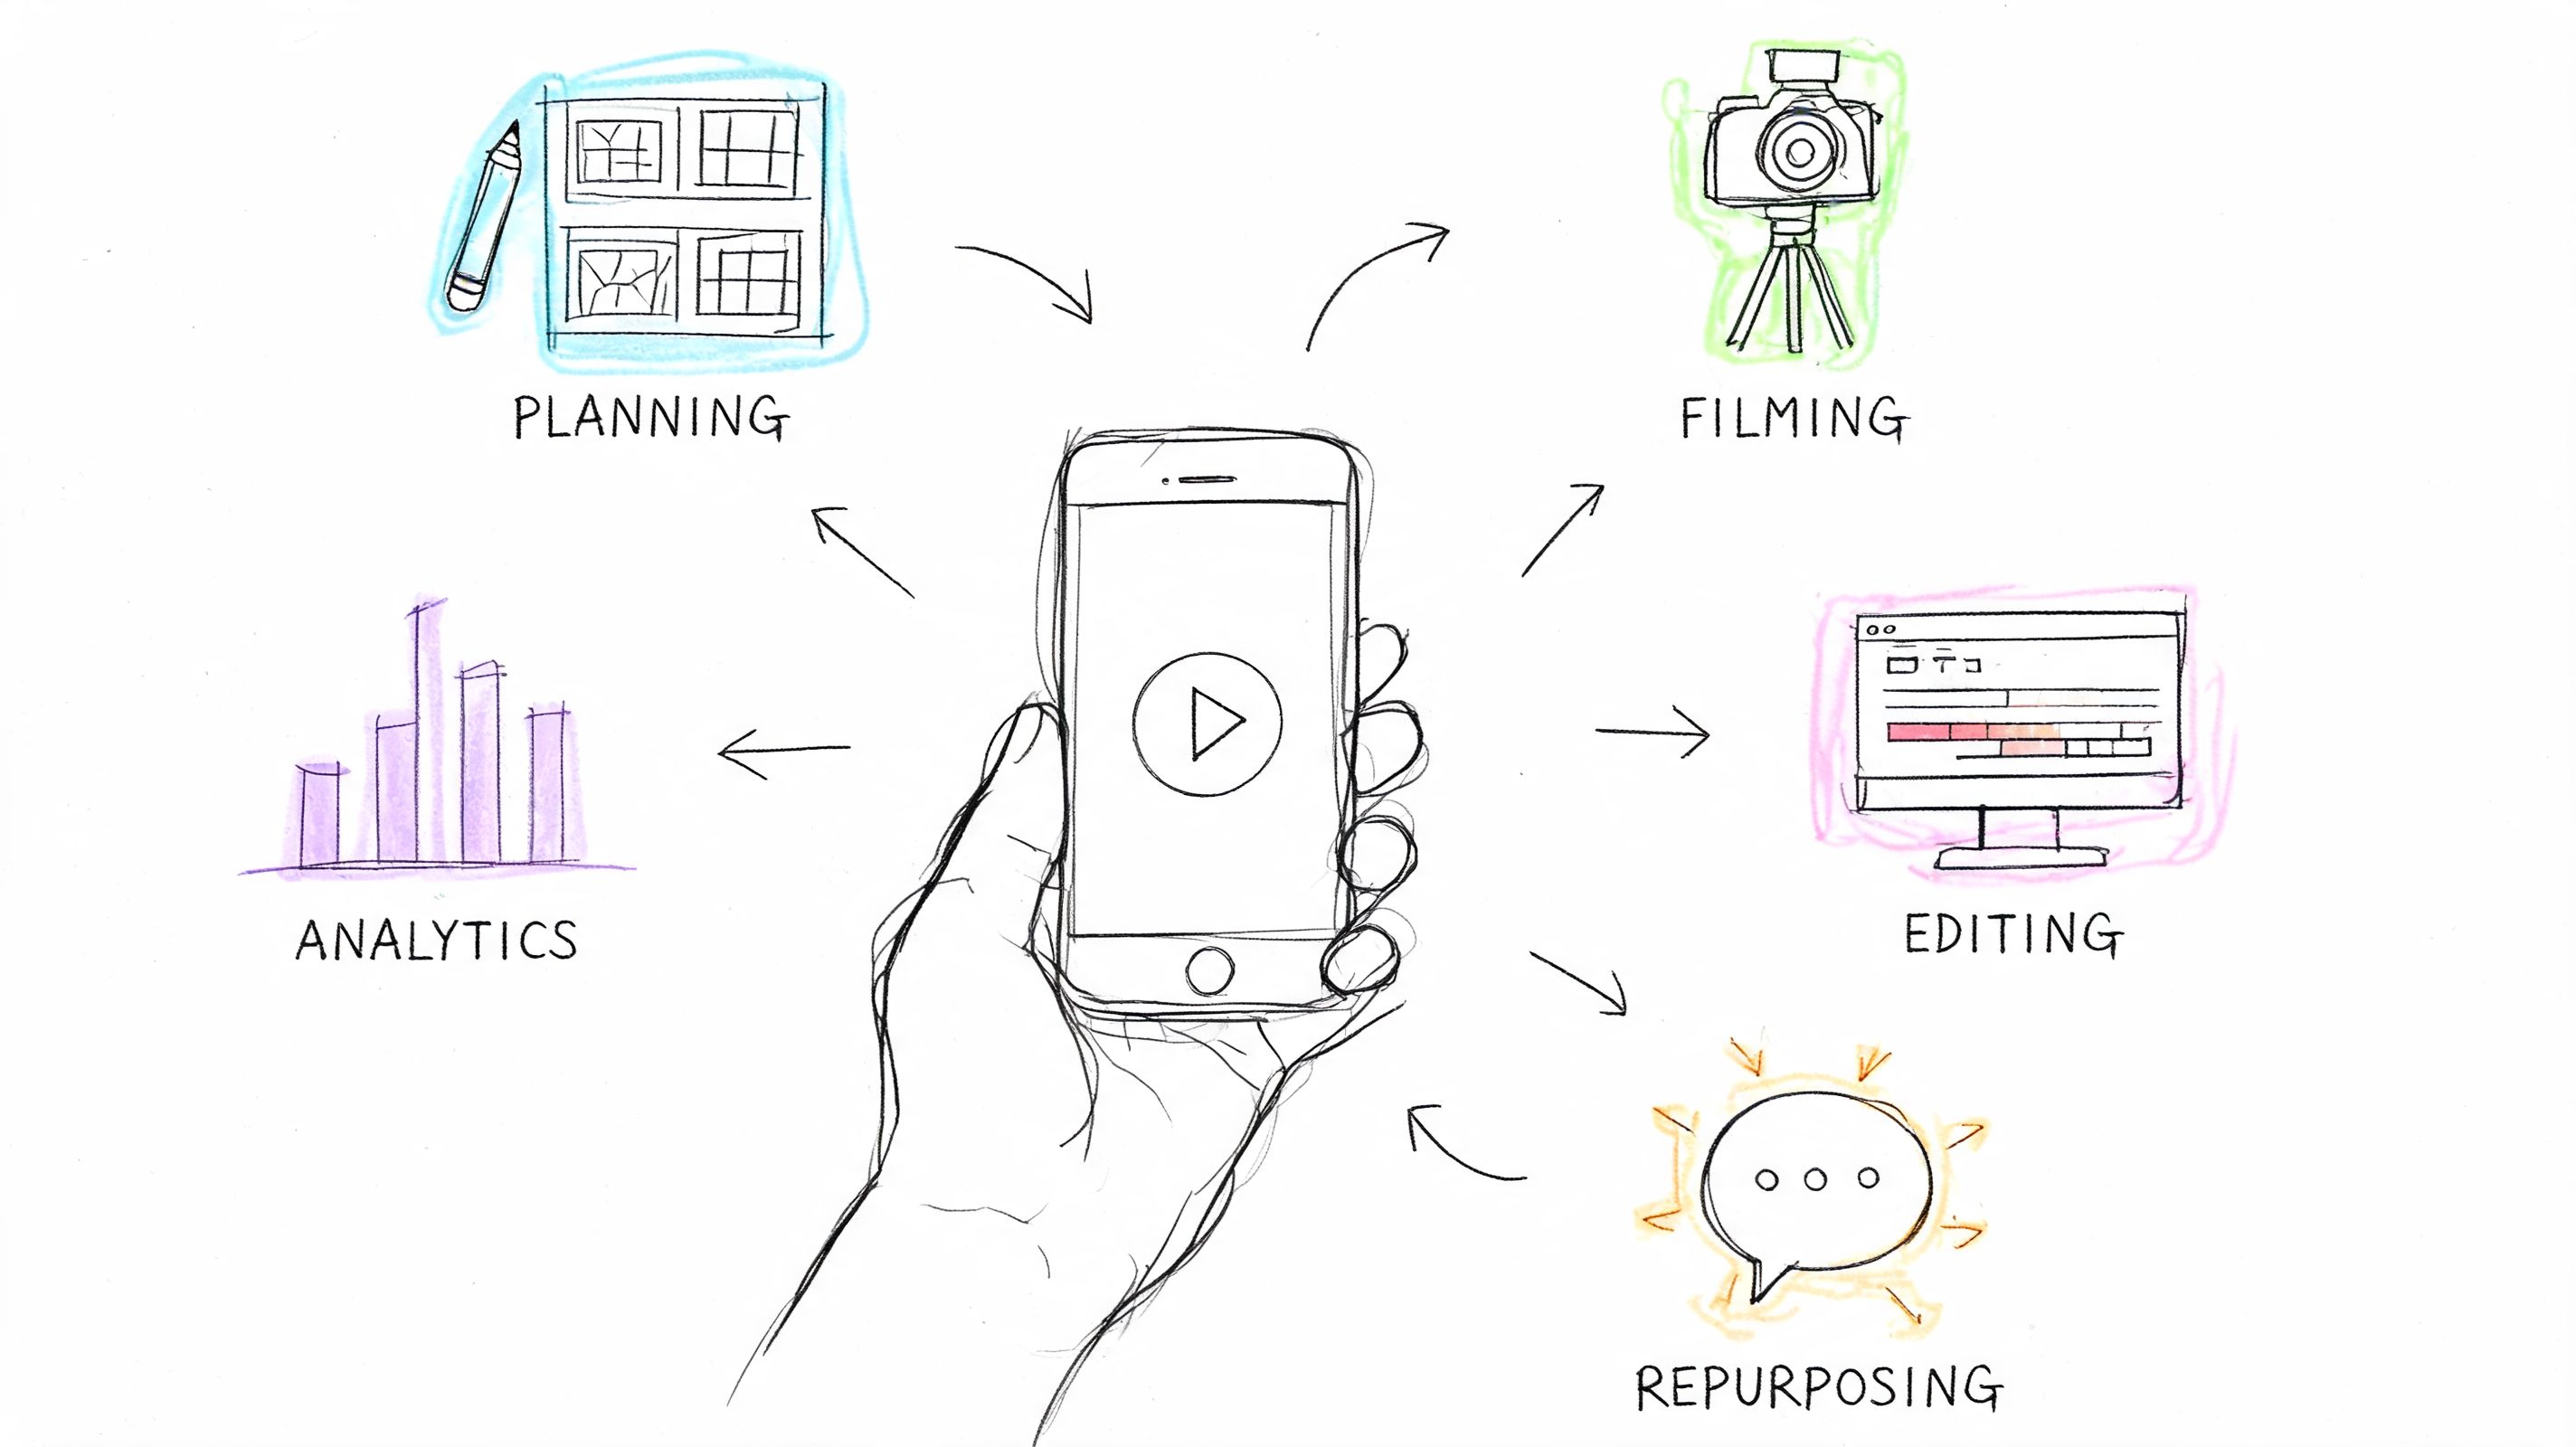
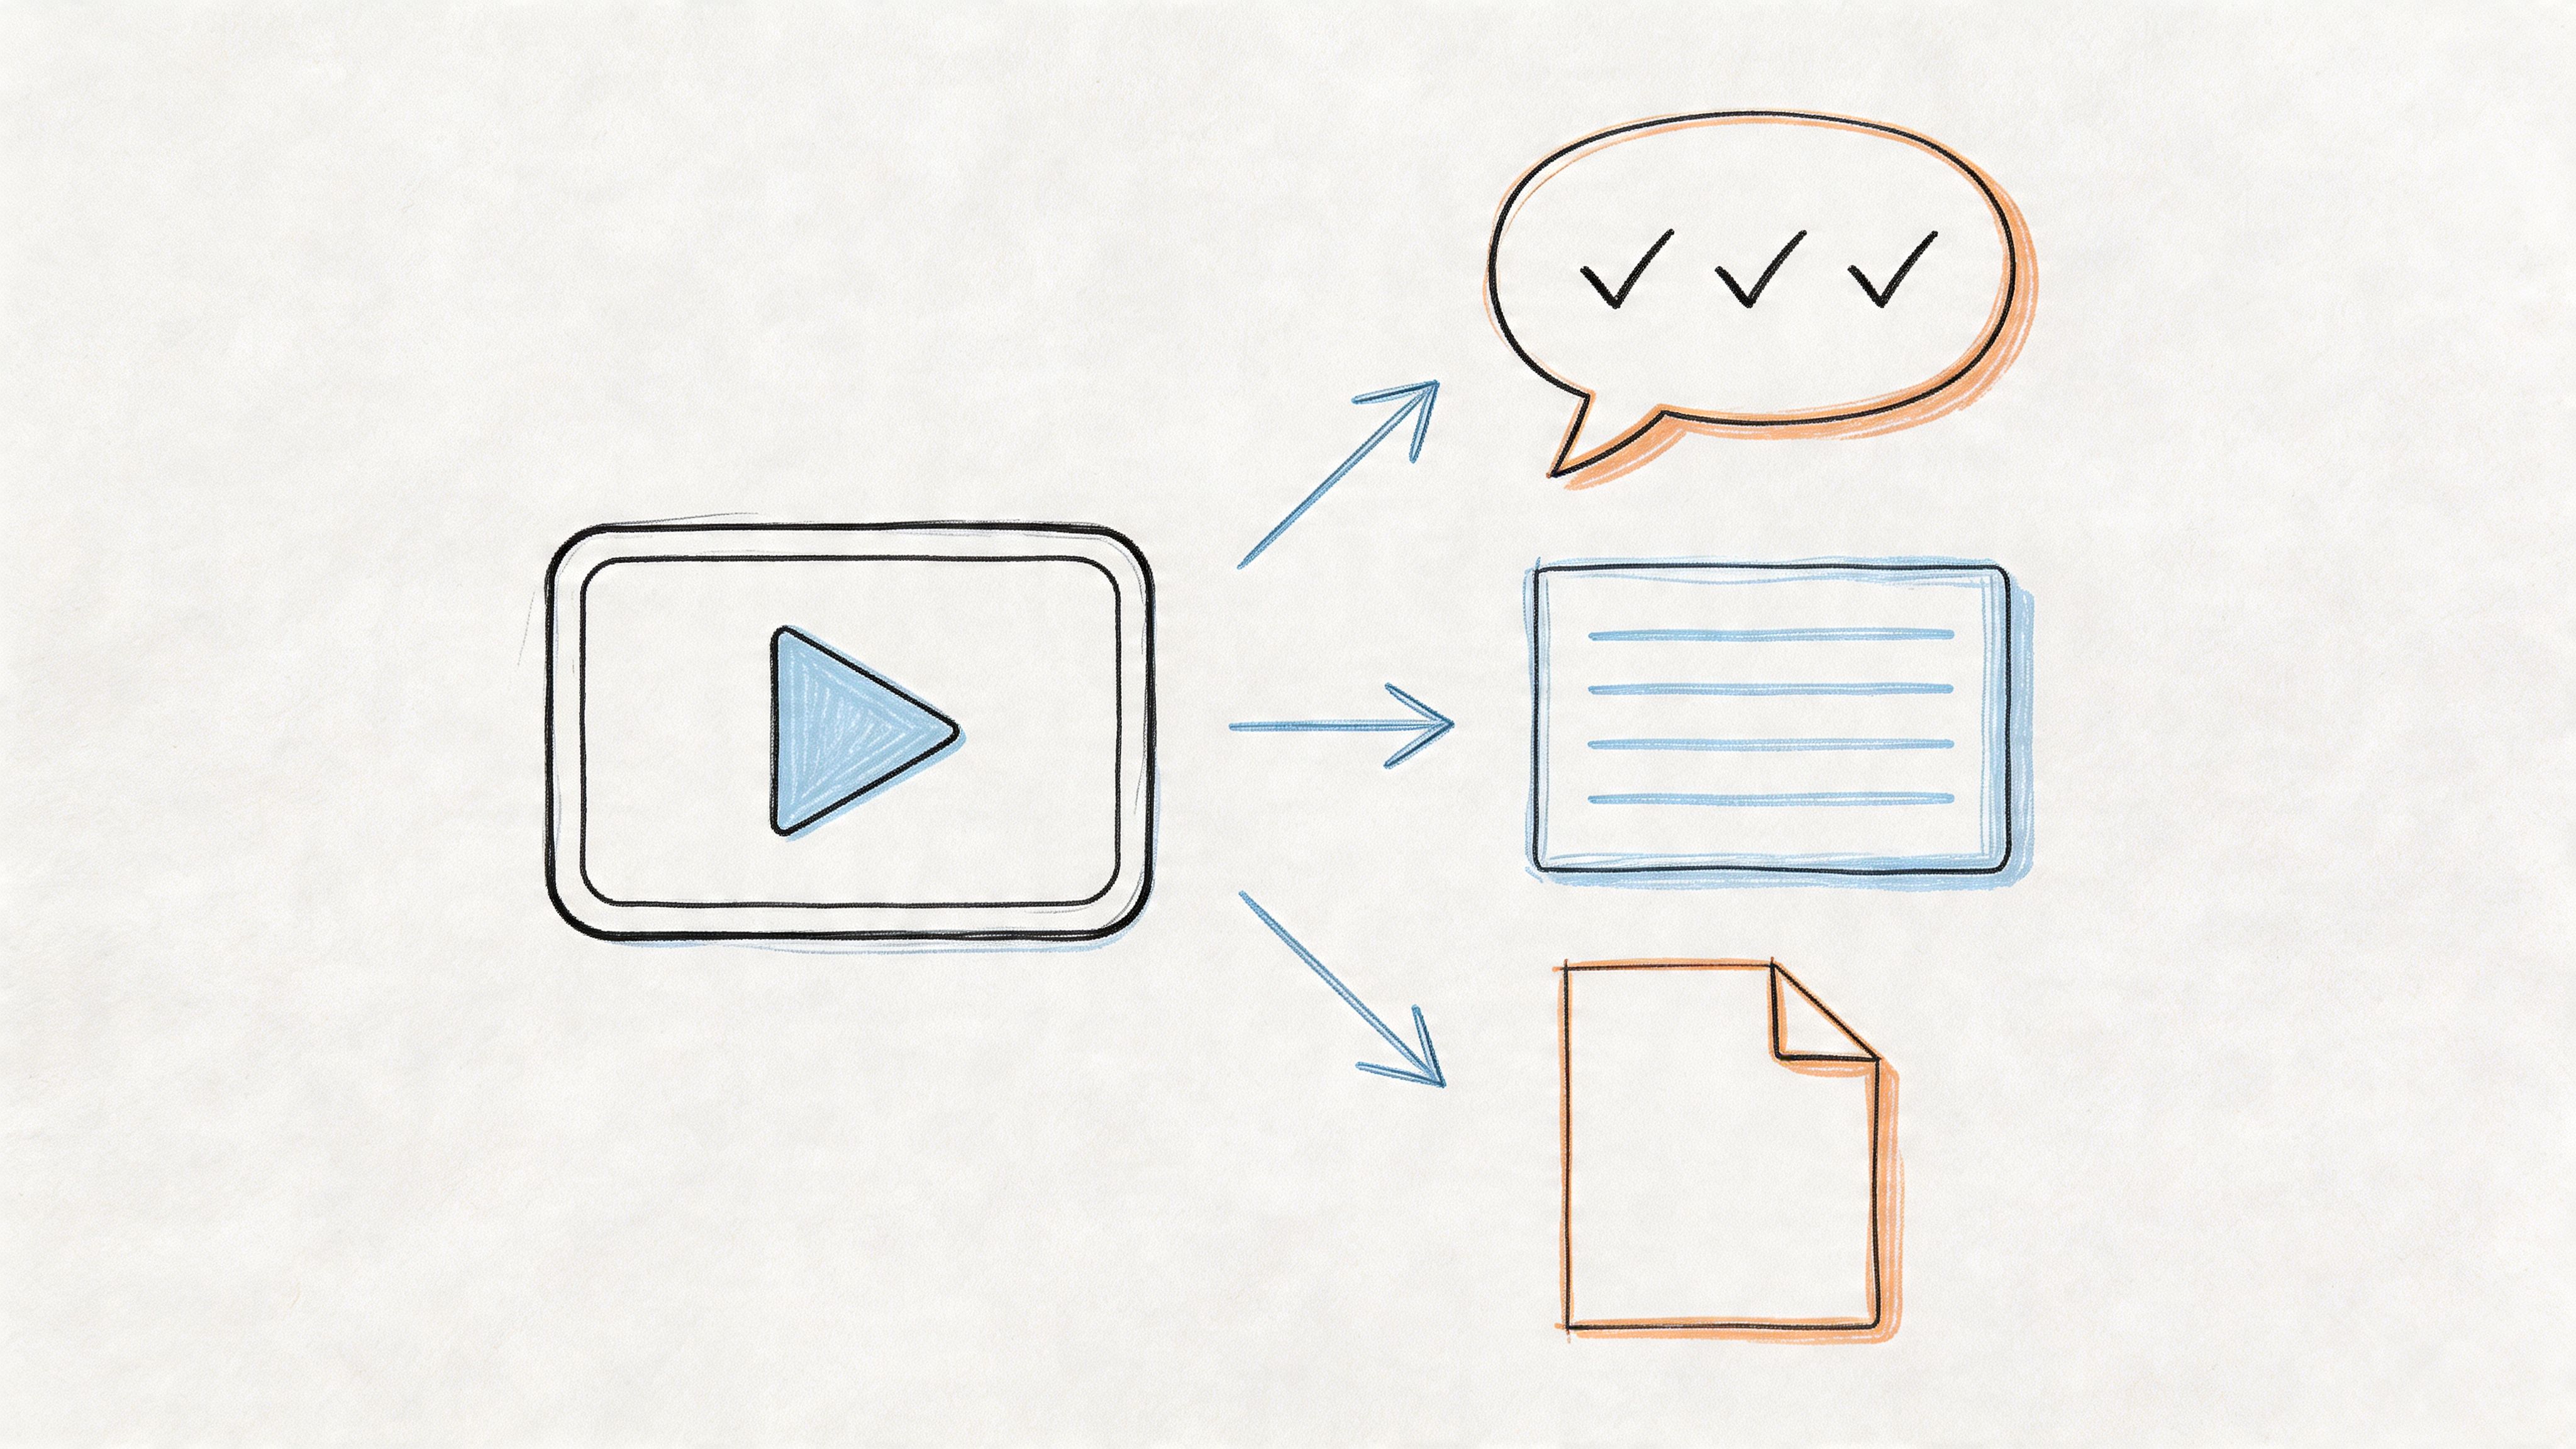
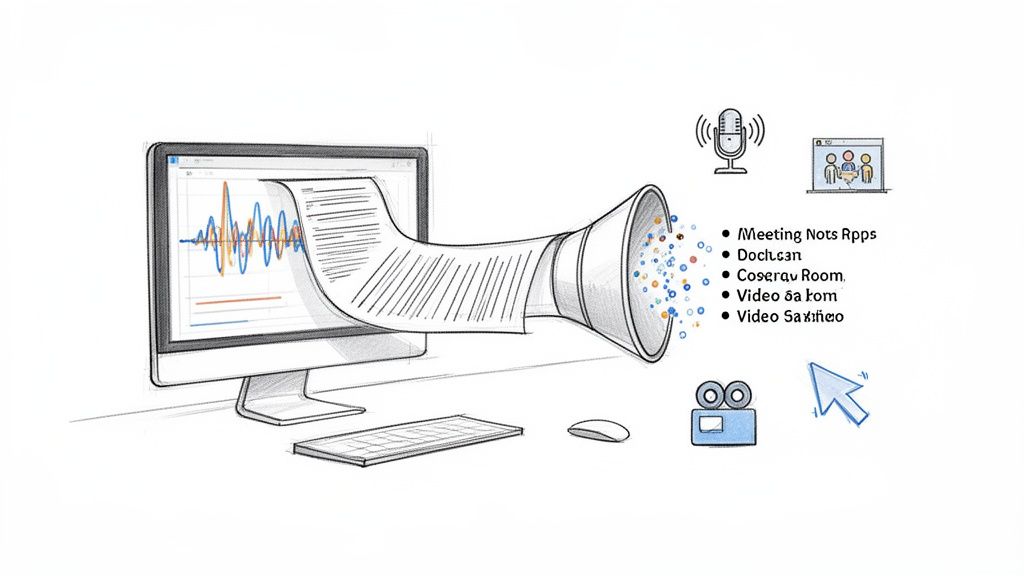
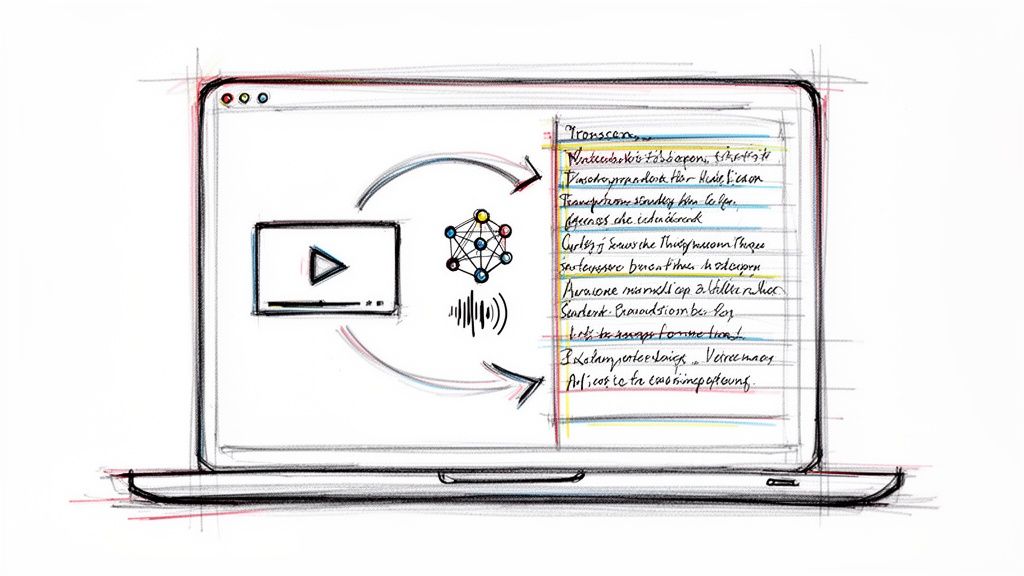
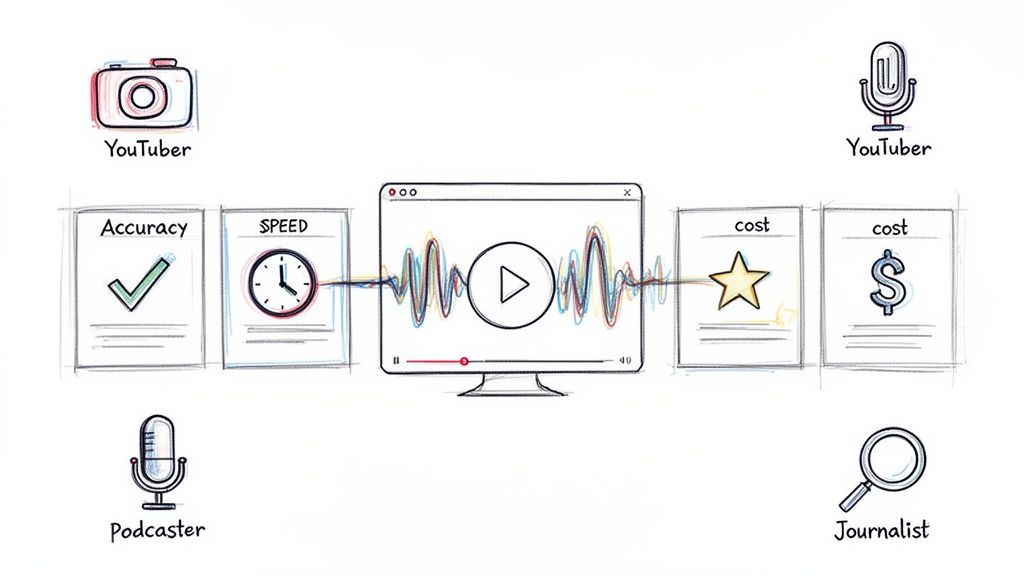
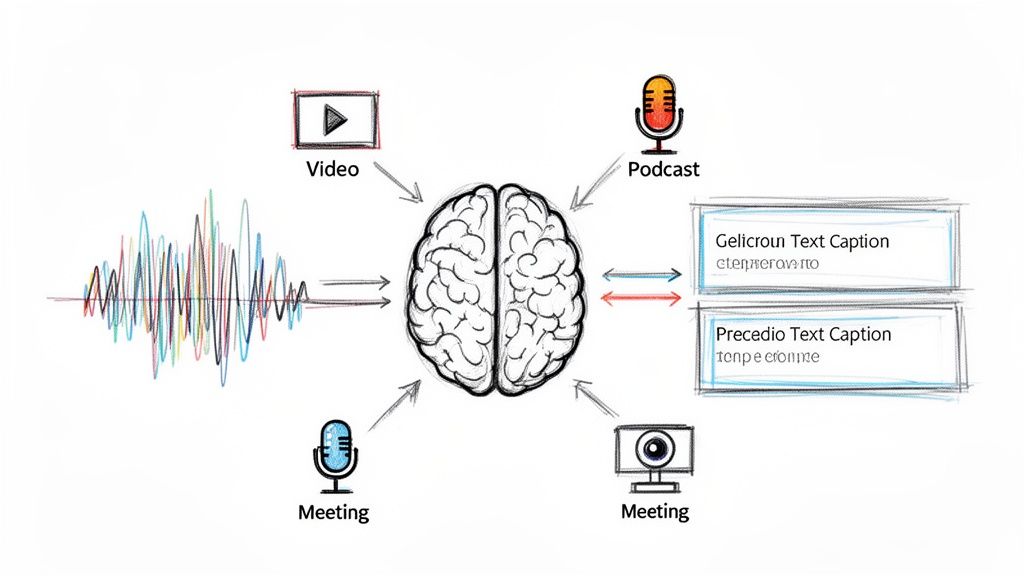
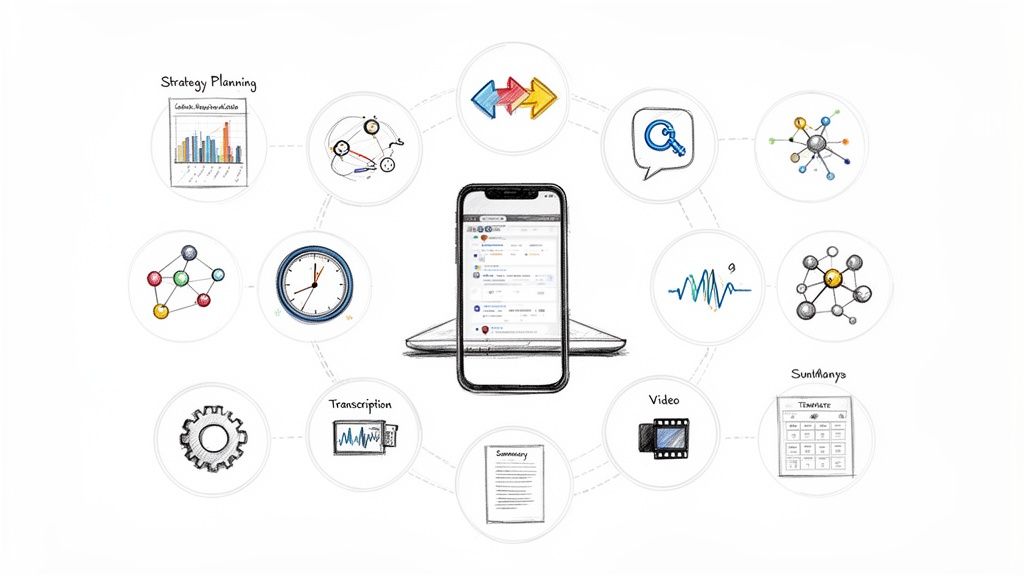
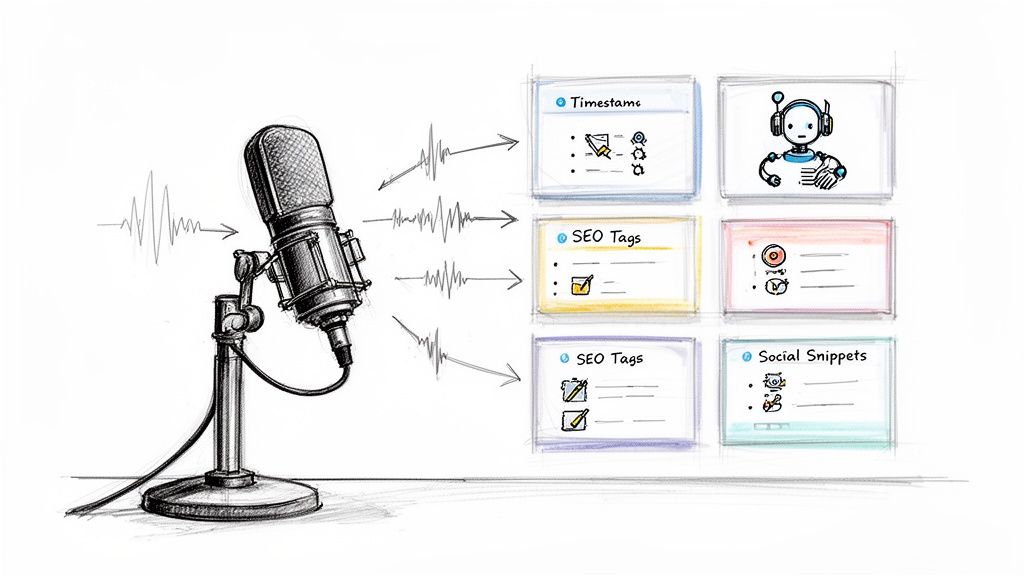
You just upload your final audio or video file, let the AI do its thing, and download a clean SRT file. The diagram below shows just how much properly implemented subtitles can impact key viewer metrics.
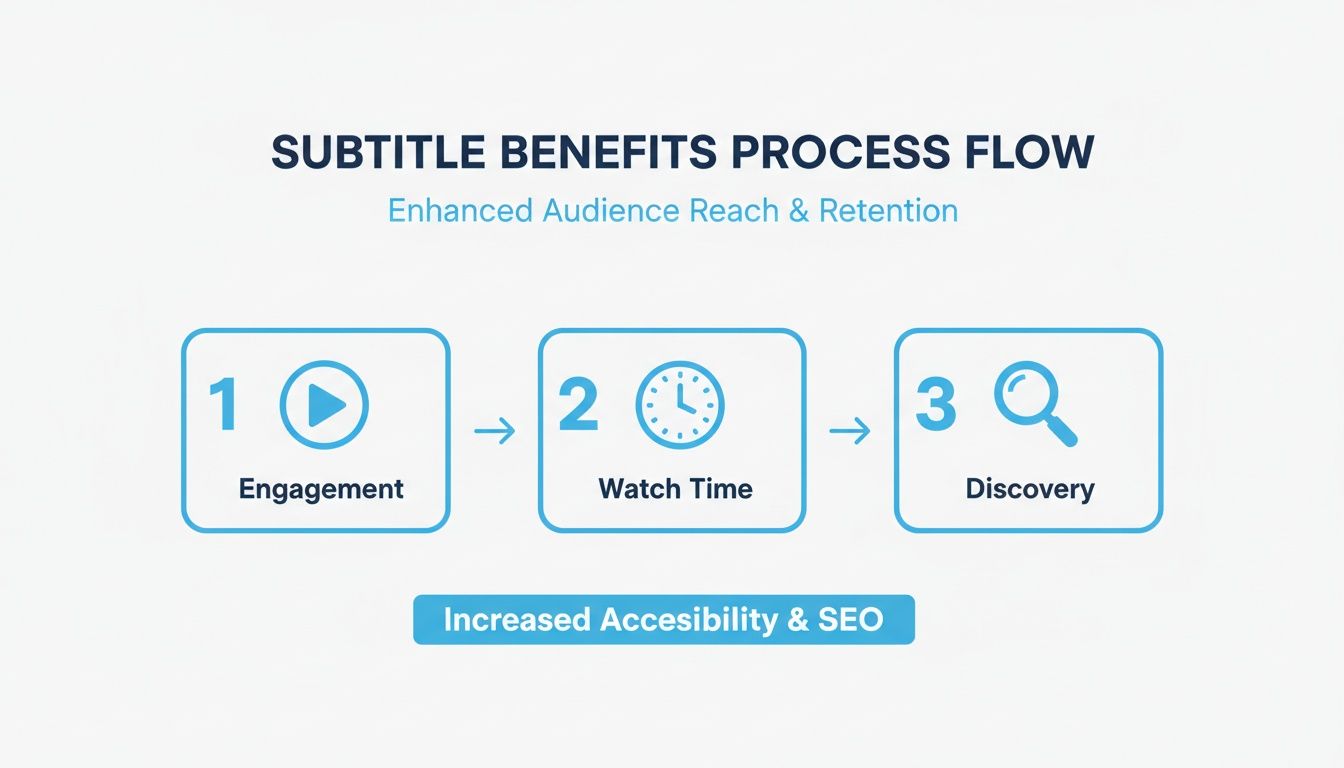
As you can see, it's a clear line from quality captions to better engagement, which drives longer watch times and, ultimately, helps more people discover your content.
A Practical Walkthrough with Whisper AI
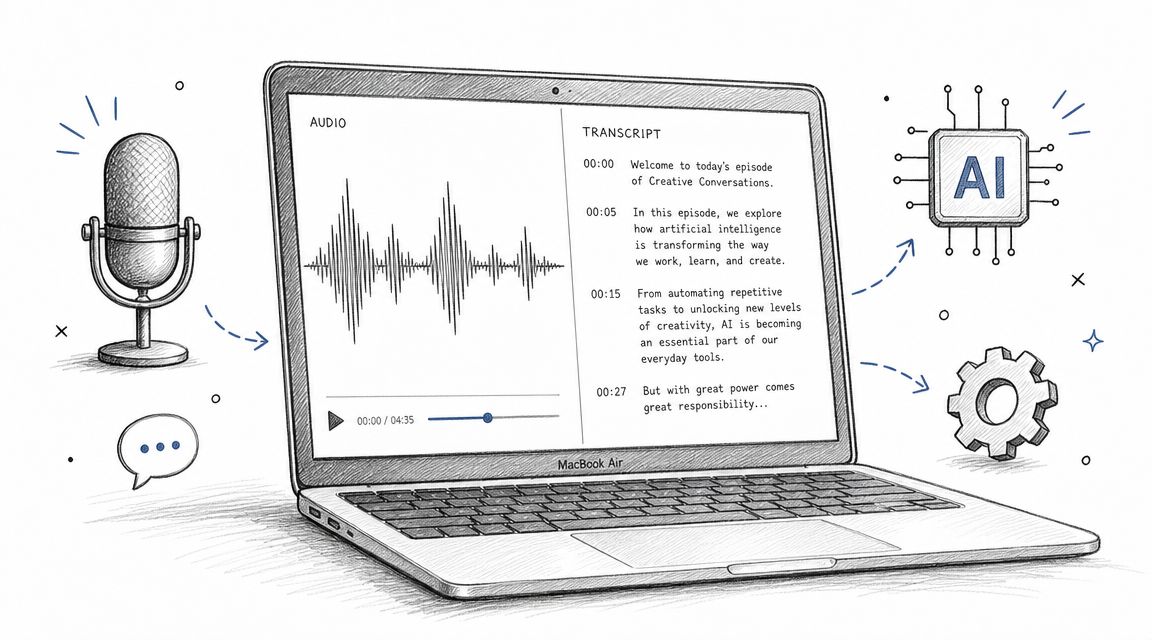
So, what does this look like in the real world? Let’s say you’ve just picture-locked a YouTube tutorial. Instead of immediately jumping into Premiere’s Text panel, your first move is to export the final audio mix as a WAV or MP3 file.
From there, you’d upload that audio file to a platform like Whisper AI. In just a few moments, the service processes the audio and gives you a full, editable transcript. This is your chance to do a quick polish before that text ever sees your Premiere Pro project.
The goal here isn't to create a perfect, word-for-word document. It's to get a 99% accurate SRT file that needs almost no timing adjustments once it’s in Premiere. This is what saves you hours of frustrating work on the timeline.
This brief pre-production step is where the real magic happens. I can quickly scan the text for any obvious mistakes—maybe the AI fumbled a unique brand name or misinterpreted a muffled word. Fixing these things in a simple text editor is infinitely faster than trying to wrestle with individual caption blocks on a crowded timeline.
For a more detailed breakdown of this workflow, you can learn more about how to AI transcribe video to text with these powerful tools.
Once you’re happy with the transcript, you just export it as an SRT file. This tiny file holds all the text, timing, and formatting information you need for the next stage of the process back inside Premiere Pro.
And it’s not just about subtitles. AI can also be a huge help in creating voiceovers. If you're looking for tools that can turn your text into high-quality audio, it's worth checking out some guides on the best text to speech software.
Now, with our polished SRT file in hand, we’re ready to bring it into our video project for final styling and placement.
You’ve got a clean SRT file. Now what? It’s time to bring it into Adobe Premiere Pro and give it that final, human touch. This is where you shift from a raw transcript to polished, professional subtitles that feel completely in sync with your video.
The AI did the heavy lifting, but an editor's eye is what will make these captions seamless. We’re not re-transcribing anything here; we're just making those small, critical adjustments that elevate the entire viewing experience.
Getting your SRT into Premiere is a breeze. Just drag the file directly into your Project panel or go the old-school route with File > Import. Once it's in, drag the subtitle file onto your timeline. Premiere Pro will automatically create a new, dedicated caption track right above your video layers.
Fine-Tuning Timing in the Text Panel
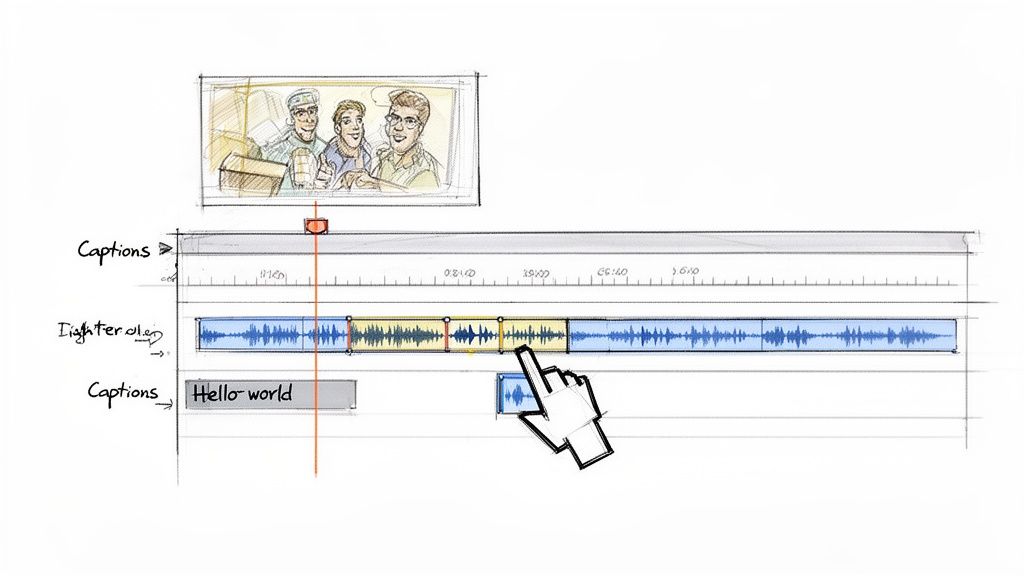
With the SRT file on your timeline, the next stop is the Text panel (you can find it under Window > Text). This panel is your new command center for polishing Premiere Pro subtitles. It lays out every caption segment in a neat list, showing you the text, in-point, and out-point for each one.
AI transcription is amazing with timecodes, but it has no concept of creative pacing or comedic timing. That’s where you come in. Let's say a speaker delivers a killer punchline, followed by a hilarious visual gag. The AI might let the caption linger on-screen, completely spoiling the joke before the audience even sees it happen.
In that situation, you’d jump in and adjust the out-point of that caption, making it disappear just a split-second before the visual reveal. It’s a tiny tweak, but it preserves the comedic impact and shows a level of polish that automated tools just can't replicate.
The best subtitle editing is completely invisible. It's all about making tiny adjustments that guide the viewer’s experience without them ever consciously noticing the captions. Good timing ensures the text supports the story, not distracts from it.
Splitting and Merging for Better Readability
Another crucial part of the process is managing how much text appears on screen at once. AI can sometimes spit out long, dense sentences that are a nightmare to read quickly. A solid rule of thumb is to keep captions to one or two lines max. This gives your audience enough time to read, watch, and process everything.
- Splitting a Long Caption: Got a caption that feels too long? Just place your playhead on the timeline right where you want the break to happen. Then, click the "Split Caption" button at the top of the Text panel. Boom. Premiere instantly creates two separate, perfectly timed blocks.
- Merging Short Captions: On the flip side, sometimes the AI gets a little too choppy. If you have two short, related captions back-to-back, just select both in the Text panel, right-click, and hit "Merge Captions." This combines them into a single, more natural block of text.
For example, an AI might transcribe something like, "So, the first thing you need to do... is open the main panel." To improve the flow, I would split that caption right before "is," creating a much more natural reading cadence. Breaking up long sentences this way makes a video way more accessible, especially for people watching on their phones.
If you really want to get into the weeds of precise timing, our guide on transcription with timecode has some great tips that will complement your work in Premiere.
Fixing Minor Errors and Adding Formatting
Even the best AI isn't perfect. This is your last chance to catch any small slip-ups. Simply scroll through your captions in the Text panel and double-click any segment to edit the text directly.
This is also the perfect time to add important non-dialogue cues, which are essential for accessibility. These are things that viewers who can't hear the audio need to know.
Common Formatting Fixes I Make
You can also use this stage to fix typos, correct the spelling of brand names, or remove filler words like "um" and "uh" for a much cleaner read. These small but meaningful edits are what transform your Premiere Pro subtitles from generic, machine-generated text into a polished, professional part of your video.
Designing Subtitles That Match Your Brand
Let's be honest: default subtitles are boring. They do the job, but they don't do your brand any favors. The good news is that you can—and should—treat your subtitles as a core part of your video's visual identity. Once you’ve nailed the timing and text, the real fun begins in Adobe Premiere Pro's Essential Graphics panel. This is where you go from generic to branded.
The goal isn’t to reinvent the wheel for every single video. The real pro move is to create and save custom style presets. This way, every piece of content you ship has a consistent, professional look that your audience will instantly recognize.
Building Your Branded Caption Style
Imagine you run a YouTube channel focused on clean, minimalist design tutorials. Your brand probably uses a specific color palette—say, a nice blue (#51bef7)—and a modern sans-serif font like Montserrat. Slapping default Arial subtitles in a clunky black box on top of that would just feel wrong. It should reflect your style.
To get started, just select the caption track on your timeline and pop open the Essential Graphics panel (Window > Essential Graphics). Make sure you’re on the "Edit" tab, and you'll find a ton of customization options.
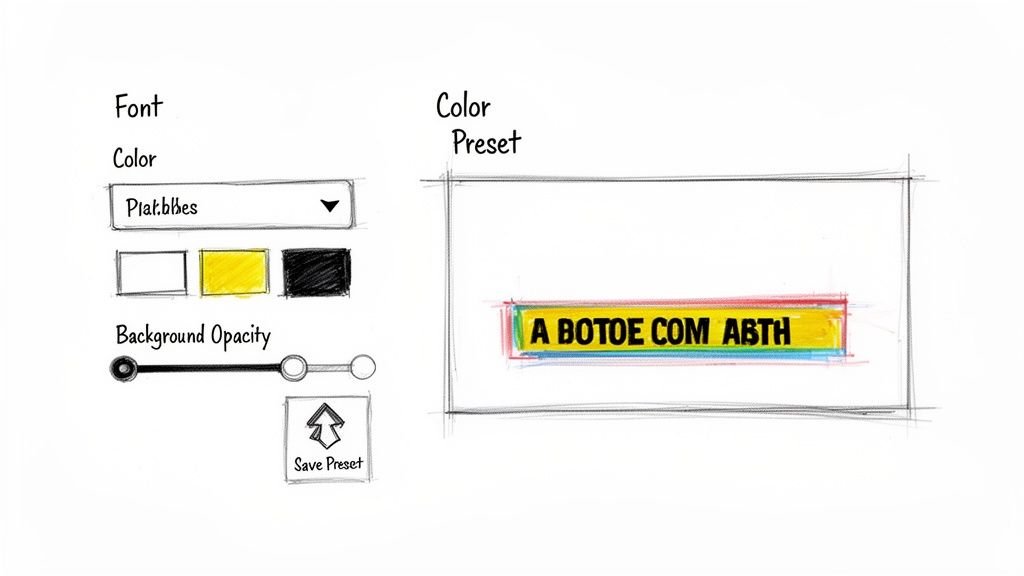
- Font Selection: First things first, pick a font that fits your brand's personality. We'd go with Montserrat in our example. The most important thing here is readability, so I always steer clear of anything too decorative or thin.
- Color and Stroke: You can set the fill color to your primary brand color, but often a clean white or off-white is more legible. A game-changer for readability is adding a subtle stroke (outline) or a soft drop shadow, especially if your video has busy backgrounds.
- Background Box: That classic solid black box is a safe bet, but it can feel a bit dated. For a more modern look, try dropping its opacity to 70-80%. You can even change its color to a darker, desaturated version of your main brand color for a more integrated feel.
Your goal is to create subtitles that are instantly readable without distracting from the actual video. Think of them as a tasteful, branded lower-third that reinforces who you are.
Creating and Saving a Style Preset
Once you've dialed in the perfect look, you need to save it as a preset. This is the single biggest time-saver for anyone producing regular content. It lets you apply that exact style to any caption track, in any project, with just one click.
Inside the Essential Graphics panel, find the "Track Style" section. You’ll see a dropdown that says "None." Click it, choose "Create Style," and give it a name you'll remember, like "YouTube Brand - Clean." Hit OK, and that's it. Your style is now saved in Premiere Pro, ready to keep all your future videos perfectly on-brand.
Advanced Styling for Social Media
Styling isn't just about fonts and colors; it's also about where you put things. This is super important when you're making content for platforms like Instagram Reels or TikTok, where the app's own interface elements can get in the way.
Positioning for Mobile UIs
We've all seen it: subtitles on a Reel that are completely covered by the username, description, or the like button. It's a rookie mistake, but an easy one to fix. Before I finalize a style, I always think about these "safe zones."
- Vertical Center-Bottom: Don't jam your captions right at the bottom edge. Nudge them up a bit. The vertical alignment tools in the Essential Graphics panel make this incredibly simple.
- Horizontal Center: Unless you have a specific creative reason not to, always keep your captions centered horizontally. It’s just the most natural and comfortable spot for viewers to read.
Adding Subtle Animation
You can even add a little flair with subtle animations to make certain words pop—a technique that's absolutely everywhere on social media right now. While Premiere’s caption tracks don’t let you keyframe individual words, there's a clever workaround.
For a word you want to emphasize, just make a cut in your caption track before and after it (Ctrl+K or Cmd+K). Now you can apply a slightly different style to that tiny segment. Maybe you make it bold, or maybe you switch it to a brand accent color. Easy.
This is all part of a bigger trend toward dynamic, kinetic subtitles. In fact, the global market for AI-powered subtitle generation is projected to explode from USD 1.03 billion in 2023 to USD 7.42 billion by 2032. A massive driver of this growth is creators using tools like Premiere's to produce custom, engaging captions that grab and hold attention in a crowded feed. If you're curious to see where things are headed, you can check out some fascinating insights on subtitle generation trends.
Getting Your Video and Captions Out Into the World
You've done the hard work—transcribing, tweaking, and styling your subtitles until they're just right. Now for the final step: exporting everything from Adobe Premiere Pro. This part can seem a bit technical, but it really boils down to one crucial decision that depends entirely on where your video is headed.
You have two main paths you can take. You can either burn the captions directly into the video file itself, making them a permanent part of the picture, or you can export a separate "sidecar" file (like an SRT) that travels alongside your video. Knowing which one to choose for which platform is the secret to making sure all your effort pays off.
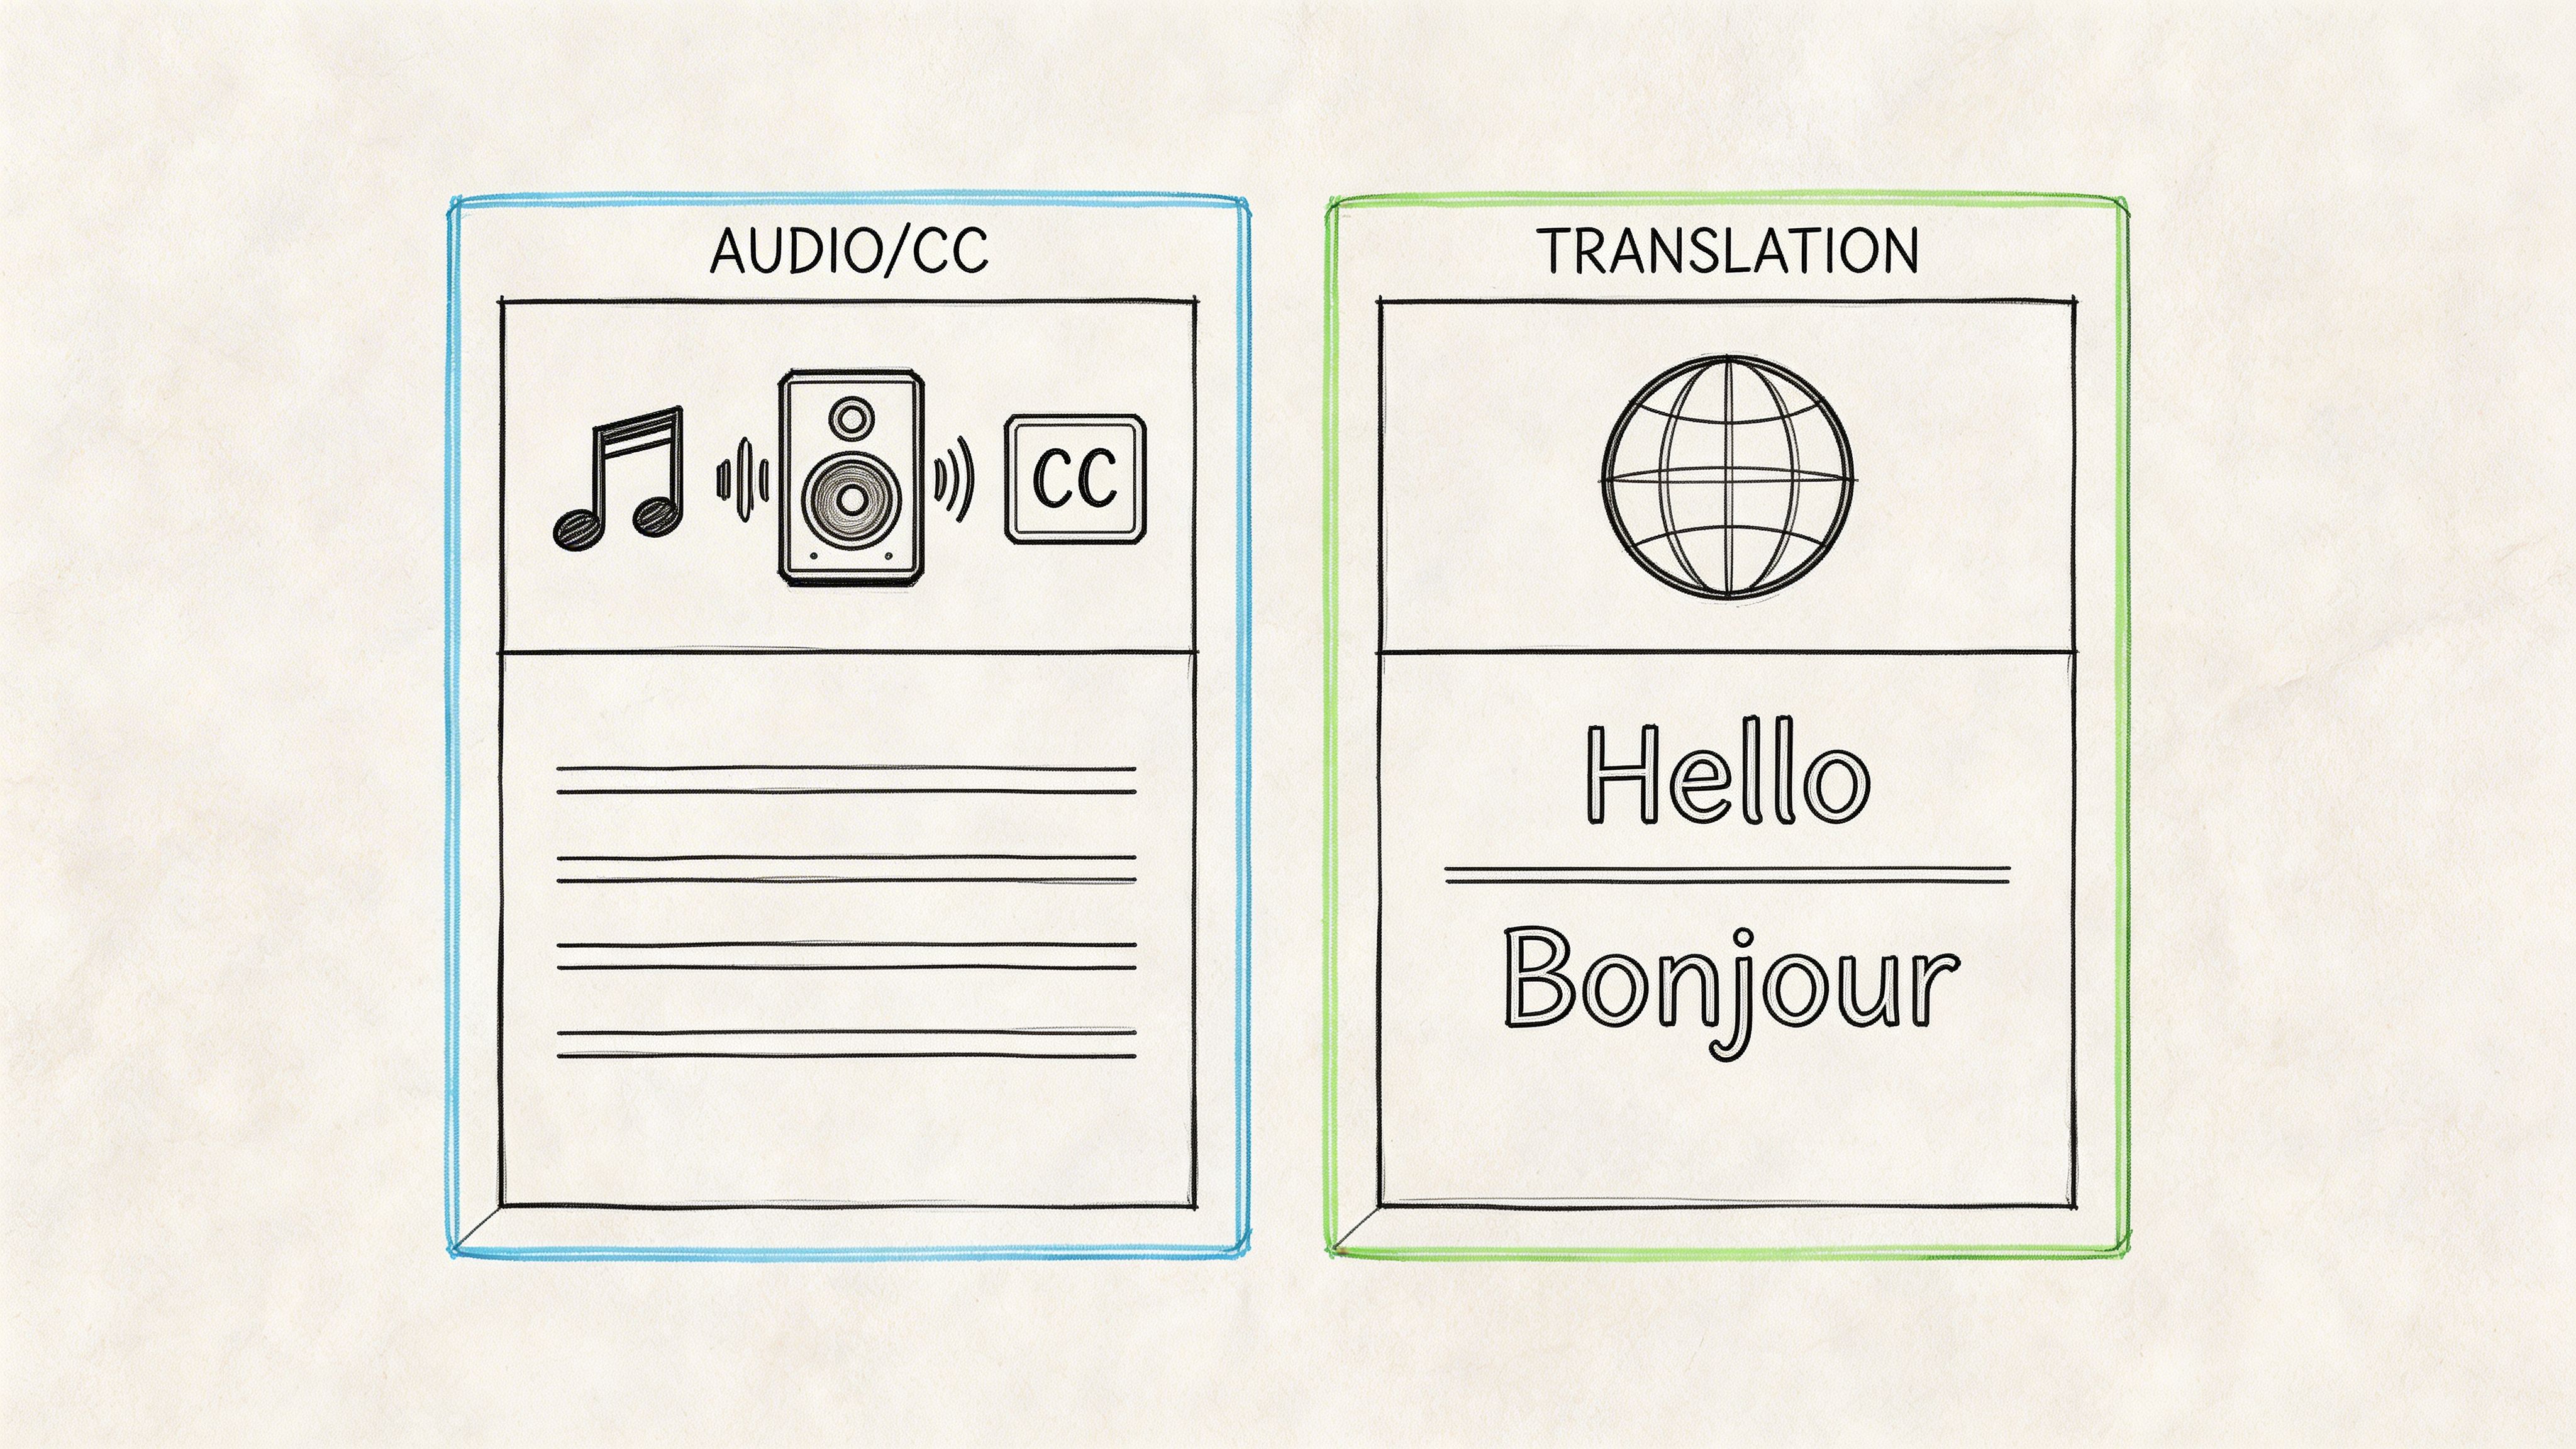
Open vs. Closed Captions: What's the Difference?
To make the right call at export, you first need to get a handle on the two types of captions you can create. This isn't just a technical detail; it fundamentally changes how your audience will experience your video.
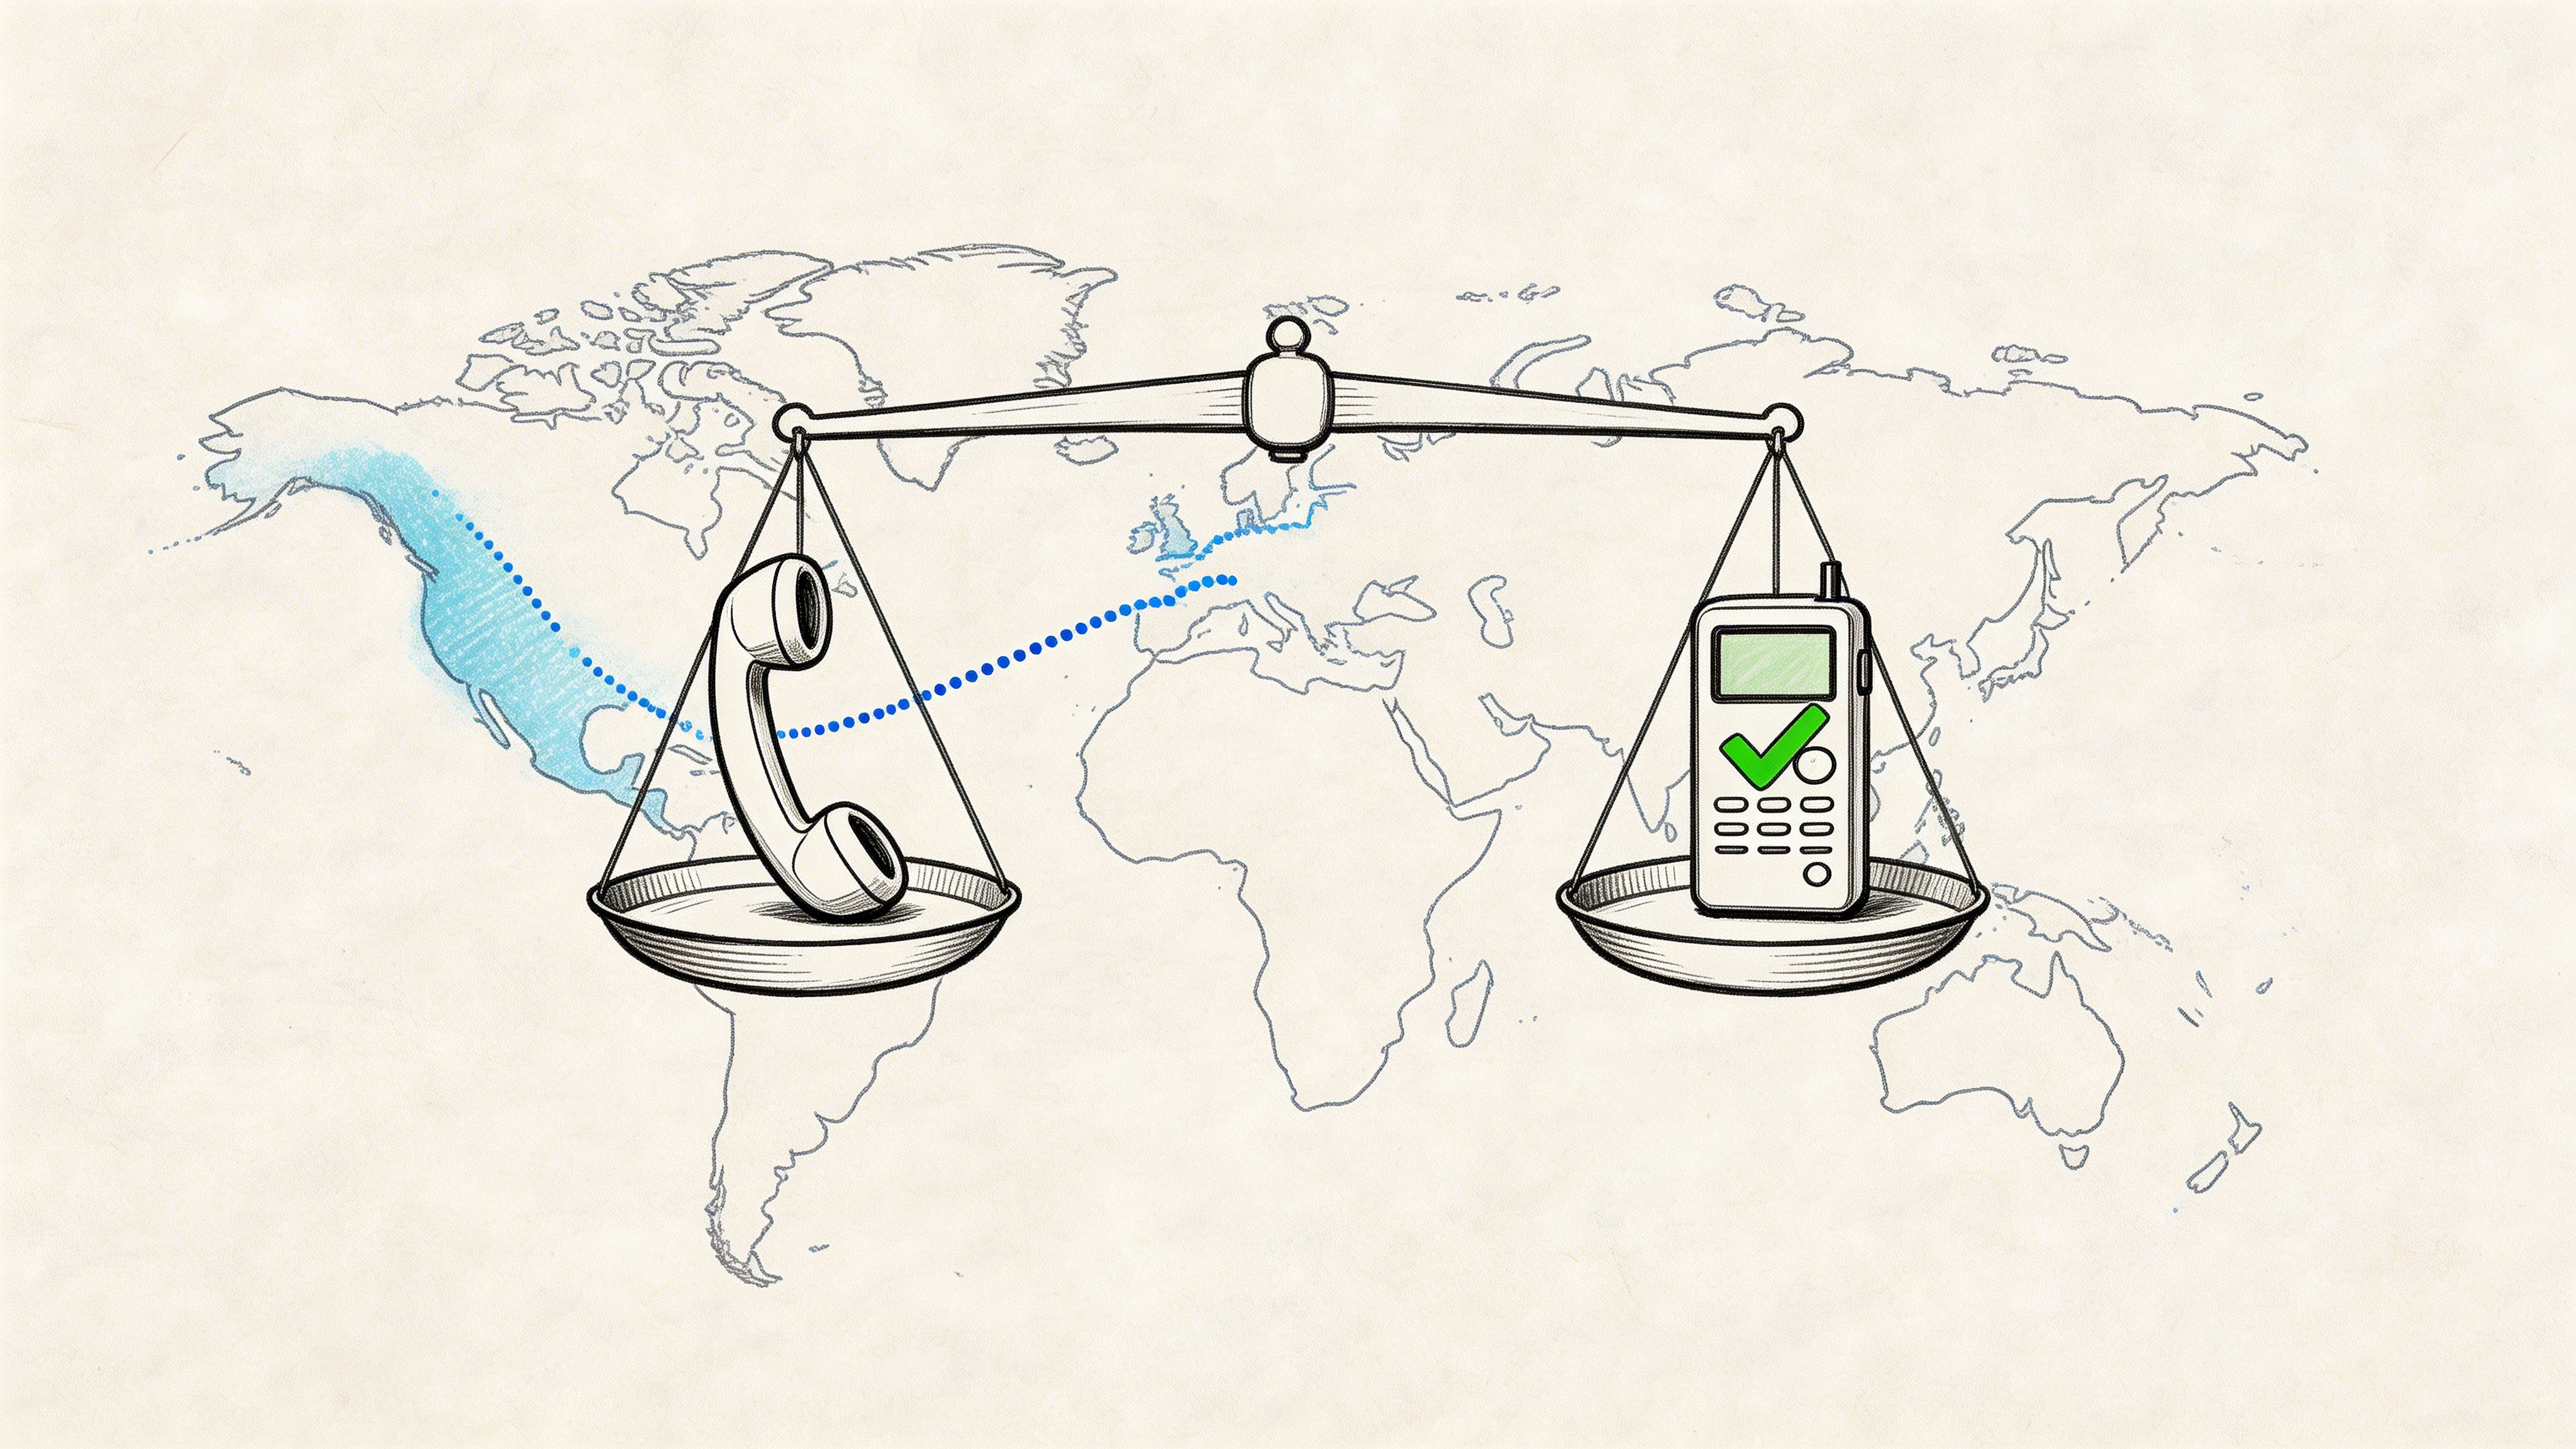
- Open Captions (Burned-In): These are subtitles that are literally burned into the video frames. They become part of the image, just like a graphic, and viewers have no way to turn them off.
- Closed Captions (Sidecar File): These are delivered as a separate text file—most commonly an SRT file—that you upload with your video. Platforms like YouTube and Vimeo use this file to give viewers the option to toggle captions on or off with the classic "CC" button.
The real difference comes down to viewer control. Open captions are always on, which is fantastic for grabbing attention on social media. Closed captions offer flexibility and a massive SEO advantage, making them non-negotiable for platforms like YouTube.
Picking the wrong option can create a pretty clunky viewing experience. For example, if you burn captions into a YouTube video, your audience can't turn them off, which could easily annoy someone who doesn't need or want them.
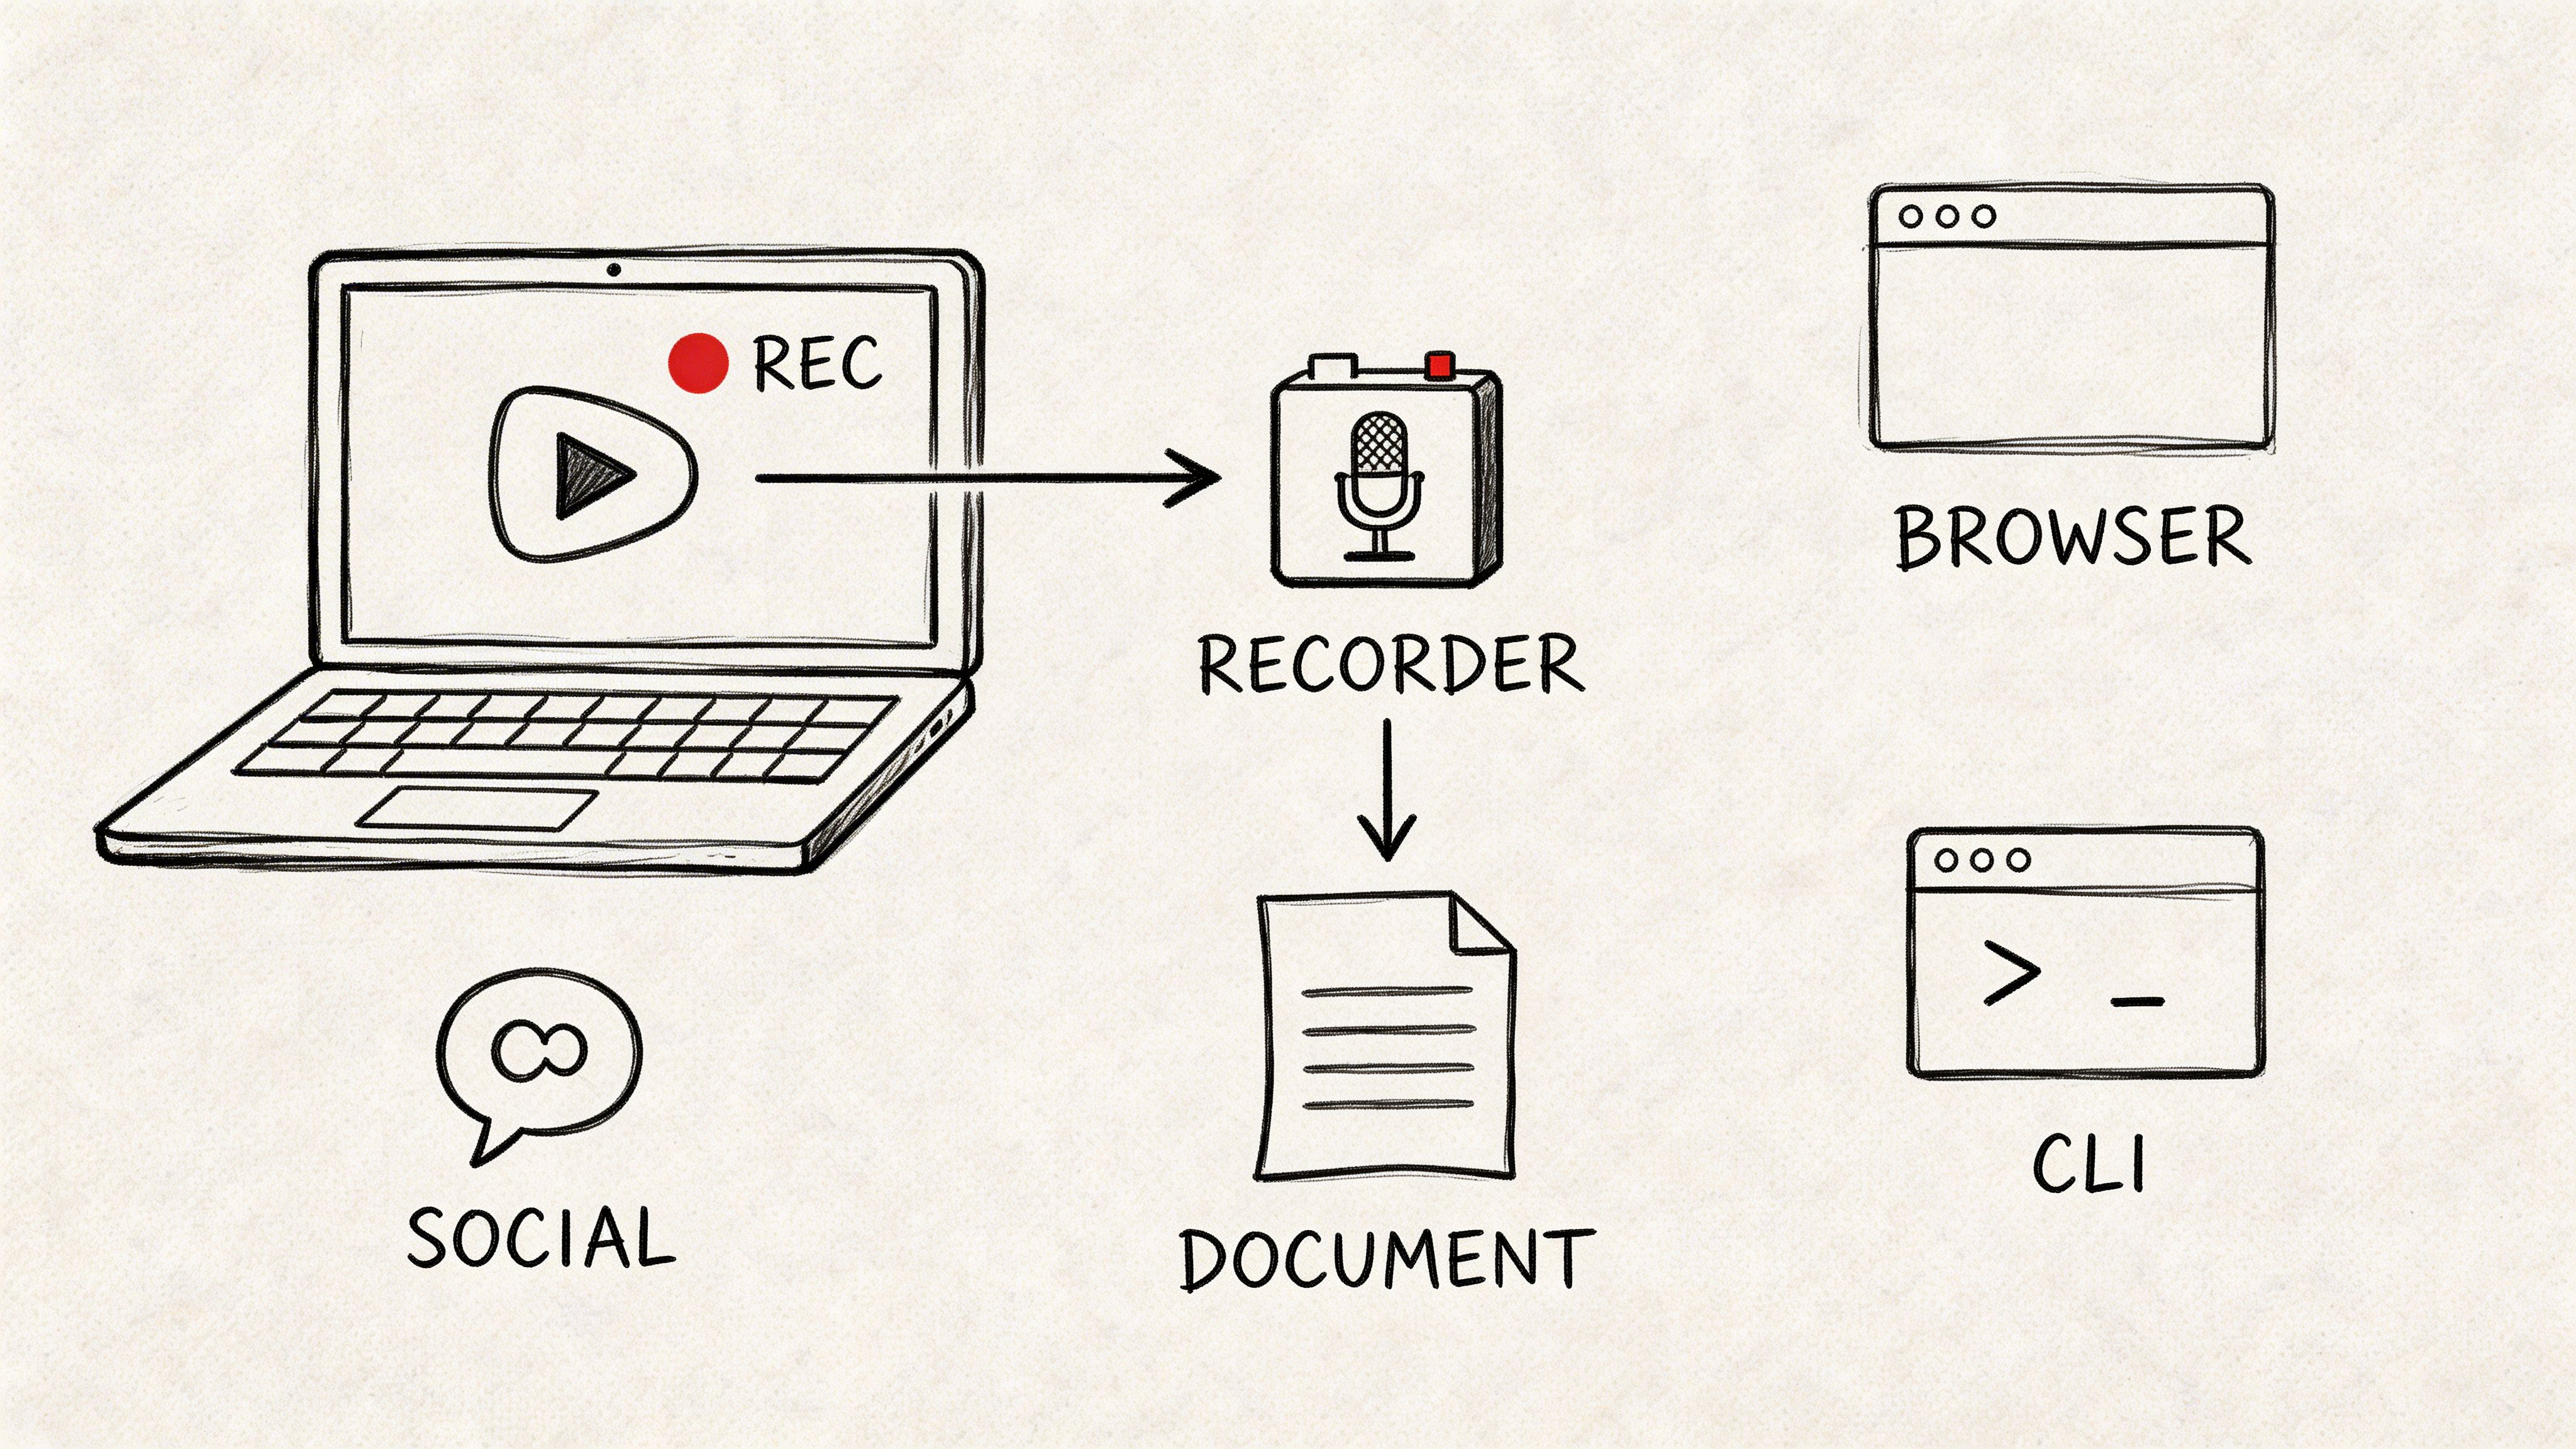
When to Burn Captions into Your Video
Burning your Premiere Pro subtitles directly into the video is my default strategy for social media. Think about platforms where videos often autoplay on mute—like Instagram, TikTok, or LinkedIn. In those fast-scrolling environments, you have a split second to stop someone in their tracks.
A video with burned-in text is instantly understandable, even without sound. It hooks the viewer immediately by showing them what the content is all about. For any kind of short-form social video, this is an absolute must.
Getting this done in Premiere Pro's Export panel is straightforward. Find the "Captions" tab, look for Export Options, and simply select "Burn Captions into Video." That's it.
When to Export a Separate SRT File
For platforms built around long-form content, especially YouTube, exporting a separate sidecar file is the professional standard. When you upload your video, you just pop the SRT file into the "Subtitles" section of the YouTube Studio.
This approach gives you two game-changing benefits:
- Accessibility and User Choice: It enables the familiar "CC" button on the video player, letting people decide for themselves whether to view subtitles. It also opens the door to auto-translated captions, which can expand your audience around the globe.
- A Huge SEO Boost: This is the big one. Google and YouTube can crawl the text in your SRT file. This provides their algorithms with a complete, word-for-word transcript of your video, full of keywords that help your content show up higher in search results.
To export an SRT, just head back to the "Captions" tab in the Export panel. This time, choose "Create Sidecar File" and make sure you select SubRip (.srt) from the format menu. Premiere will then export two files: your MP4 video and your SRT subtitle file, both ready for upload. To really nail this part of the process, dive into our guide on how to caption YouTube videos for the biggest impact.
Got a Question About Premiere Pro Subtitles?
Working with captions in Premiere Pro can feel like a smooth ride one minute and a frustrating puzzle the next. Just when you think you've got it down, a weird formatting bug appears, or your captions suddenly refuse to sync up. Don't worry, it happens to everyone.
This section is all about troubleshooting those common headaches. I've rounded up some of the most frequent questions I hear from other editors to give you clear, no-nonsense answers that will get you back to editing.
Why Are My Imported SRT Captions Out of Sync?
This is easily the most common and maddening issue. Nine times out of ten, the culprit is a frame rate mismatch. Your Premiere Pro sequence might be set to 29.97 fps, but the SRT file was generated assuming a clean 30 fps. That tiny difference is all it takes to create a noticeable drift that gets worse as the video plays on.
The best fix is prevention. Before I even export audio for transcription, I check my sequence settings in Premiere Pro. If the transcription tool lets me specify a frame rate for the SRT output, I make absolutely sure it matches my project.
But what if the damage is already done and you've got a drifting SRT file in your timeline? You're not out of luck.
- The Nudge Method: For a slight drift, you can select all the caption blocks on your timeline, hold Alt/Option, and use the left or right arrow keys to nudge them frame by frame. It’s a bit tedious, but for small timing errors, it's a quick fix.
- The Rate Stretch Tool: This is your power tool for bigger sync problems. Hit the 'R' key to activate the Rate Stretch Tool, then click and drag the end of the entire subtitle clip. This lets you slightly speed up or slow down the captions' timing to correct a consistent drift across the whole video.
My takeaway: Consistency is everything. Always double-check that your sequence, export, and SRT generation settings share the exact same frame rate. It’ll save you a world of hurt later on.
Can I Animate Individual Words in a Caption?
The short answer is no, not directly. The caption track in Premiere Pro is built for static text blocks. You can't just apply keyframes to a single word inside a larger caption segment. But there’s a simple workaround that editors use all the time to get the same effect.
The trick is to isolate the word you want to highlight. Move your playhead right before the word and use the blade tool (C) or the "Add Edit" shortcut (Ctrl/Cmd + K) to slice the caption. Then, do it again right after the word.
You're left with a tiny caption segment containing just that one word. Since it's now its own independent clip, you can go wild and give it a completely unique style.
- Change its color to pop.
- Bump up the font size or switch to bold.
- Give it a different colored background box.
By stringing together a few of these cuts, you can create that popular dynamic text effect you see all over social media. It's a fantastic way to add energy and keep your viewers hooked.
What Is the Best Font for Subtitles?
There’s no single "best" font, but there are two guiding principles that never fail: clarity and readability. Your audience shouldn't have to squint or struggle to read; the captions should feel effortless.
As a general rule, stick to clean, simple sans-serif fonts. They are the workhorses of on-screen text for a reason. Here are a few solid choices you can rely on, most of which are available right in Adobe Fonts:
- Roboto: A modern, incredibly legible font that looks great at almost any size.
- Montserrat: A bit more stylish but still very clean and professional.
- Arial or Helvetica: You can't go wrong with the classics. They're neutral, familiar, and easy to read.
- Source Sans Pro: This one was designed by Adobe specifically for user interfaces, which makes it perfect for on-screen text.
Whatever you choose, please avoid overly decorative, script, or super-thin fonts. They may look cool in a design program, but against a busy video background, they become a readable nightmare.
As you can see, mastering Premiere Pro subtitles is a mix of using smart tools and then adding your own creative polish inside the editor. By letting a tool like Whisper AI handle the grunt work of transcription, you free up your time to focus on what actually makes your captions great: the timing, style, and readability.
If you're tired of typing out every word by hand, it's time to give it a try. You can get incredibly accurate transcripts and SRT files in minutes, giving you a clean starting point to create professional captions faster than ever.
Learn more and get your first Whisper AI transcript for free