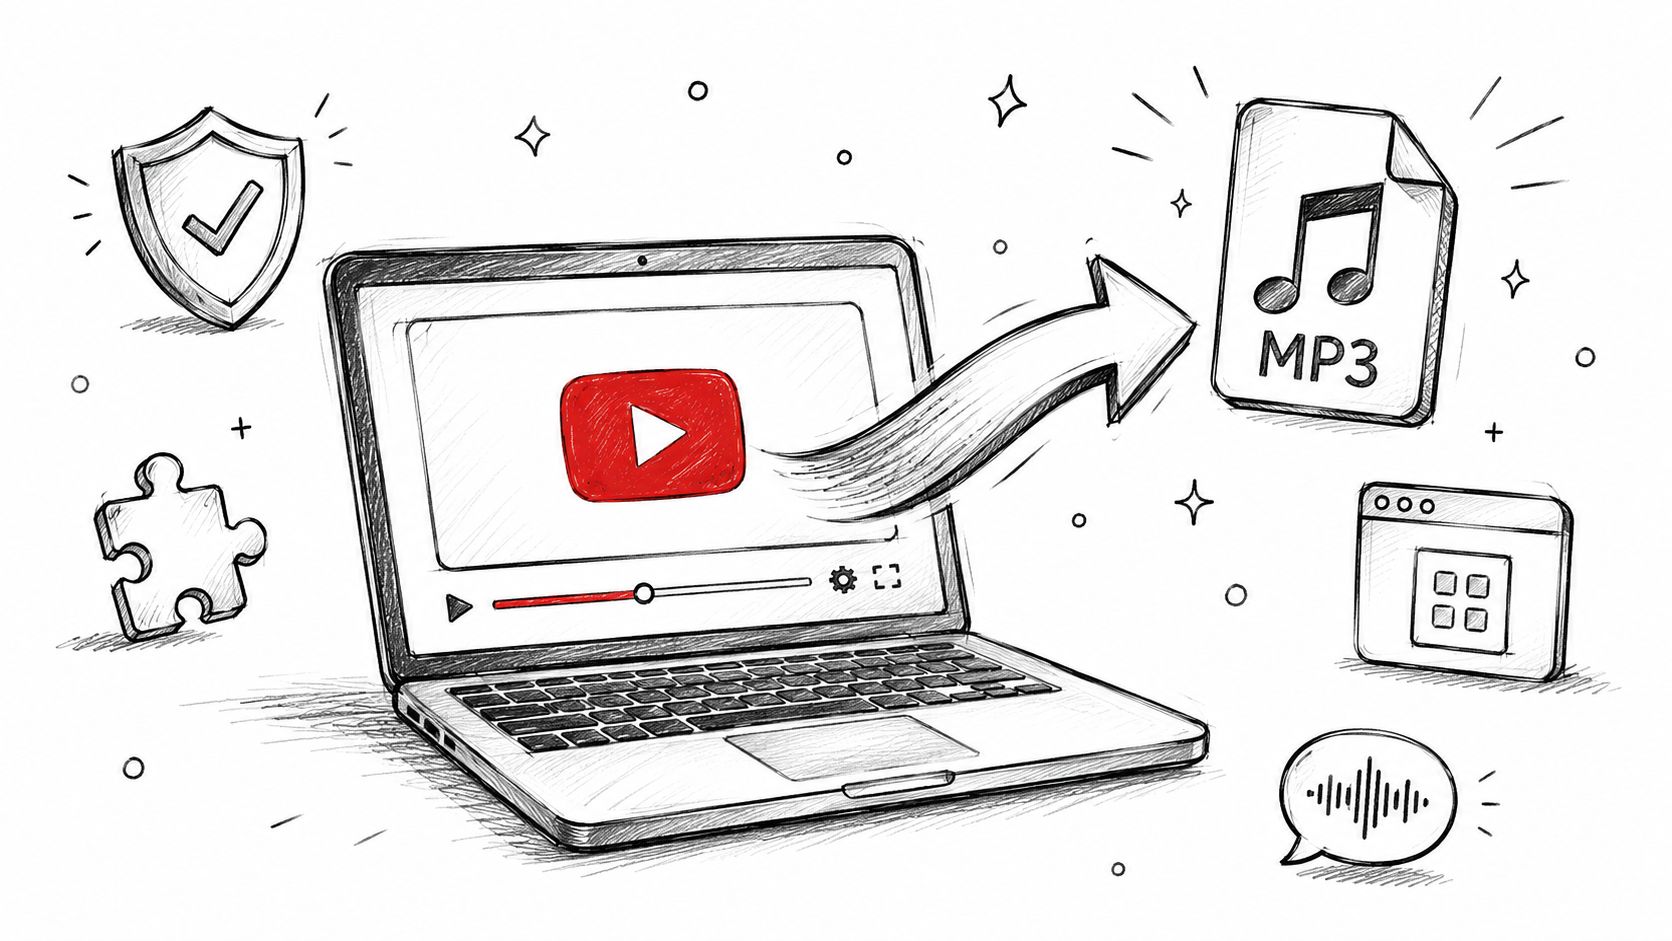
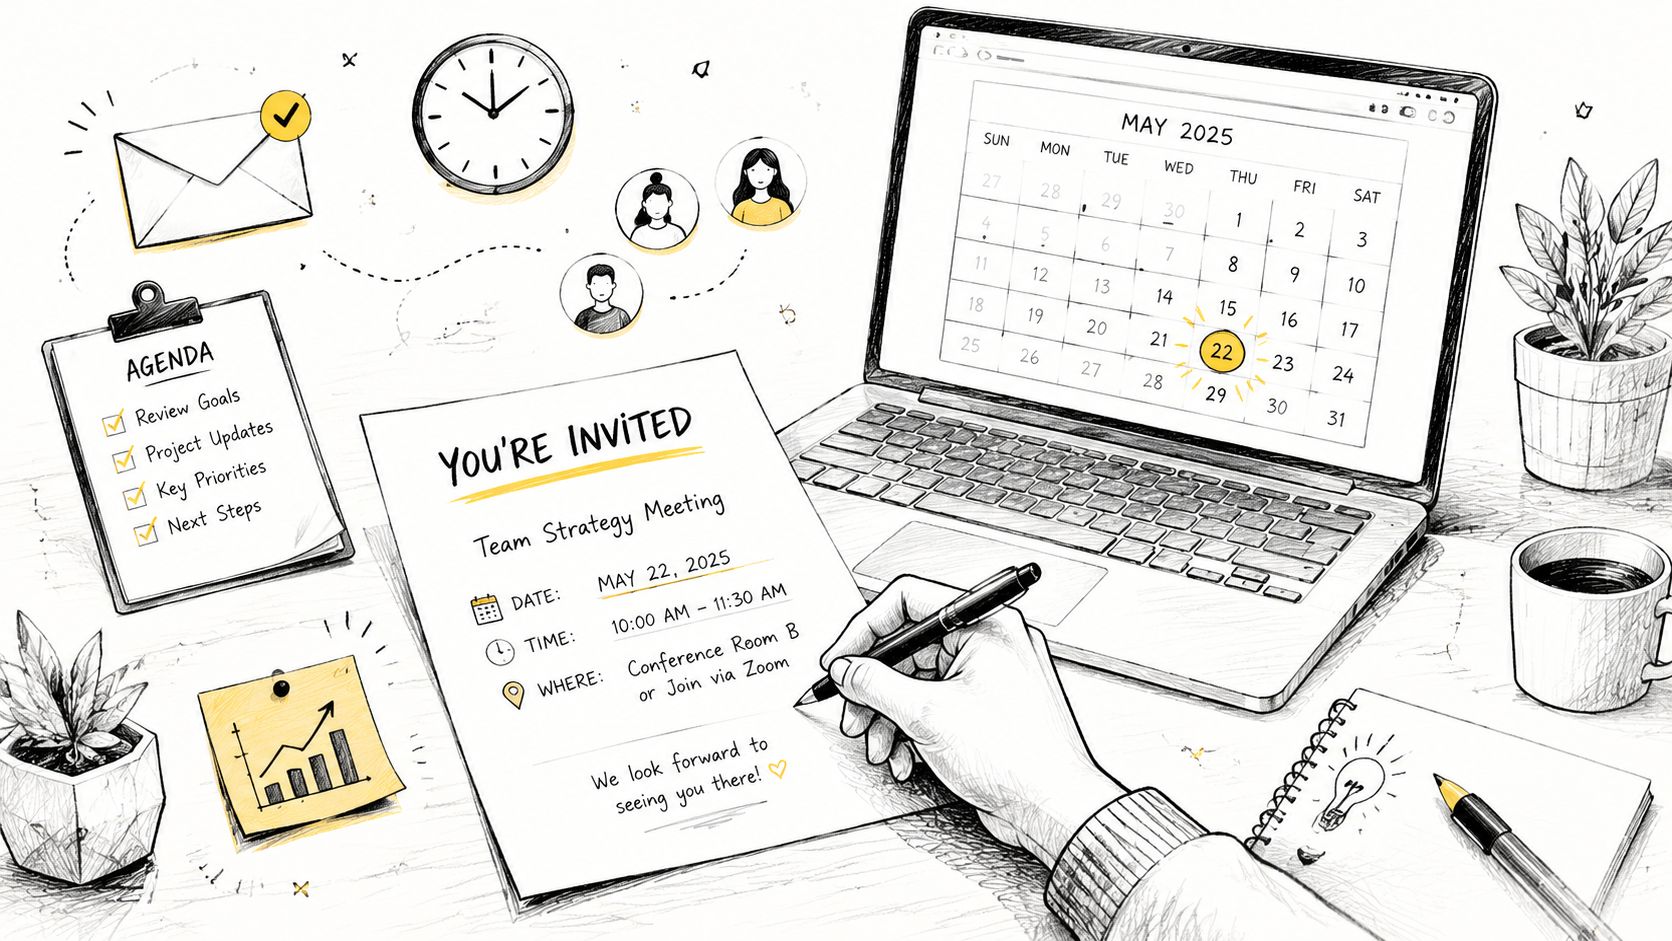
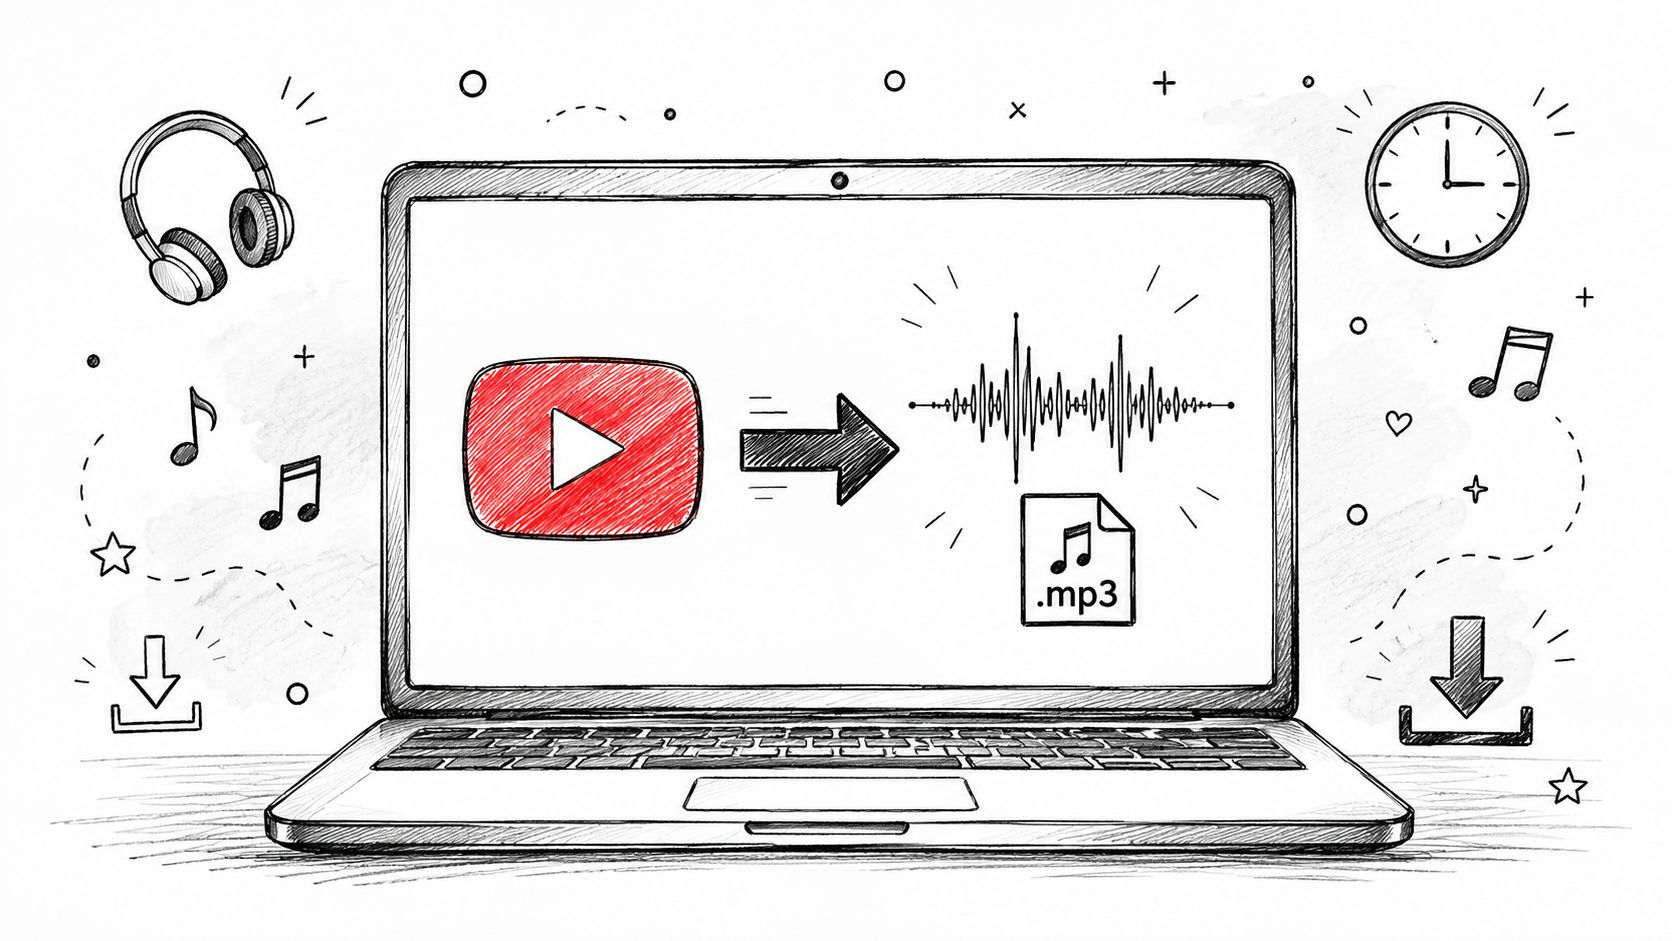
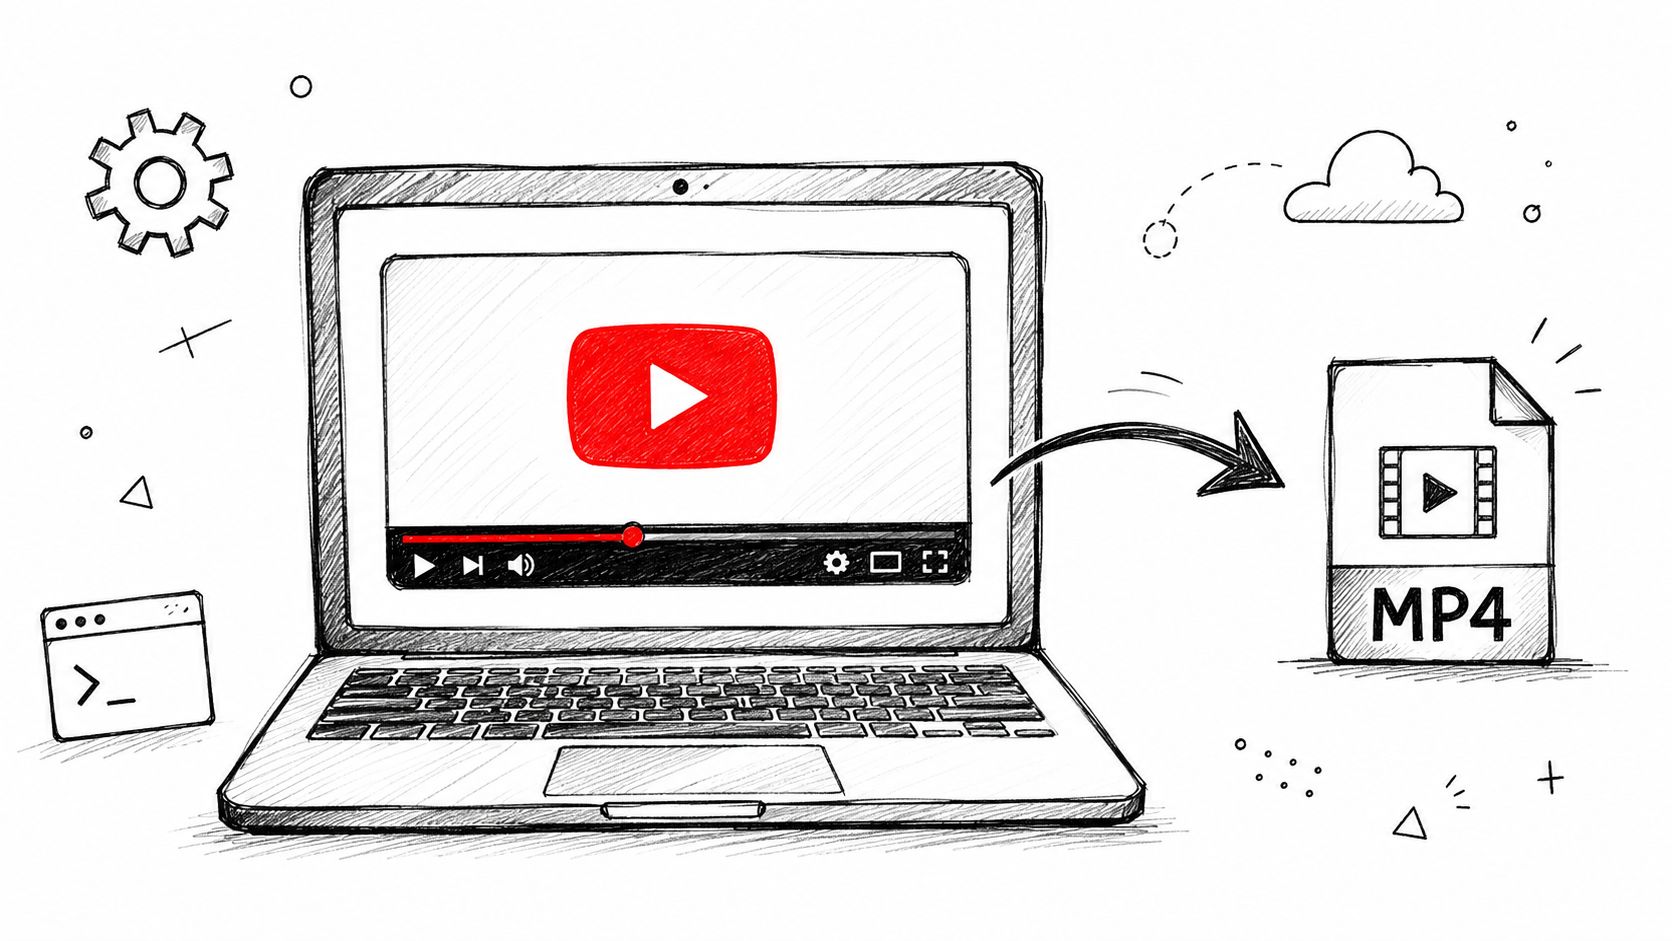
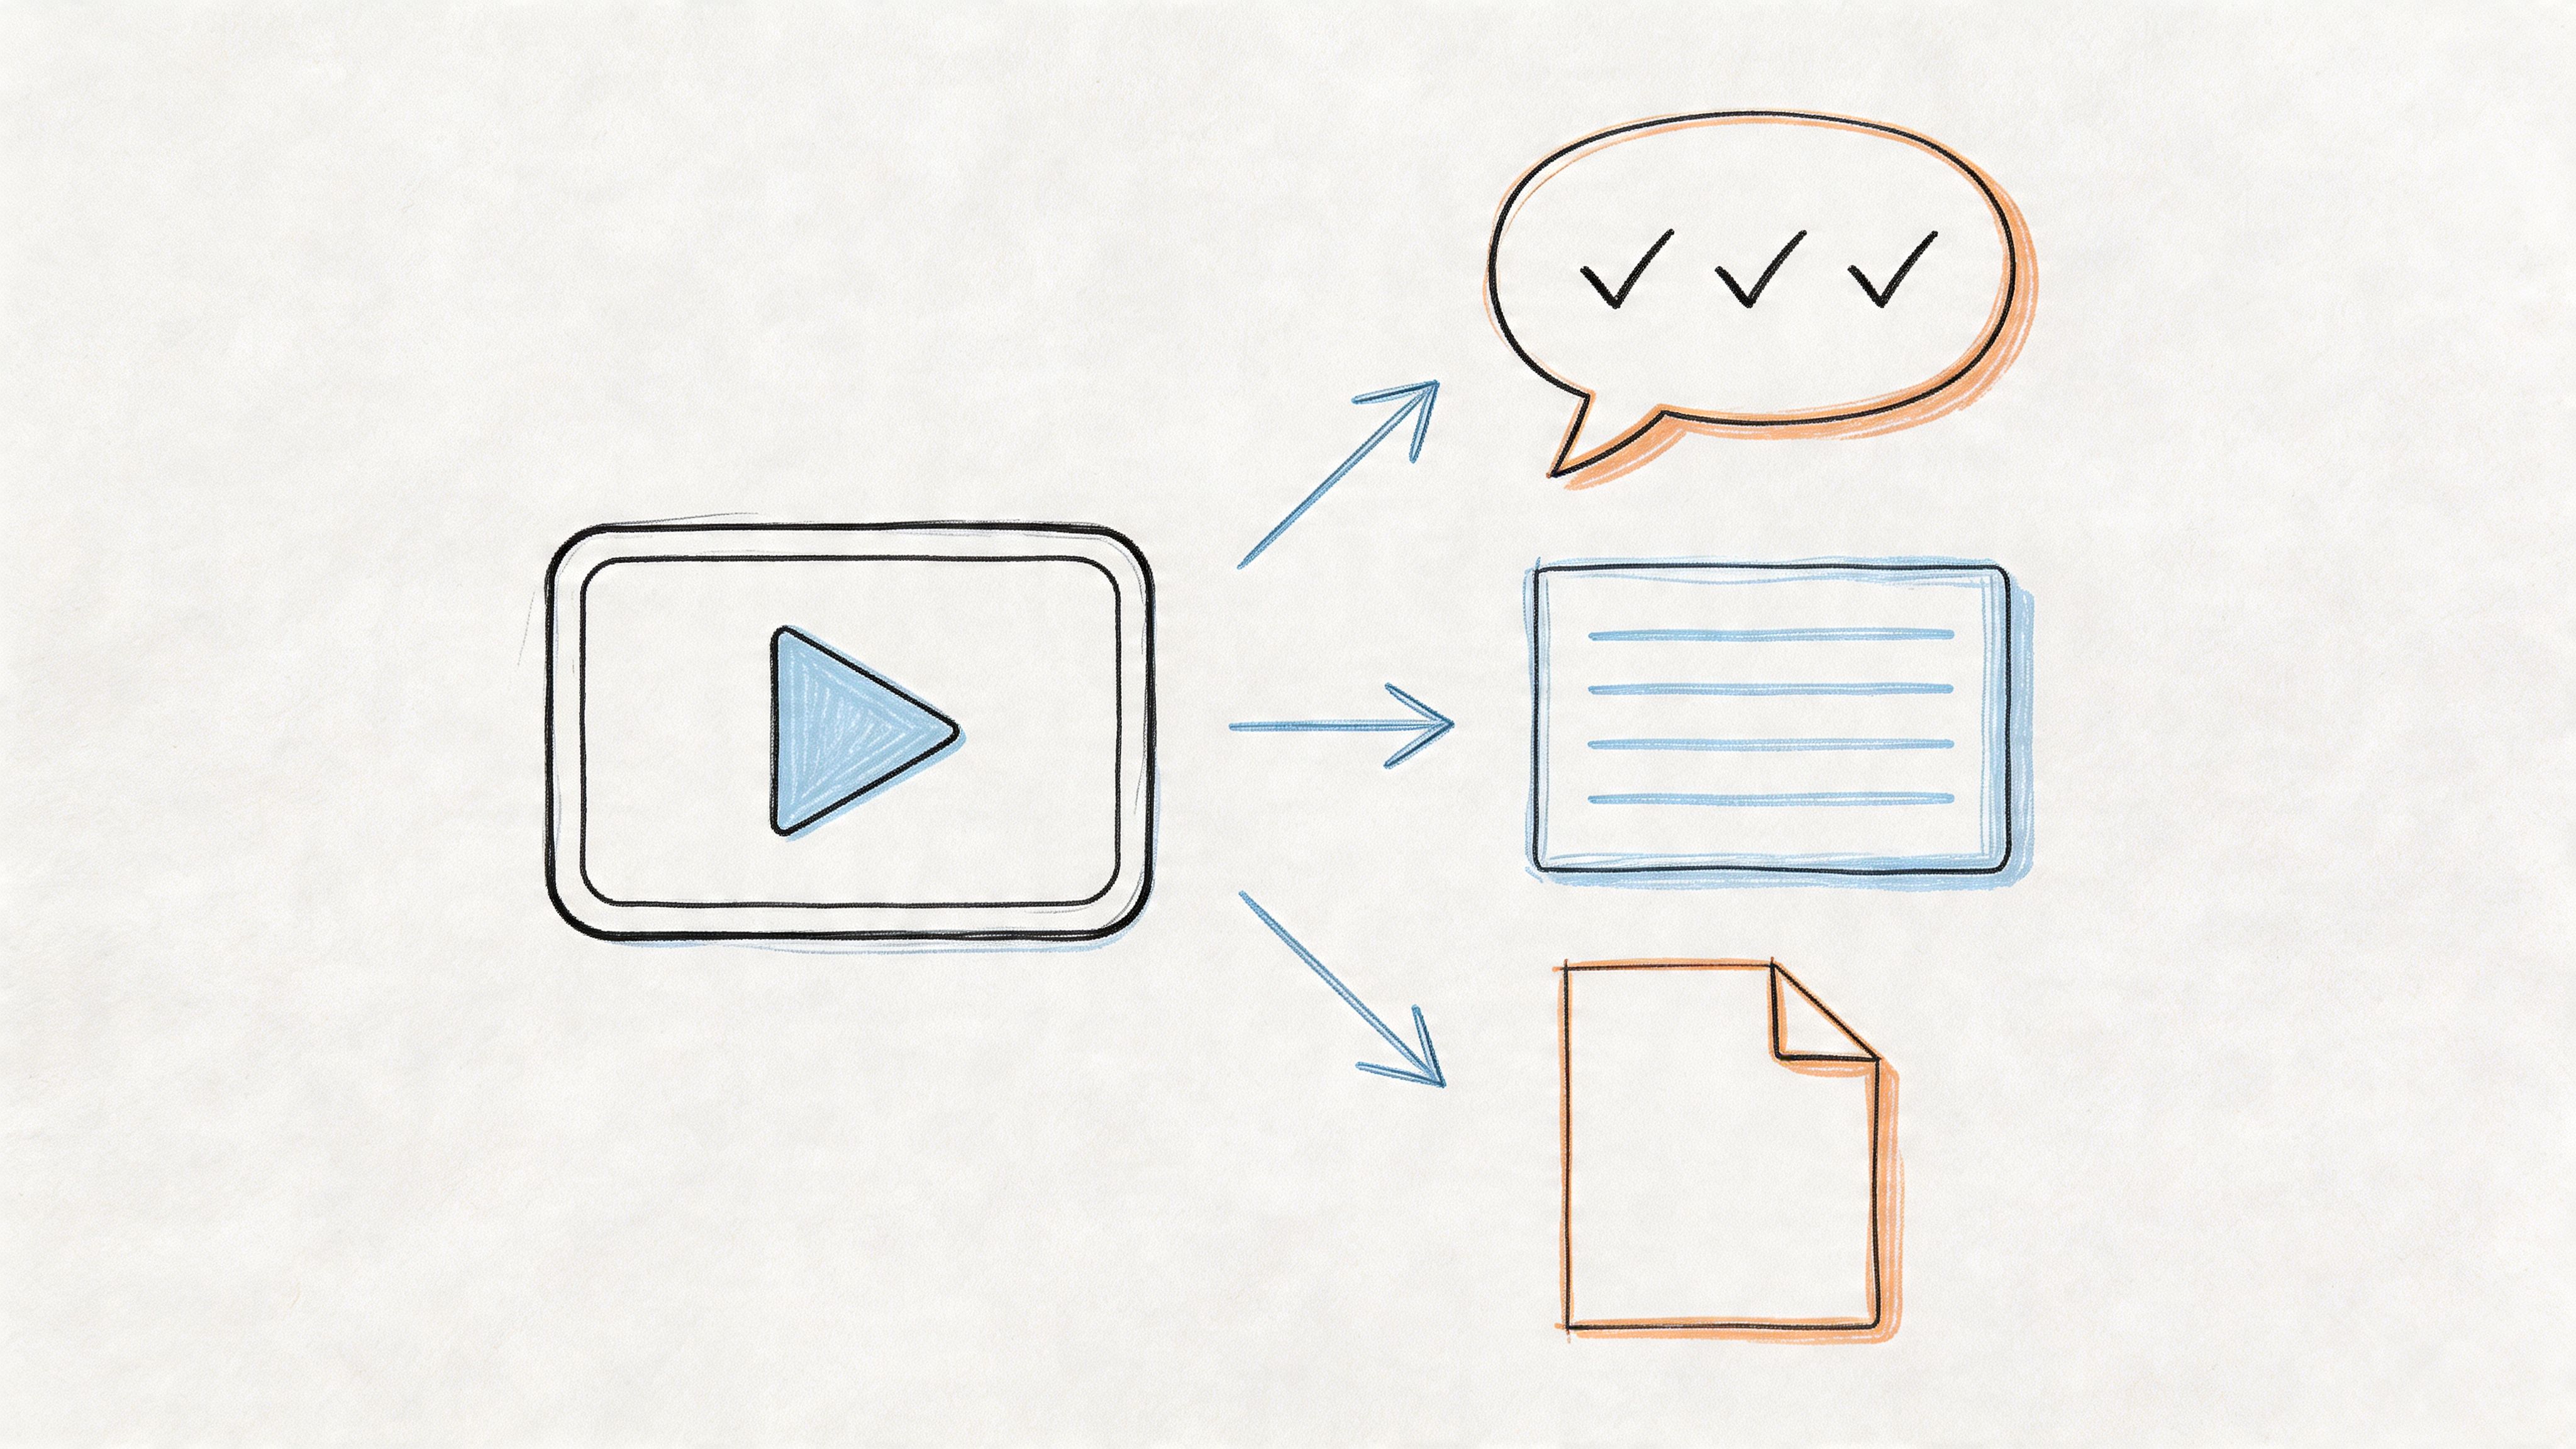
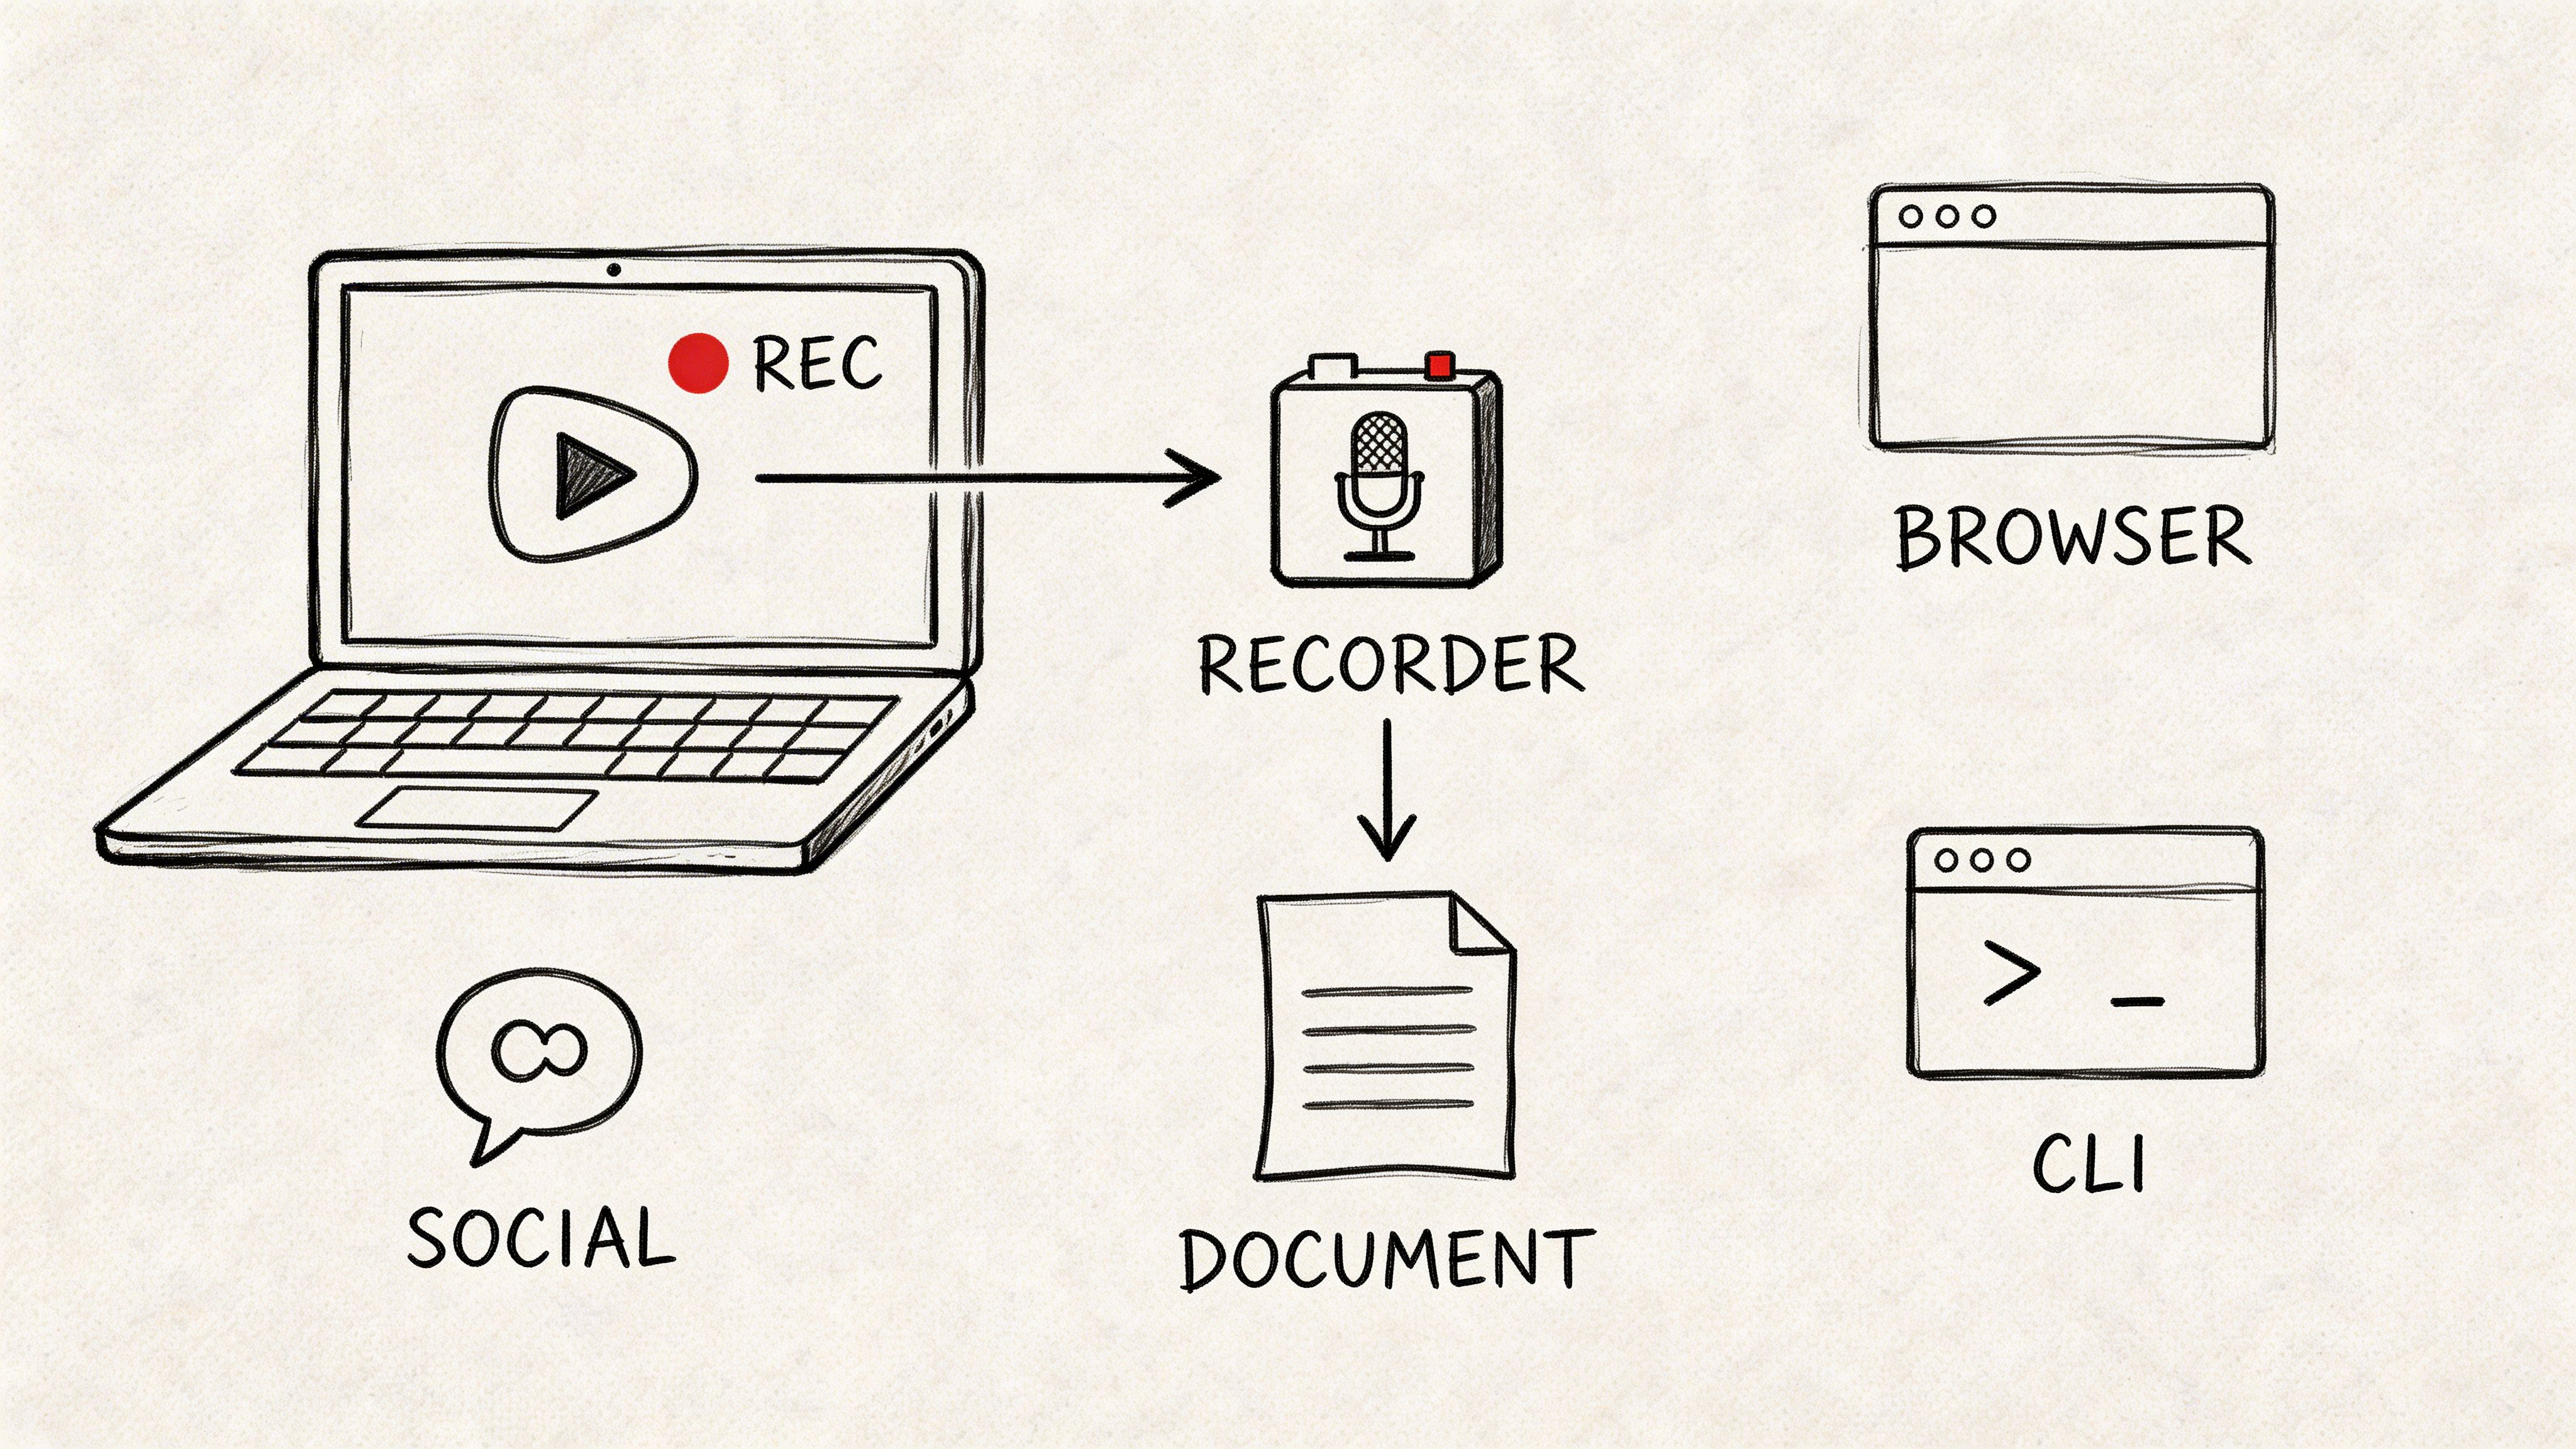
How to Get a Transcript of a YouTube Video (3 Easy Methods)
When you need the text from a YouTube video, you have three reliable options. You can use YouTube's built-in transcript viewer for instant access, download the caption file for offline editing, or use an AI tool like Whisper AI for high-volume or unclear audio. Each method offers a different balance of speed, accuracy, and effort. Based on my experience transcribing hundreds of videos, I'll walk you through how to choose the right one for your specific needs.
Quick Methods For YouTube Transcripts
Here's how to pick the best workflow for your project:
- Built-in Transcript Pane: This is the fastest way to get text. It's ideal when you just need to grab a quick quote or check a specific part of a short video.
- Caption File Download: Exporting the SRT or VTT file gives you an editable script. This is my go-to when I need to refine punctuation, correct timing, or label speakers offline.
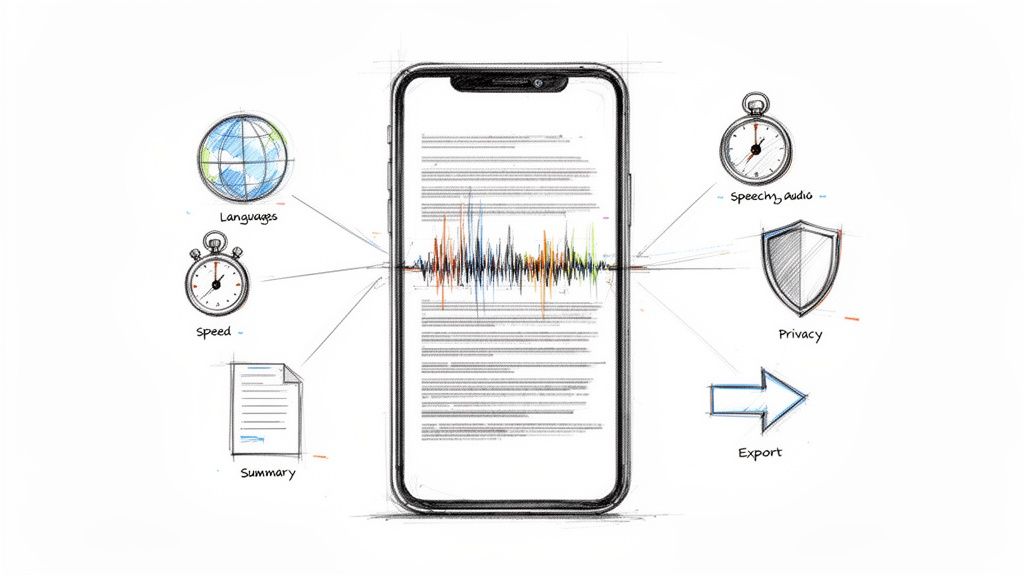
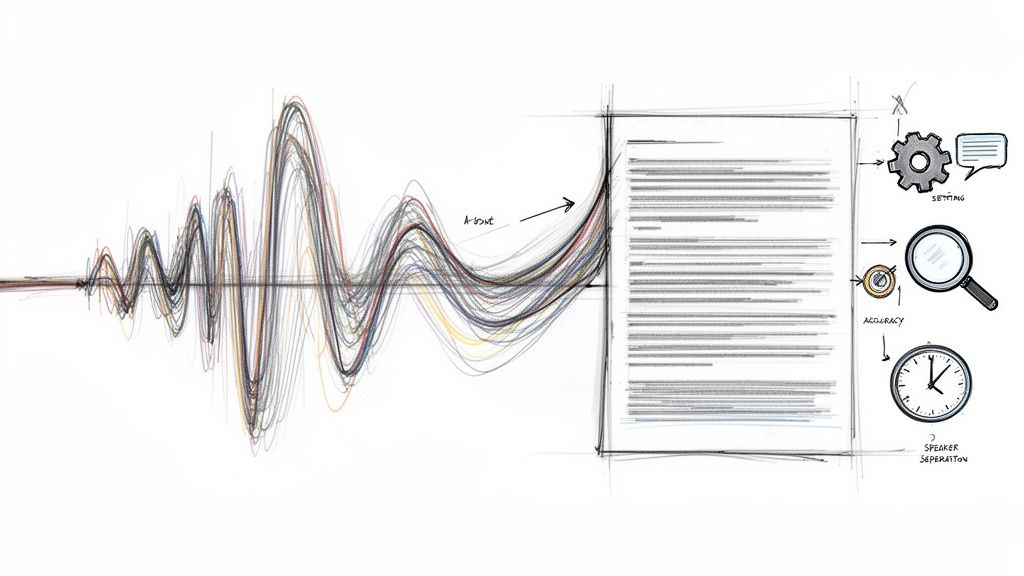
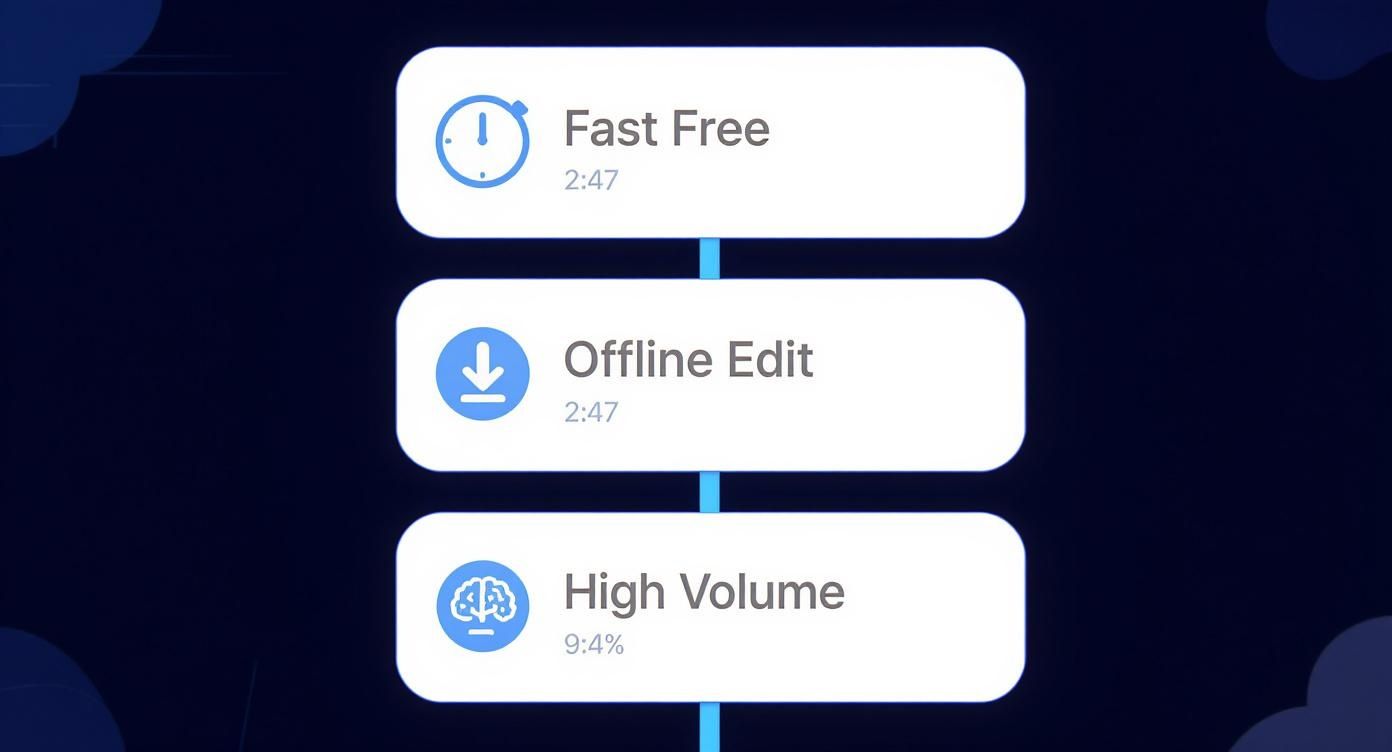
- Whisper AI Processing: For transcribing multiple videos at once or dealing with challenging audio (like background noise or strong accents), AI delivers superior accuracy, often exceeding 95%.
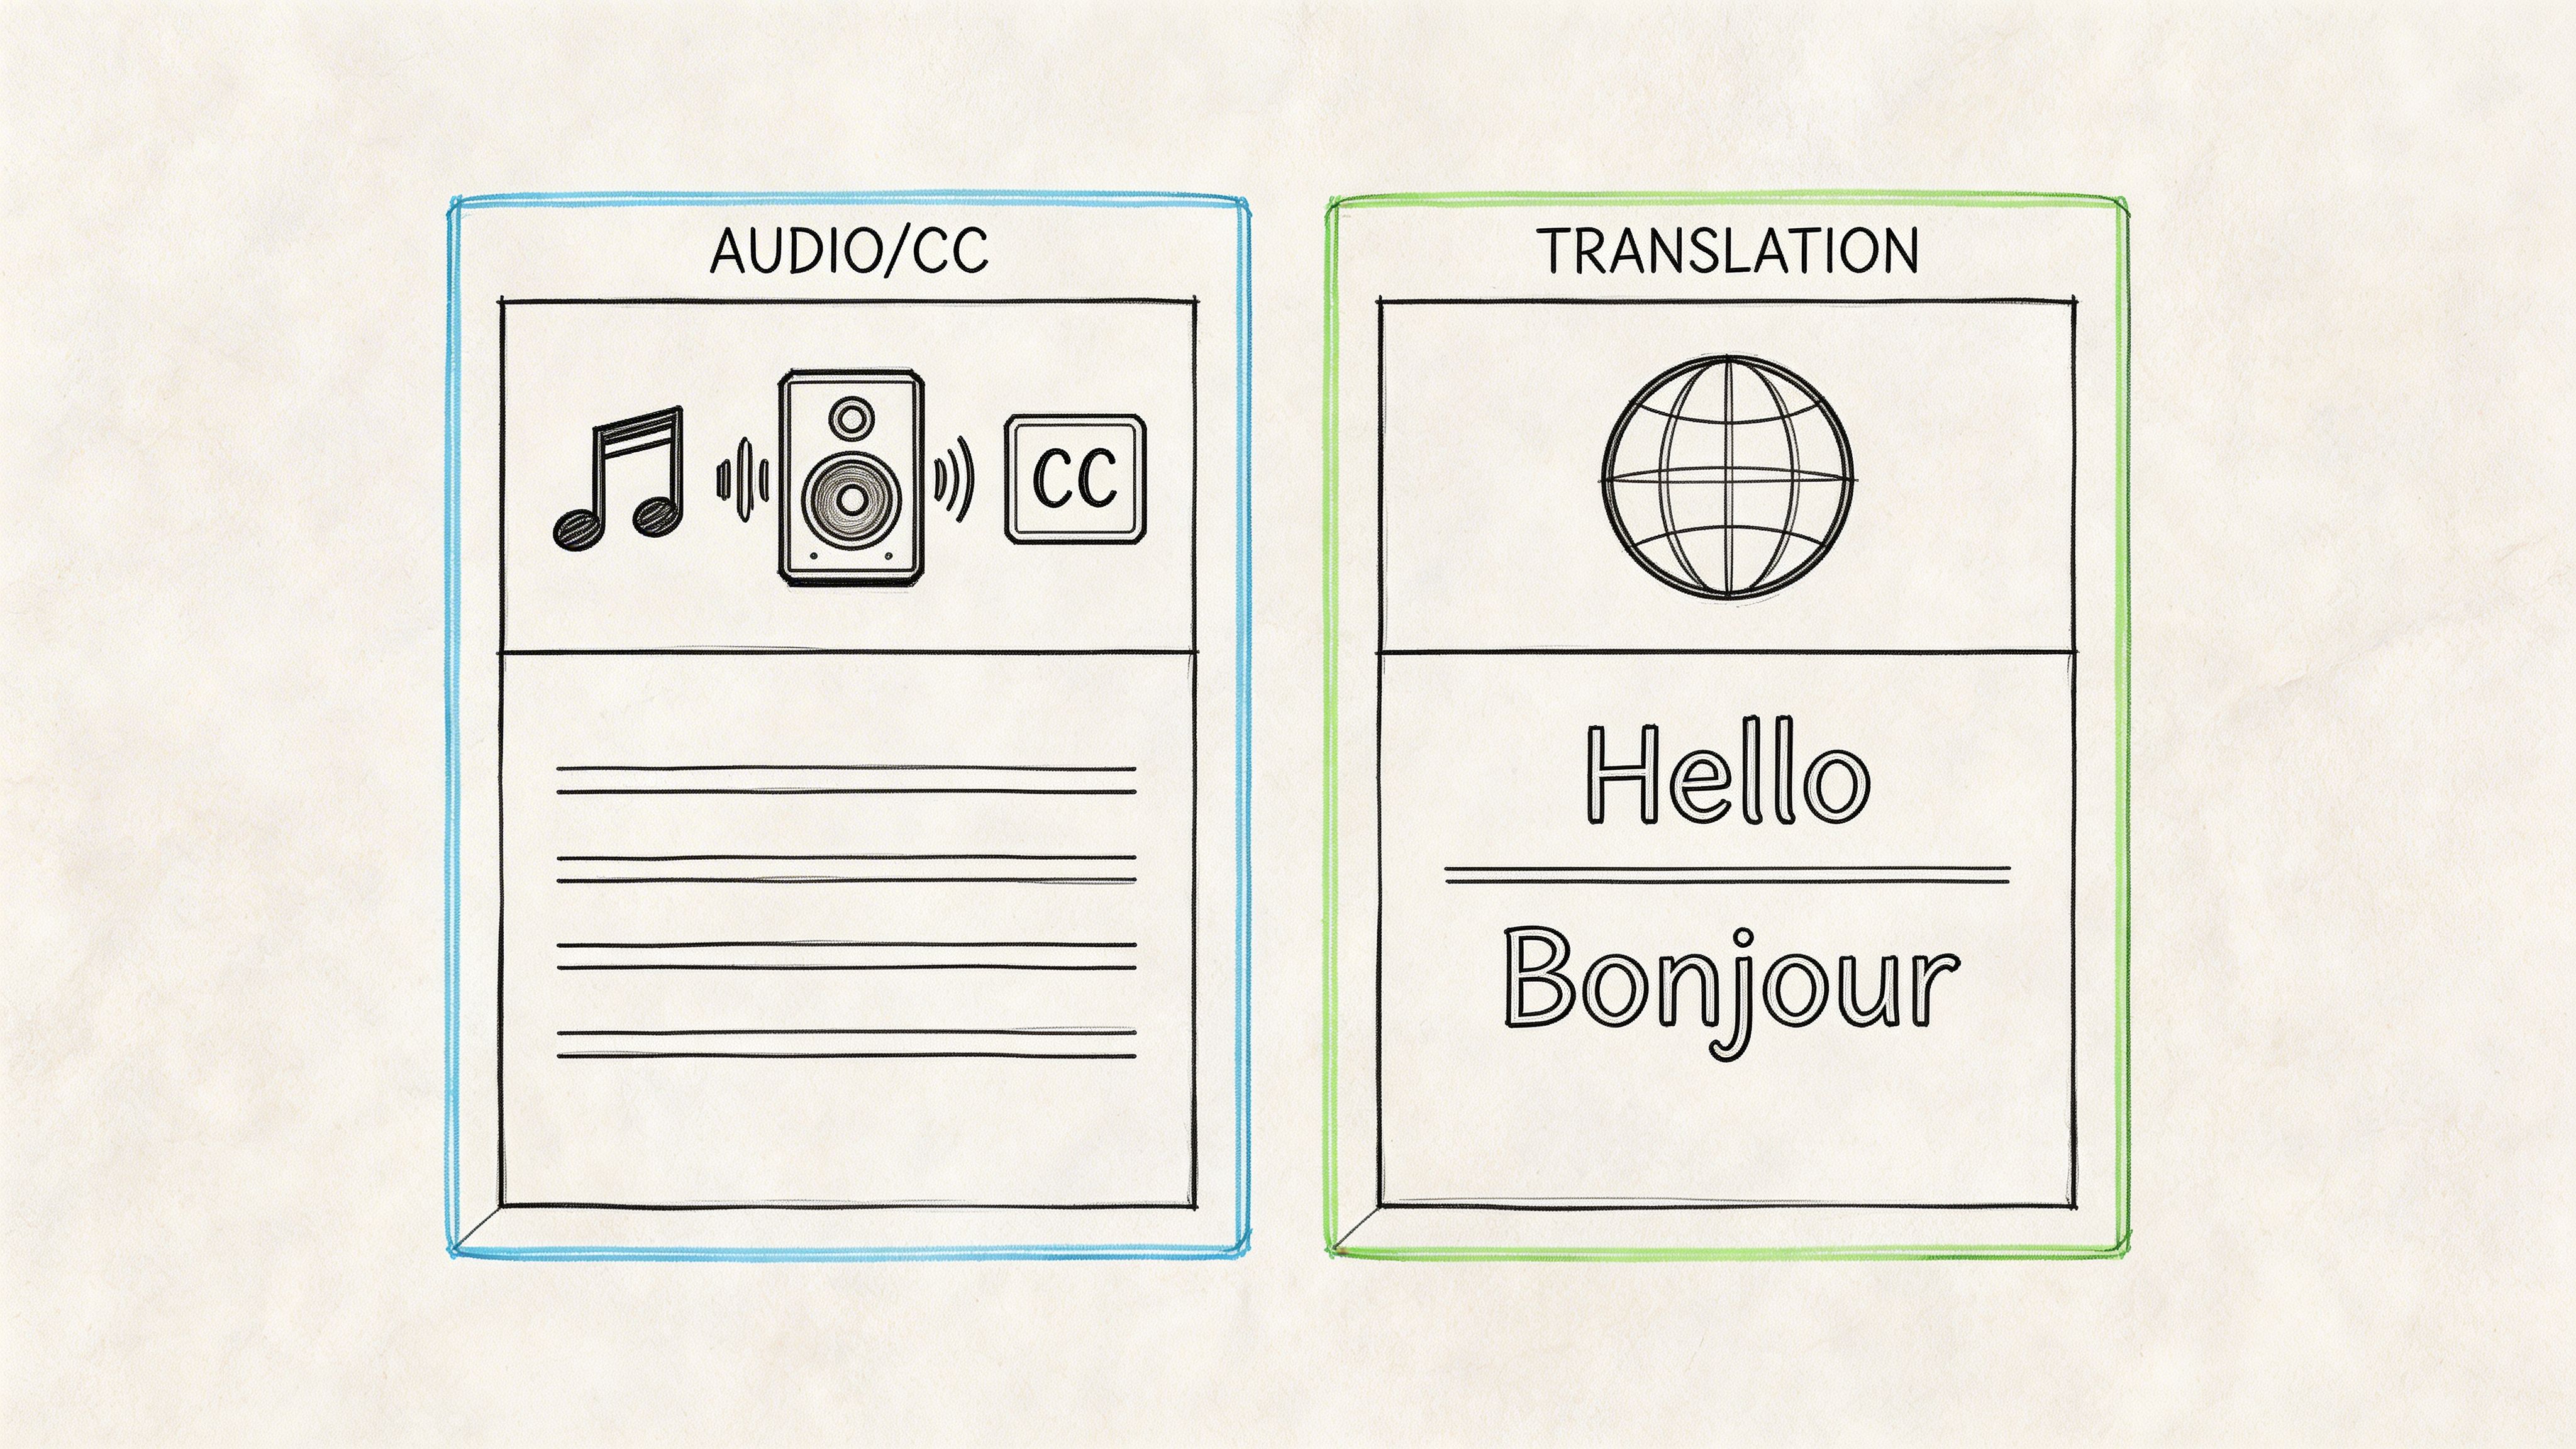
Transcript Method Comparison
Here’s a quick breakdown of how each option compares:
Ultimately, the choice comes down to your priorities. Use the built-in pane for speed, download captions for control, or rely on AI when accuracy and volume are critical.
Key Takeaway: For a few lines of text in seconds, use YouTube’s transcript pane. To fine-tune offline, download the caption file. For large-scale or high-precision work, switch to an AI service like Whisper AI.
By matching the method to your project's needs—whether it's about the timeline, audio quality, or editorial standards—you'll get the text you need efficiently.
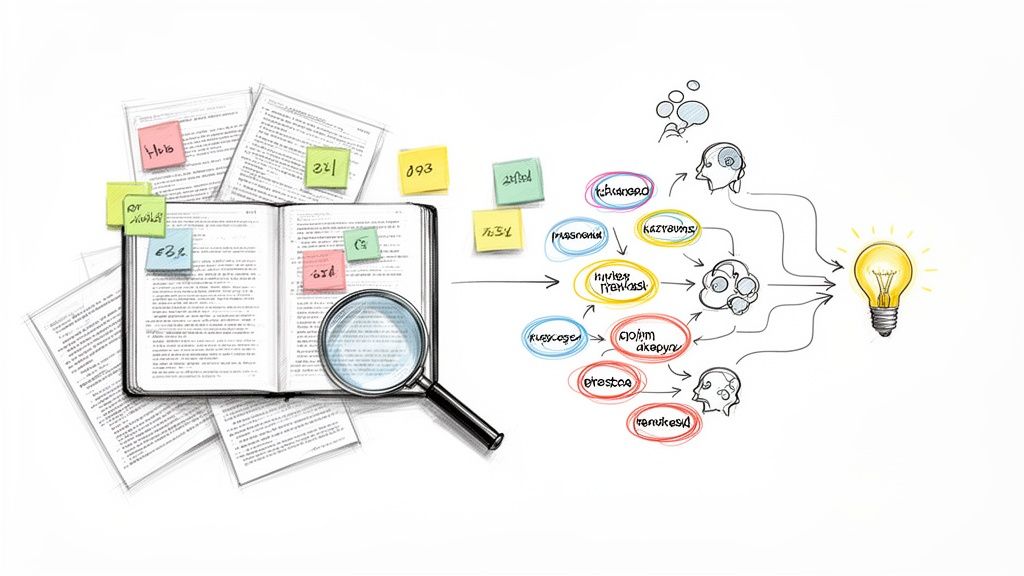
Understanding Your Transcript Options
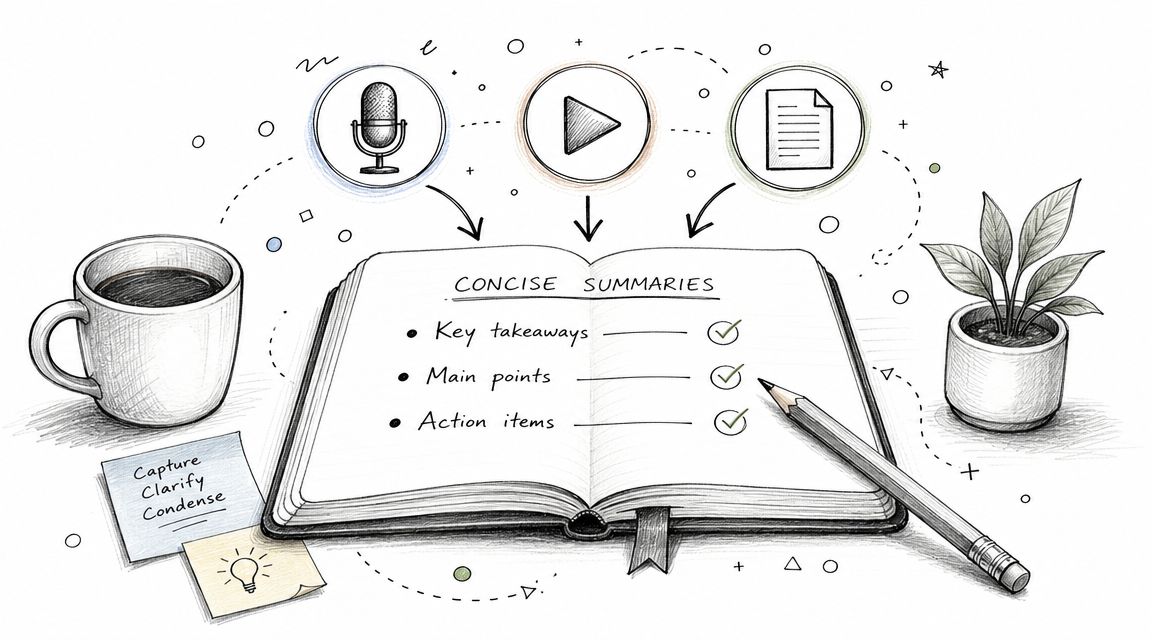
A video transcript converts spoken words into searchable, usable text. This is incredibly useful for quoting sources, repurposing video content for blogs, and improving accessibility. A text version also boosts your video's SEO by making its content crawlable by search engines.
Whether you need a quick quote for an article or are processing hours of interview footage, there’s a workflow that fits.
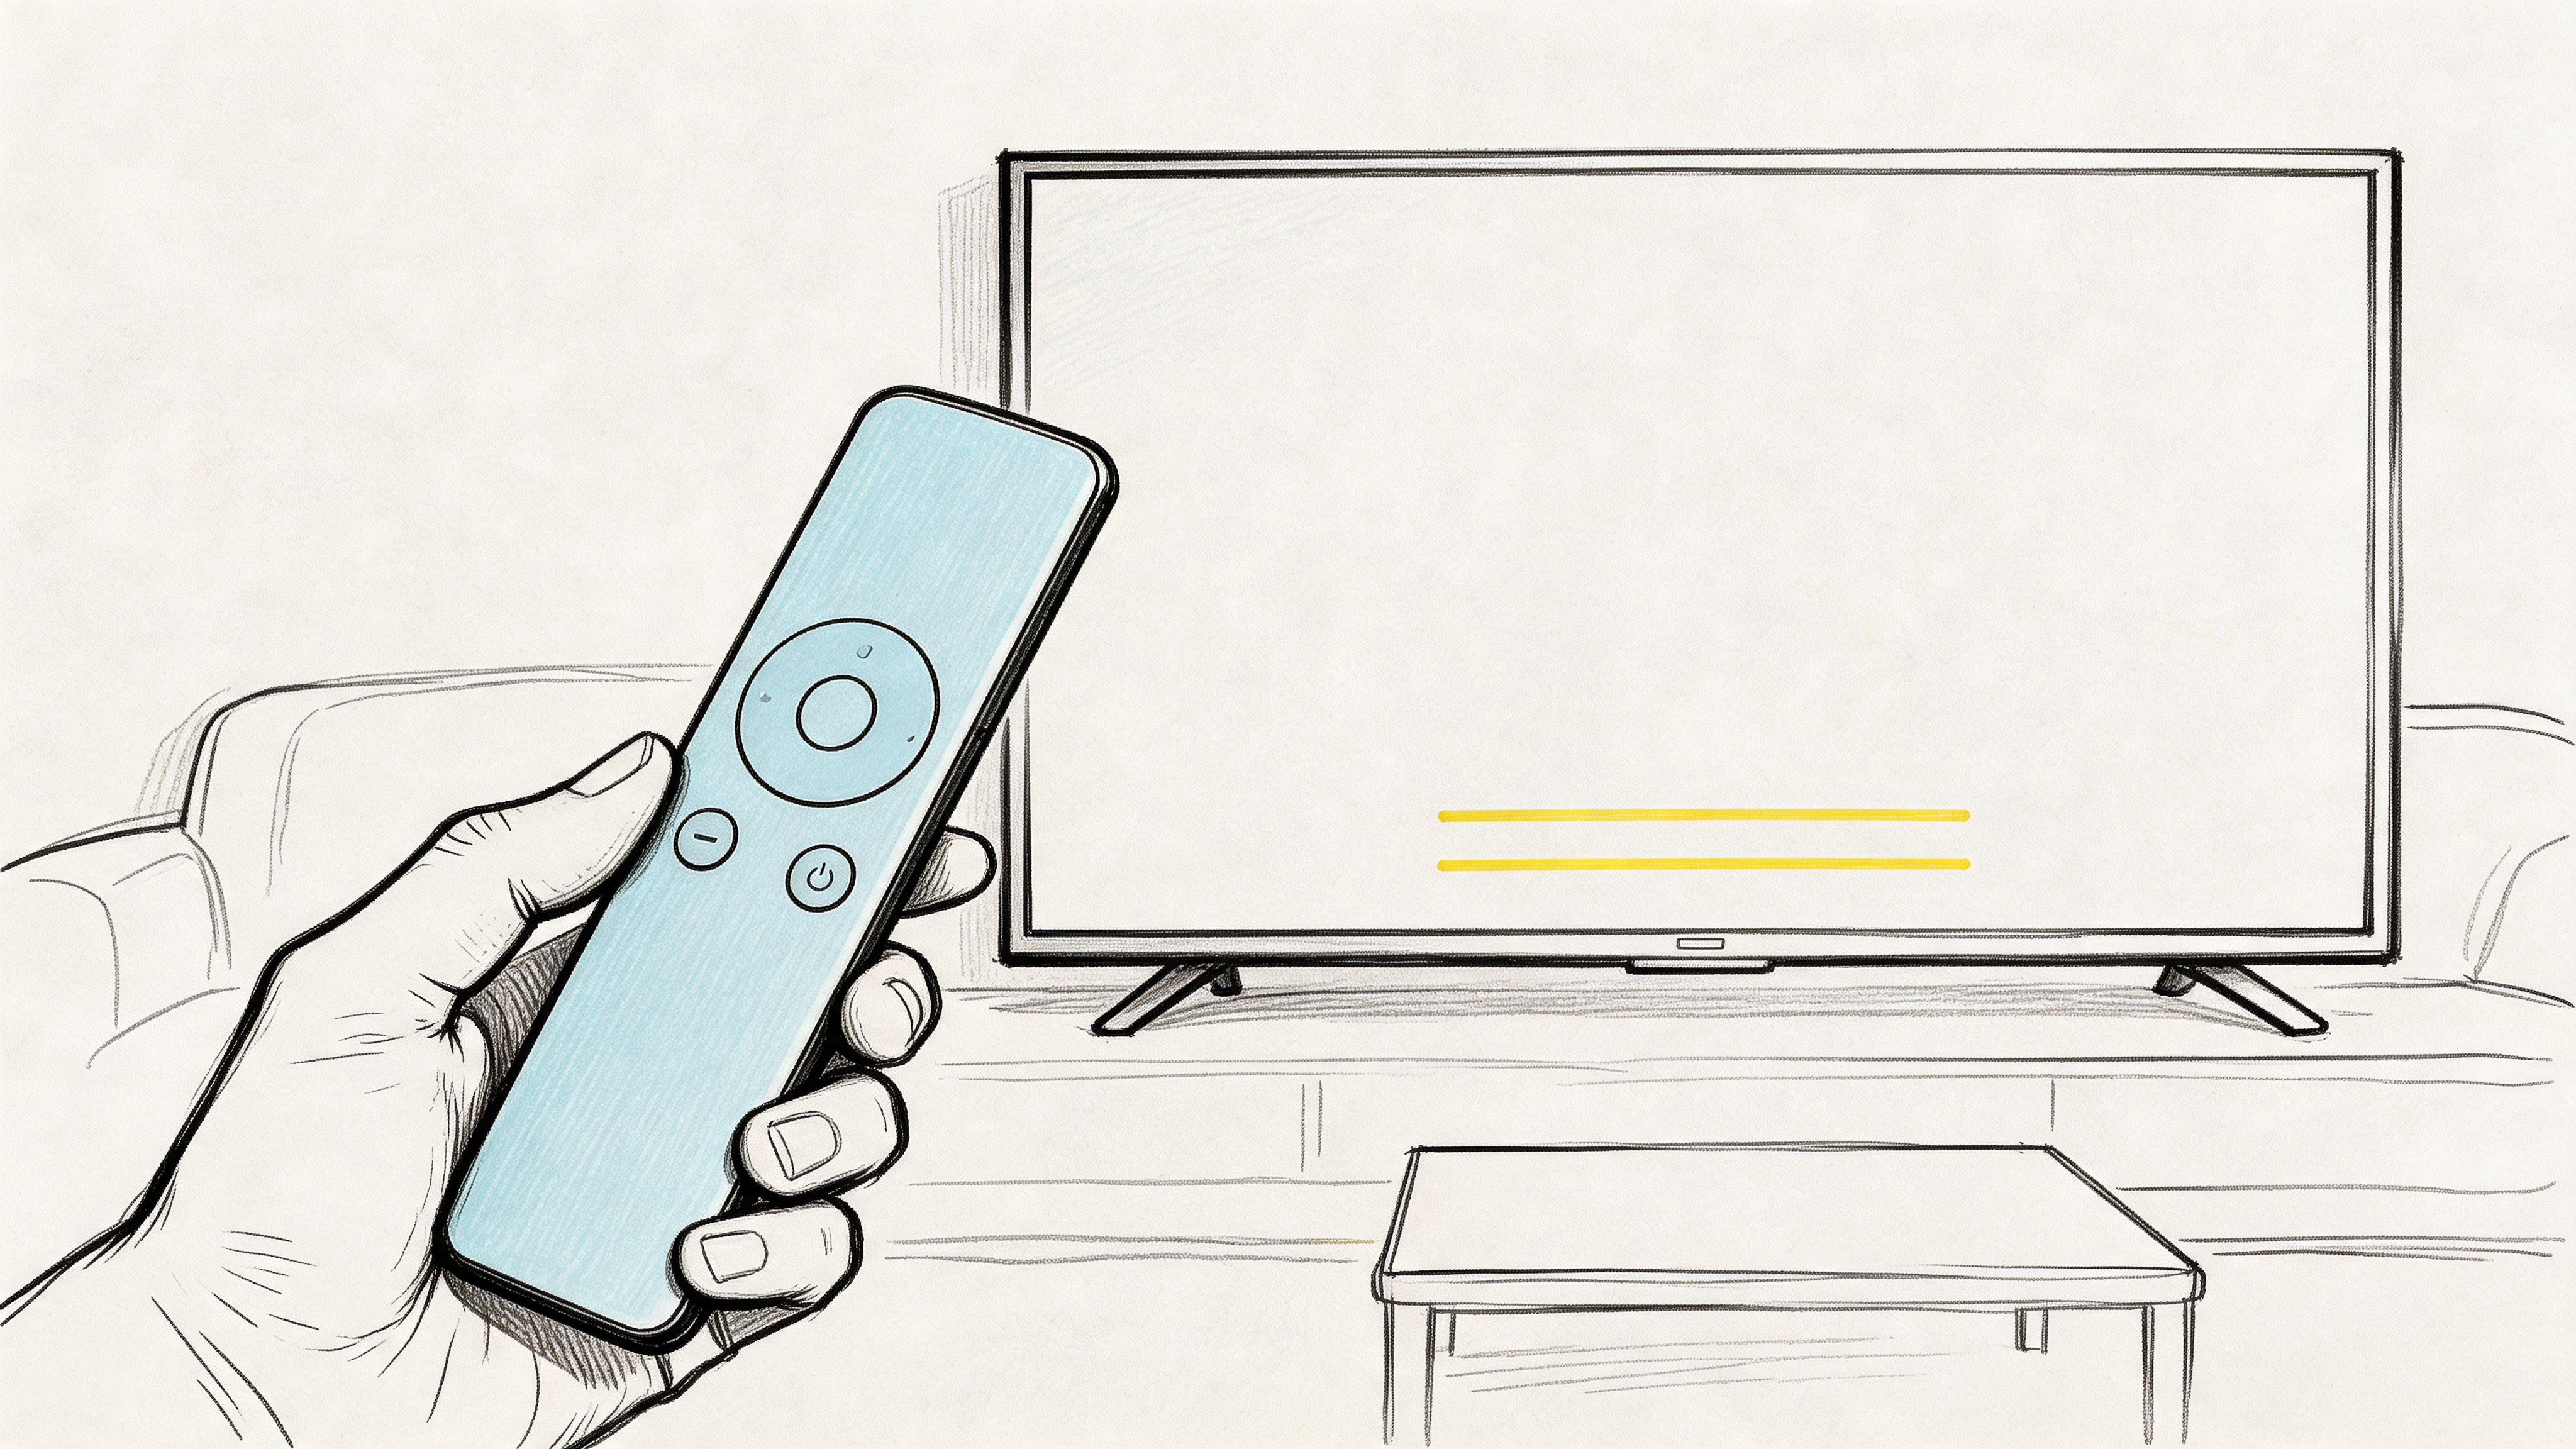
Native YouTube Transcript Viewer
YouTube’s built-in transcript pane is instantly available without any extra tools. I find it perfect when I need to grab a few sentences quickly.
- How to access: Click the "..." (More) button below the video, then select "Show transcript."
- You can easily toggle timestamps on or off.
- It’s ideal for short clips and pulling quick quotes.
Just be aware that it doesn't identify different speakers or apply any special formatting, so you'll need to clean it up in your own editor.
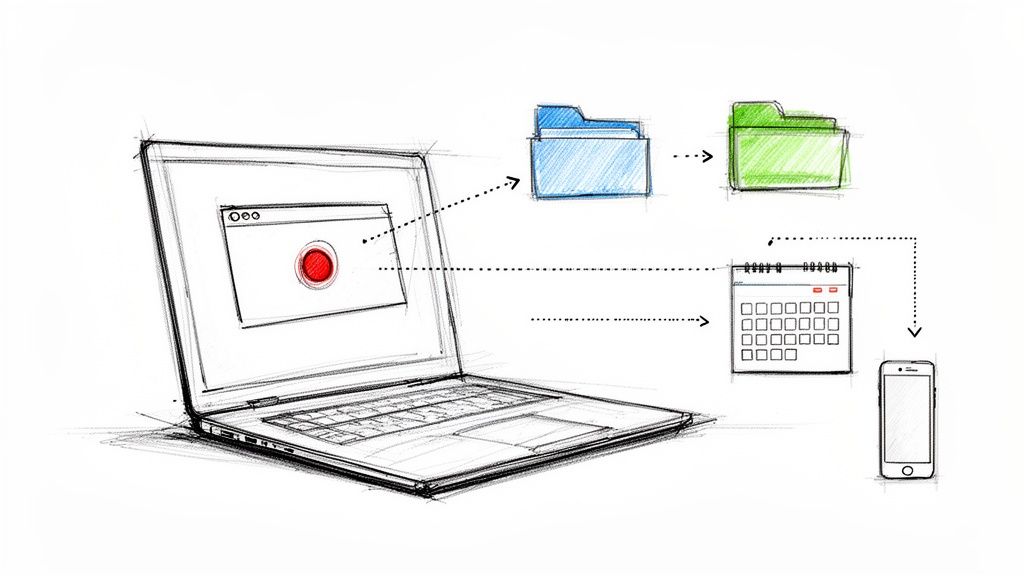
Caption File Exports
Downloading an SRT or VTT caption file gives you a structured script you can edit anywhere. I make it a habit to rename these files to match the video titles, which keeps my projects organized.
- Found within the video settings.
- I always batch rename files to stay organized.
- Allows you to edit timing and text sequences.
“Exporting caption files cut my editing time by 40% when crafting subtitles,” says freelance videographer Maria Chen.
Once you have the file, you can open it in any text or subtitle editor to make adjustments.
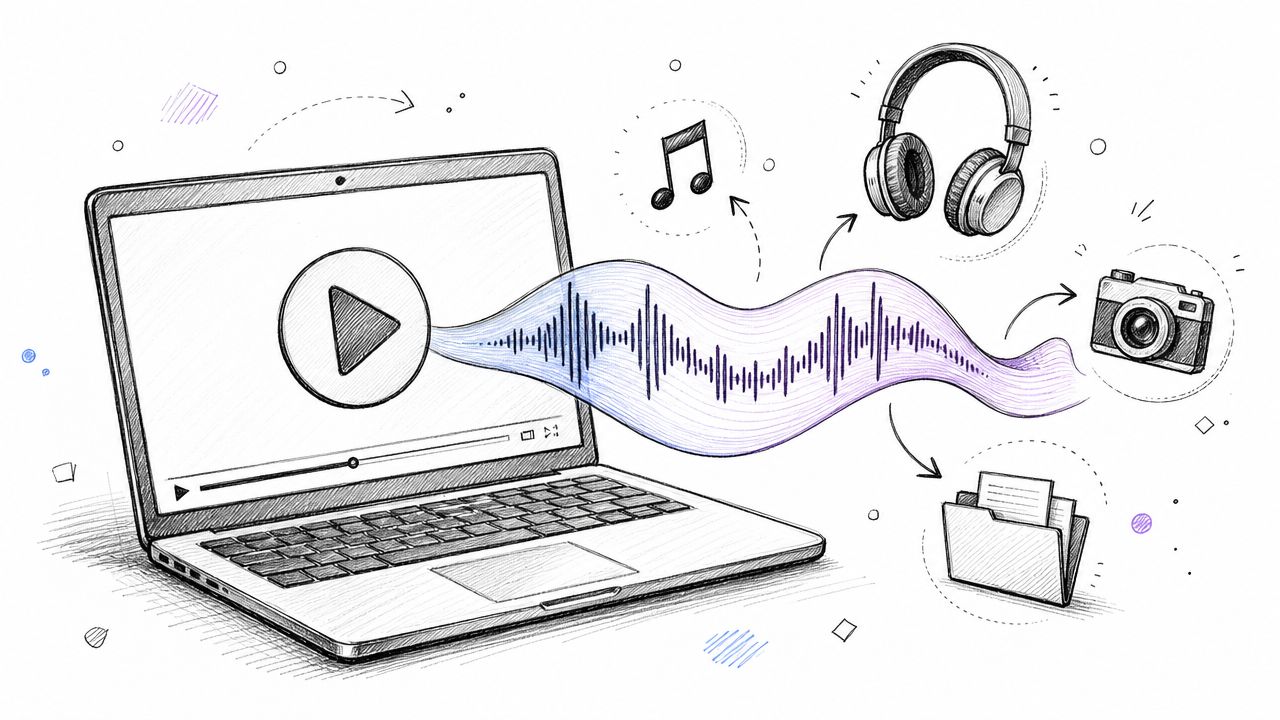
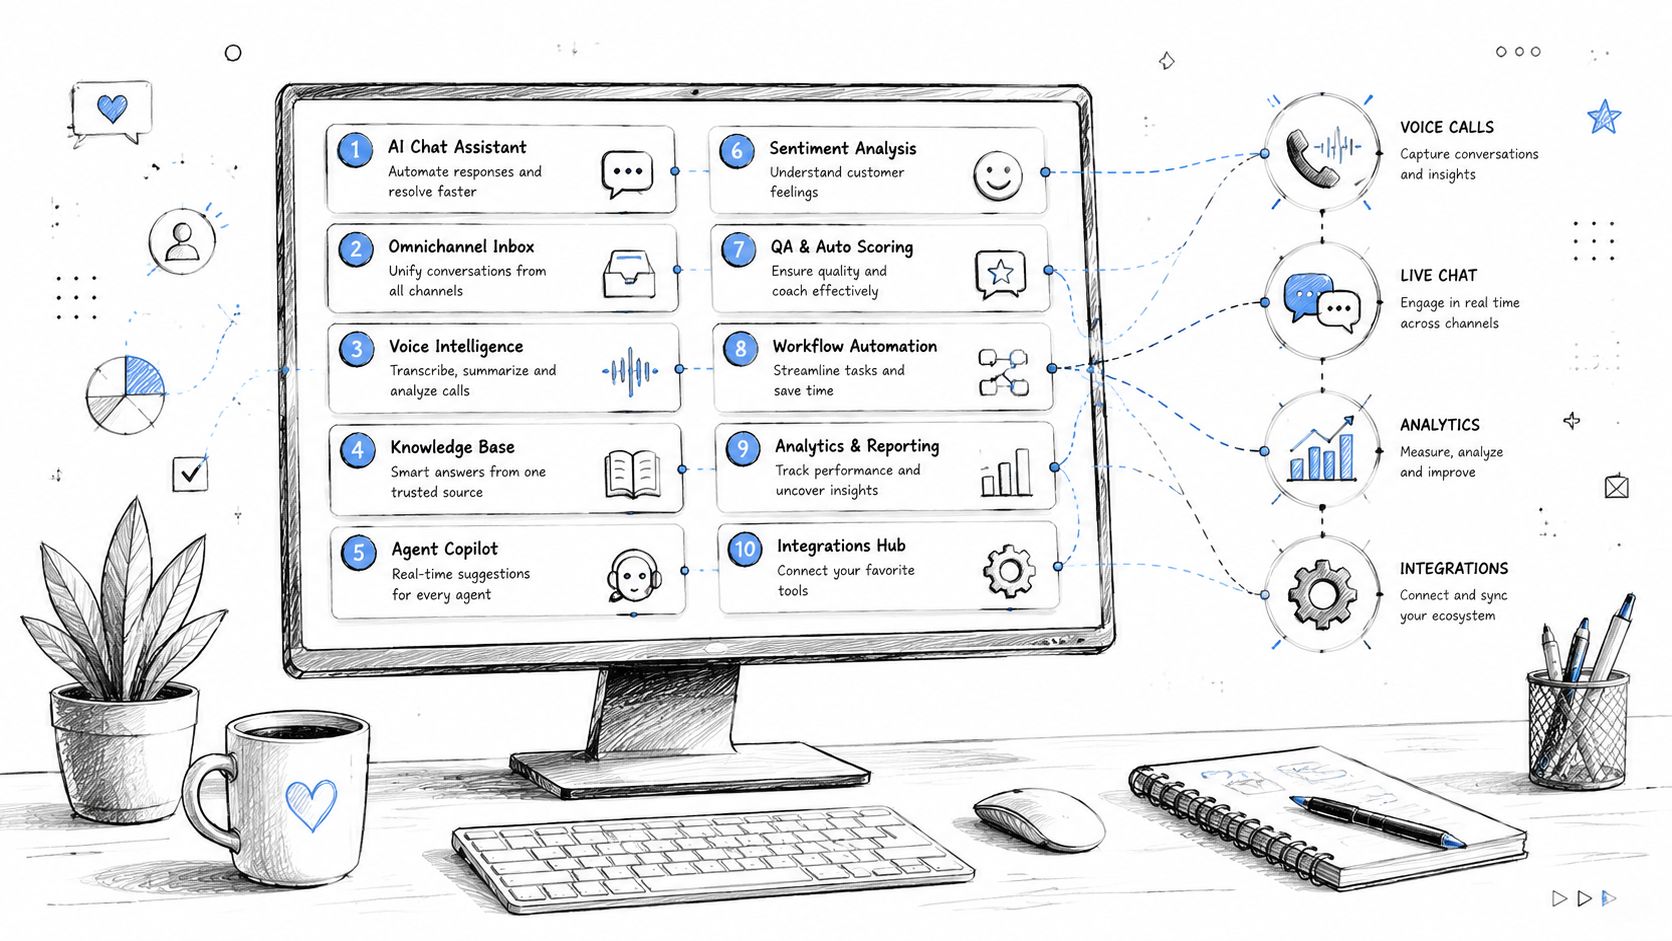
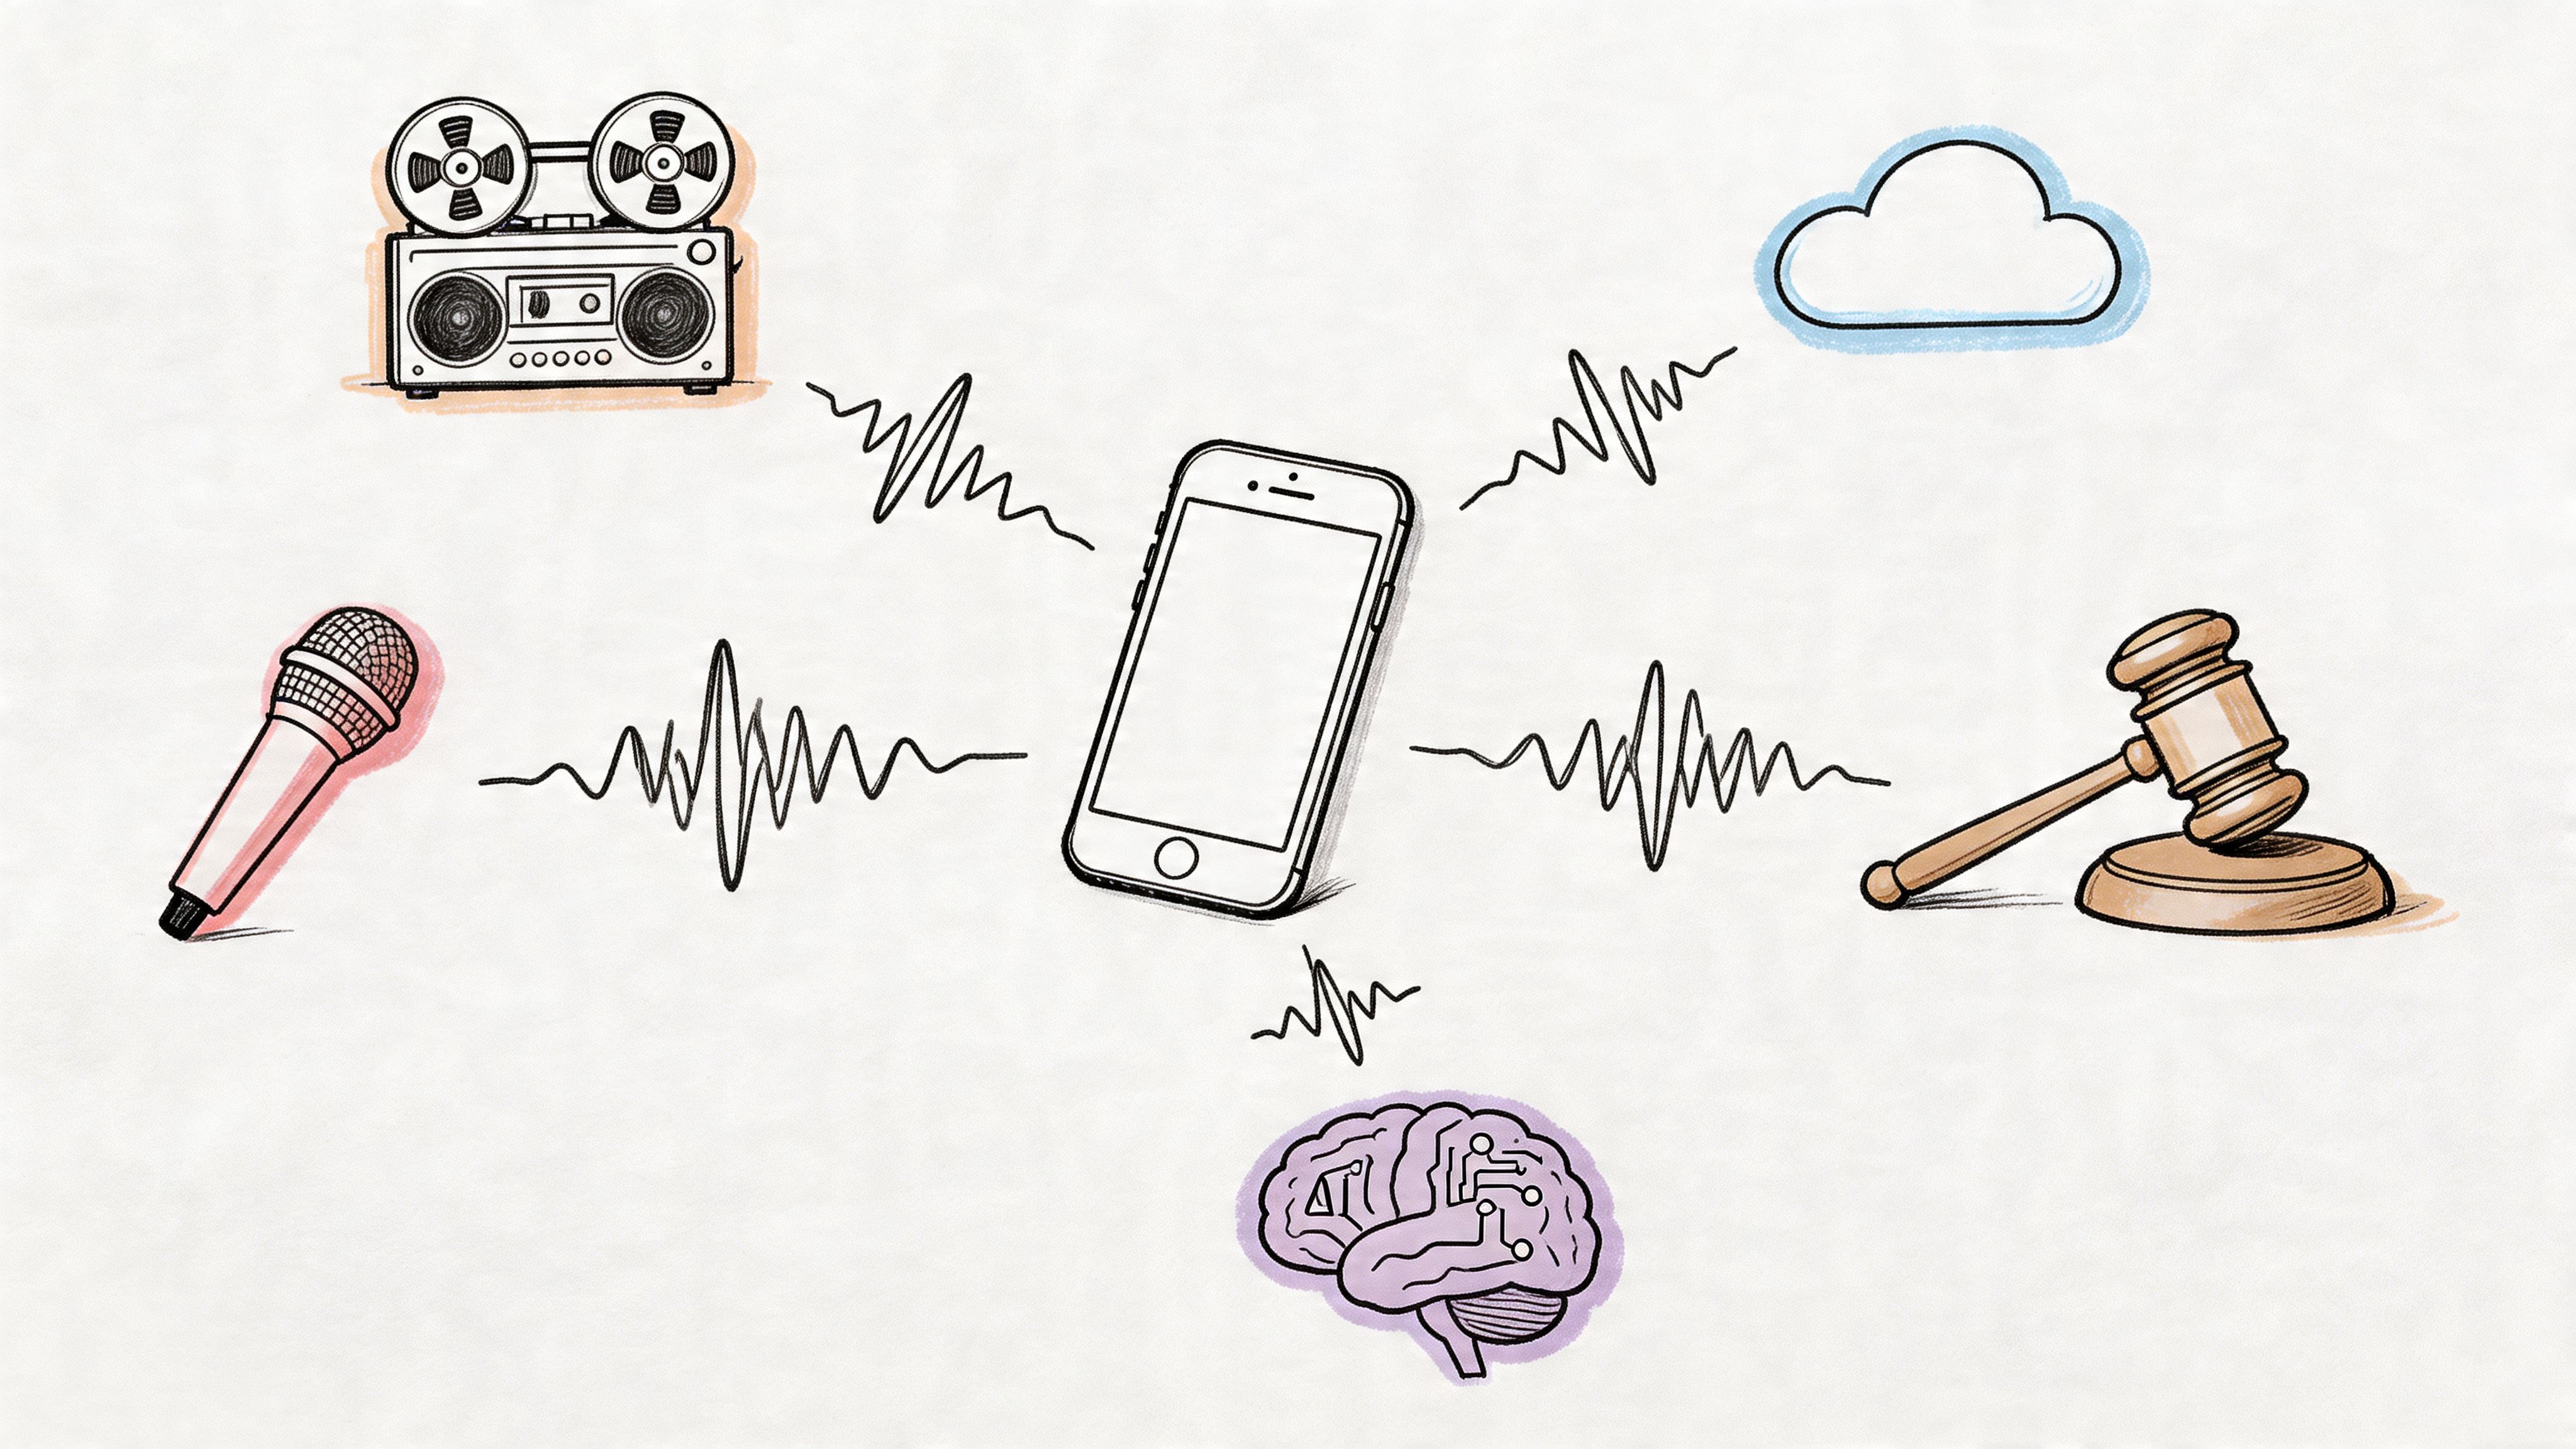
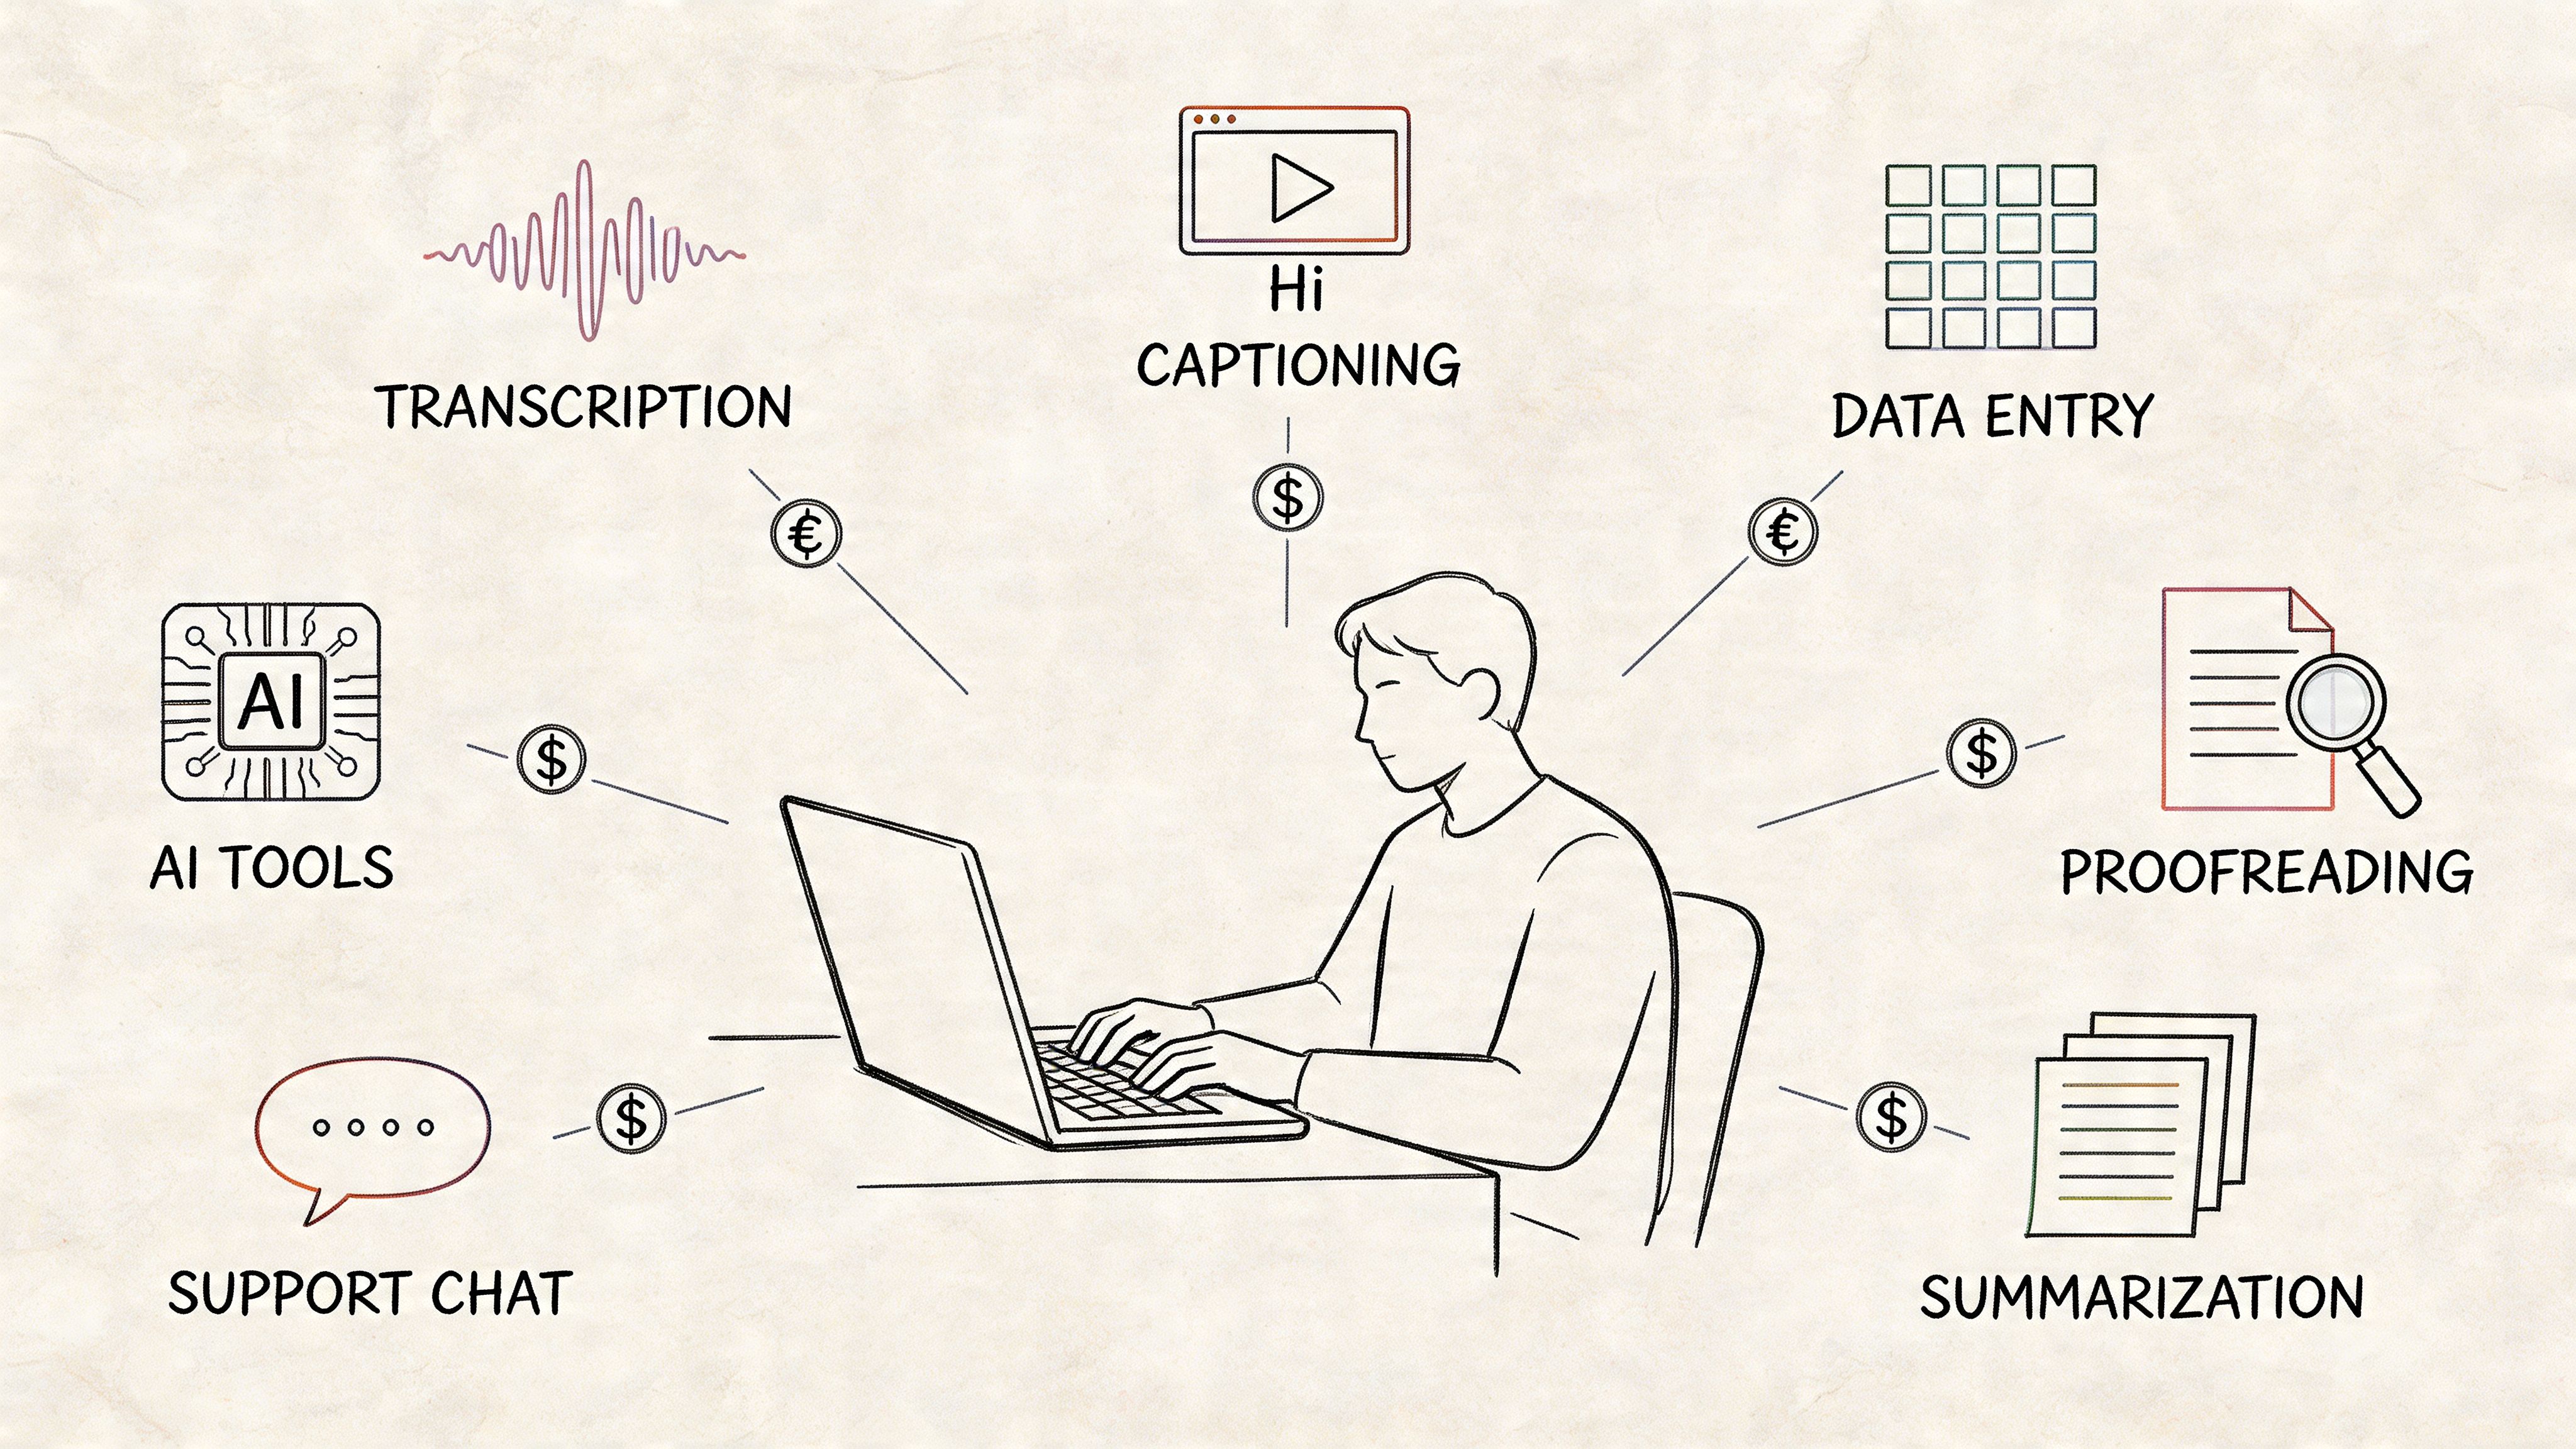
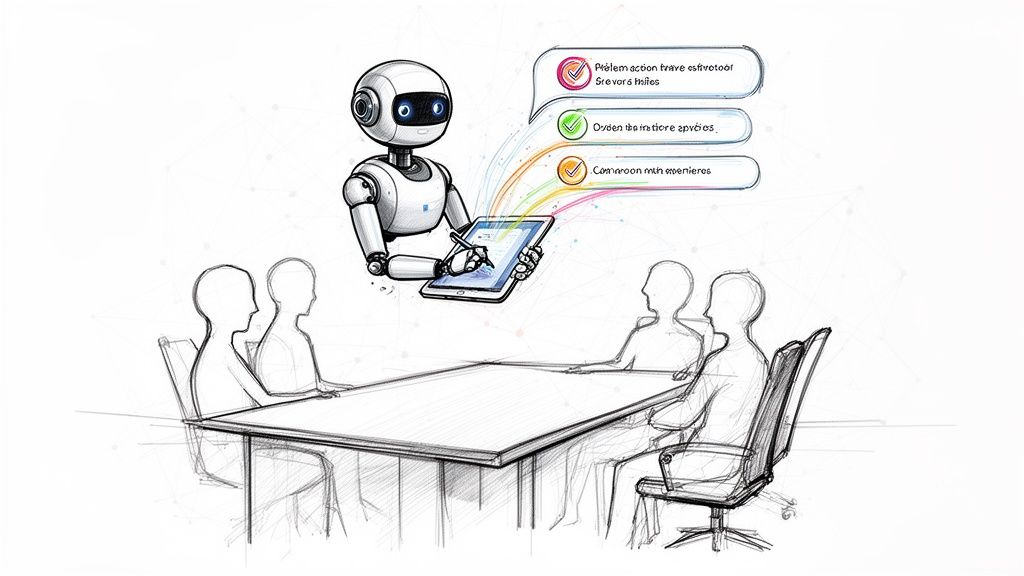
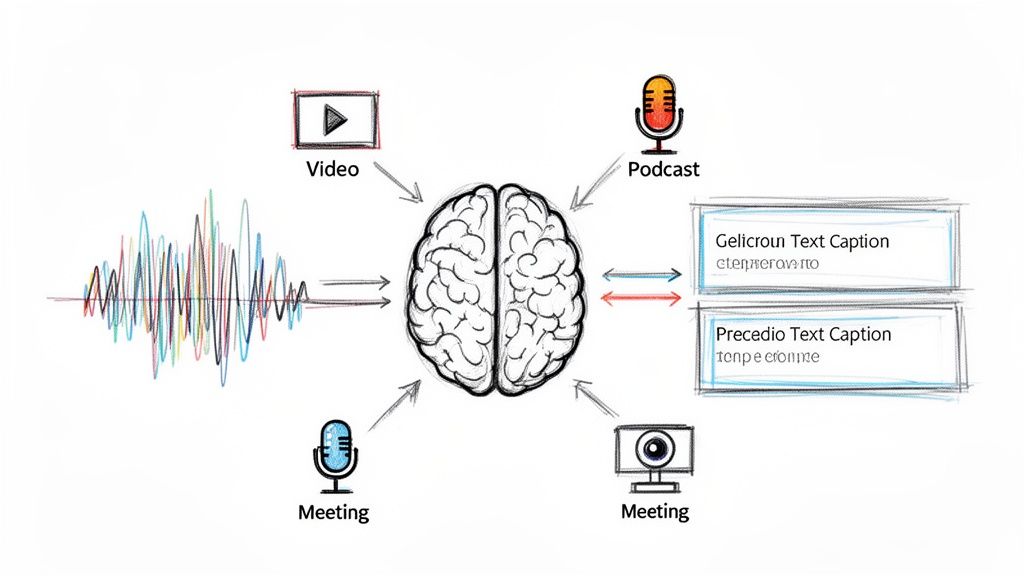
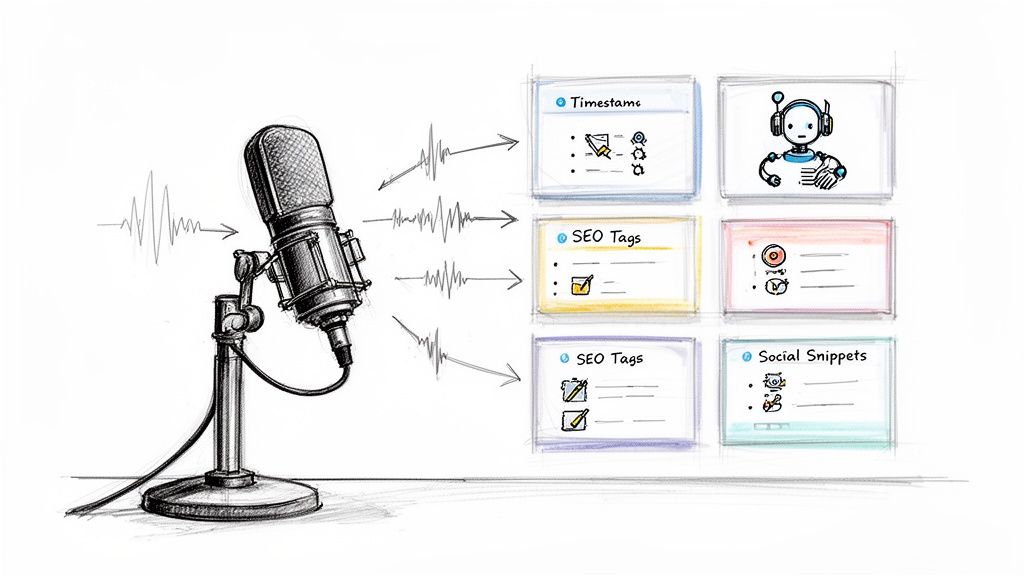
AI Tools For Bulk Transcripts
When you're facing dozens of hours of video or dealing with poor audio quality, AI services are a lifesaver. Platforms like Whisper AI let you paste a YouTube link or upload a video file and get a highly accurate transcript back.
- Export in various formats like Google Docs, PDF, TXT, and Markdown.
- Features automatic speaker detection and timestamping.
- Offers both cloud and local processing options to protect privacy.
The global AI transcription market hit USD 4.5 billion in 2024 and is forecast to reach USD 19.2 billion by 2034 at a 15.6% CAGR. Learn more at Skywork.ai.
Choosing between these methods comes down to scale, budget, and the level of polish you need. You can even combine them: grab a quick transcript from YouTube, then run it through an AI for a final polish to save time and minimize errors.
Using YouTube's Built-In Transcript Workflow
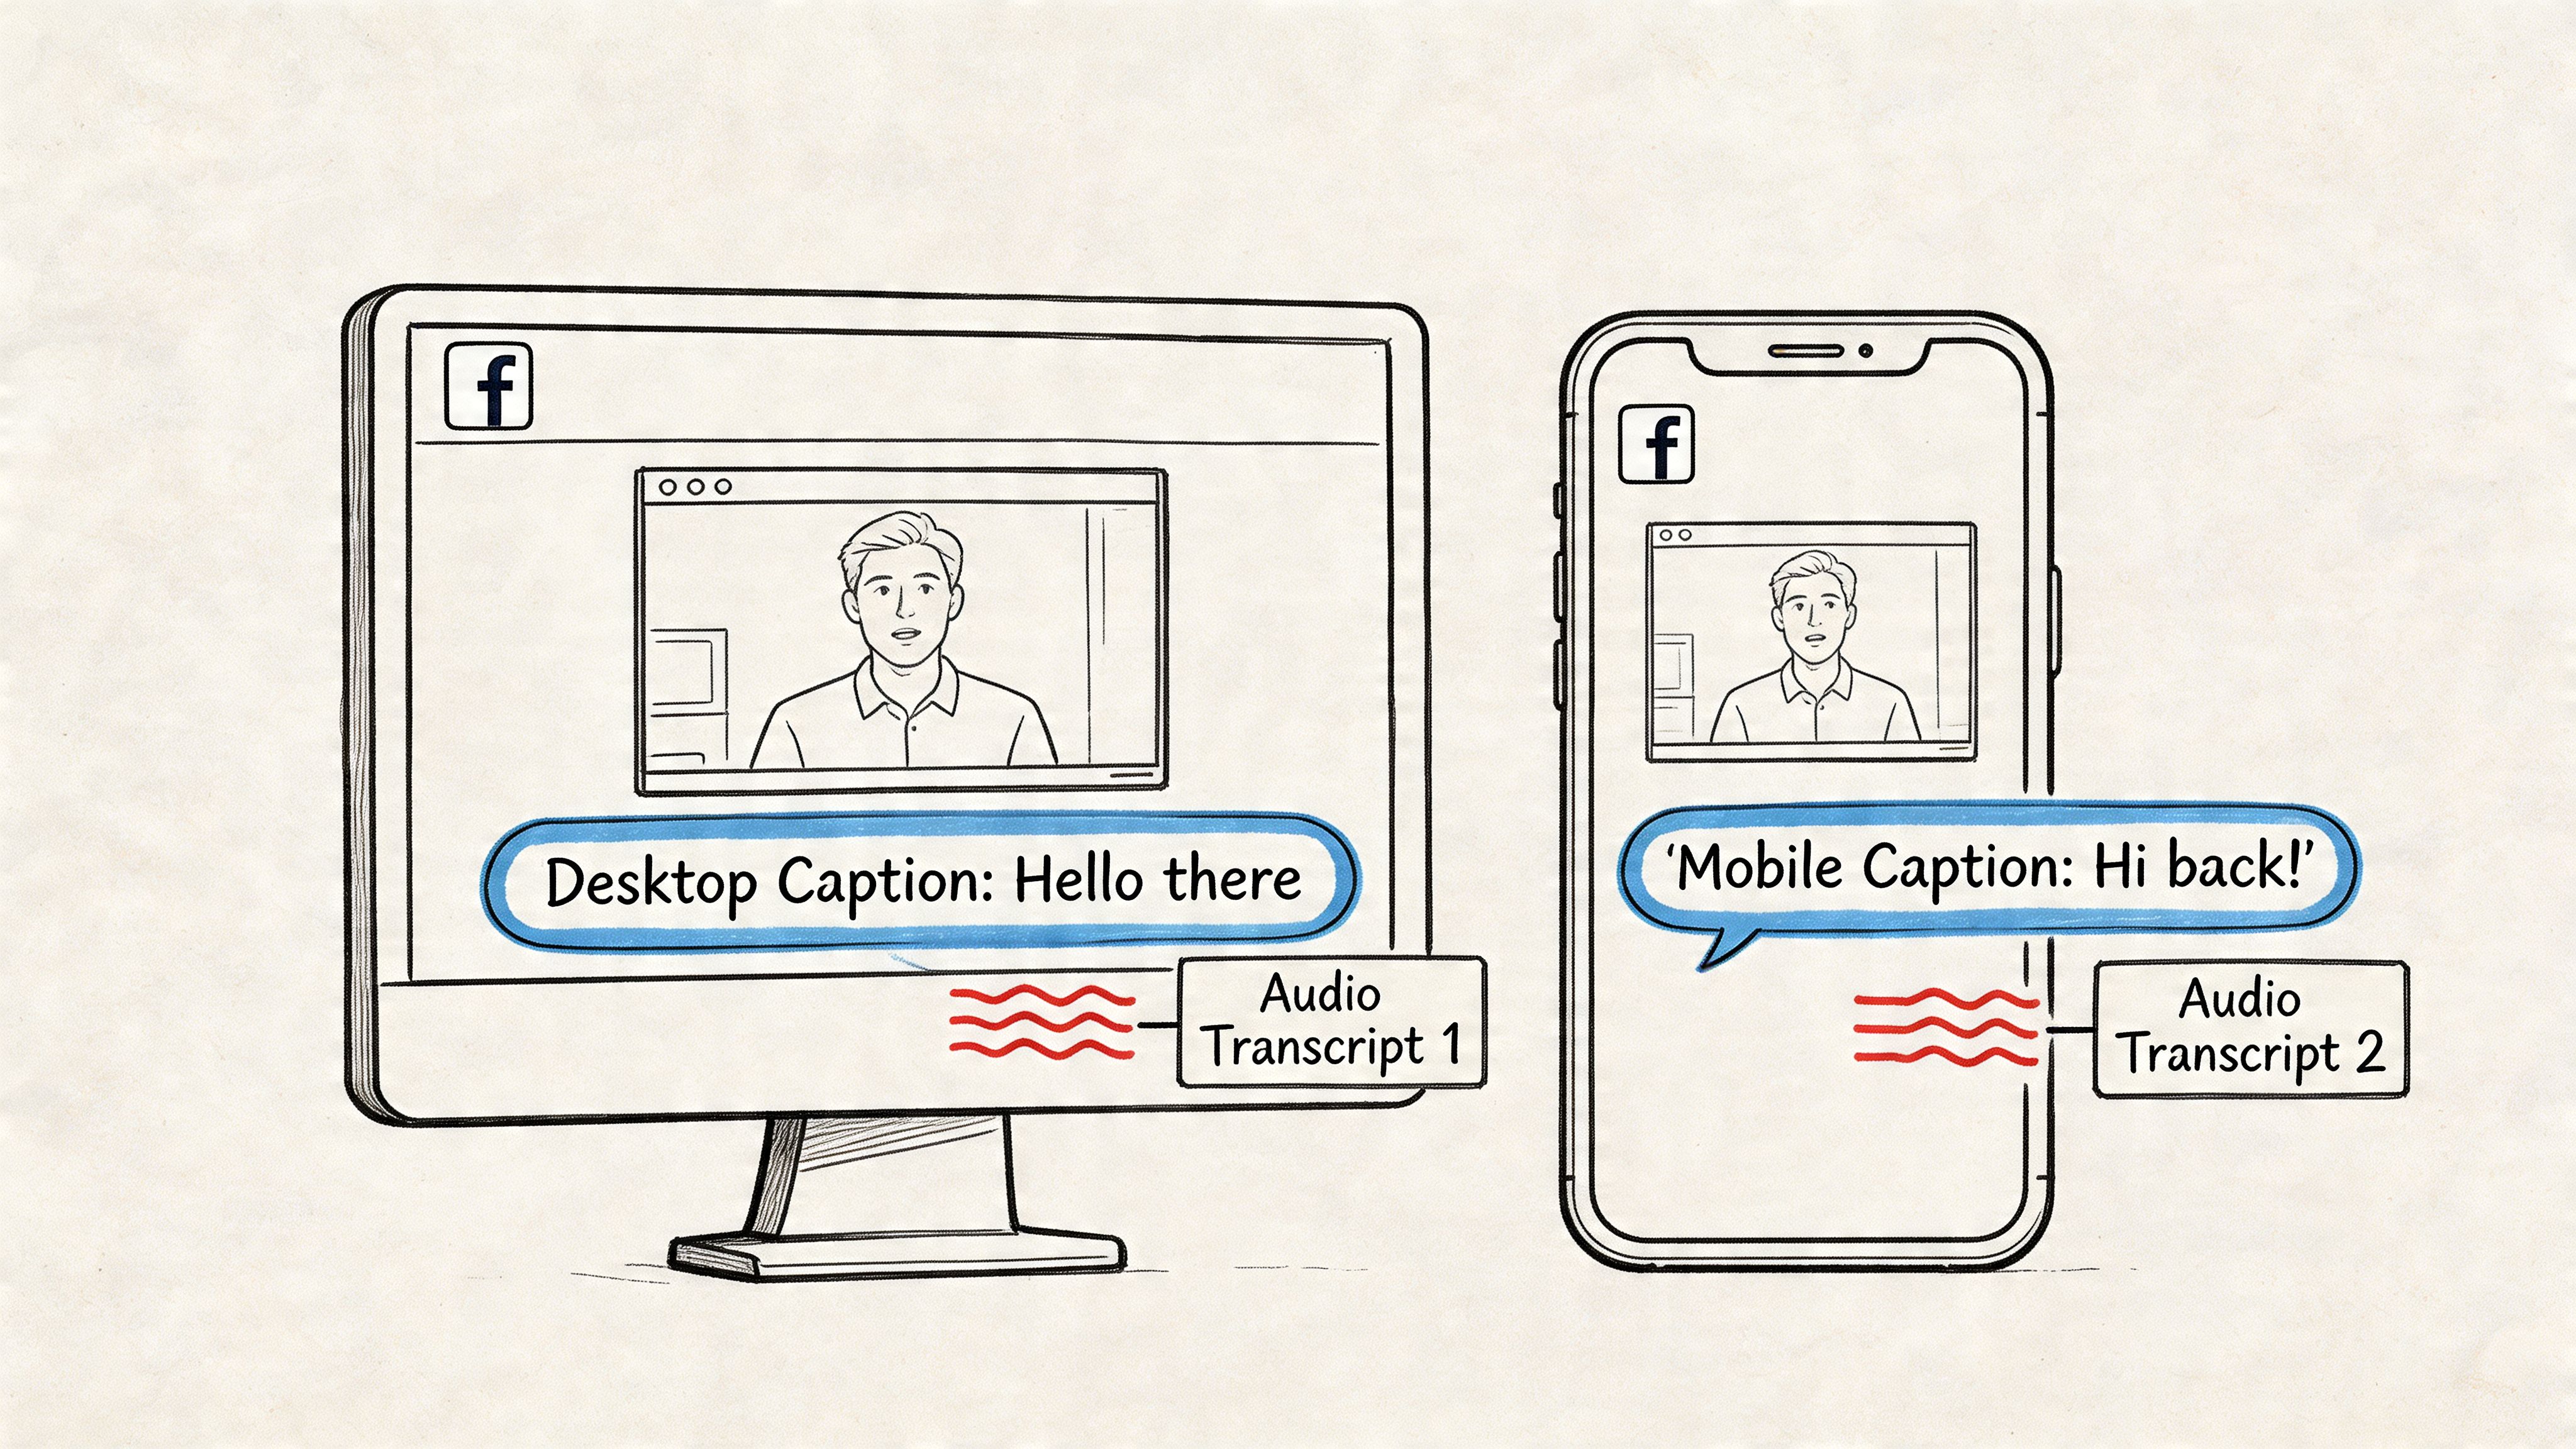
When you need a transcript without switching between different apps, YouTube’s built-in viewer is the most direct solution. It displays the captions right next to the video player, so you can read along as you watch. No downloads, no extra software—just a couple of clicks.
I first found this feature when I was watching a technical tutorial and felt like I was missing some details. The auto-generated transcript filled in all the gaps, even on an unlisted video, because I was signed in.
- Open the video, click the three dots below the title, and choose Show transcript.
- Use the dropdown menu to select your language.
- Toggle timestamps off for a clean, easy-to-copy block of text.
- Press Ctrl+F (or Cmd+F on Mac) to search for specific keywords within the transcript.
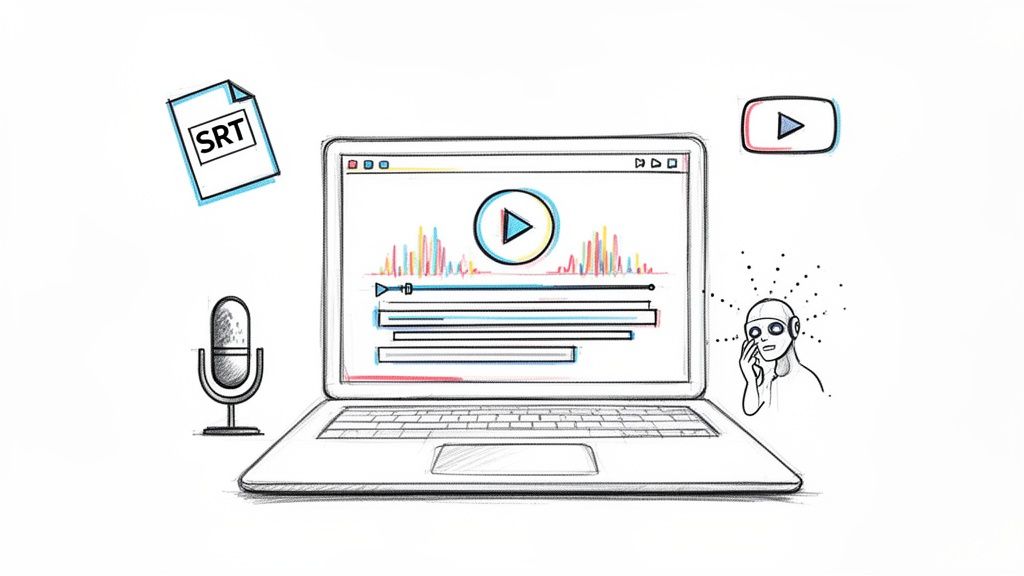
Opening the Transcript Pane
The transcript appears in a pane next to the video. Just click More ➔ Show transcript. By default, you'll see every line with a timestamp. At the top of the pane, you can change the language or click the three dots to hide the timestamps.
The screenshot above shows where to find the language menu and the option to toggle timestamps. Many people miss the copy icon, but you can also just select the text manually.
Copying and Pasting the Transcript
Once the transcript is visible, copying it is straightforward. Click and drag to select the text, or use Ctrl+A to select everything, then Ctrl+C to copy.
- Use Ctrl+Shift+V (Windows) or Cmd+Shift+V (Mac) to paste it as plain text, which strips out any weird formatting.
- Run a quick Find & Replace in your editor to remove repeated speaker labels or other artifacts.
- I use a free snippet manager to save my common cleanup steps, which saves me a lot of time.
Key Takeaway
Disabling timestamps before you copy is the single best trick to reduce cleanup time and make the whole process faster.
Searching Hidden Captions
Sometimes, auto-generated captions exist but aren't immediately shown. To reveal all available text:
- Add
&disable_polymer=trueto the end of the video URL. - Reload the page.
- Open the transcript pane again. This can sometimes surface extra caption segments.
Using this little URL trick, I once recovered a guest's quote that had disappeared from the official transcript of a podcast episode.
Handling Private and Unlisted Videos
If you own the video, you can access the transcript for public, unlisted, or private content without any issues. Just make sure you're signed into the correct YouTube channel.
For private videos you don't own, there's no way to get the transcript directly. Your only option is to ask the uploader for access or to send you the SRT file.
To speed things up, I use a simple browser bookmarklet that opens the transcript pane with one click, shaving a few seconds off every time.
My Personal Shortcut Tips
Over the years, I've streamlined this process to be as fast as possible:
- I created a browser bookmarklet that automatically opens the transcript pane for any YouTube video I'm on.
- I use AutoHotkey (or Mac Automator) to create a custom shortcut that selects all text, copies it, and pastes it into my editor with a single keypress.
With these optimizations, I can grab a clean transcript in under five seconds, which is a huge improvement over manually clicking through menus.
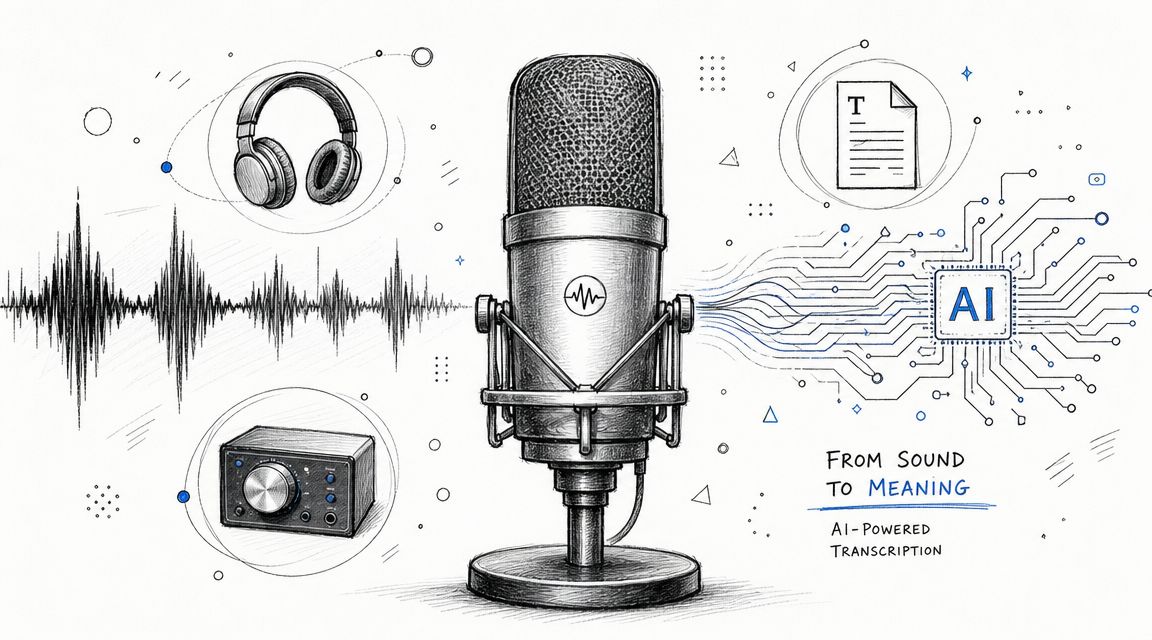
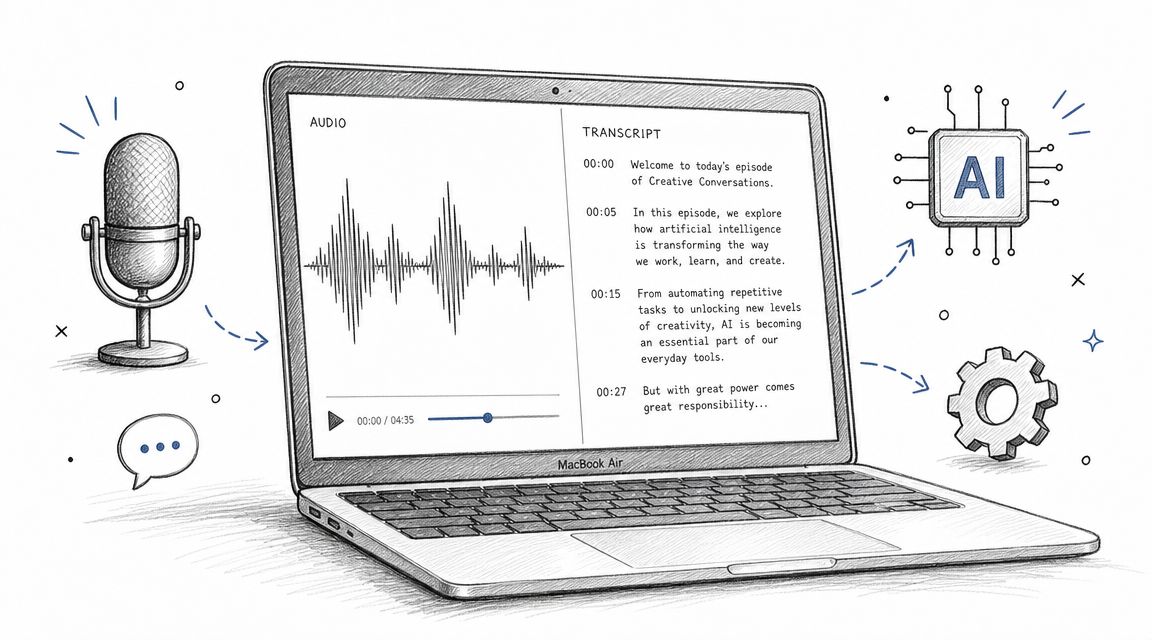
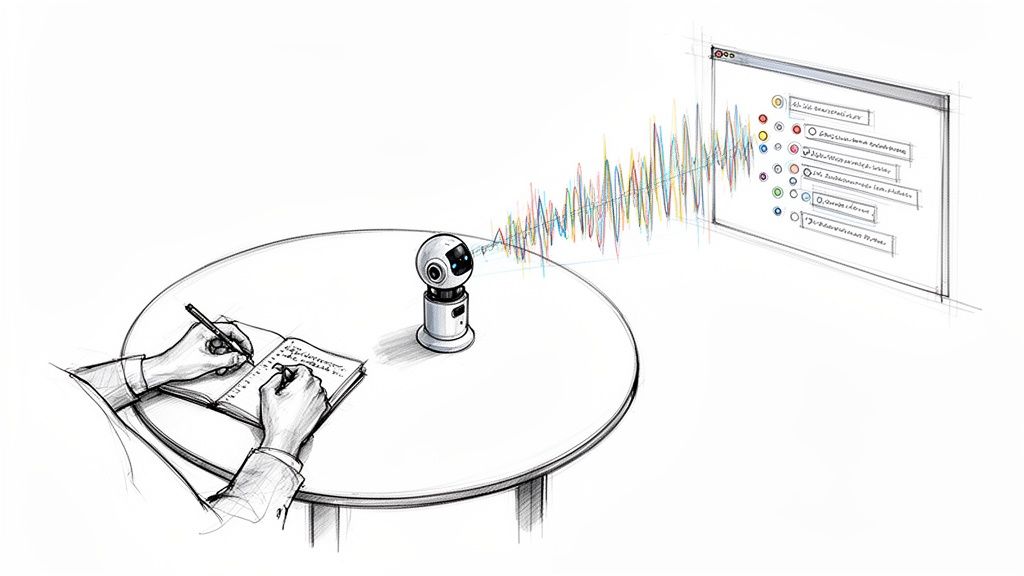
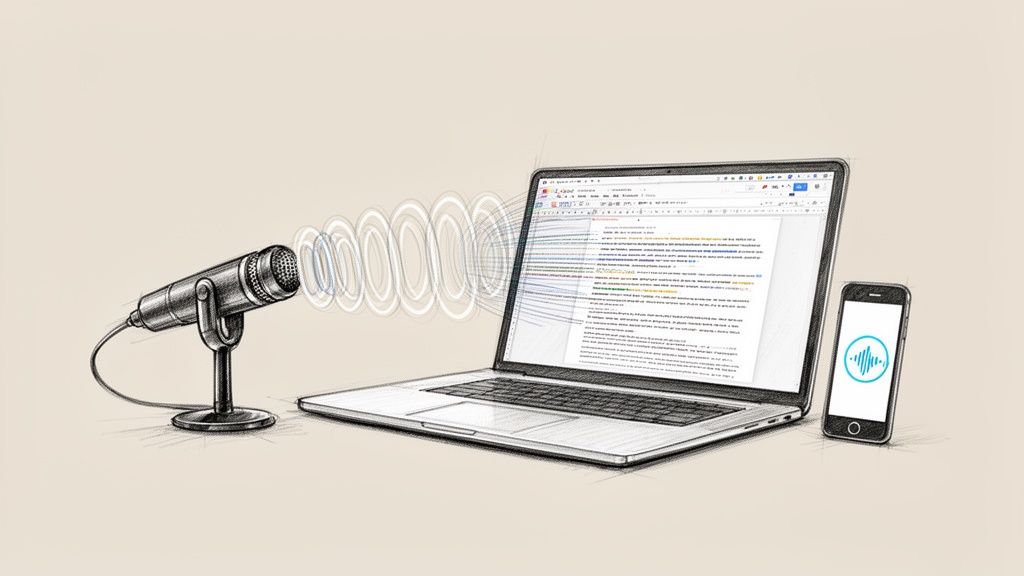
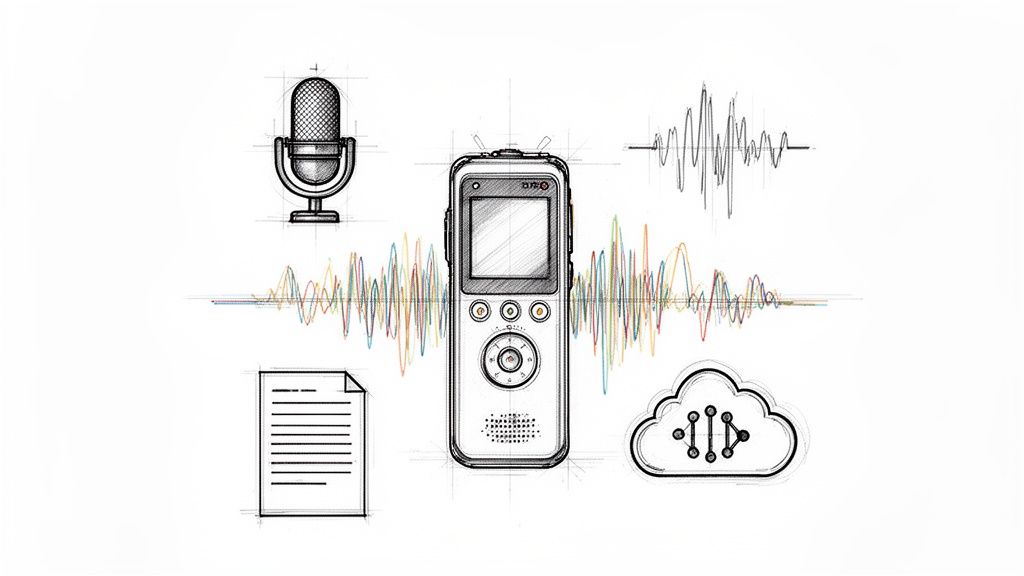
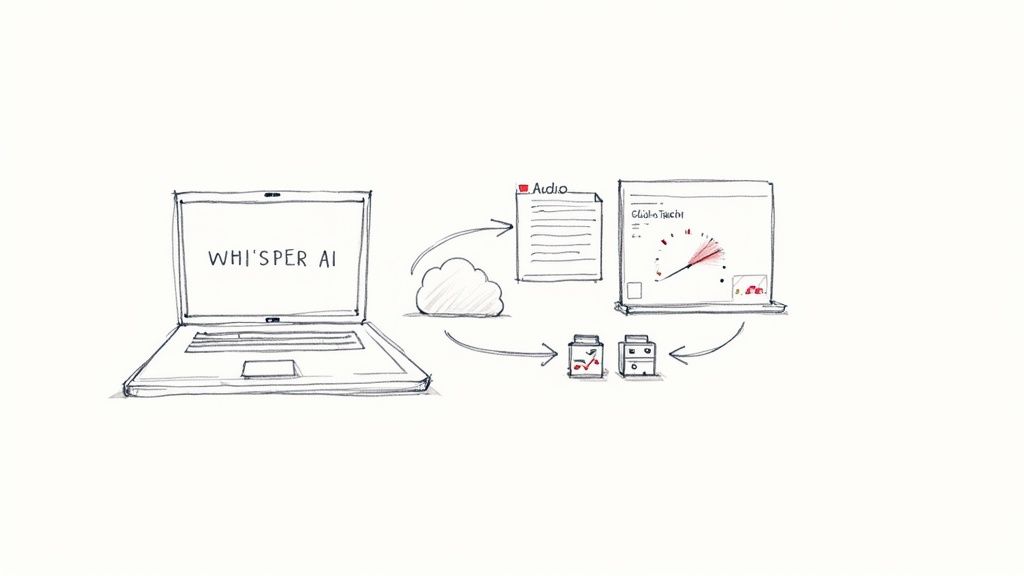
Let an AI Do the Heavy Lifting with Whisper AI
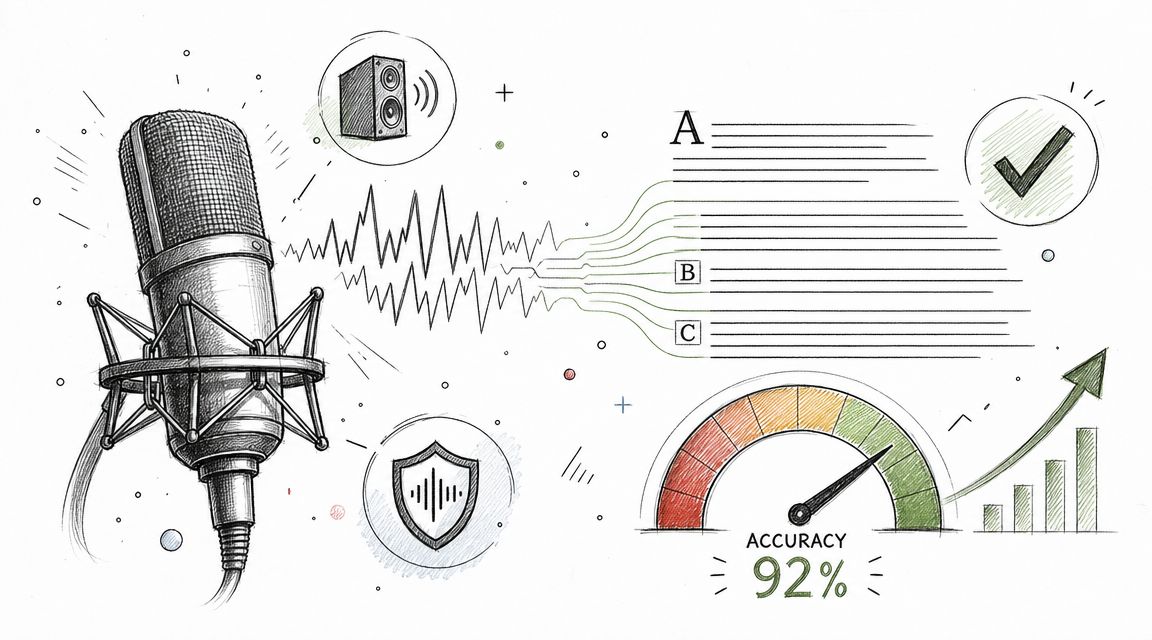
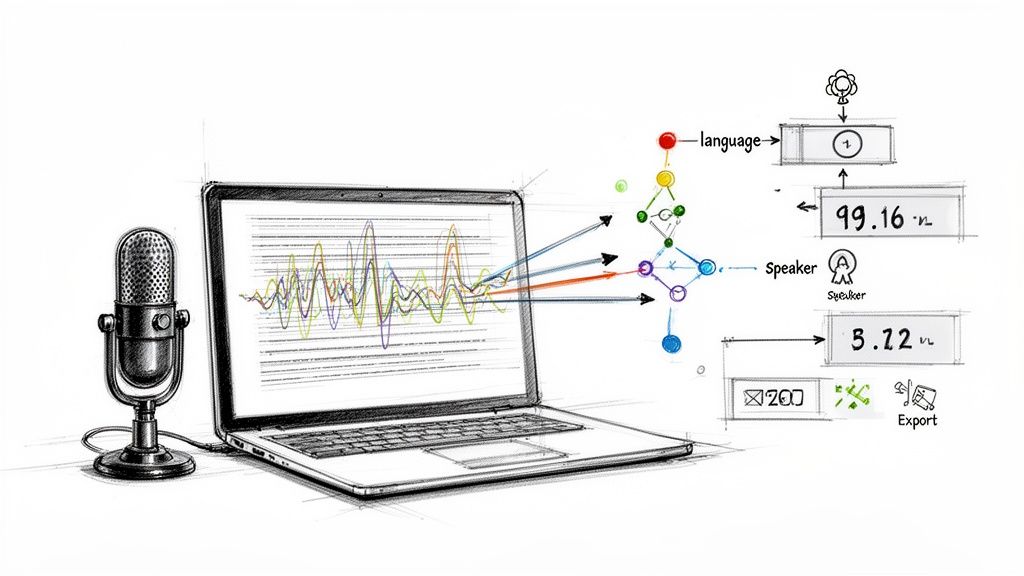
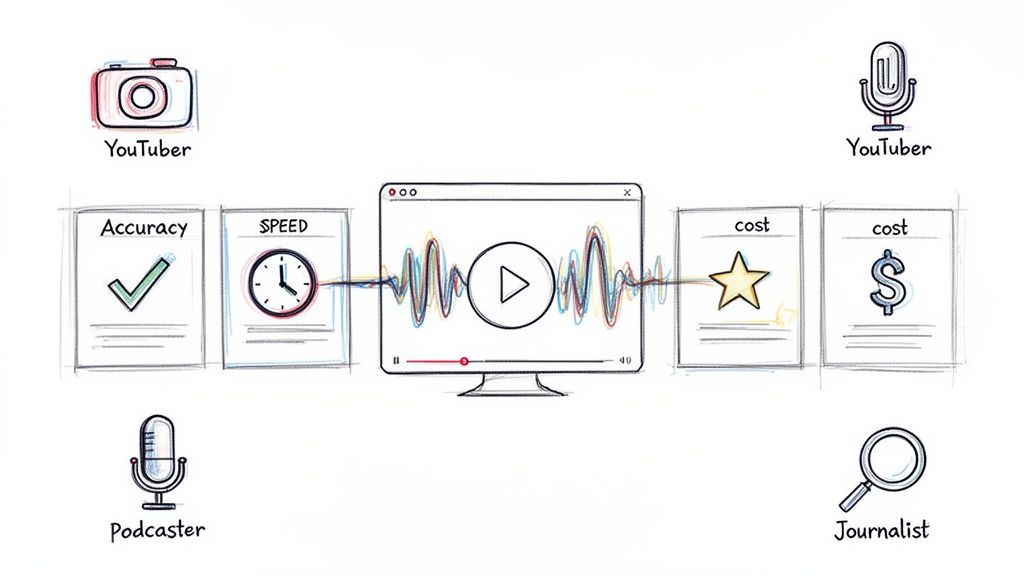
When YouTube's built-in transcript just doesn't cut it, it's time to bring in the big guns. For tasks that demand serious accuracy and efficiency, an AI-powered tool like Whisper AI is a complete game-changer. It can churn through hours of video and produce a transcript that's remarkably close to human quality, all on its own.
This is the route I take for any professional project, whether it's for academic research, detailed content analysis, or repurposing a video into a blog post. Modern AI transcription tools can hit accuracy rates well over 95% when the audio is clear. That level of precision is something you just can't get from a free, auto-generated caption file.
Two Paths to AI Transcription
When you decide to use Whisper, you have two main options: run it yourself or use a service that runs it for you. Your choice really boils down to your technical skill, budget, and how you feel about privacy.
- Go Local: If you’re comfortable with the command line and have a computer with a decent GPU, you can install and run Whisper locally. This gives you total control over your data (perfect for sensitive content) and means no subscription fees.
- Use the Cloud: For most people, a cloud-based service is the way to go. These platforms have a simple interface where you just paste a YouTube link or upload a file. They handle all the technical stuff behind the scenes, which is fantastic for transcribing multiple videos at once.
I've personally found cloud services to be a massive time-saver. I once had to transcribe an entire semester's worth of lectures. I just queued up all the video links before heading to bed and woke up to a folder full of completed transcripts. It was completely hands-off.
Dialing in the Settings for the Best Results
Getting a great transcript isn't just about pressing "go." The settings you choose can make a huge difference in the final output.
The most critical setting is the model size. Whisper comes in various sizes, from "tiny" to "large." The smaller models are quick but can make more mistakes. The "large" model, on the other hand, is incredibly accurate but takes much longer to process. For a clean podcast recording, a medium model is probably fine. But if you're transcribing a video with thick accents, overlapping speakers, or background noise, the large model is absolutely worth the extra wait.
If you're looking for a tool that combines AI transcription with powerful editing features, it's worth checking out a Descript review to see how these advanced platforms work.
Pro Tip: If you're dealing with a really long video—say, over two hours—it's a good practice to split the audio into smaller segments first. This can prevent the AI from timing out and often speeds up the entire process. Any basic audio editor can do this in a few clicks.
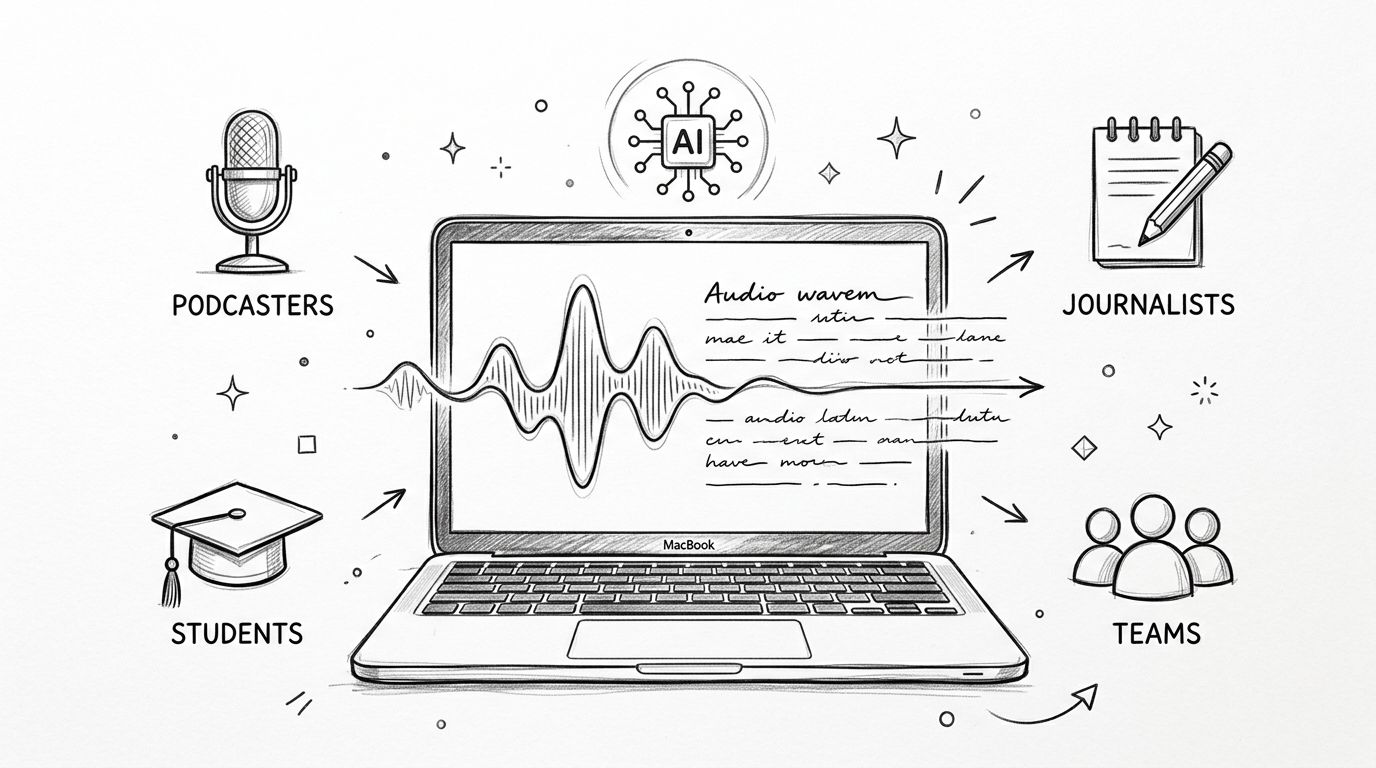
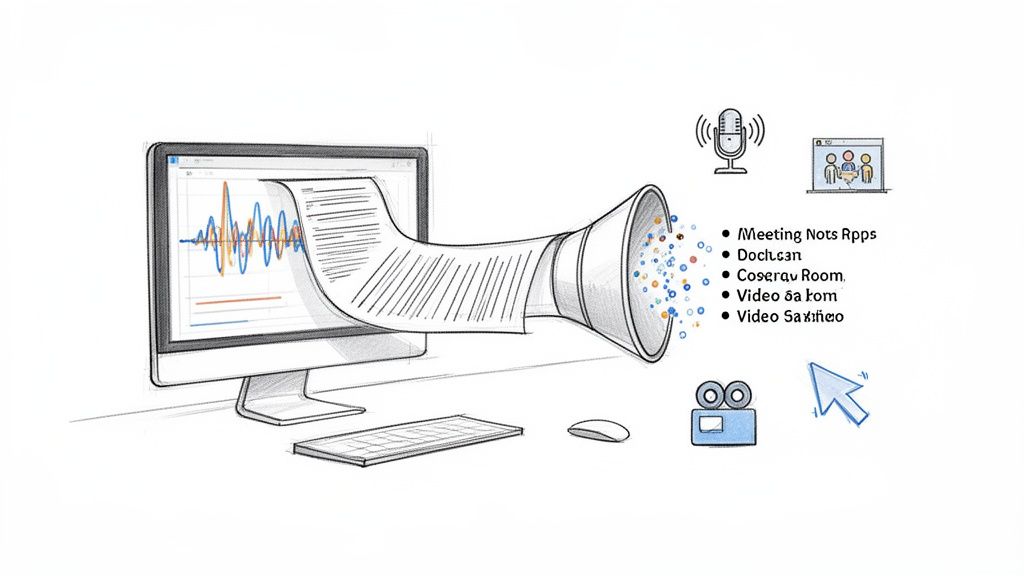
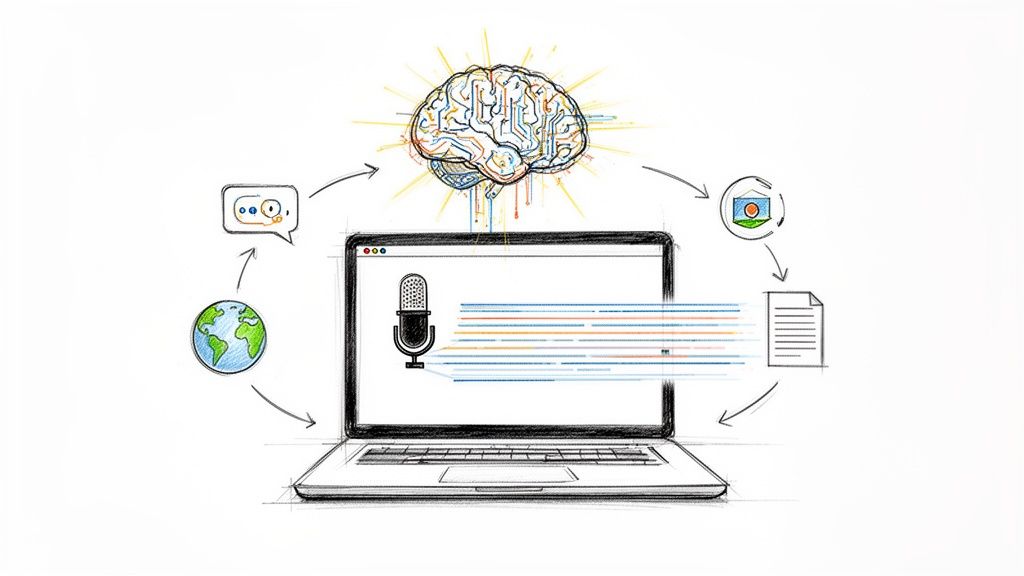
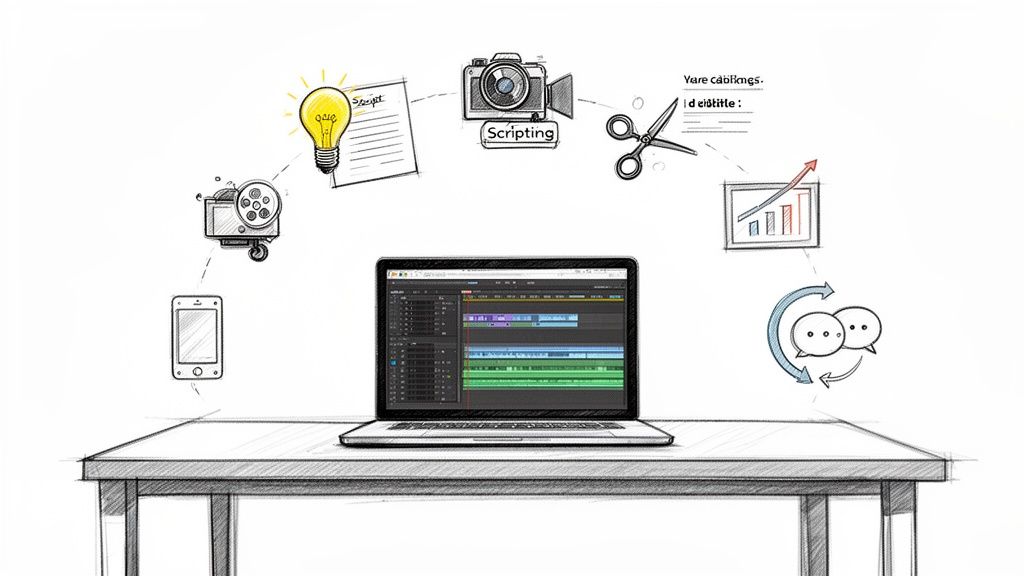
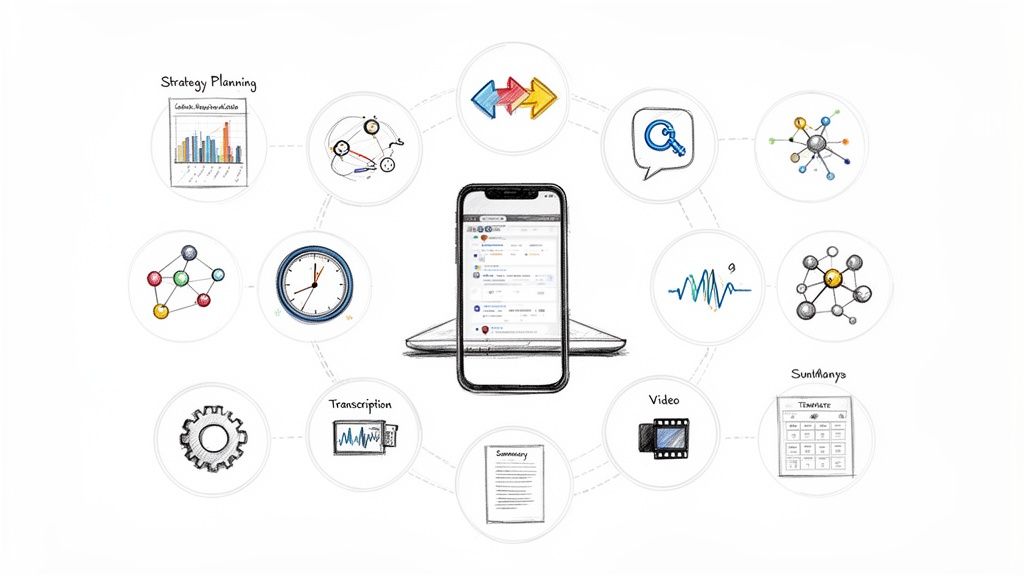
Weaving AI into Your Content Machine
A high-quality transcript is more than just a block of text; it's the raw material for a ton of other content. Once you have that clean text, you can plug it into other AI tools to generate social media posts, email newsletters, or even entire articles. This is how you turn one video into a dozen different pieces of content.
By building an automated workflow, you can go straight from recording a video to distributing content across multiple platforms with minimal manual effort. This not only frees up countless hours but also ensures your message gets out to the widest possible audience. To see how this comes together, you might find our guide on creating a transcript helpful.
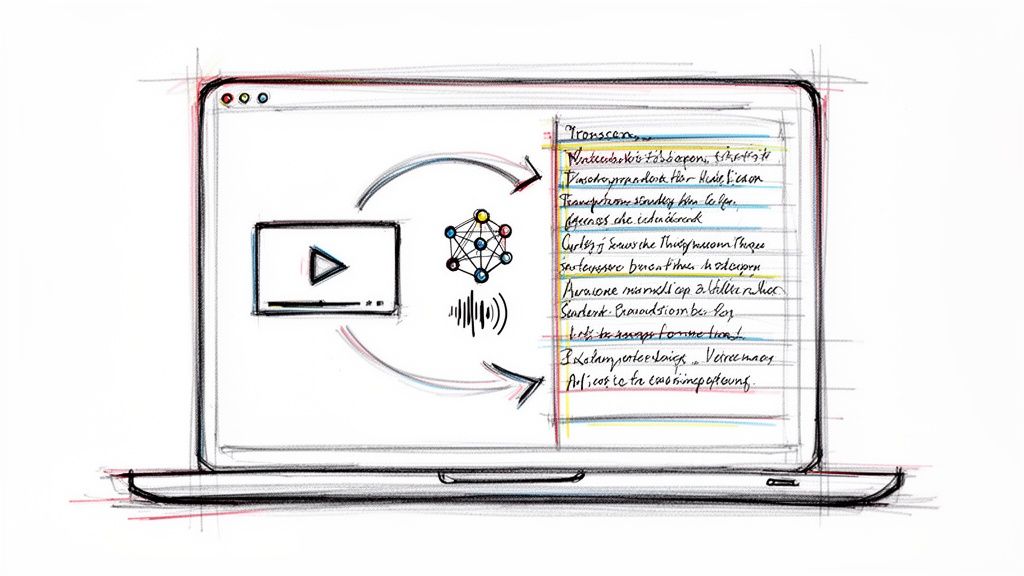
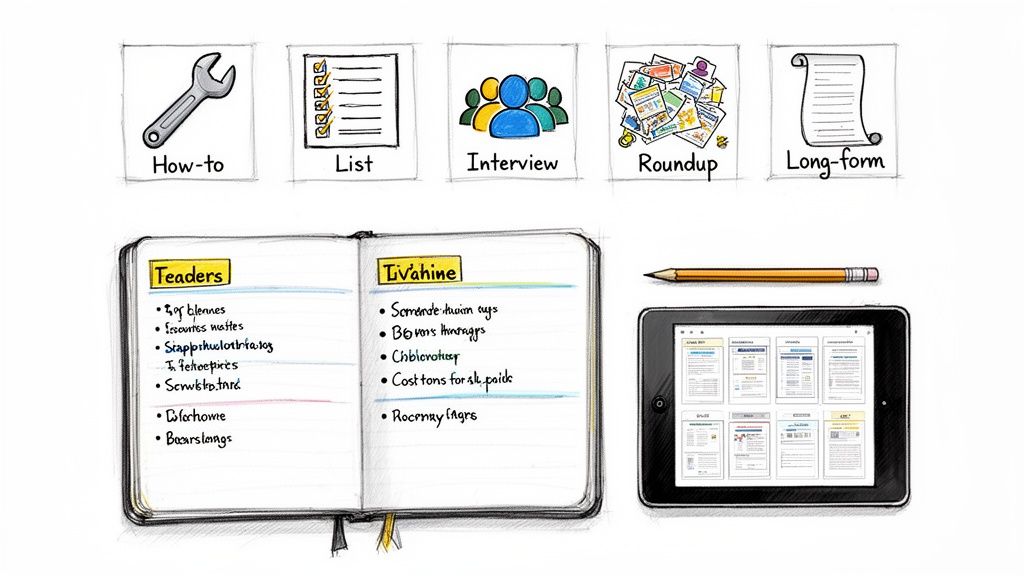
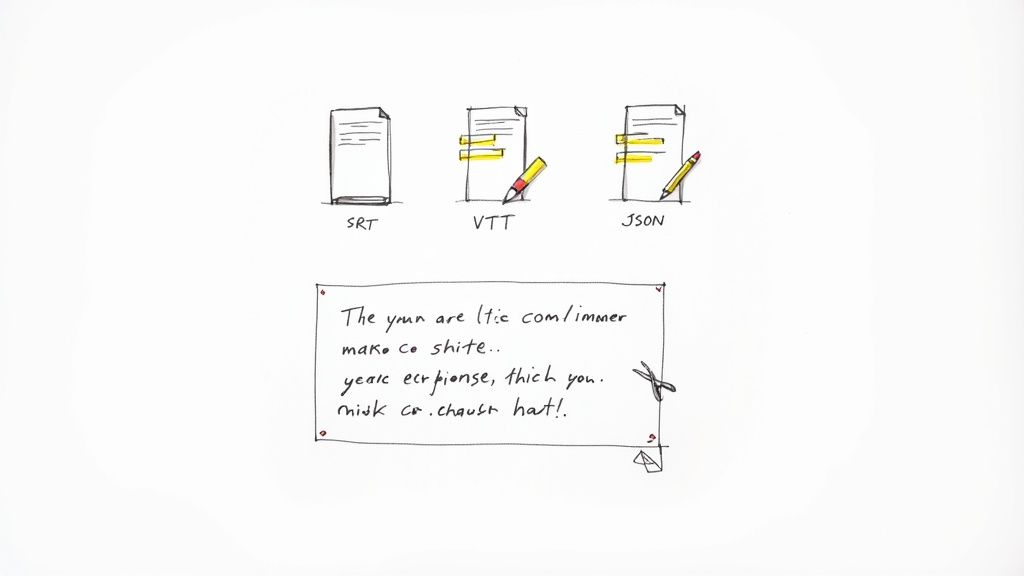
Formatting Transcripts And Quality Settings
Once you’ve pulled the transcript text from your YouTube video, the real work starts. A raw dump of dialogue can be useful, but a polished transcript unlocks its full potential—from SEO gains to streamlined video edits. The choice of file format should match your ultimate goal.
For clarity, here’s how I pick formats:
Choosing the right format at the outset means less manual cleanup later.
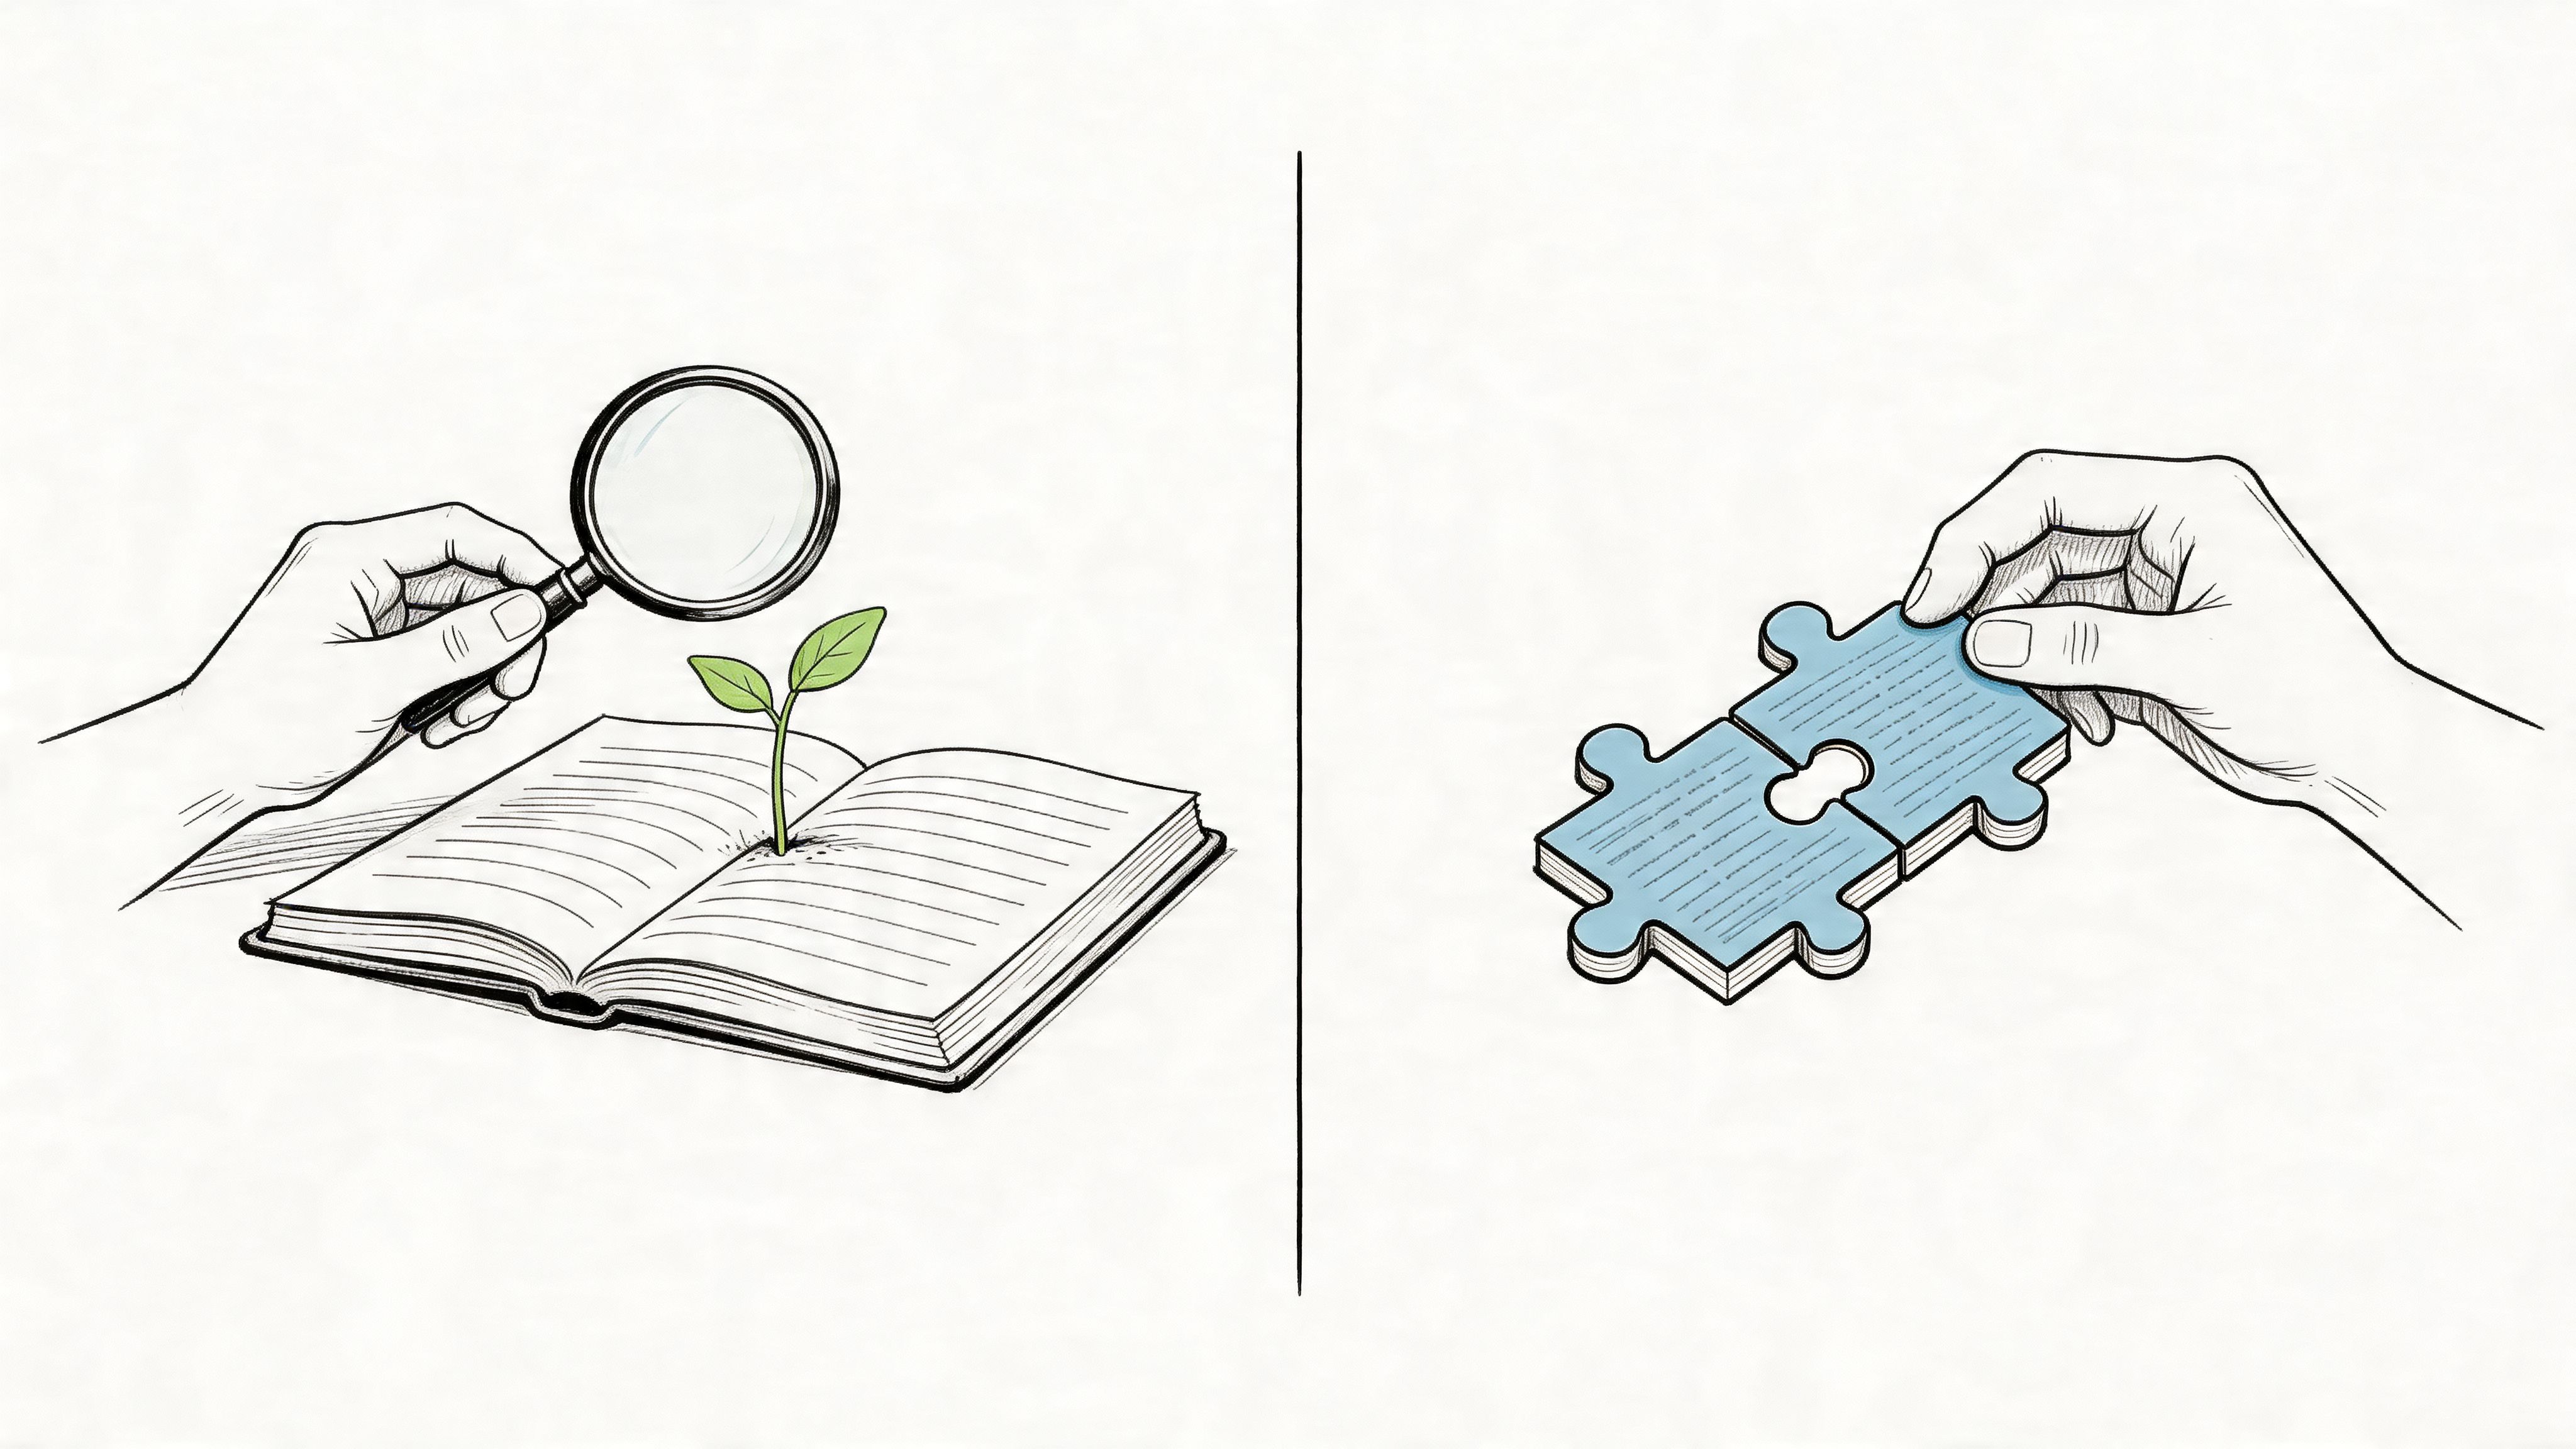
Polishing Your Transcript For Readability
Clarity is king. I always start by labeling speakers—especially in interviews or roundtable discussions. Even though some tools auto-detect voices, a quick manual pass ensures names stay consistent throughout.
Next, I tackle punctuation and paragraph breaks. Most automated transcripts come as walls of text. Splitting long sentences and inserting paragraphs at logical pauses turns an intimidating blob into a document people actually want to read.
My Personal Tip: Use your editor’s find-and-replace to strip out filler words like “um,” “uh,” and “you know.” It’s a fast way to make the transcript sound sharp and professional.
If you’re looking for more on transforming raw captions into polished subtitles, check out our guide on how to caption YouTube videos.
Turning Transcripts Into SEO Gold
Transcripts aren’t just for accessibility—they’re content goldmines. Search engines index written words far more effectively than video, so you can capture organic traffic long after the upload date. With YouTube Shorts racking up over 70 billion daily views, even brief clips can drive significant search interest.
Here’s my workflow for SEO-friendly posts:
- Treat the transcript as a draft: reorganize with clear headings.
- Add an intro and conclusion that frame the key takeaways.
- Sprinkle in relevant keywords naturally—no stuffing.
- Link to additional resources or related videos for depth.
This approach not only boosts your site’s ranking but also serves readers who prefer scanning text. For more on turning transcripts into searchable content, take a look at insights from Notta.ai.
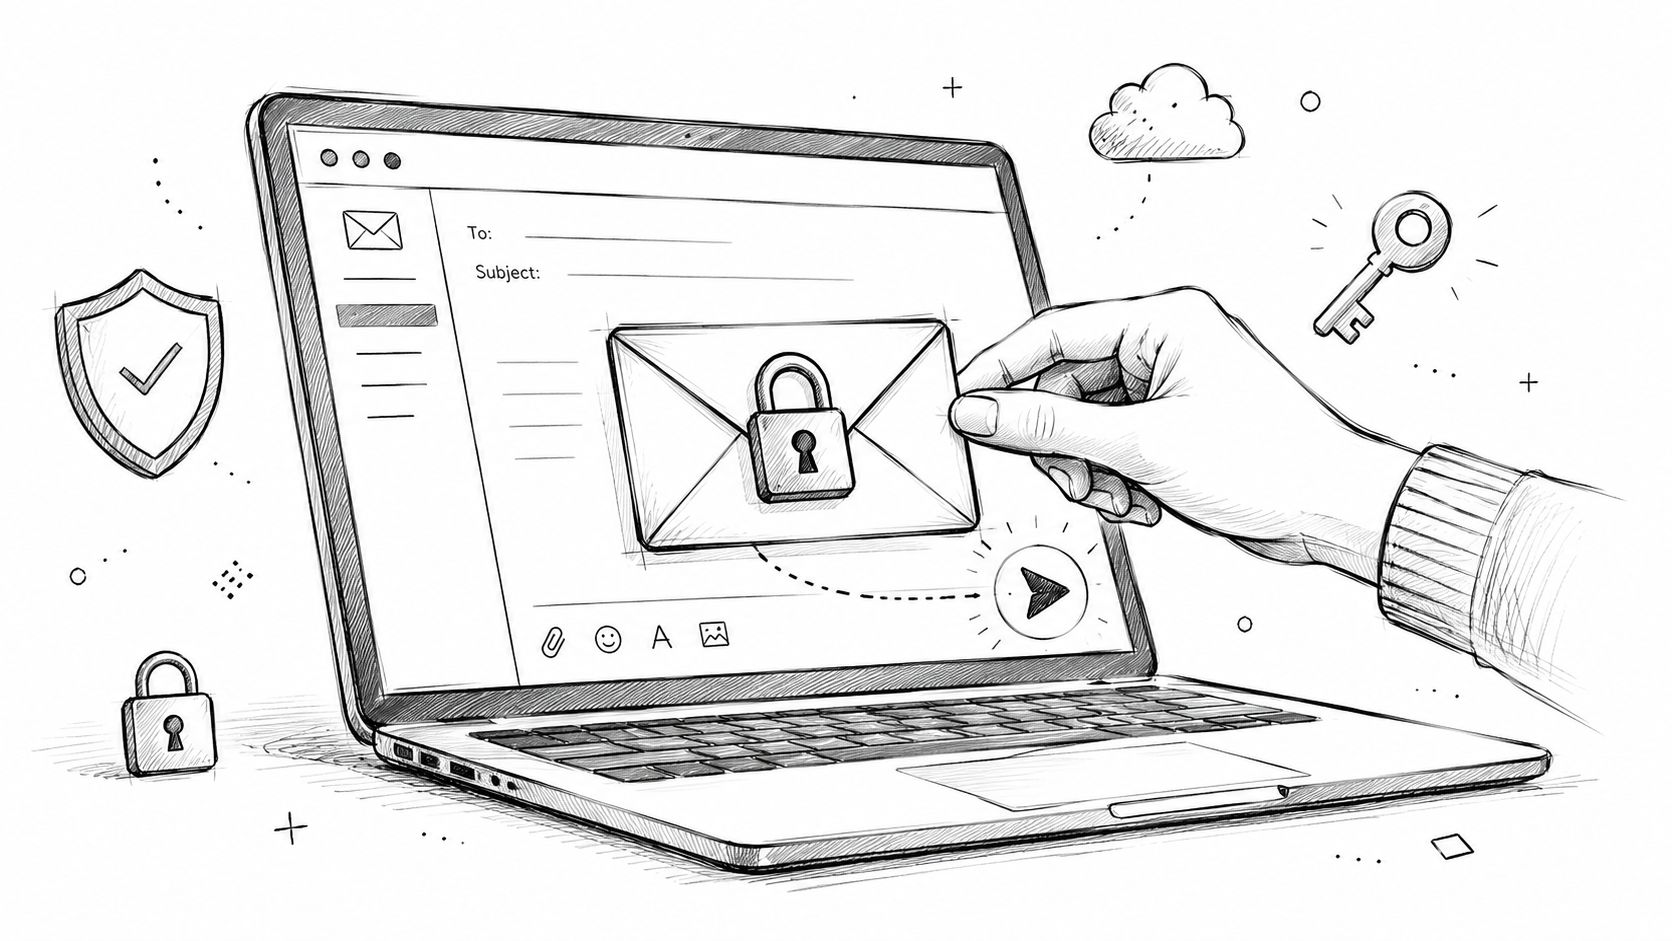
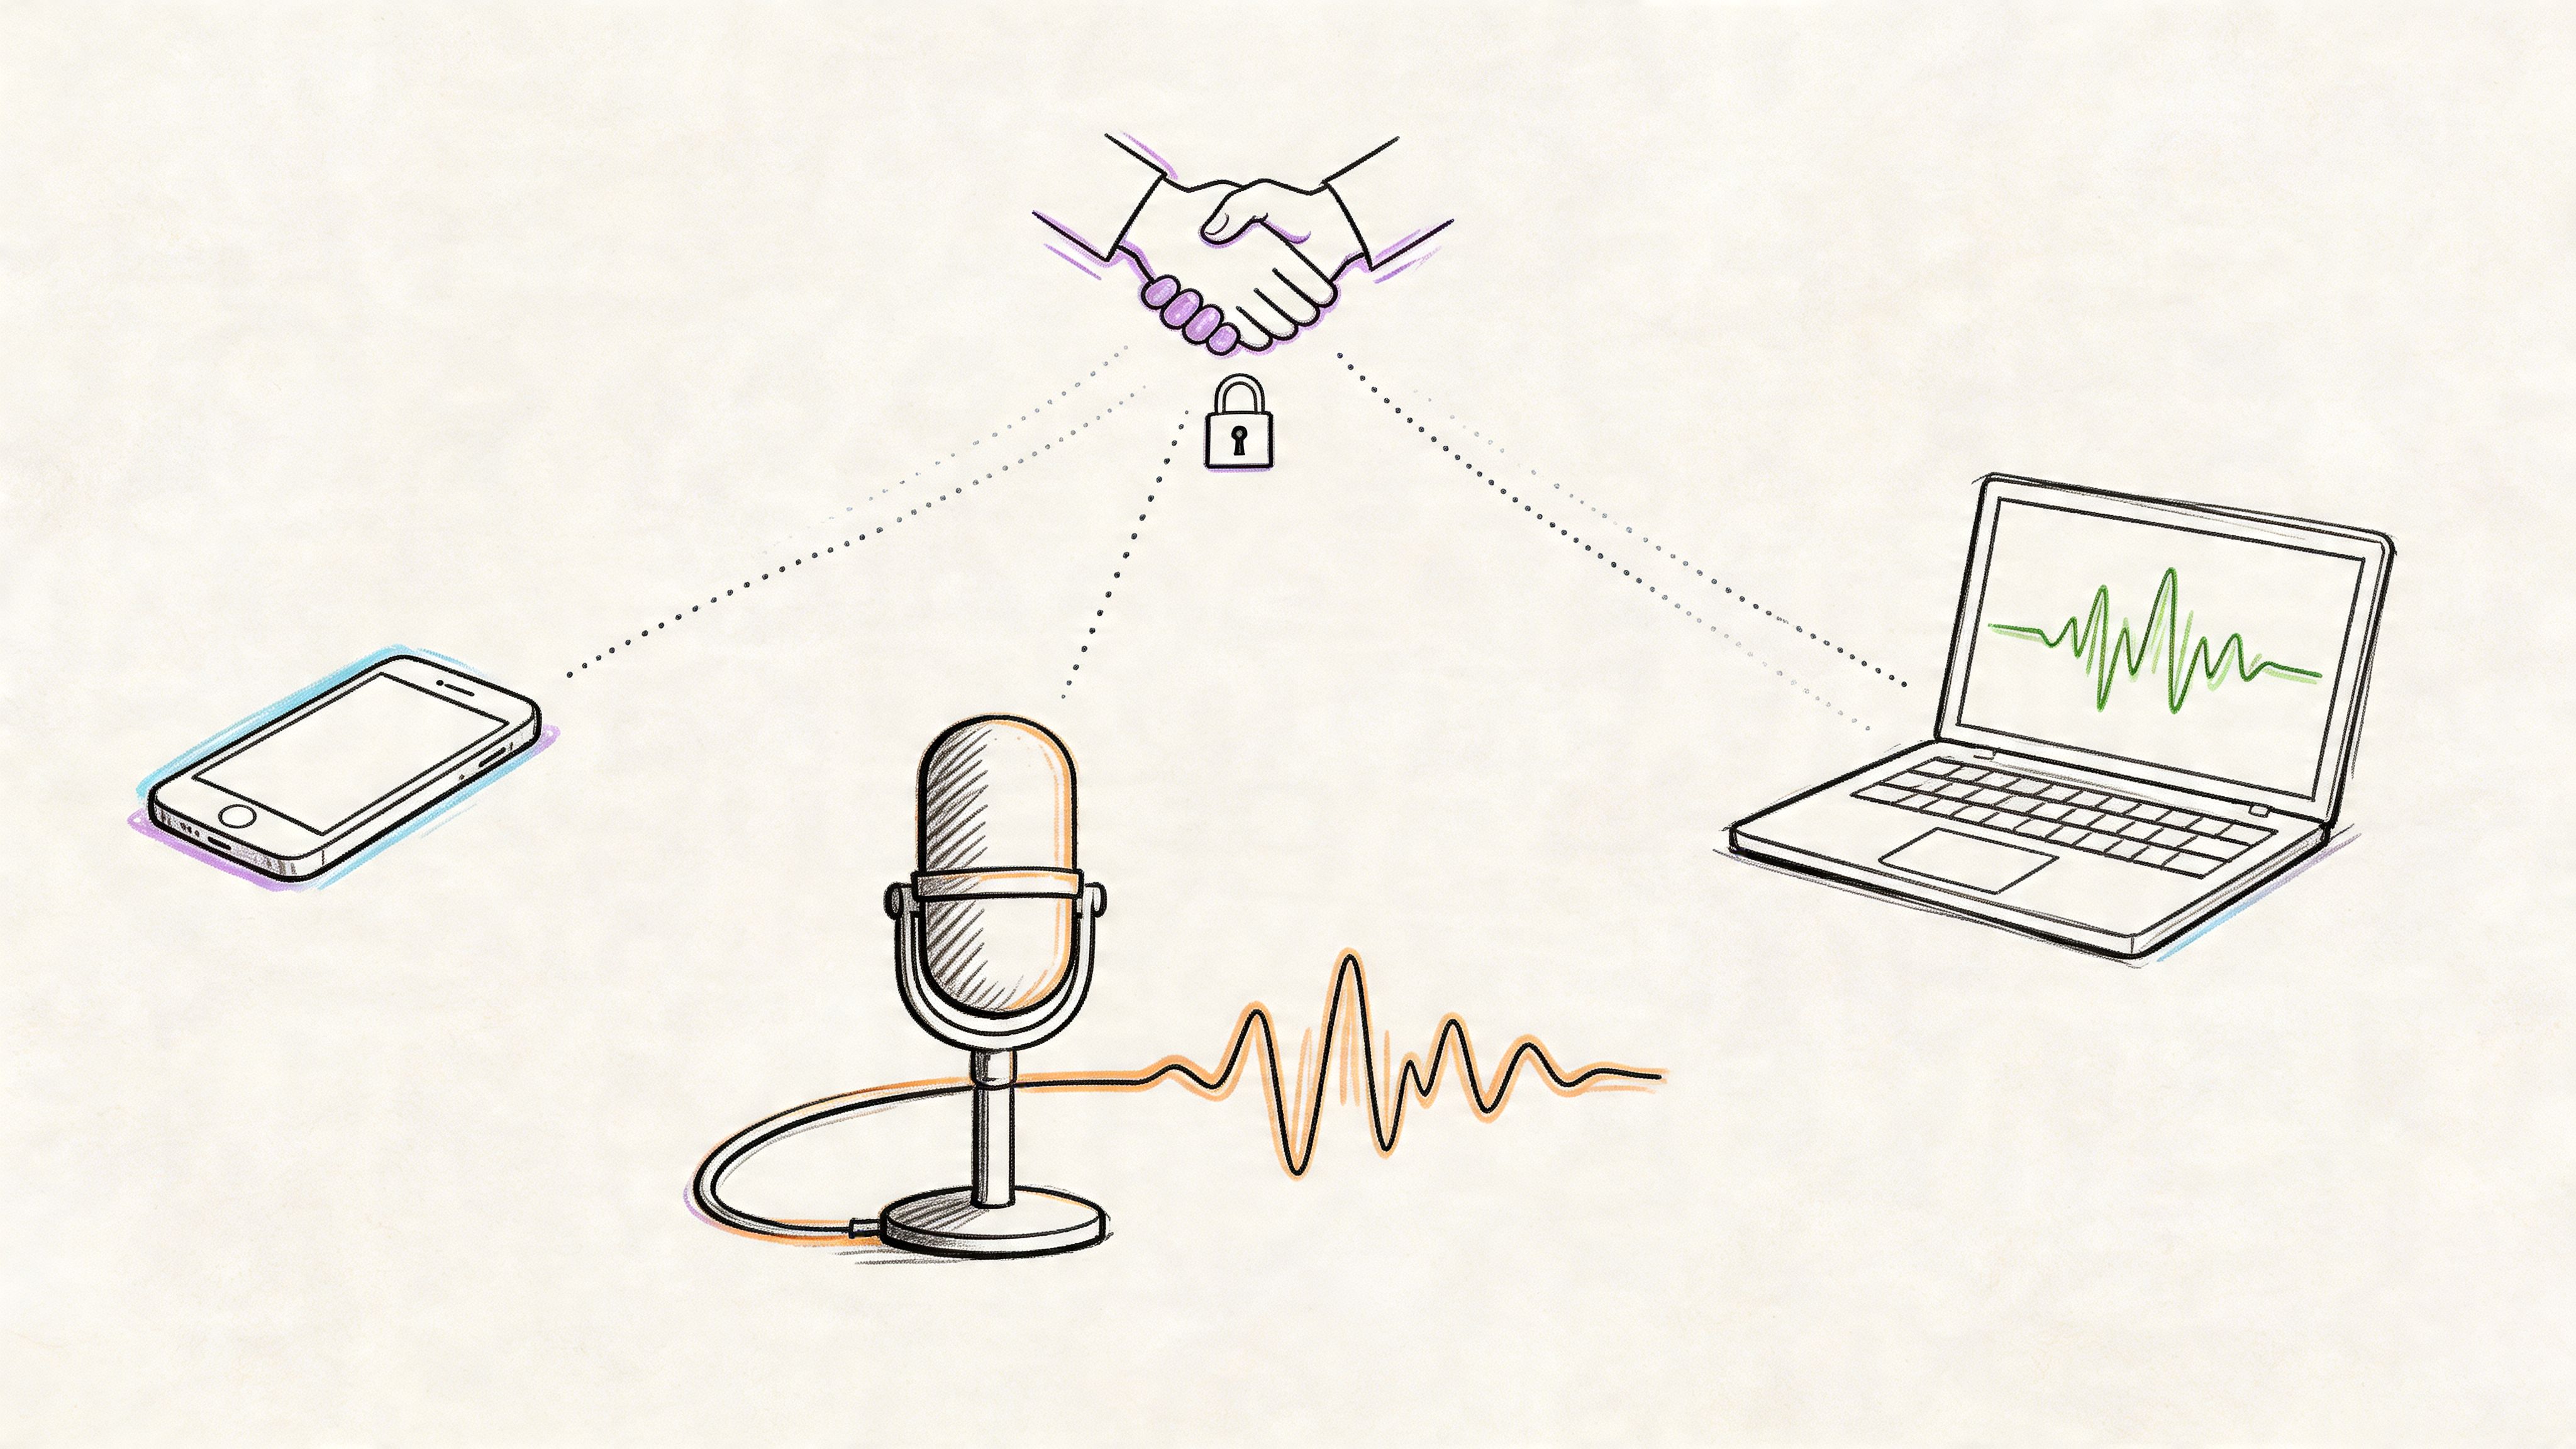
Privacy And Workflow Optimization
Downloading a transcript is just the first step. If you’re dealing with sensitive interviews, unreleased content, or proprietary information, how you handle those files afterward is just as important.
Building a secure, repeatable workflow isn’t just about being organized; it’s about protecting your data at every stage.
Here are a few non-negotiables I stick to:
- Raw downloads immediately go into a password-protected folder. If I’m using an external drive, I make sure it's unplugged when I’m done.
- I always encrypt transcripts at rest. Tools like BitLocker on Windows or FileVault on Mac are built-in and make this incredibly simple, blocking any unauthorized access.
- When I'm finished, I don't just delete temporary files. I use a secure-wipe utility that actually overwrites the data, making it impossible to recover.
“I automate encrypted backups every night,” says content strategist Laura Kim, “and it saves me hours on manual cleanup.”
Folder Structure And Labeling
Let’s be honest, a folder full of files named "transcript_final_final2.txt" is a nightmare. When you're managing dozens of videos, a clear naming system is your best friend.
I've found a simple two-tier folder system works best. I group everything by project first, then by date.
Every single file name follows a strict convention: PROJCODE_YYYYMMDD_ShortDescriptor.txt. For example, PROJX_20240115_Interview.txt. This small bit of discipline means I can find any transcript in seconds, even years down the road.
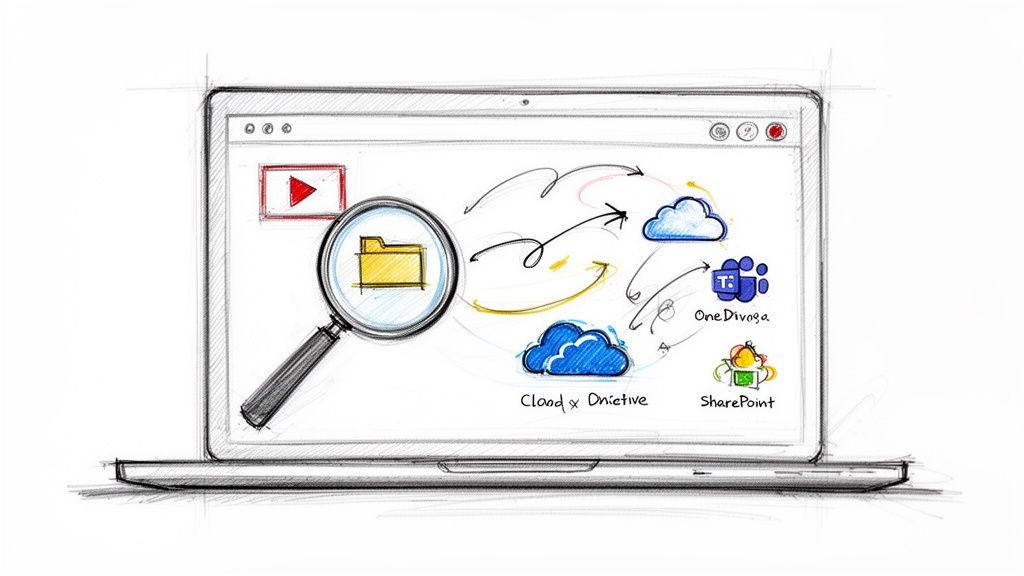
This same rigor applies when syncing files to cloud storage. Always enable two-factor authentication and be meticulous with permissions.
- Create separate shared folders for drafts versus finalized transcripts.
- Give reviewers read-only access, while editors get full editing rights.
- Once a project is done, move it to a locked archive folder.
Automating Cleanup And Version Control
You can reclaim a surprising amount of disk space by automating your cleanup process. For instance, once a transcript is finalized and backed up, there's often no need to keep the original large video file.
I have a simple script that runs every Sunday, automatically clearing out source video files older than 30 days. It keeps my workspace tidy without me having to think about it.
For the transcripts themselves, I treat them like code. Using a version control system like Git (paired with Git LFS for large files) tracks every single change. It’s a lifesaver if you ever need to revert to an earlier version or see who made a specific edit.
If you’re looking to integrate these privacy steps with automated tools, check out our guide on AI-powered transcription services.
And remember, whenever you use an online tool, take a moment to understand how they handle your data. Reading through documents like Narrareach's privacy policy can give you peace of mind.
By making these small tweaks to your workflow, you can get the transcript of a YouTube video securely every time without slowing down. I’ve found these practices have cut my own review time by 50%, letting me focus on the actual content instead of just managing files.
Standardize your process once, and you’ll have a system that can grow with you, whether you’re transcribing a single clip or a whole series of interviews.
Common Questions About Transcribing YouTube Videos
Even with all the tools available, you'll inevitably run into a few tricky situations when pulling transcripts from YouTube. Let's tackle some of the most common questions that pop up.
How Can I Transcribe a Private or Region-Locked Video?
This is a classic problem. If a video is set to private, you're out of luck unless you're the owner or have been given explicit access. There’s no getting around that.
For videos that are region-locked, you have a couple of options. The easiest workaround is often a good VPN, which can make it seem like you're watching from an approved country. Once you can view the video, you can usually grab the transcript without any issues.
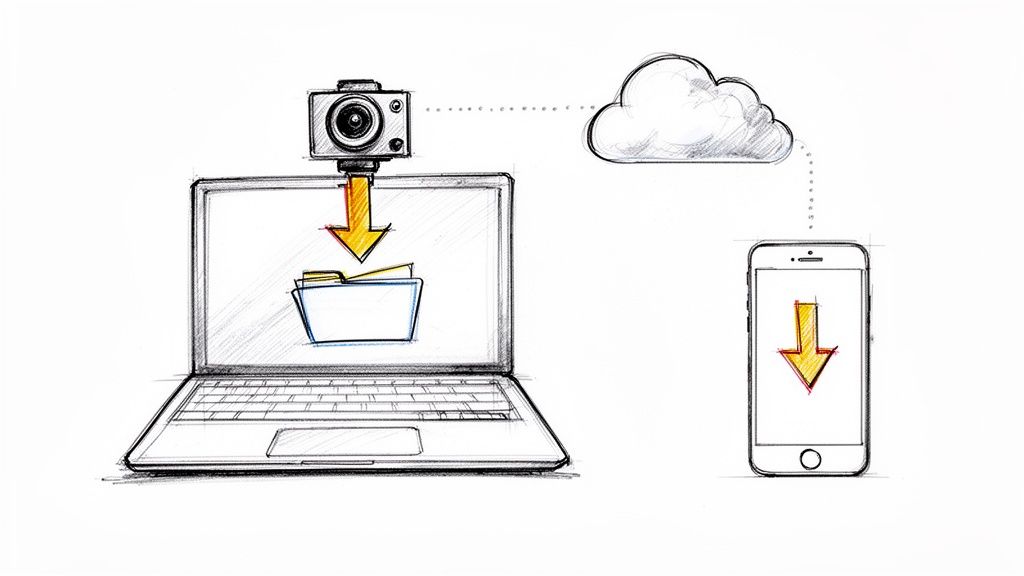
But what if you can't access it at all? The final resort is to download the video file (using a legitimate tool, of course) and then upload that file directly to a transcription service.
What Should I Do About Mismatched Timestamps?
It’s frustrating when the text doesn't sync with the audio. This happens all the time with auto-generated captions, especially if the speaker talks fast or there's background noise.
When you’re using a third-party tool to get a transcript of a YouTube video, dig into the settings. Some platforms let you tweak the timing or how timestamps are generated.
My personal fix for this is to export the transcript as an SRT file. You can then open it in a free subtitle editor like Aegisub or even a professional video editor. These tools make it incredibly easy to nudge specific lines—or the entire transcript—forward or backward until everything lines up perfectly.
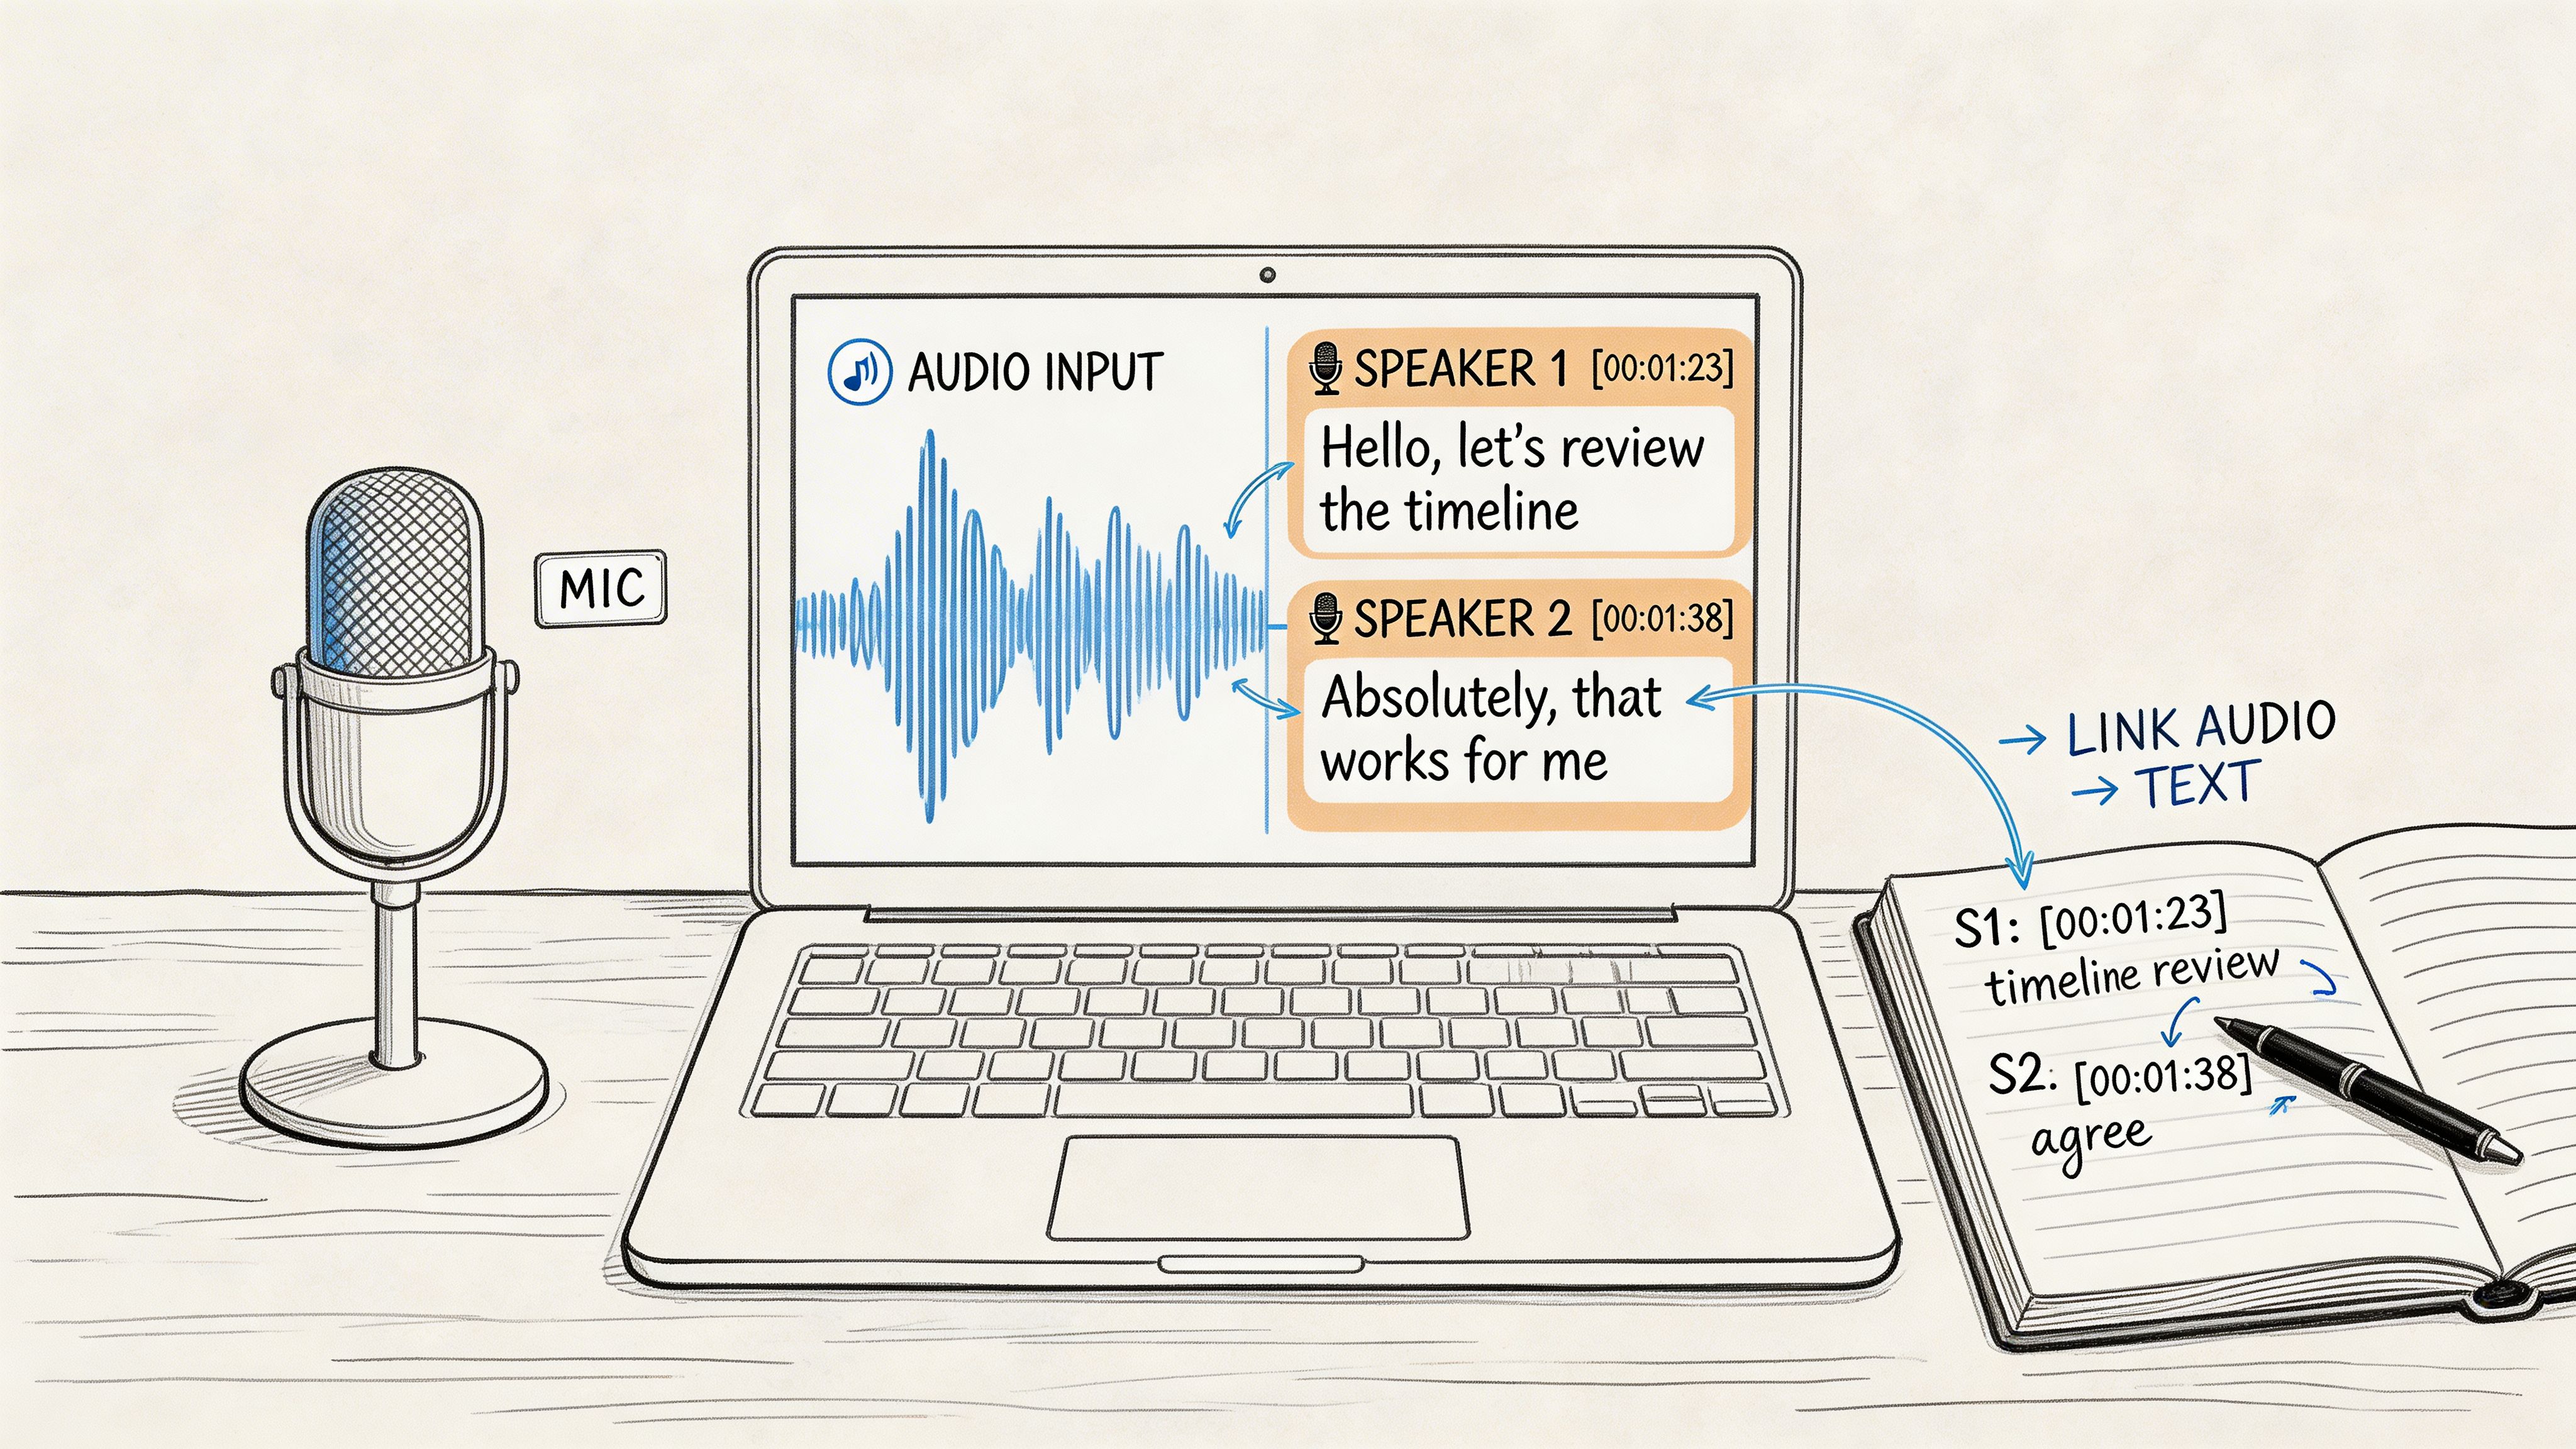
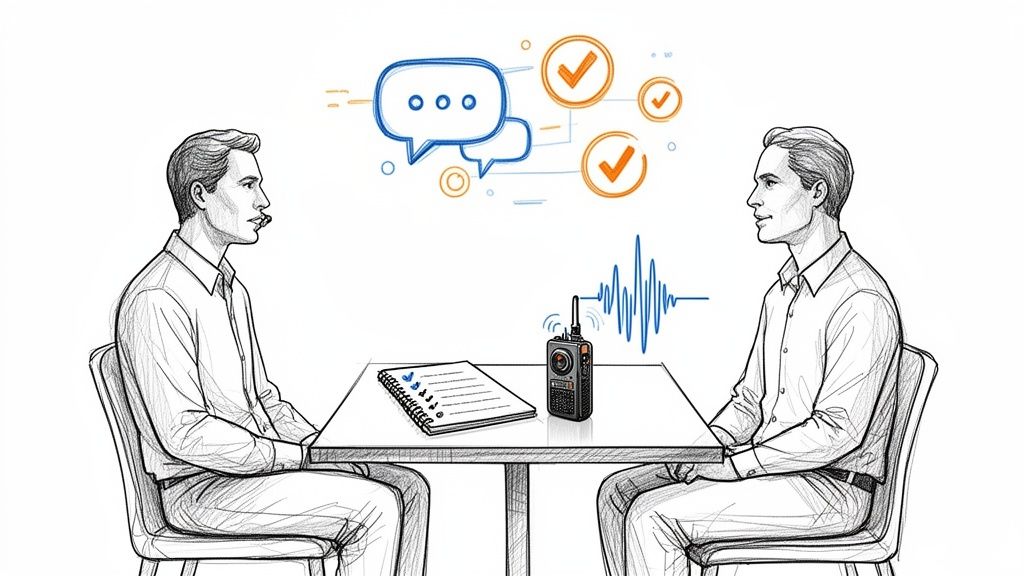
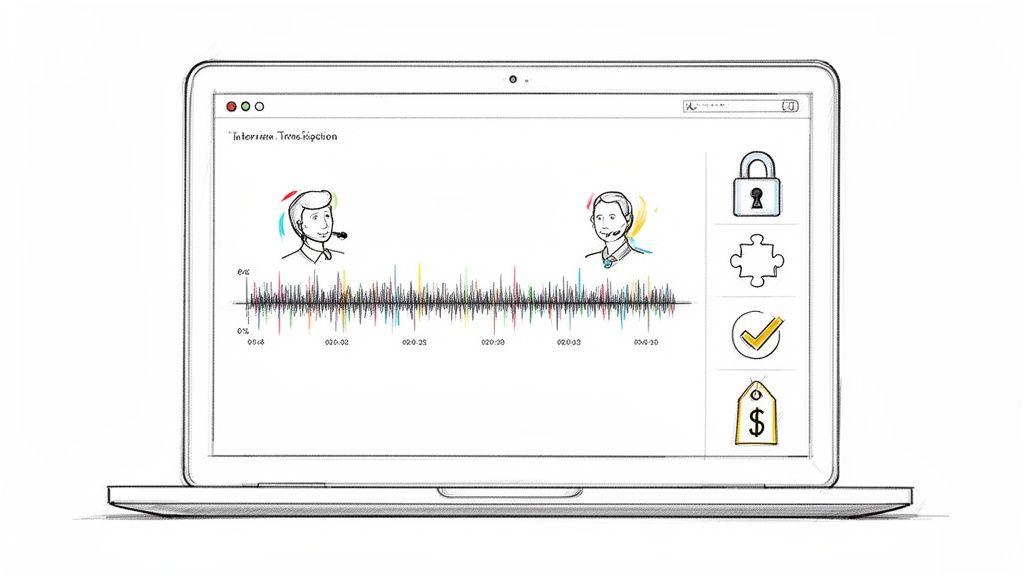
What’s the Best Way to Handle Multiple Speakers?
This is where YouTube’s own transcript tool really falls short. It lumps all the dialogue together, which turns interviews and panel discussions into a confusing wall of text.
For any video with more than one person speaking, an AI-powered transcription tool is a lifesaver. These services can actually distinguish between different voices and will automatically label the dialogue.
You’ll typically see outputs like:
- Speaker 1: "Welcome to the show."
- Speaker 2: "Thanks for having me."
From there, you can just do a quick find-and-replace to add the speakers' actual names. That one feature can save you hours of tedious manual work.
Tired of fighting with inaccurate, jumbled transcripts? Whisper AI offers a fast, precise, and secure way to get the transcript of any YouTube video. Just paste a link and let our AI handle everything—from detecting speakers to creating perfect timestamps—so you can get back to what matters. Try Whisper AI for free today!