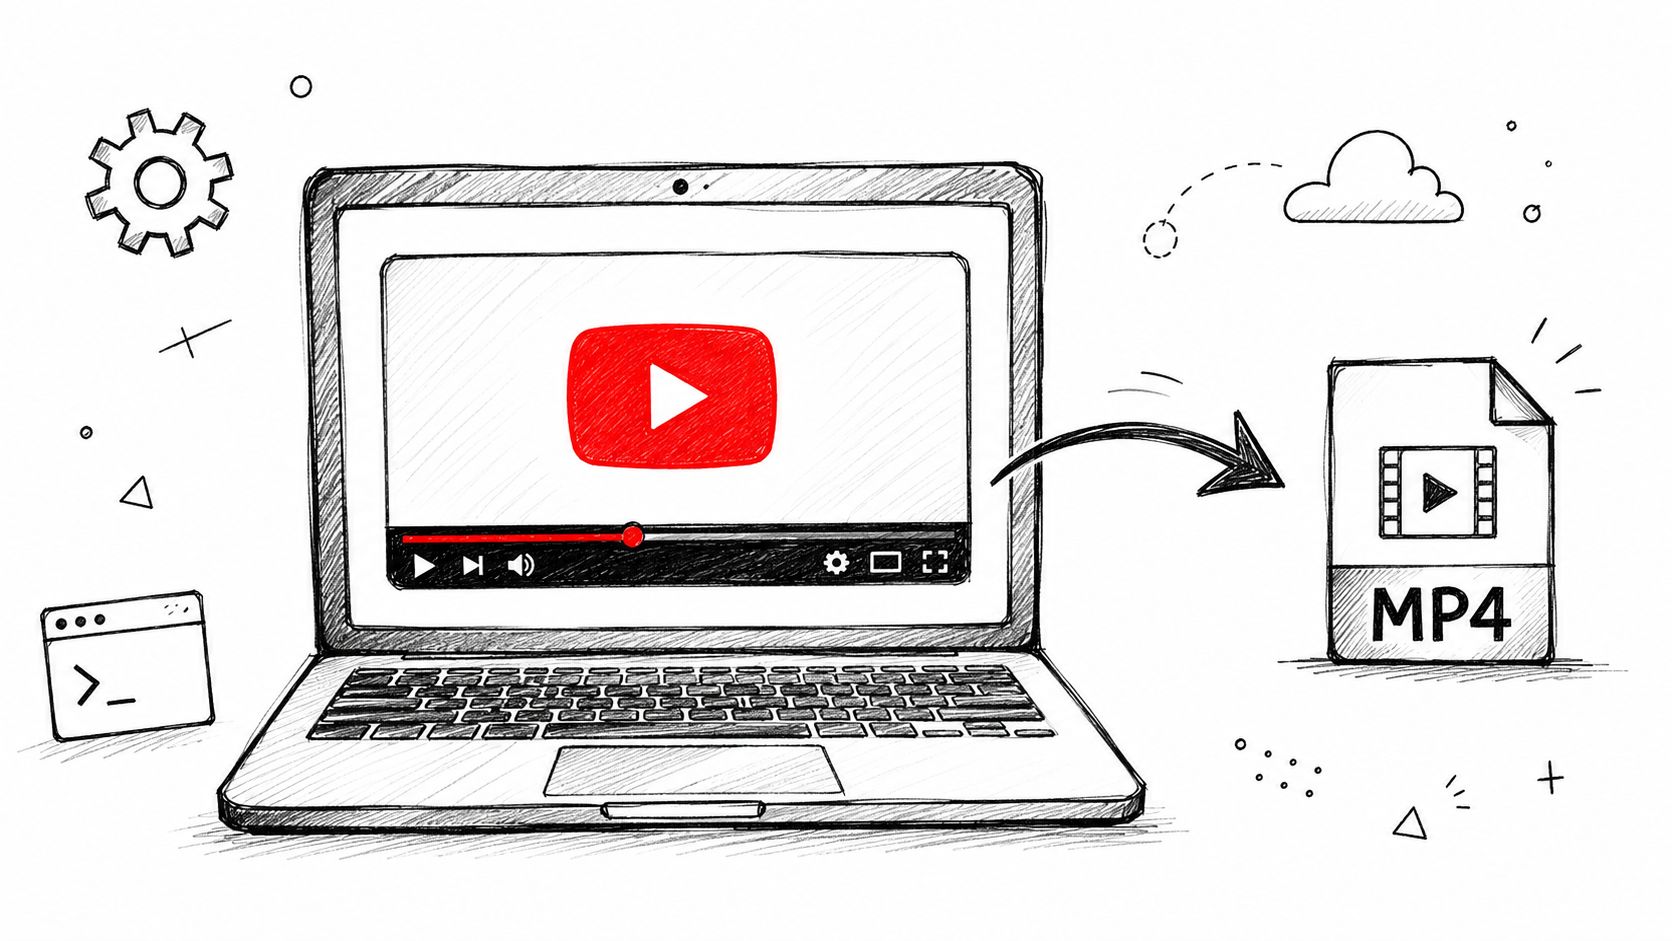
A Practical Guide to Converting M4A to Text
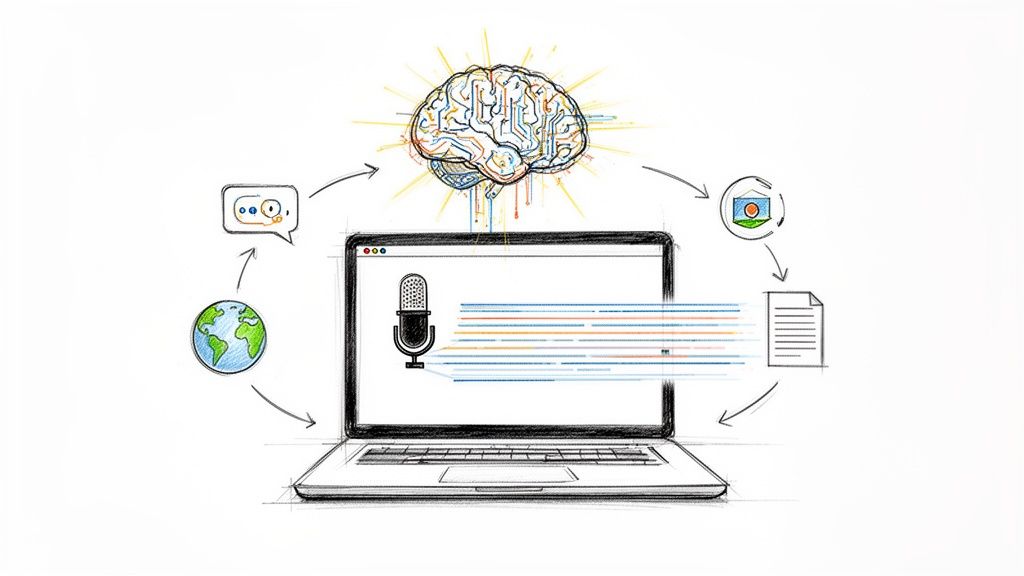
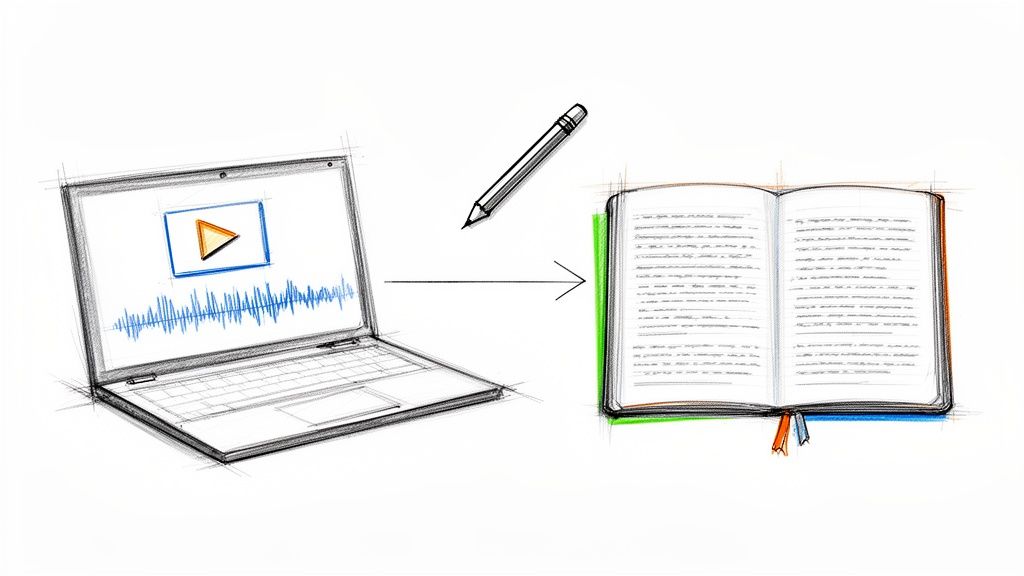
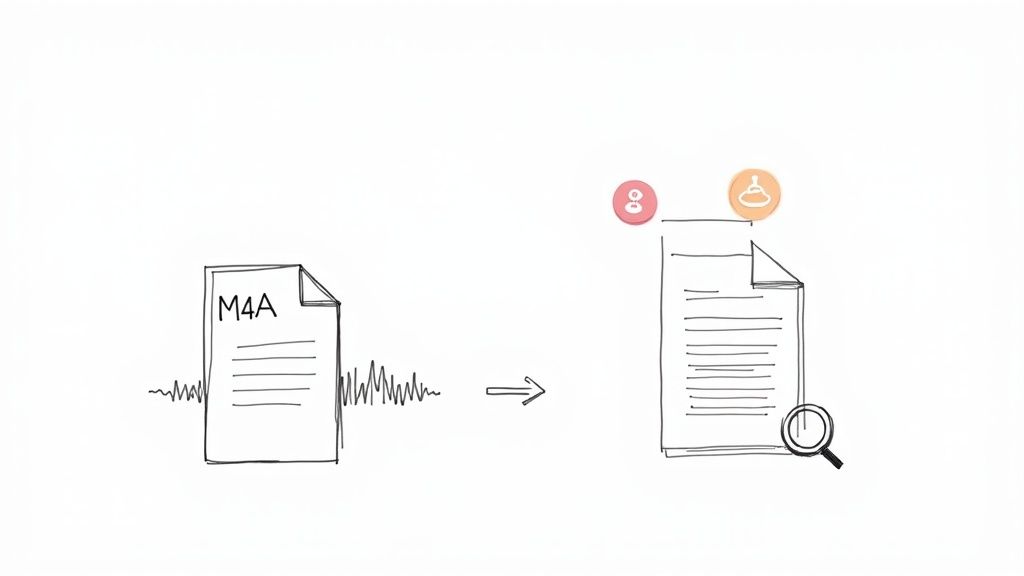
Converting an M4A audio file into text is a straightforward process when you use the right tools. From my experience, all it takes is an AI-powered service, like one using Whisper AI, to upload your file. Within minutes, you get a machine-generated transcript that transforms spoken words into searchable, editable data—often complete with speaker labels and timestamps to make navigating the content a breeze.
Why Accurate M4A Transcription Is a Game Changer
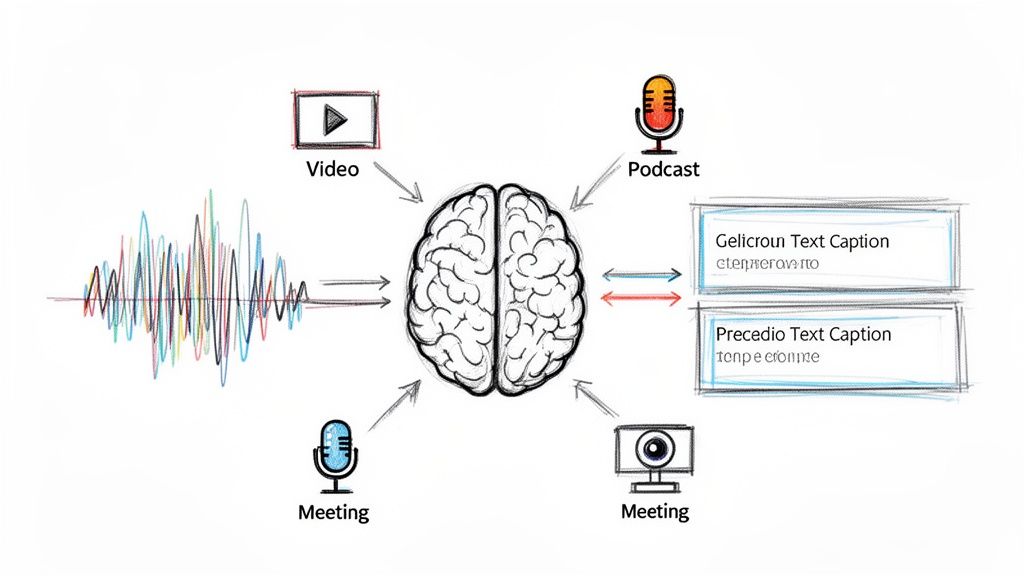
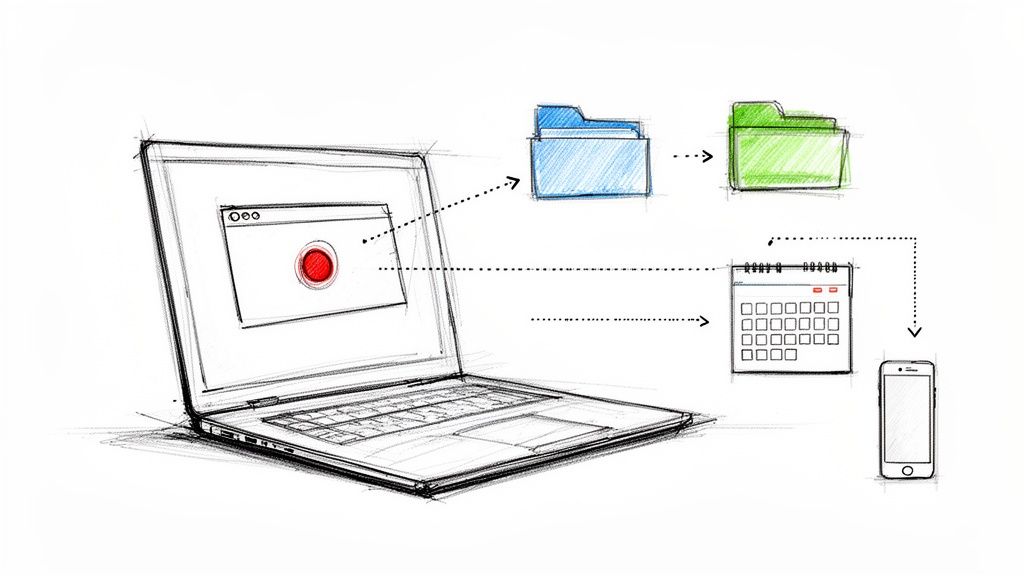
Have you ever wasted time scrubbing through a long meeting recording or a podcast just to find one specific quote? It’s like searching for a needle in a haystack. I've been there, and it's incredibly frustrating. Converting your M4A files to text isn't just a minor convenience; it fundamentally changes how you work with audio. By turning spoken words into structured data, every conversation becomes searchable, accessible, and infinitely more valuable.
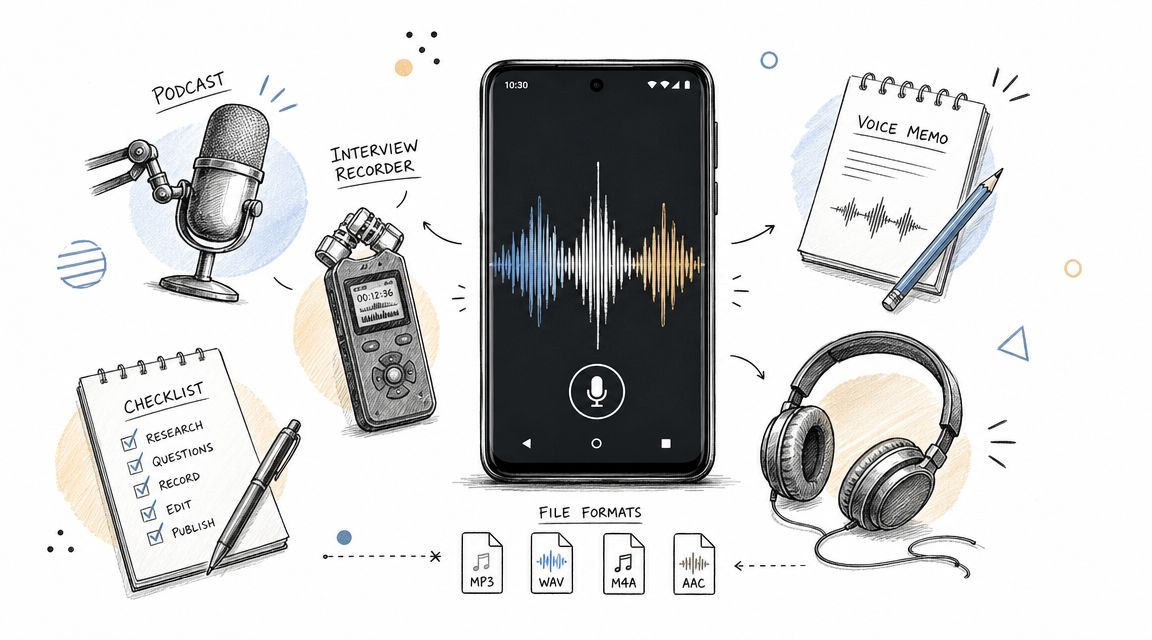
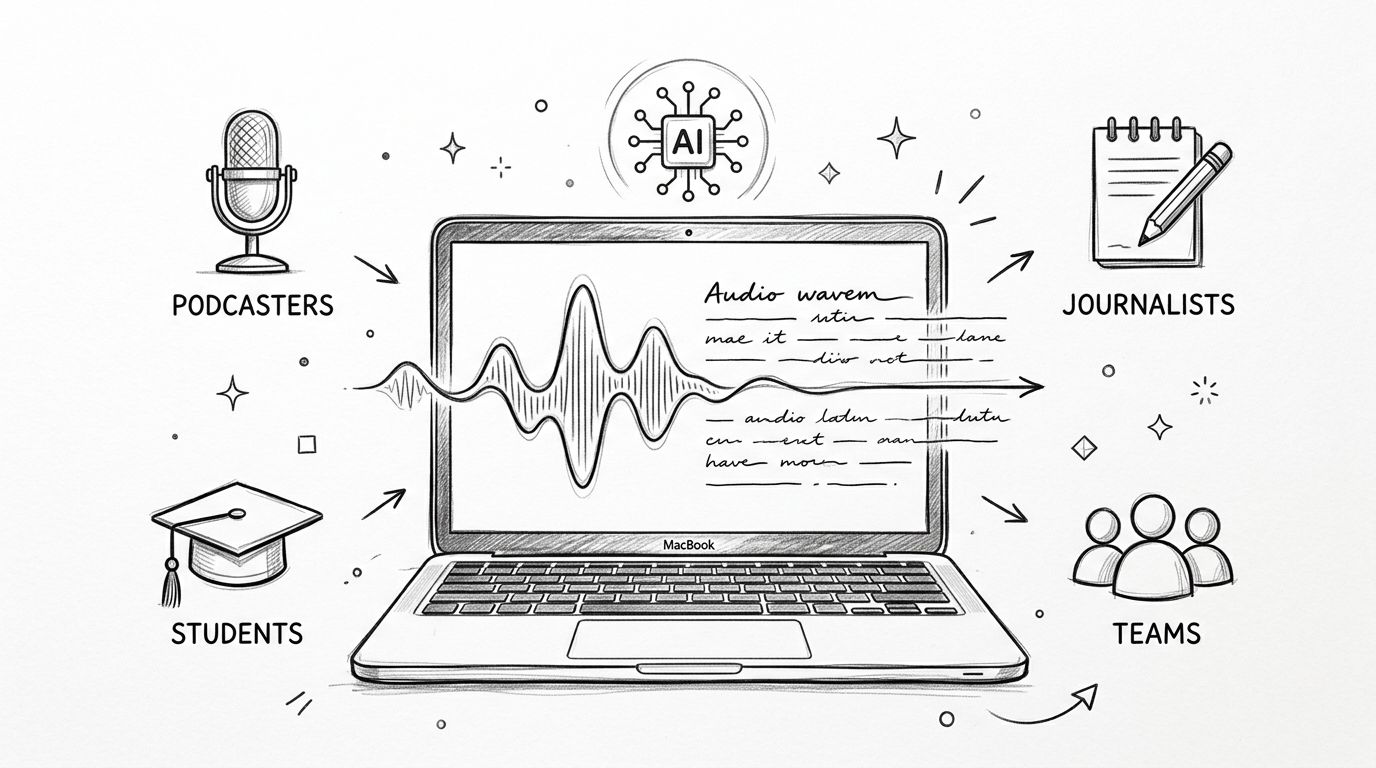
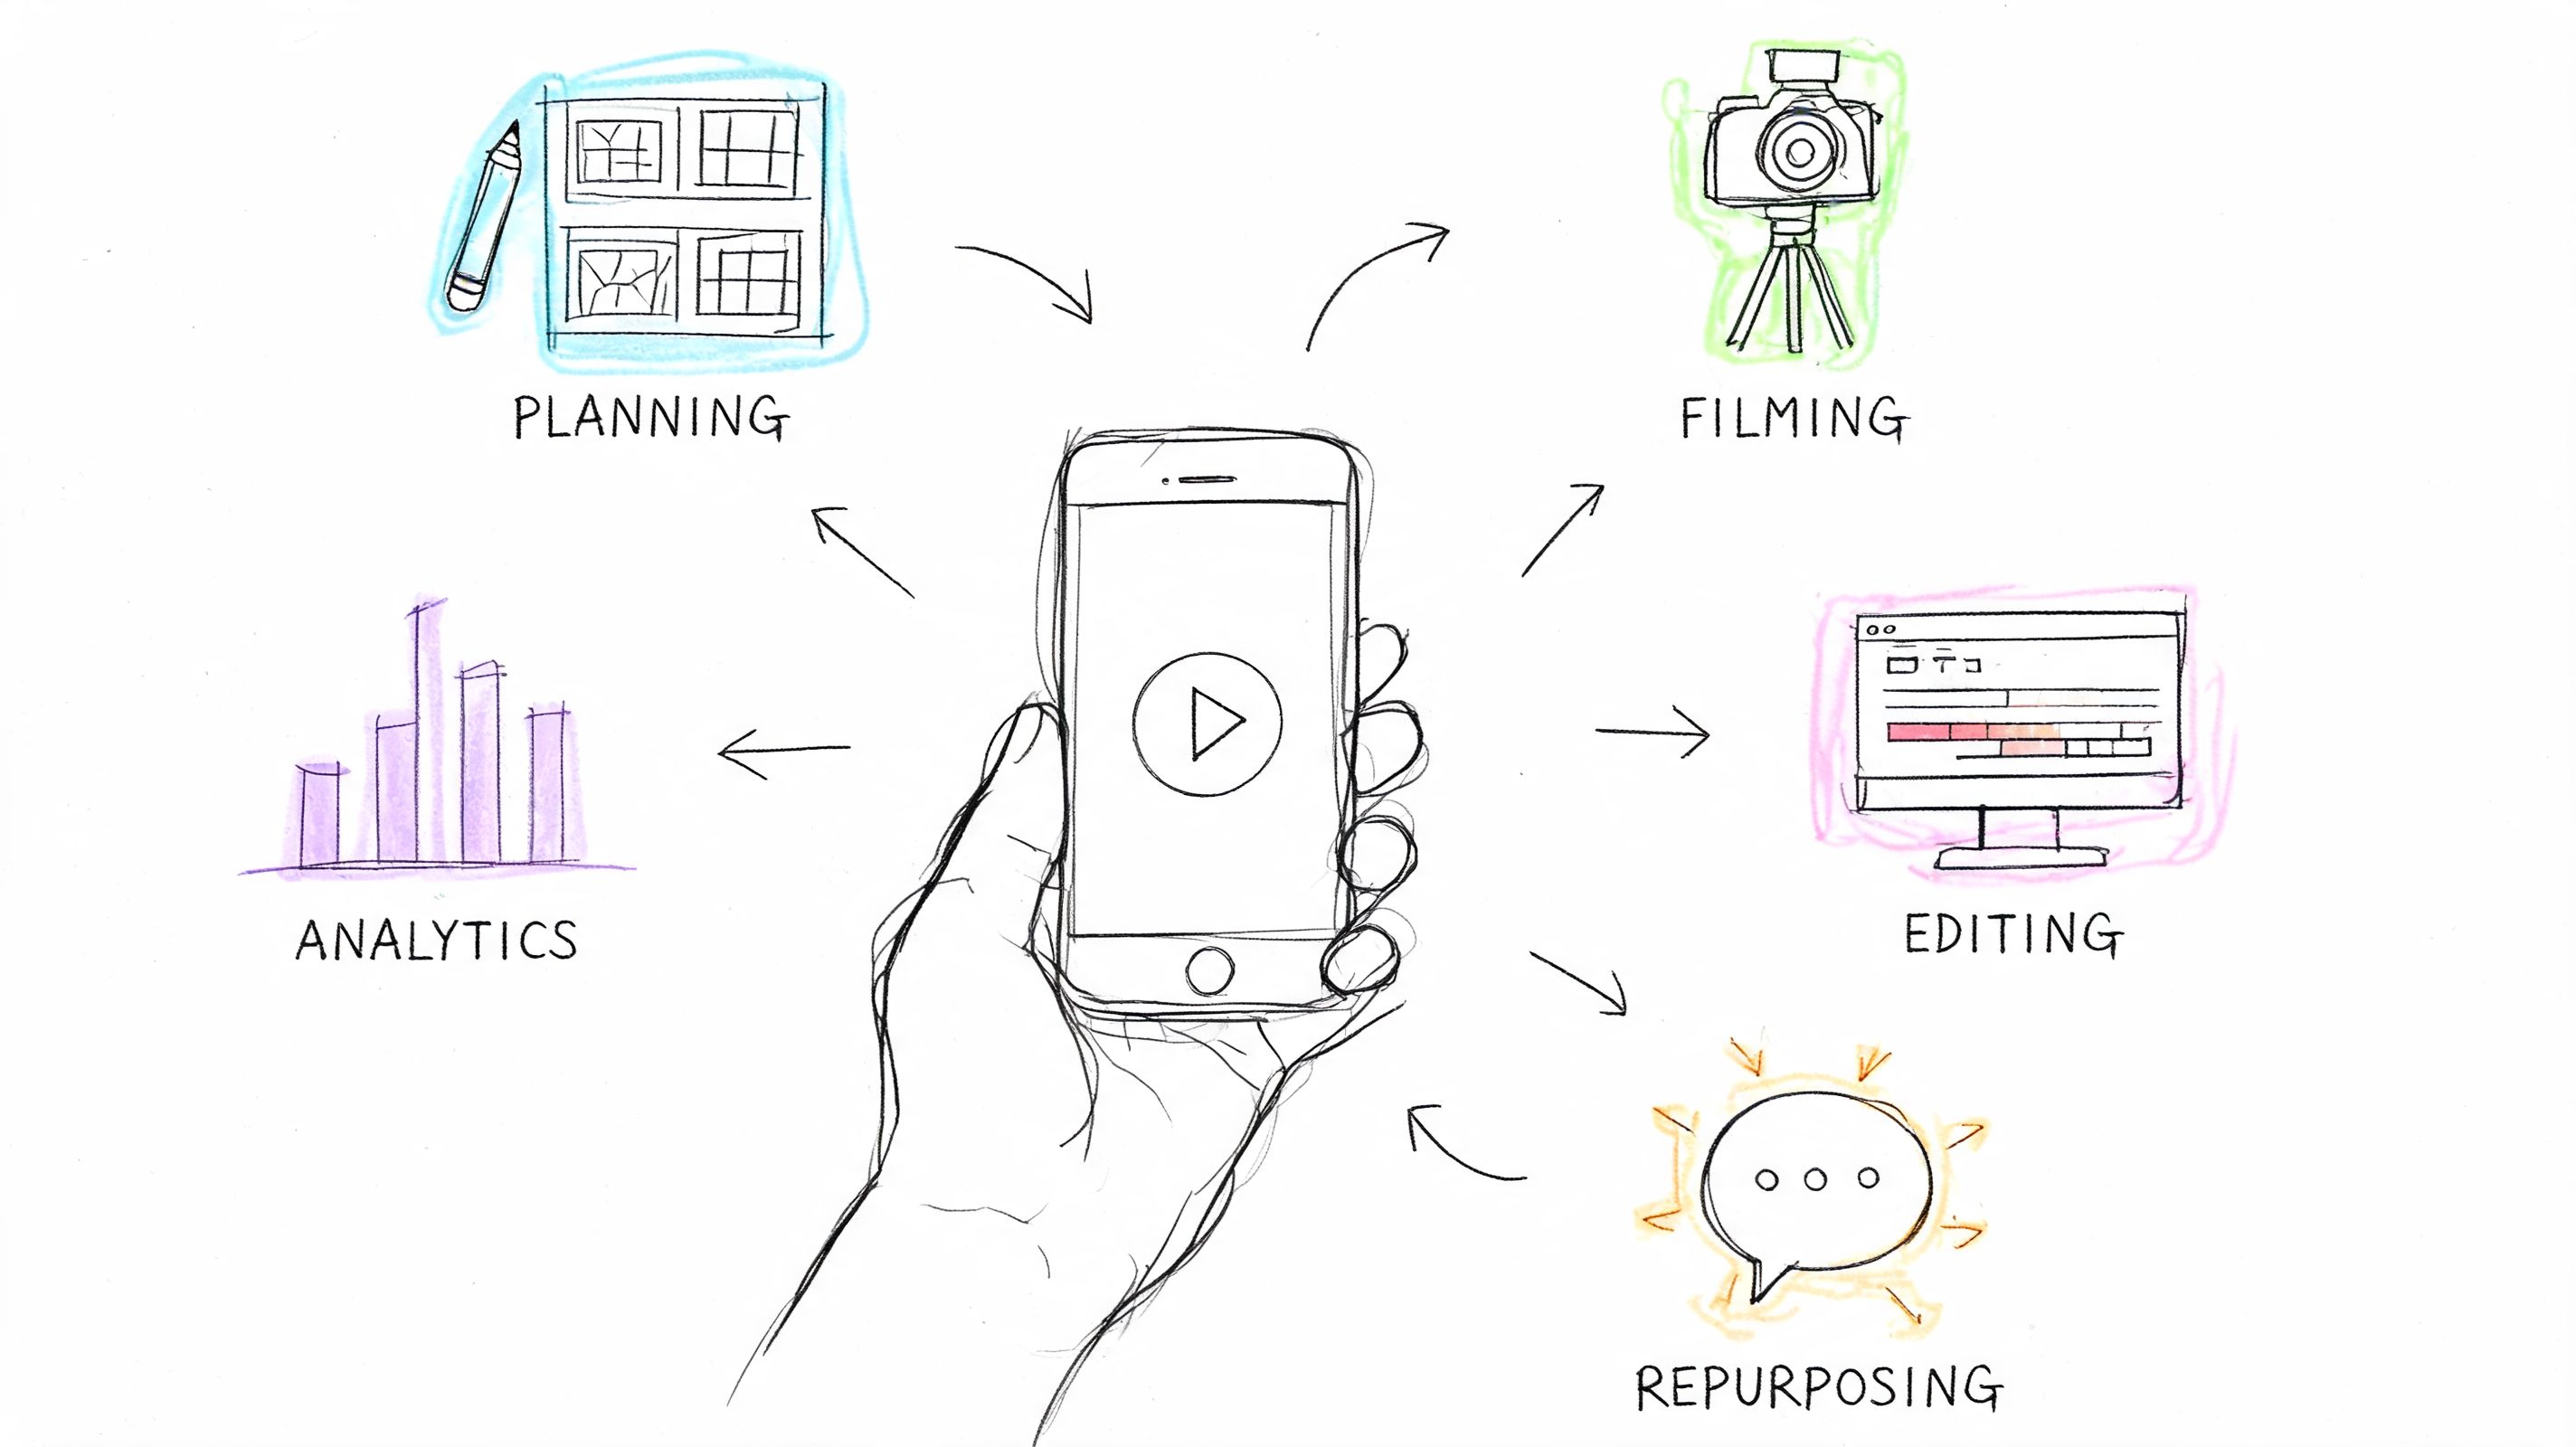
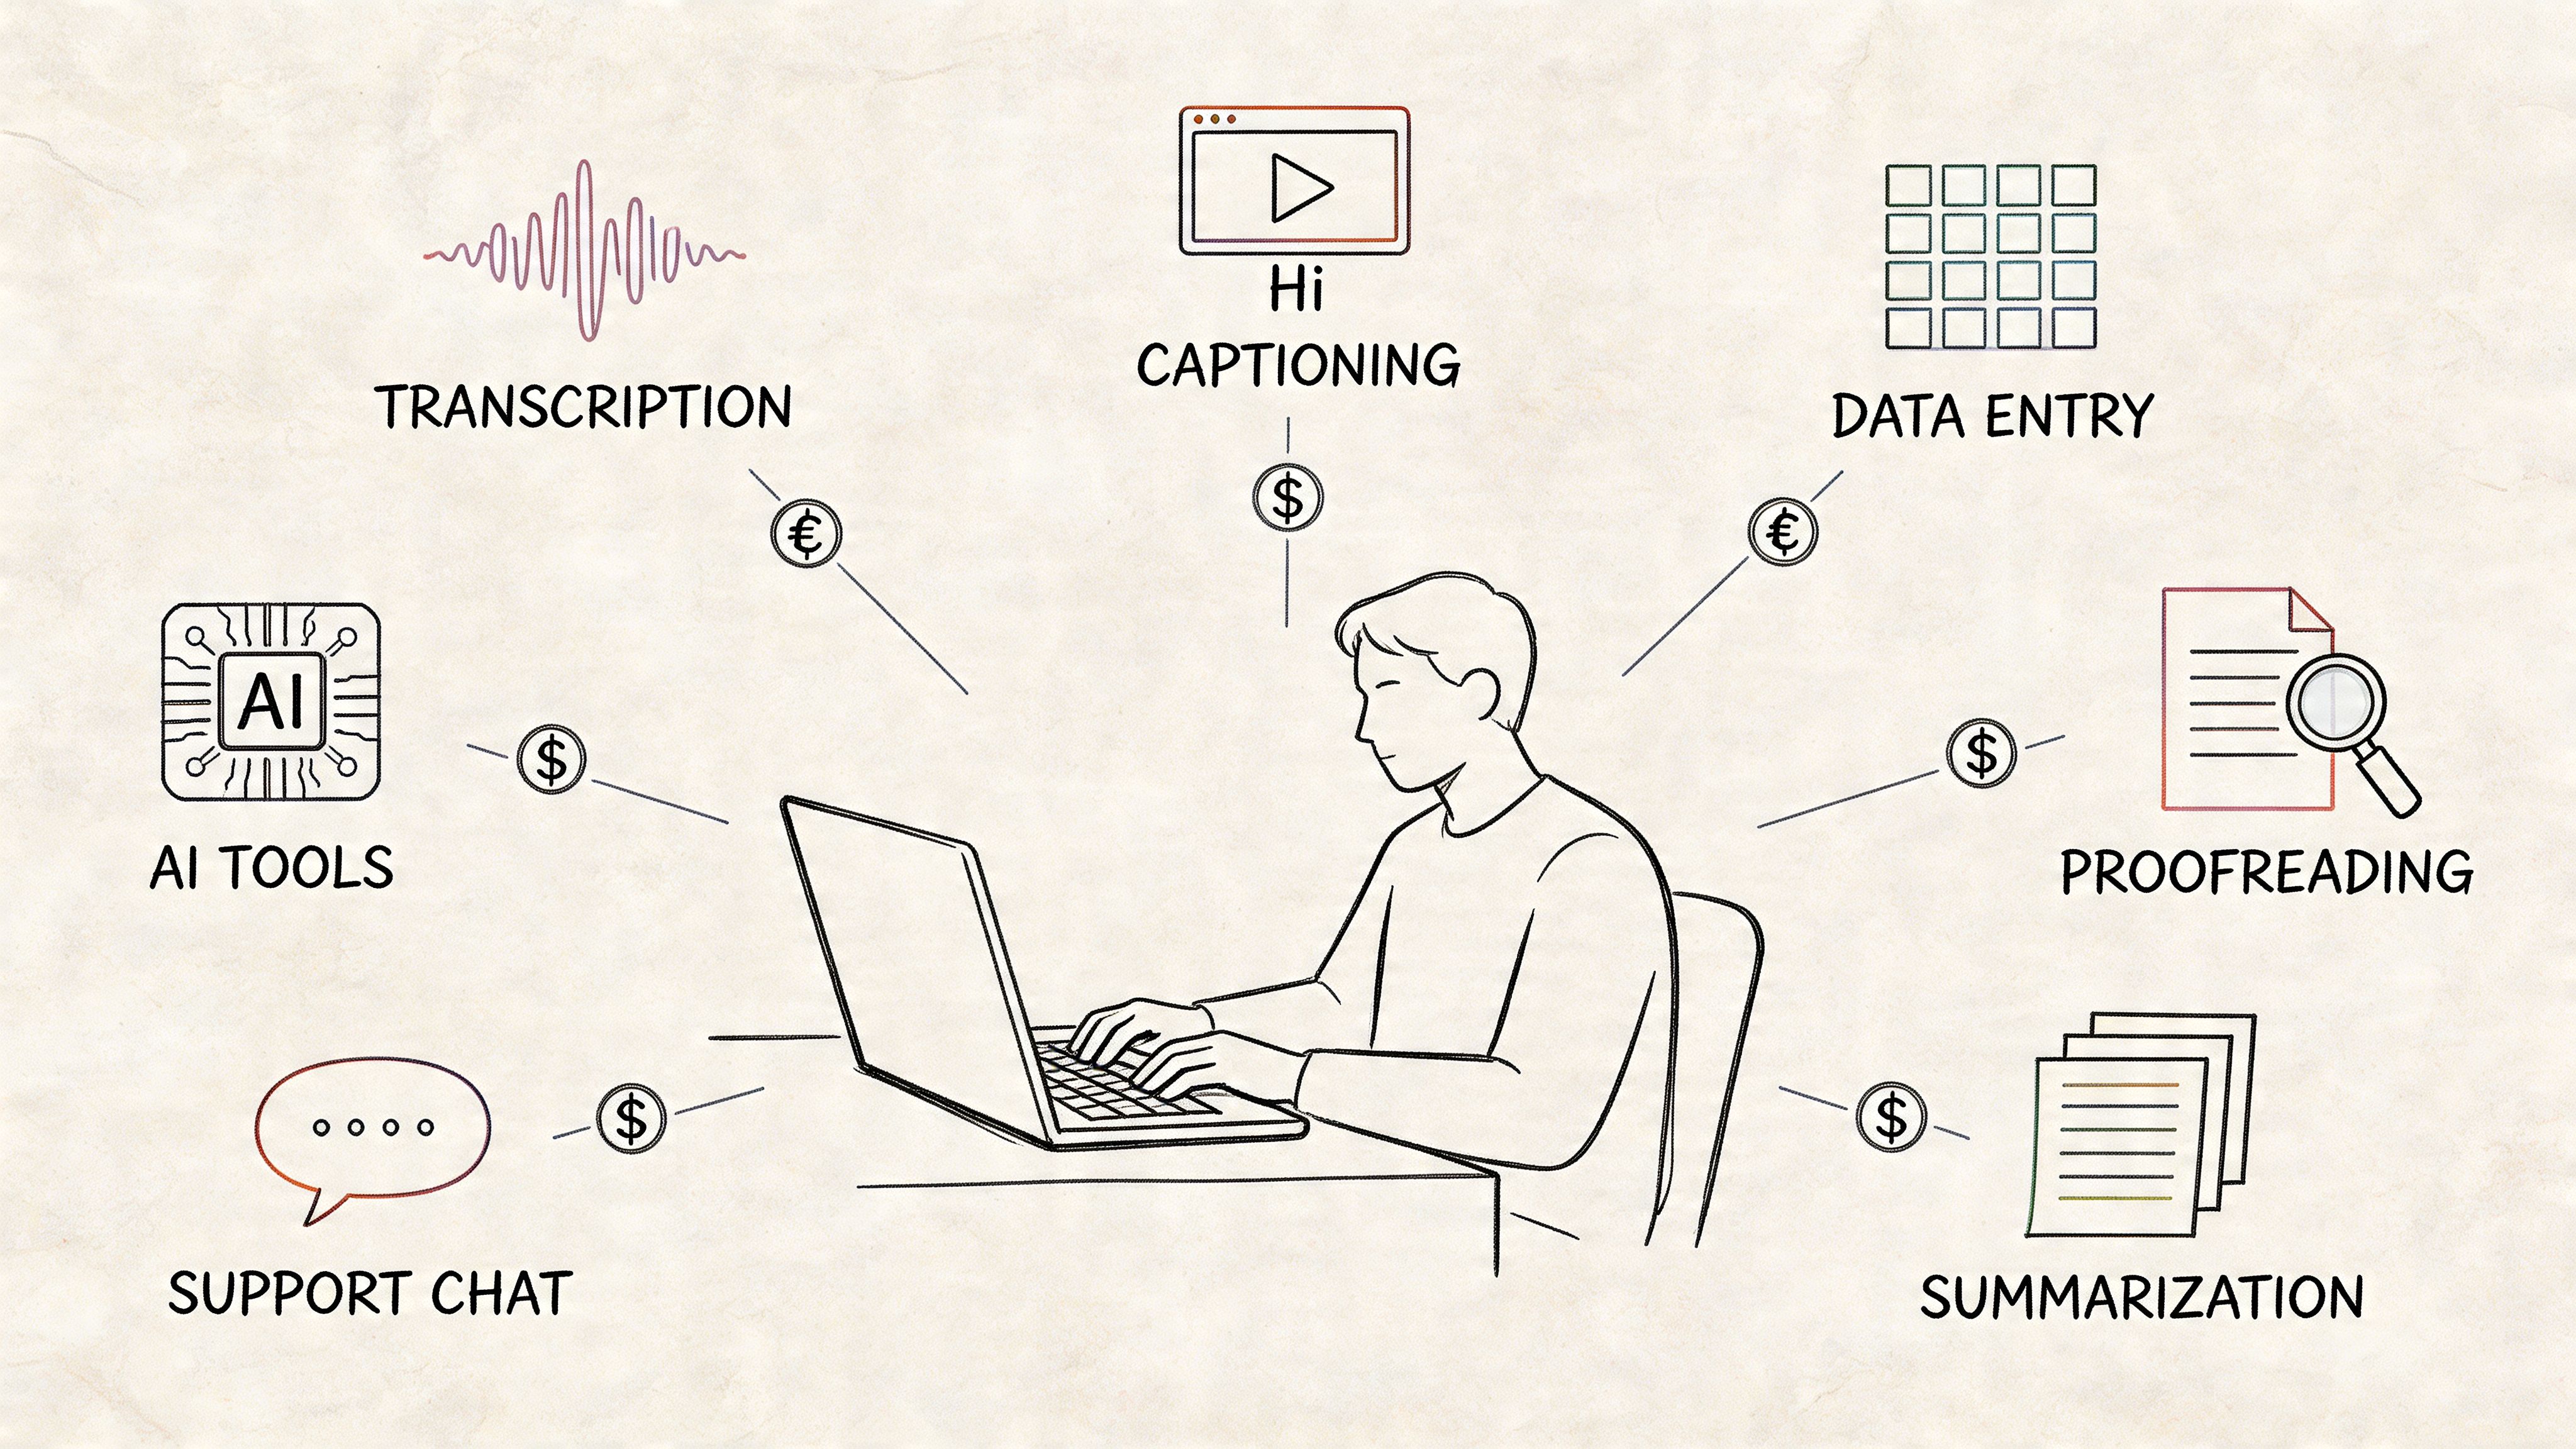
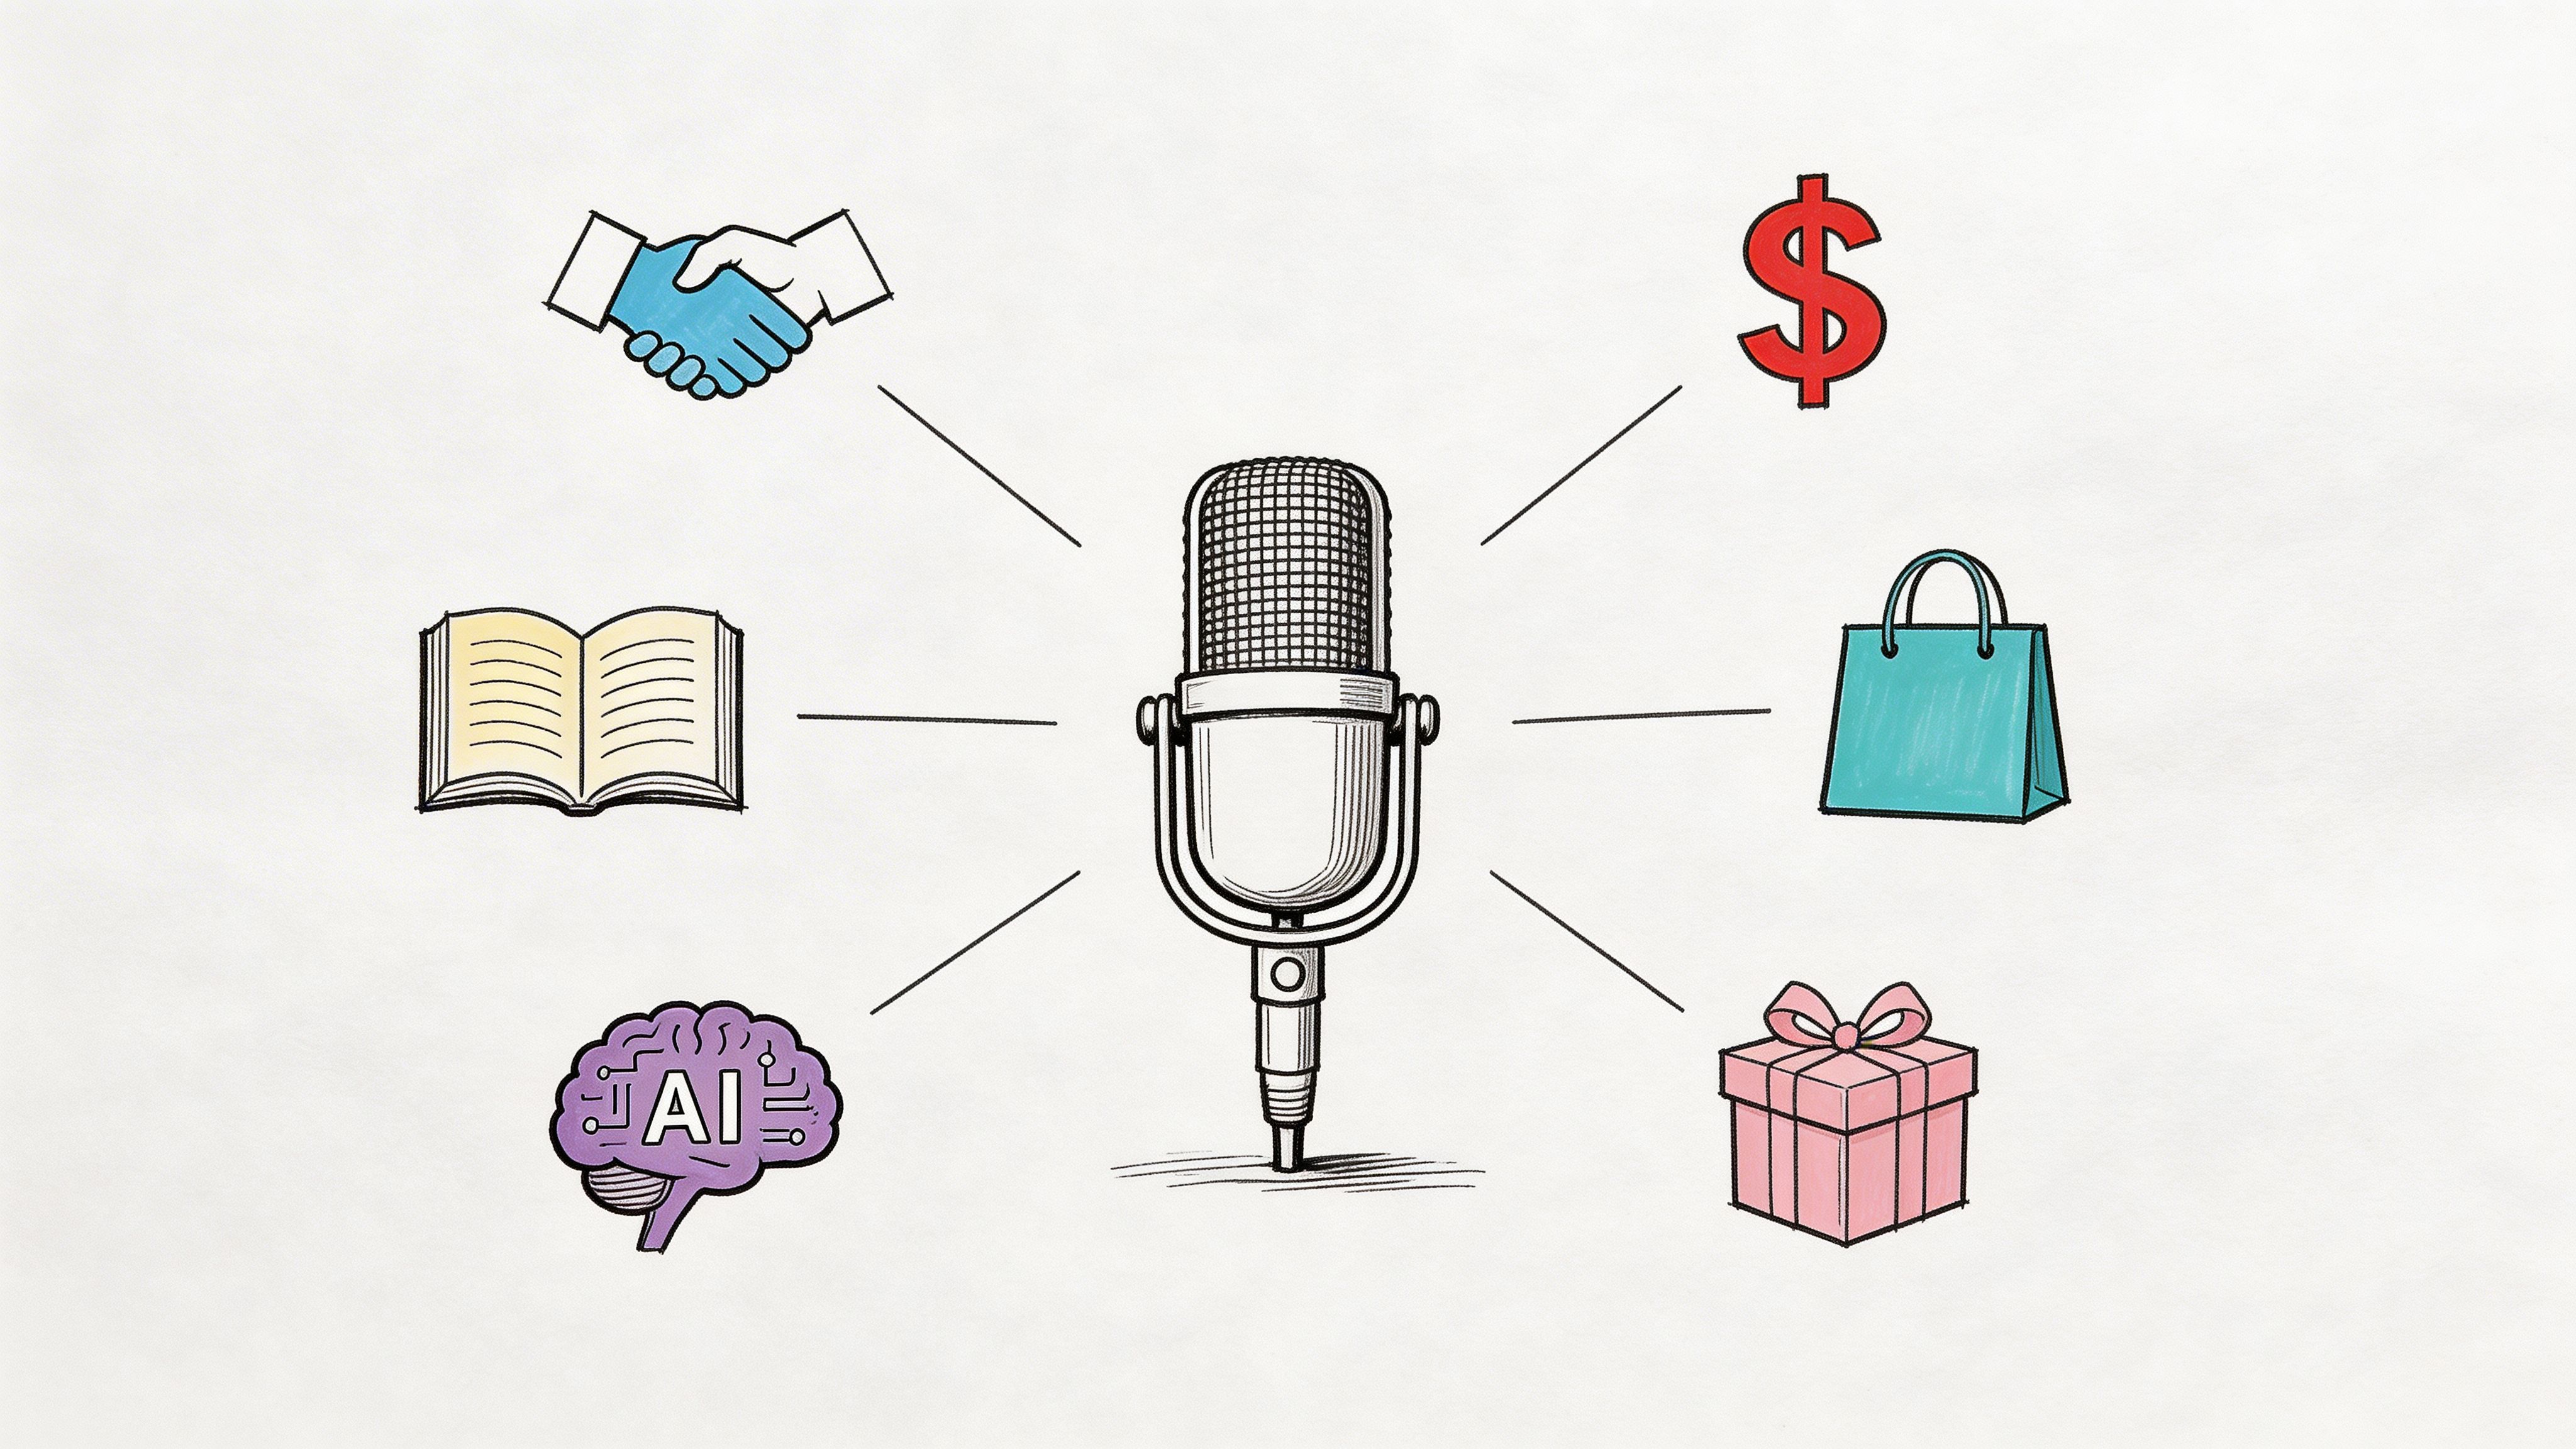
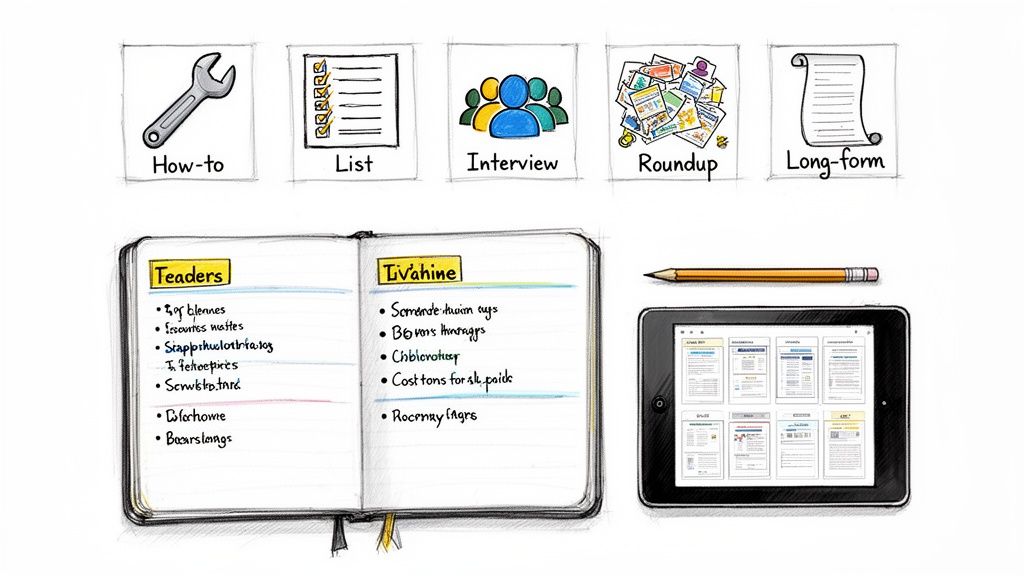
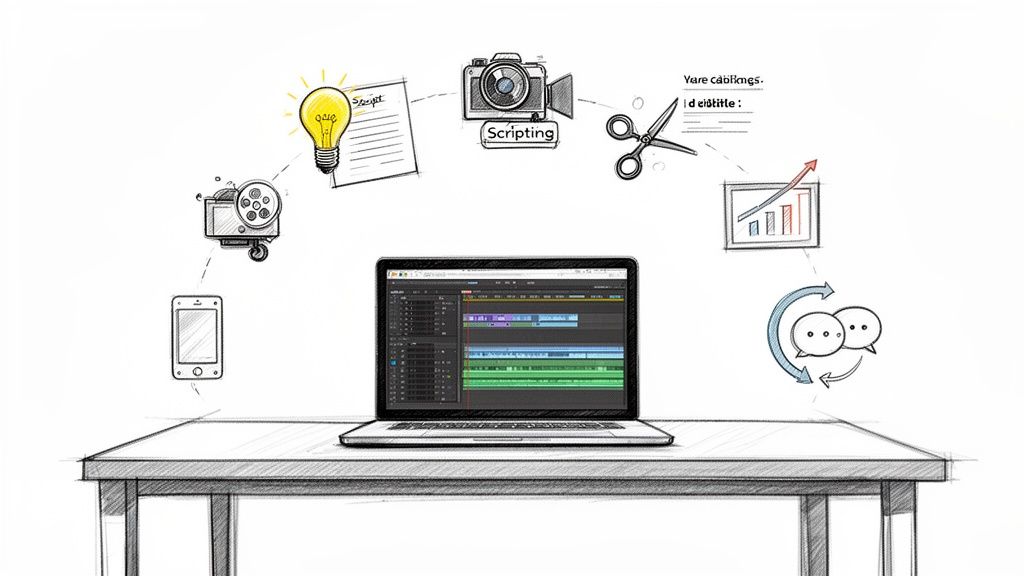
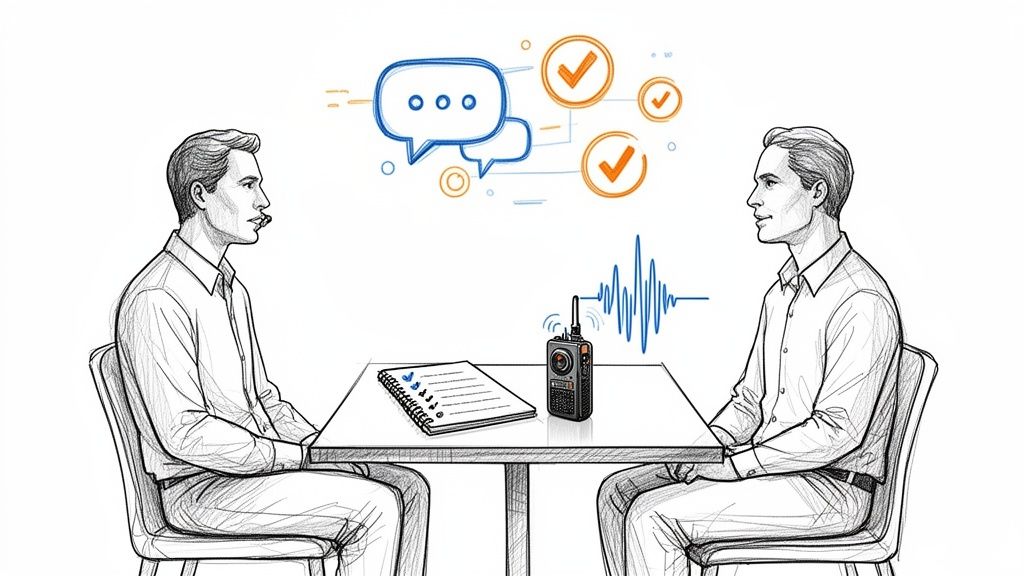
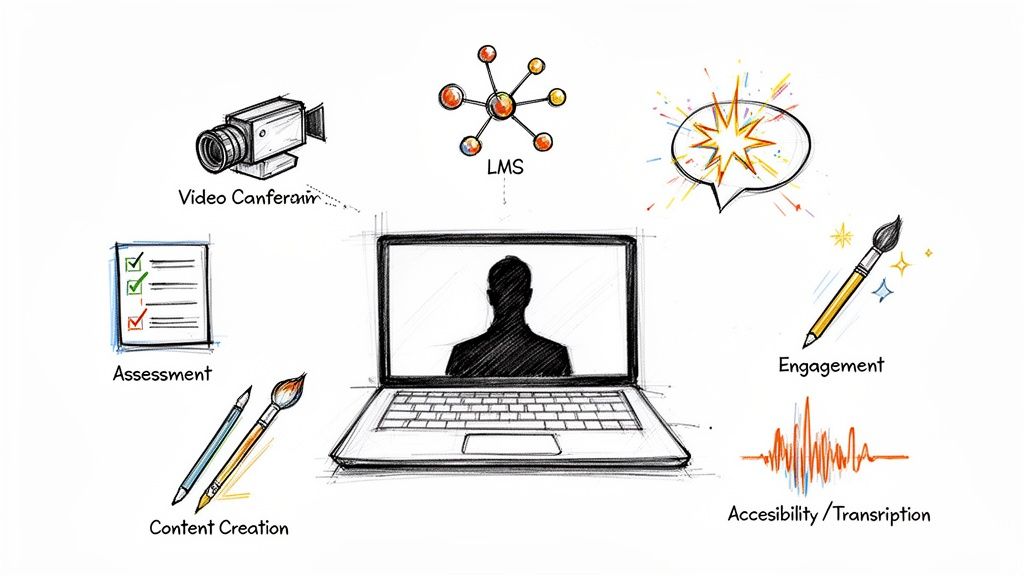
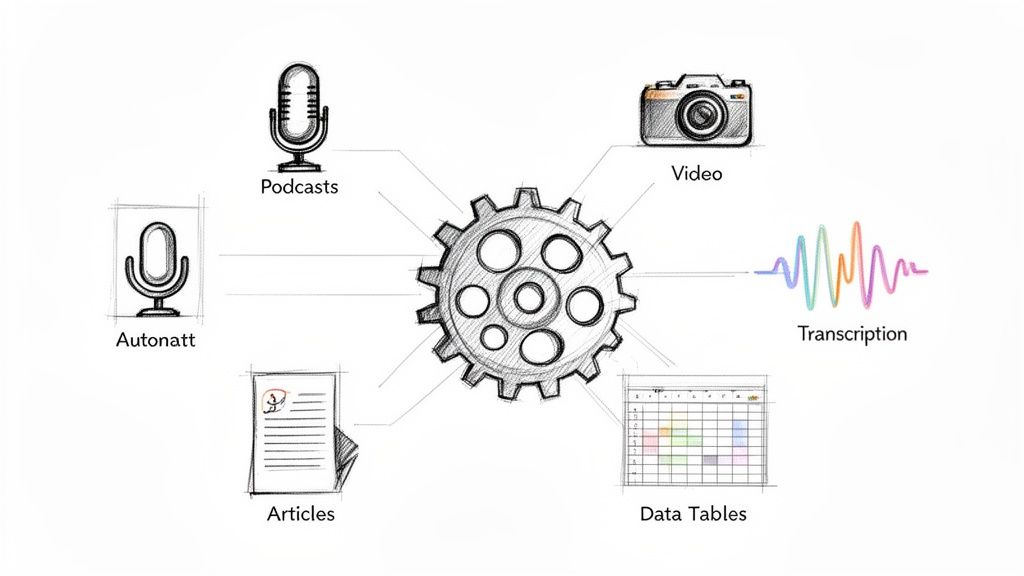
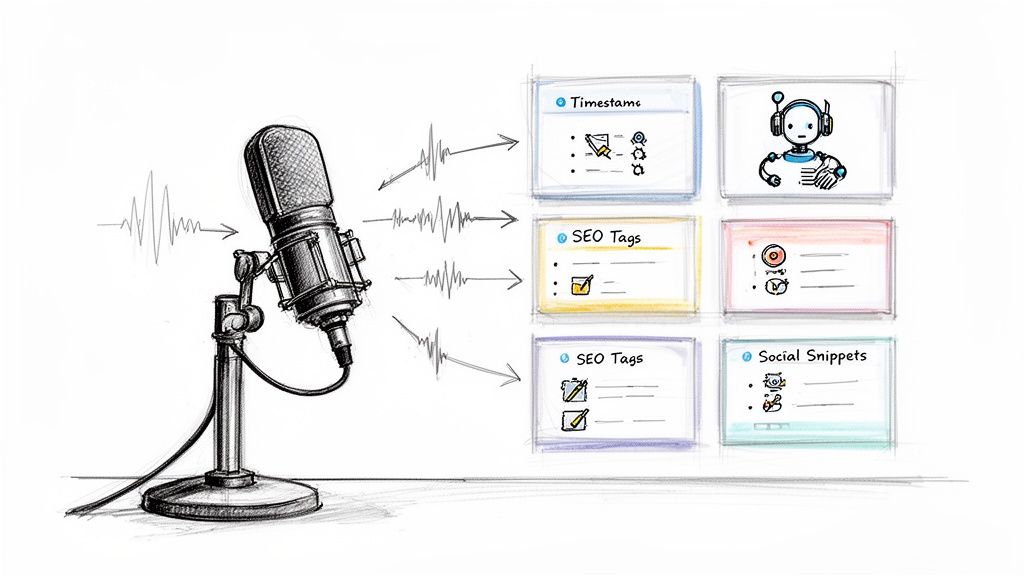
This simple shift has a massive impact across different fields. Journalists can instantly pinpoint key soundbites from hours of interviews. Students can turn recorded lectures into searchable study guides. For content creators, transcription is a productivity multiplier. A single podcast episode can be spun into show notes, blog posts, social media updates, and video captions, squeezing every drop of value from the original recording.
Unlocking the Value of Your Audio
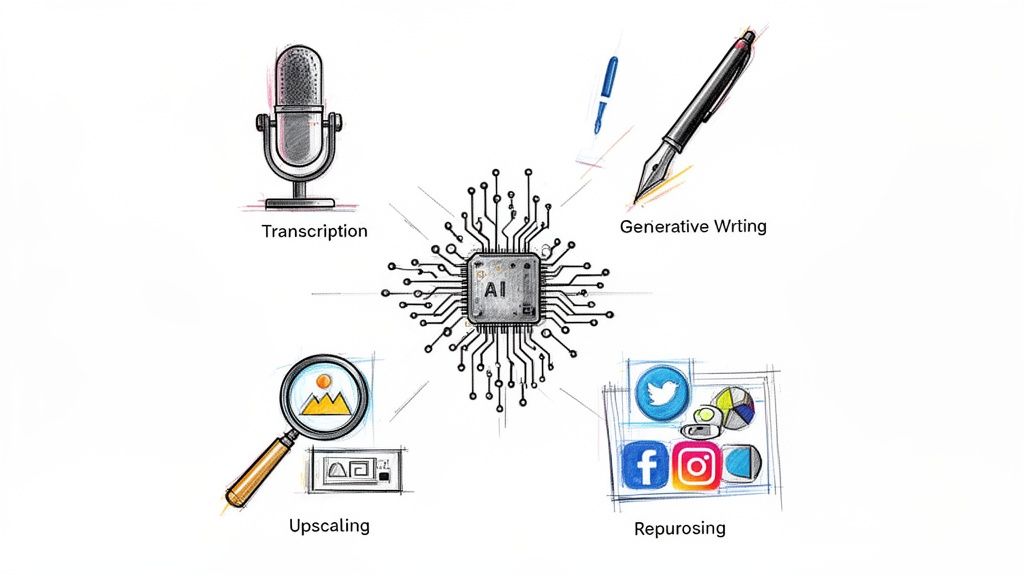
One of the smartest ways I've used M4A transcription is for effective content repurposing strategies, which let you transform audio into all sorts of written formats to maximize your reach. Think about it: a sixty-minute interview contains thousands of words that can become dozens of individual assets.
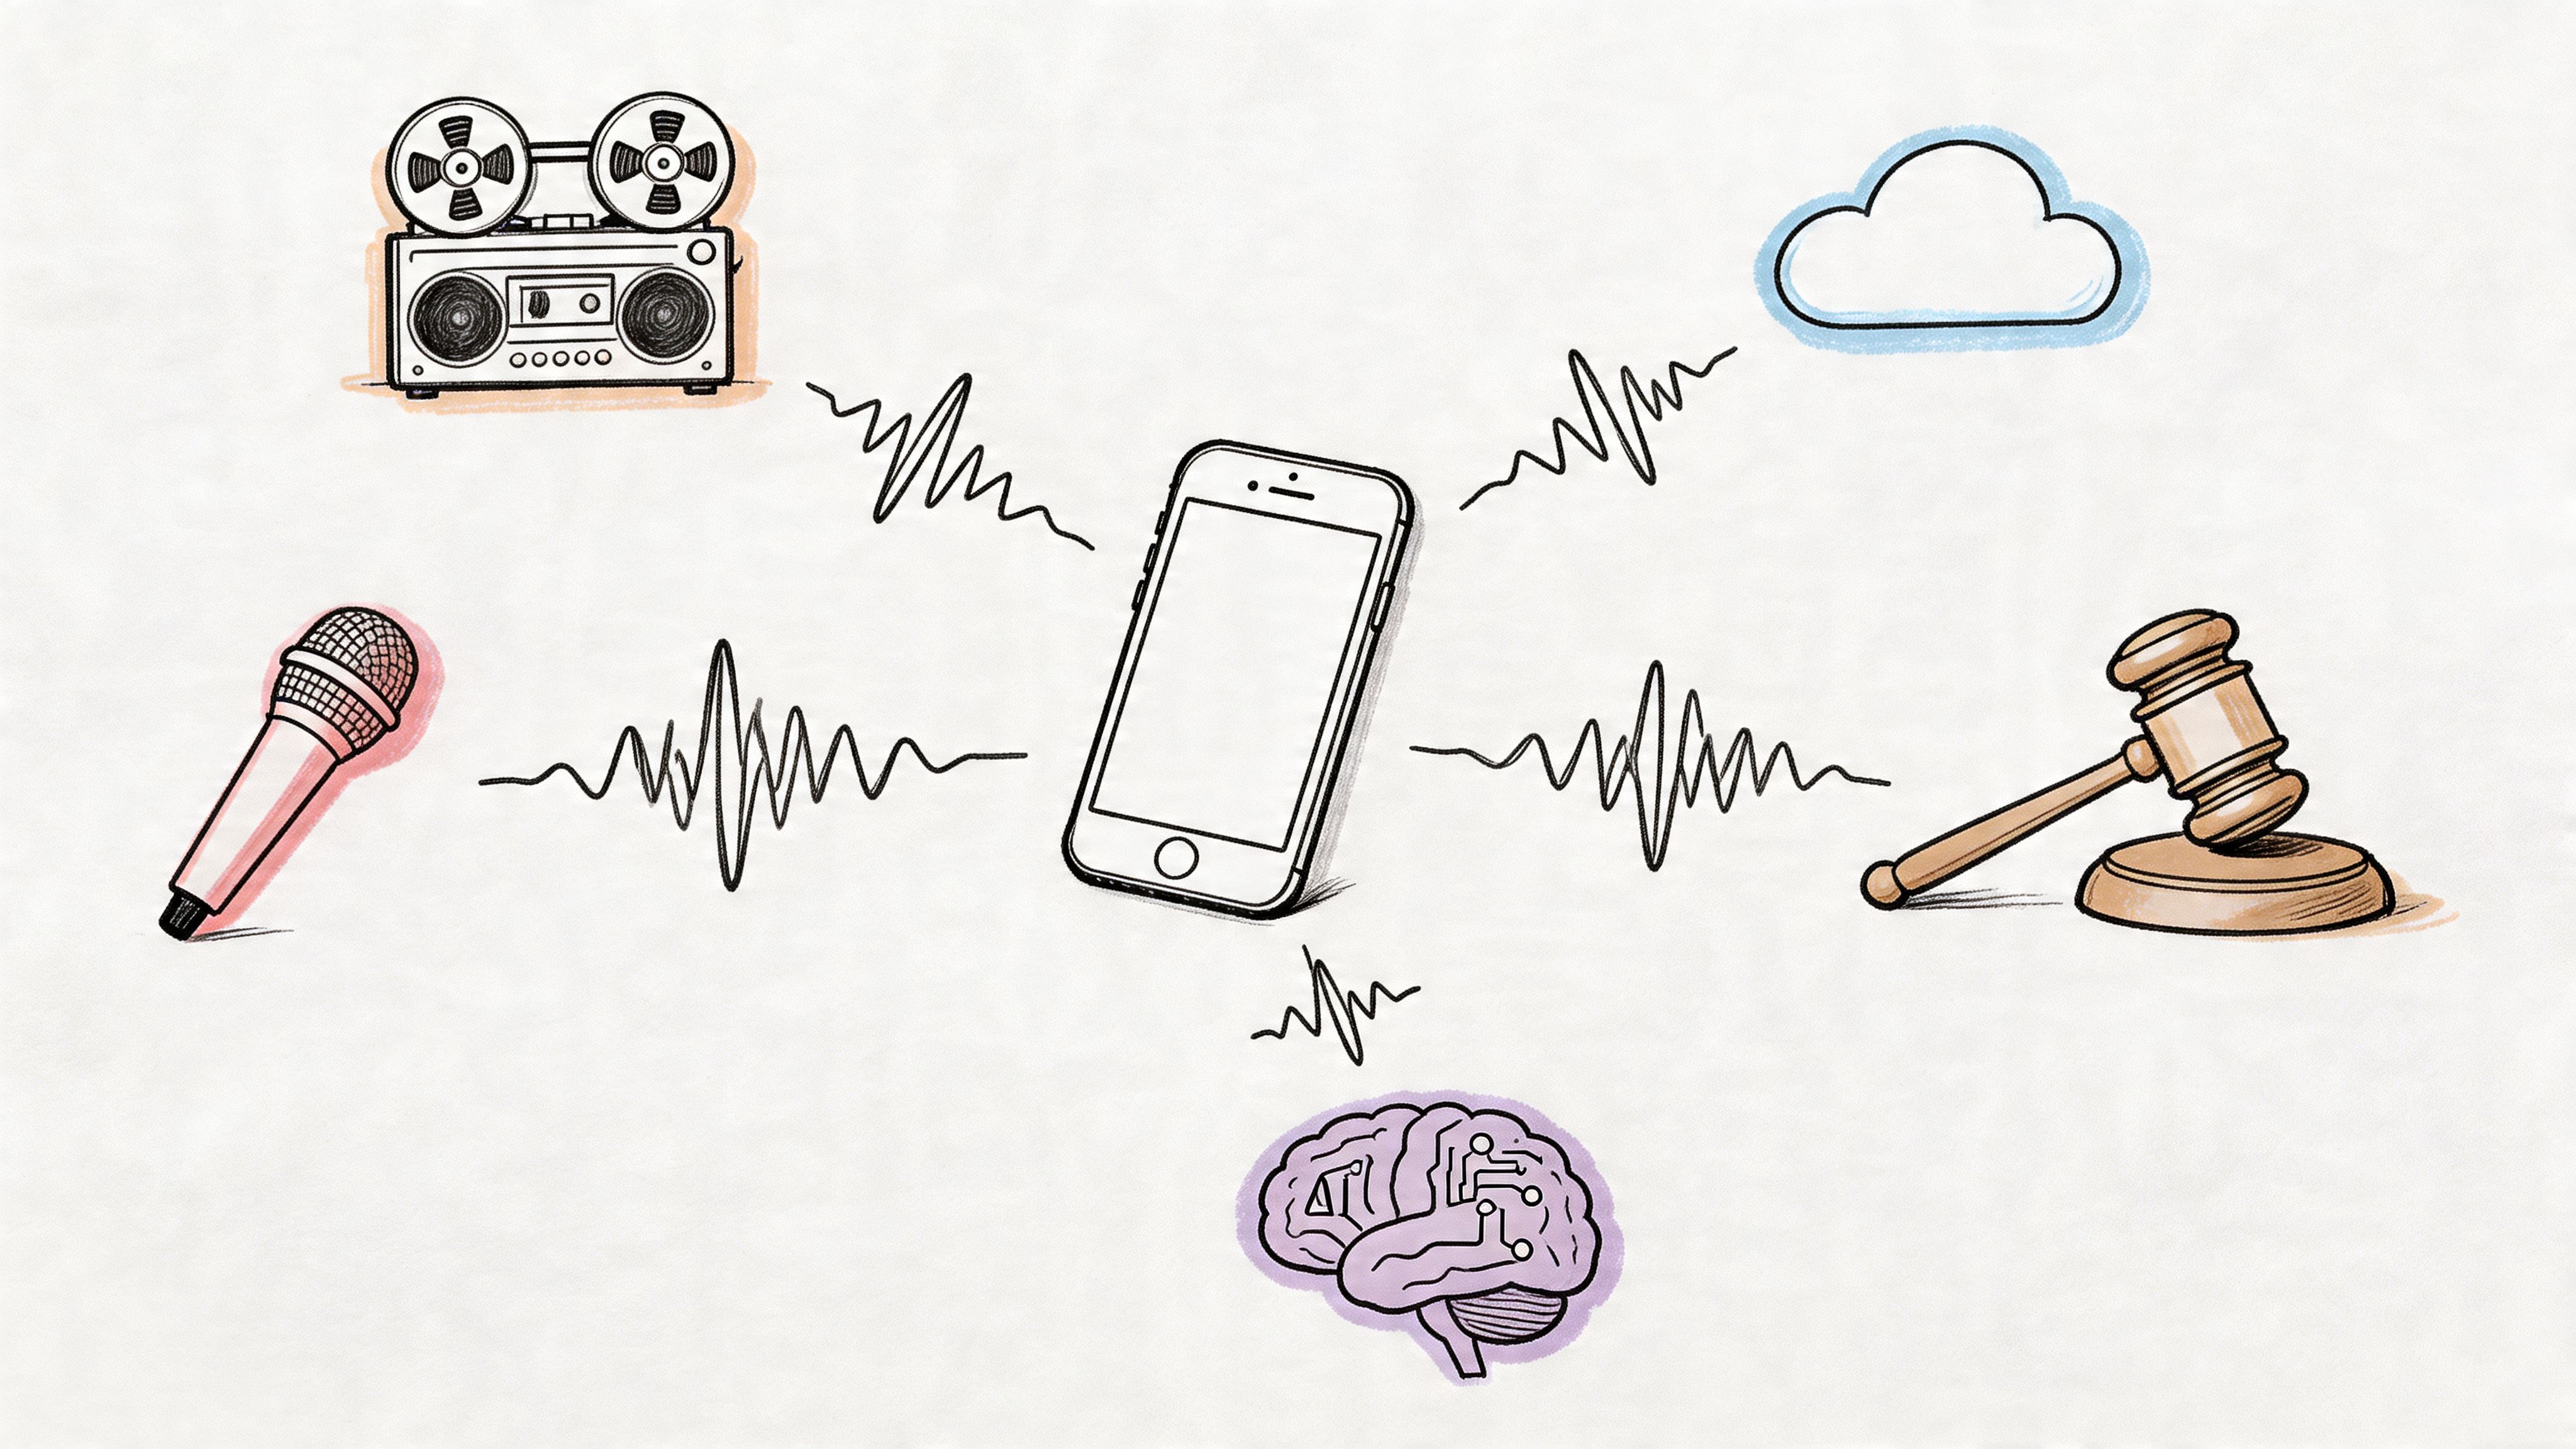
It's no surprise that the demand for this is exploding. The global speech-to-text API market was valued at USD 3.81 billion in 2024 and is expected to hit USD 8.57 billion by 2030. That massive investment, tracked by sources like Grand View Research, shows just how essential automated transcription has become for industries like media, law, and customer support.
At its heart, the benefit of transcription is simple: it makes audio discoverable. Instead of guessing and scrubbing through a timeline, you can hit
Ctrl+Fto find exact moments, spot recurring themes, and pull out key information in seconds.
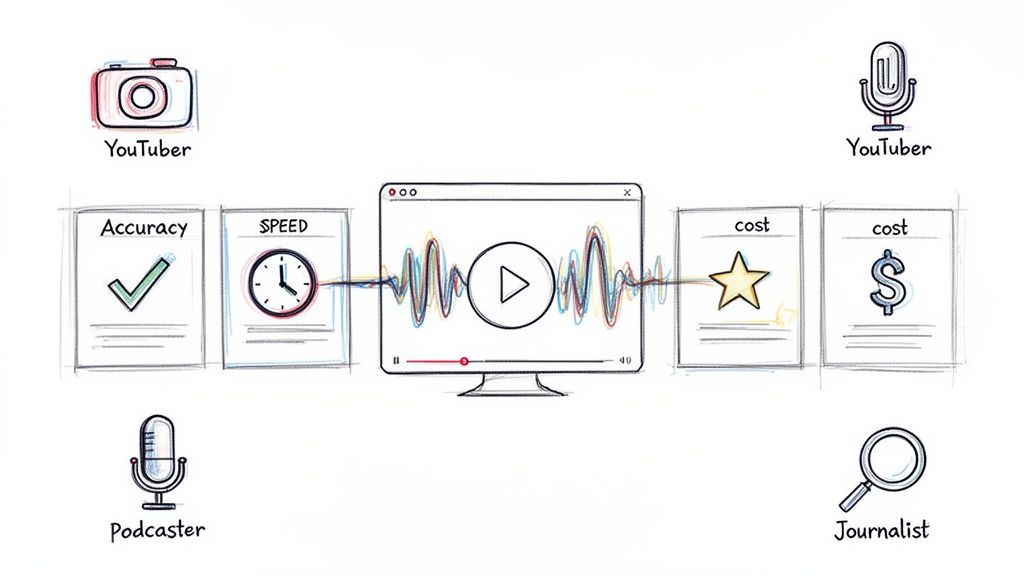
Understanding Your Transcription Options
Before we get into the step-by-step process, it helps to know the three main routes you can take to convert your M4A files. Each one strikes a different balance between speed, accuracy, and cost, and I've tried all three at various points.
For a deeper dive into the fundamentals of turning sound into text, check out our complete guide: https://whisperbot.ai/blog/audio-to-text
To give you an immediate overview of your options, here’s a table summarizing the primary methods for converting M4A to text. It breaks down their best use cases, typical accuracy, and cost.
A Quick Look at M4A Transcription Methods
This table shows why AI has become the go-to for most people. While human services are unbeatable for critical accuracy, they come at a high cost. And doing it yourself? It's free, but the time investment is rarely worth it unless you're transcribing a 30-second voice note.
Throughout this guide, we'll focus mostly on using AI tools. They deliver the best blend of speed, affordability, and quality for the vast majority of transcription needs.
Your First M4A Transcription with an AI Tool
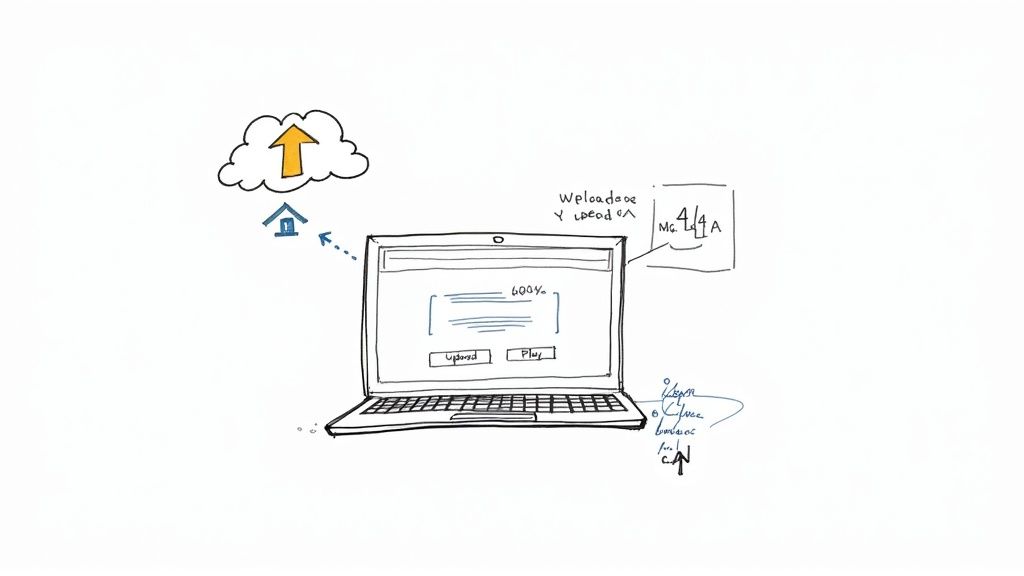
Diving into your first AI transcription can seem like a big step, but thankfully, modern tools have made it incredibly straightforward. You can forget about downloading clunky software; most of the best services now run right in your web browser. Typically, you'll sign up, land on a clean dashboard, and be ready to go in minutes.
Honestly, the hardest part is usually just locating the M4A file I need on my hard drive. Once you’re logged in, there's almost always a big, obvious "Upload" button waiting for you. This is where you hand off the heavy lifting to a powerful AI engine, like the one we use at Whisper AI, and let it get to work.
The whole point is simplicity. These tools are built for everyone, not just tech wizards, making the path from audio to text as painless as possible.
Getting Your File Uploaded and Dialing in the Settings
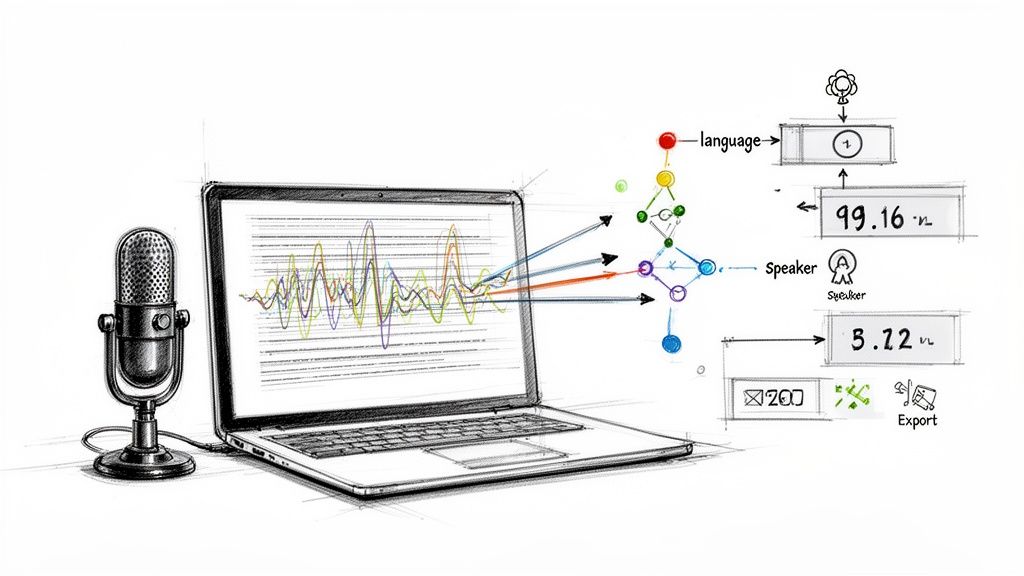
After you've picked your M4A file, the platform will likely present a few quick options. Don't worry, these aren't complicated technical settings; they're just a way to give the AI some basic instructions.
You'll usually see a few key choices:
- Language Selection: This is the most crucial setting for getting an accurate transcript. Make sure you select the primary language spoken in your audio.
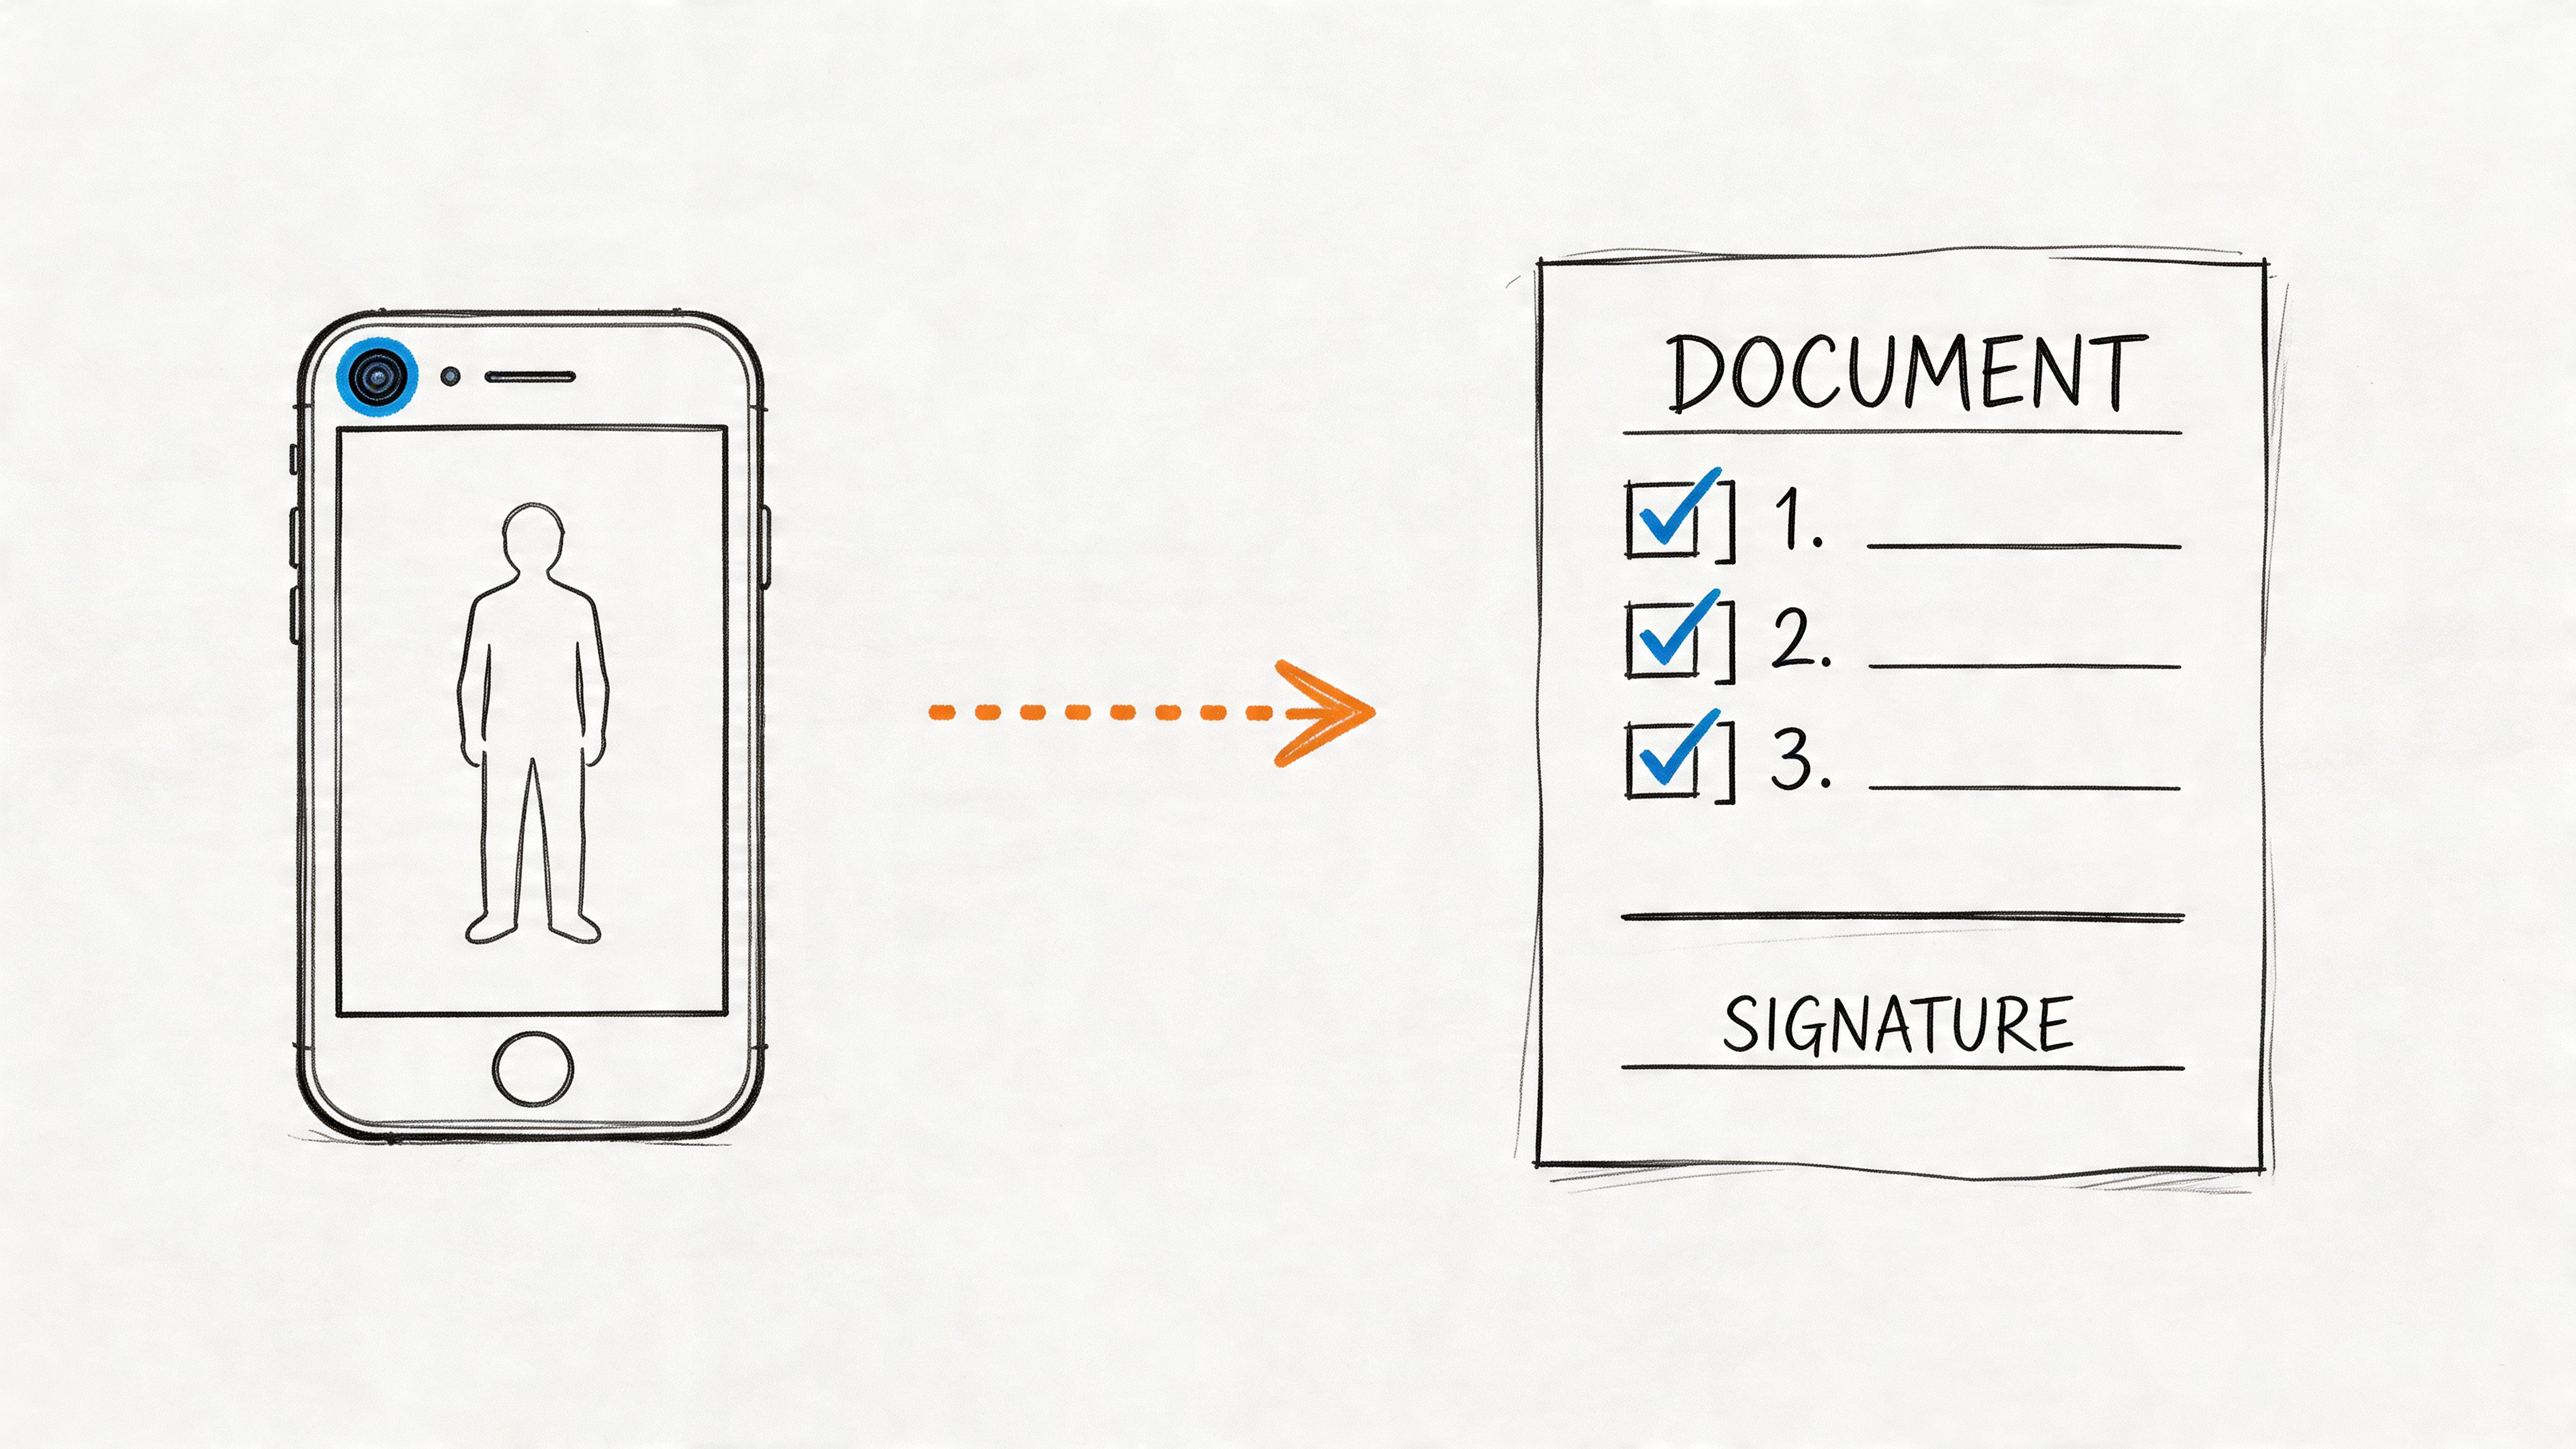
- Speaker Identification: If your file has more than one person speaking, turning this on tells the AI to do its best to label who said what (e.g., "Speaker 1," "Speaker 2").
- Custom Vocabulary: Some of the more advanced platforms let you add a list of unique words—think company names, specific jargon, or people's names—to help the AI recognize them correctly.
Once you’ve made your selections, you’ll hit the "Transcribe" button and the system takes over. For a standard hour-long meeting, the process is surprisingly fast, often taking just a handful of minutes. Most tools show a progress bar or send you a quick email when your transcript is ready. This speed and efficiency is exactly why AI is the go-to method for turning m4a to text.
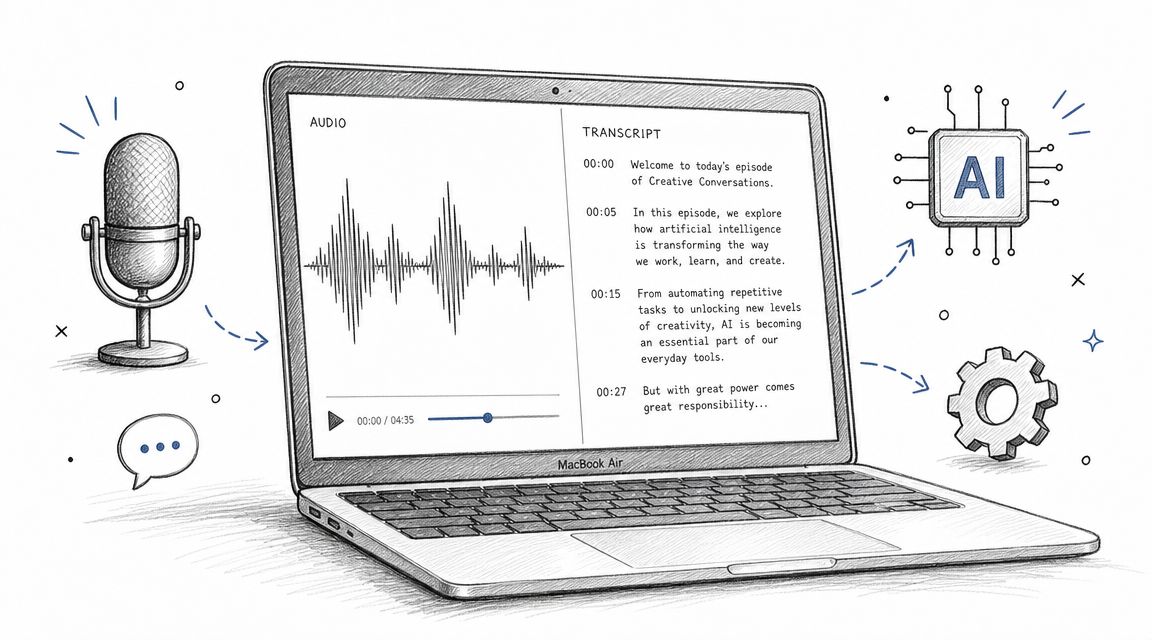
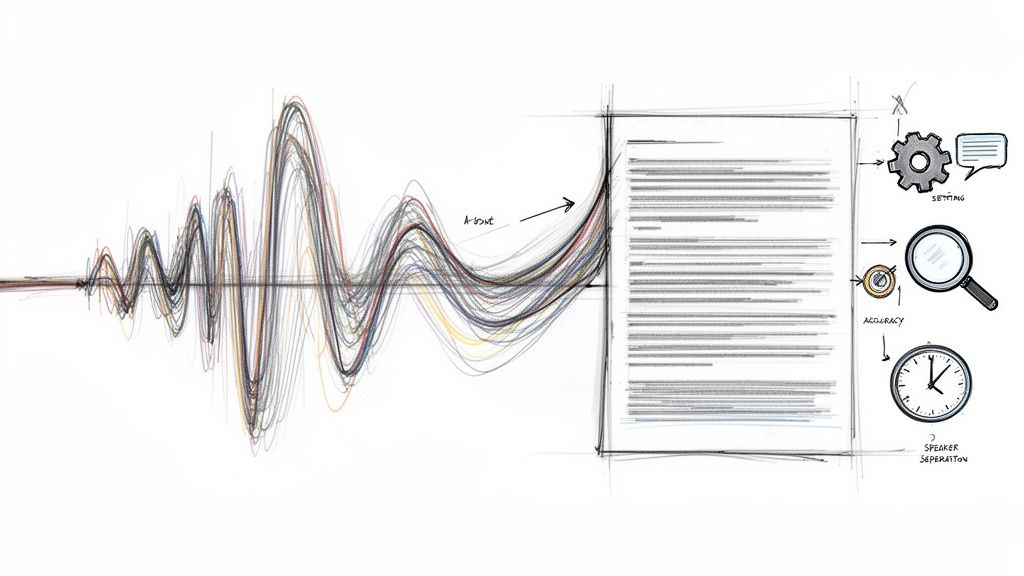
What to Expect When You Review Your First Transcript
When the transcription is done, you'll see it in an online editor. It's much more than just a wall of text; good AI tools give you an interactive document that’s easy to work with.
Here’s what you can expect to find:
- The Full Text: All the spoken words from your audio file, laid out.
- Timestamps: These are clickable time markers next to paragraphs or sentences. Click one, and it will jump you right to that spot in the audio, which is a massive help for editing.
- Speaker Labels: If you asked for speaker identification, you'll see the different speakers tagged throughout the text.
The quality of this first draft can be shocking—in a good way. For a clear recording with just one speaker, you can easily see accuracy hit 95% or higher. Suddenly, hours of audio become a document you can scan and search in seconds.
The goal of the first AI pass isn't perfection; it's to get you a workable draft that's 90% of the way there. Your role shifts from being a manual typist to a quick-moving editor, saving you an enormous amount of time.
Of course, it's rarely perfect on the first try. You'll probably spot some odd words, especially with proper nouns or technical terms. The next step is a quick human review to polish up those minor errors and get the transcript ready for its final use. We'll jump into some tips for boosting that initial accuracy in the next section.
How to Get Near-Perfect Transcriptions Every Time
While AI transcription tools give you a fantastic running start, the final accuracy hinges entirely on the quality of your source audio. It’s the classic "garbage in, garbage out" principle. If you want a clean transcript, you have to start with clean sound—long before you even think about converting your m4a to text.
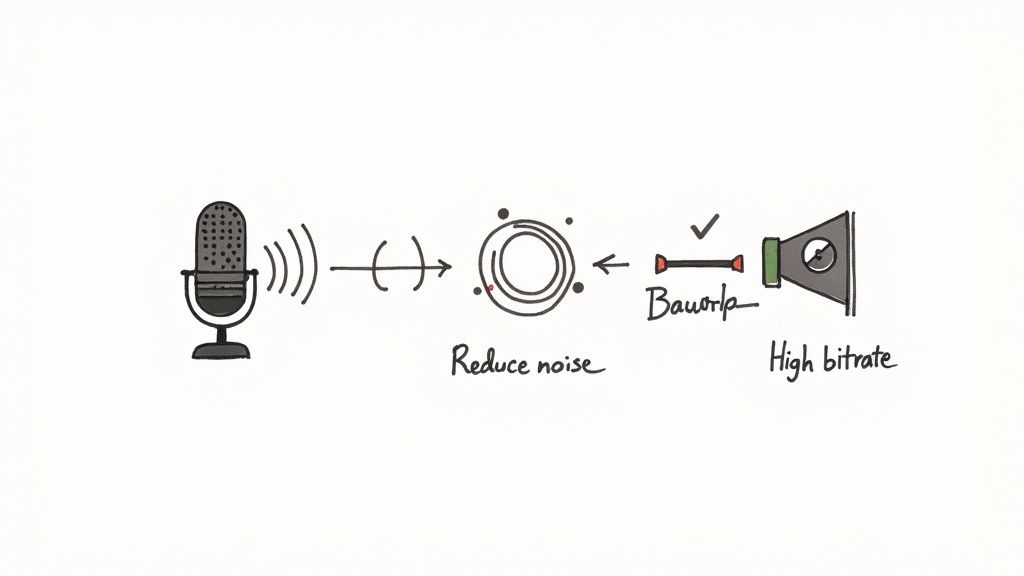
Don't worry, you don't need a professional recording studio to pull this off. Simple, practical adjustments can make a huge difference. Recording in a quiet room, away from humming refrigerators or coworkers chatting, will immediately slash the error rate. Even moving the microphone closer to whoever is speaking can dramatically improve the clarity.
It All Starts with the Recording
Every bit of background noise, echo, or distortion forces the AI to guess. The more it has to guess, the more mistakes you’ll find in the final text. Your goal is to make a crystal-clear distinction between the spoken words and everything else.
Here are a few things I’ve learned from years of doing this:
- Pick a small, furnished room. Large, empty spaces with hard surfaces create echo and reverb that muddy the audio. Rooms with carpet, curtains, or even a couch absorb sound and give you a much cleaner recording.
- Invest in a decent microphone. The built-in mic on your phone or laptop is okay in a pinch, but even an inexpensive USB or lavalier mic will capture far richer, clearer audio.
- Watch your recording levels. Before you hit record on that hour-long interview, do a quick sound check. If the audio is "peaking" or clipping, it creates distortion that is impossible to remove later and can make words completely unintelligible.
The Technical Details: Bitrate and the Human Touch
The specs of your M4A file matter, too. Specifically, the bitrate—which is just a measure of how much data is used for each second of audio—plays a big part. A lower bitrate means a smaller file, but it also means audio information gets thrown away. For transcription, I always recommend aiming for a bitrate between 128 kbps to 256 kbps. It's the sweet spot for balancing file size and audio fidelity.
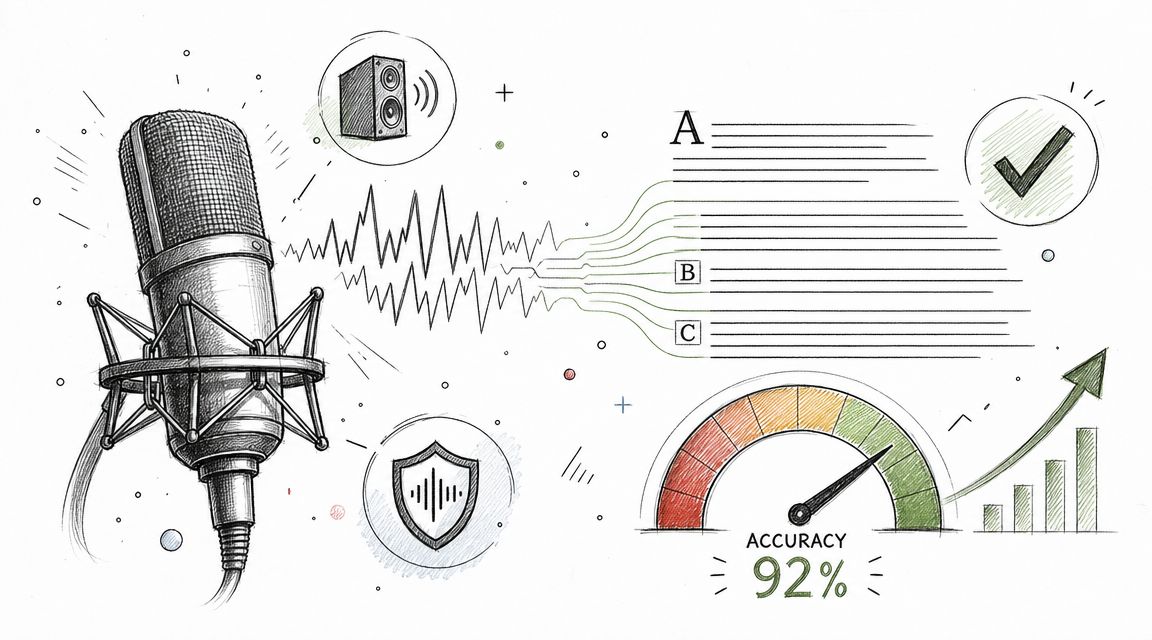
Even with perfect audio, automated services claiming up to 98.86% accuracy are often talking about ideal, studio-quality conditions. Throw in real-world challenges like regional accents, technical jargon, or overlapping speakers, and you'll see that number drop. For situations where precision is critical, like legal depositions or medical notes, a human touch is still the only way to get to that 99%-plus accuracy gold standard.
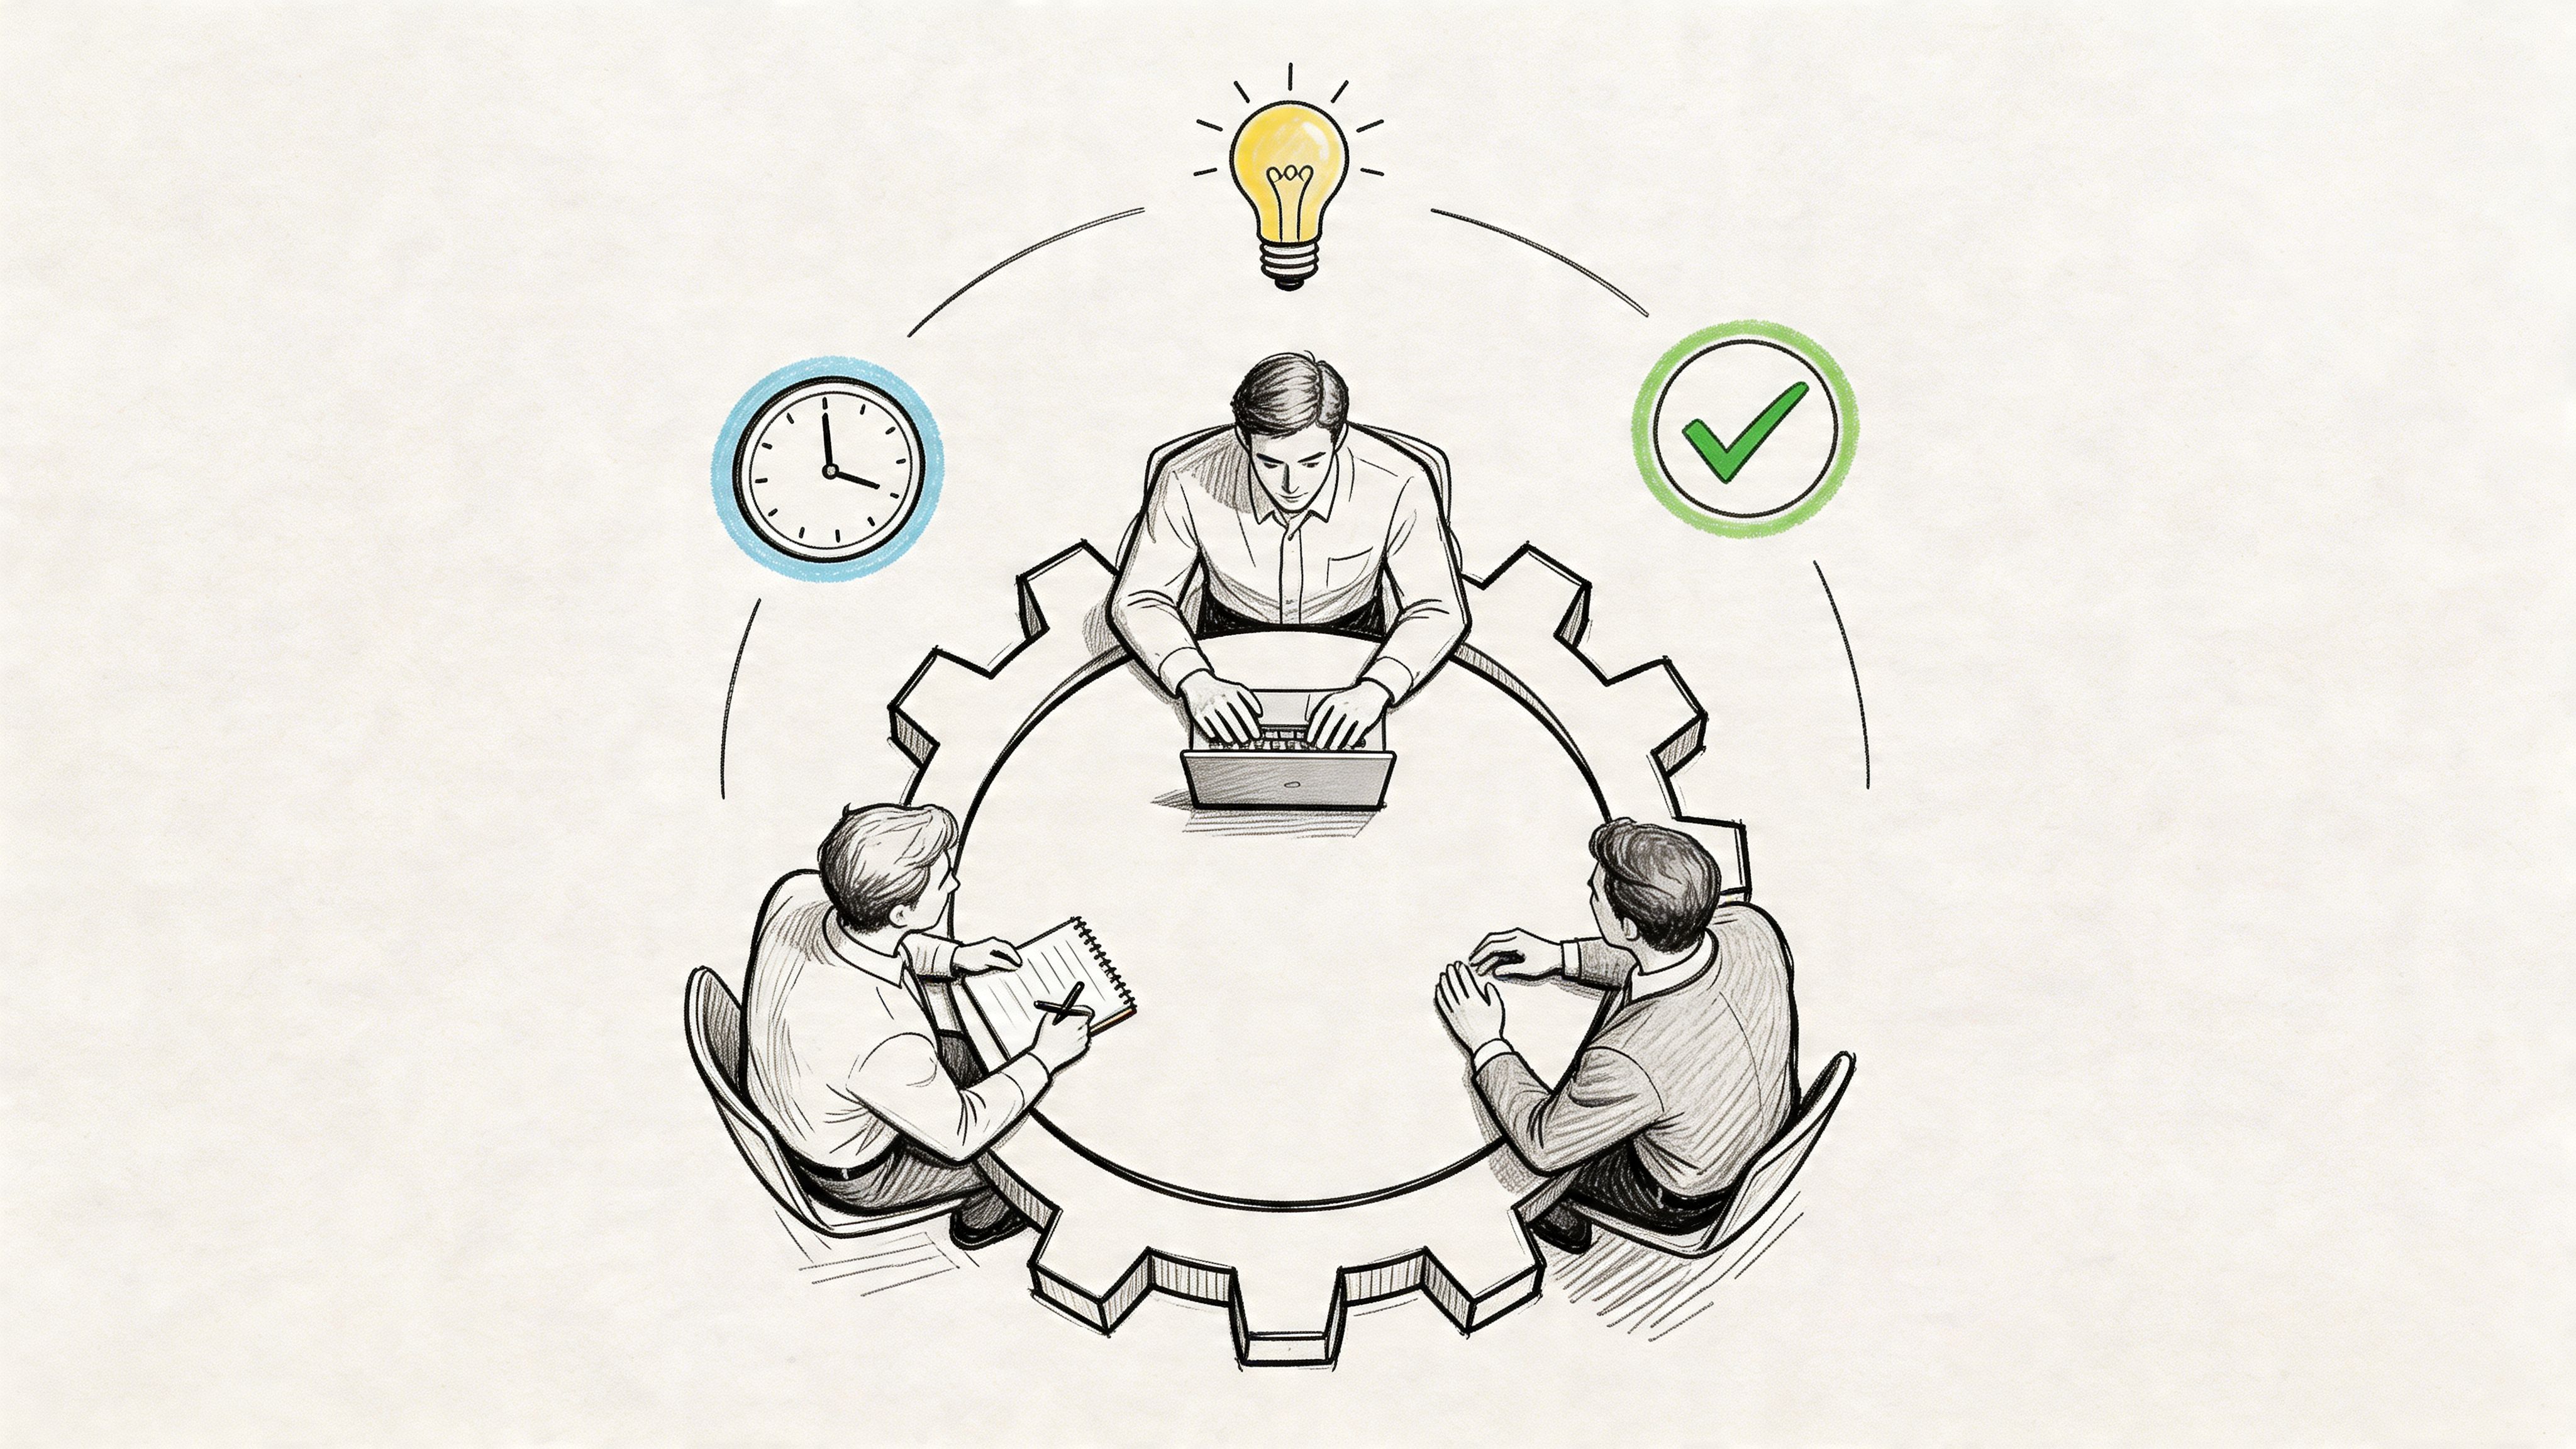
The real secret to a perfect transcript isn't just a powerful AI—it's combining clean audio with a final human proofread. The AI does the heavy lifting, but a person provides the critical final polish.
That final human review is what separates a decent transcript from a professional one. Spending a few minutes reading through the AI's output to correct names, fix punctuation, and smooth out awkward phrasing is a small investment for a massive leap in quality. This last pass ensures your text isn't just accurate but also readable and ready for any professional use. For a deeper dive, check out our guide on the importance of proofreading in transcription.
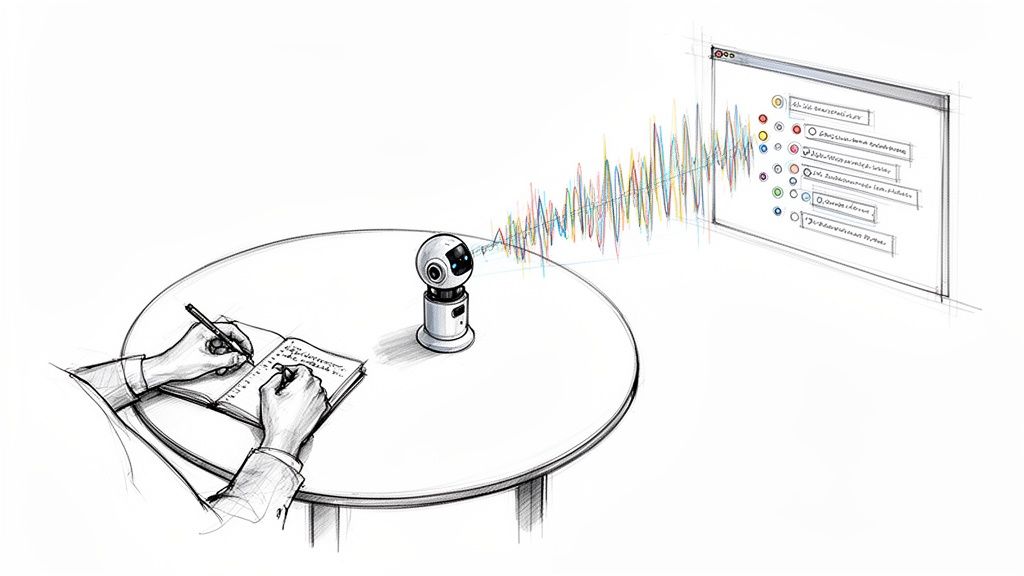
Mastering Timestamps, Speaker Labels, and Export Formats
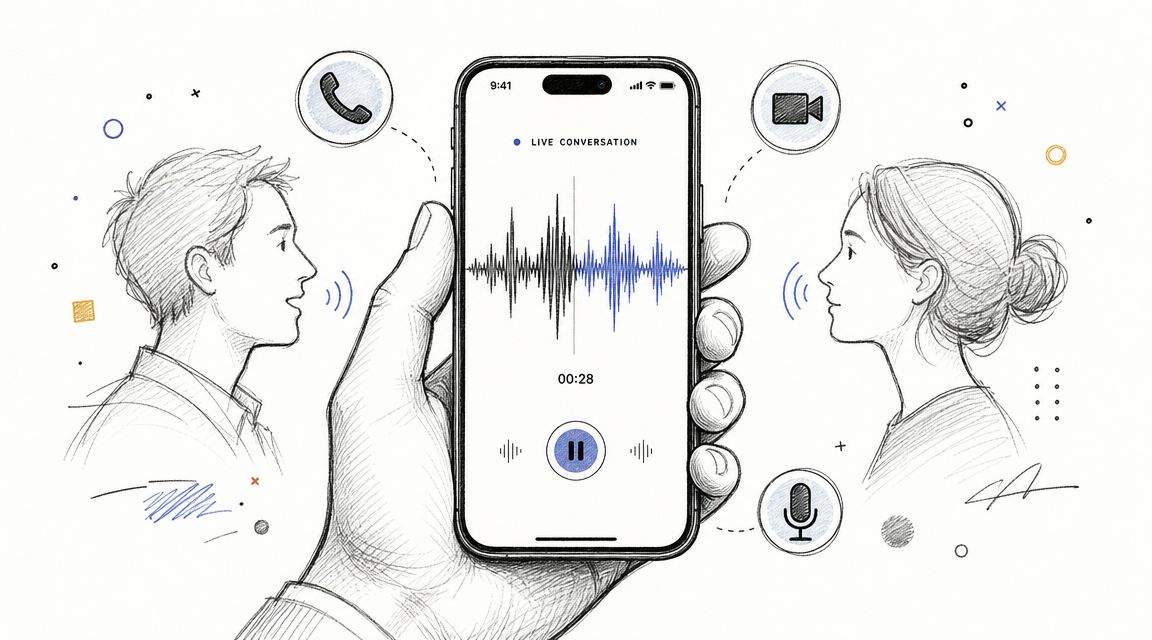
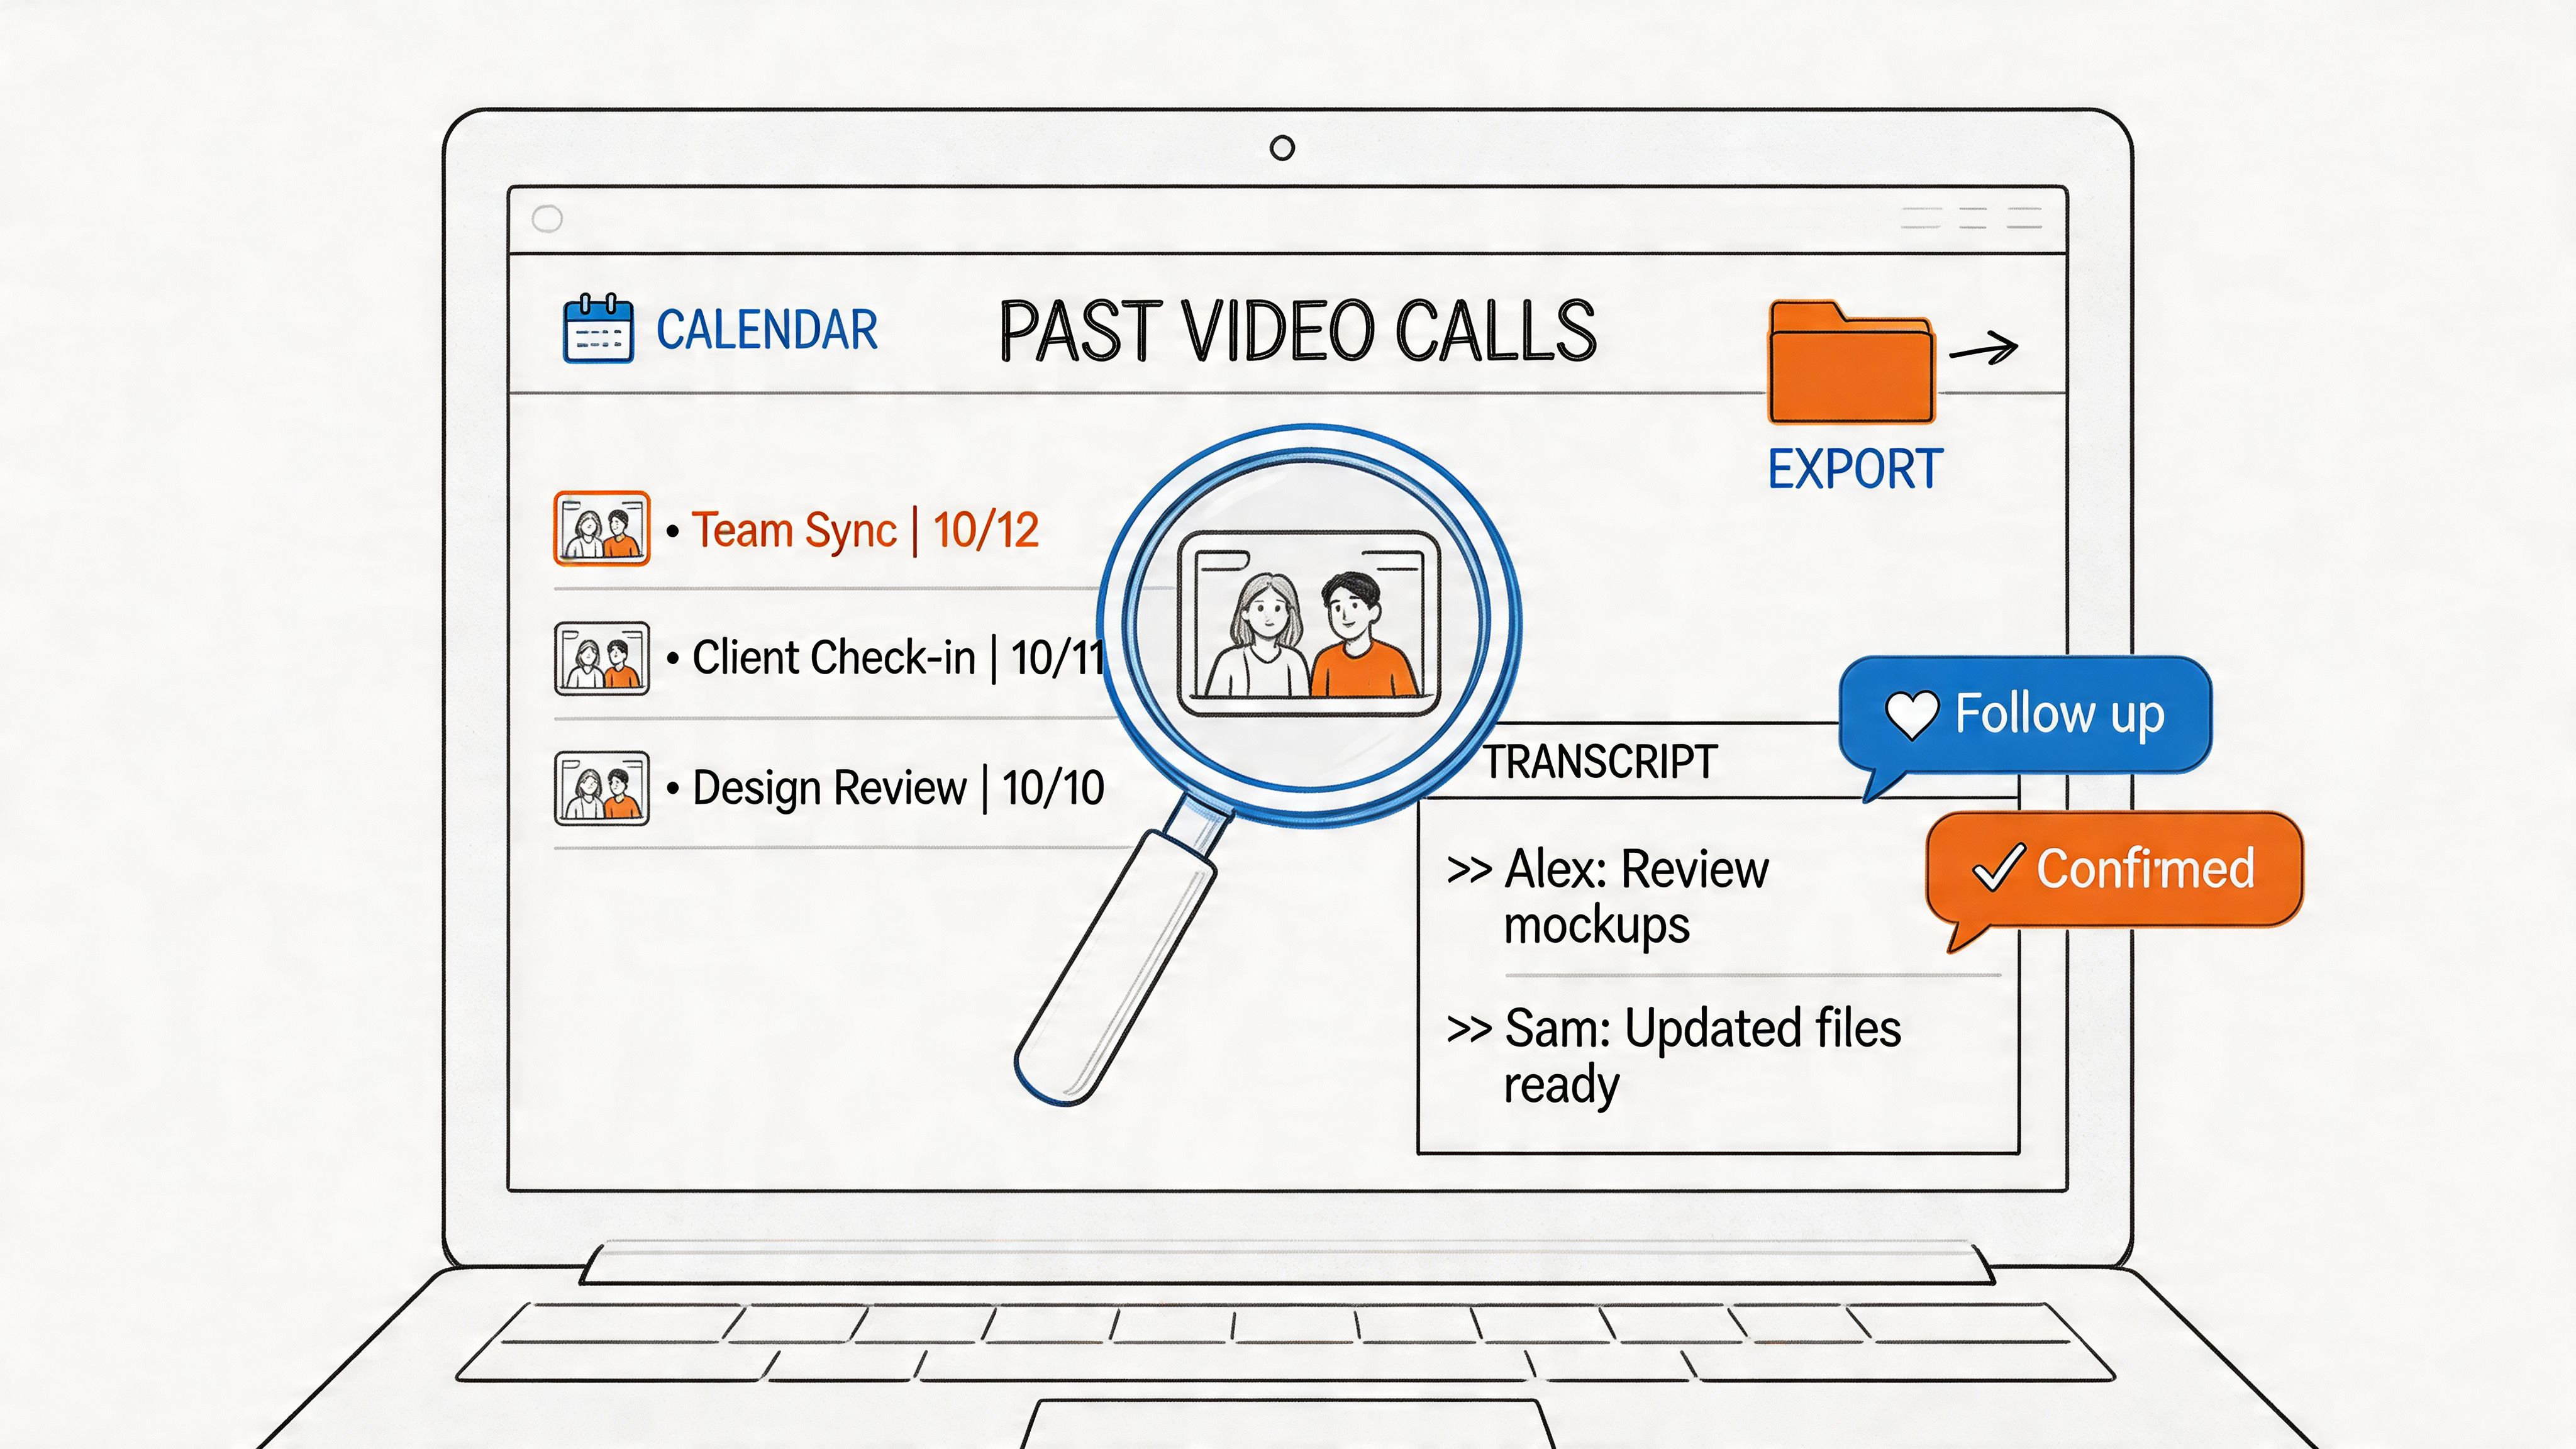
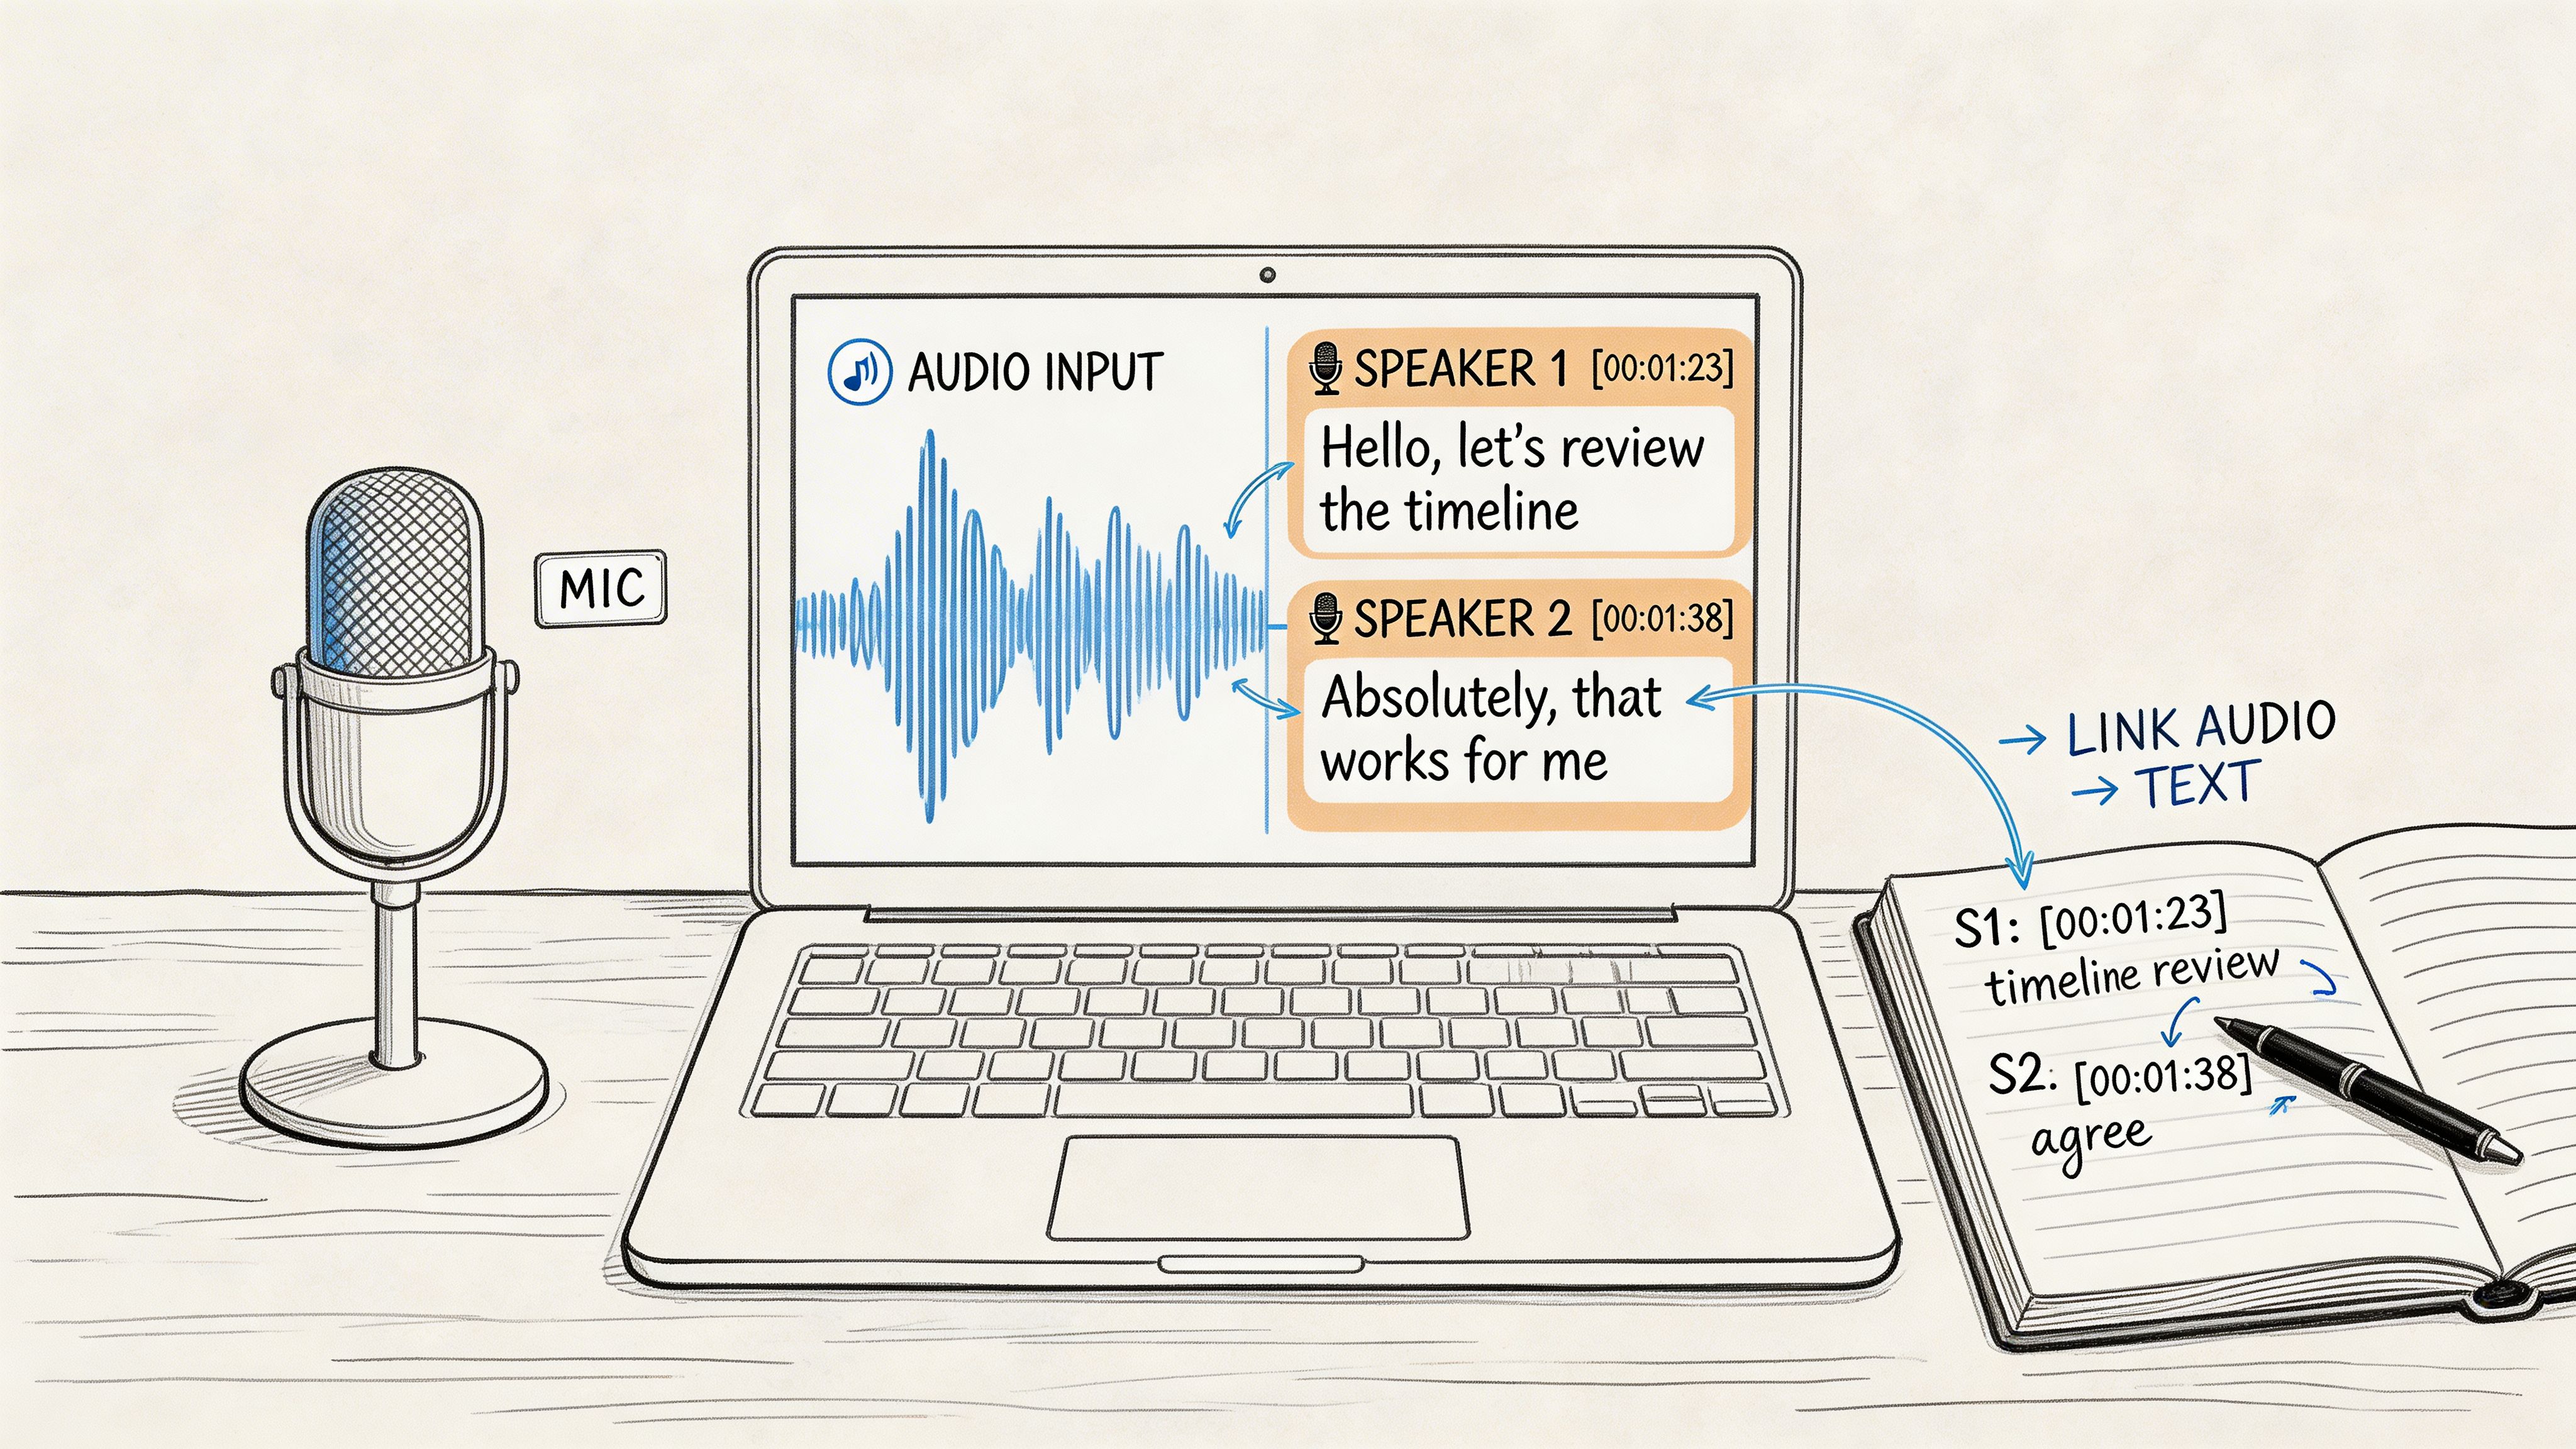
A raw block of text is one thing, but a useful transcript is another entirely. Once you’ve converted your M4A to text, the real work begins: turning that wall of words into a structured, navigable document. This is where timestamps and speaker labels become your best friends.
Think about it. Timestamps let you click a sentence and jump right to that moment in the audio. It's a game-changer for verifying a quote or understanding the nuance in someone's tone. Speaker labels (also called diarization) are just as crucial—they tell you who said what, which is non-negotiable for any interview, meeting, or group discussion.
Getting Timestamps and Speaker Labels Right
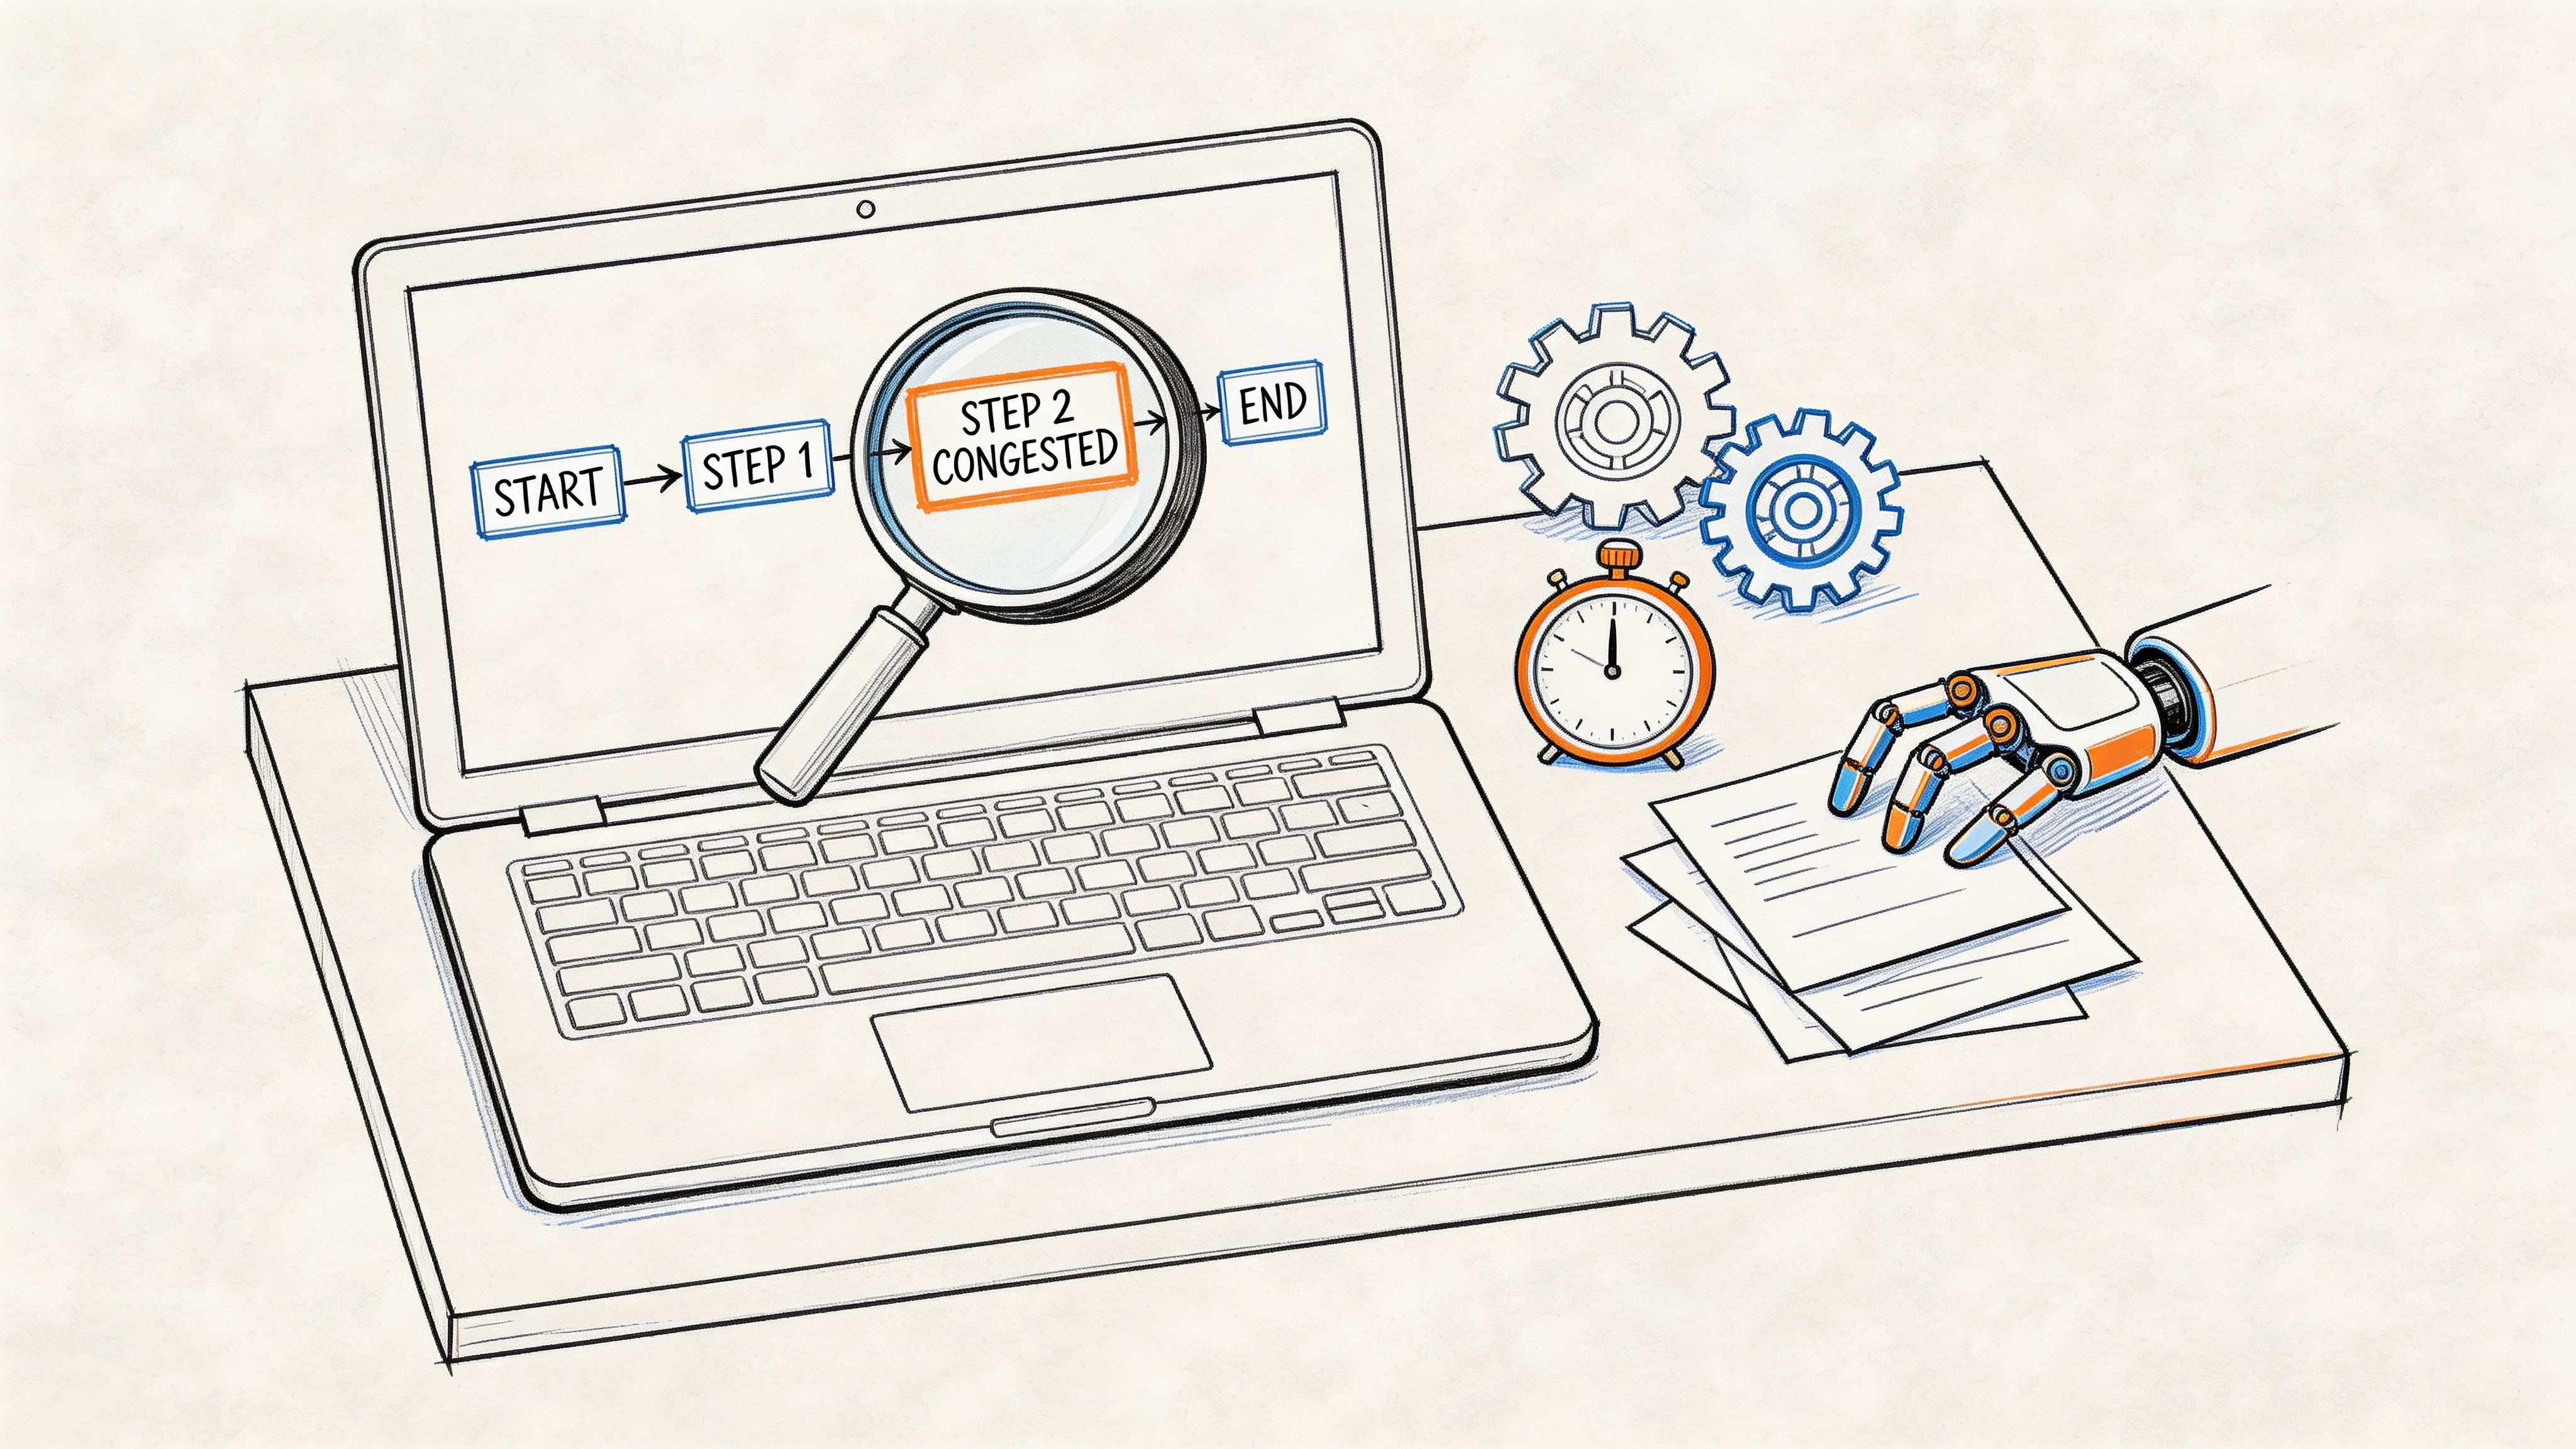
Most transcription tools are pretty good at adding timestamps and guessing who's speaking. But AI isn't perfect. It can get confused, especially when voices are similar or people talk over each other.
The good news is you can almost always go in and clean it up yourself. I find that a quick five-minute review is usually all it takes. You can merge speaker labels if the AI gets confused (like labeling the same person "Speaker 1" and "Speaker 3") or nudge timestamps to align perfectly with the audio.
If you want to dive deeper into this, we have a whole guide on the power of transcription with timecode.
Choosing the Right Export Format for Your Project
Okay, your transcript is polished and ready. Now what? You need to export it, and the format you choose really matters. Picking the right one from the start saves a ton of headaches down the line.
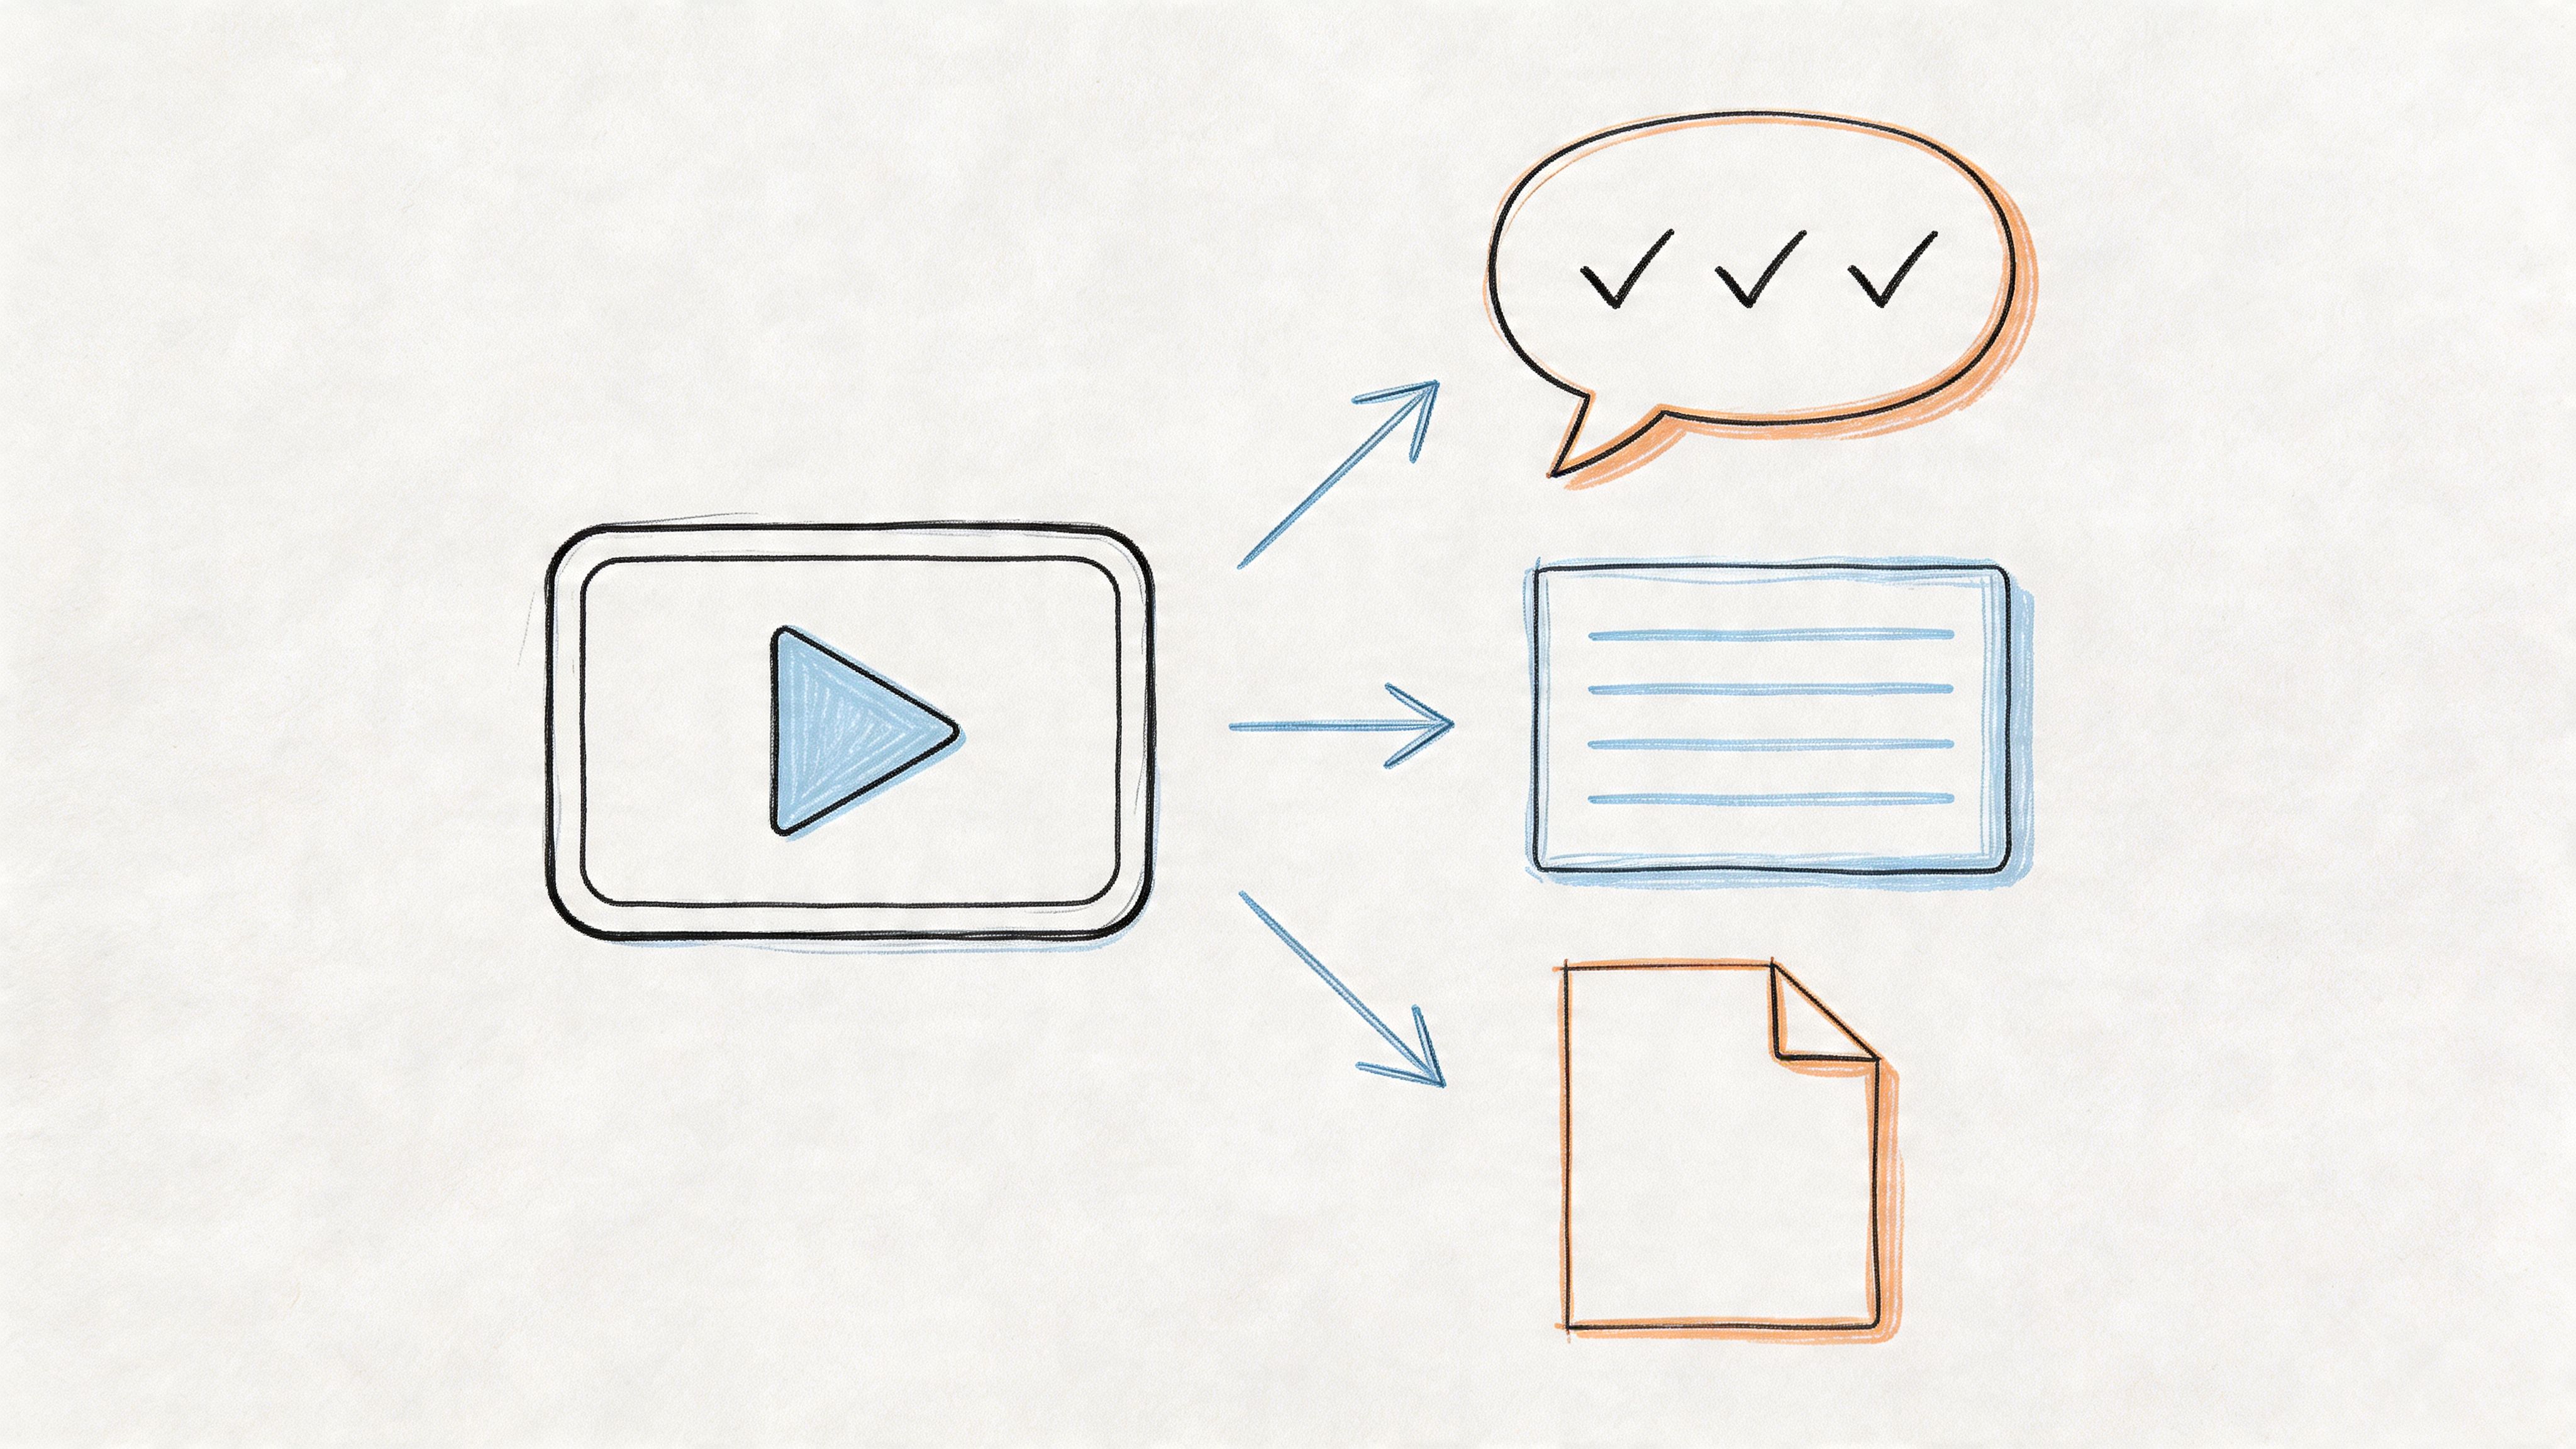
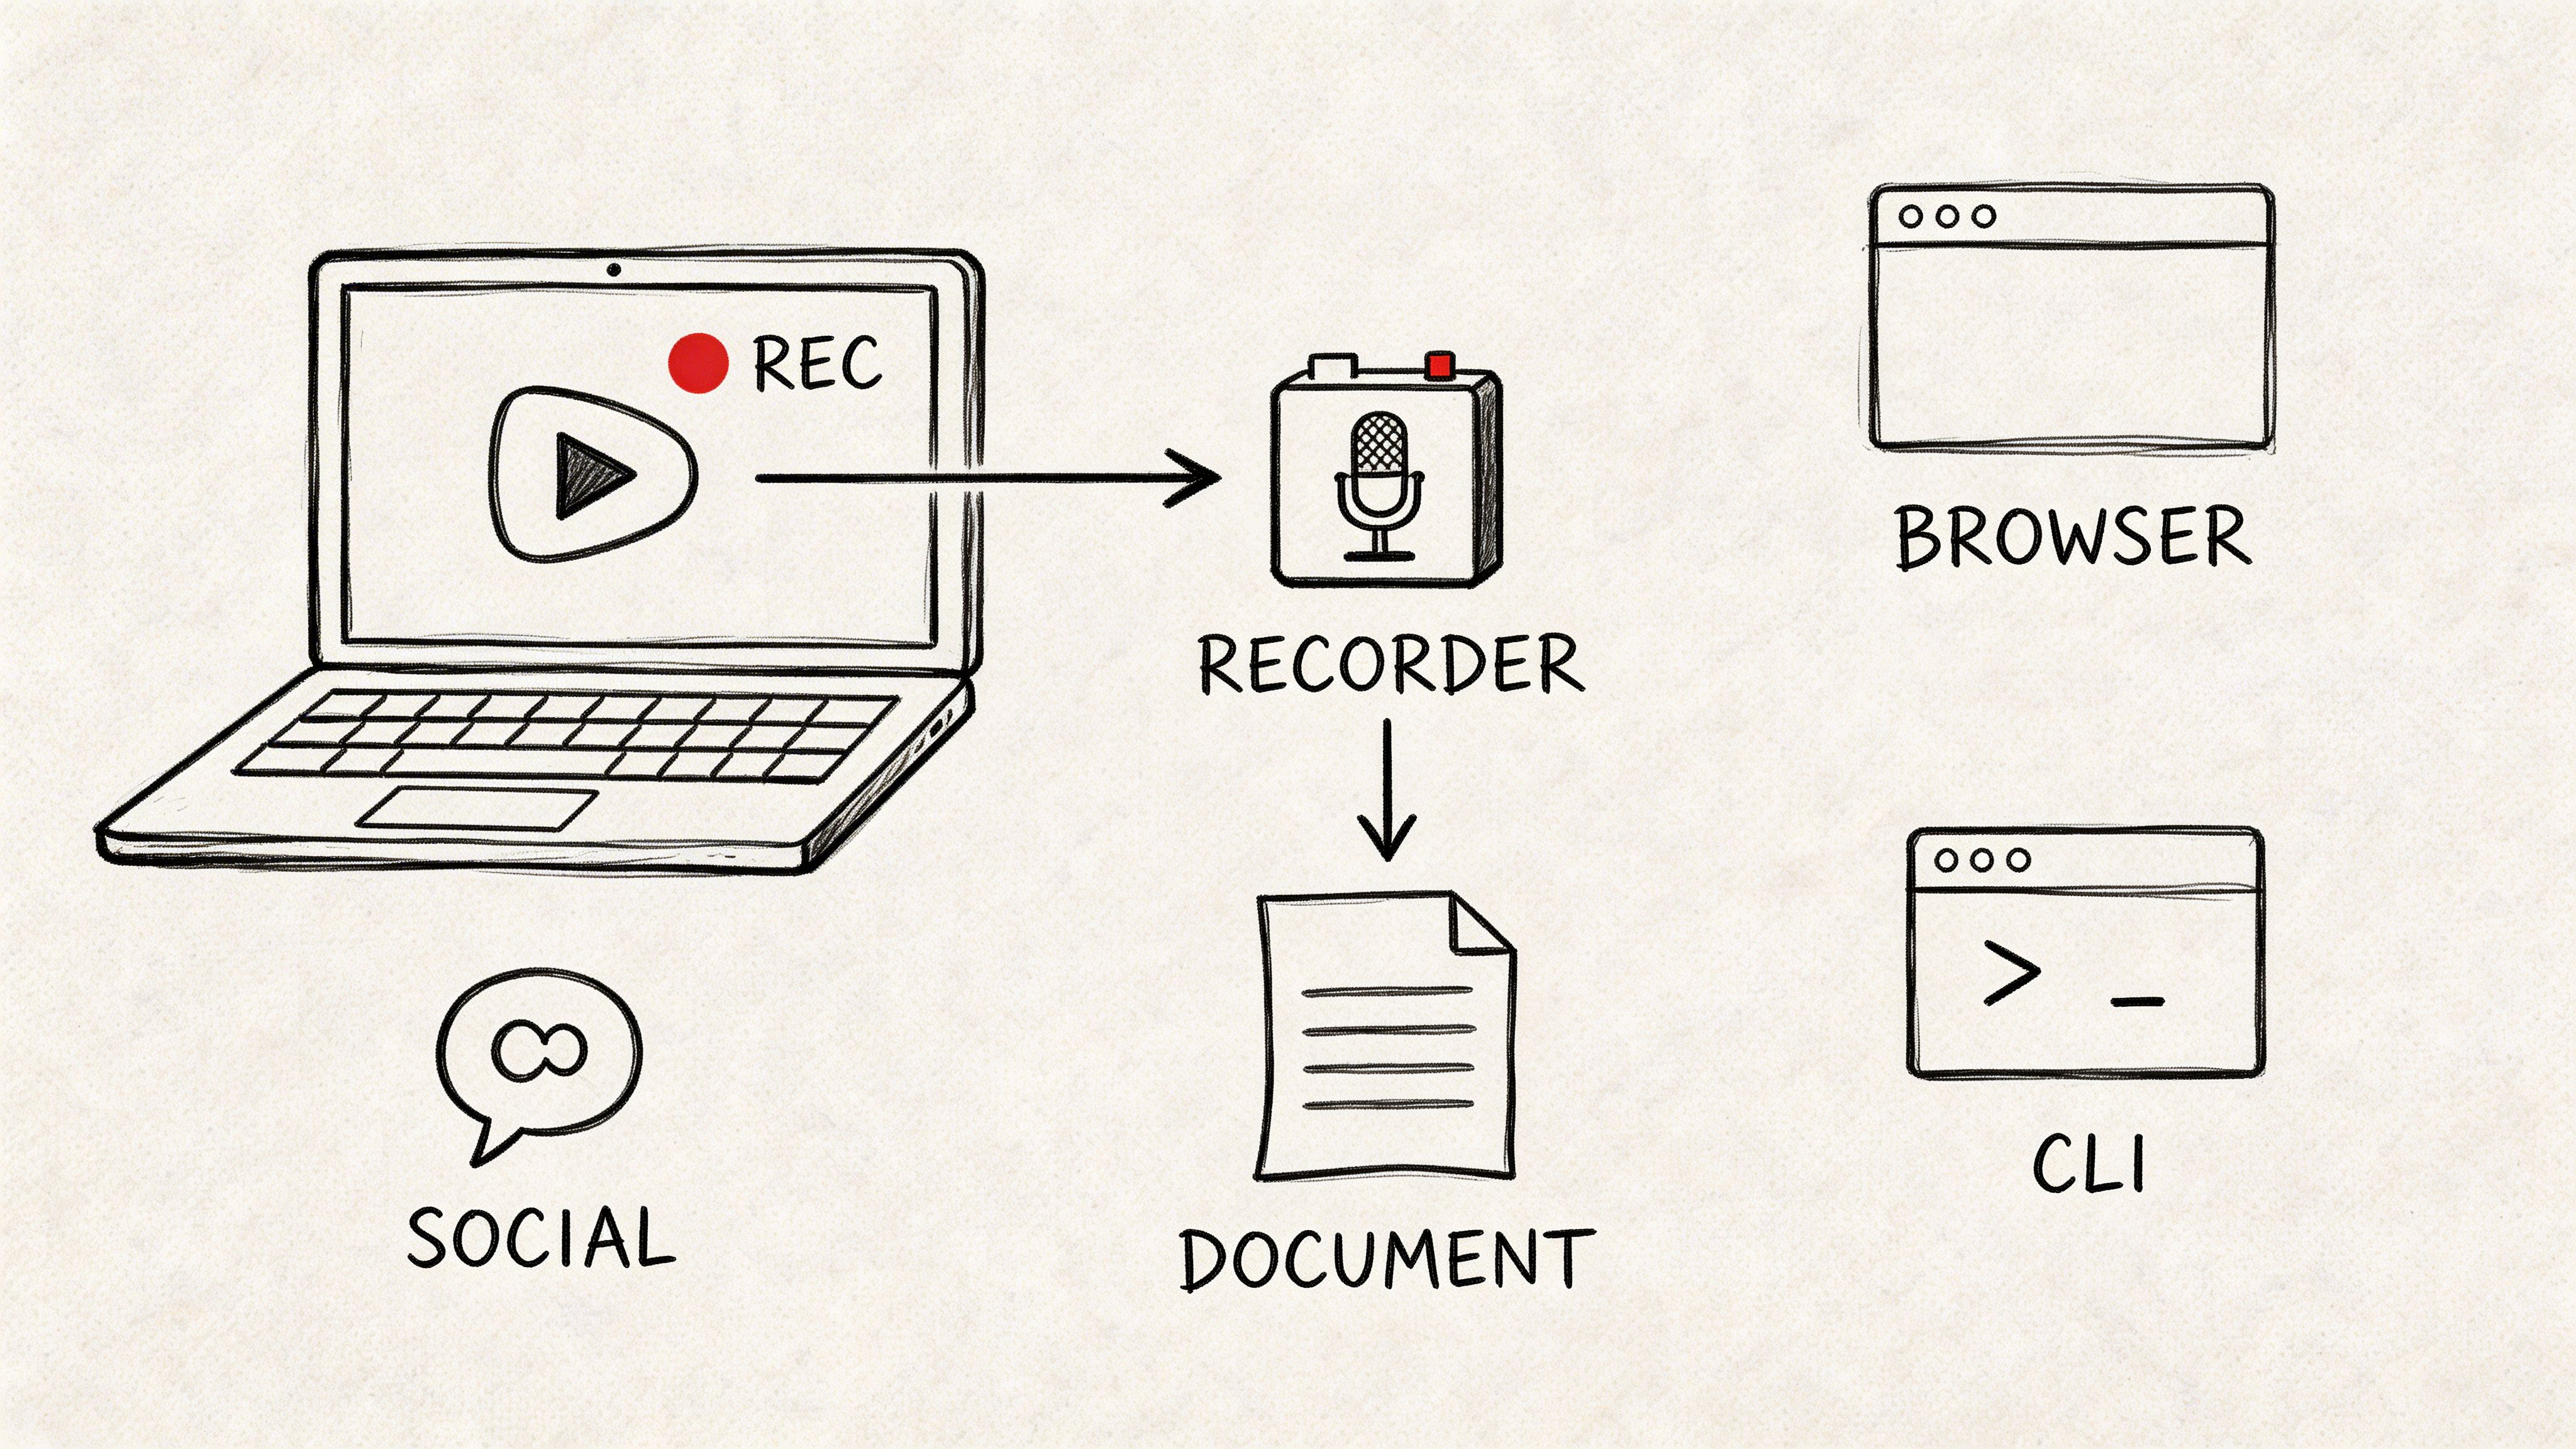
To help you decide, here’s a quick visual guide that maps common goals to the best file format.
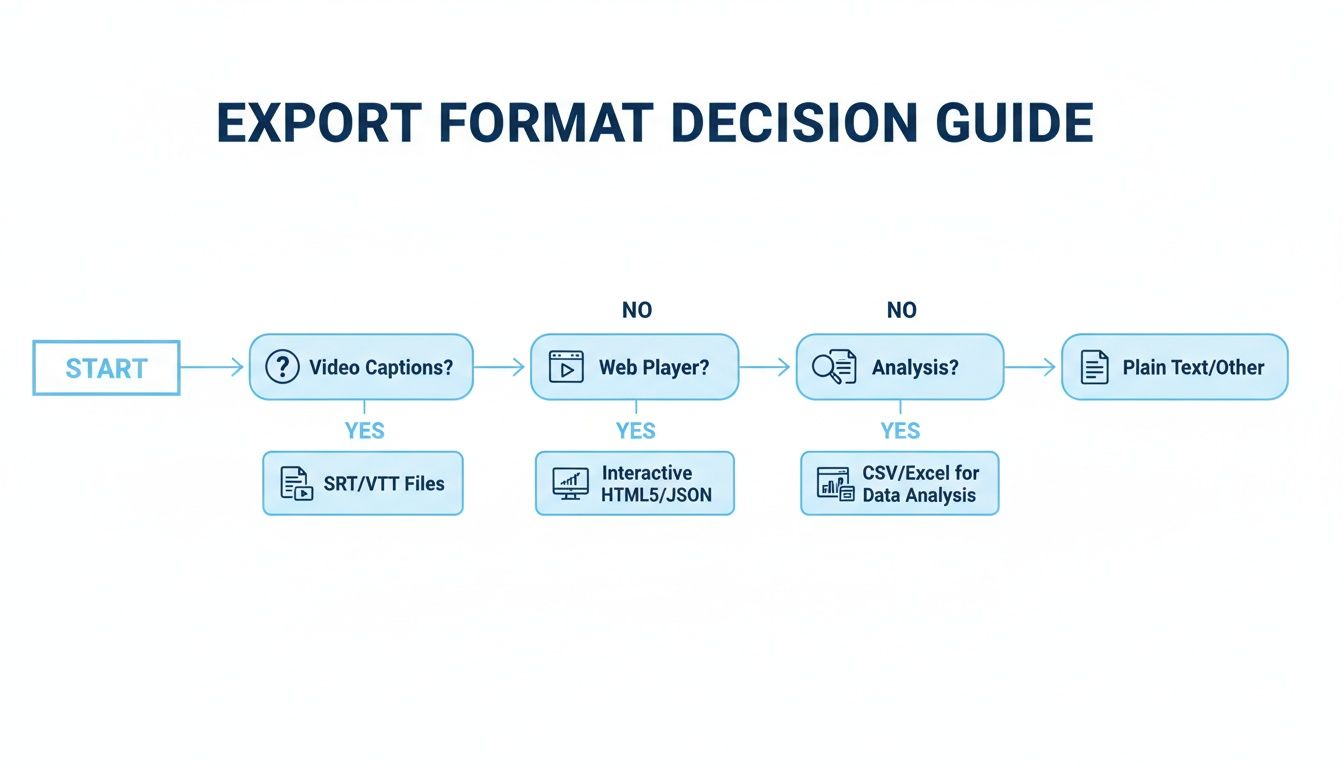
As you can see, what you plan to do with the transcript—whether it’s for video, a website, or just analysis—should guide your choice.
Here’s my breakdown of the most common formats and when I use them:
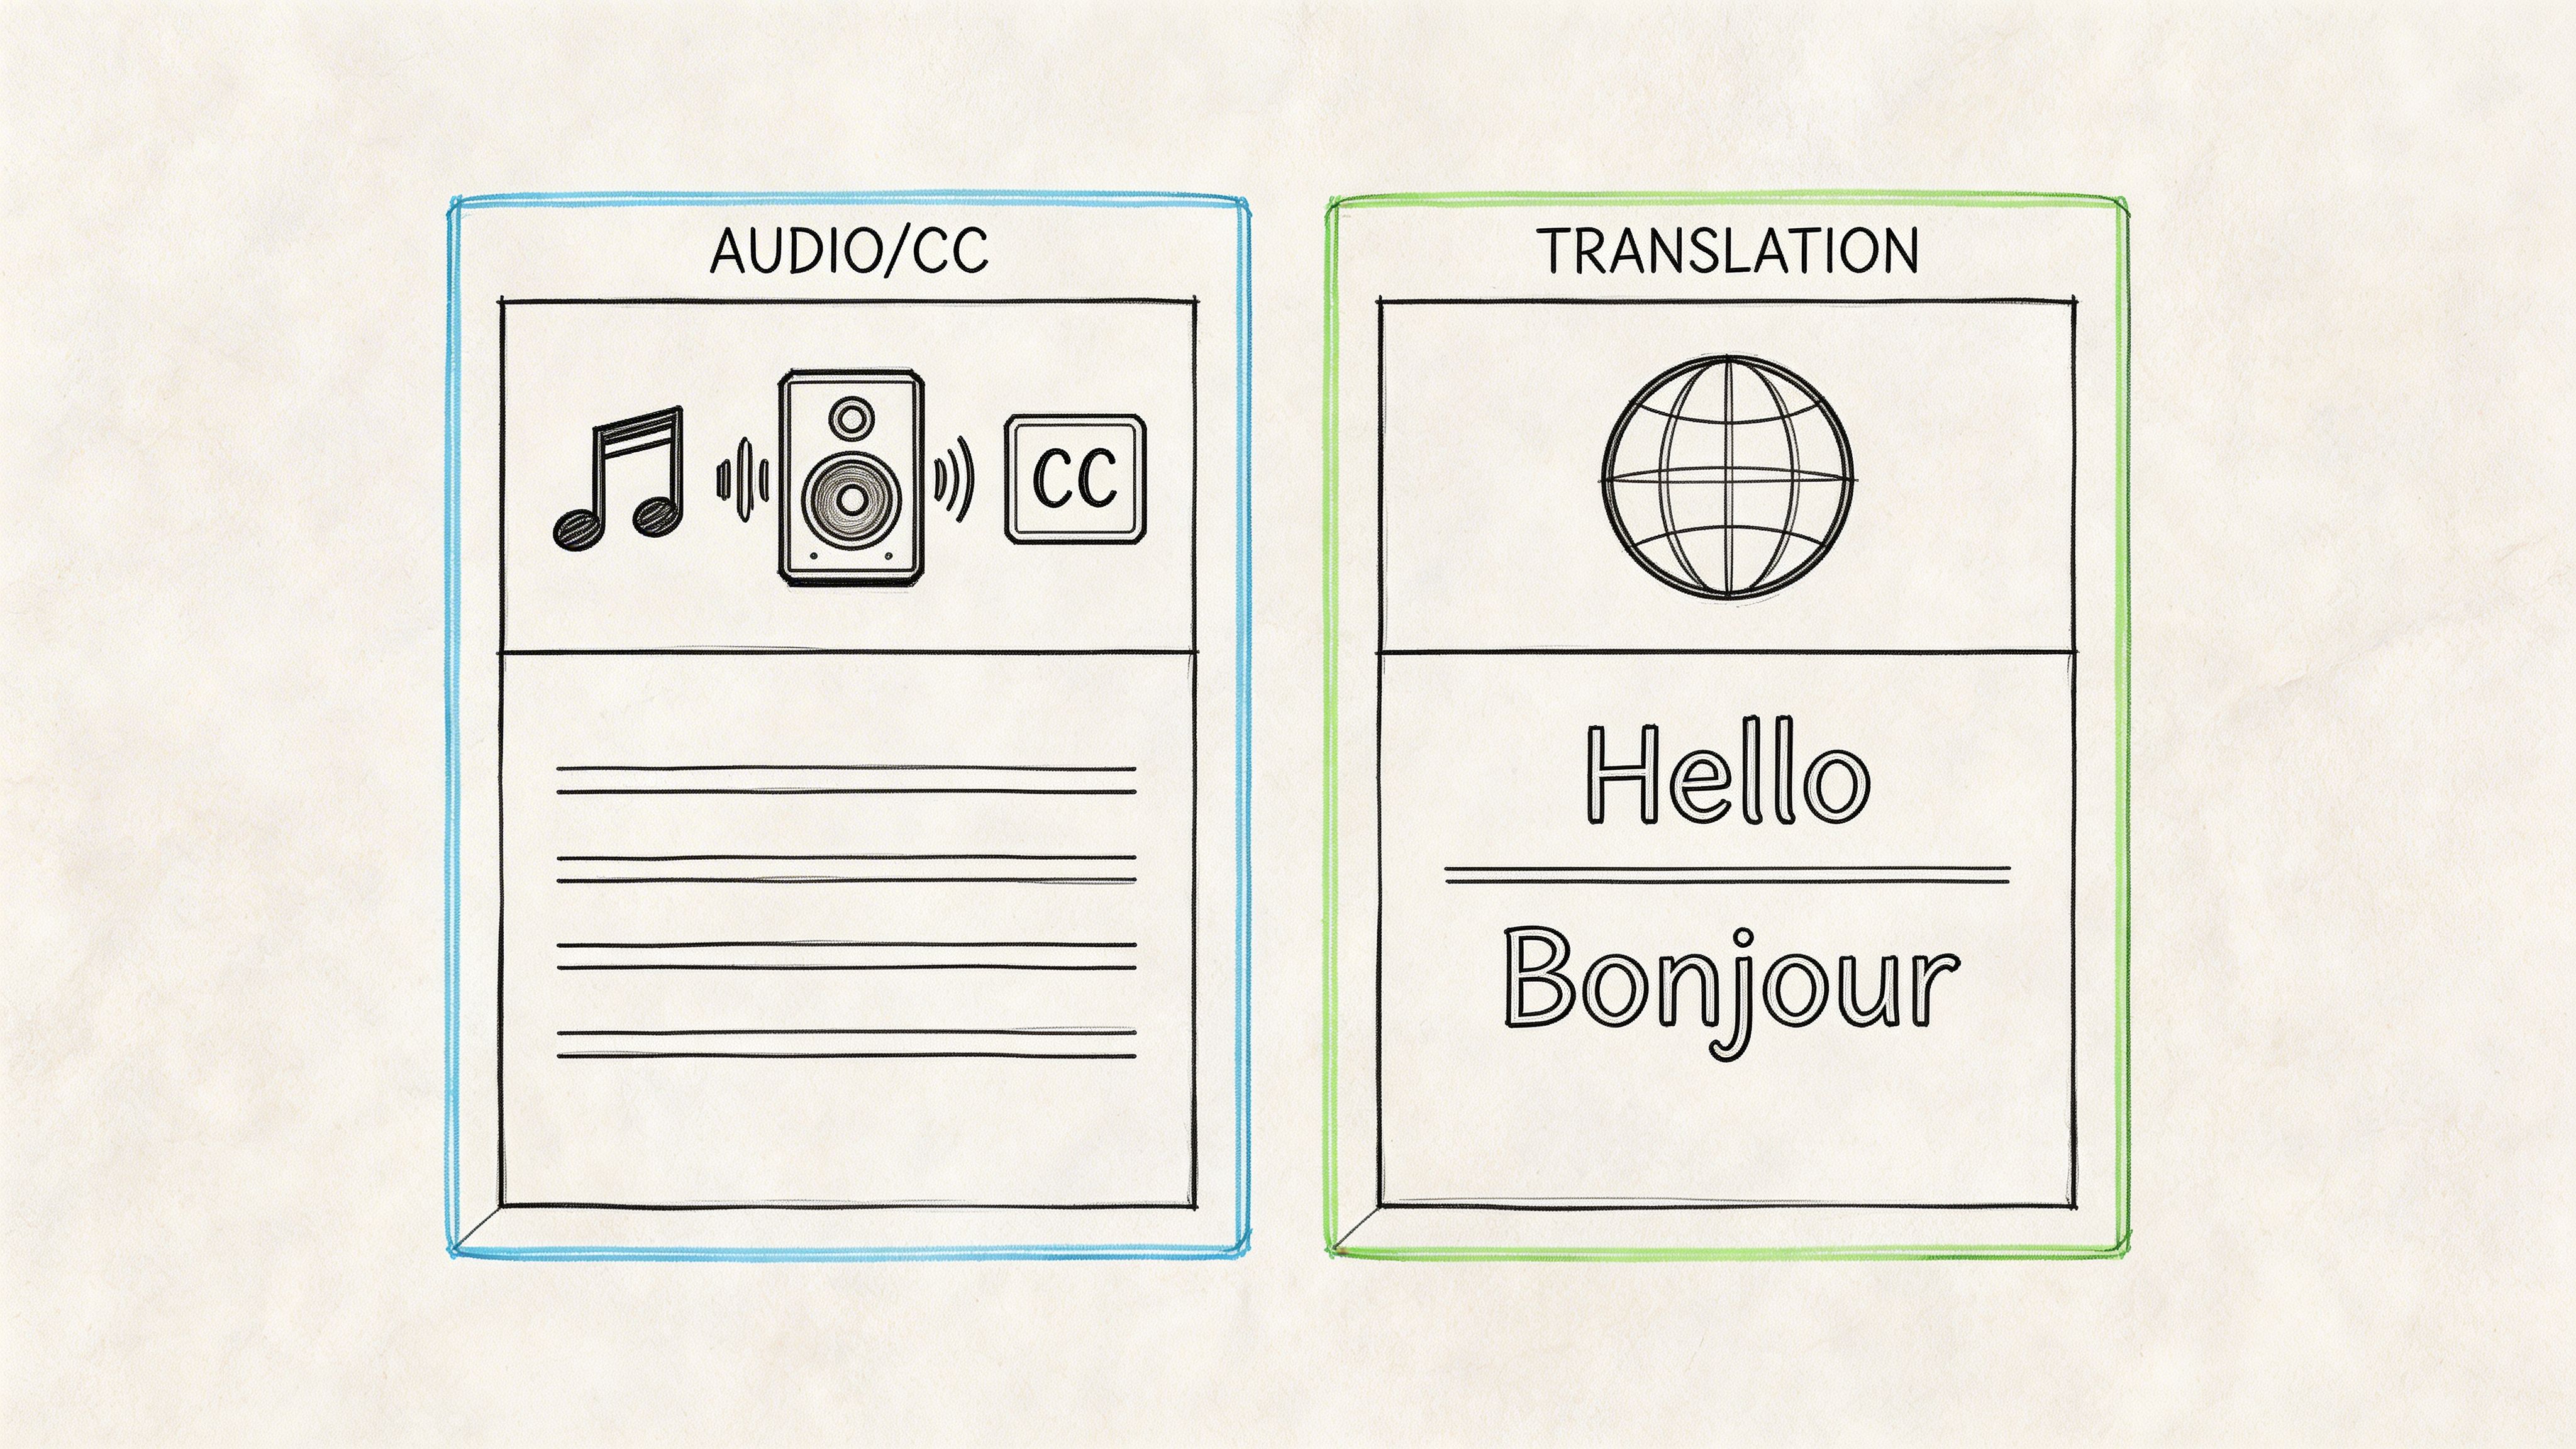
- .TXT (Plain Text): This is your go-to for pure simplicity. If you just need the text for a blog post, meeting notes, or to feed into another program for analysis, a .txt file is perfect. It's lightweight and opens on any device.
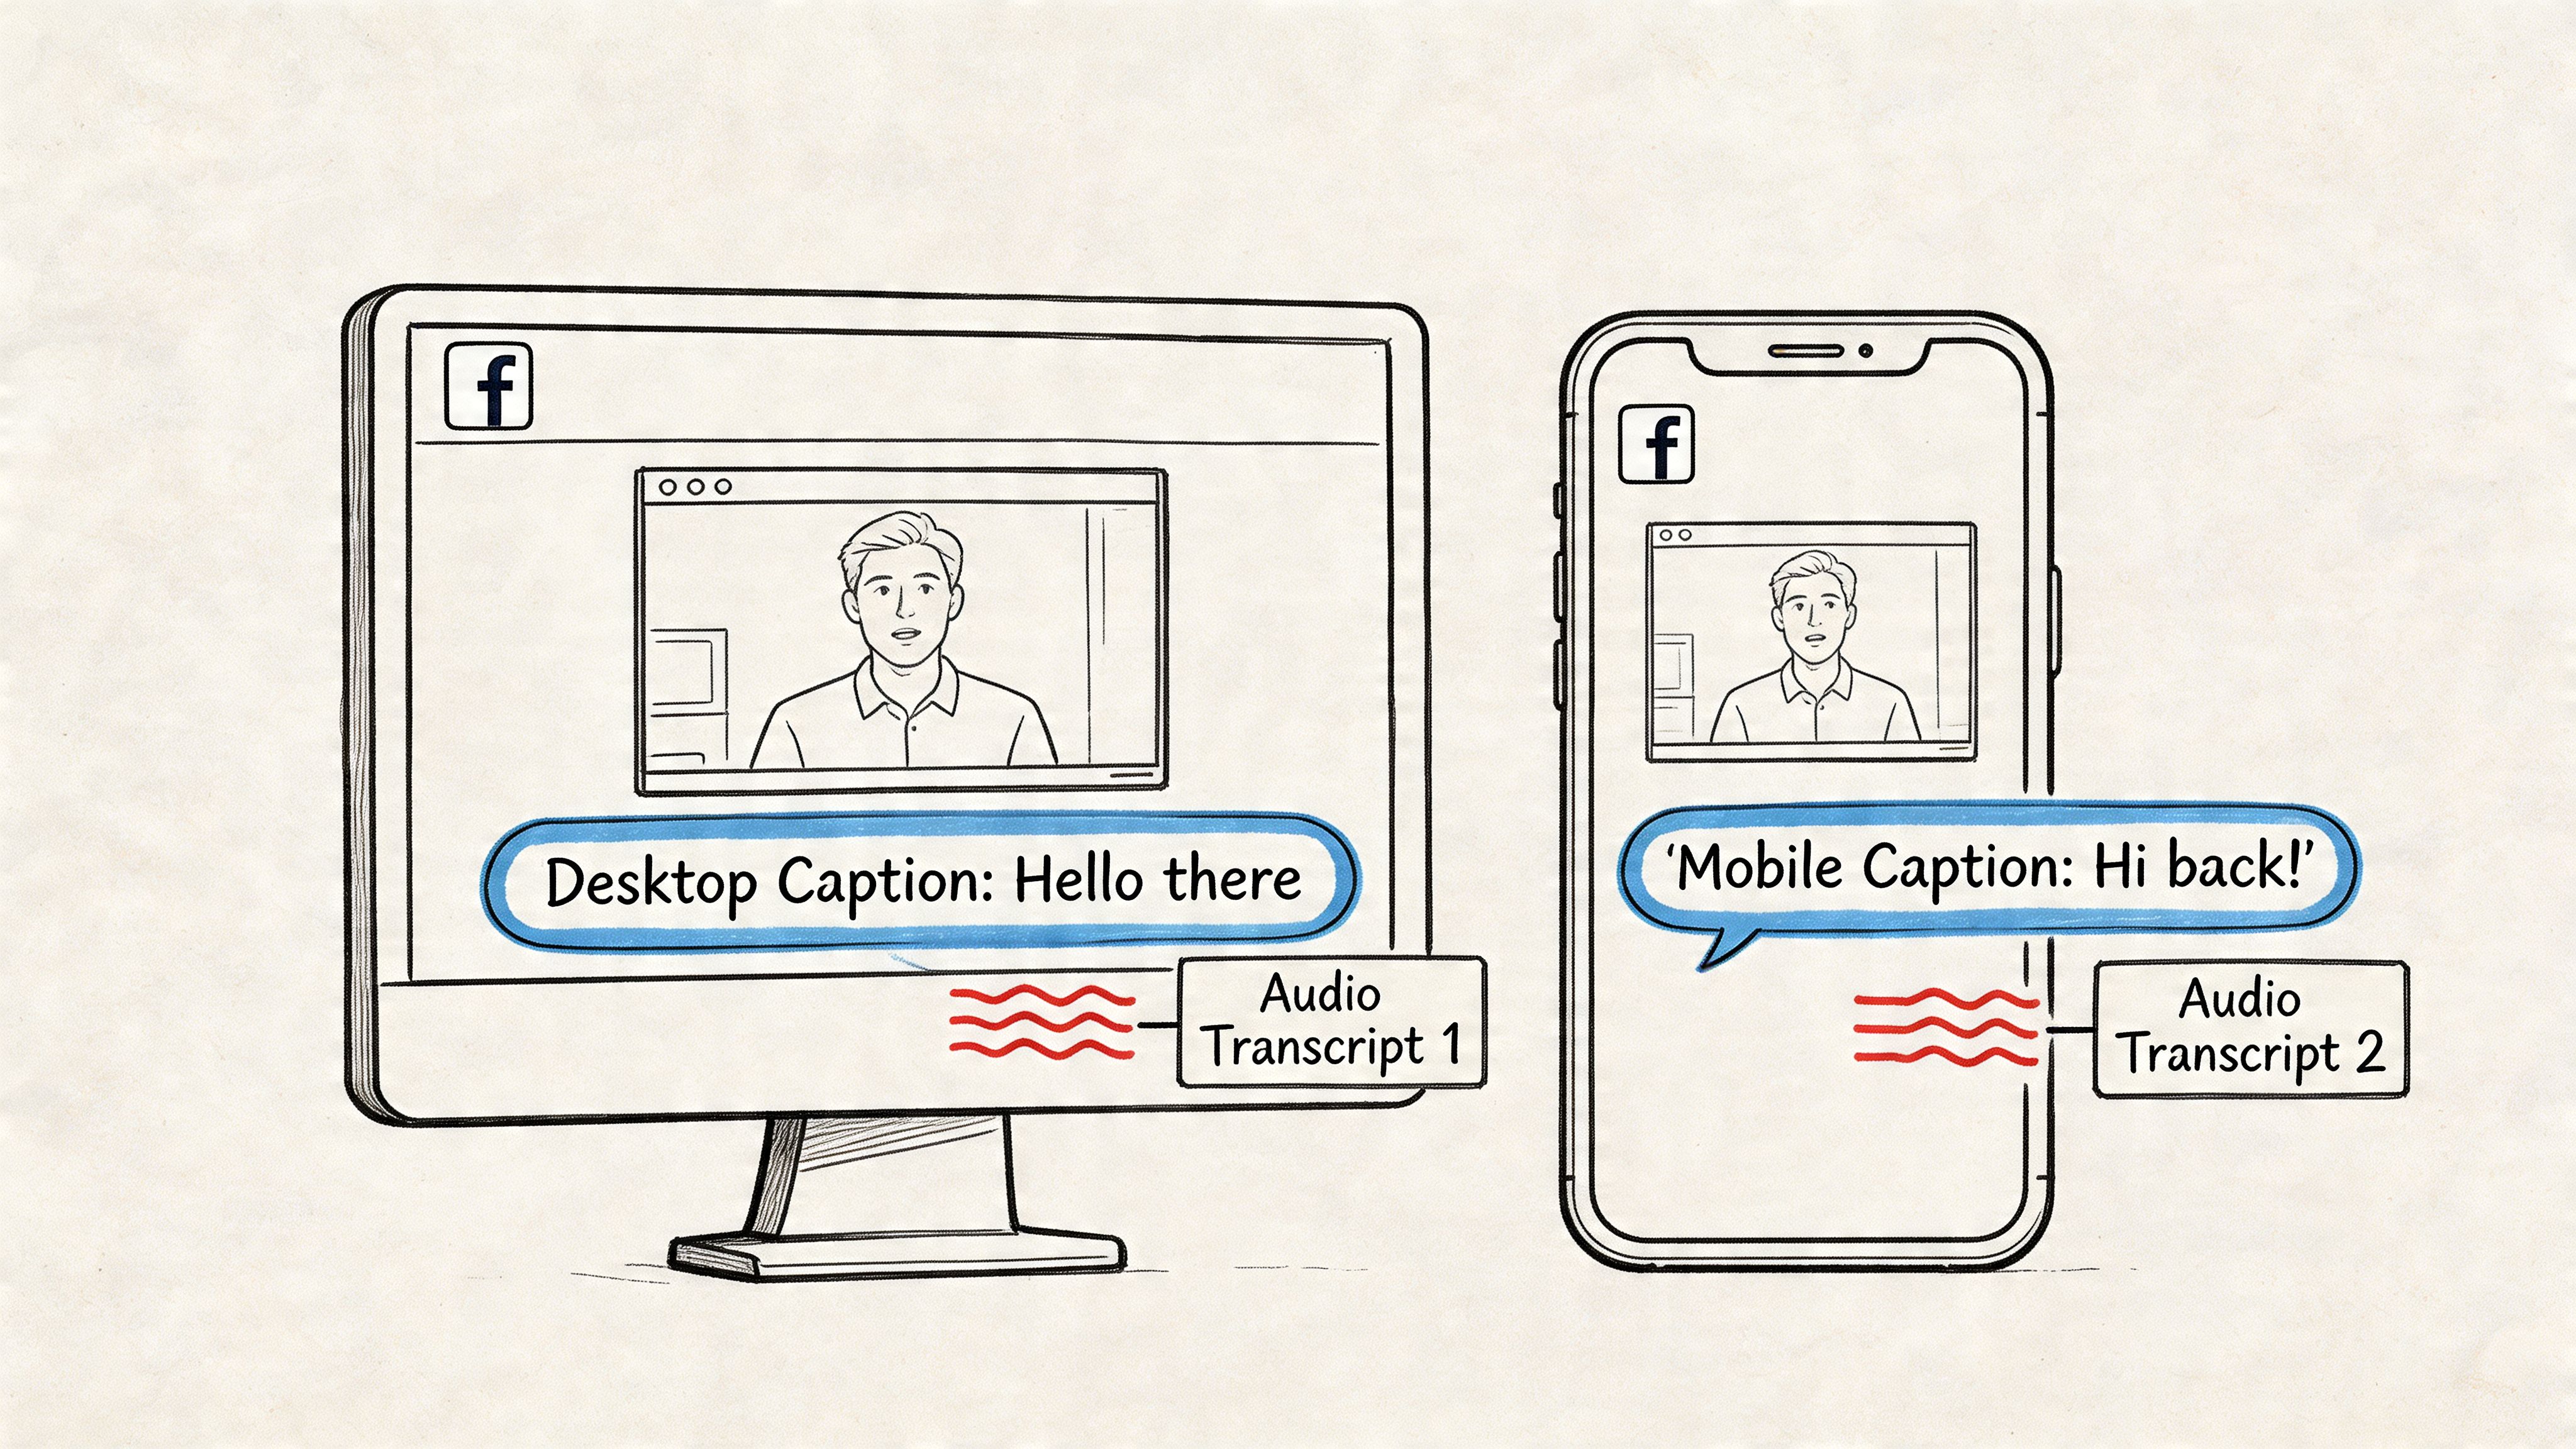
- .SRT (SubRip Subtitle): This is the industry standard for captions. If you're adding subtitles to videos for YouTube, Vimeo, or a social media platform, you need an SRT file. It contains the text plus the exact start and end times for each line to sync perfectly with your video.
- .VTT (Video Text Tracks): This is the modern cousin to SRT, built for the web. VTT files do everything SRTs do but also support more advanced styling, like changing font colors or positioning text on the screen. It gives you more creative control over how your captions look in a web video player.
The format you choose is the bridge between your transcript and its final application. Selecting SRT for a blog post creates unnecessary work, just as exporting a TXT for video captions leaves you with a useless file. Matching the format to the goal is key.
Picking the Right Tool to Turn Your M4A Files into Text
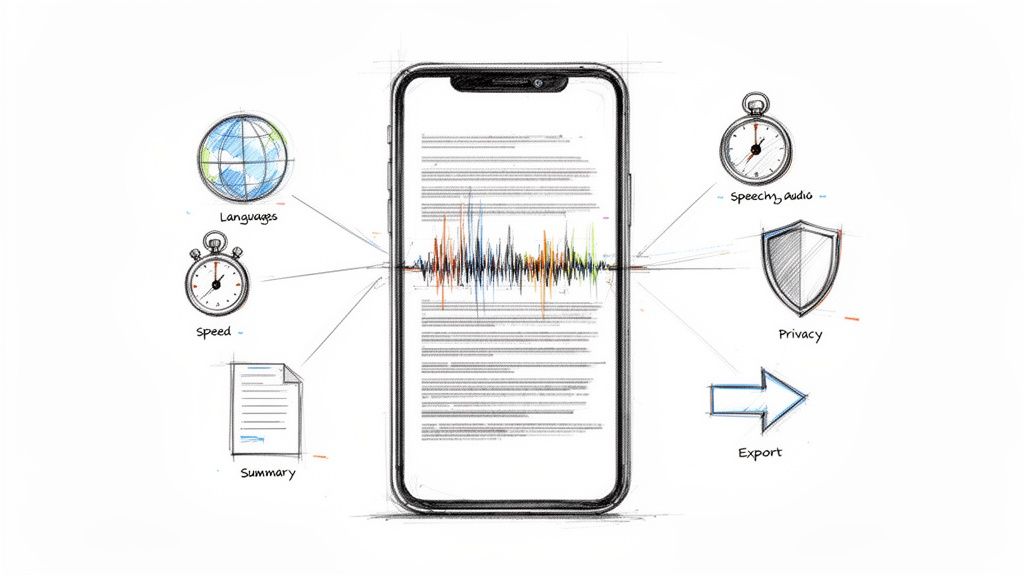
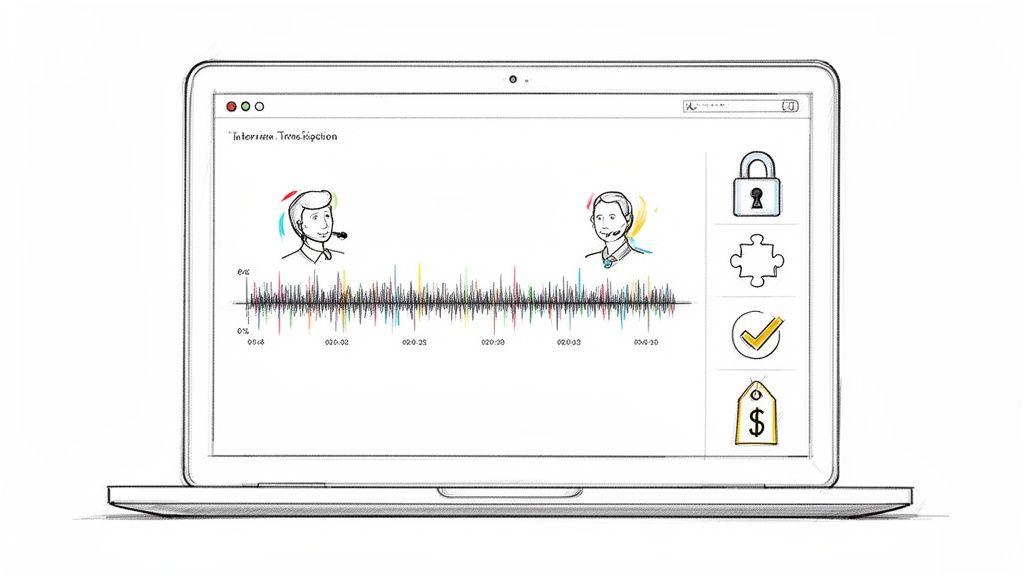
With so many transcription services out there, trying to pick the right one to convert your M4A to text can feel like a real chore. It’s easy to get lost in the marketing claims, but based on my experience, the "best" tool really just depends on your specific needs, your budget, and how sensitive your audio content is.
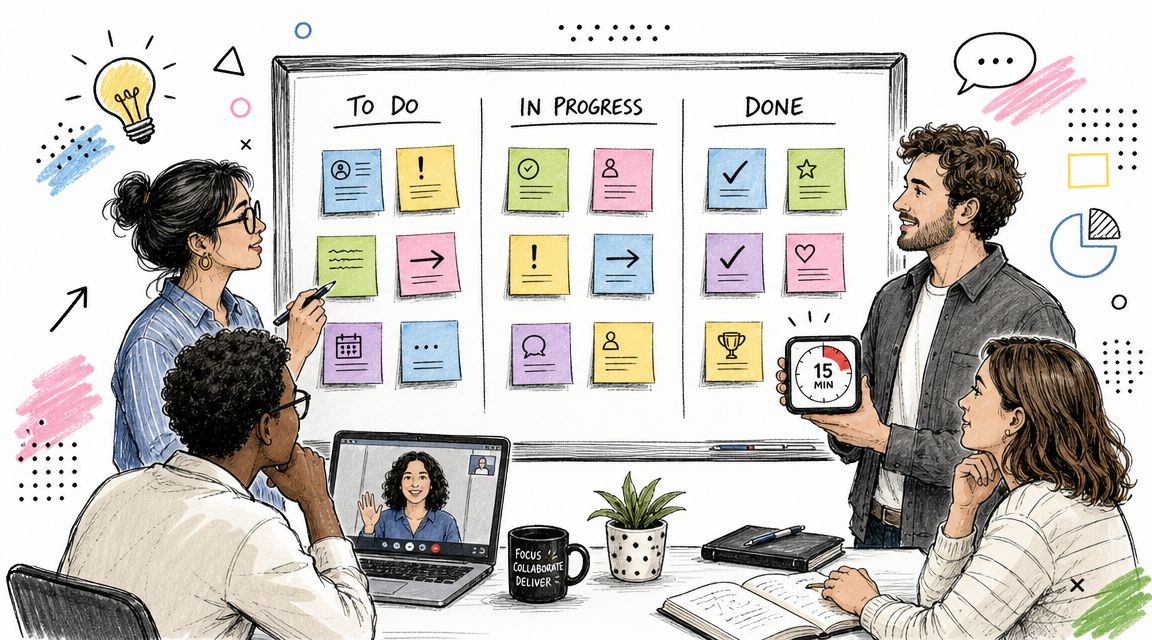
Forget the advertised accuracy rates for a moment. What really matters is finding a tool that fits your workflow. For instance, a student who just needs to transcribe one lecture has a completely different set of priorities than a company that needs to process hundreds of hours of customer interviews. The student probably wants a good free trial, while the business needs things like tight security and team features. This is why a one-size-fits-all approach just doesn't work.
How You'll Pay: Breaking Down the Pricing
One of the first things you’ll run into is how these services charge for their work. This is a huge deal because it directly affects your costs, especially if you plan on transcribing a lot of audio.
You'll generally see two main ways to pay:
- Pay-As-You-Go (Per-Minute): This is perfect if you only need transcriptions now and then. You pay for exactly what you use, making it great for one-off projects or if your needs are all over the place.
- Subscription (Monthly/Annually): If you're transcribing regularly, this is almost always the smarter financial choice. Subscriptions give you a block of transcription hours each month for a much better rate than paying by the minute. For creators and professionals, this is usually the way to go.
A pay-as-you-go plan might look cheaper up front, but if you're transcribing weekly podcasts or team meetings, a subscription will absolutely save you money in the long run.
The Features That Actually Make a Difference
Once you get past the price, the feature set is what separates a decent tool from a great one. Don't get distracted by shiny objects; focus on the things that will genuinely save you time when you're editing the final transcript.
Two of the most important features are solid speaker identification (also called diarization), which automatically figures out who is talking and when, and the option to add a custom vocabulary. This is a lifesaver. It lets you teach the AI specific names, industry jargon, or company acronyms, which makes a massive difference in accuracy if you're dealing with specialized topics.
And finally, always, always check the data privacy policy. If you’re transcribing confidential interviews or sensitive meetings, you have to know how your files are being stored and used. Look for services that are clear about their security practices. At Whisper AI, for example, your files are processed securely and aren’t held onto after the job is done.
To help you sort through the options, I've put together a quick comparison of some of the top players in the game.
Comparison of Top M4A Transcription Services
This table breaks down some of the most popular transcription platforms to help you see, at a glance, which one might be the best fit for your budget, feature needs, and the kind of work you do.
Ultimately, the goal is to find a service that not only delivers an accurate transcript but also integrates smoothly into how you already work, saving you both time and headaches.
Your M4A Transcription Questions, Answered
Once you get the hang of transcribing your M4A files, you'll inevitably run into some real-world questions. I've heard them all over the years. Let's tackle the most common ones so you can move forward with confidence.
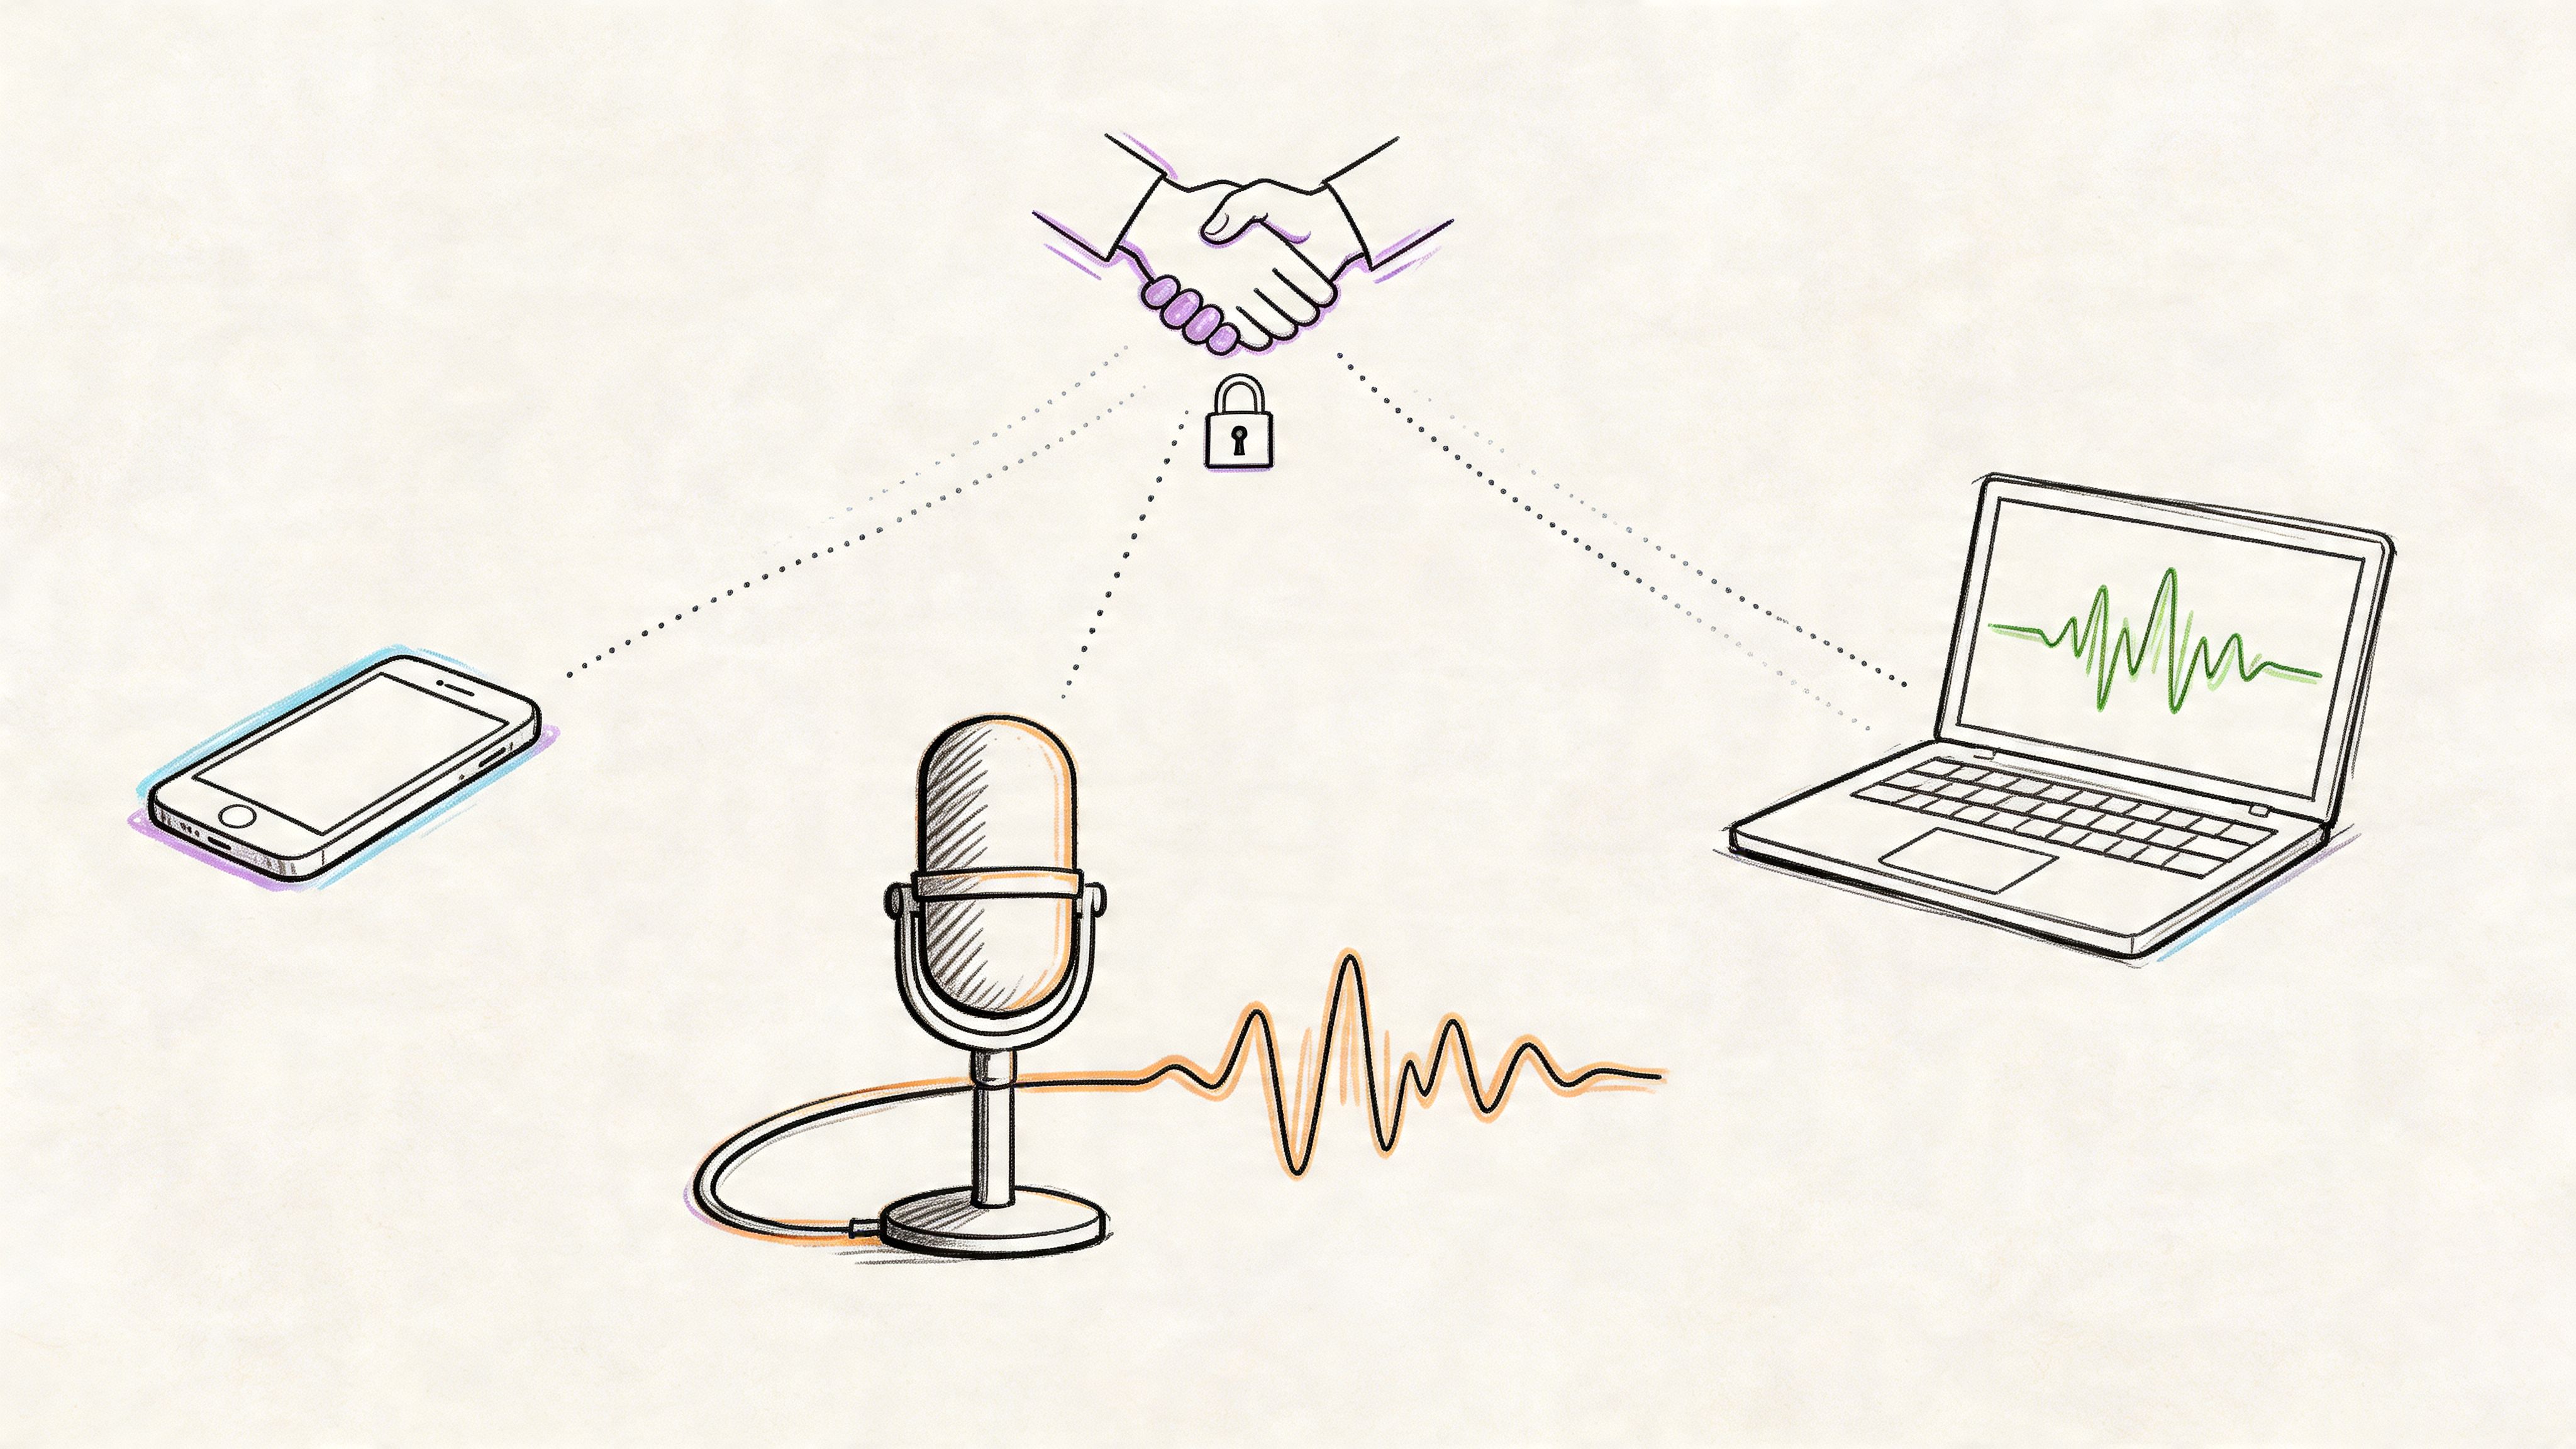
Probably the biggest question I get is about security. It's a big deal. You're uploading a sensitive client interview or a confidential internal strategy session. Where does that file actually go? That's a completely fair question, and the answer should always be crystal clear in the service's privacy policy.
My rule of thumb is simple: If I can't easily find a policy that says they don't store my files or use them for AI training without my permission, I don't use the service. Your audio is your data, and its privacy should be non-negotiable.
How Secure Are My M4A Files, Really?
When you’re vetting a transcription tool, quickly scan its privacy policy for terms like "data encryption," "secure processing," and "data retention." You want to see that your files are encrypted both on the way up to their servers (in transit) and while they’re sitting there (at rest).
A trustworthy service will spell out that your audio is only used to generate the transcript and is promptly deleted afterward. This is the only way to ensure your private conversations stay private.
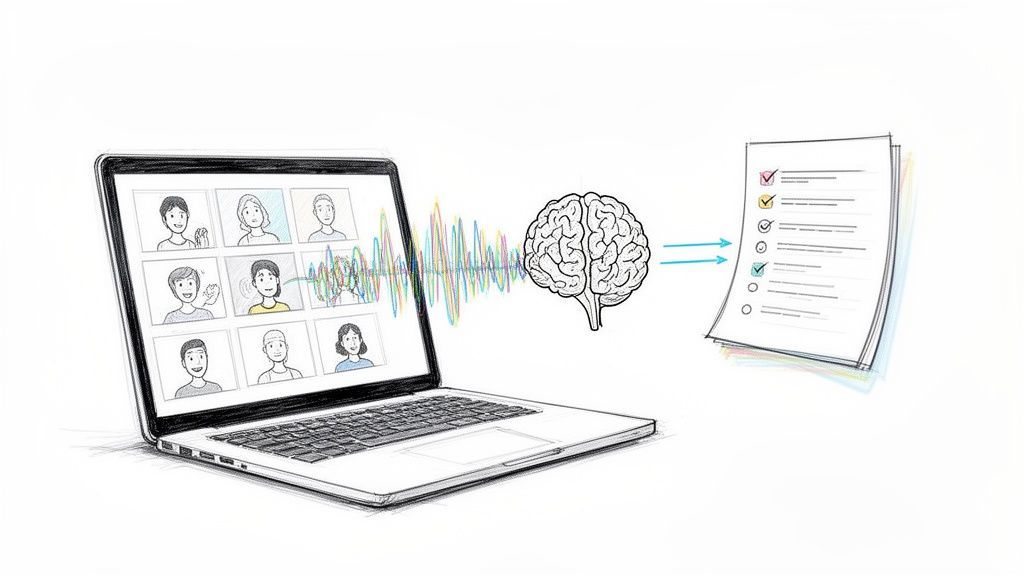
Can AI Actually Tell Different Speakers Apart?
For the most part, yes. The technology behind this, called diarization, has gotten incredibly good at distinguishing who is speaking and when. If you have a clean recording with two or three distinct voices, modern AI can nail the speaker labels with impressive accuracy.
But it’s not perfect. The AI can get tripped up if:
- Speakers have voices in a similar pitch or tone.
- People constantly talk over one another (a classic meeting problem).
- There's a lot of background noise muddying the audio.
When these things happen, you'll probably have to spend a few minutes in the editor manually correcting or merging the speaker labels. It's a small price to pay for an otherwise automated process.
What’s the Best Free Tool for M4A Transcription?
This is a tricky one. While plenty of services have free trials, the truly free options almost always have some serious strings attached. You'll often hit a wall with limits on the length of the audio you can upload—maybe just 10 minutes at a time—or a monthly cap on how many files you can process.
These free tools can be great for a one-off, super-short task, like transcribing a quick voice memo. But if you're dealing with anything longer or more critical, you'll find those limitations become a major headache pretty fast. For any serious work, a paid service is almost always the more practical route.
Ready to turn your audio into accurate, structured text in minutes? Try Whisper AI and experience the power of fast, secure, and reliable transcription. https://whisperbot.ai