How to Record a Meeting in Teams: A Complete Guide
Before we jump into the how of recording a meeting in Teams, let's talk about the why. Hitting that record button isn't just about creating a digital archive; it’s one of the smartest moves you can make to boost your team's productivity and build a living library of your most important conversations.
Why You Should Record Your Teams Meetings

Think of a recording as turning a fleeting conversation into a reusable asset. Imagine a new hire joining your project halfway through. Instead of pulling people into multiple meetings to catch them up, you can just send them the recordings of the kickoff call and key decision-making sessions. They get the full context, hear the original discussions, and understand the 'why' behind every choice—all on their own time.
It also creates an official record. We've all been there, trying to remember who was assigned what task or what the final decision was on a critical issue. A recording is your single source of truth, cutting through the "I thought you said..." confusion and keeping everyone aligned and accountable.
Embracing Asynchronous Work
With so many teams now working remotely or in hybrid setups, meeting recordings have gone from a nice-to-have to a must-have. When the world shifted to remote work, Microsoft Teams usage skyrocketed. Back in April 2020, the platform saw over 200 million daily meeting participants, generating an incredible 4.1 billion meeting minutes.
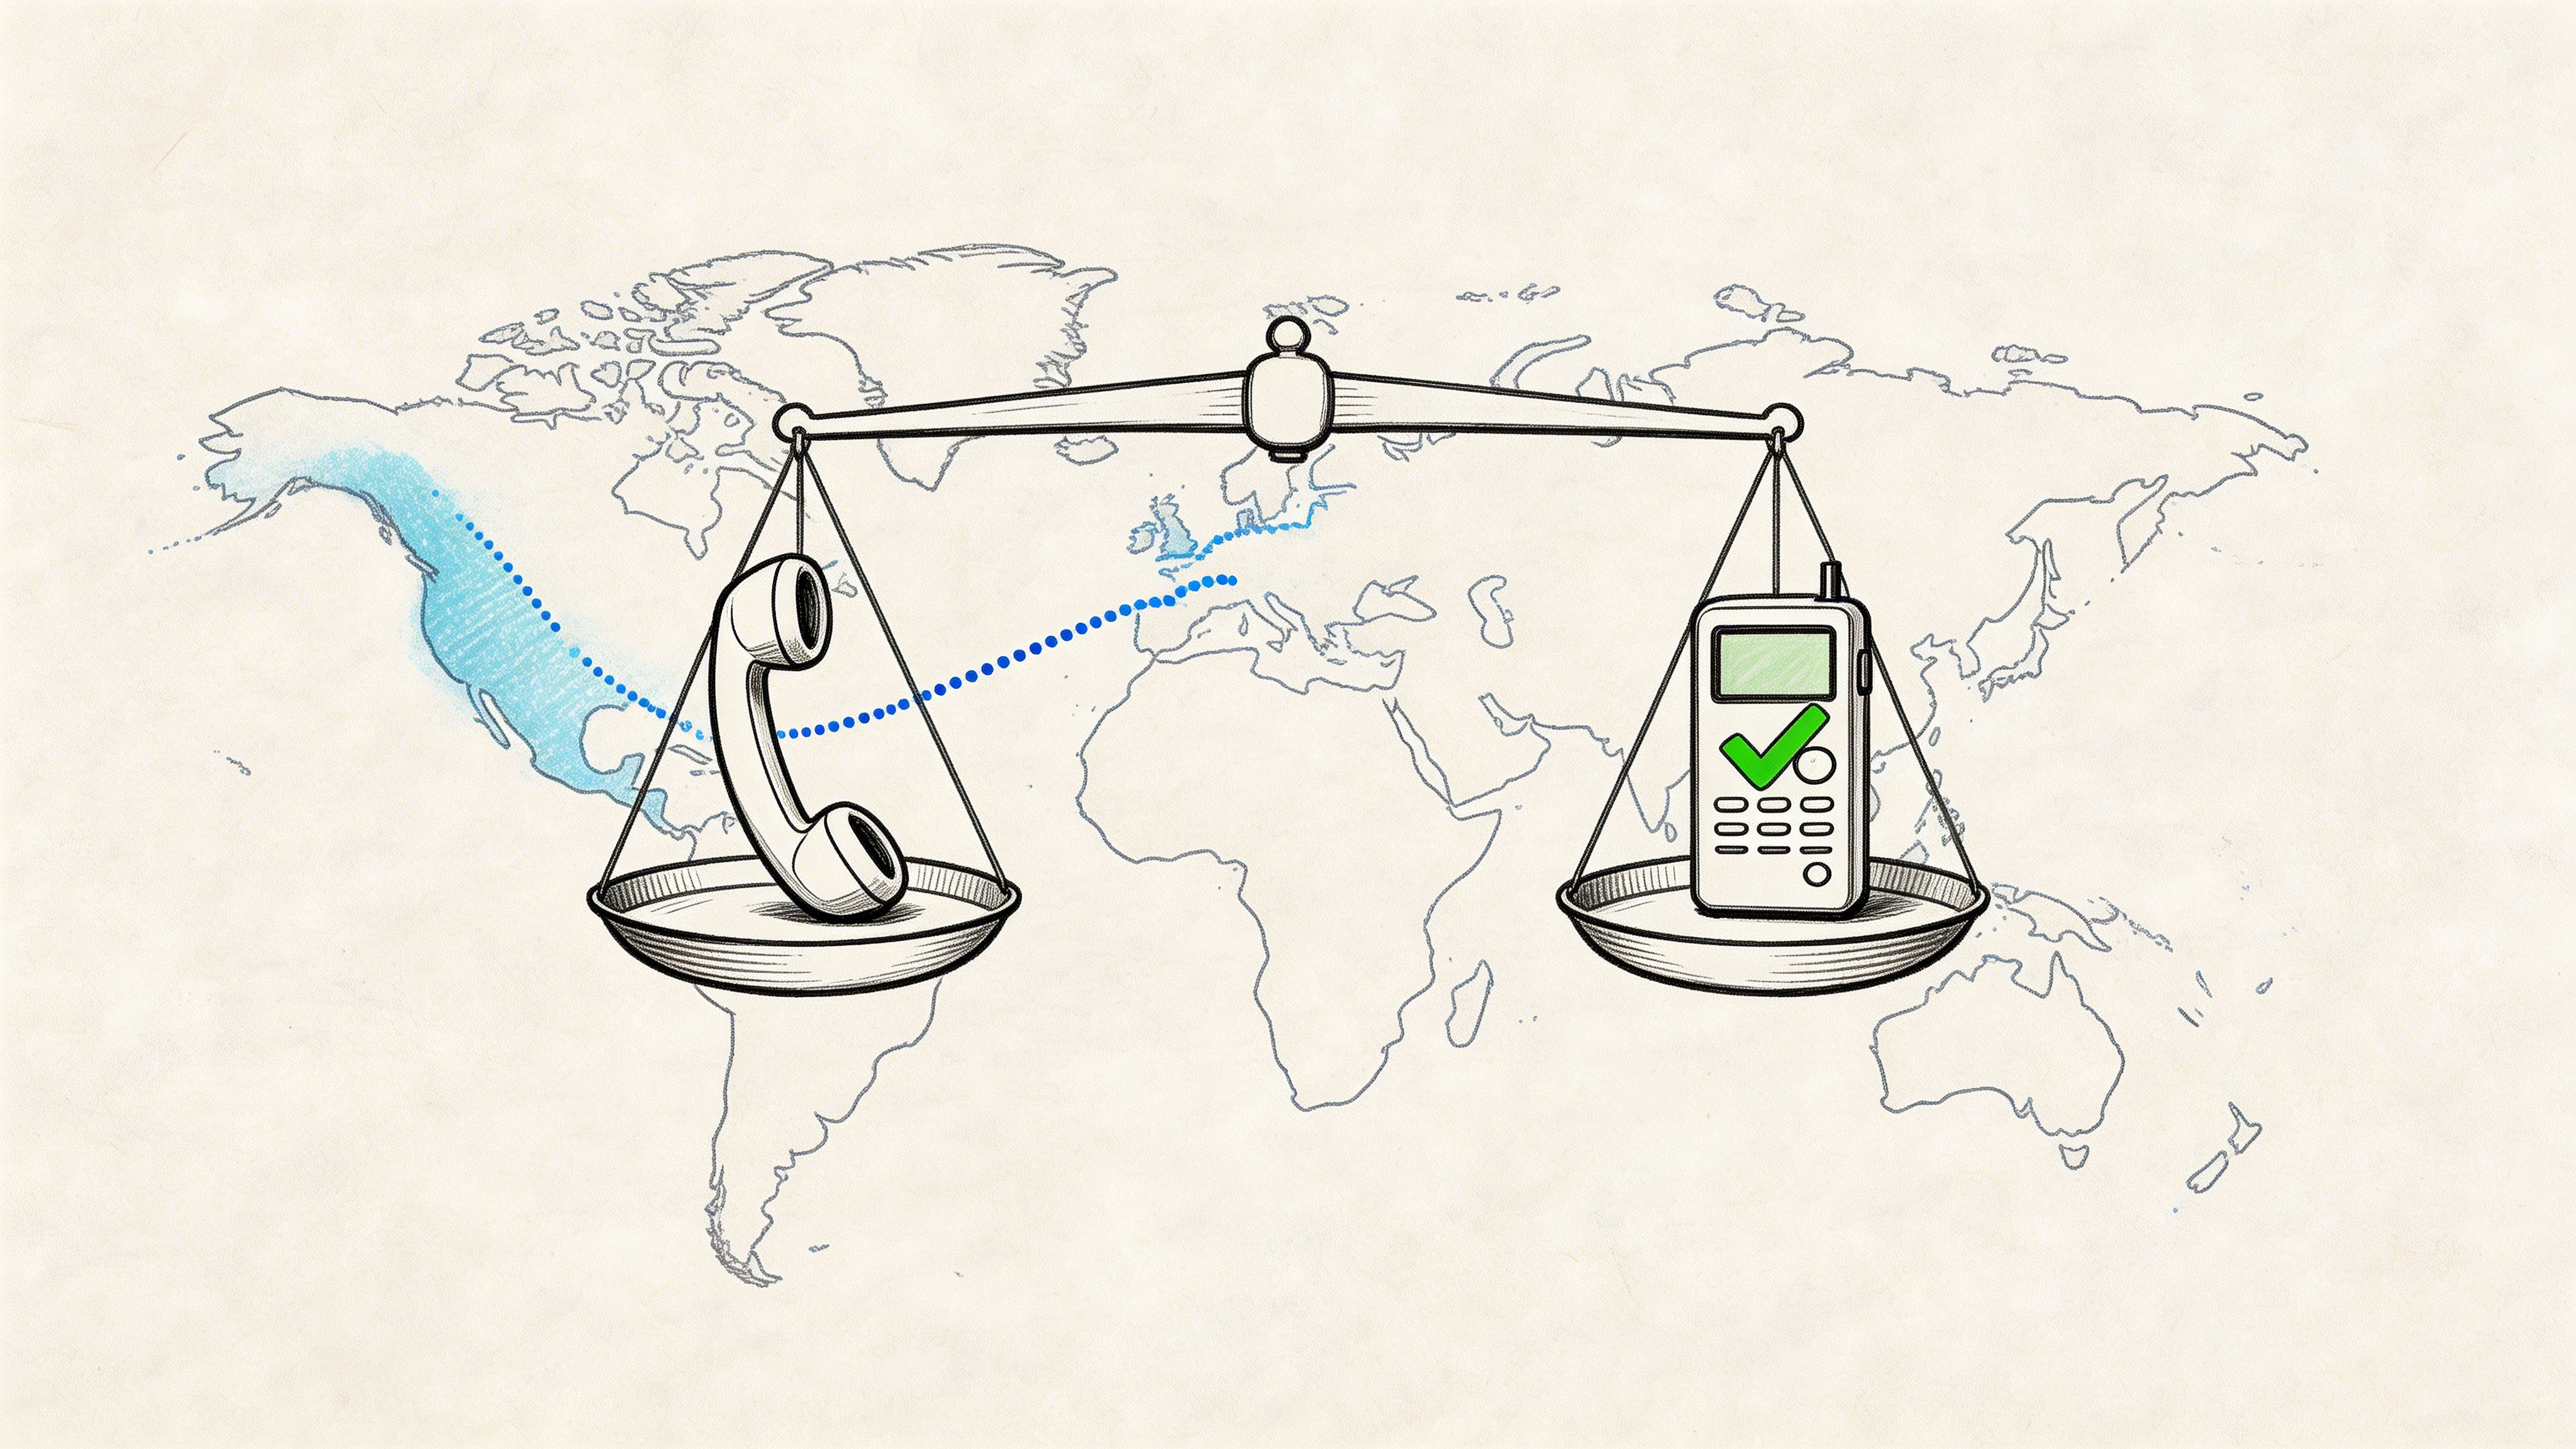
This massive number points to a real shift in how we collaborate. Recordings are the backbone of asynchronous work, making time zones almost irrelevant. Your colleague in another country can miss the live meeting but still watch the entire discussion later that day, contributing their thoughts without missing a beat.
Recording a meeting is a simple action that builds a foundation for better collaboration. It ensures that valuable conversations, decisions, and insights are captured and accessible, turning fleeting discussions into permanent knowledge.
At the end of the day, recording isn't just a feature; it's a strategic practice. It's about building a powerful internal knowledge base that makes information easy to find and empowers everyone to do their best work. To really dig into this idea, take a look at our guide on knowledge management best practices.
Getting Your Permissions and Setup Right Before You Record
We've all been there. You're kicking off an important meeting, ready to capture every detail, and the "Start recording" button is stubbornly grayed out. It’s a frustrating and totally avoidable situation.
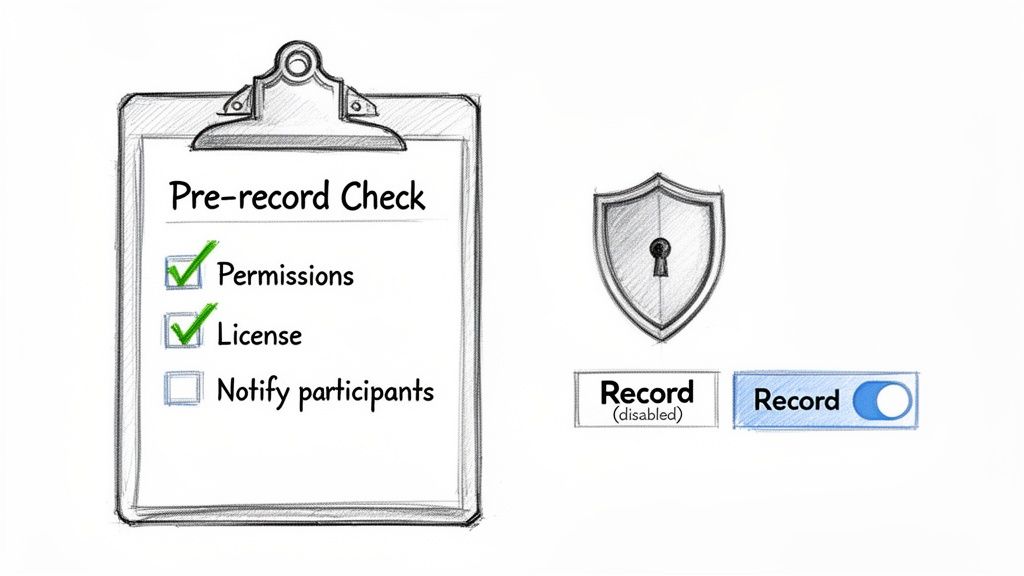
Taking a minute to run a quick pre-flight check on your permissions before the meeting starts can save you a major headache. Think of it as your insurance against last-minute technical surprises.
Not just anyone can hit record in a Microsoft Teams call. This power is usually reserved for the meeting organizer and people from the same company. If you're joining as a guest, a student, or with an anonymous login, you likely won't see the option to record.
License and Policy Checks
The first thing to check is your license. The ability to record is baked into most business-tier Microsoft 365 subscriptions. If your company uses plans like Microsoft 365 Business, E1, E3, or E5, you should be covered. But if you're on a personal or free plan, recording features are often limited.
But here’s the thing: your license is only half the story. Your company’s IT admin has the final word. They can set policies that disable recording for certain people or even the entire organization. If you’re not sure, it’s always smart to ask.
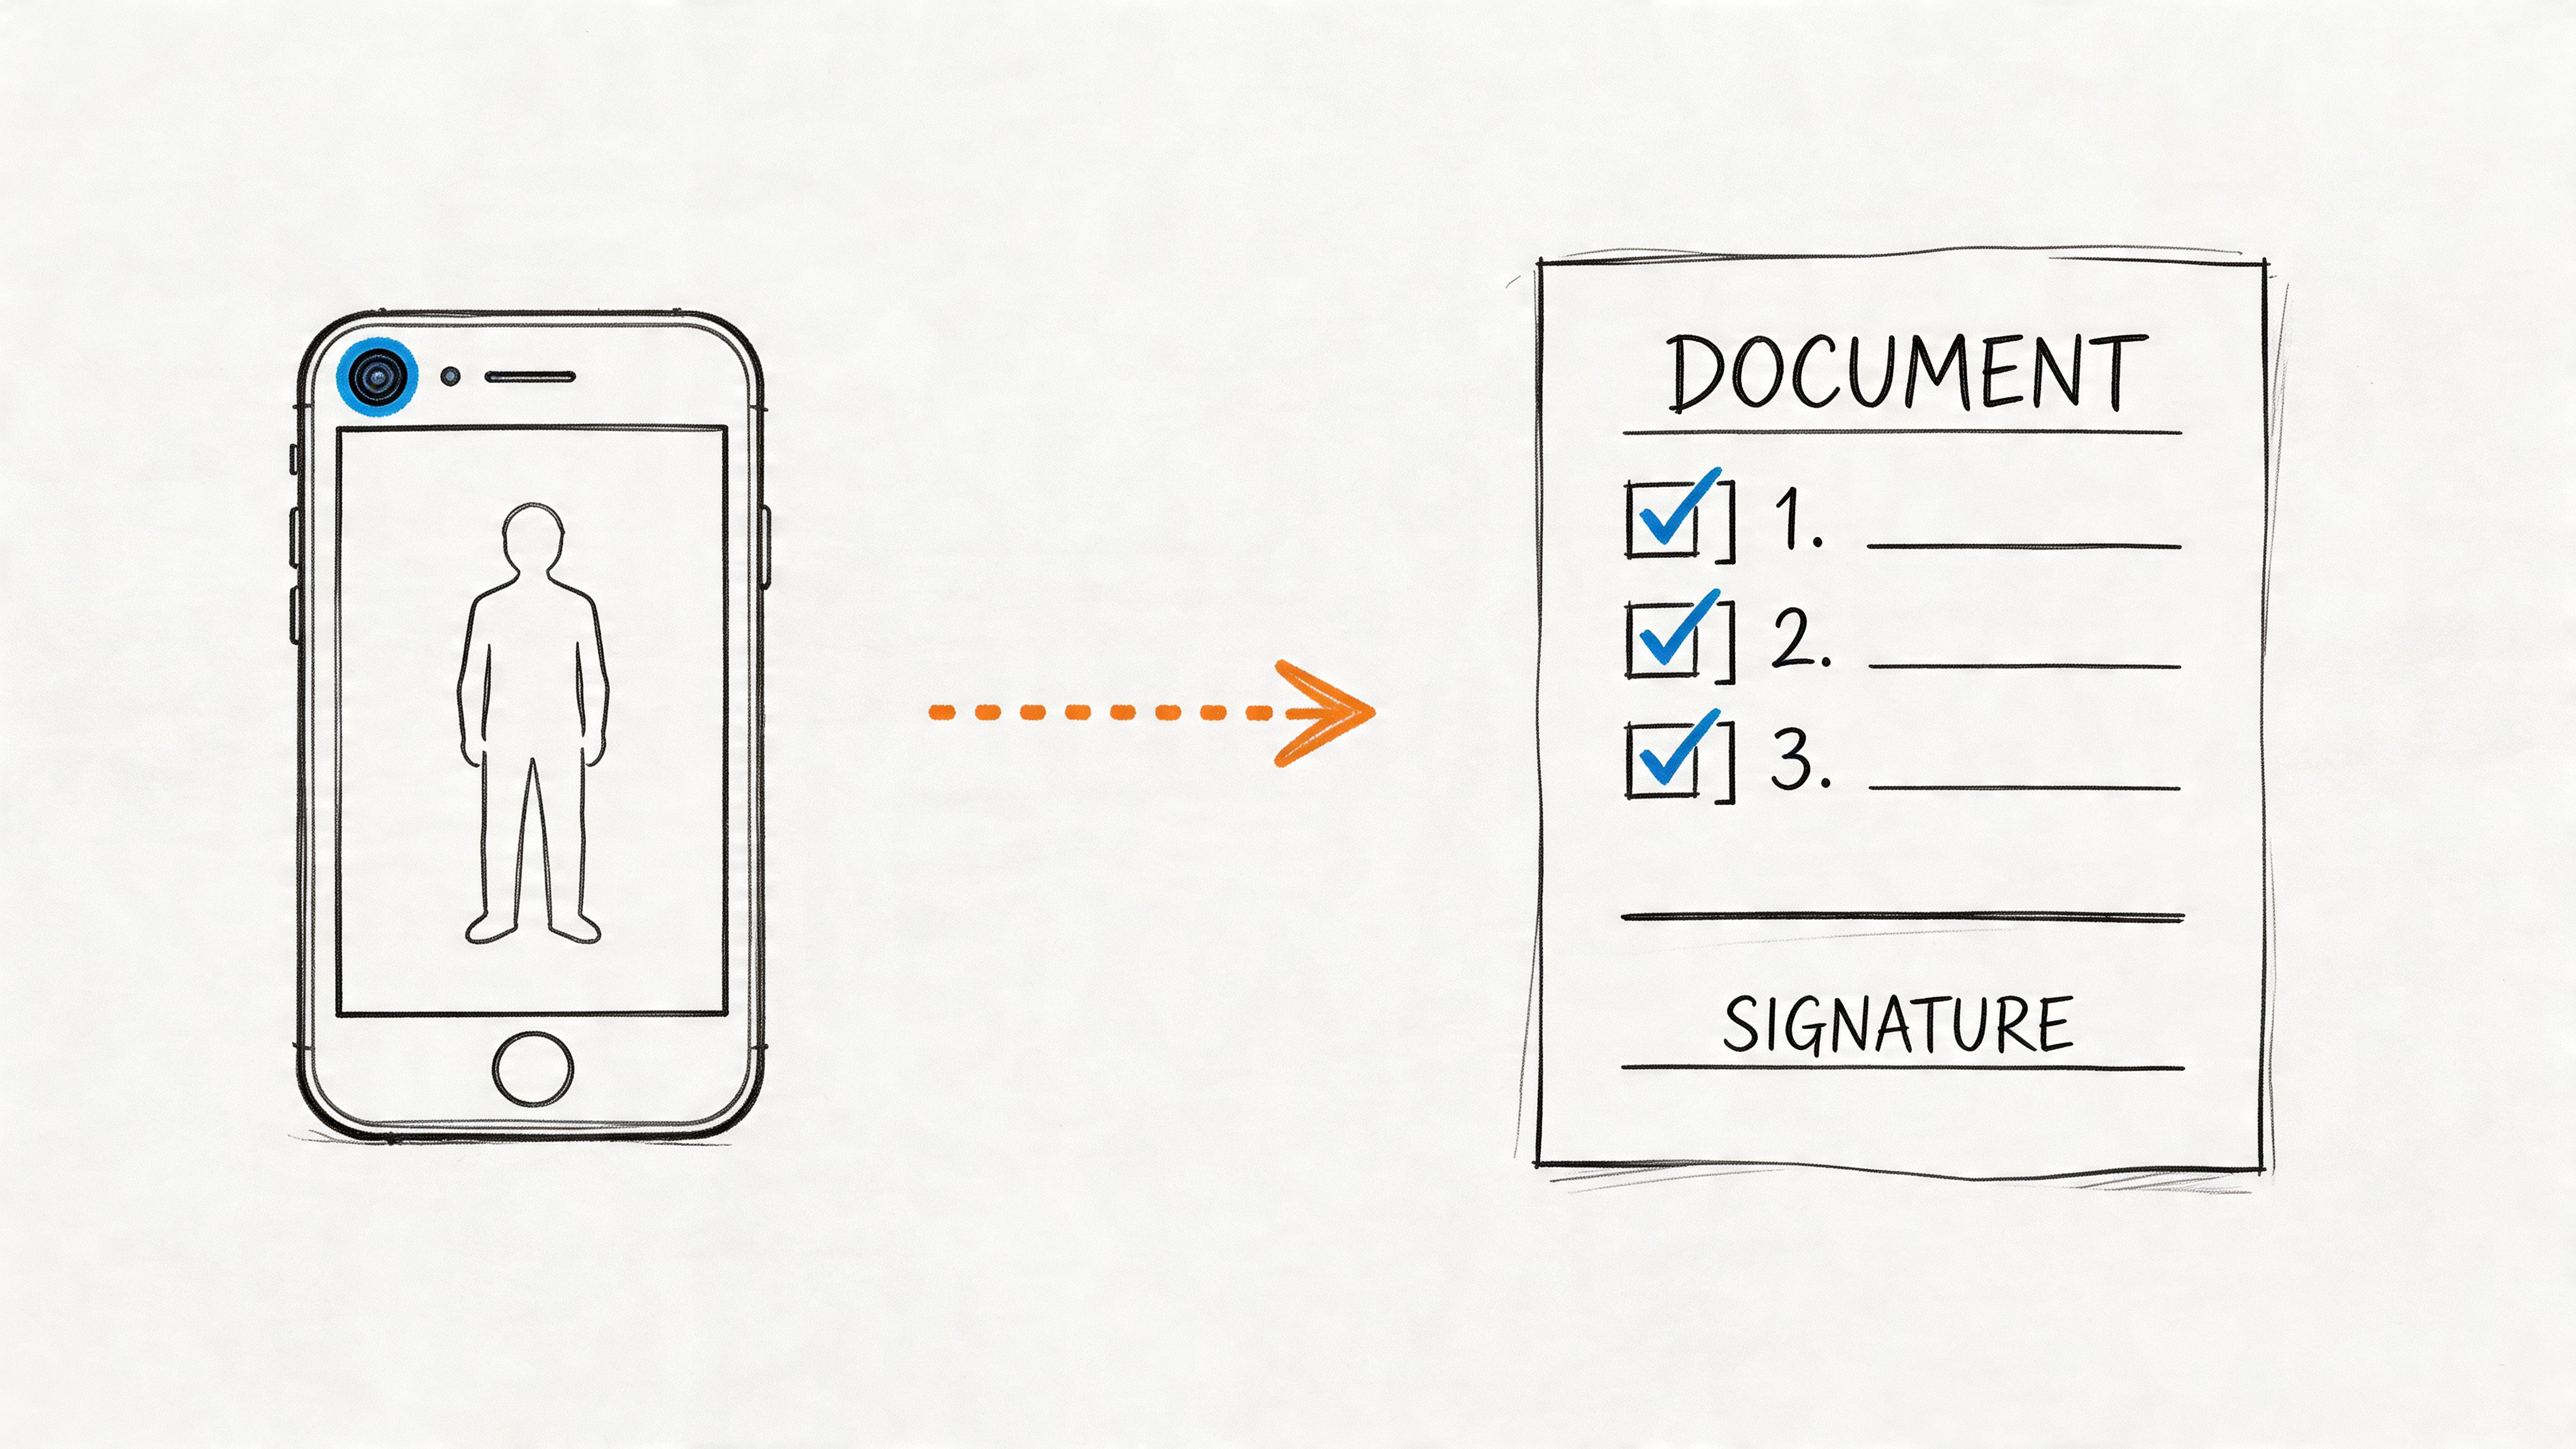
Finally, don't forget the most important part: the people in the meeting. You have to tell everyone you're recording.
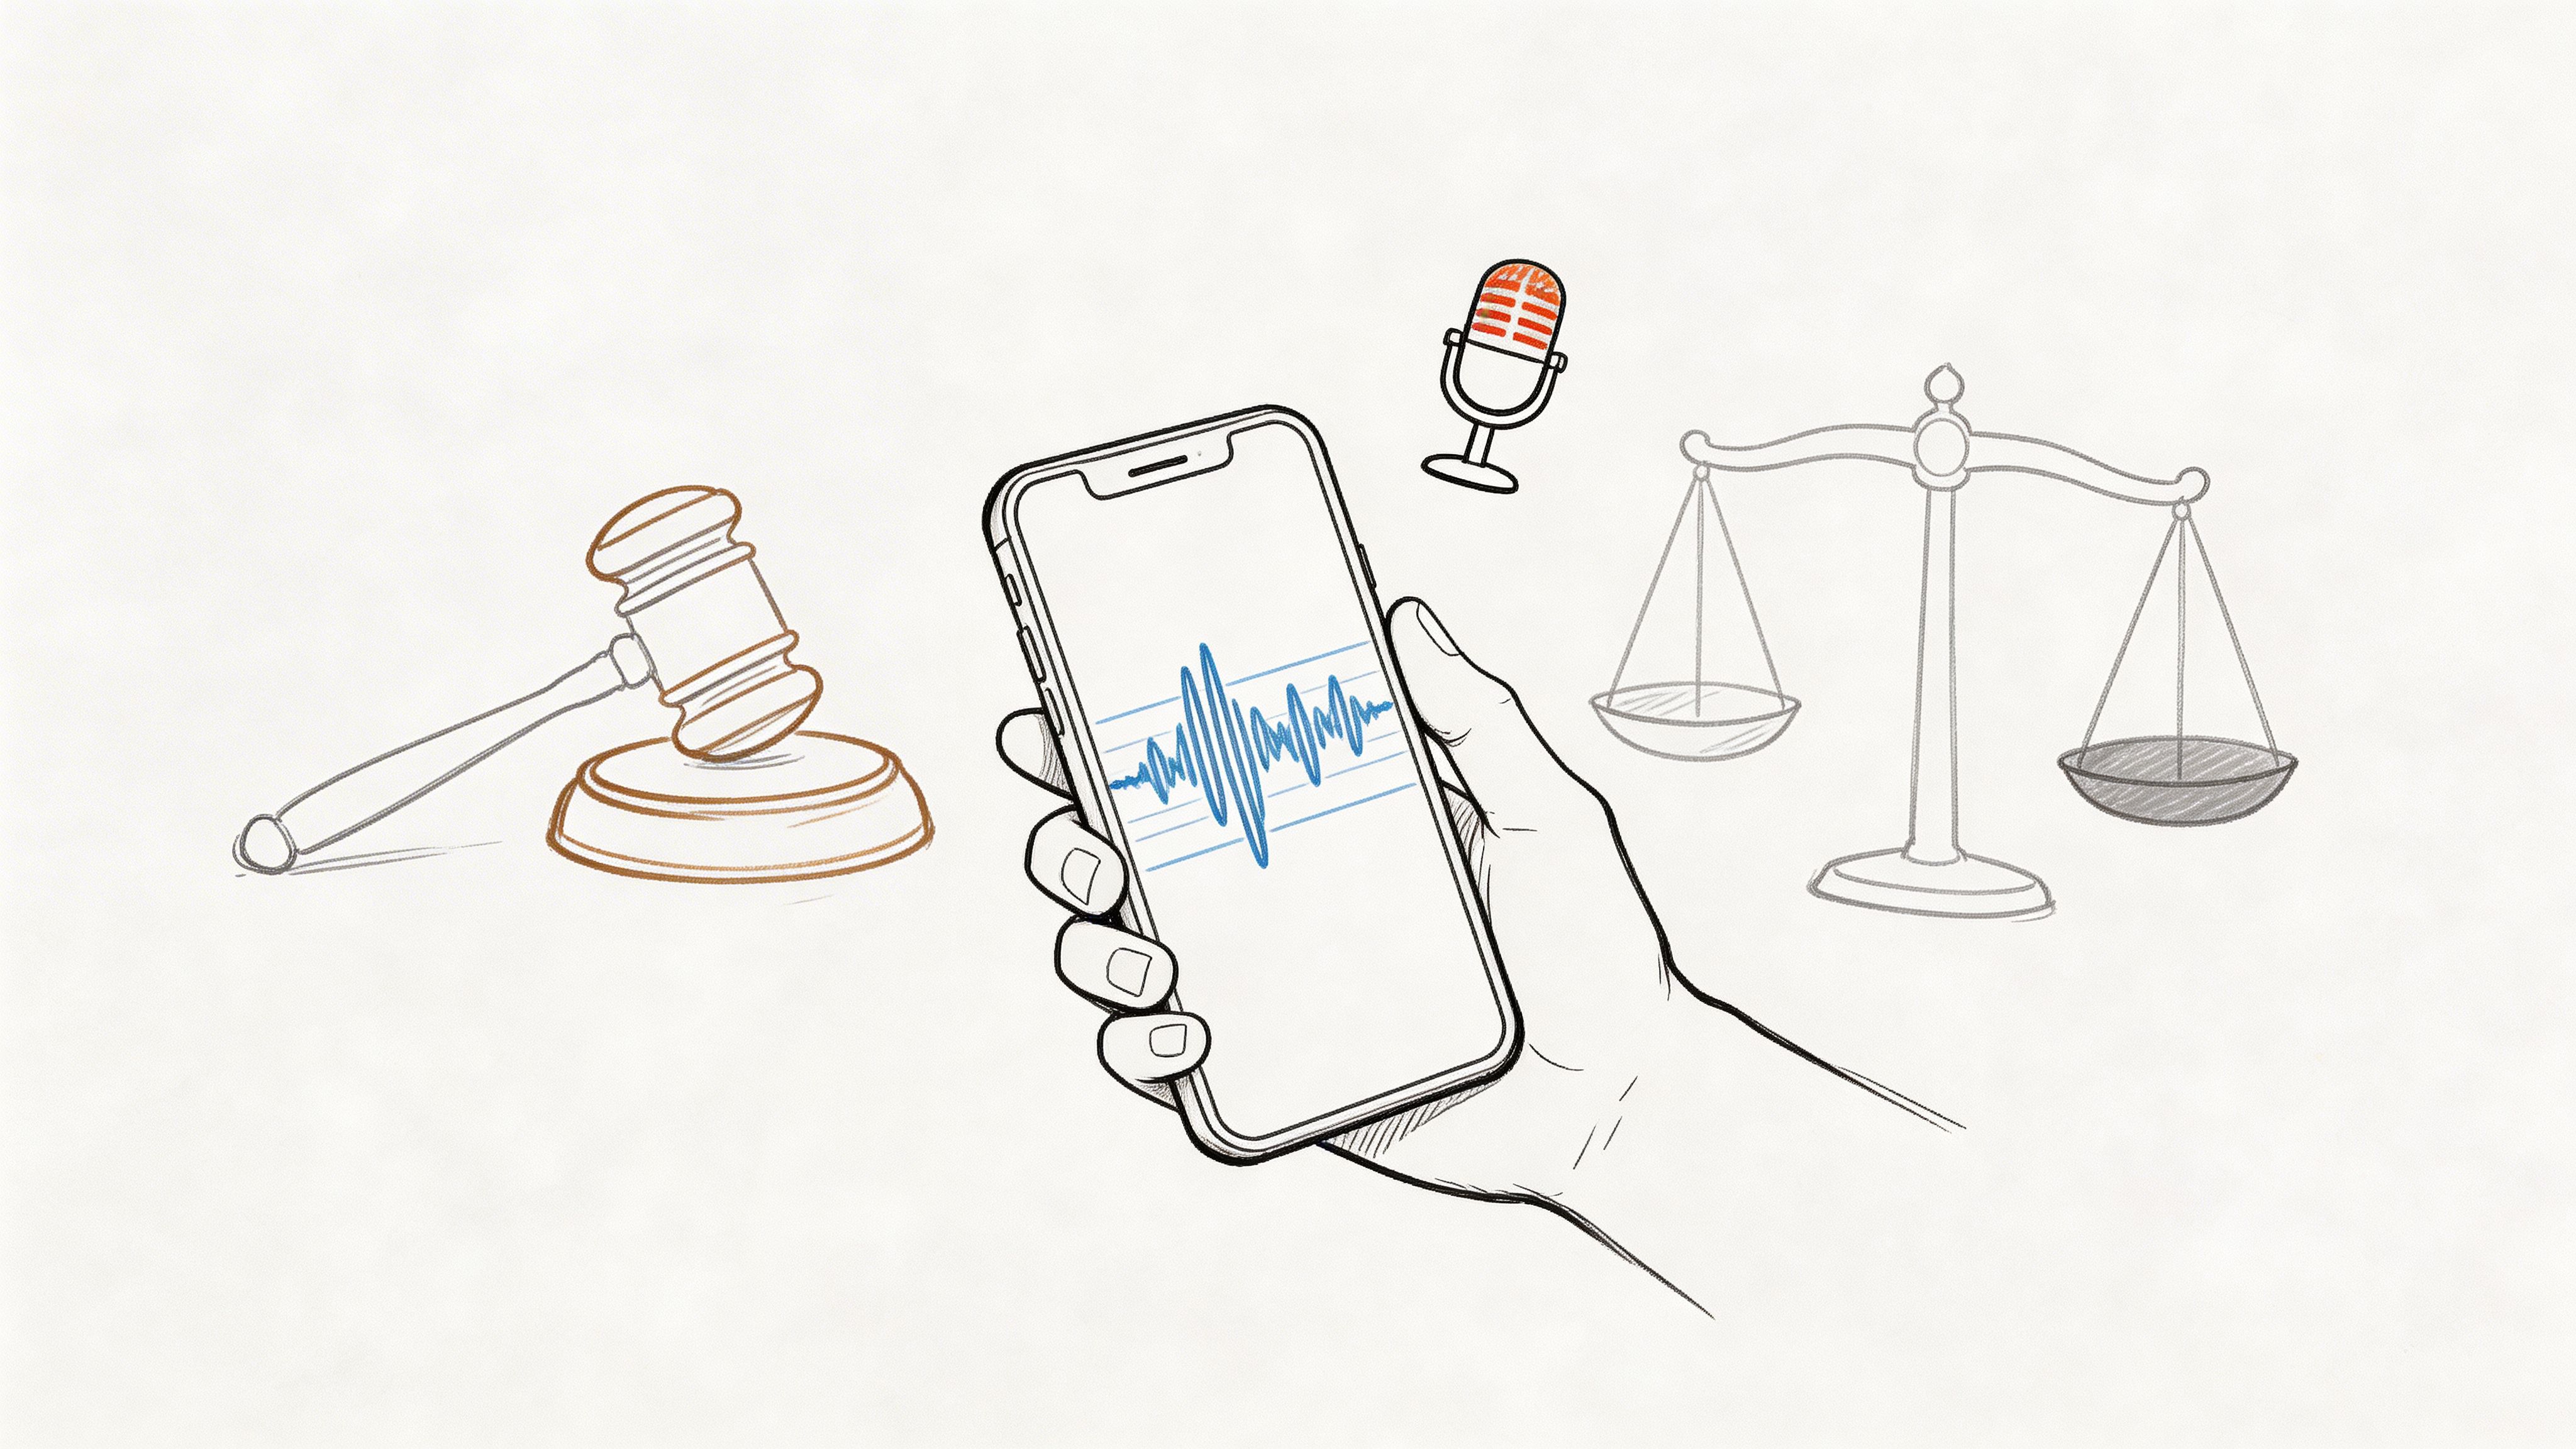
Microsoft Teams helps with this by showing a banner at the top of the screen, but that’s not enough. It’s good practice—and often a legal requirement—to verbally announce that you're starting the recording. A simple "Okay everyone, I'm going to start the recording now" builds trust and ensures everyone has consented.
A Practical Walkthrough: Recording Your Teams Meeting
Alright, once you've sorted out the permissions, you're ready to hit record. Thankfully, Microsoft Teams makes this part pretty simple, whether you're at your desk or joining from your phone.
Kicking Off the Recording on Desktop
When you're in a meeting on your computer, your main control panel is hidden behind the three dots (...) at the top of the window. This is the "More actions" menu, and it's where you'll find a lot of the less-common meeting functions.
Go ahead and click those dots. You'll see an option that says Start recording. Click it.
As soon as you do, Teams gets to work. A banner will pop up at the top of everyone's screen letting them know the meeting is being recorded. This is a built-in transparency feature, so nobody is caught off guard. You'll also see a little red dot appear next to the meeting timer, giving you a constant visual cue that the recording is live.
Recording on Mobile and How to Stop
Joining from the Teams mobile app? The steps are nearly identical. Just tap your screen to see the controls, find those same three dots (...) for "More actions," and then tap Start recording. Everyone gets the same notification banner, no matter how they've joined.
Here's a tip from experience: Even with the on-screen banner, I always take a moment to say, "Just letting everyone know, I've started the recording." It's a small courtesy that makes people feel more comfortable and ensures everyone has consciously registered that the conversation is being captured.
When it's time to wrap things up, you just retrace your steps.
- Click the three dots (...) again to open the "More actions" menu.
- The option will now say Stop recording.
- Teams will ask you to confirm. Once you do, the recording ends.
After you stop the recording (or when the meeting ends), Teams automatically starts processing the video. This can take a little while, especially for longer meetings. Once it’s done, a link to the recording will appear right in the meeting's chat history for all attendees to access.
Where to Find and Manage Your Microsoft Teams Recordings
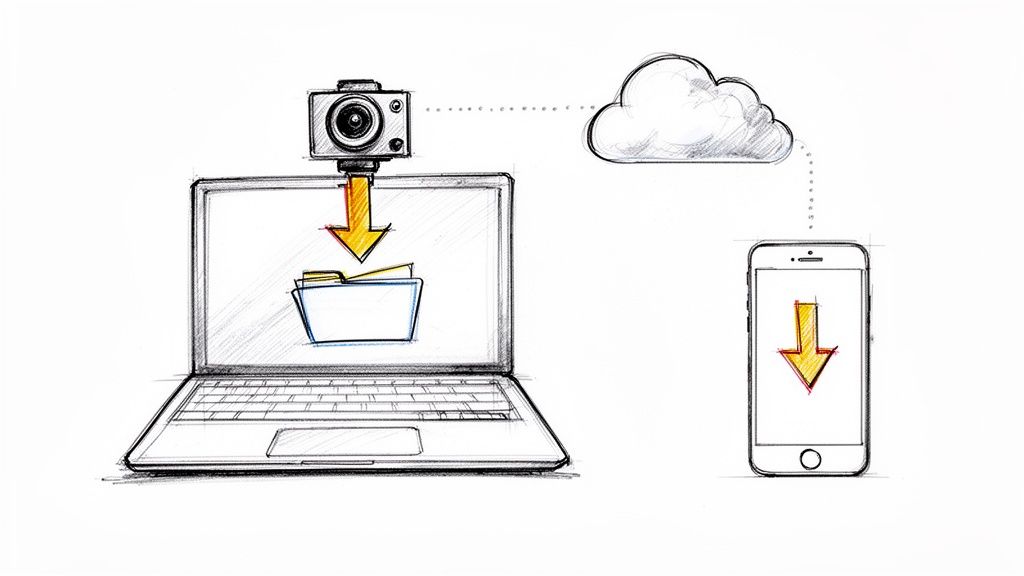
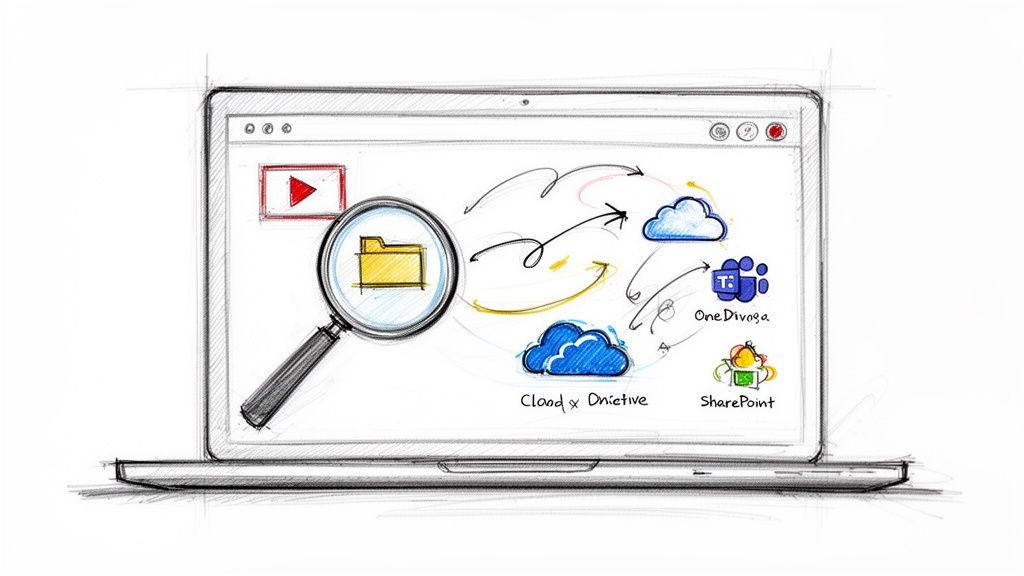
So, you've wrapped up your meeting and hit "Stop Recording." The big question now is, where did that file actually go? Microsoft has changed things up recently, moving recordings away from the old Microsoft Stream service. Now, your files are saved directly to OneDrive or SharePoint, which makes managing them a lot more straightforward once you know the new system.
The location of your recording depends entirely on the type of meeting you had.
Your Recording's Home: OneDrive vs. SharePoint
For a standard, private meeting—one you set up directly with specific people and not inside a Teams channel—the recording lands in a special "Recordings" folder. This folder is created automatically in the OneDrive account of whoever started the recording. That person is now the official owner of the file.
On the other hand, if you recorded a meeting that took place within a specific Teams channel, the file is saved to the channel's SharePoint site. You can find it right in the "Files" tab of that channel, making it accessible to every member of the team.
This quick reference table breaks it all down, so you know exactly where to look.
Teams Meeting Recording Storage Locations
Knowing this distinction saves a ton of time you might otherwise spend hunting for a lost file.
Locating and Organizing Your Files
The absolute fastest way to get back to your recording is to just pop back into the meeting chat history. As soon as the recording has finished processing (which can take a few minutes for longer meetings), a link will appear right in the chat, ready for anyone in the meeting to click and watch.
You can also find it under the "Details" tab of the meeting event in your Teams calendar. But if you want to actually manage the file—like renaming or moving it—your best bet is to go directly to its home in either OneDrive or SharePoint.
Here’s a pro tip I swear by: rename your recording files the moment they're ready. Don't leave them with the generic "Meeting in General" name. Change it to something clear and searchable, like "Q4 Marketing Strategy Session - 2024-10-26." Trust me, your future self will thank you when you're not digging through dozens of vaguely named files.
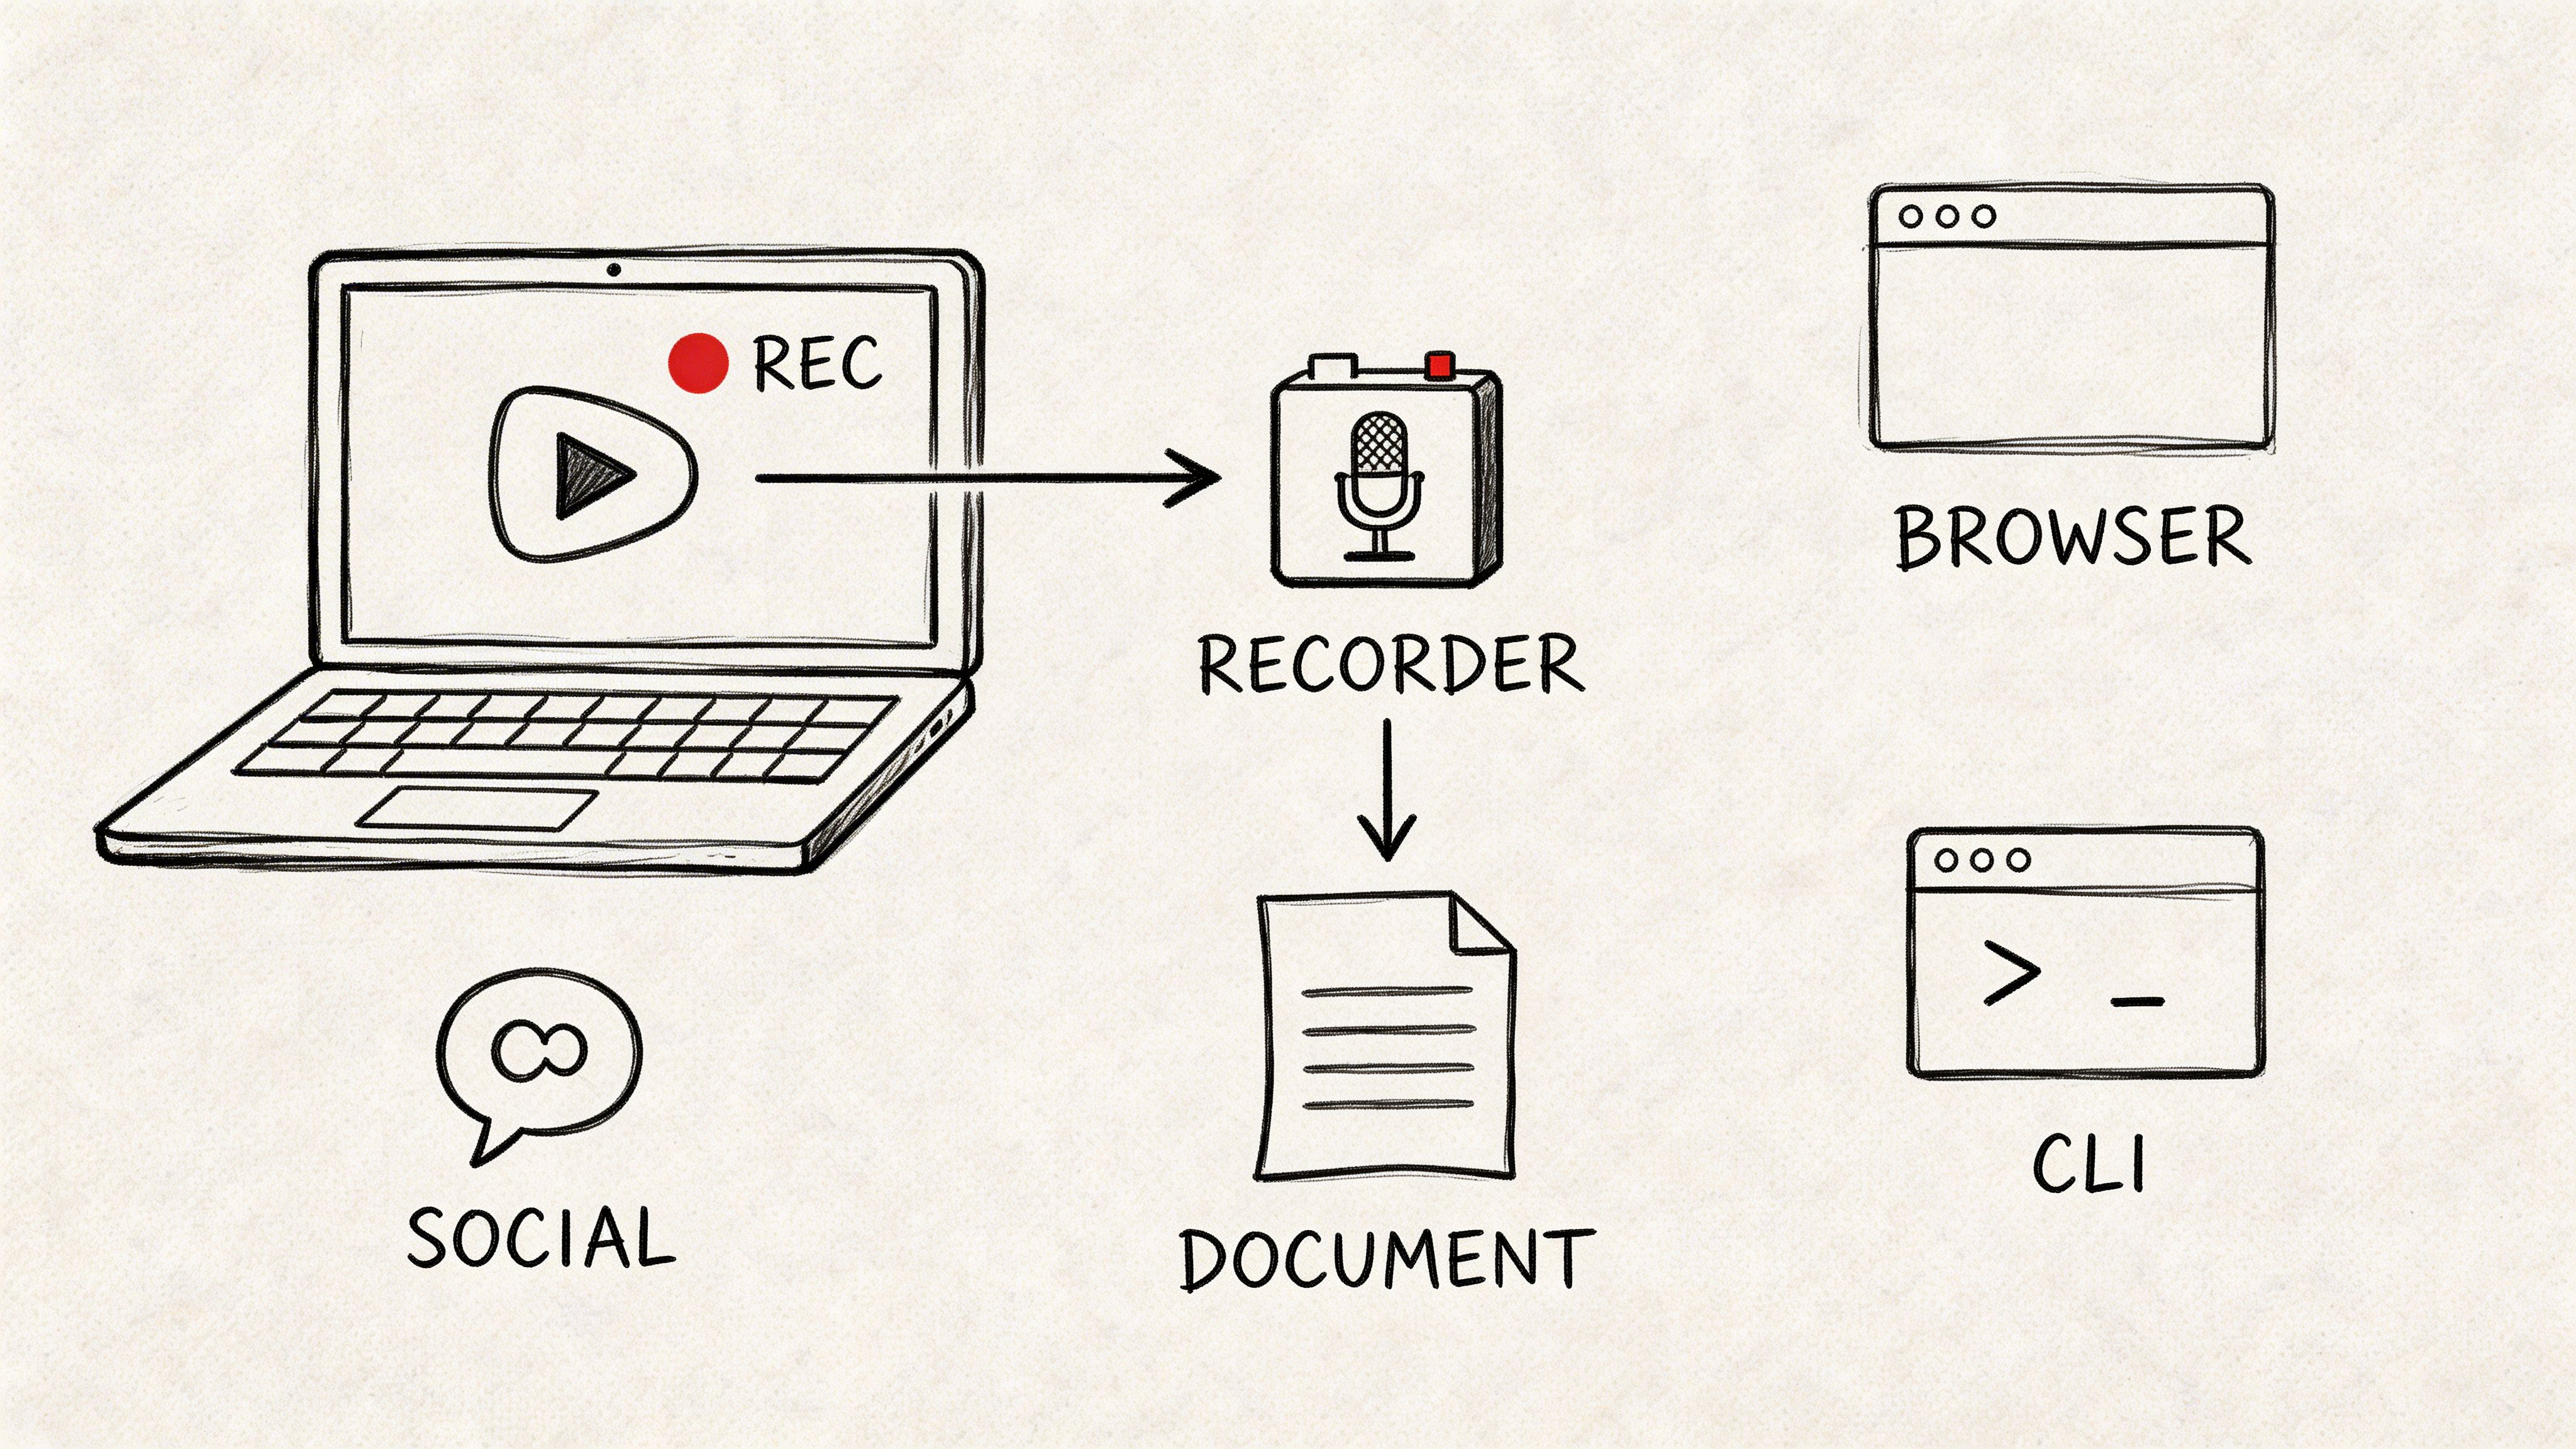
This simple flowchart shows just how easy it is to kick off and end a recording right from the meeting controls.
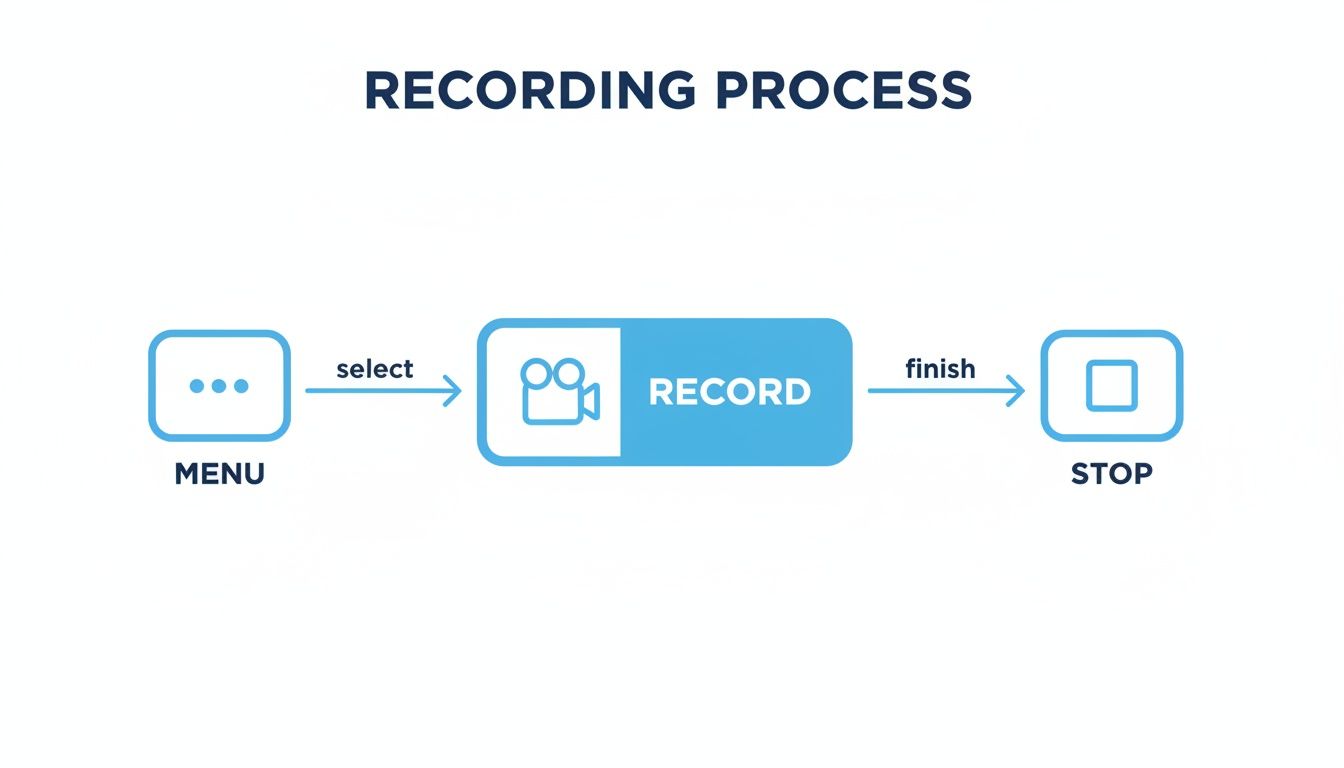
As you can see, the whole process is designed to be intuitive, keeping the controls right where you'd expect them.
A Quick Word on Sharing and Expiration Dates
Because you're the owner of recordings stored in your OneDrive, you have complete control over who can see them. You can easily share a link that allows people to view but not download, or you can grant full editing rights to a colleague.
It’s also crucial to know about your organization's auto-expiration policies. To help manage storage space, many companies have a default setting that automatically deletes recordings after a certain period, often 120 days. Your IT admin can adjust this, but it's something to be aware of.
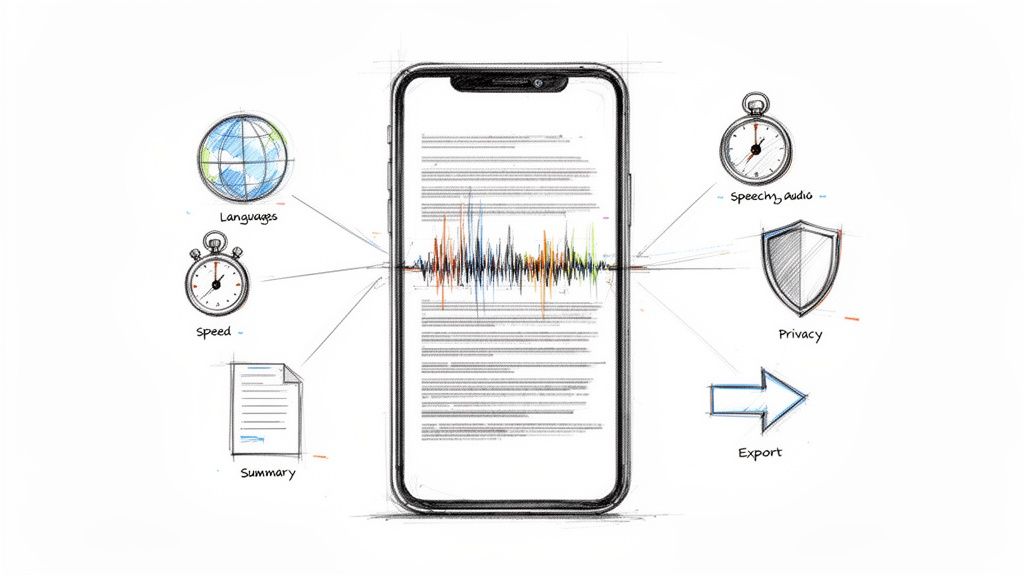
If you have a critical recording you need to keep indefinitely, you can go into the file details and manually extend or completely remove the expiration date. For an even more permanent record, you could look into AI-powered transcription services to create a searchable text document of the entire conversation.
Turning Recordings into Actionable Insights
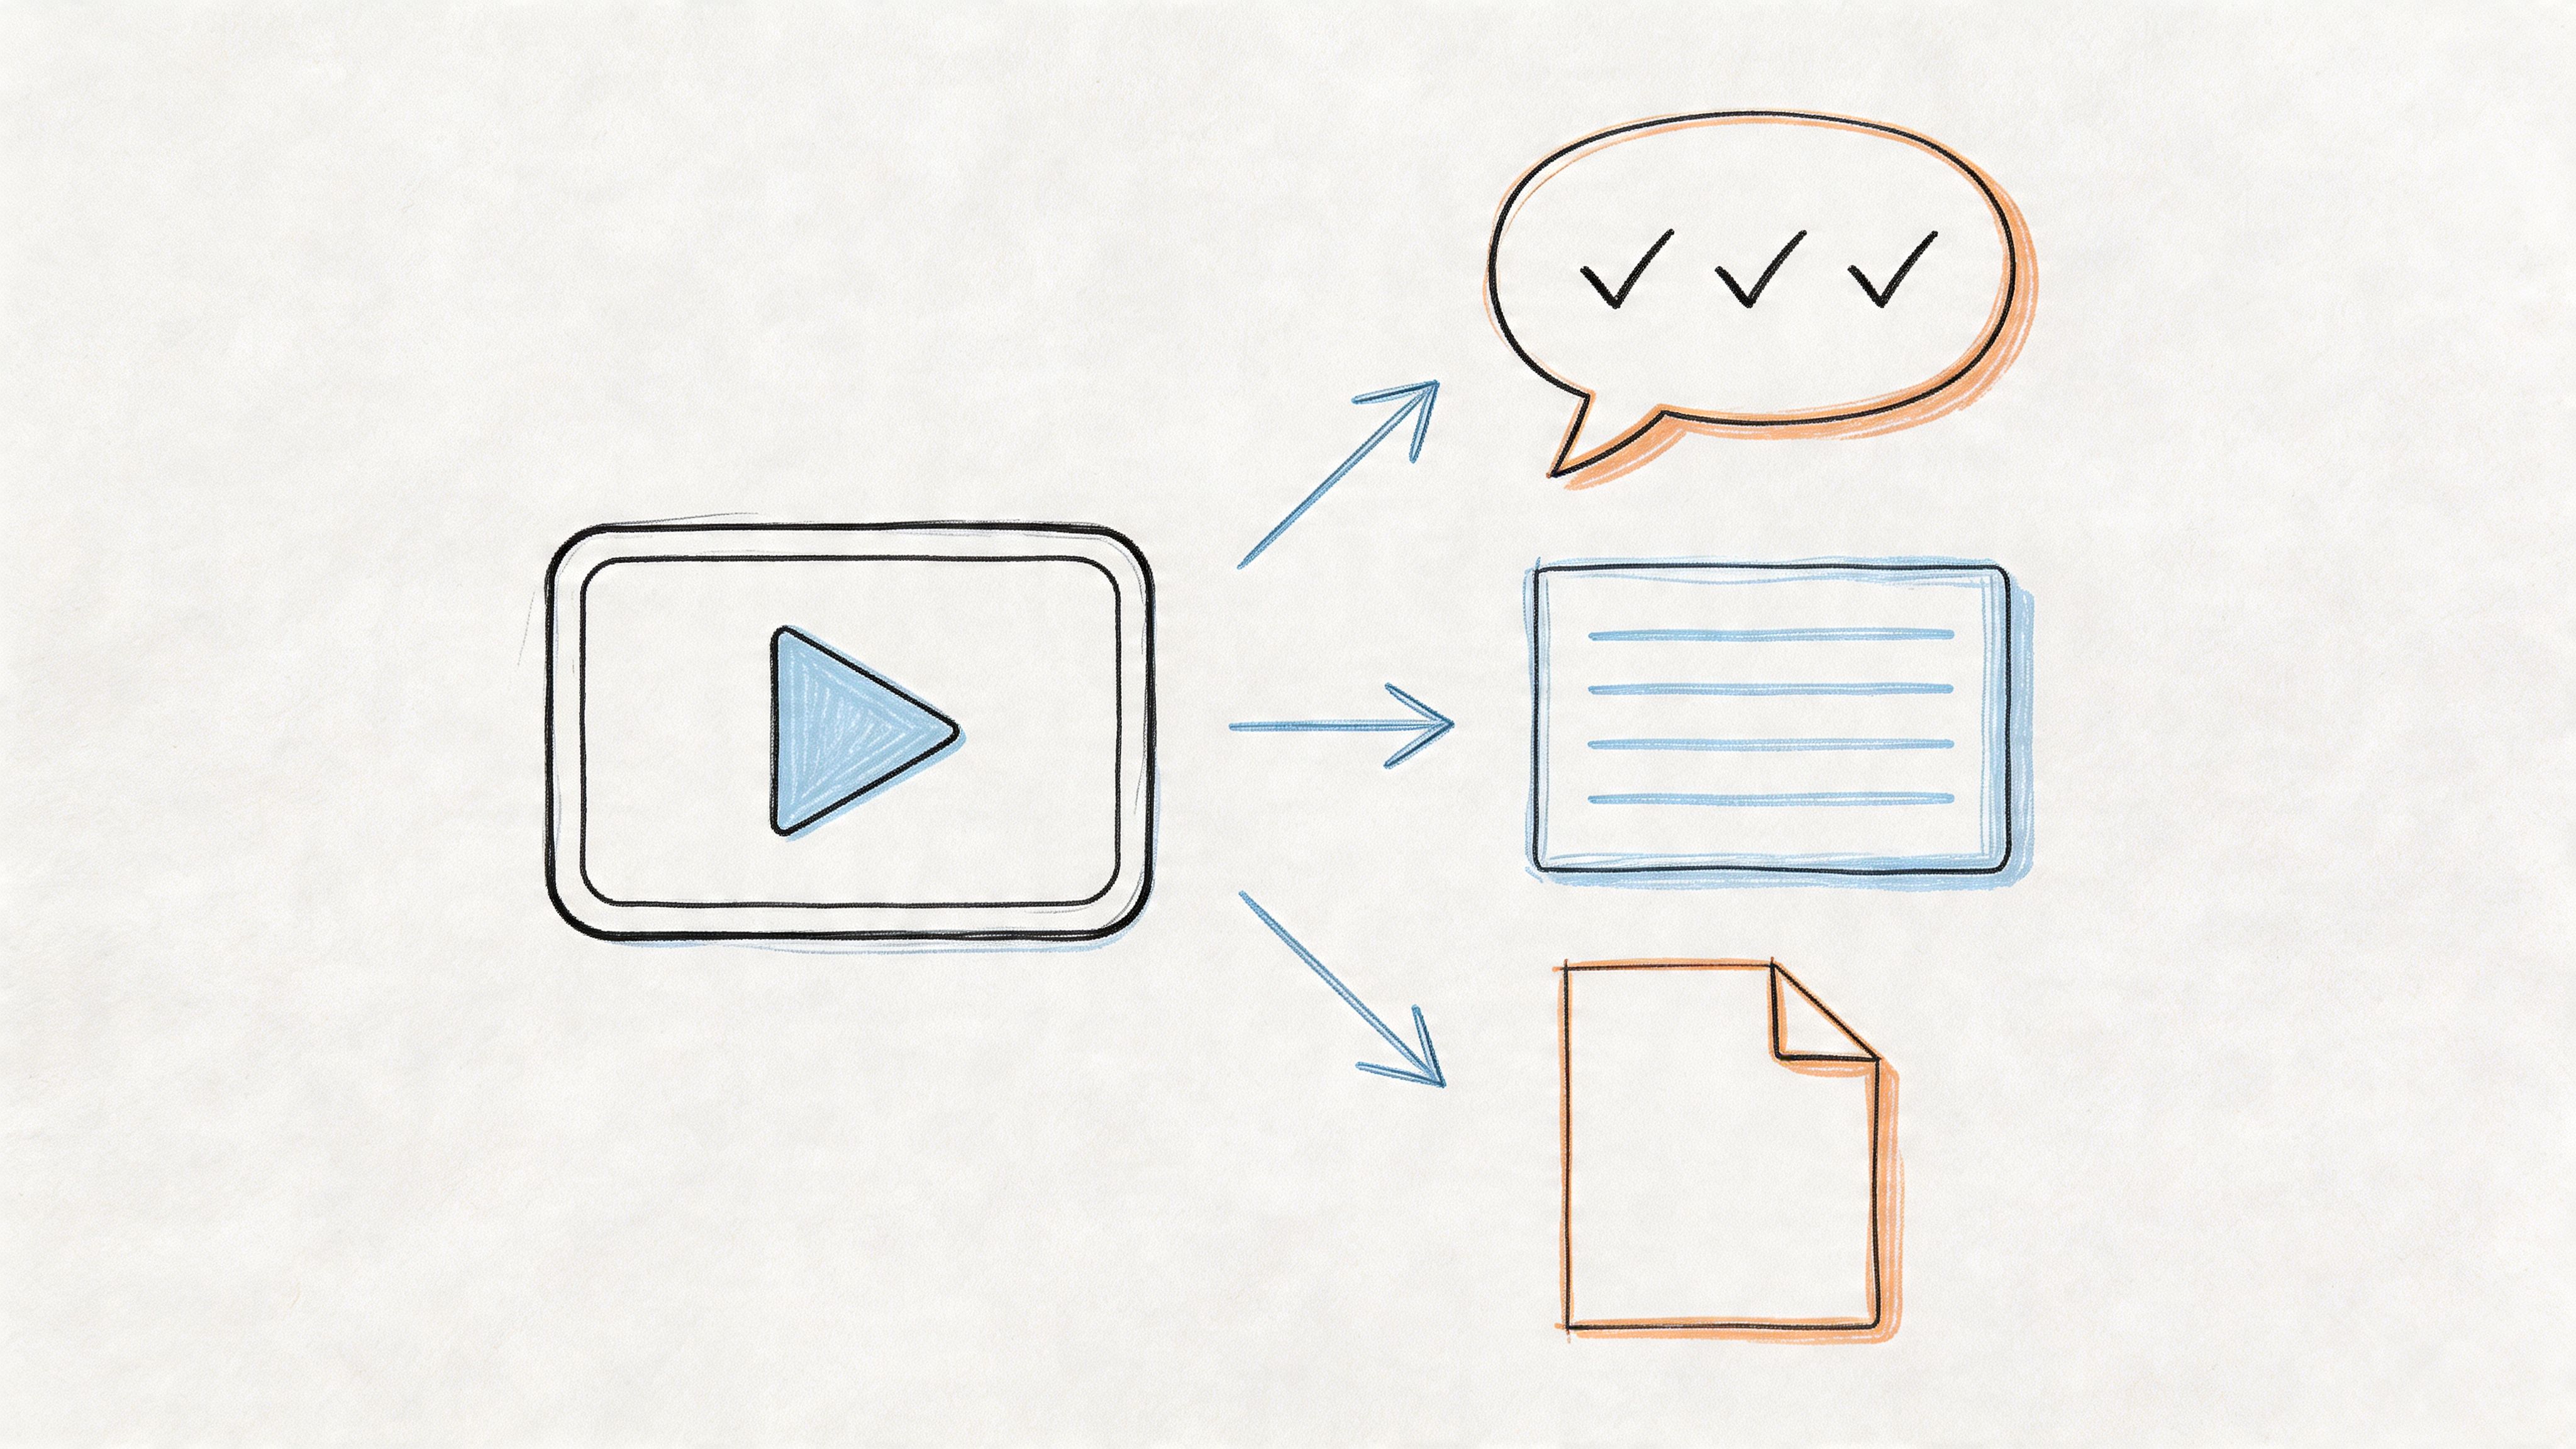
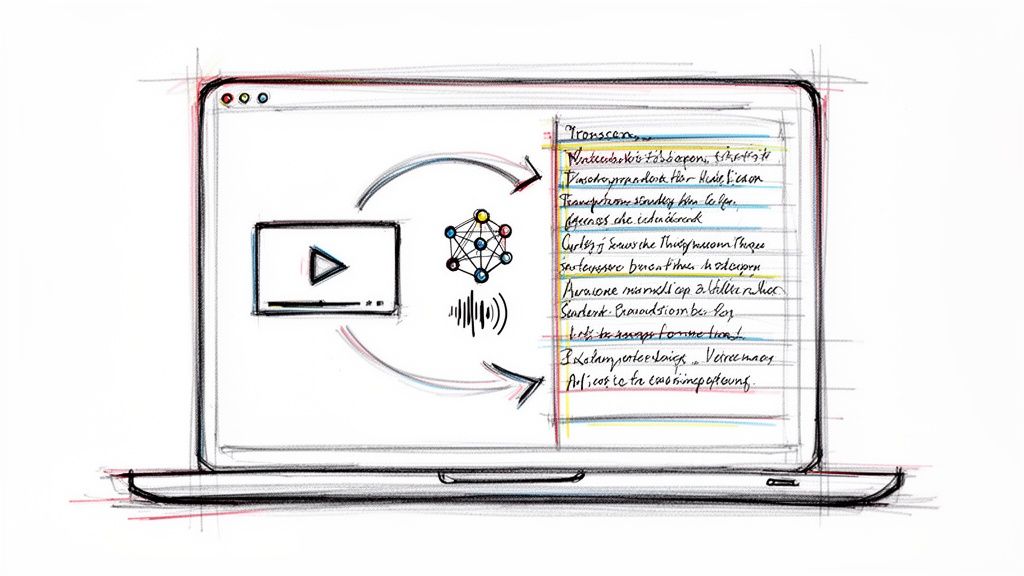
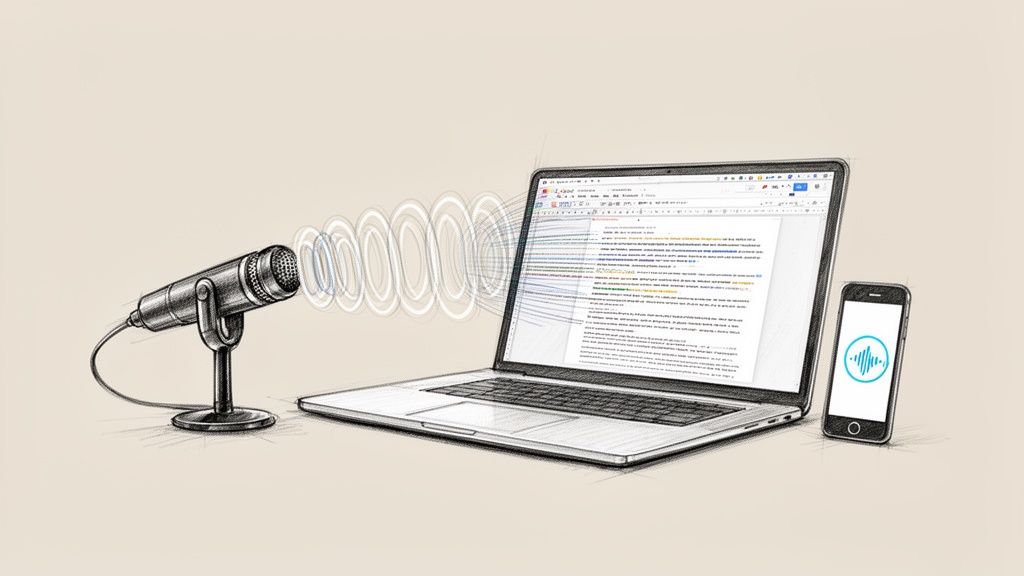
Having a raw video file of your meeting is a good starting point, but let's be honest—nobody wants to scrub through an hour-long recording to find that one key decision. The real magic happens when you turn that video into a searchable, scannable document that actually saves you time.
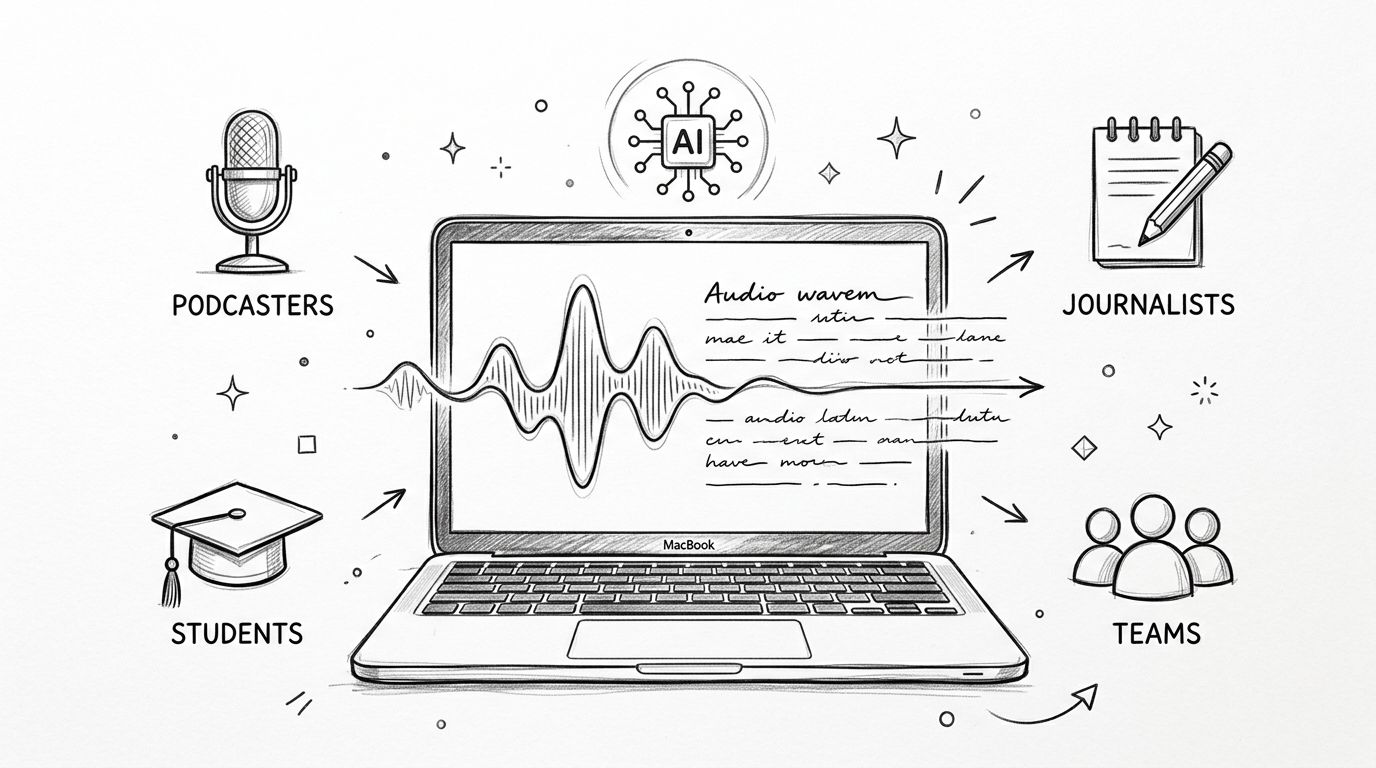
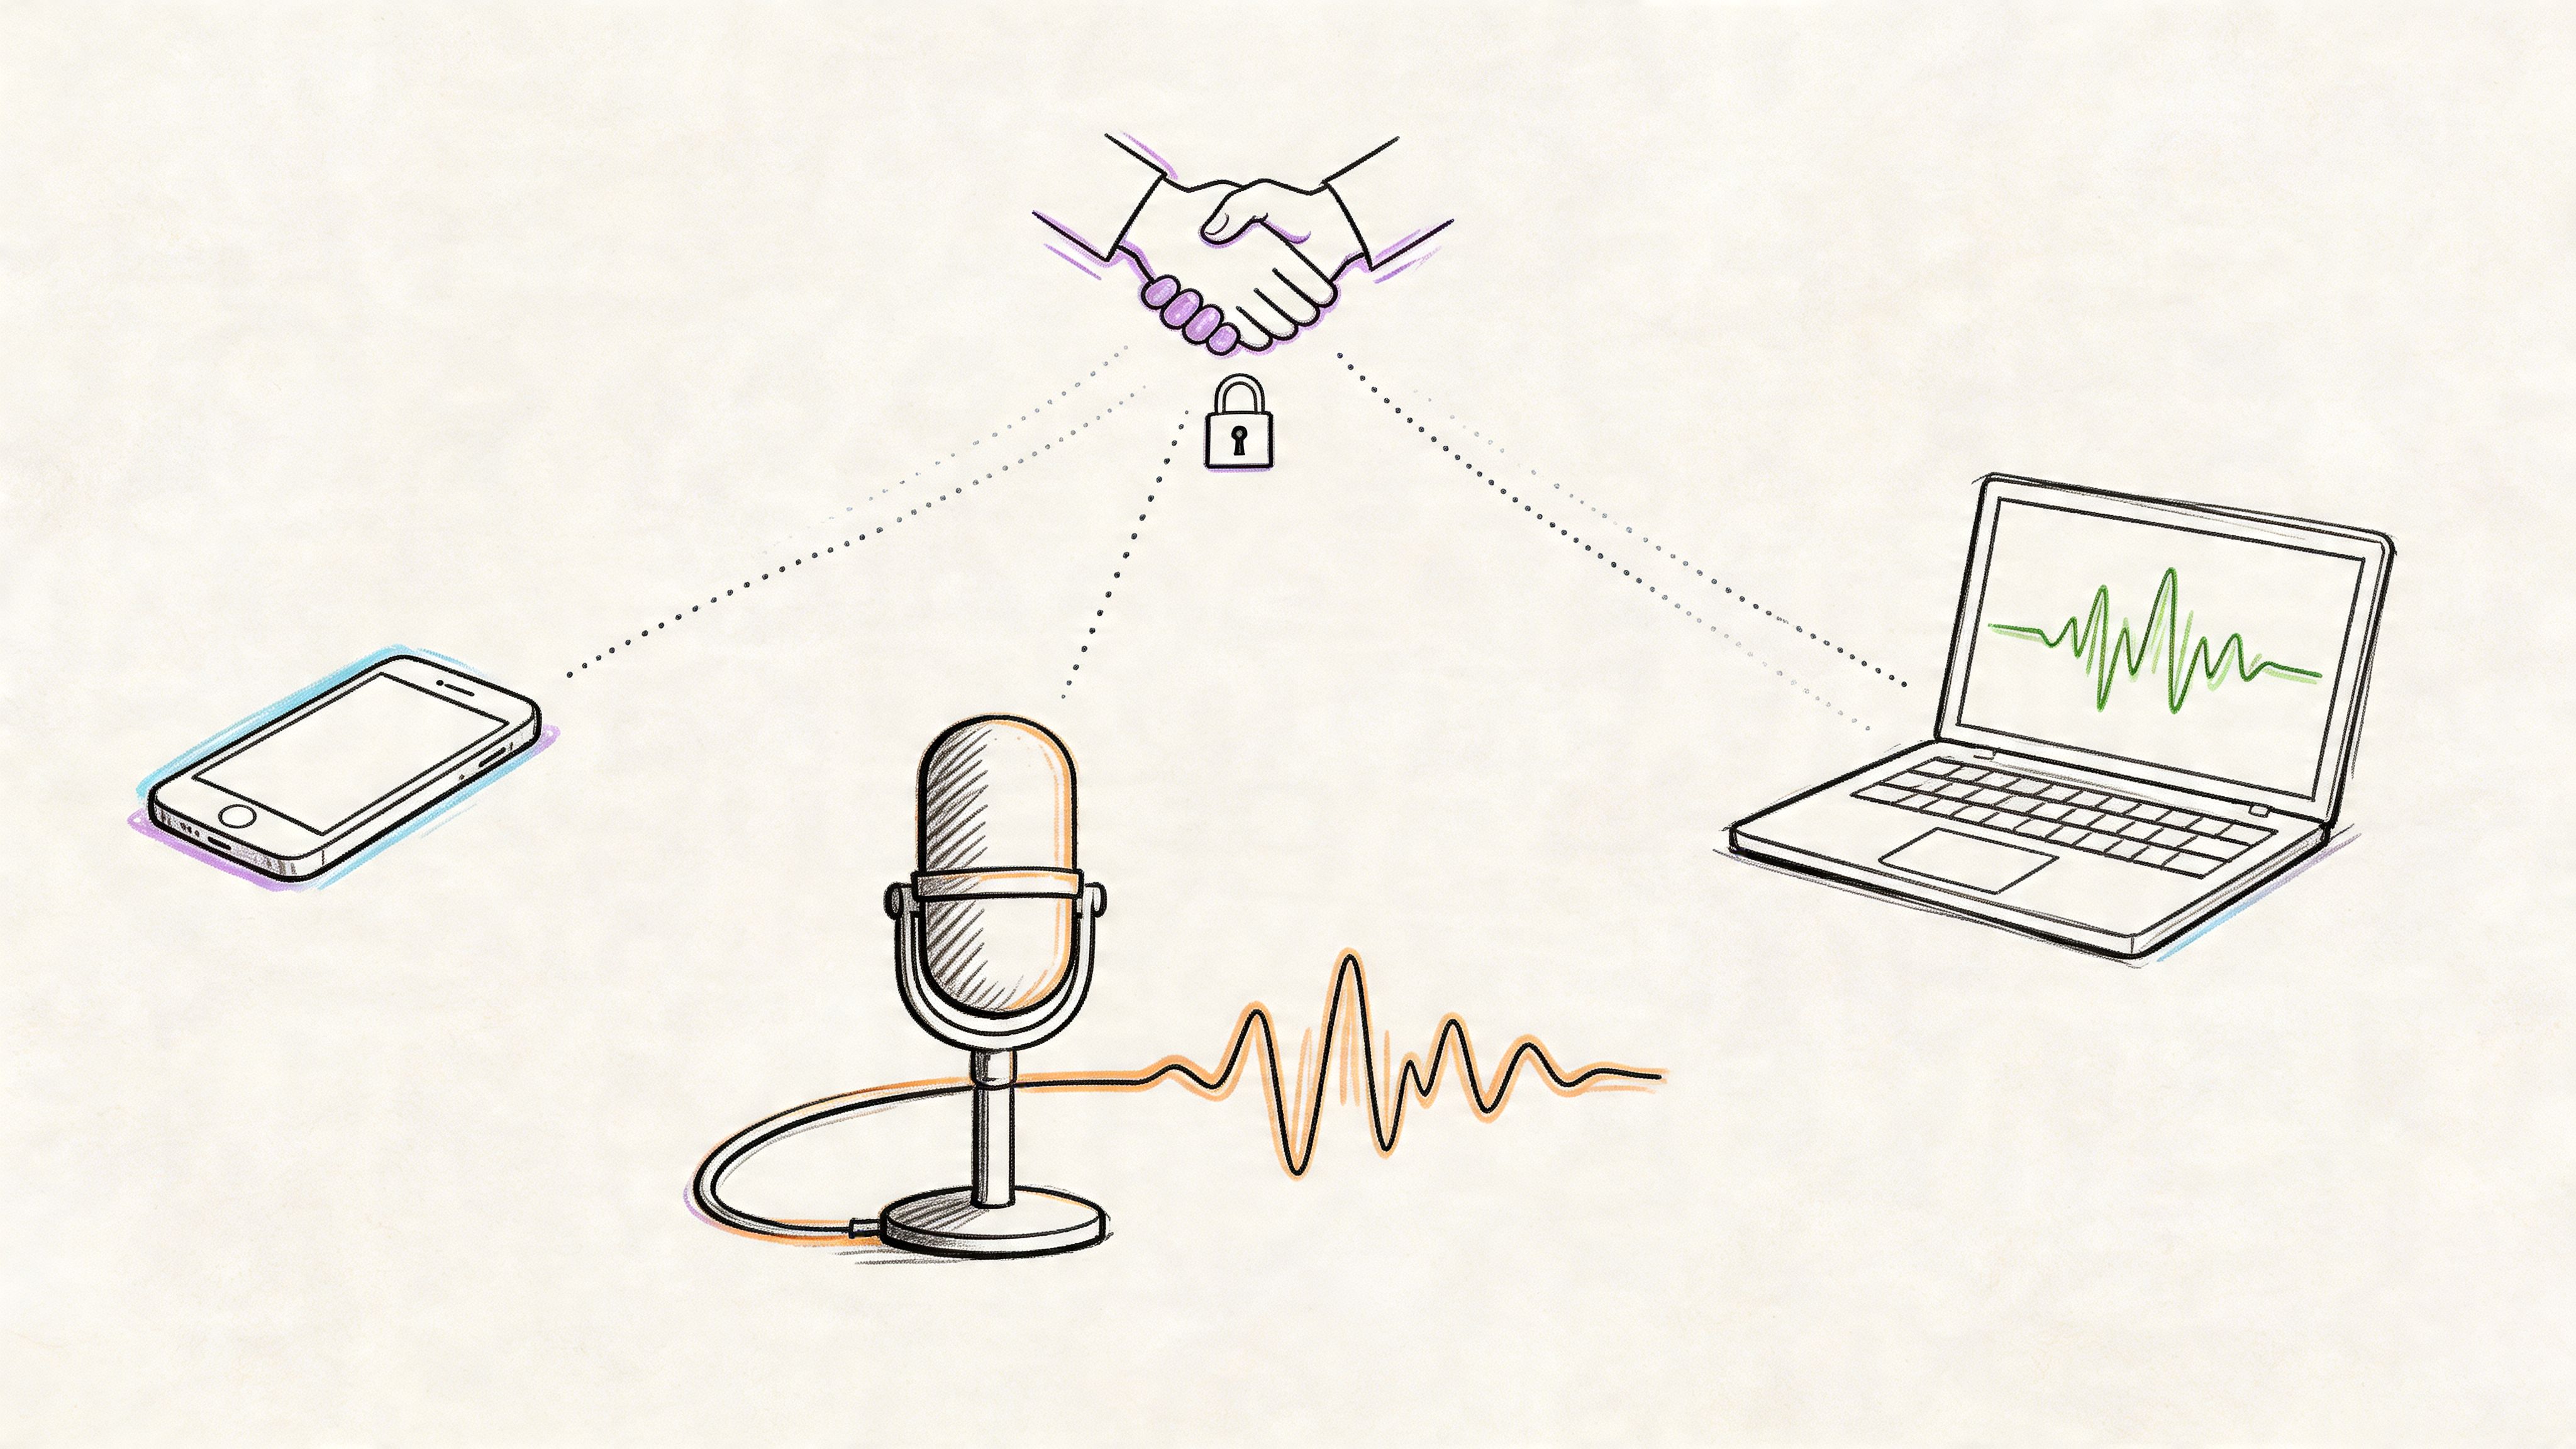
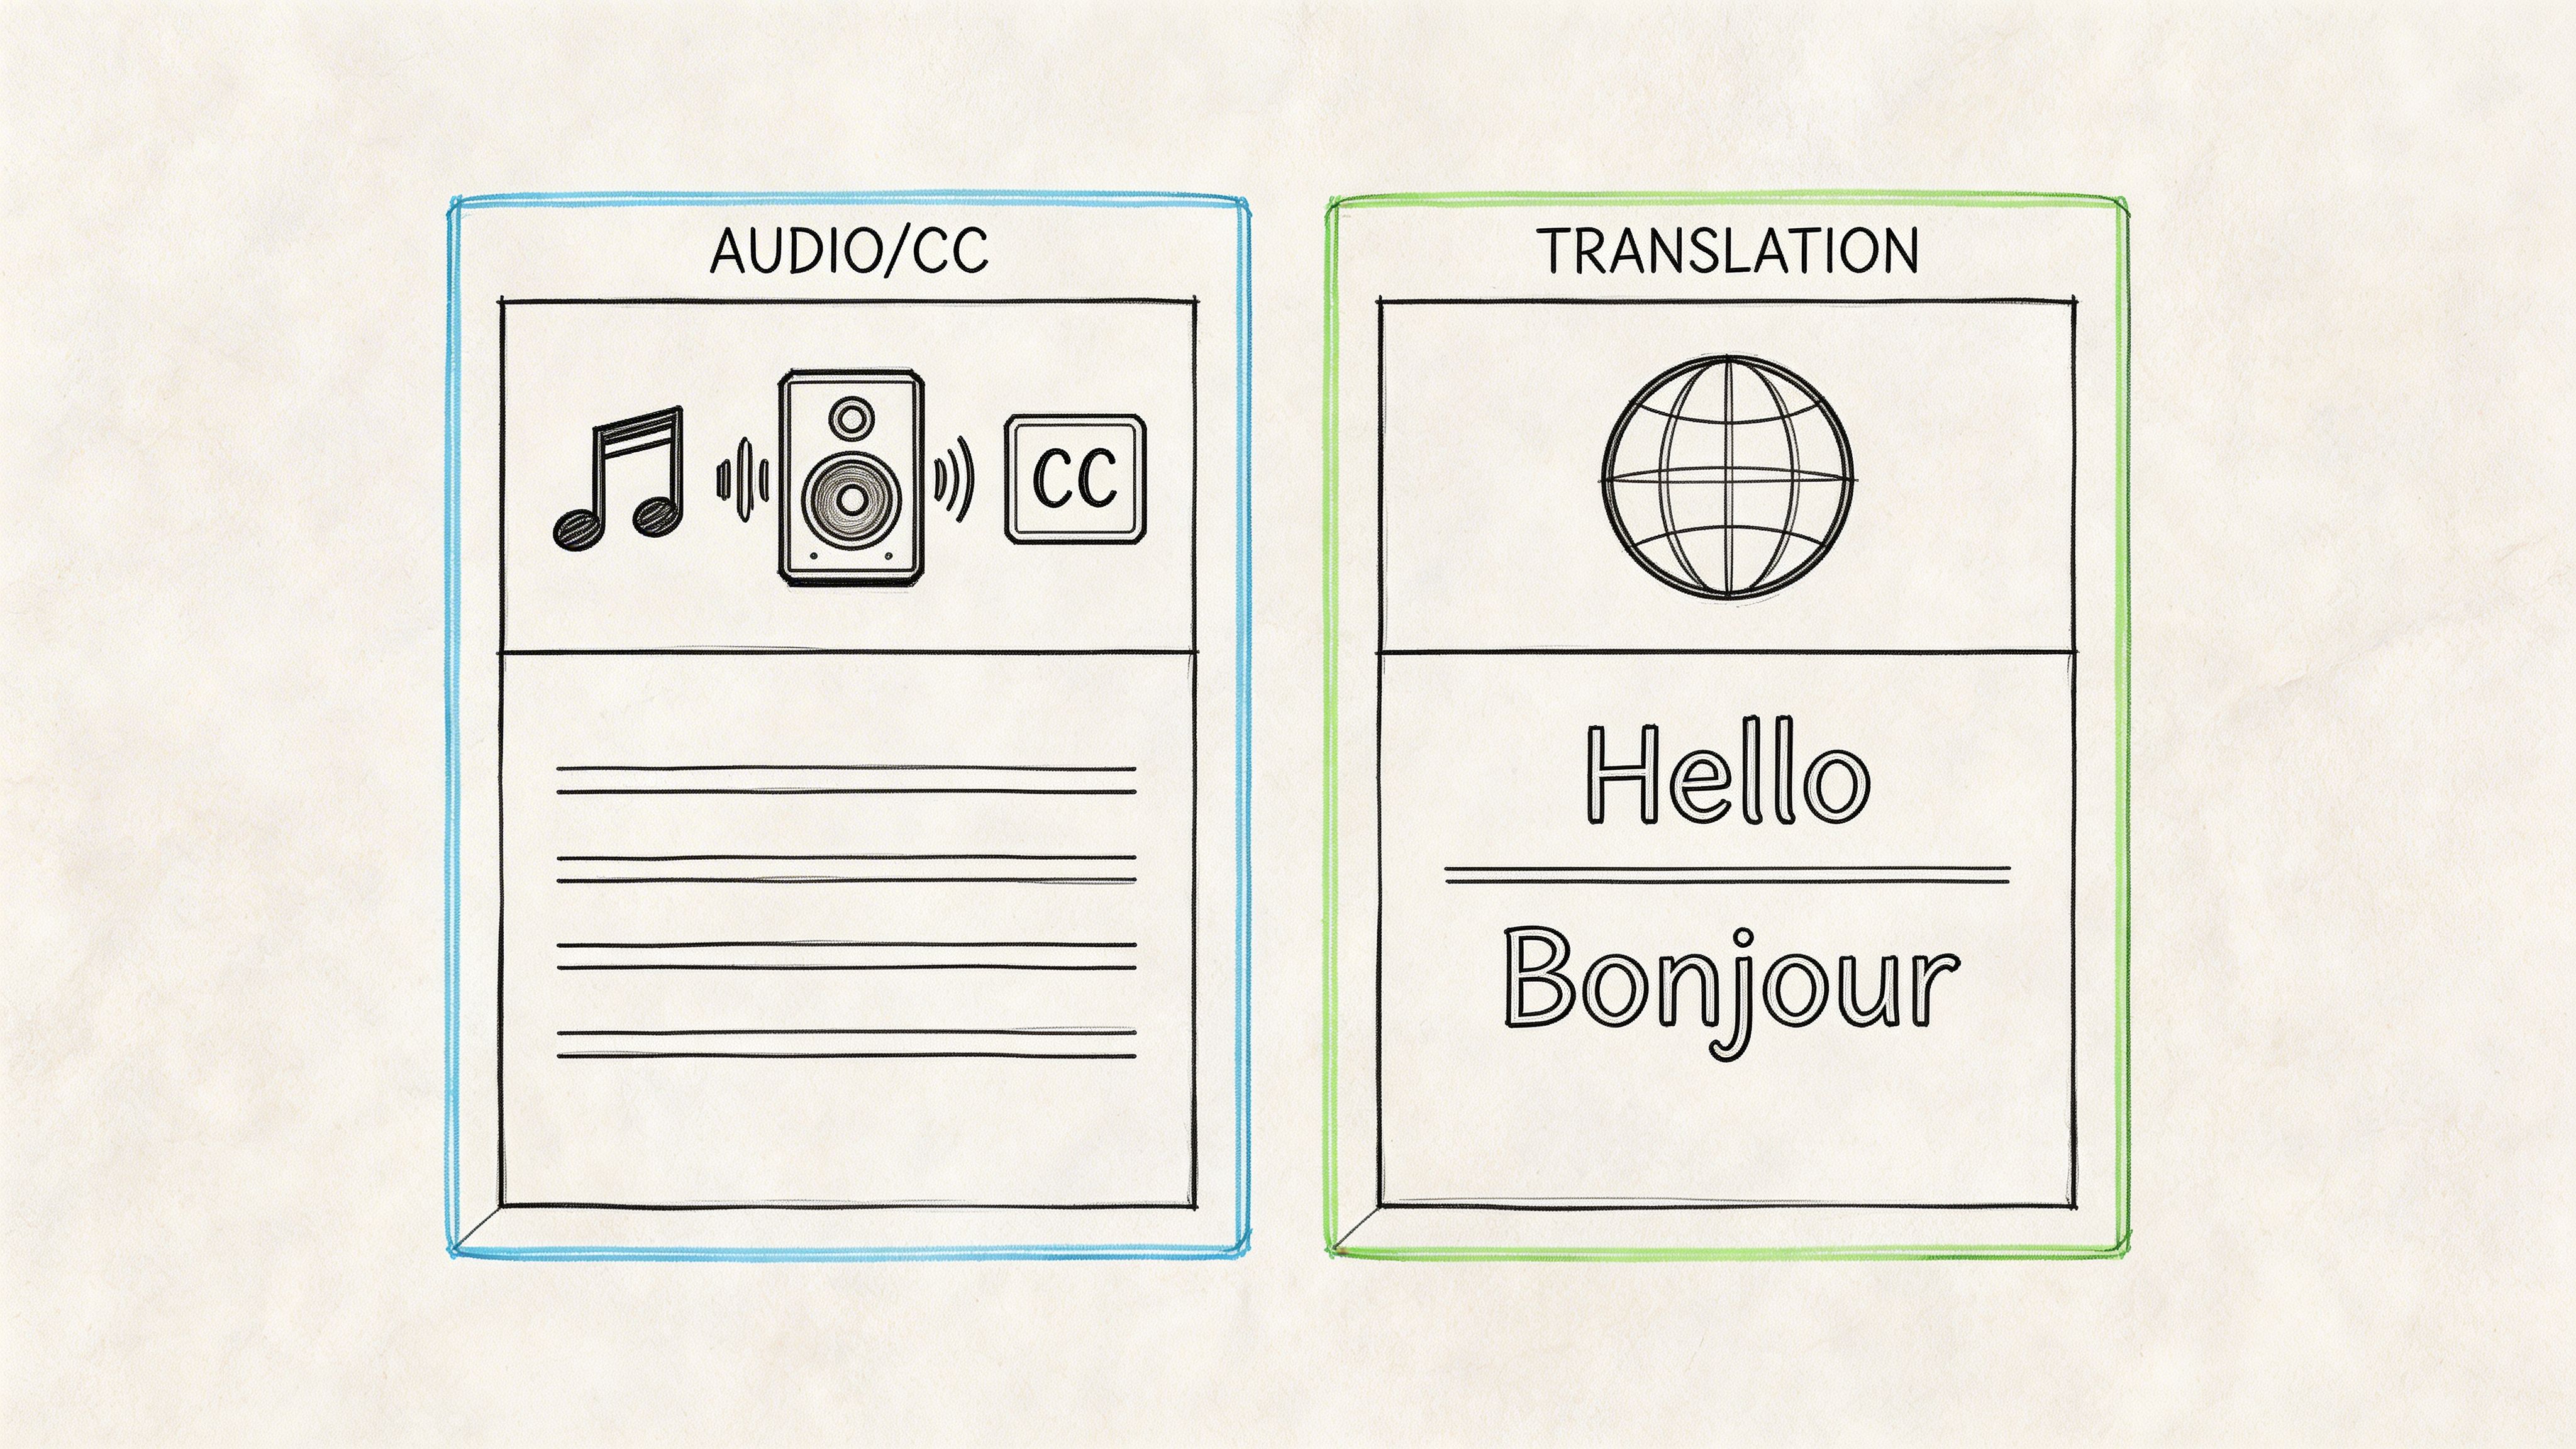
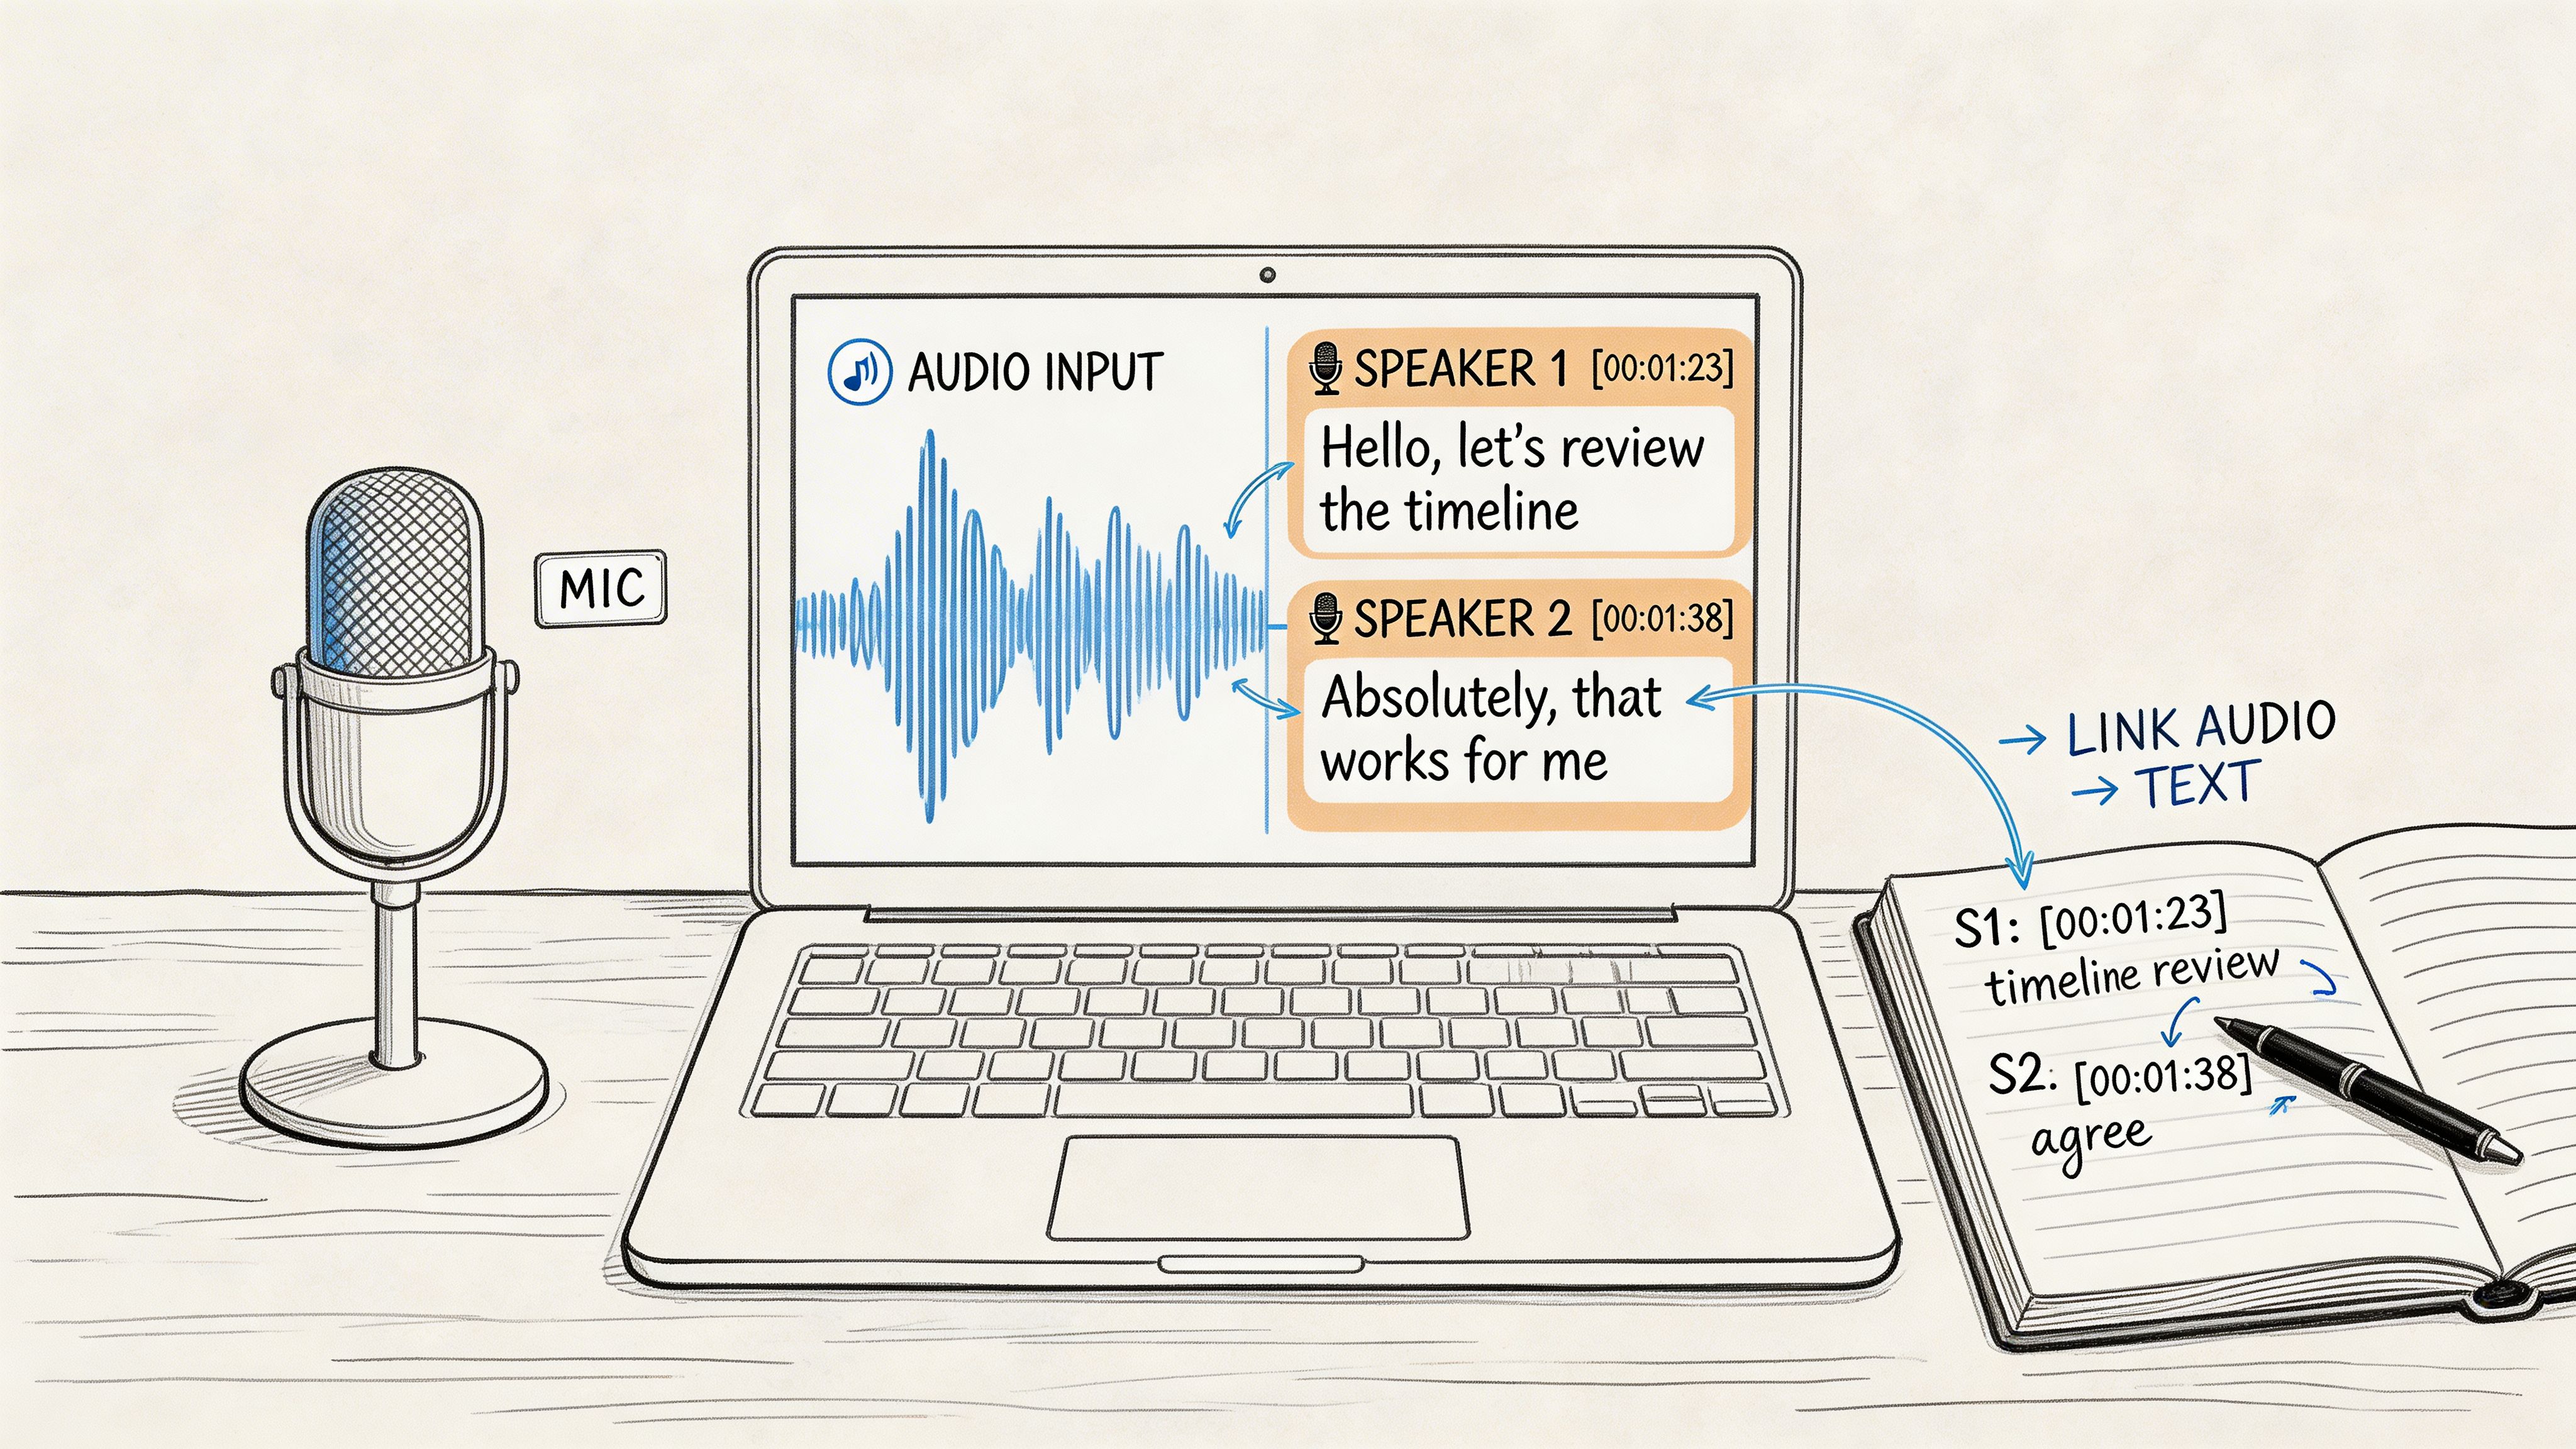
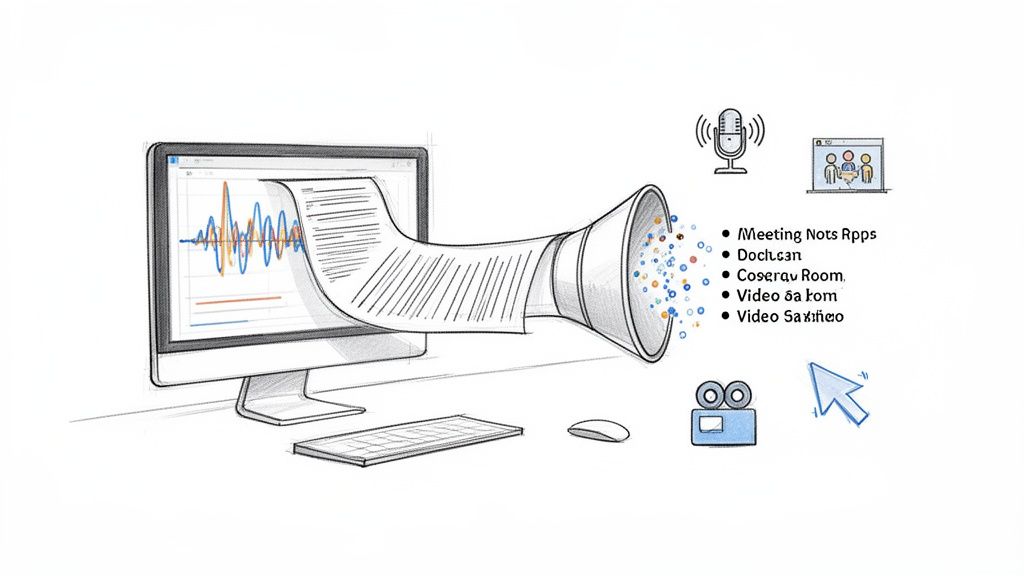
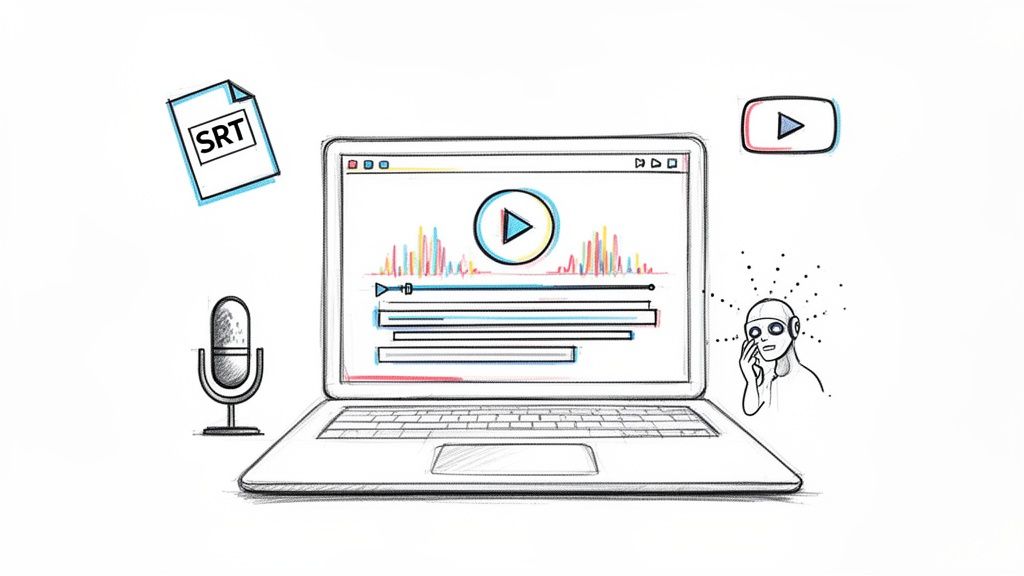
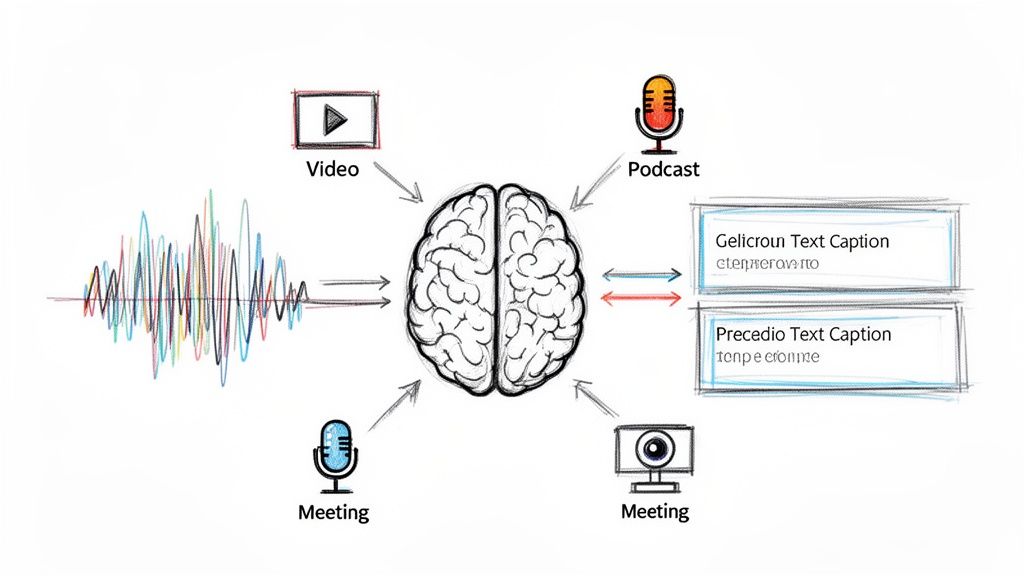
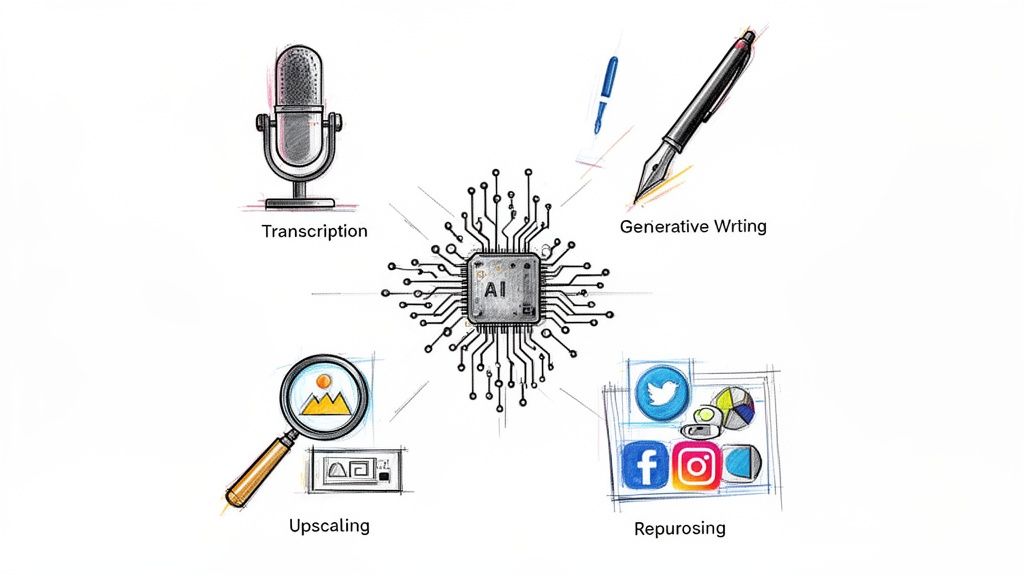
Knowing how to record a meeting in Teams is only half the battle. The crucial next step is putting that recording to work. This is where AI tools can be a game-changer. For example, platforms like Whisper AI can take your downloaded video and quickly generate an accurate, speaker-labeled transcript.
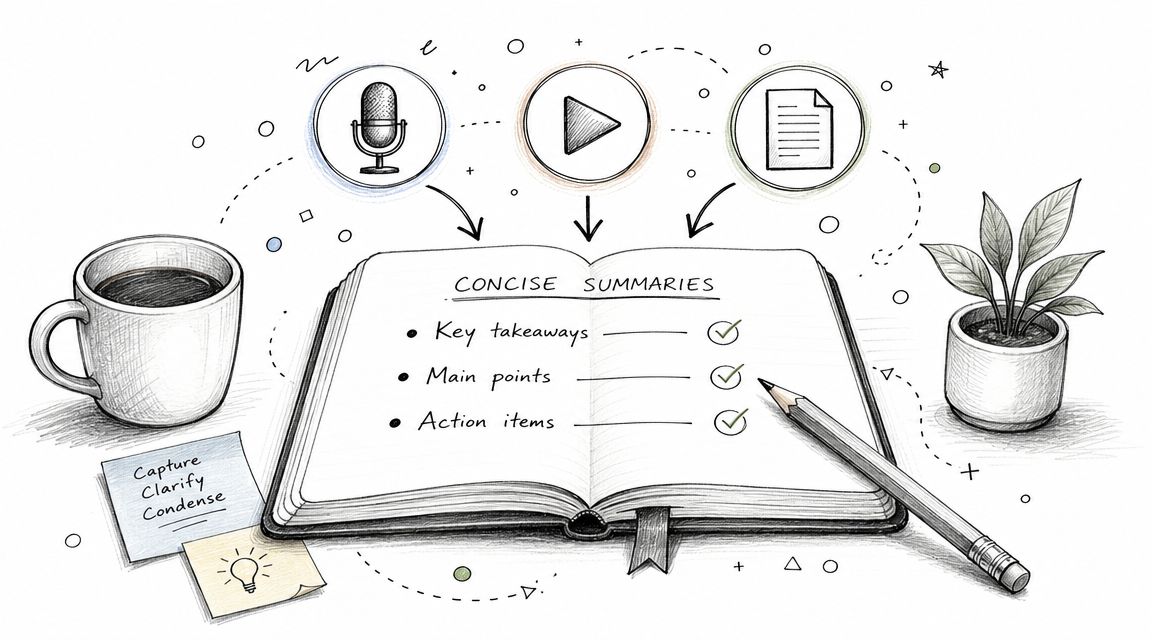
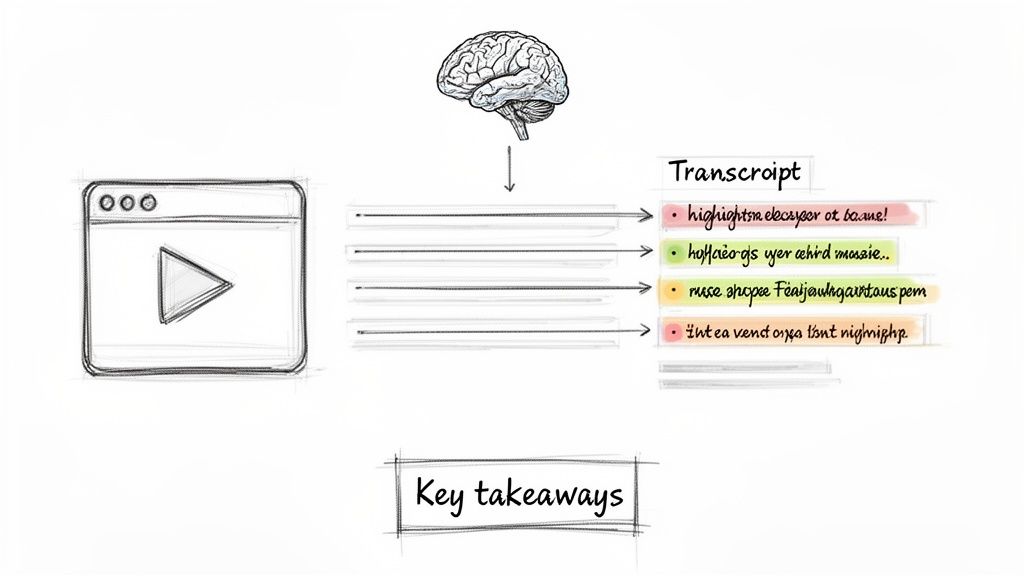
But it goes beyond just a wall of text. Modern tools can also pull out the most important parts, creating concise summaries and bulleted highlights. Suddenly, a 60-minute discussion becomes a 2-minute overview you can actually use.
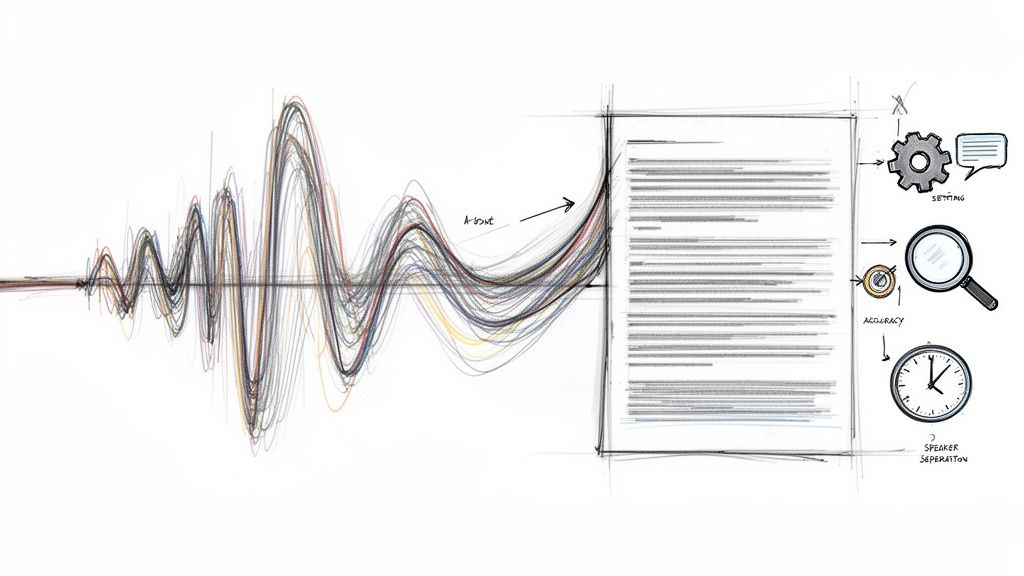
From Raw Video to Smart Data
Once your meeting is transcribed and summarized, the information becomes infinitely more useful. This isn’t just a nice-to-have; it's becoming a necessity when you consider the sheer volume of meetings we all sit through.
Think about this: Microsoft Teams users collectively log a mind-boggling 985.5 billion meeting minutes per year. As highlighted by recent Microsoft Teams statistics, that’s a massive amount of information locked away in video files, and a huge opportunity to reclaim lost time.
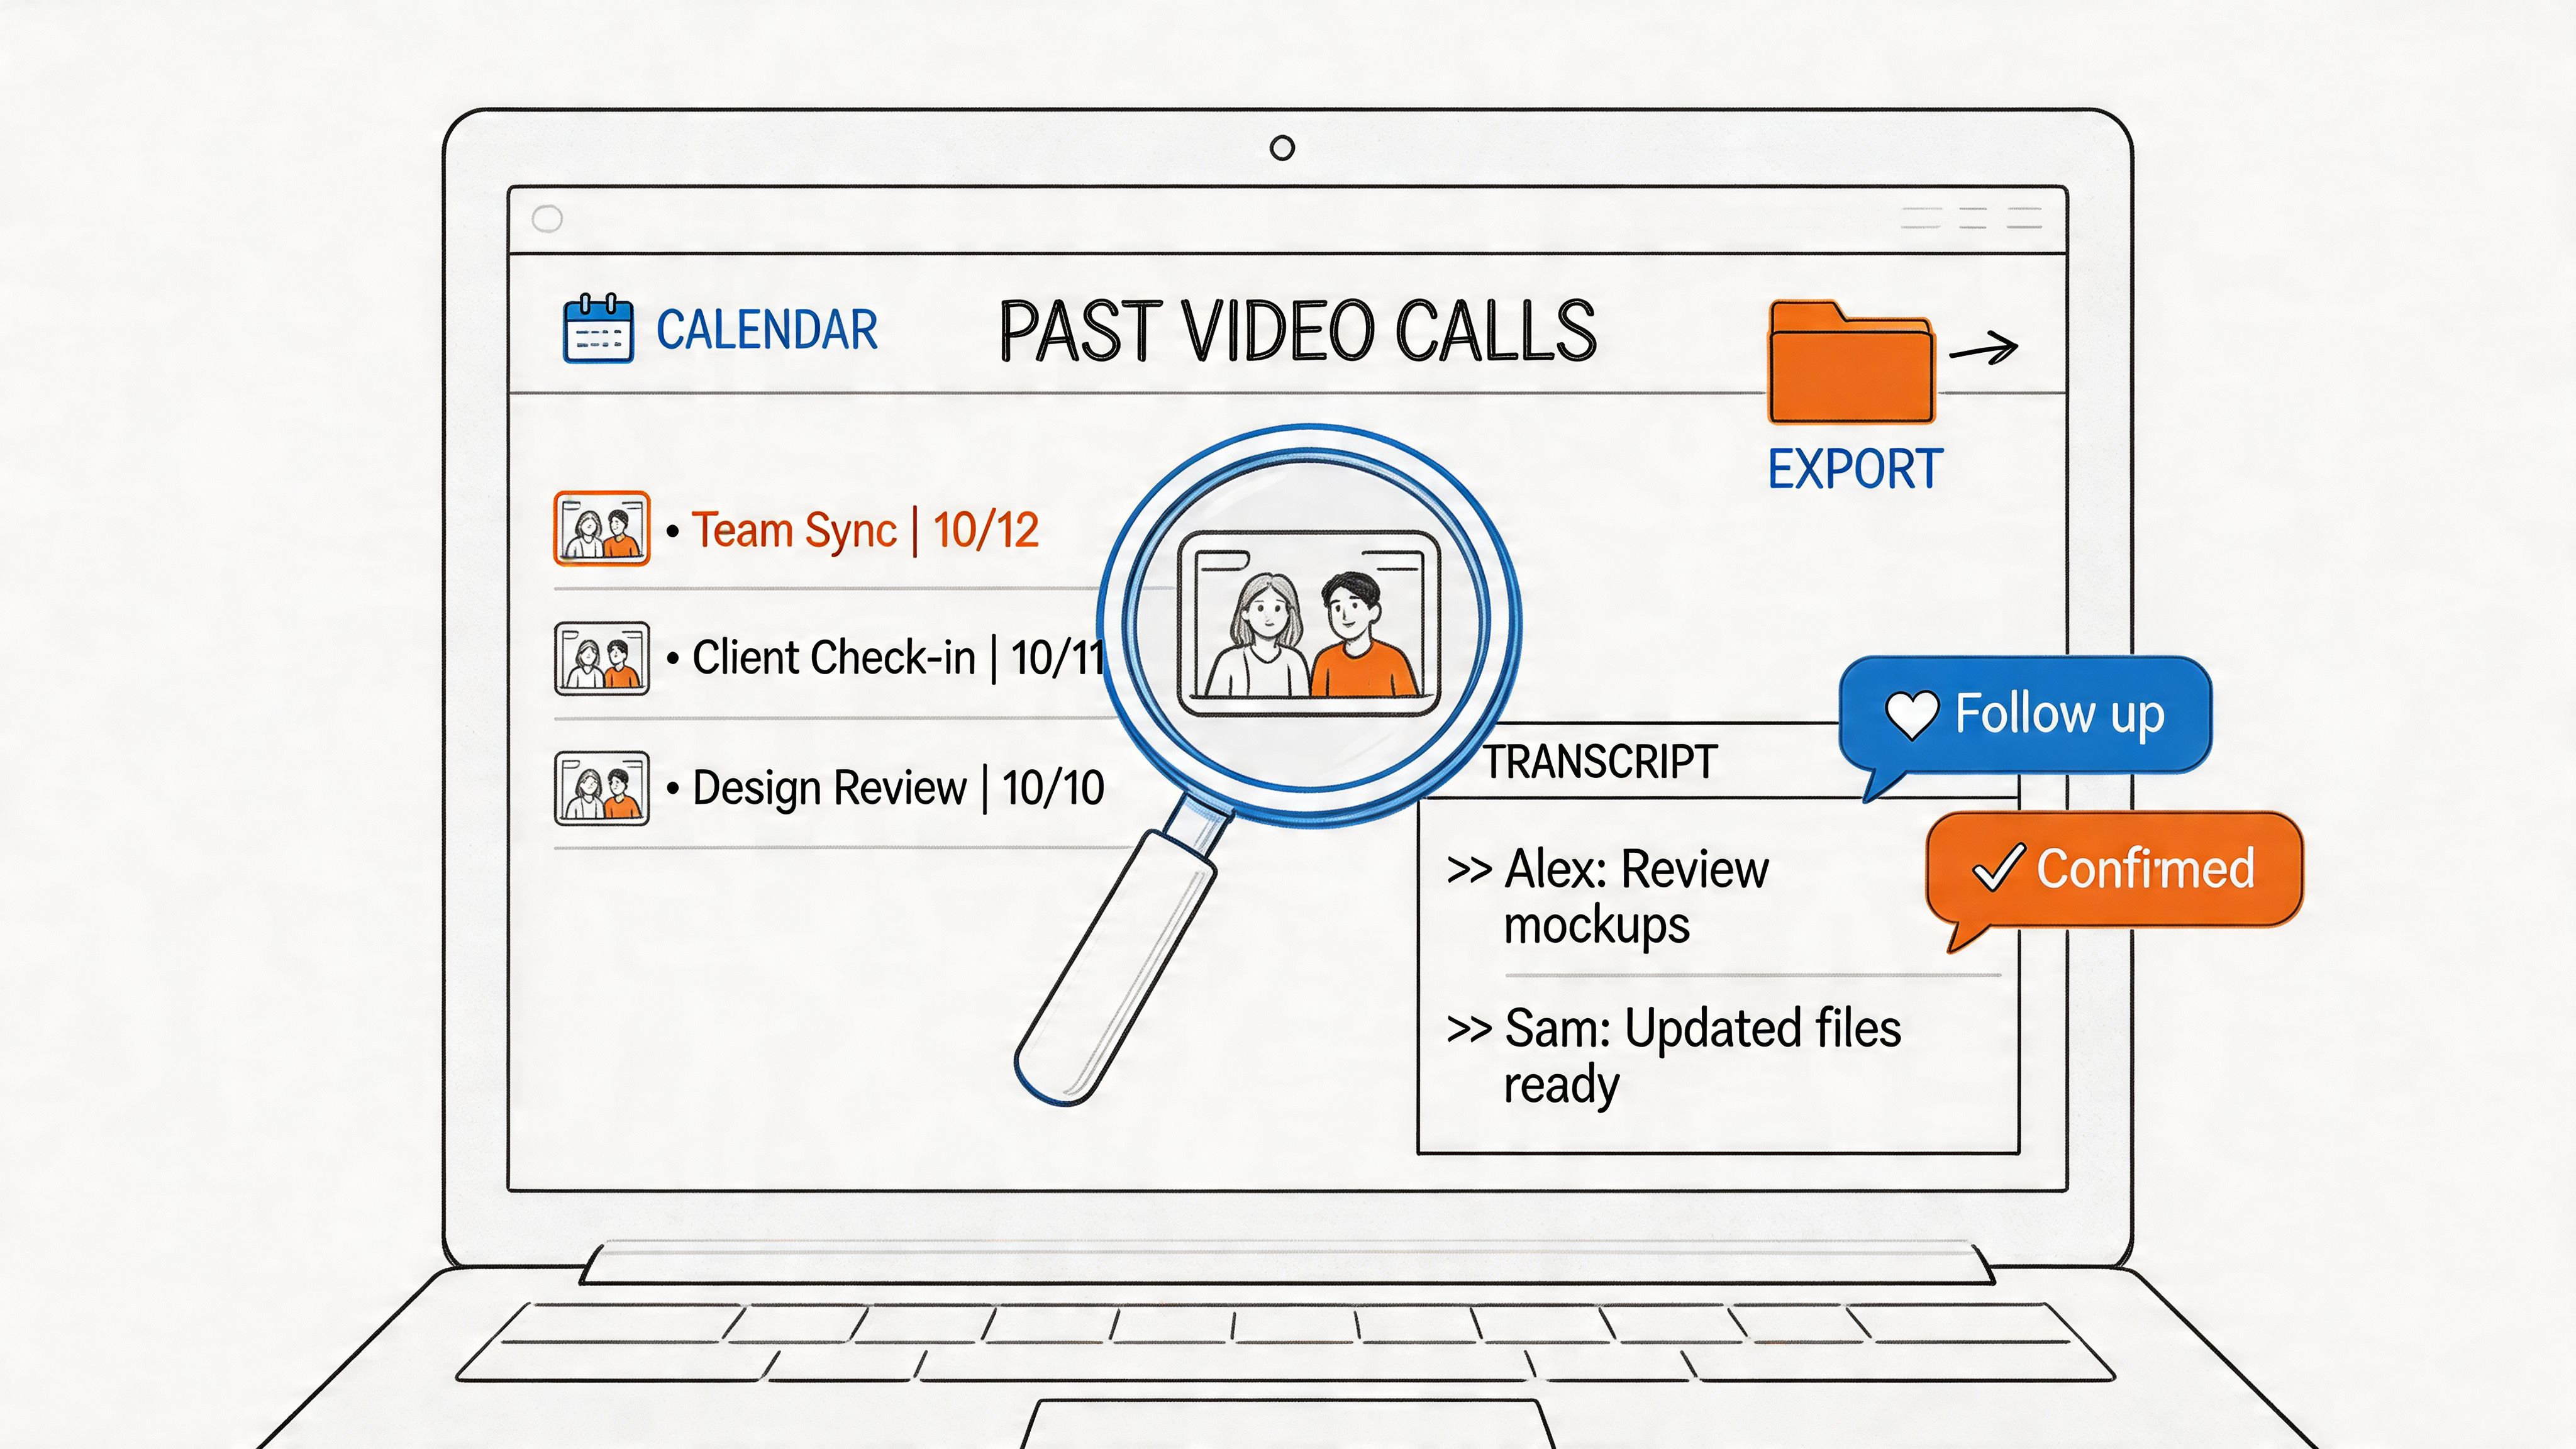
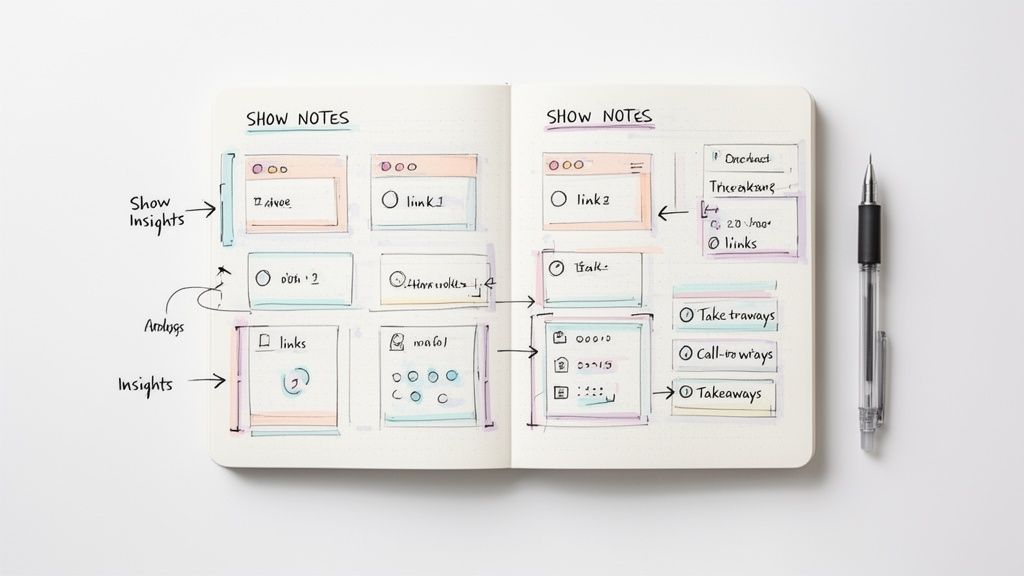
By transcribing your recordings, you’re not just saving a file—you’re building a searchable knowledge base. Anyone on the team can instantly find key decisions, track down action items, or share critical updates with stakeholders who couldn't be there.
Imagine searching your entire project's meeting history for a specific keyword or pinpointing exactly when a topic first came up. This simple process transforms a basic recording into a strategic asset. For a deeper dive, check out our guide on how to effectively summarize a meeting.
Got Questions About Recording in Teams?
Even with a straightforward process, you're bound to hit a few snags when you start recording meetings in Teams. Let's walk through some of the most common questions and frustrations I see, so you can solve them fast and get back to your day.
Why Can't I Click the Record Button? It's Grayed Out!
This is easily the most common headache. You're ready to go, but the record button is stubbornly inactive. Nine times out of ten, it’s one of these culprits:
- You don't have the right permissions. To hit record, you have to be the meeting organizer or at least someone from the same organization. Guests or people joining from outside your company simply can't start a recording.
- Your license doesn't support it. Recording isn't a free-for-all feature. It’s part of paid Microsoft 365 plans like Business, E1, E3, or E5. If you're on a free or personal account, that's likely the issue.
- Your IT admin has disabled it. Sometimes, a company's internal policy restricts who can record meetings. An administrator can turn this feature off for specific users or for everyone.
If that button is gray, your first move should be to ping your IT department. They can quickly tell you if it's a license or policy issue on their end.
How Long Do My Teams Recordings Stick Around?
Don't assume your recordings are saved forever. Microsoft has a default setting that automatically deletes them, often after 120 days. This is their way of helping companies manage cloud storage, but your own organization's administrator can change this timeframe.
The good news? You're not powerless here. Whoever started the recording gets an email alert before the file is set to expire. From there, you can jump into the file’s settings in OneDrive or SharePoint to push back the expiration date or just remove it altogether.
Can I Record a Teams Meeting Secretly?
In a word: no. And that’s a good thing.
Microsoft Teams is built with privacy and transparency in mind. The moment you start recording, a big banner appears at the top of the screen for every single person in the meeting. It clearly announces that the session is being recorded and transcribed.
There’s no way around this. It’s a core feature designed to make sure everyone is aware and to keep things in line with privacy laws and basic professional courtesy.
Once you've got your recording, the real work begins. Instead of manually re-watching hours of video, let Whisper AI do the heavy lifting. It can transcribe and summarize your entire meeting in just a few minutes, giving you searchable notes and clear action items. Stop scrubbing through timelines and start finding the important stuff instantly. Learn more and try Whisper AI today.