How to Find Teams Recordings: A Practical Guide to Locating Your Videos
So, you've just wrapped up a crucial Teams meeting, and now you need to find the recording. Where on earth did it go? If you've been using Teams for a while, you might remember the old days when everything was automatically sent to Microsoft Stream. Well, things have changed, and for the better.
The short answer is that all your new recordings now live in either OneDrive or SharePoint. This was a smart move by Microsoft, as it brings your video files into the same secure Microsoft 365 environment where all your other documents live, making them easier to manage and share.
Where Microsoft Teams Stores Your Recordings Now
Finding a specific meeting recording can feel like digging for a needle in a haystack, especially considering how much time we all spend in meetings. My own calendar is a testament to this—it's not uncommon to have over 7 video calls per week. Since early 2020, weekly meeting time for the average user has skyrocketed by 252%, which translates to a lot of recorded content.
Thankfully, Microsoft has streamlined the storage logic, making it much more predictable. Instead of being funneled into the separate Stream (Classic) app, your recordings are now treated just like any other file you’d create in Office. From my experience, this is a huge win because it gives you direct control over who can see, share, and download your videos using familiar tools.
To help you quickly locate your file, I've put together a simple table that breaks down where to look based on the meeting type.
Quick Guide to Finding Your Teams Recording
This table shows where your Microsoft Teams meeting recordings are stored based on the type of meeting you had.
This simple distinction is the key to finding any recording you're looking for.
Private vs. Channel Meetings
The first question you always need to ask is: what kind of meeting was it? The answer determines everything.
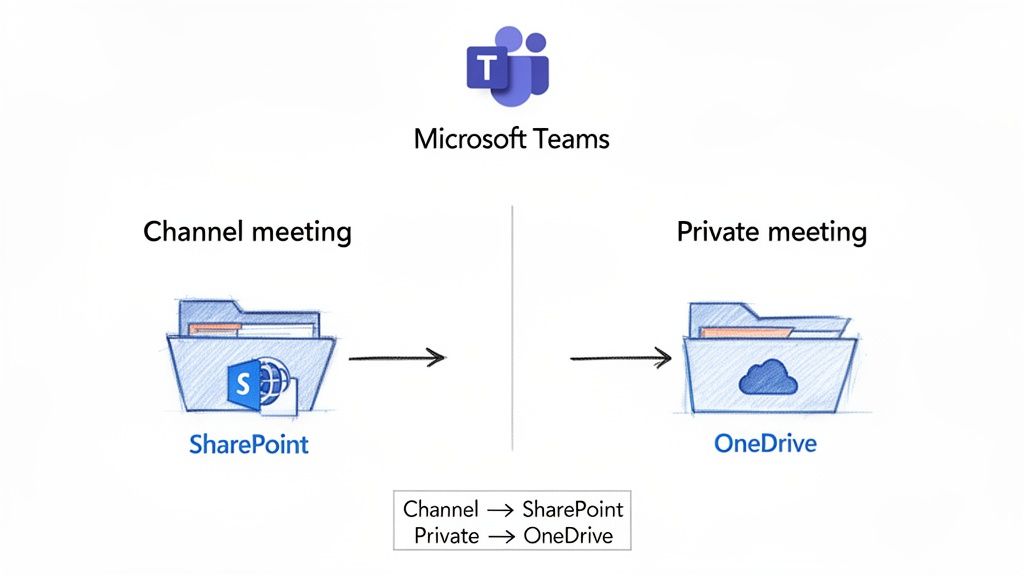
Private Meetings: This covers any meeting you start from a private 1:1 chat, a group chat, or directly from your calendar. Think of those ad-hoc calls or scheduled syncs not tied to a specific Team. The recording automatically saves to a Recordings folder in the personal OneDrive account of the person who hit "Record."
Channel Meetings: On the other hand, if you start a meeting from within a specific channel (like the "Q4 Marketing Plan" channel in your Marketing Team), the recording belongs to the whole team. It gets saved to the Recordings folder within the channel's folder on the team’s SharePoint site. This makes it instantly available to everyone in that channel.
If you're just getting started with this, our guide on how to record a meeting in Teams is a great place to brush up on the basics.
This flowchart is a great visual reminder of that core concept.
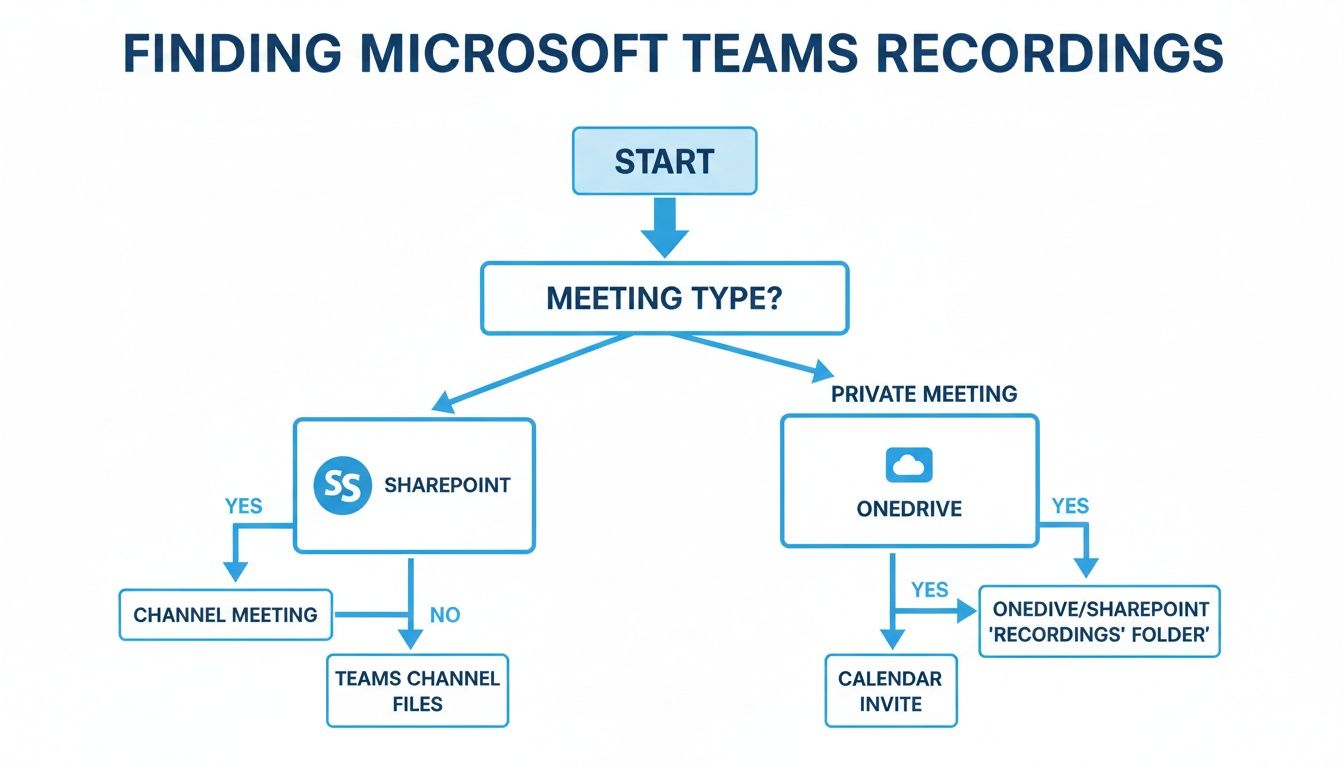
As you can see, it all boils down to whether the meeting was private or happened in a channel.
By placing recordings in OneDrive and SharePoint, Microsoft empowers you to manage them with the same security and compliance tools you already use for your documents. This means consistent permission settings and retention policies apply right out of the box.
For organizations looking to get the most out of their setup, proper Microsoft 365 optimization is key. A well-configured environment can help prevent a lot of the common permission headaches and storage issues before they even start.
Finding Channel Meeting Recordings in SharePoint
When you wrap up a meeting in a specific Teams channel, where does the recording actually go? Unlike private calls that are tucked away in your personal OneDrive, channel recordings are treated as team assets. This means they land in a shared space where every member can get to them: the team's SharePoint site.
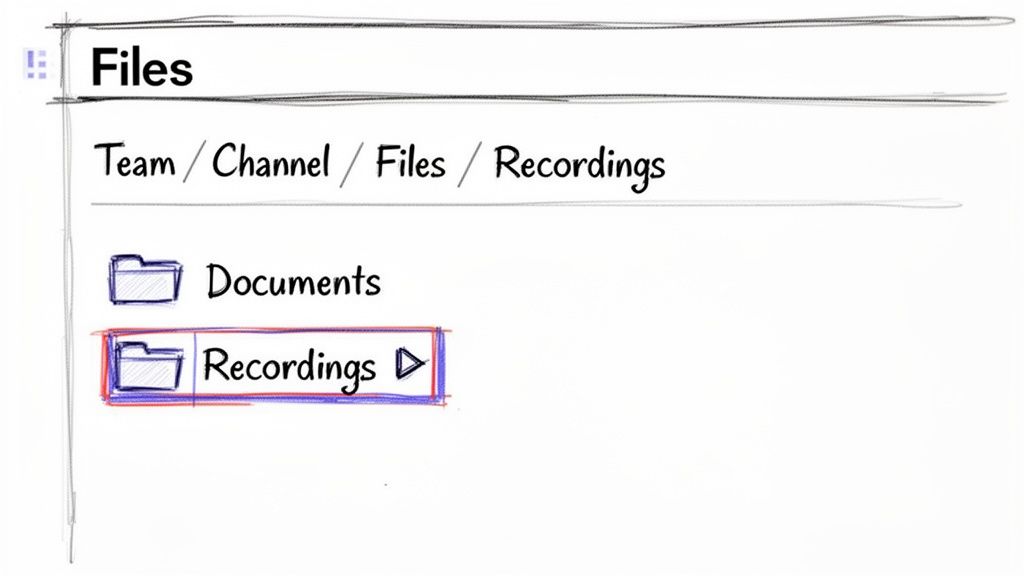
From my day-to-day experience, the simplest way to track one down is to stay right inside Teams. Just head over to the channel where the meeting happened and look for the "Files" tab at the top. You'll see a folder conveniently named "Recordings," which Microsoft Teams creates automatically. All your channel meeting videos will be neatly organized inside.
This setup keeps everything transparent and accessible for the whole team, right alongside your other project files.
Understanding the SharePoint Connection
So, what’s happening under the hood? Every time a new Team is created, Microsoft automatically spins up a corresponding SharePoint site to act as its backbone. This powerful integration is what allows for file sharing, wikis, and all the collaborative features we rely on.
When you record a channel meeting, the video file isn't just linked; it's saved directly into a document library on that connected SharePoint site. This architecture brings some fantastic benefits:
- Zero-Fuss Permissions: Anyone who is a member of the Team automatically gets access to the recordings. You won't have to manually share links every time someone new joins the project.
- A Single Source of Truth: All your meeting recordings live with the rest of the channel's documents. No more hunting across different platforms for project-related files.
- Power-User Features: Because it’s a standard file in SharePoint, you can use all of SharePoint's advanced tools. Think version history, setting alerts for new uploads, or applying company-wide retention policies.
I've found that sometimes, especially in a brand-new channel, the "Recordings" folder might not show up immediately in the "Files" tab. If you run into this, just click "Open in SharePoint." This will take you to the full document library, and I can almost guarantee you'll find the folder waiting for you there.
Finding these videos quickly is more than a convenience. While 94% of US businesses say video conferencing has improved their productivity, that value is lost if the recordings vanish. Considering some studies suggest only 30% of meetings are truly productive, the real gold is often found in the playback. You can explore more of these meeting productivity stats to see just how important this is.
Going Straight to the Source in SharePoint
If you’re a SharePoint power user or need to manage files across several channels, you might prefer to bypass Teams altogether. You can navigate directly to your organization’s SharePoint environment to find the files.
From the SharePoint start page, find the site that shares its name with your Team. Once you're on the site’s homepage, click "Documents" from the navigation menu on the left. Inside, you'll see folders for each channel within that Team. Just click into the right channel, and you’ll find the familiar "Recordings" folder. It's a great method for admins who need a bird's-eye view of all the team's assets.
Finding Private Meeting Recordings in Your OneDrive
So, we've covered where channel meeting recordings live, but what about all those other meetings? I'm talking about the spontaneous one-on-one calls, the quick project syncs, or any group chat that isn't tied to a specific Team. When you record one of those, it follows a completely different rule.
Instead of a shared SharePoint site, these recordings are saved directly to the personal OneDrive for Business account of the person who hit the record button. Think of it like this: if you record it, it's your file. This gives you, the recorder, full control over who sees it and what they can do with it, just like any other document you create.
Knowing this little detail is half the battle when you're hunting for a specific recording from a private chat.
Navigating to Your OneDrive Recordings Folder
Once you know where to look, finding these files is pretty simple. Microsoft Teams sets up a dedicated folder in your OneDrive to keep everything organized.
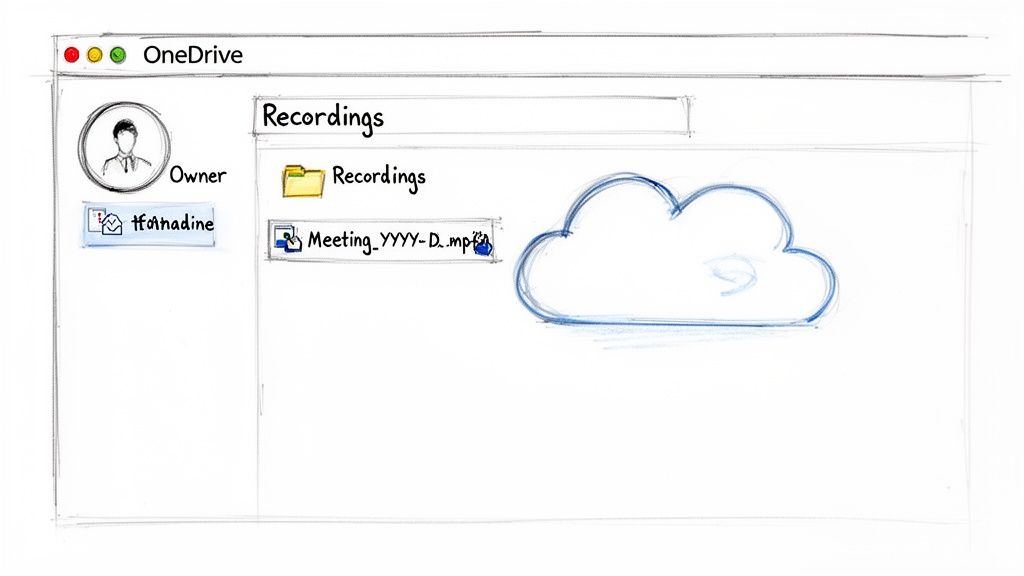
Just head over to your Microsoft 365 account and open OneDrive (you can usually get there from the waffle icon in the corner). Inside your My files, you'll see a folder named Recordings. That's the spot. All your private meeting recordings will be neatly filed away in there.
The files even have a helpful naming convention, usually looking something like Meeting Name-YYYYMMDD_HHMMSS-Meeting Recording.mp4. This makes it a breeze to scan the list and find the session you need by its title and date.
As the person who recorded the meeting, you are the owner of the video file. This means you control all sharing and access permissions. You can change who can view it, grant editing rights, or even stop sharing it entirely at any time.
This personal storage model is more important than ever. With professionals spending an average of four hours weekly in video meetings and folks at large companies joining 11.6 calls per week, the number of recordings can add up fast. Considering only 37% of meetings actually use an agenda, having that recording to review is often essential. You can dig into more data on video conferencing trends to see just how much we rely on these files.
How Automatic Sharing and Permissions Work
One of the slickest parts of this system is how Teams handles sharing for you. You don't have to remember to send the link out to everyone who was there.
The moment your recording is processed and ready, Teams gets to work:
- It automatically shares the video with everyone who was invited to the meeting (as long as they're in your organization).
- By default, everyone gets view-only permissions.
- A link to the recording also pops up right in the meeting chat for easy access.
But what if you need to change those permissions? No problem. Since the file lives in your OneDrive, you manage it just like any other document. Go to your Recordings folder, find the video, and you can:
- Share with new people: Easily add or remove individuals from the access list.
- Update permission levels: Bump someone from a "viewer" to an "editor" if they need to download or edit the file.
- Create a public link: Generate a new link to share with people outside your company.
This deep integration with OneDrive is what makes managing private recordings so flexible and secure. You're always in the driver's seat.
Troubleshooting Common Teams Recording Problems
So, you’ve checked all the usual spots—OneDrive for a private meeting, SharePoint for a channel one—but the recording is nowhere to be found. It’s a common and incredibly frustrating moment, but don't assume the file is gone for good just yet. Before you panic, let's run through a few likely culprits.
The first thing to consider isn't a setting, but the clock. A Teams recording doesn't pop up instantly. After you hit "Stop Recording," Microsoft's servers have to process the video, and that takes time. The longer the meeting, the longer the wait. I've seen a typical one-hour meeting take anywhere from 15-30 minutes to appear, and sometimes even longer during peak usage times.
My best advice? Grab a coffee and give it a little while. The notification that appears in the meeting chat is the most reliable sign that your recording is ready.
Dealing with Access and Expiration Issues
What if you can see the recording, but you can't actually open it? This is another frequent roadblock. The problem usually boils down to either permissions or an expired link.
"I Don't Have Permission to View This Recording"
Seeing that "Access Denied" message is a classic permissions issue. It typically means you weren't on the original meeting invitation or the person who recorded it has since tightened the sharing settings.
- For Private Meetings: The person who started the recording is the file owner and controls access. Your best move is to simply click the "Request Access" button. This pings the owner directly, and they can approve your request with one click.
- For Channel Meetings: If a channel recording is locked, it's almost always because you're not a member of that specific Team. Reach out to the Team owner and ask them to add you.
"This Link Has Expired"
To keep storage from spiraling out of control, many companies enable automatic expiration dates for Teams recordings. The default setting is often 120 days. If you click an old link and find it’s expired, the video file itself probably still exists; it's just the sharing link that has become inactive.
As a last-ditch effort, always check the Recycle Bin. When a recording is deleted from OneDrive or SharePoint, it usually hangs out in the recycle bin for 93 days. If you act fast, you can often go in and restore it yourself.
When the Recording Is Truly Gone
In some cases, the recording might be permanently gone. This often happens due to strict, company-wide retention policies that automatically purge files after a set period to meet IT or legal requirements. If you think this might be what happened, your only real option is to contact your IT administrator to see if it's recoverable.
Finally, while your hardware won't change where a recording gets saved, a solid setup can make a world of difference for quality. If you find yourself recording critical meetings often, you might want to explore our guide on choosing the best audio recorder device to ensure every word is captured clearly.
How to Transcribe and Share Your Recordings
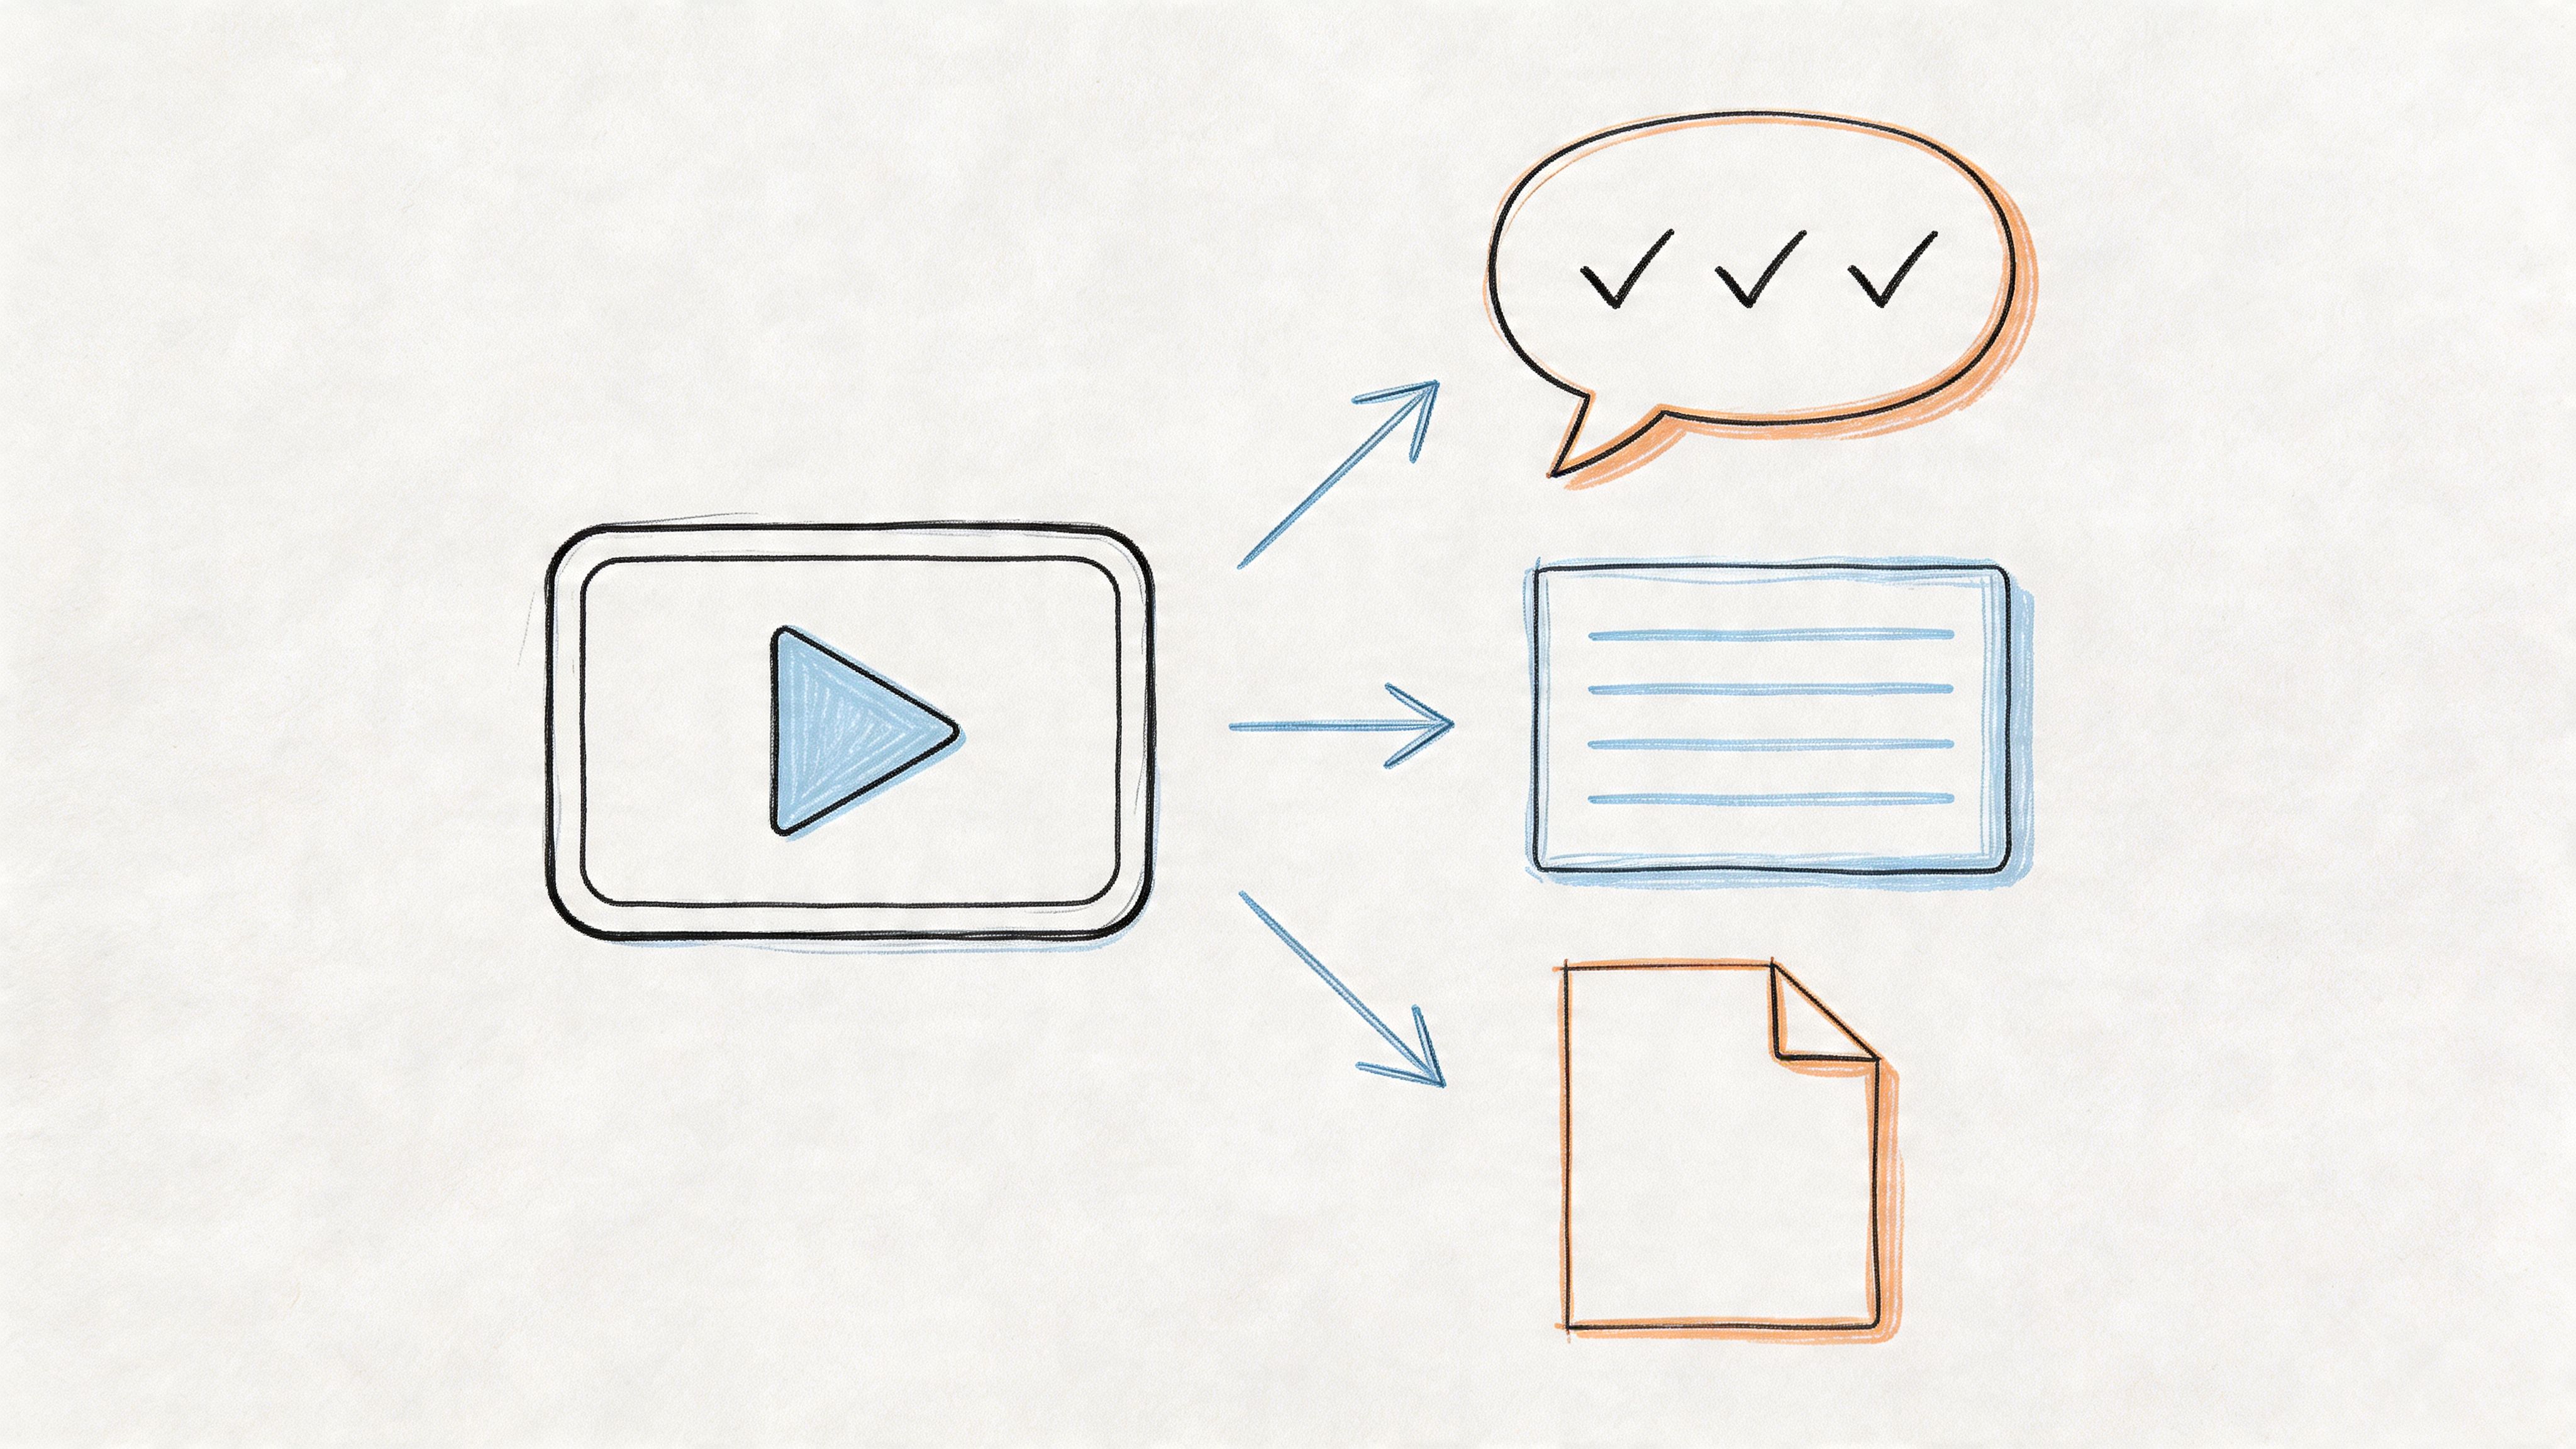
Okay, so you've tracked down your meeting recording. Great. But just having the video file is only half the battle. The real value comes from making that recording useful—sharing it with your team and, more importantly, pulling out the key information locked inside.
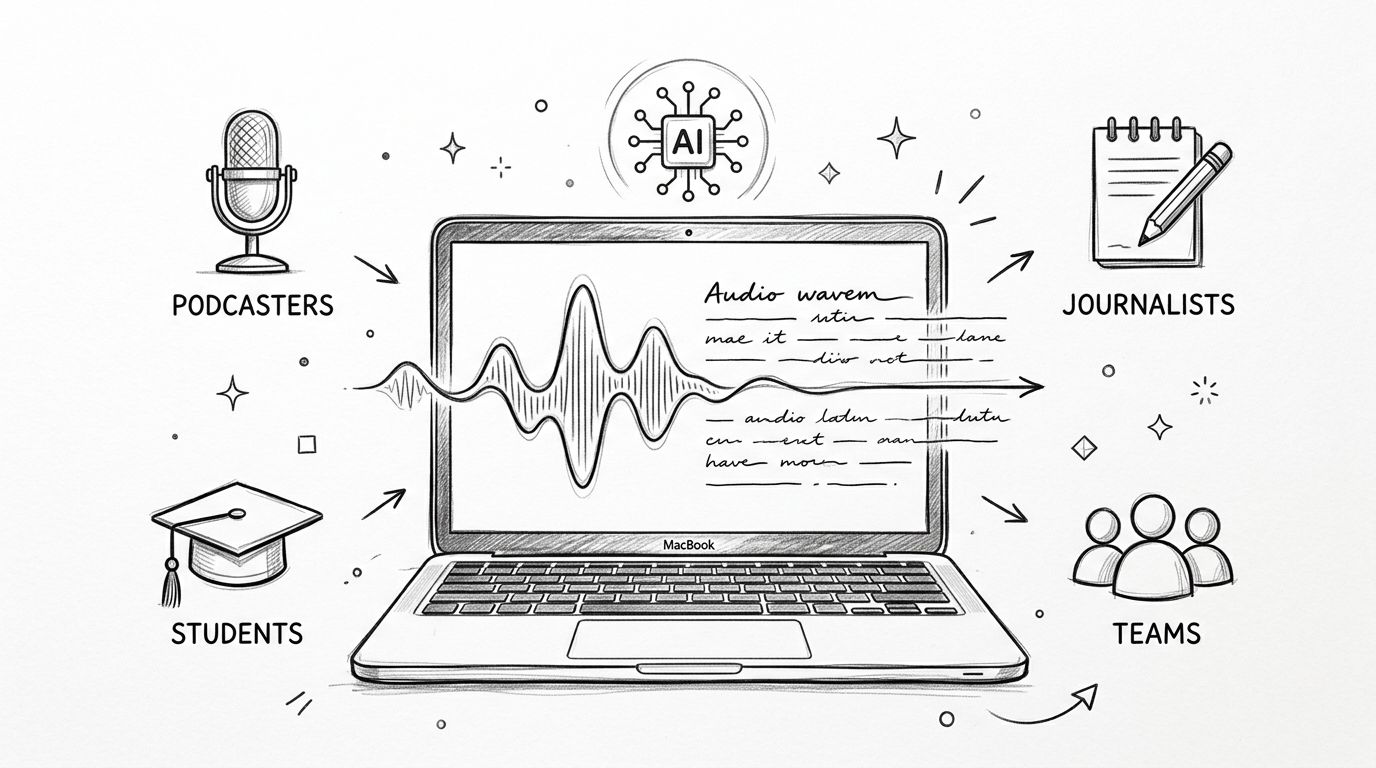
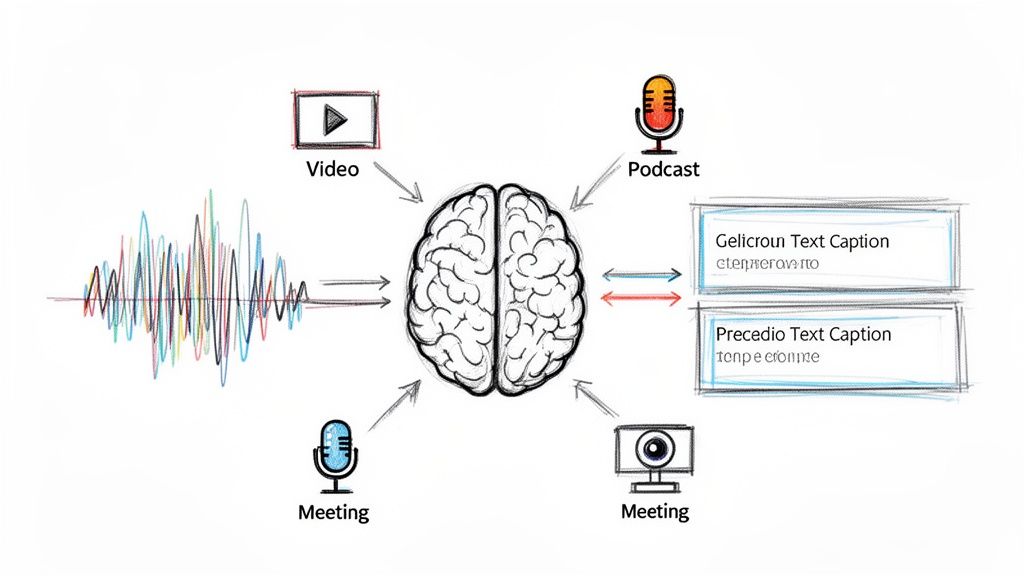
Let's be honest, nobody wants to rewatch a 60-minute meeting just to find that one comment or decision. That's a huge time-sink. This is where AI transcription tools come in, turning a passive video file into a searchable, incredibly valuable asset.
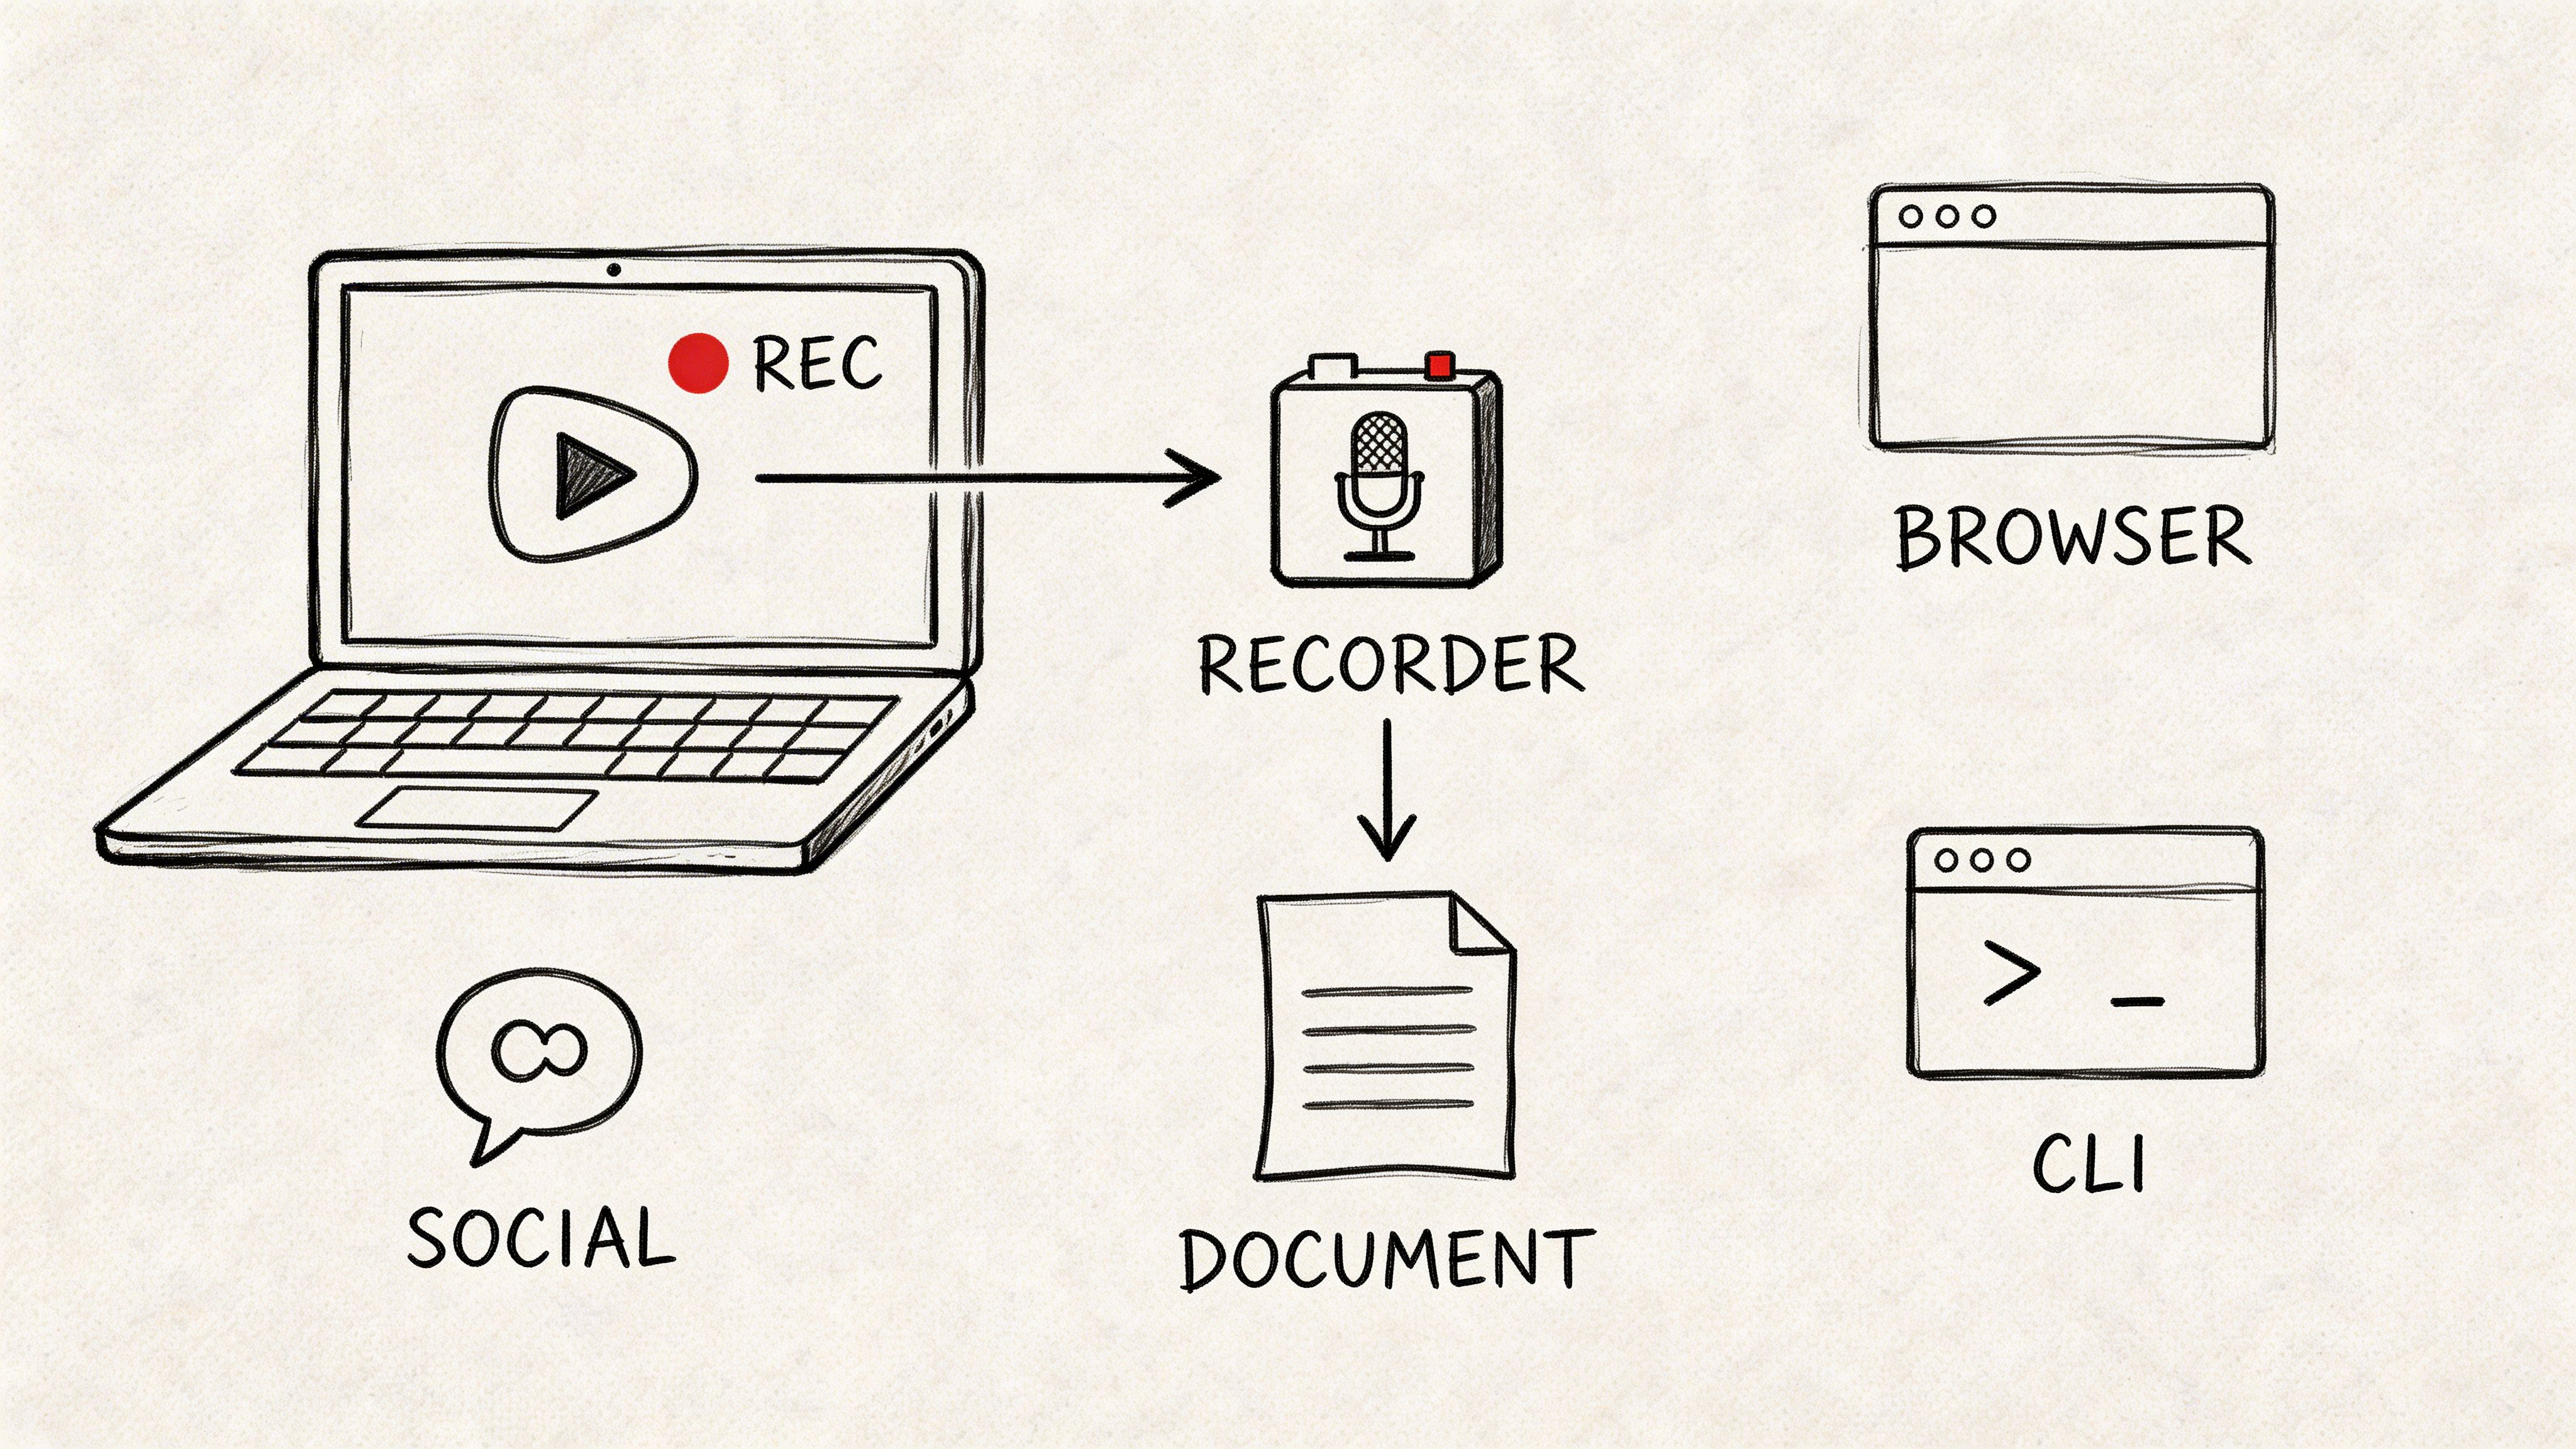
From Video File to Actionable Insights
Imagine having a full, searchable script of your entire meeting. That’s exactly what a service like Whisper AI delivers. Instead of just a video, you get a text document you can instantly search, copy, and paste from.
This completely changes how you use your recordings. Forget scrubbing through a timeline trying to find what you need. Now, you can just hit "Ctrl+F" to pinpoint the exact moment a specific project, client, or keyword was mentioned.
Using AI to Transcribe Your Teams Recording
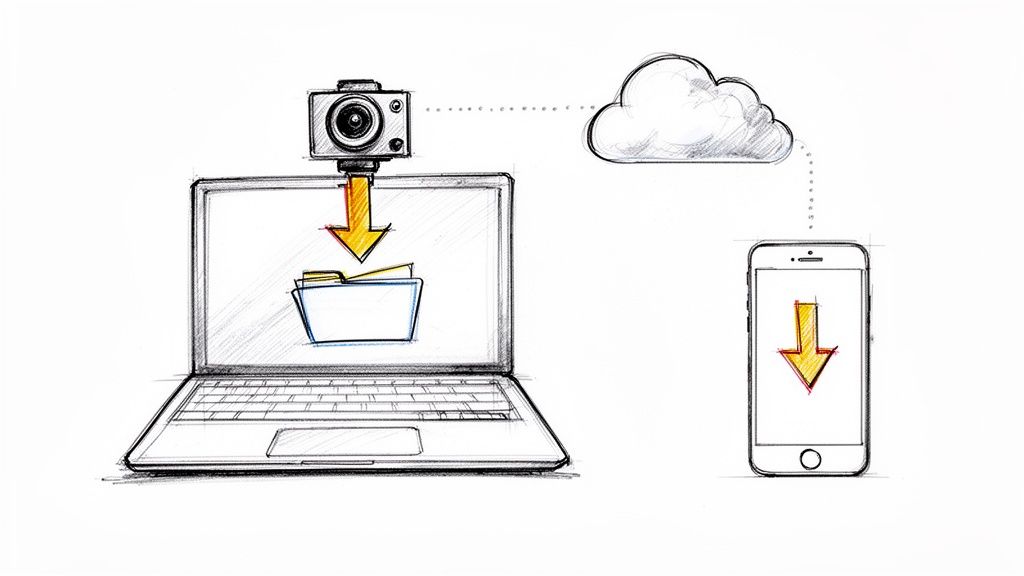
Getting this done is surprisingly straightforward. Once you've found your Teams recording in OneDrive or SharePoint and downloaded the .mp4 file, you're ready to upload it to a transcription tool.
With a tool like Whisper AI, the process is simple. You just drag and drop your .mp4 recording into the platform. You don't have to worry about converting files, as it handles most common formats.
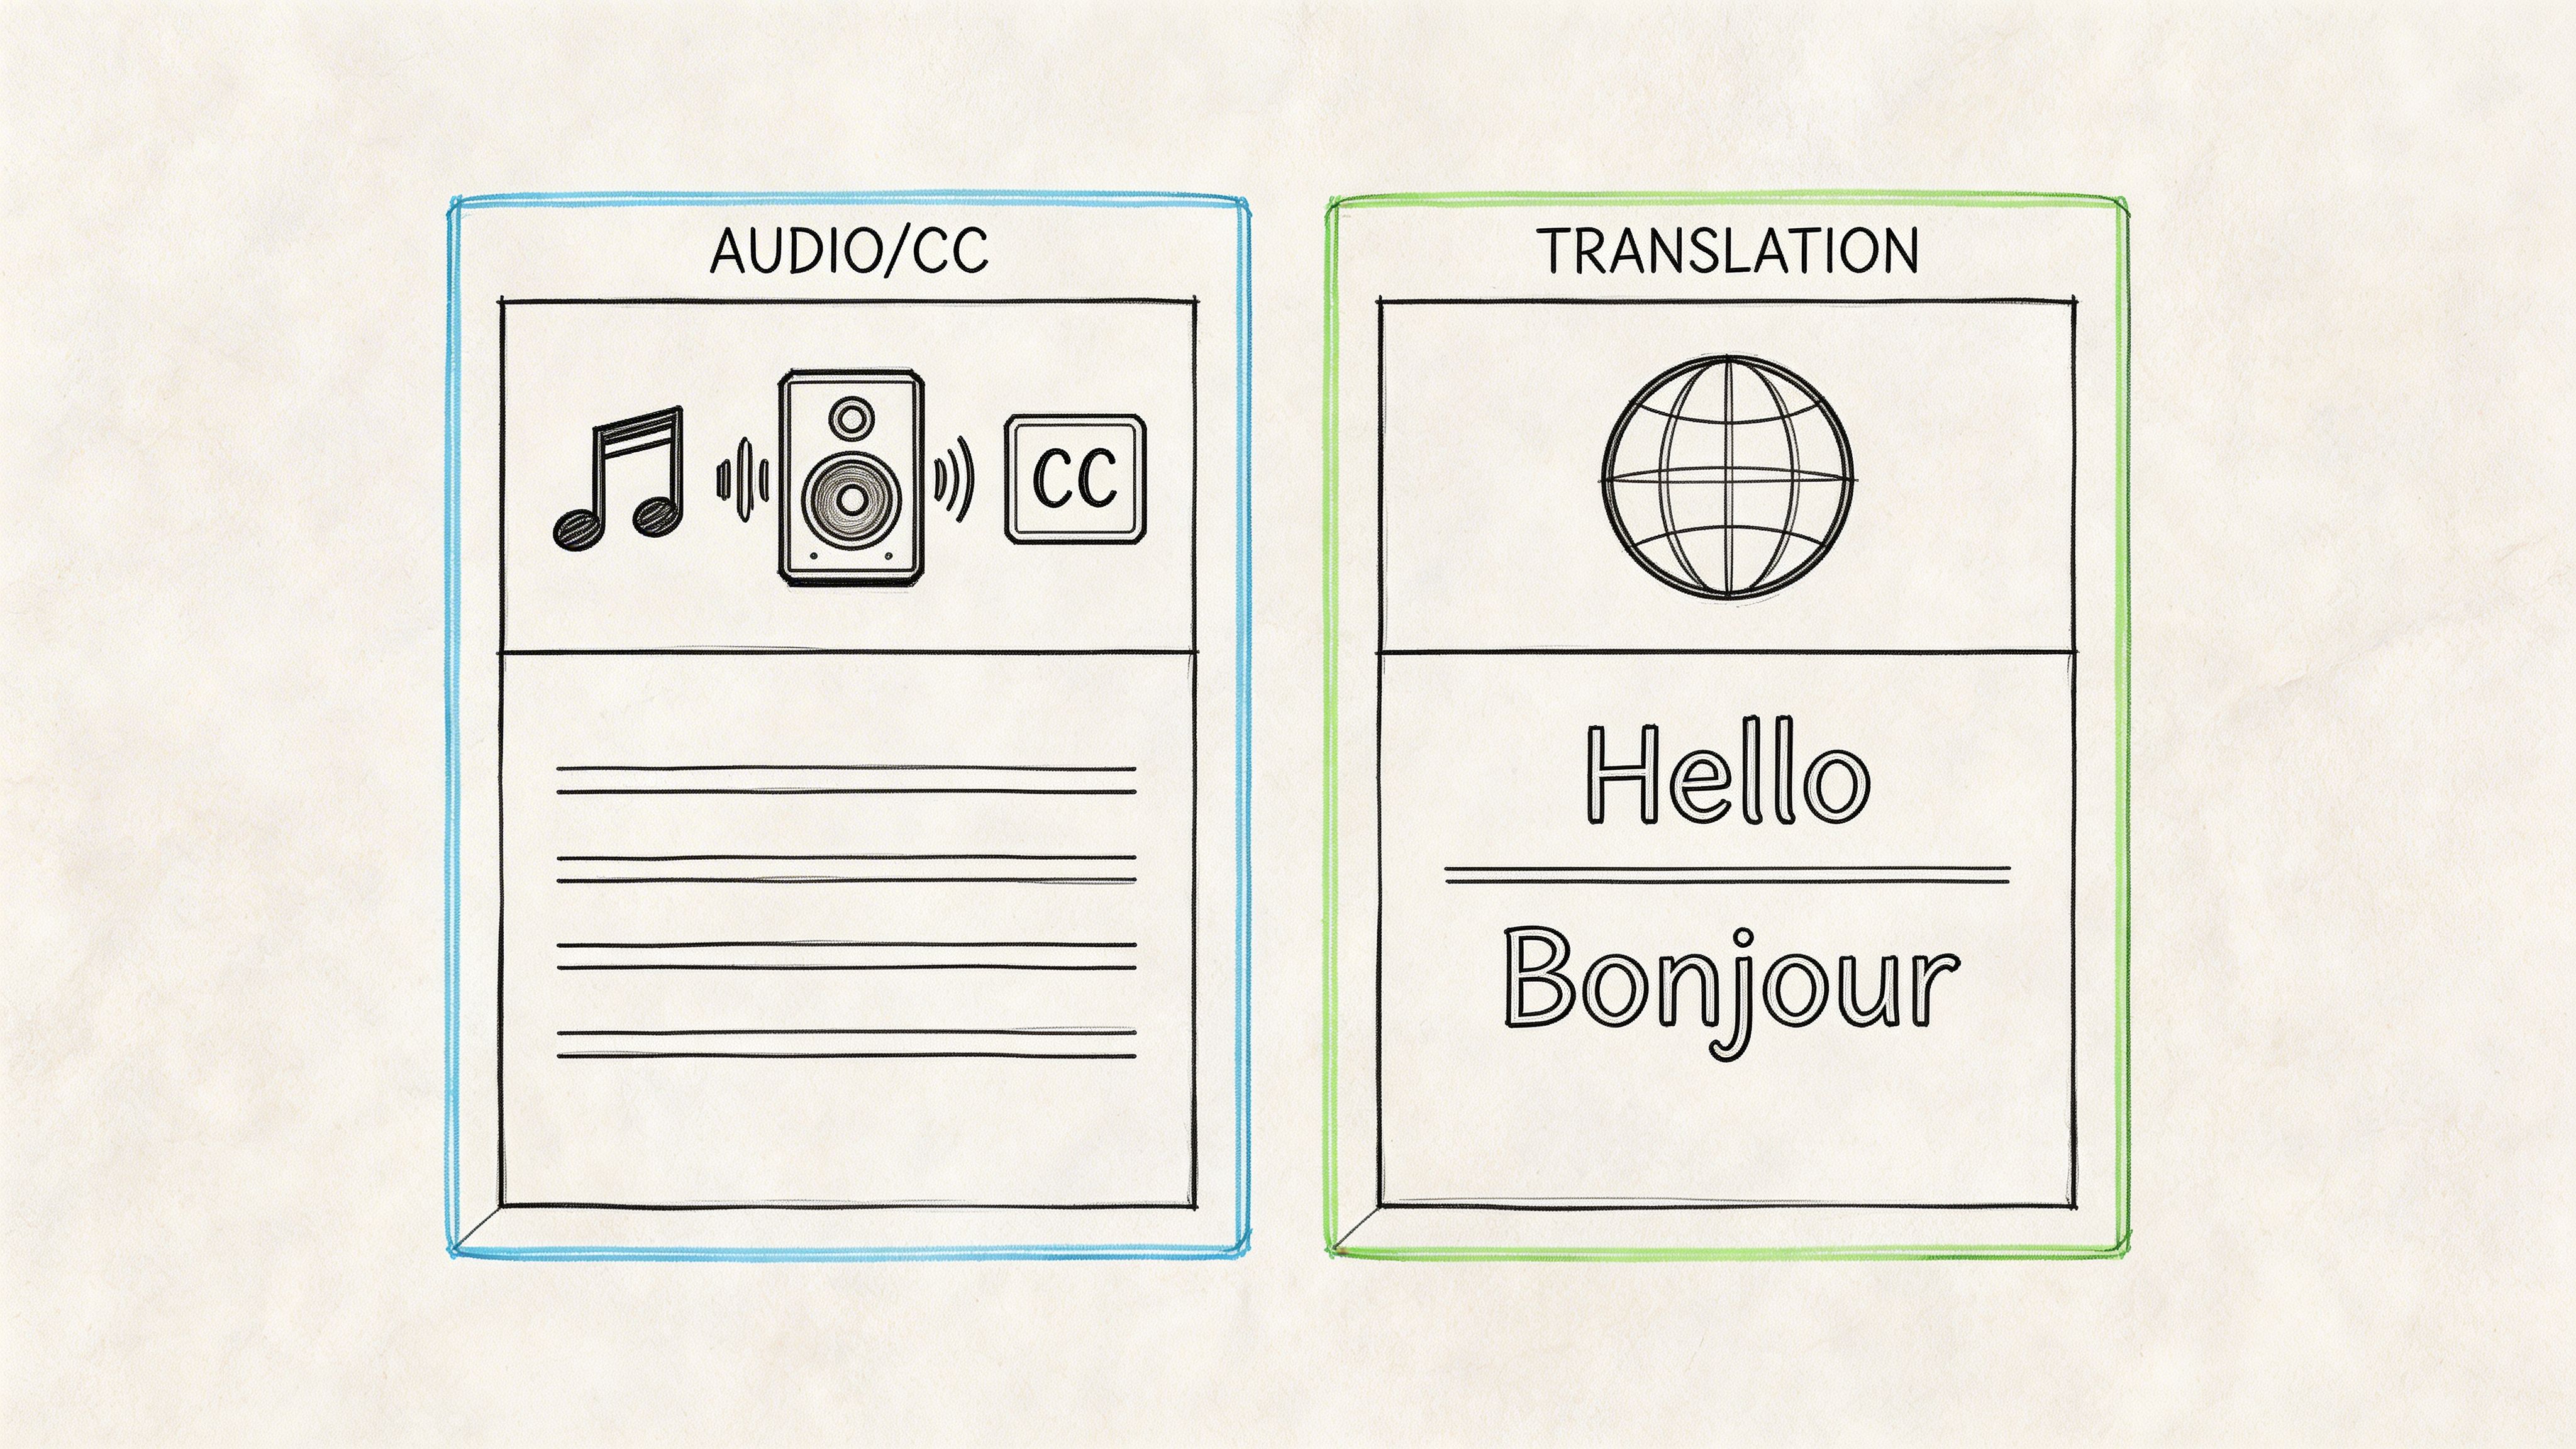
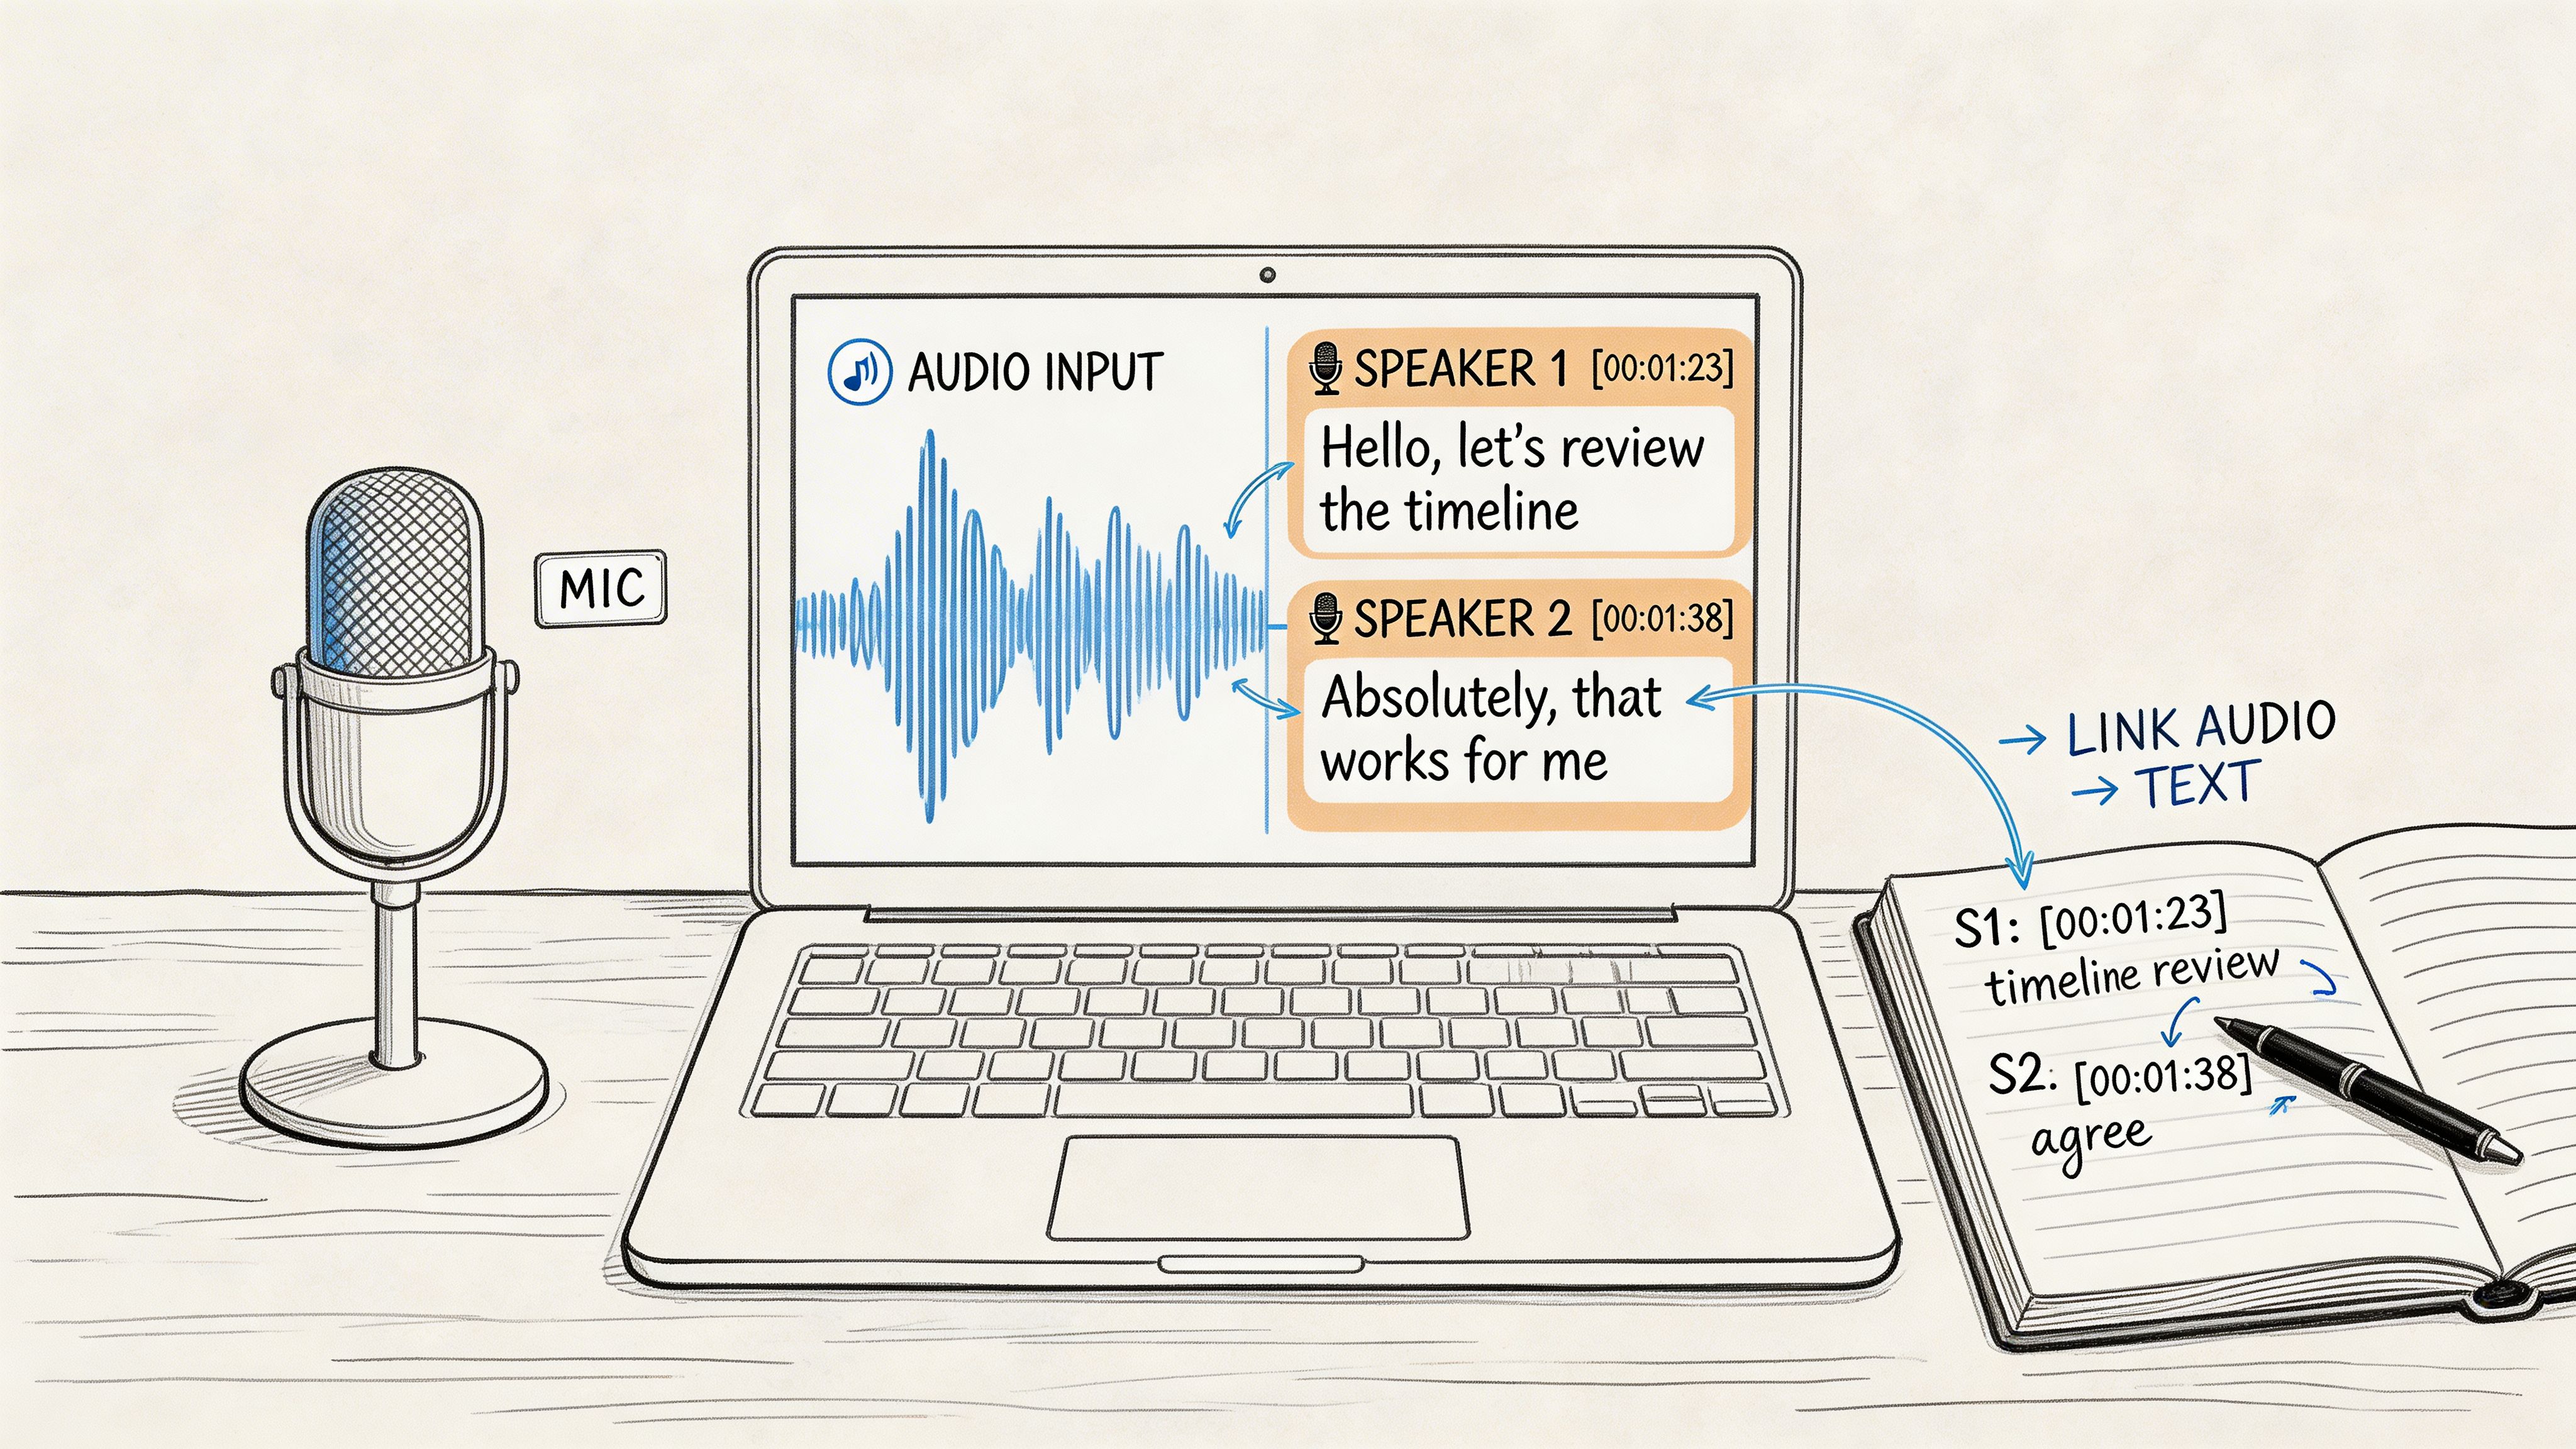
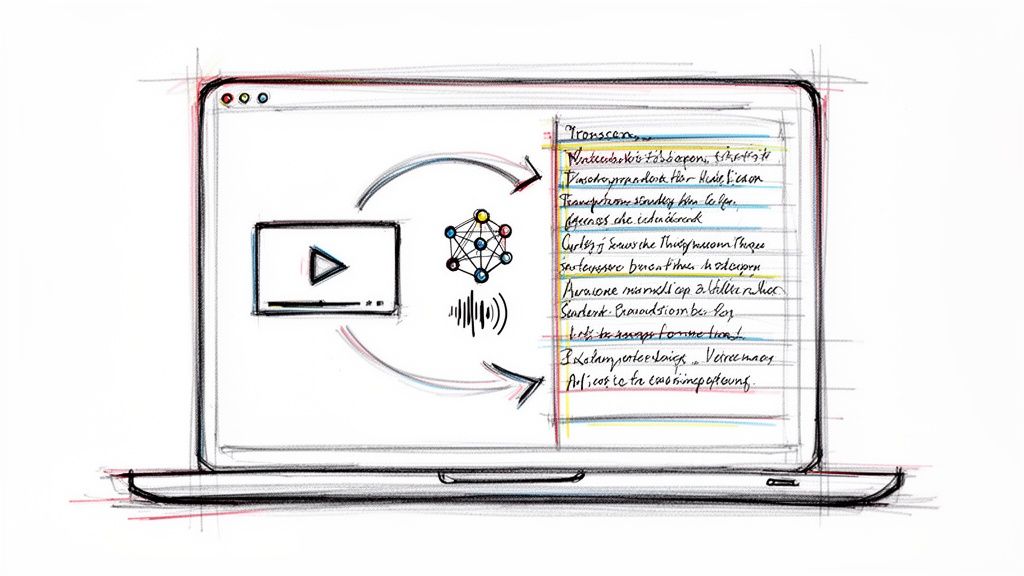
The AI then gets to work, processing the audio to create a highly accurate transcript. It even identifies who was speaking and adds timestamps. Within minutes, you have a clean, organized document ready to go.
This is a huge improvement over the basic transcription built into Teams. For a deeper look into how this technology works, check out our guide on how to AI transcribe video to text.
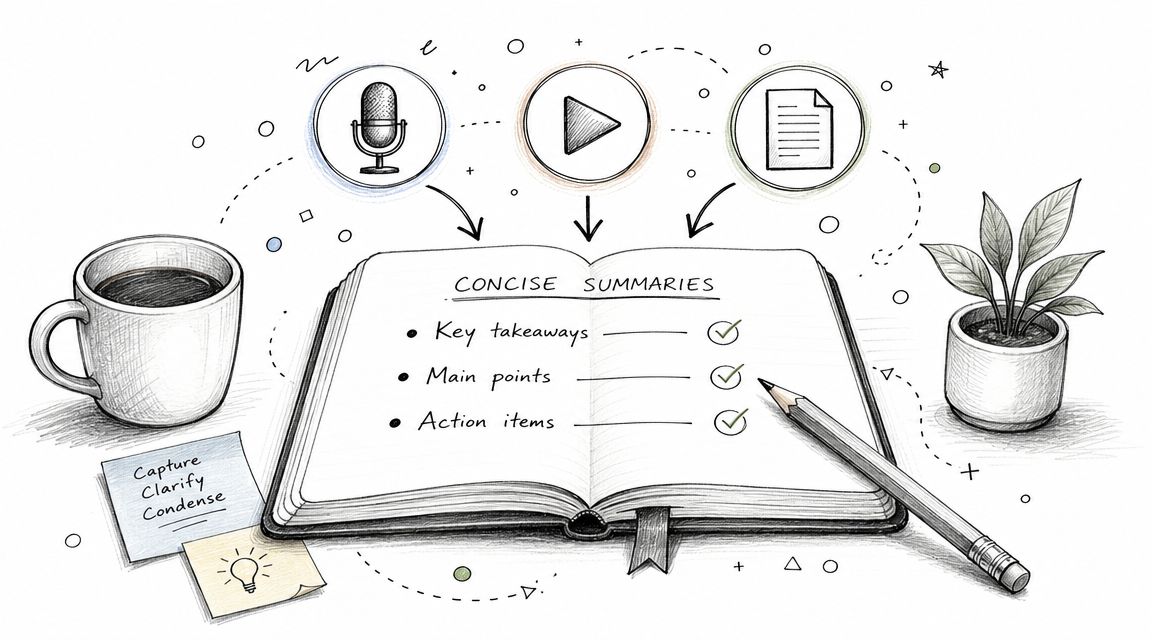
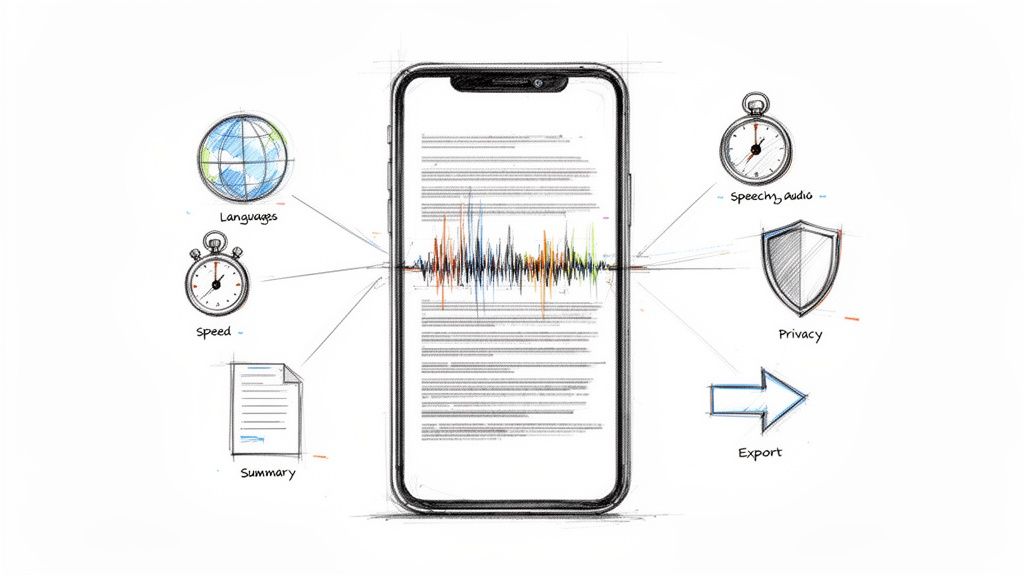
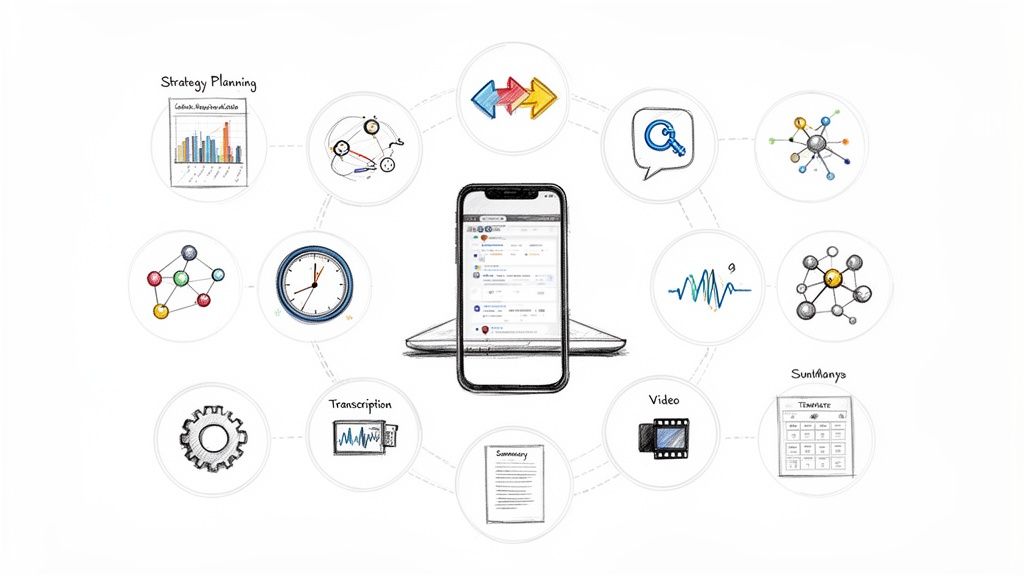
The real game-changer is the AI-generated summary. Beyond a word-for-word transcript, tools like Whisper AI can pull out a concise summary, highlight key points in a bulleted list, and even suggest action items. It's like having a personal assistant who took perfect notes for you.
Real-World Scenarios for Transcribed Recordings
The possibilities for a transcribed meeting are practically endless. This isn't just about having better notes; it's about making information easy to find and act on.
For Project Managers:
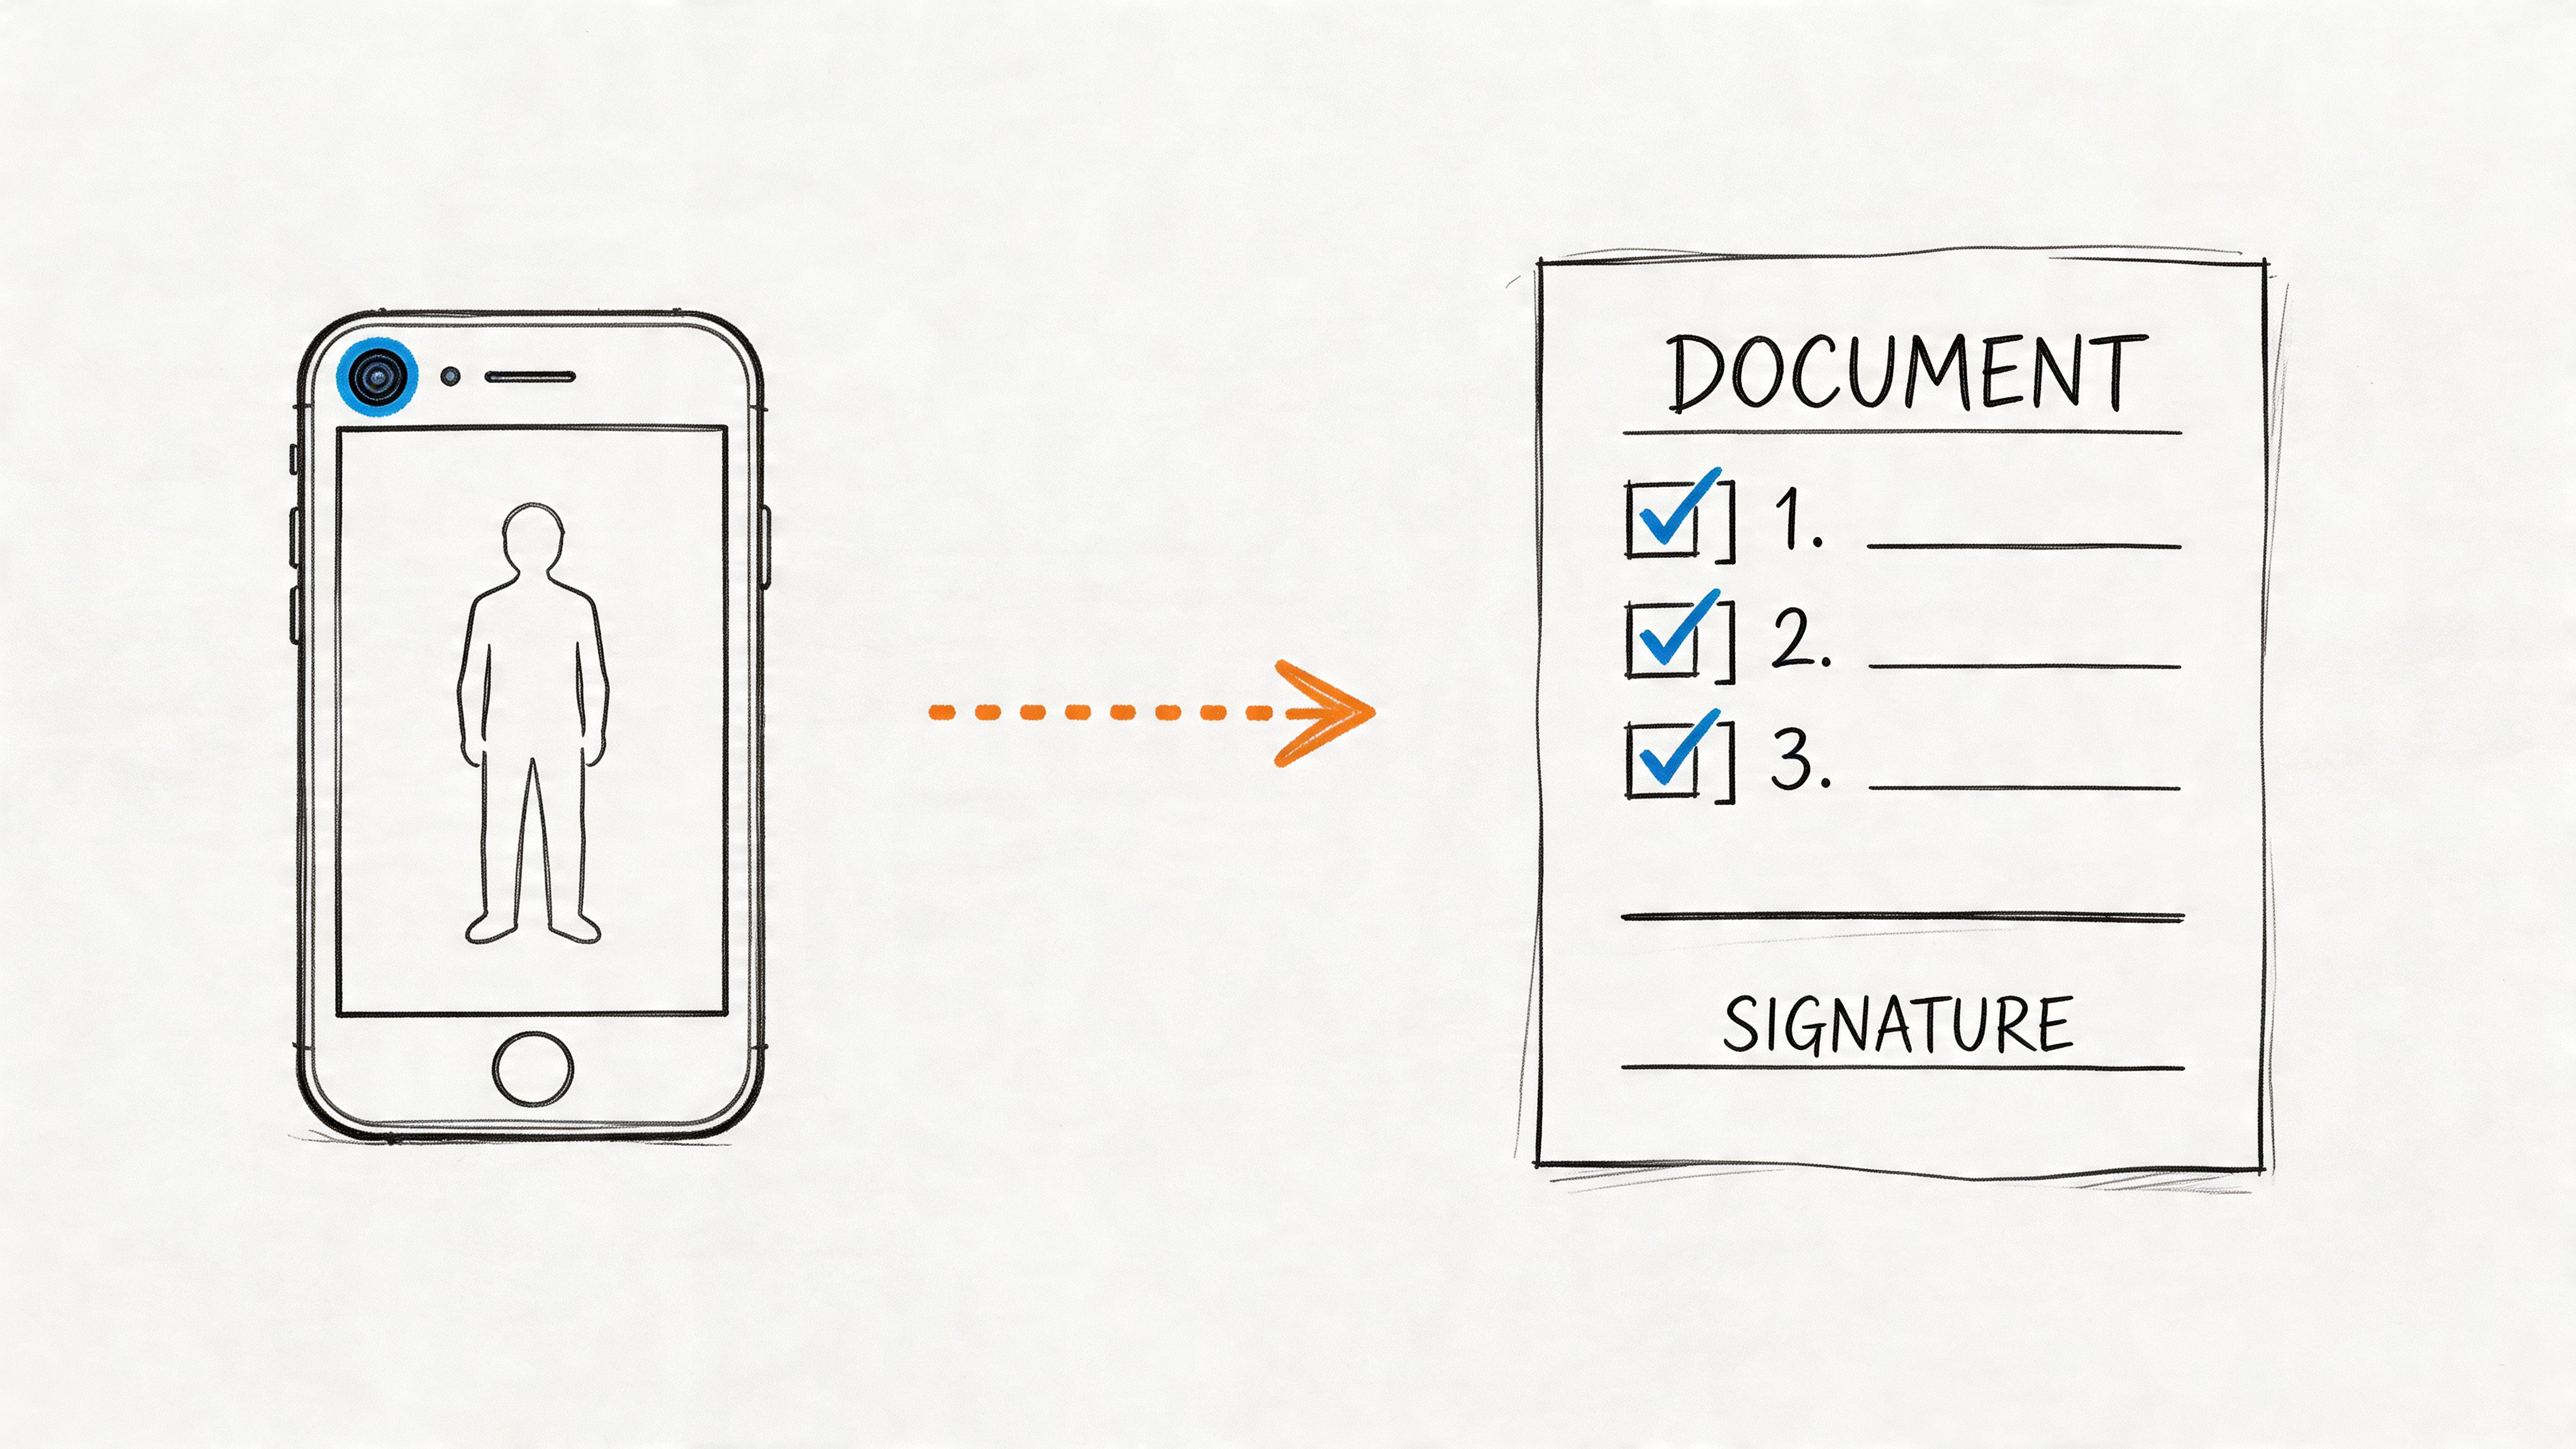
A PM can take the recording from a weekly sync, run it through a transcription tool, and instantly have a list of every action item discussed. They can then copy those tasks straight into a tool like Planner or Asana, with the full context from the transcript just a click away.
For Sales Representatives:
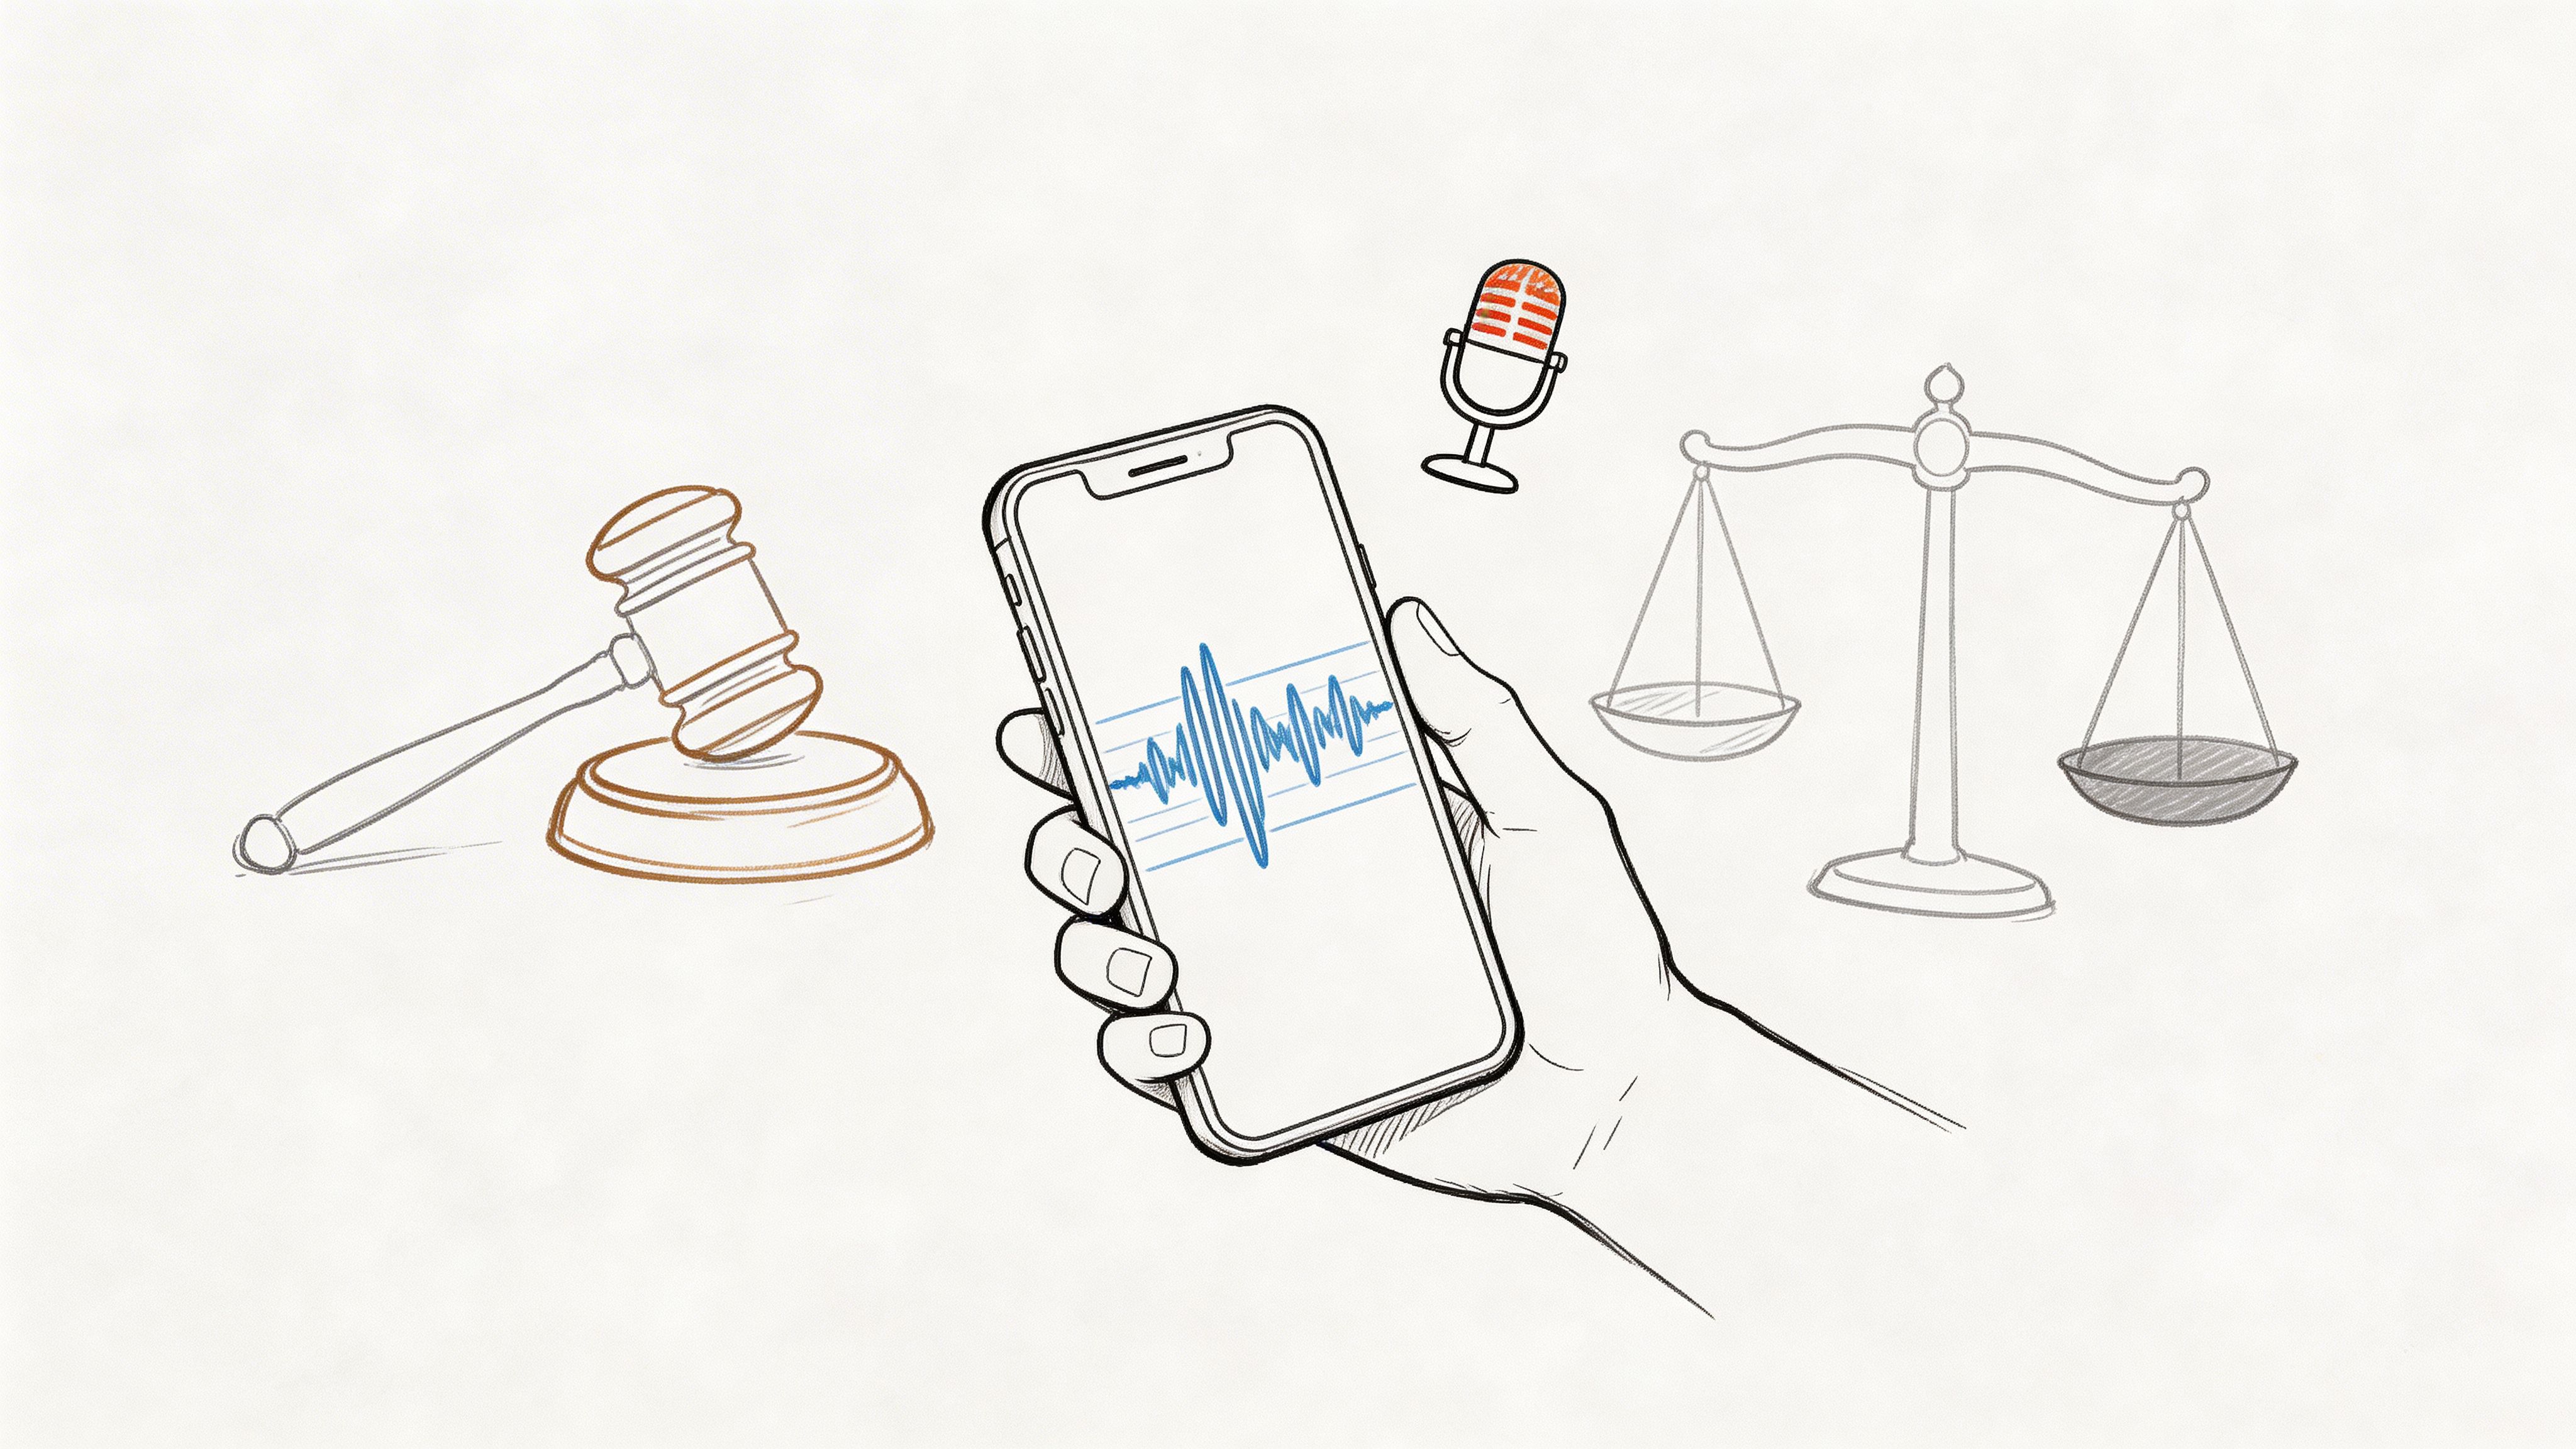
A sales rep can upload a client discovery call. Later, they can search the transcript for specific pain points, budget talks, or feature requests. This makes follow-up emails far more precise and helps them build a proposal that directly addresses what the client actually said.
For Content Marketers:
A marketer can transcribe a webinar or an interview with an internal expert. From that one transcript, they can pull quotes for social media, write a detailed blog post, and build out a website FAQ—all from a single recording.
By transcribing your Teams recordings, you unlock all the value trapped inside them. You're turning hours of video into a library of searchable knowledge that your team can use long after the meeting has ended.
Common Questions (and Answers) About Teams Recordings
Even after you get the hang of where Teams tucks away your recordings, a few common questions always seem to pop up. Let's walk through some of the most frequent snags people hit when managing their videos.
How Long Are Teams Recordings Kept?
Here's a surprise that trips up a lot of people: Teams recordings aren't stored forever. By default, Microsoft sets a 120-day expiration date on all new recordings. This is a system-wide setting your IT admin configures to keep storage costs and data clutter under control.
Thankfully, you can easily check and change this. Just find the video file in OneDrive or SharePoint, select it, and open the details pane. The expiration date will be listed right there.
If you own the file, you can usually extend or even remove that date.
- Find your recording in its OneDrive or SharePoint folder.
- Click the "Info" icon (it looks like an "i" in a circle) to see the file details.
- Look for the expiration date. You should see an option right next to it to extend the date or remove it completely.
Taking a few seconds to do this can prevent a critical recording from being automatically deleted.
Can I Recover a Deleted Teams Recording?
That sinking feeling when you accidentally delete a recording is awful, but don't panic. You can almost always get it back. Microsoft 365 doesn't immediately erase files; it sends them to a recycle bin first.
The recovery process is pretty simple.
- Go to the place where the video was originally stored. That's your personal OneDrive for private meetings or the team's SharePoint site for channel meetings.
- Find the "Recycle Bin" in the navigation menu on the left side of the screen.
- Once you spot your deleted video file, just select it and click the "Restore" button.
In most Microsoft 365 setups, files hang out in this first-stage recycle bin for up to 93 days. That gives you a pretty generous window to rescue anything you deleted by mistake.
Why Can't I Record a Meeting?
Ever joined a meeting and found the "Start Recording" button is grayed out or just plain missing? It almost always comes down to permissions. Not just anyone in a meeting can hit record.
Typically, recording rights are limited to:
- The person who organized the meeting.
- Another person from the same organization as the organizer.
This means that guests, external users, and anonymous attendees usually can't start or stop a recording. It's a security feature that keeps control of the meeting's content with the host organization. If you're the one who needs to record, your best bet is to simply ask the meeting organizer to start it for you.
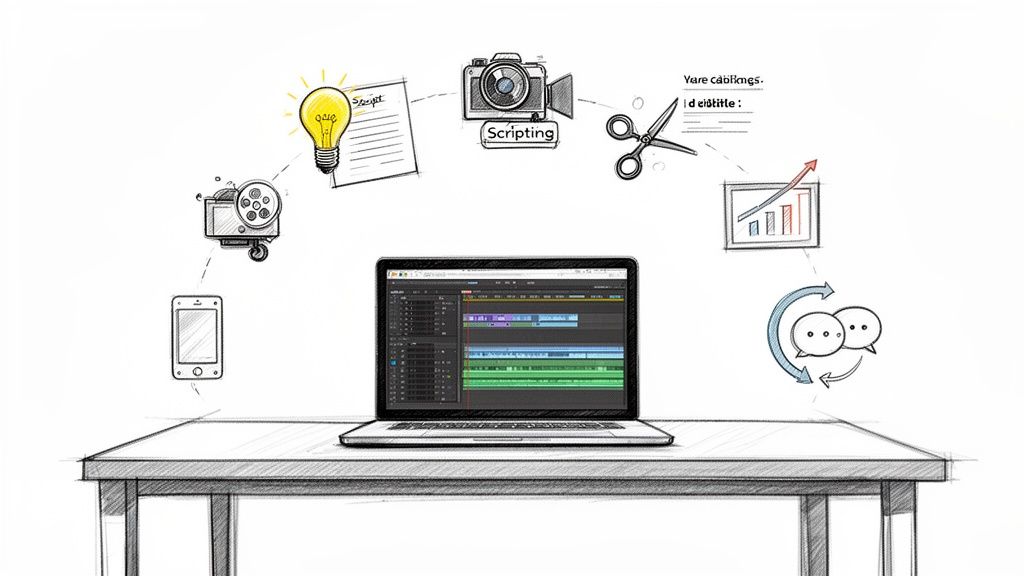
Once you have your recordings, they're perfect source material. You can use them to make instructional videos, turning a simple meeting into a reusable training asset for your entire team.
After finding and downloading your meeting video, the real work begins: pulling out the valuable insights locked inside. Instead of spending hours re-watching everything, let Whisper AI handle it. Our platform transcribes your Teams recordings into accurate, searchable text, complete with speaker labels and AI-generated summaries, letting you find key moments in seconds. Get started with Whisper AI and turn your recordings into actionable knowledge today.