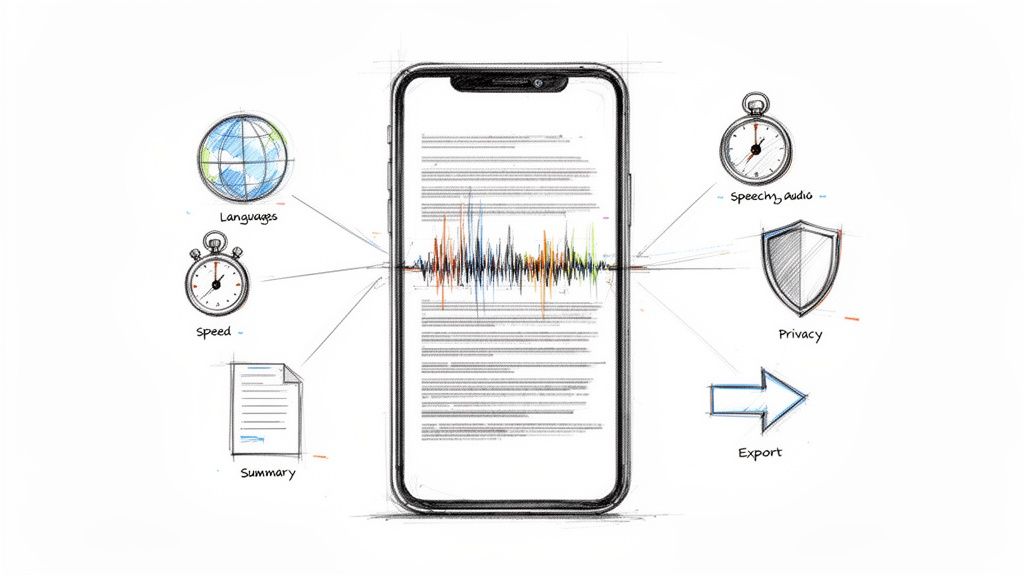
A Guide to Adding a Timestamp to a YouTube Link
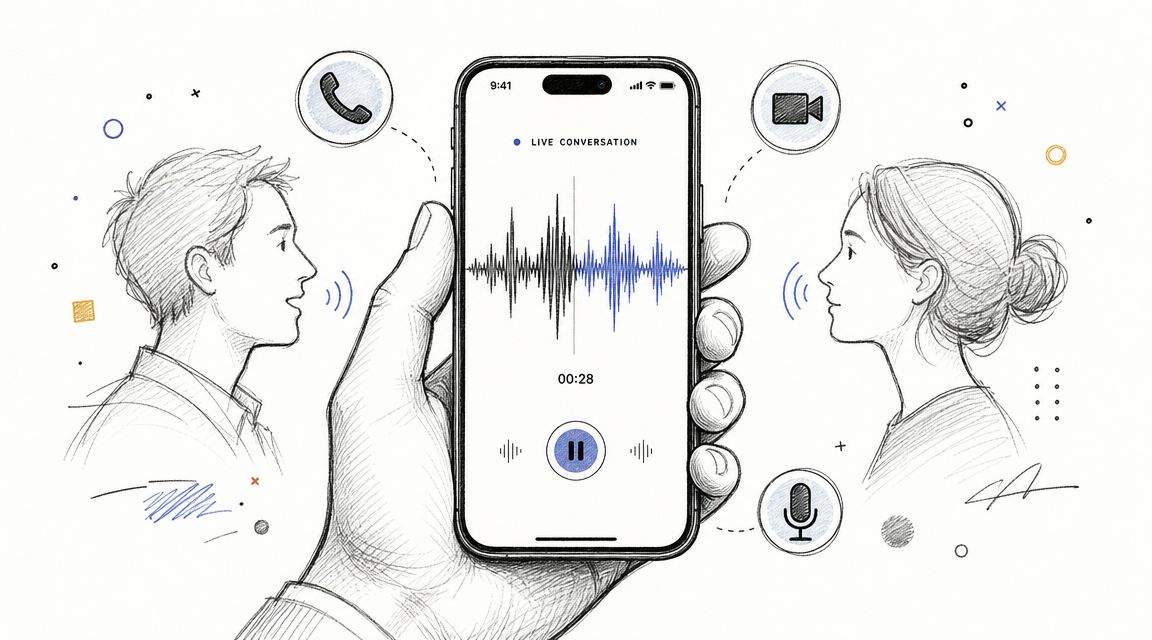
Have you ever sent a friend a long video and told them to "skip to the good part"? That's exactly what adding a timestamp to a YouTube link does for you, but automatically. From my experience, it's more than just a convenient shortcut; it's a powerful way to respect your audience's time and guide them straight to the content that matters most.
Why YouTube Timestamps Are Your Secret Weapon
Think of timestamped links as a guided tour of your video. Instead of dropping someone at the beginning of a 30-minute video and hoping they find what they need, you're taking them directly to the most valuable moment. This simple action removes friction and delivers an instant payoff, which is crucial for keeping people engaged.
For content creators, this is a huge advantage. When I've used this on my own videos, I've noticed that when viewers find what they're looking for right away, they're far more likely to stick around, watch more, and share what they found. Those are precisely the signals the YouTube algorithm loves to see, often leading to better visibility for your channel.
Driving Engagement and Retention
Using timestamps strategically can directly impact your channel's metrics. Let's say you've created a 20-minute deep-dive on AI transcription tools. You notice in your YouTube Analytics that many viewers drop off around the 4 minute and 55 second mark.
Instead of losing them, you can create a specific link like https://www.youtube.com/watch?v=example&t=295s and share it on social media, highlighting the key takeaway at that exact moment. By cutting out the fluff, you give people the value upfront. I've personally seen channels boost their average view duration by up to 25% with this tactic alone. For more on this, it's worth checking out YouTube's creator insights on using analytics.
The core idea is simple: Make it easy for your audience to find the gold. Whether you're an educator pointing students to a key lecture segment or a marketer showcasing a product demo, timestamps make your content more accessible and impactful.
This isn't just for creators, either. It’s a practical tool for anyone:
- Content Marketers: Guide potential customers directly to a product feature or a powerful testimonial inside a longer webinar recording.
- Educators: Send students a link that jumps right to the specific concept they need to review for an exam.
- Everyone Else: Share that one hilarious moment from a long stream with your friends without the classic "fast forward to 15:32" instruction.
Ultimately, adding a timestamp is about making your content work smarter. It’s a small effort that shows you value your viewer's time, which is one of the best ways to build an engaged audience.
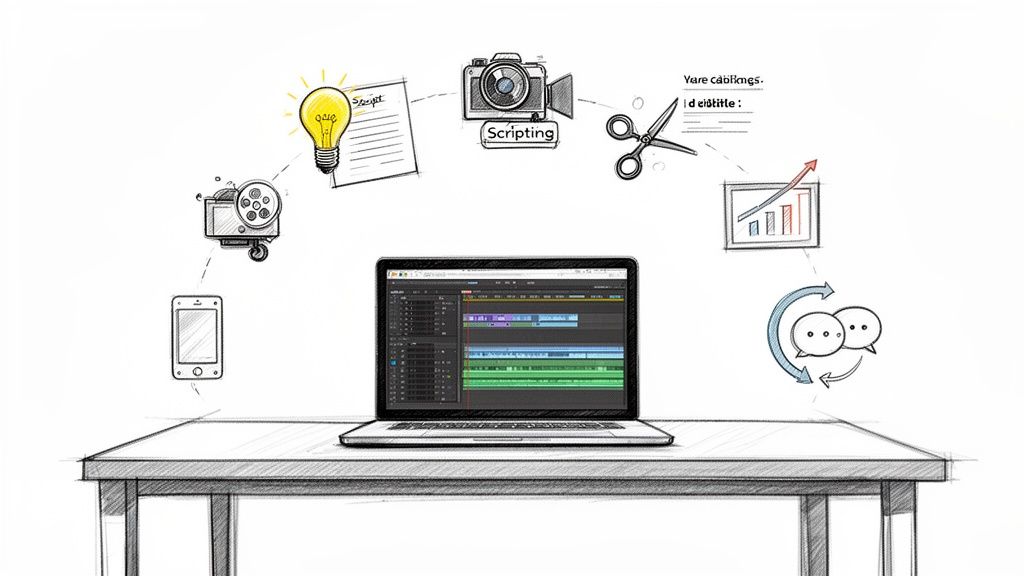
How to Add a Timestamp to a YouTube Link: The Easy Ways
Getting someone to the exact moment in a YouTube video is easier than you might think. Whether you're on a computer or your phone, you can create a special link that starts the video at a specific time. Let's walk through the simplest methods I use all the time.
The absolute quickest way is to use YouTube's built-in "Share" feature. You've probably clicked that button hundreds of times. When you do, a small window pops up with sharing options. Just look for the little checkbox at the bottom labeled “Start at.”

Once you check that box, it automatically grabs the current time from the video you're watching. You can also type in a different time yourself. Hit copy, and you're done. This is my go-to method for speed and simplicity.
Manually Tweaking the YouTube URL
If you're more of a hands-on person or already have a link you just want to modify, you can add the timestamp by hand. It's just a matter of adding a small "parameter" to the end of the video's URL.
You'll use one of two parameters, depending on what the URL looks like:
- Use
?t=for a clean, standard URL. For instance:https://www.youtube.com/watch?v=VIDEO_ID?t=90s - Use
&t=if the URL already has a?in it, which is common for links from playlists. For example:https://www.youtube.com/watch?v=VIDEO_ID&list=PLAYLIST_ID&t=90s
The "t" simply stands for time. You can write the time in a couple of ways—either in total seconds (like t=90s for 1 minute and 30 seconds) or with minutes and seconds (like t=1m30s). Both work, but my personal experience has taught me one is better than the other.
Pro Tip: I always stick to specifying the time in seconds. It’s a cleaner, more reliable method that avoids potential confusion. For a point at 2 minutes and 15 seconds, I’ll always use
t=135sinstead oft=2m15s. It just works, every time.
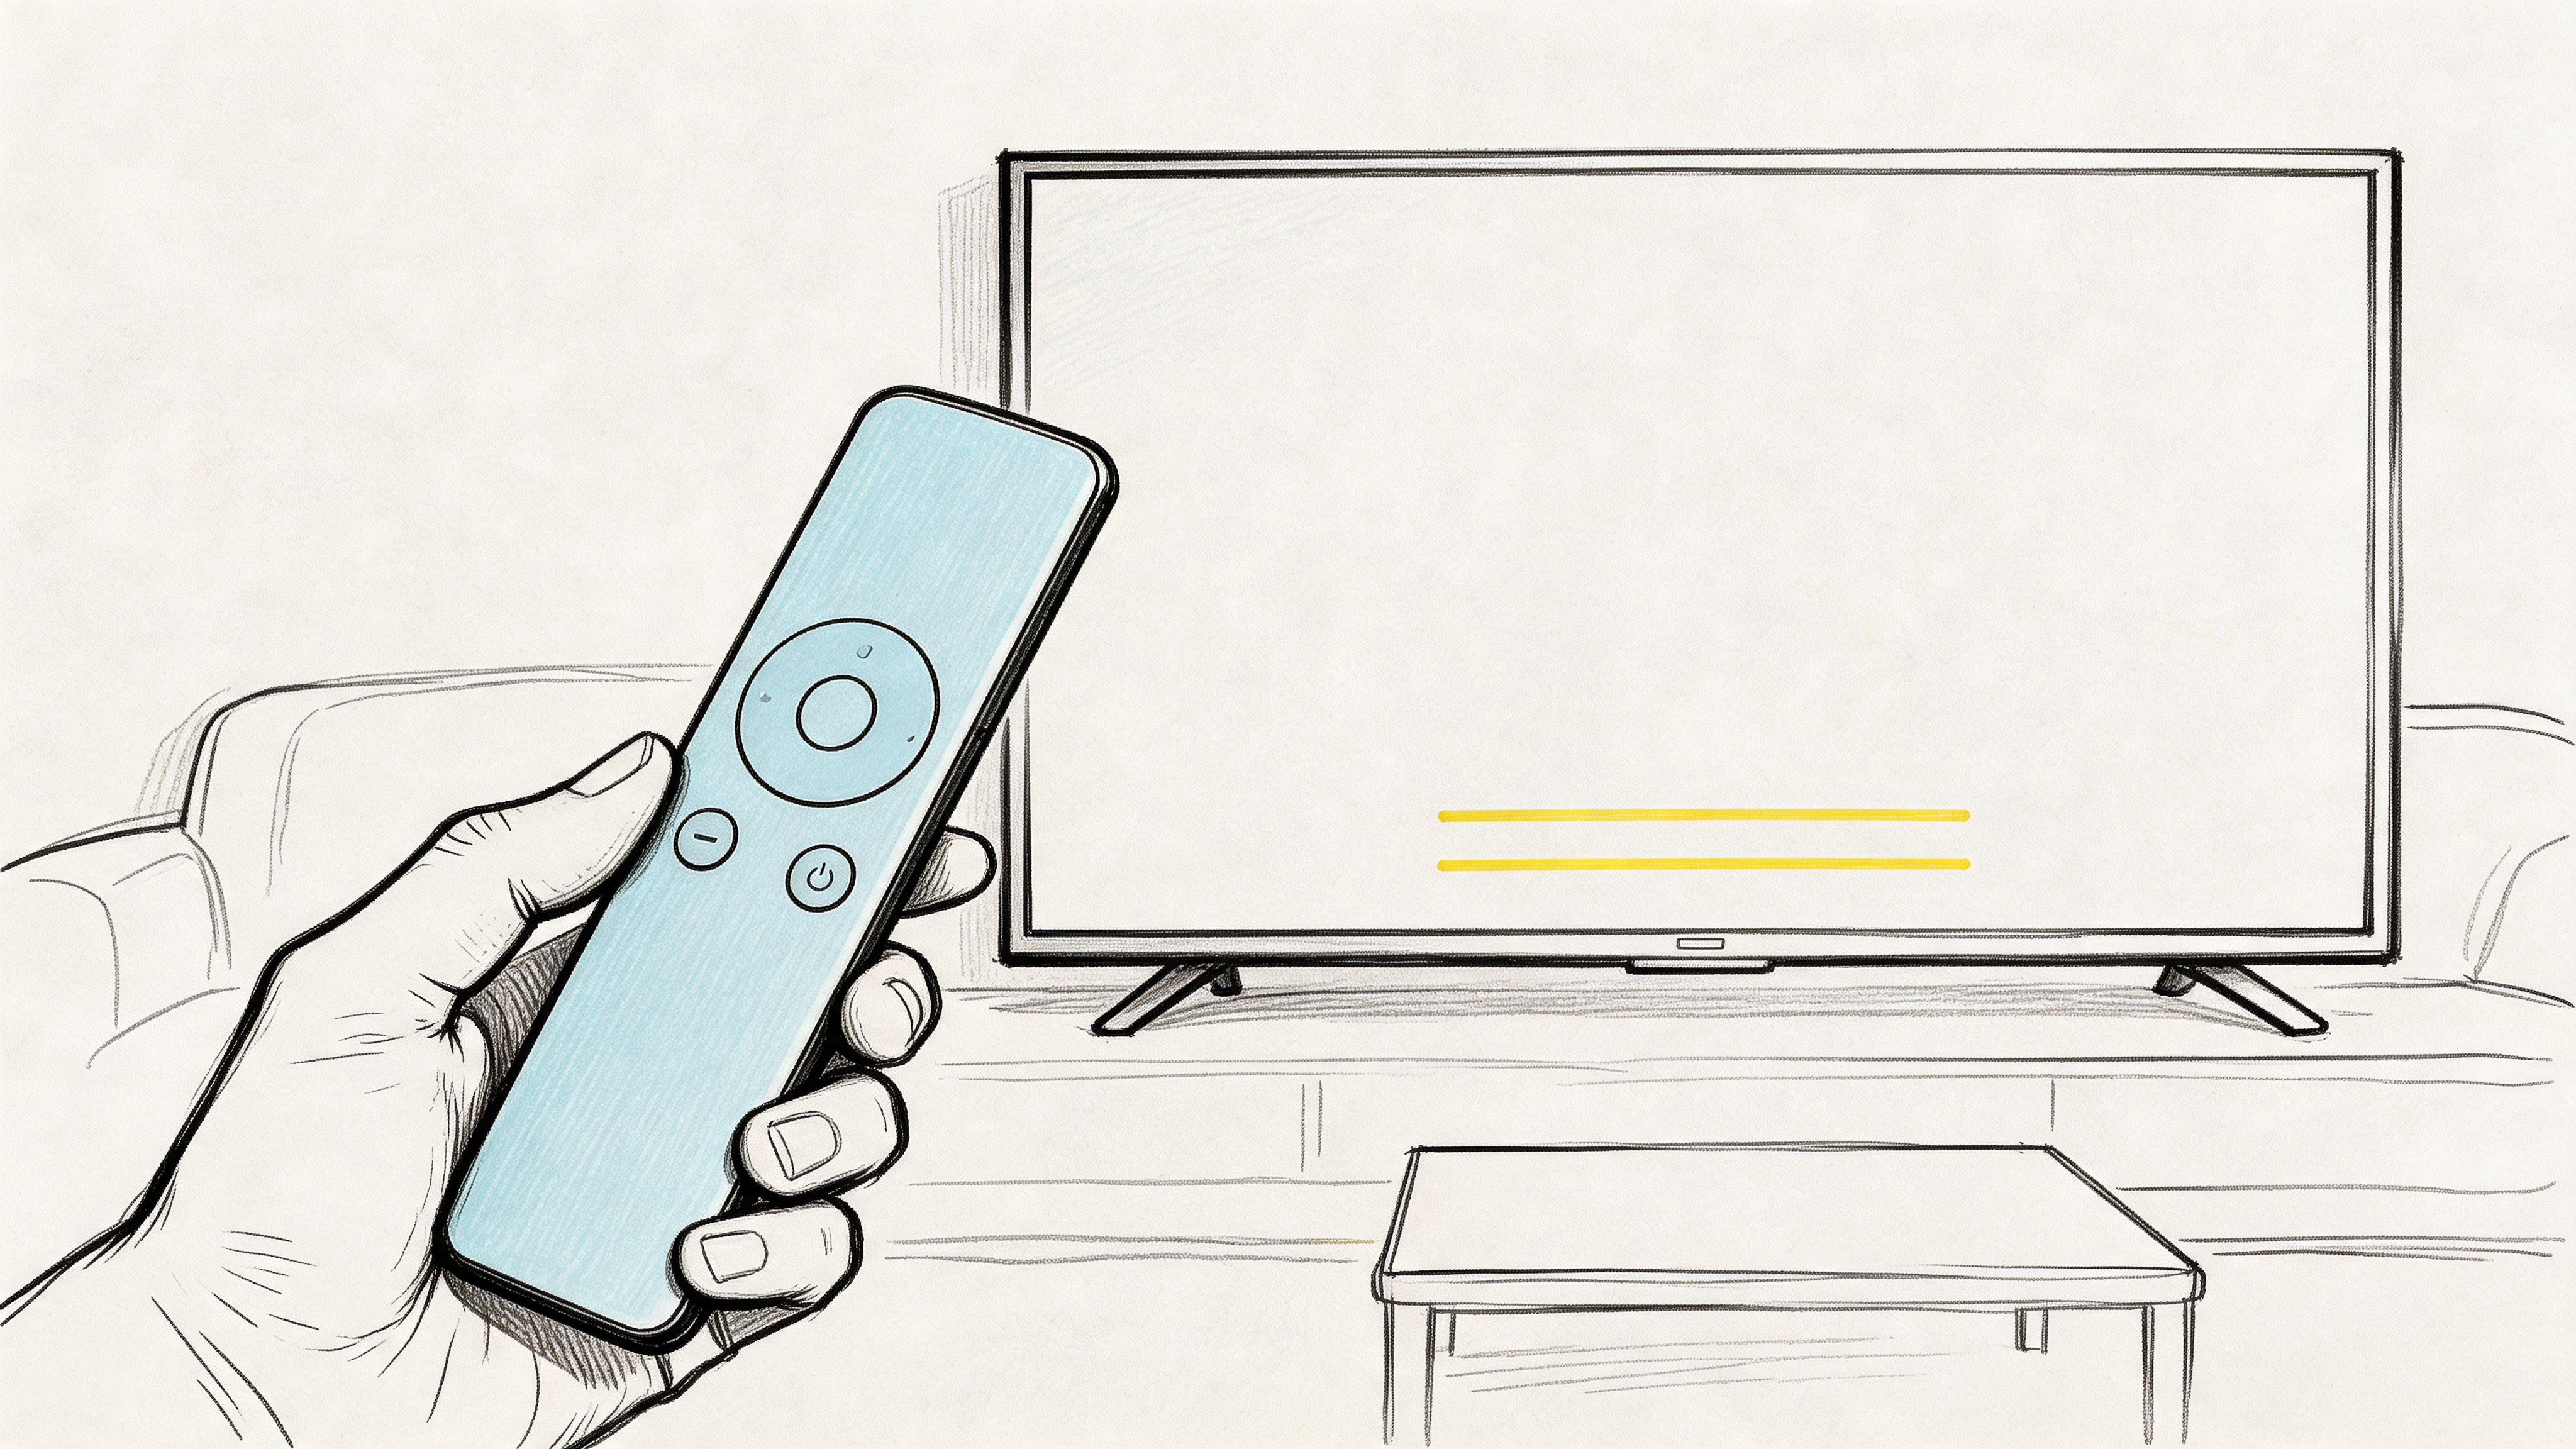
Creating Timestamp Links on Mobile
What about when you're on your phone? The good news is the process is almost exactly the same as on a desktop. Just tap the "Share" button right below the video player.
The share menu will pop up, and you'll see that same "Start at" option. Tap the switch to turn it on, adjust the time if you need to, and then share the link directly from your phone. It's incredibly handy for sending a specific clip to a friend right in the middle of watching.
These timestamps are also the foundation for creating clickable chapters in your video's description, which is a fantastic way to improve the viewer experience. If you're a creator, you should definitely learn how to add chapters to your YouTube video.
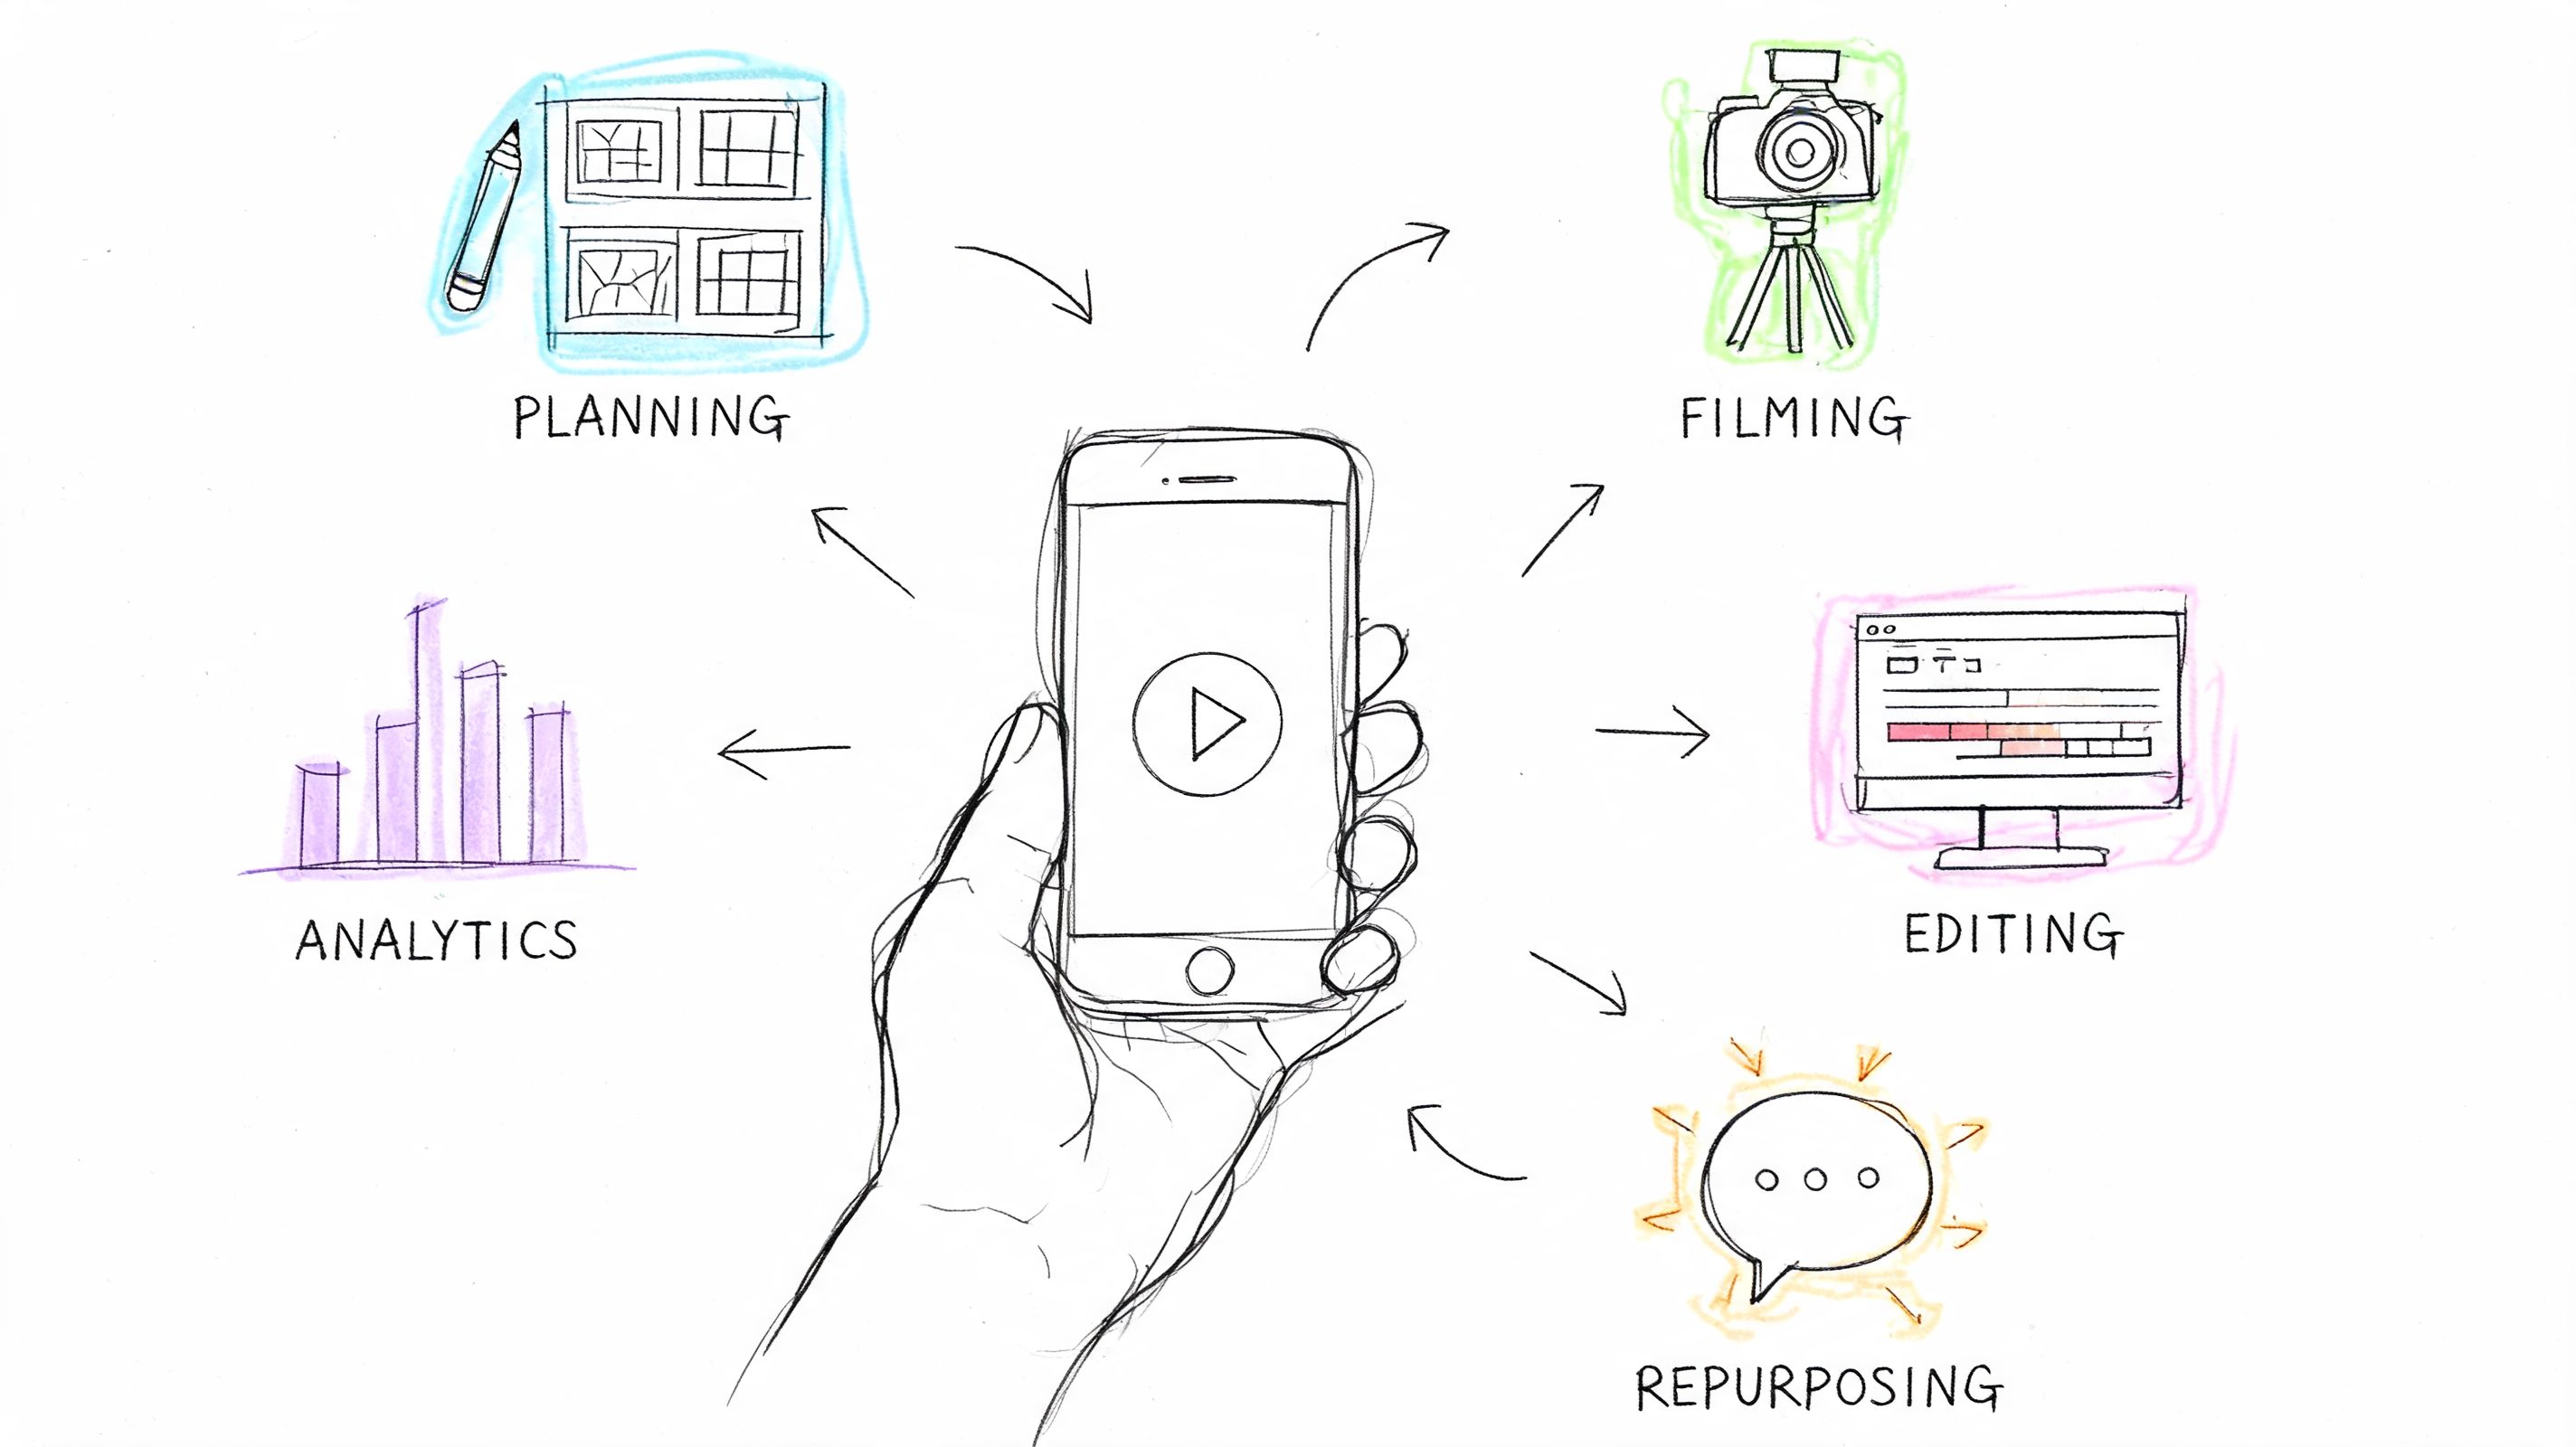
Advanced Timestamping for Creators and Marketers
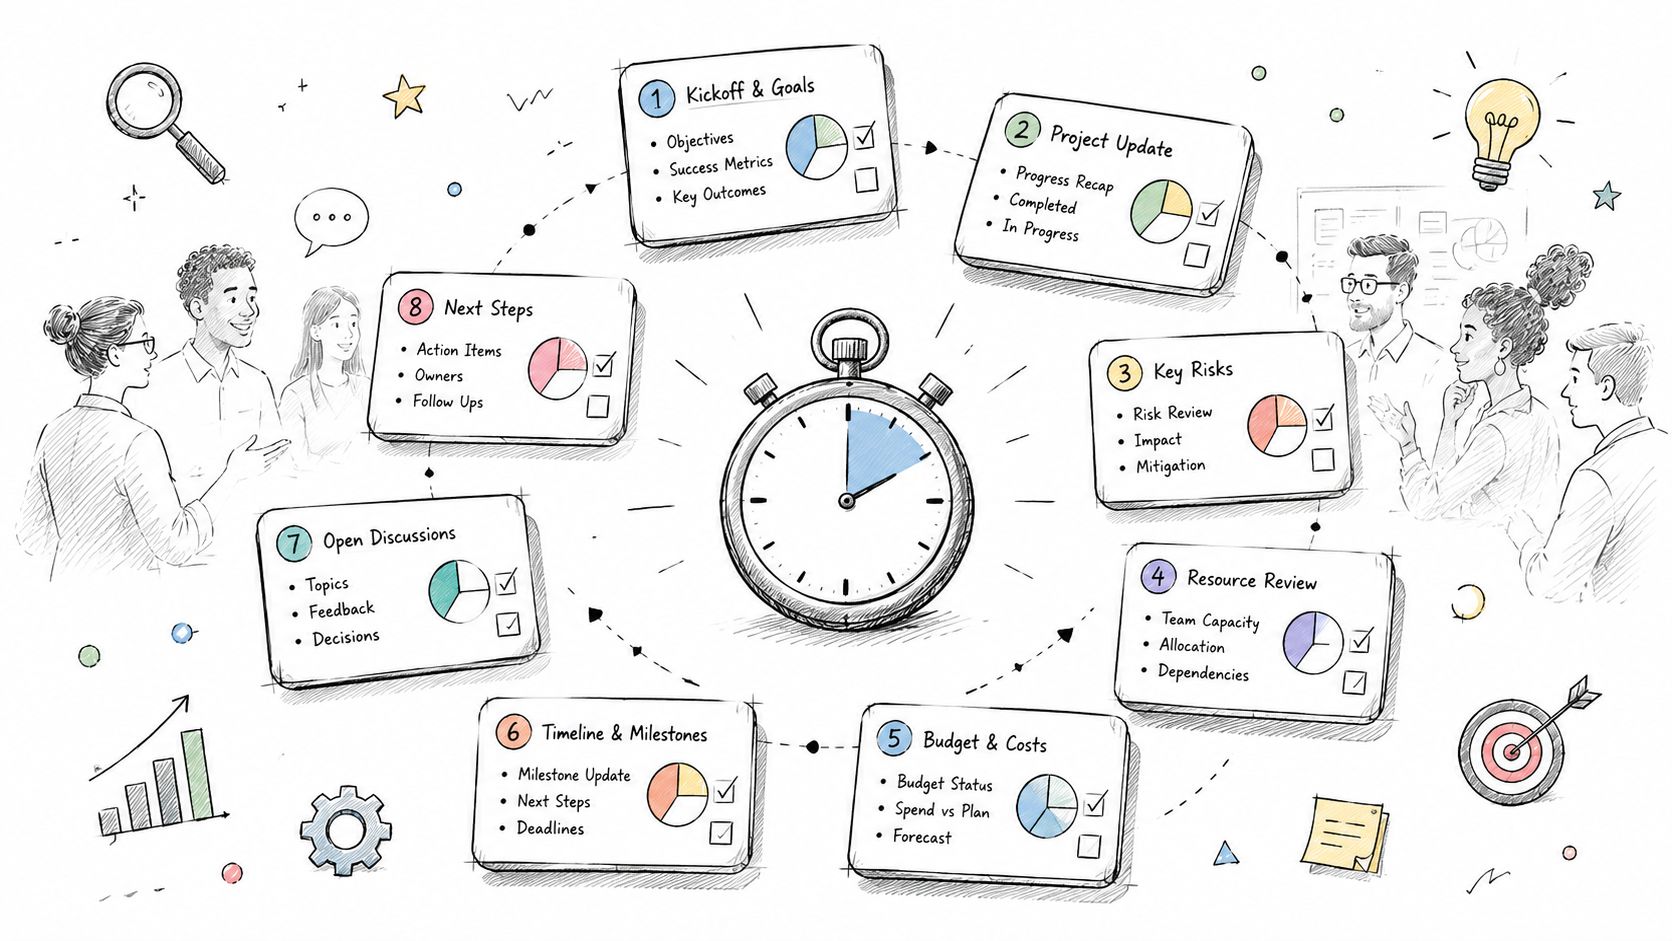
Once you've mastered the basics, you can start using timestamps as a strategic tool in your content workflow. This is where things get interesting, especially for creators trying to improve the viewer experience or marketers looking to squeeze more value out of every video. The most powerful way to do this is with YouTube Chapters.
You've likely seen them before—those little segments that break up a video's timeline. Chapters let viewers skip right to the parts they care about most. Based on my own channel experience, setting them up is surprisingly straightforward: you just need to add a list of timestamps with clear, descriptive titles directly into your video's description.
Structuring Your Description for Chapters
For YouTube to recognize your list and create chapters, you just have to follow a few simple rules. Your list must start with a 0:00 timestamp, include at least three entries, and each chapter needs to be a minimum of 10 seconds long. Make sure they're in chronological order, and you're good to go.
Here’s what that looks like in practice for a webinar recording:
0:00- Welcome and Introduction2:15- Topic 1 Key Findings8:40- Live Q&A Begins15:22- Final Takeaways
This doesn't just make your video more user-friendly; it's also a huge win for SEO. Google often pulls these chapters directly into search results, effectively giving your video multiple entry points from a single query.
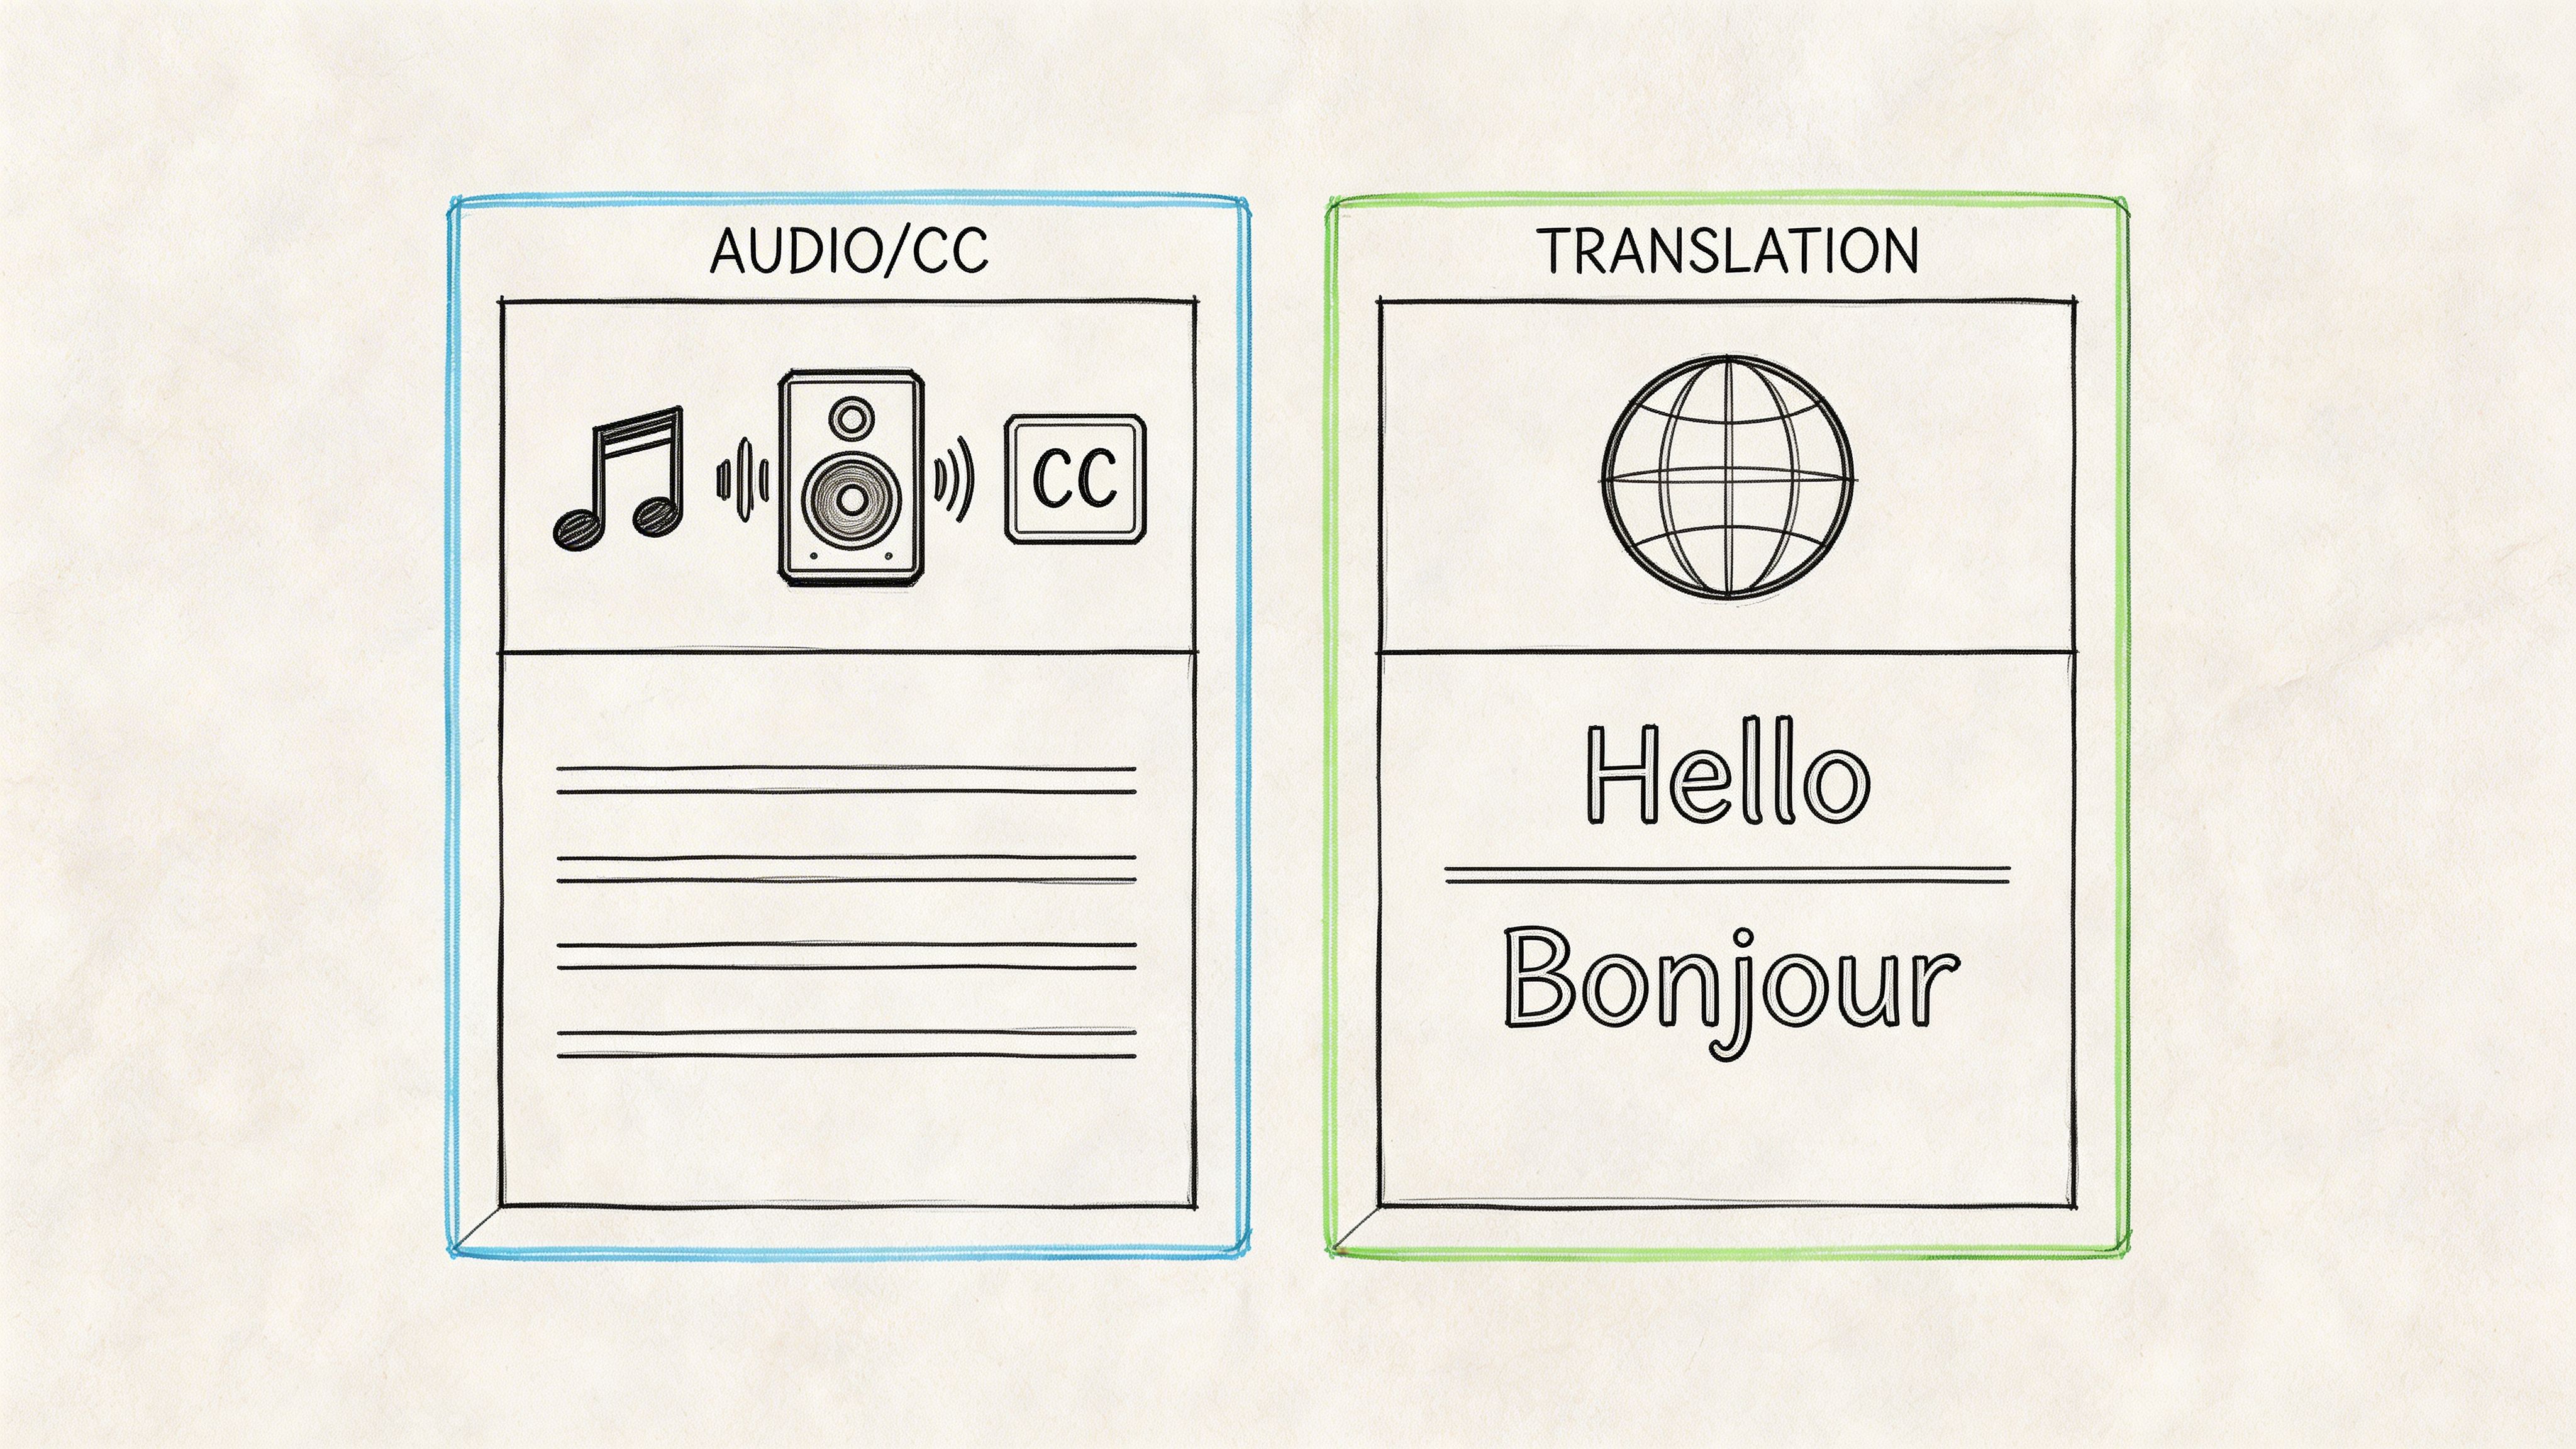
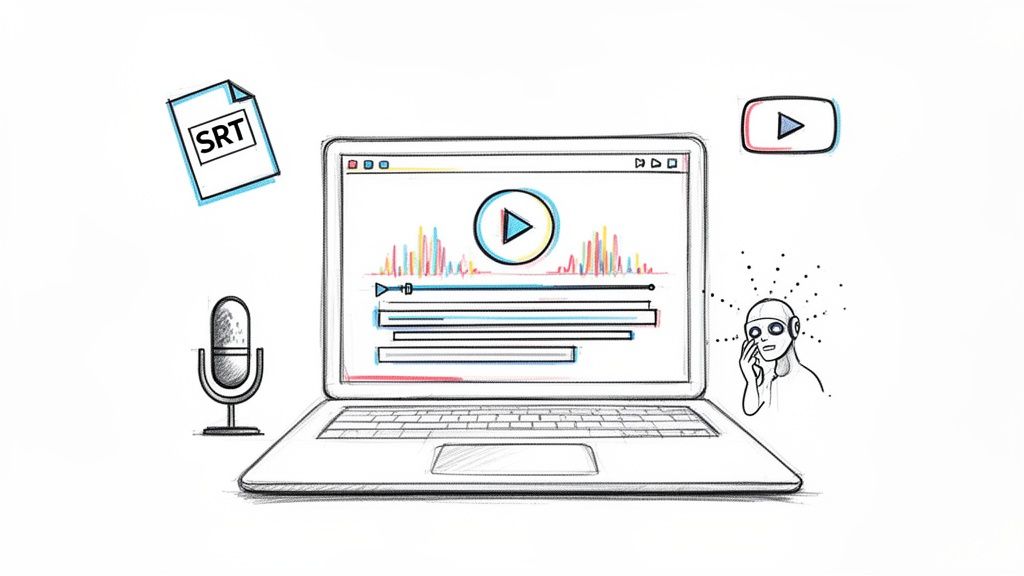
For those who want even more control, especially for creating custom subtitles or captions, diving into the technical side is a game-changer. For example, learning about converting plain text to SRT subtitle files gives you precise control over how text syncs up with your video content.
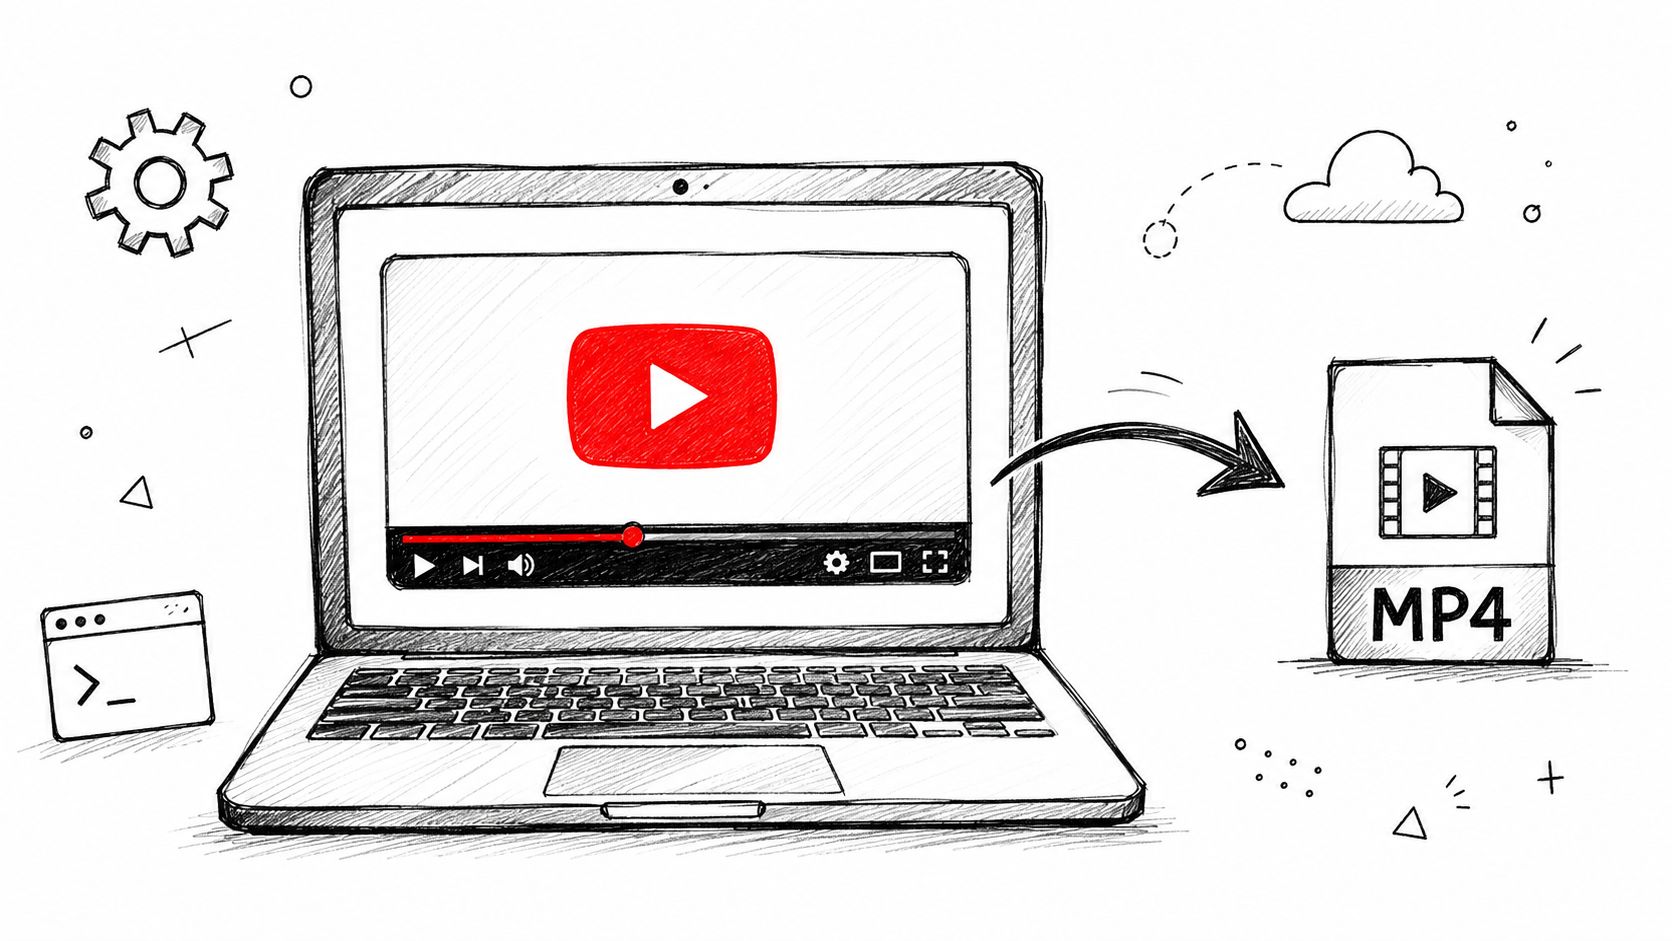
Embedding Videos at Specific Start Times
Another fantastic technique is embedding a video on your website or blog that automatically starts at a key moment. This is a brilliant way to repurpose content. Let's say you have a one-hour webinar. You could easily write five different blog posts, each one highlighting a specific segment.
Instead of making your readers manually find the right spot, you can add a &start= parameter to the embed URL. The catch is that the value must be in seconds. So, if you want the video to kick off at the 4-minute, 30-second mark, you would add &start=270 to the src URL within your iframe embed code. This instantly focuses your audience's attention exactly where you want it.
If you're already thinking about how to pull key moments from your videos, you'll find our guide on how to get a transcript of a YouTube video incredibly helpful.
Using YouTube Timestamps Like a Pro
Knowing how to add a timestamp to a YouTube link is one thing, but knowing why and when is what truly sets your content apart. It’s not just about dropping a pin randomly in your video timeline. The real magic happens when you strategically guide viewers to the exact moment of peak value—the killer insight, the crucial step in a tutorial, or that one powerful quote that perfectly captures your message.
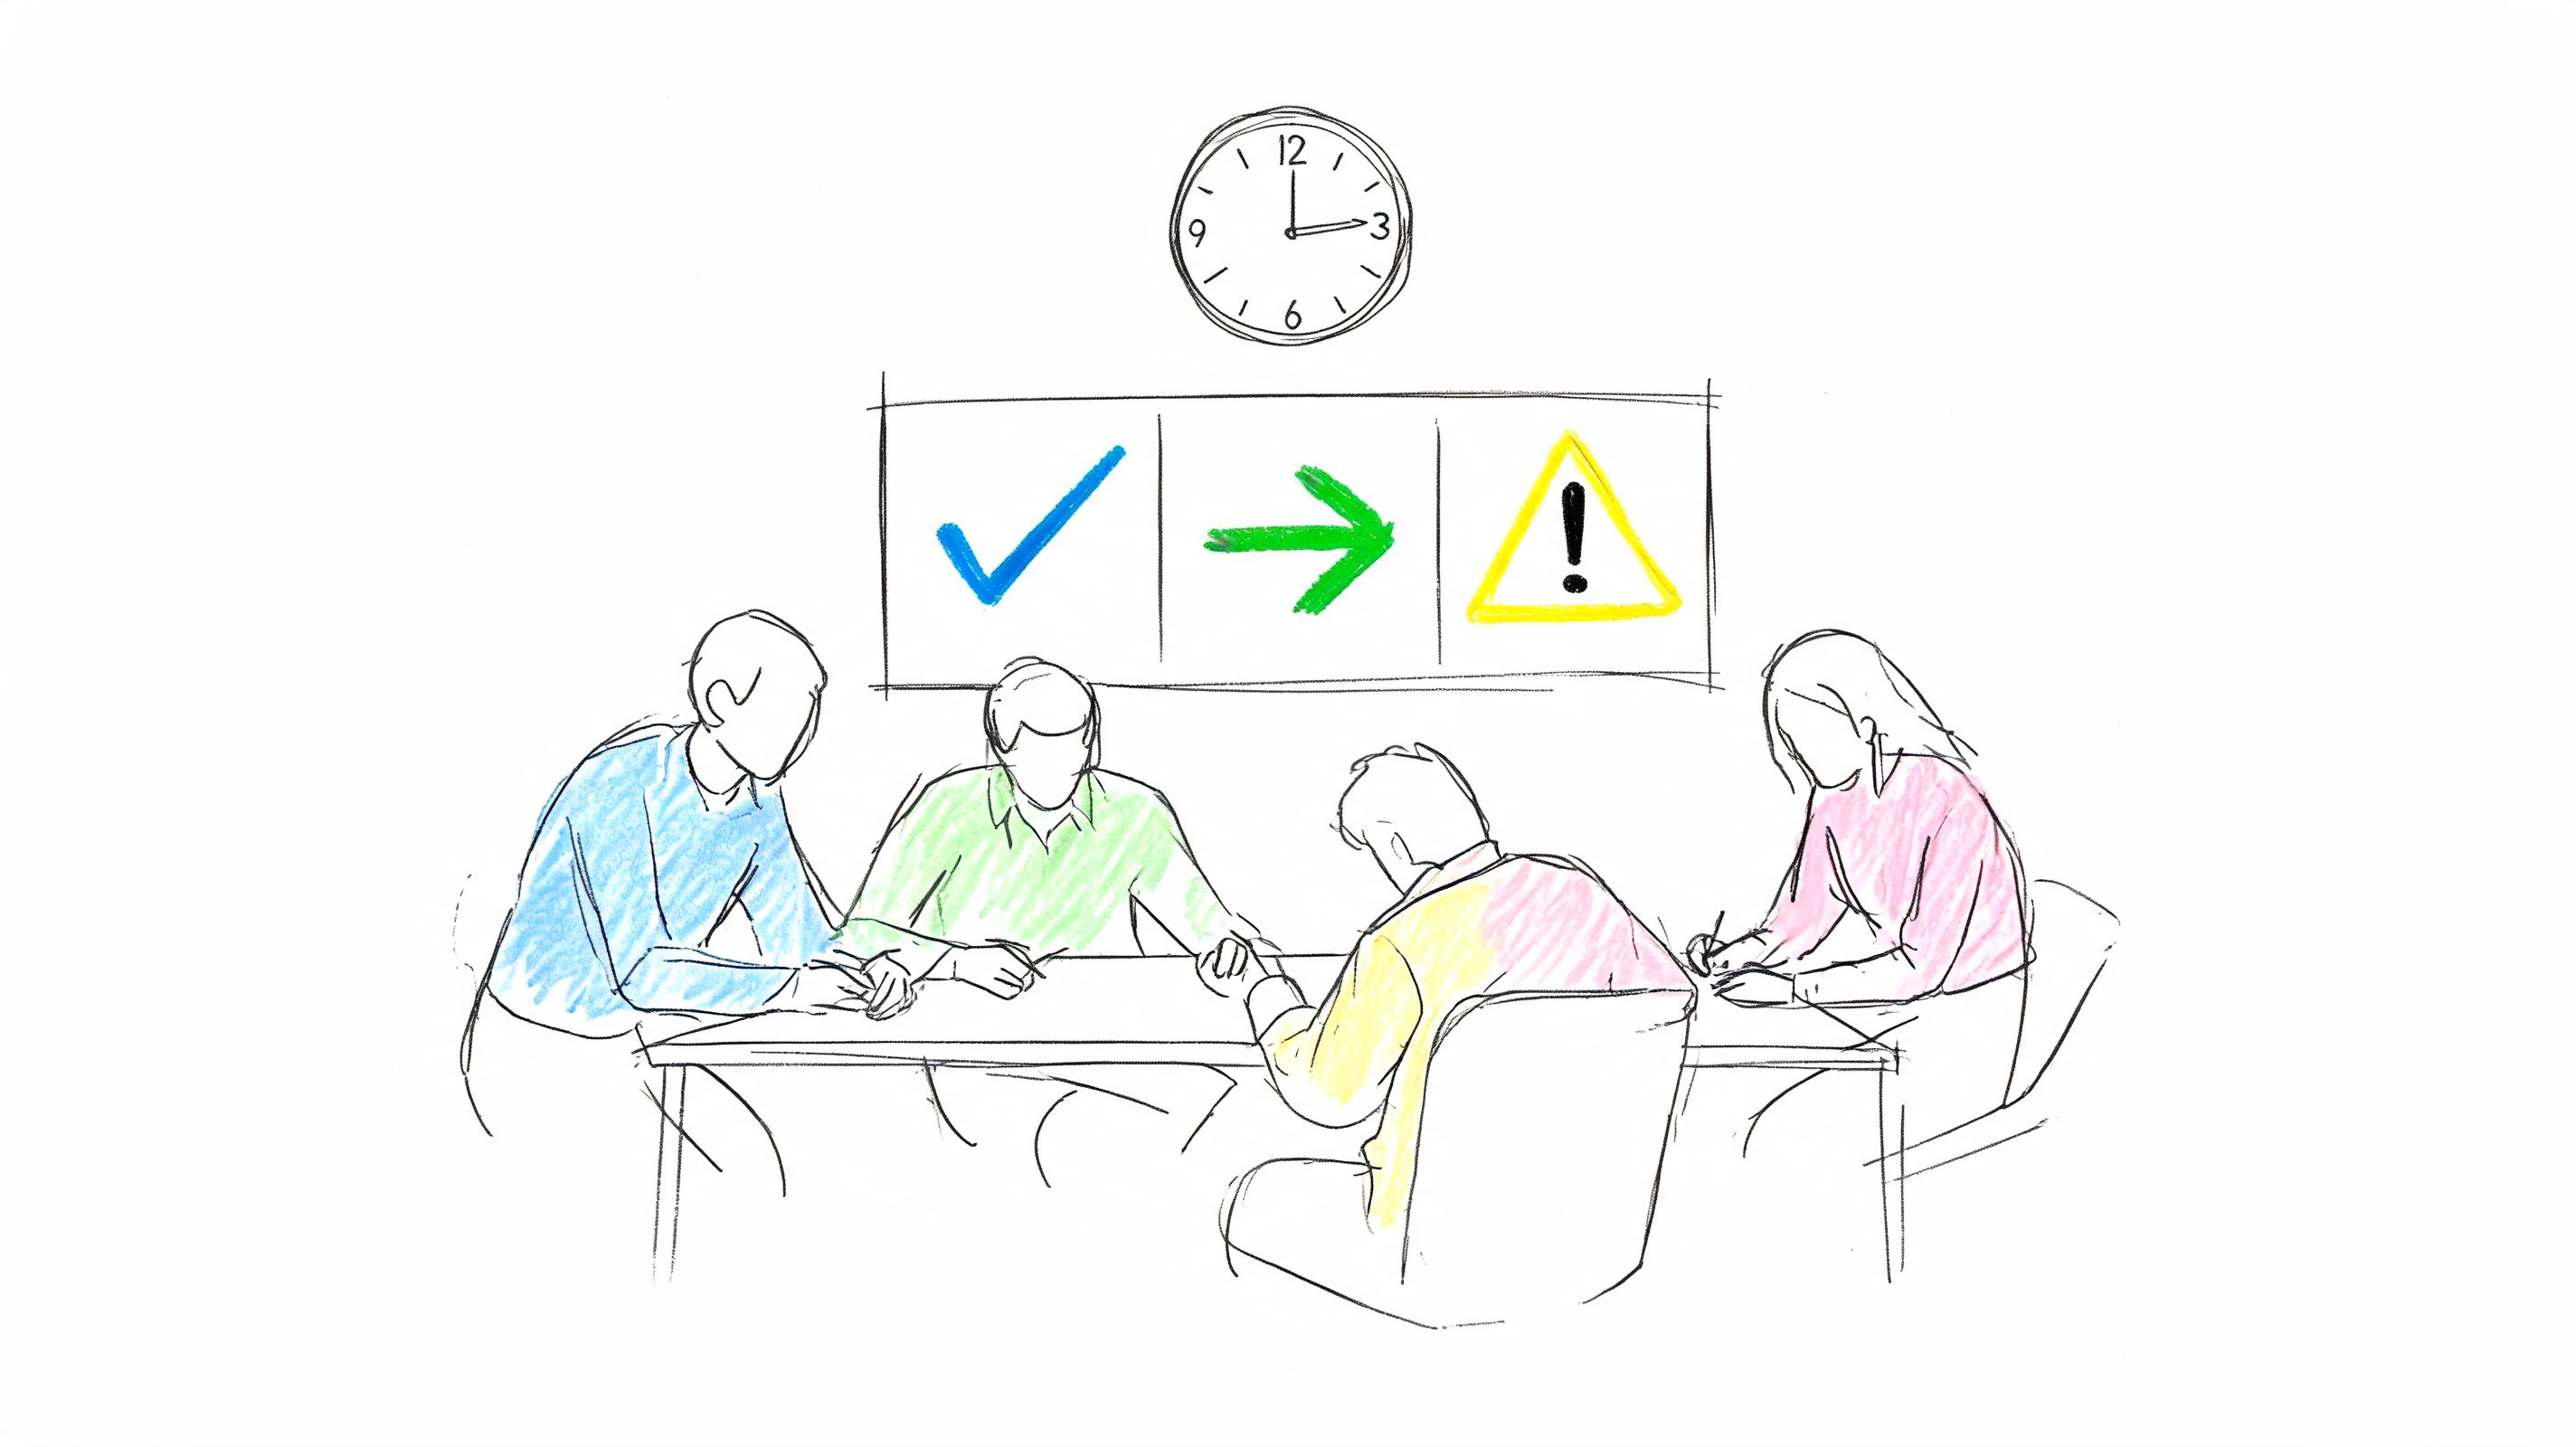
A great place to start your detective work is your own YouTube Analytics dashboard. I regularly look at my audience retention graphs. You'll see exactly where engagement spikes and where it falls off. That peak? That's a golden opportunity for a shareable link. And that steep drop? You can use a timestamp to help new viewers skip right past that lull, keeping them hooked on the good stuff.
Pinpoint High-Impact Moments for Instant Value
Your audience's time is precious. The goal is to respect that and deliver value immediately. Think about what will make someone stop scrolling and pay attention. For instance, linking directly to the punchline of a joke, the reveal of a project, or the exact solution to a tough problem is far more effective than just sending them to the start of a 20-minute video.
When creating chapters in your video description, be descriptive! Generic labels like "Part 1" or "Next Step" don't do you any favors. Instead, use clear, compelling titles like "Setting Up the Camera Gear" or "The Big Plot Twist." This not only helps your viewers navigate the video but also gives your SEO a serious boost, as these chapter titles can pop up directly in Google search results. For a deeper dive, check out our guide on creating a video with timestamps.
This approach is also a game-changer for content repurposing. Imagine taking a single one-hour webinar and slicing it into a dozen different pieces of content, all by using timestamps.
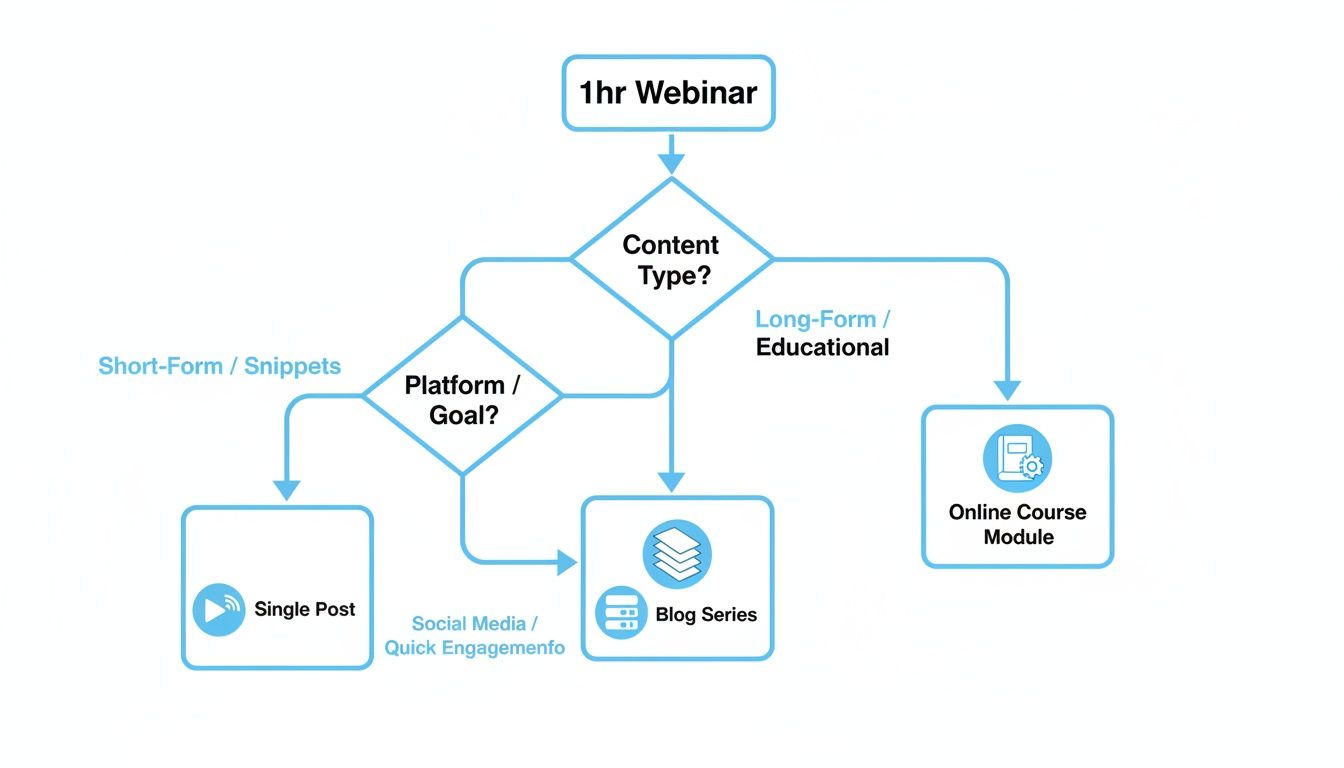
As you can see, by embedding the same long-form video on different pages with different start times, you can create an entire series of blog posts, each laser-focused on a single topic.
At the end of the day, smart timestamping is all about driving engagement right from the first click. I've found that just 10-20% of videos typically generate 80% of the views on a channel. Getting this right is critical. In fact, videos with well-placed timestamps often get a 15-20% better algorithmic push because they lead to longer, more focused viewing sessions.
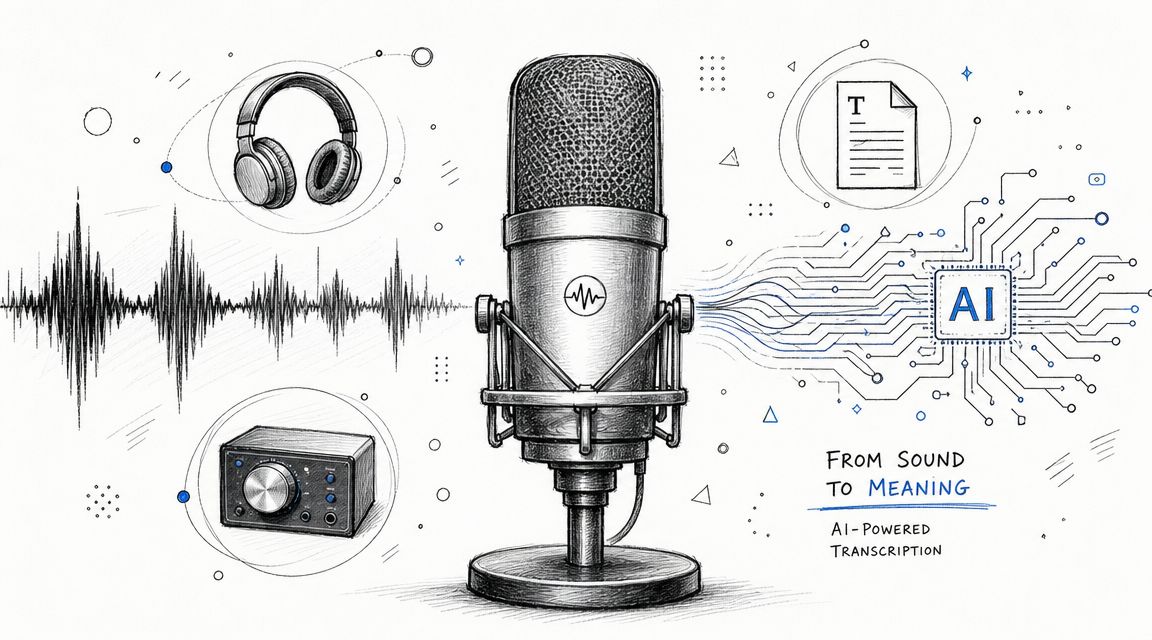
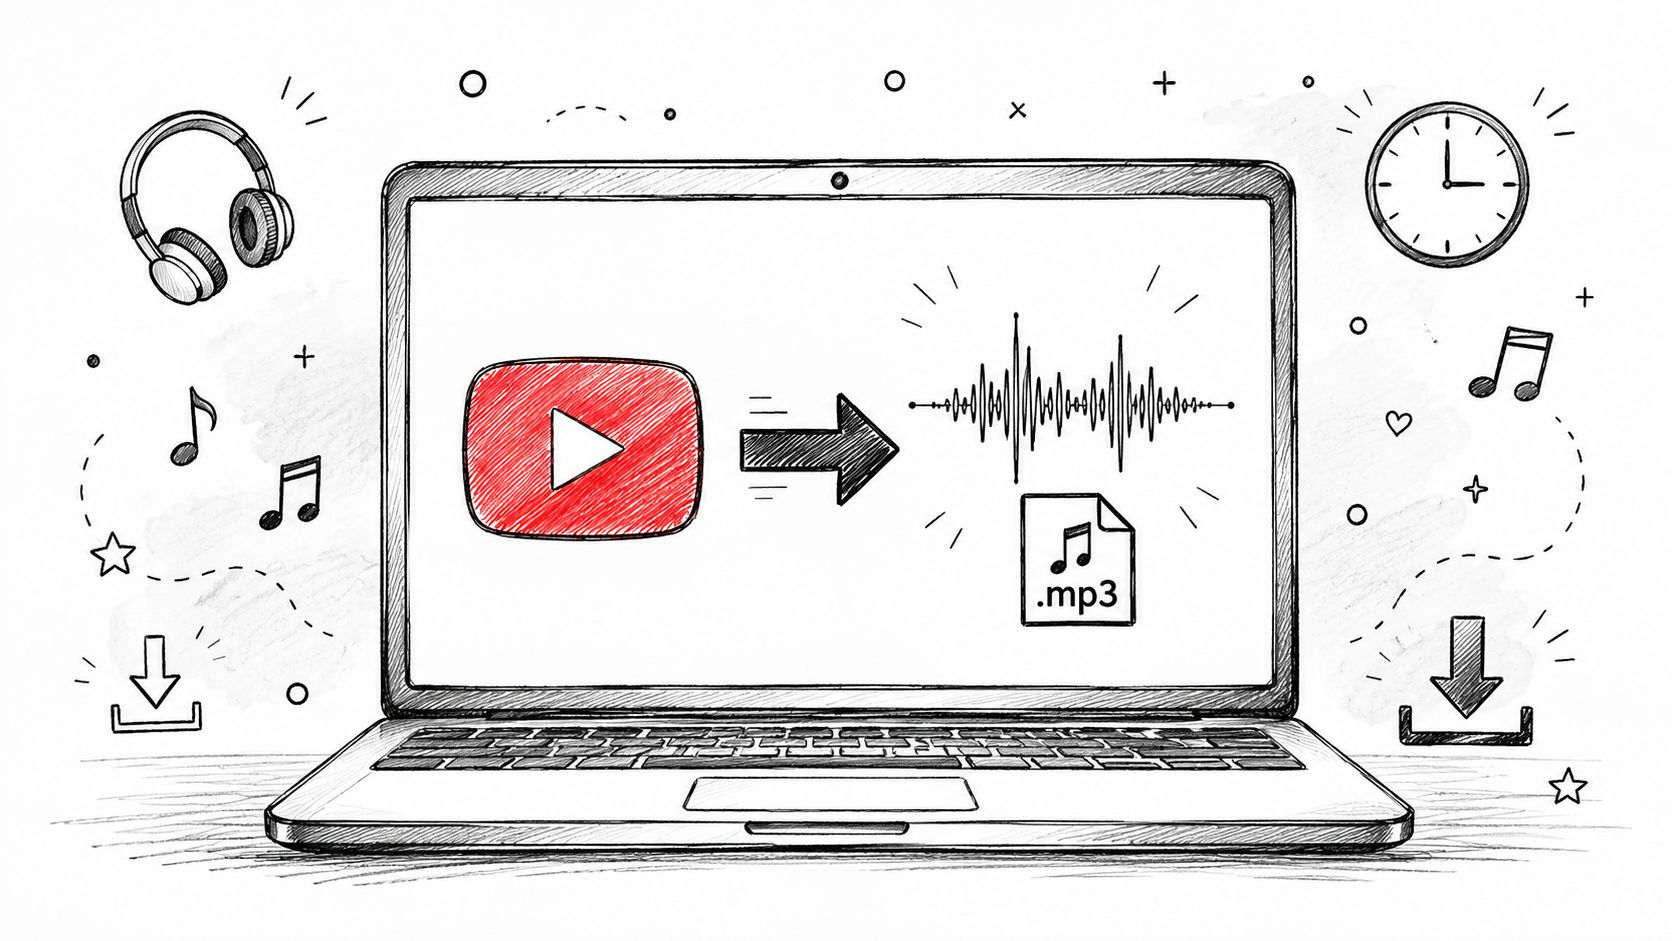
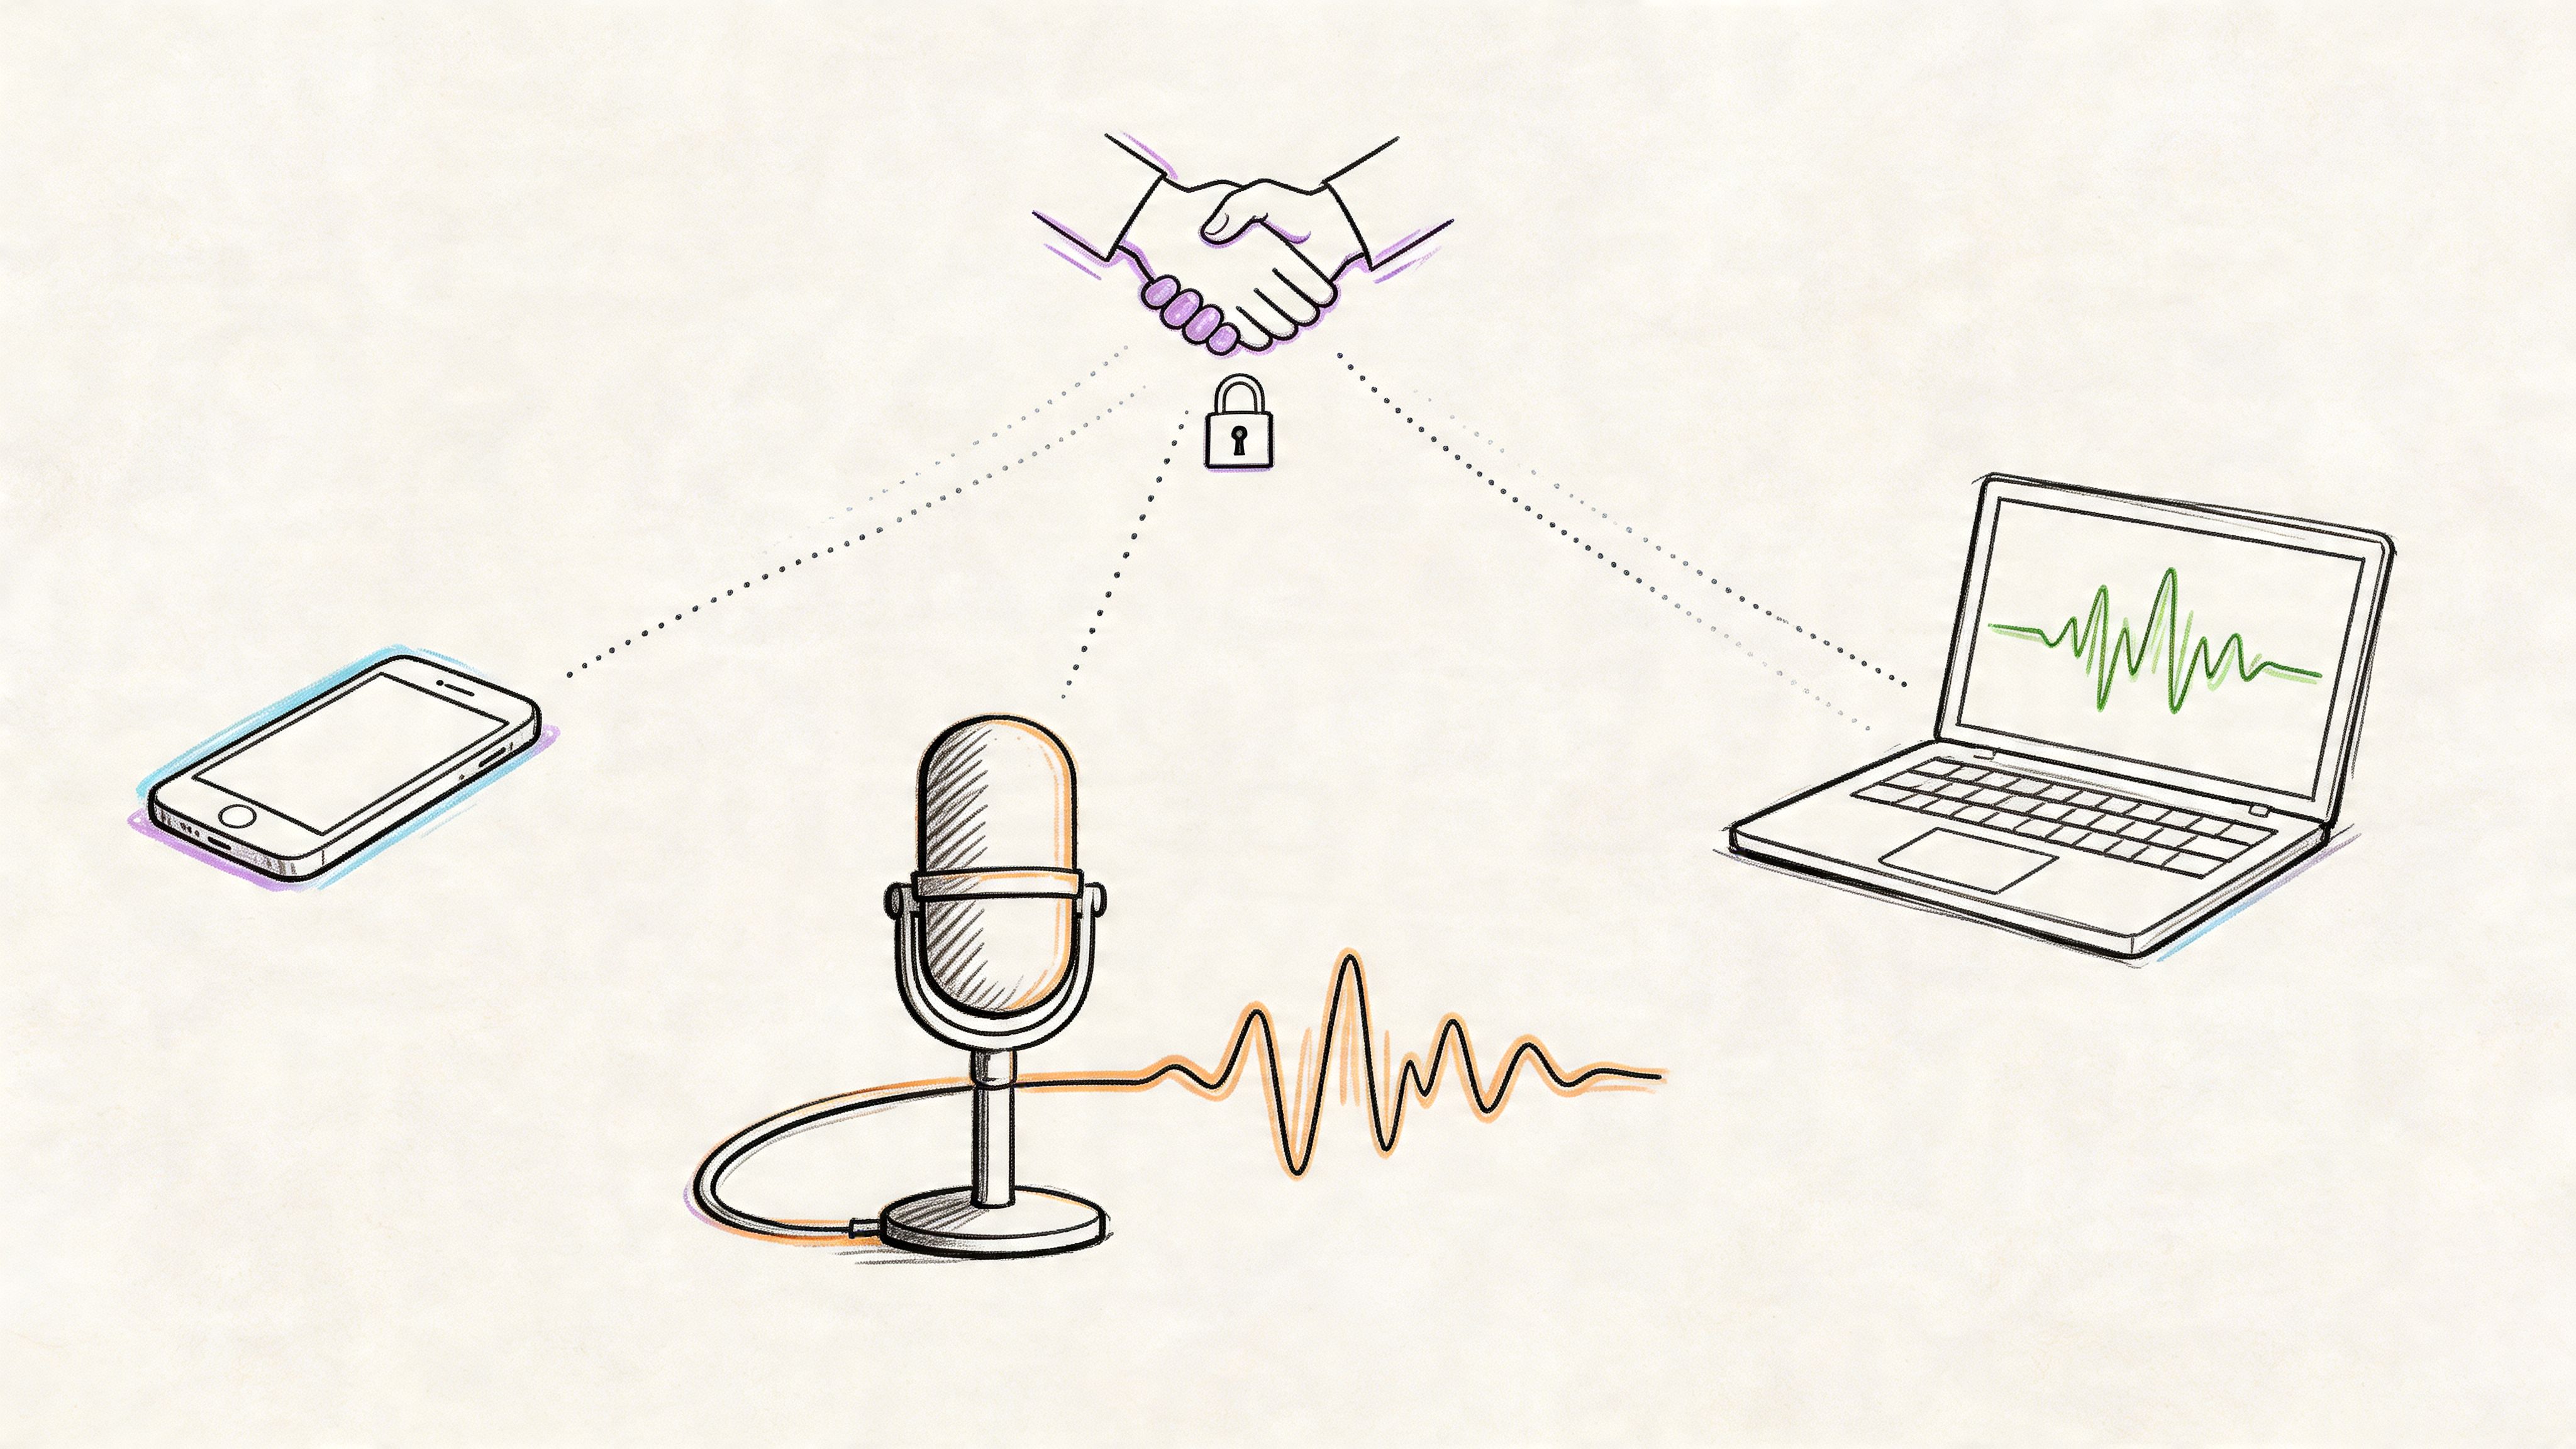
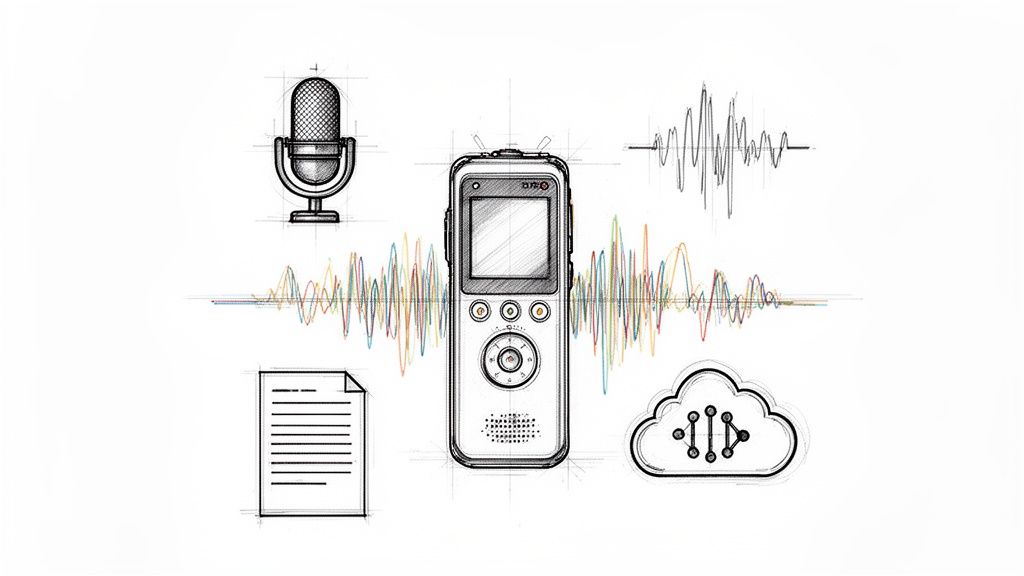
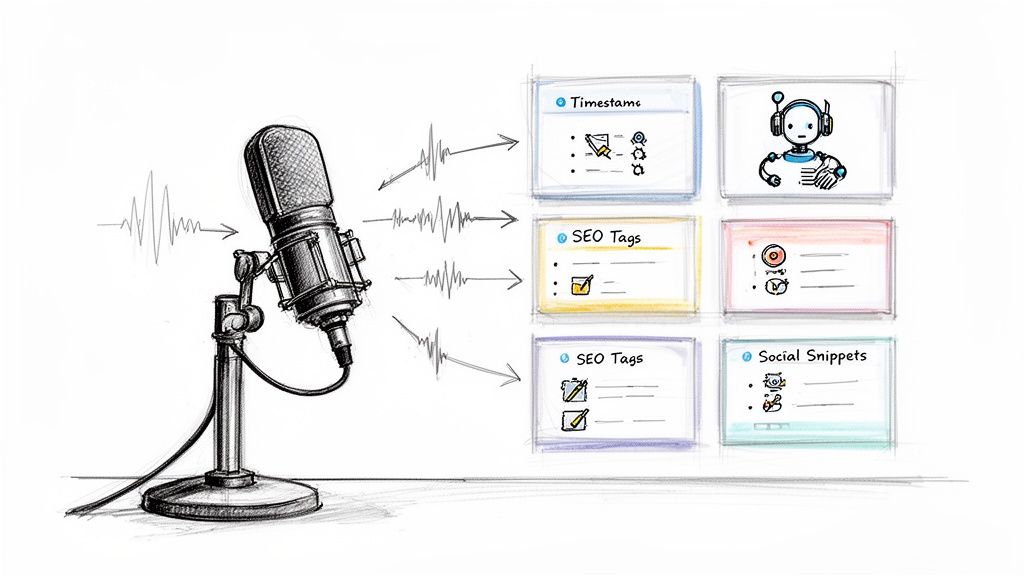
Can AI Help Automate Timestamps?
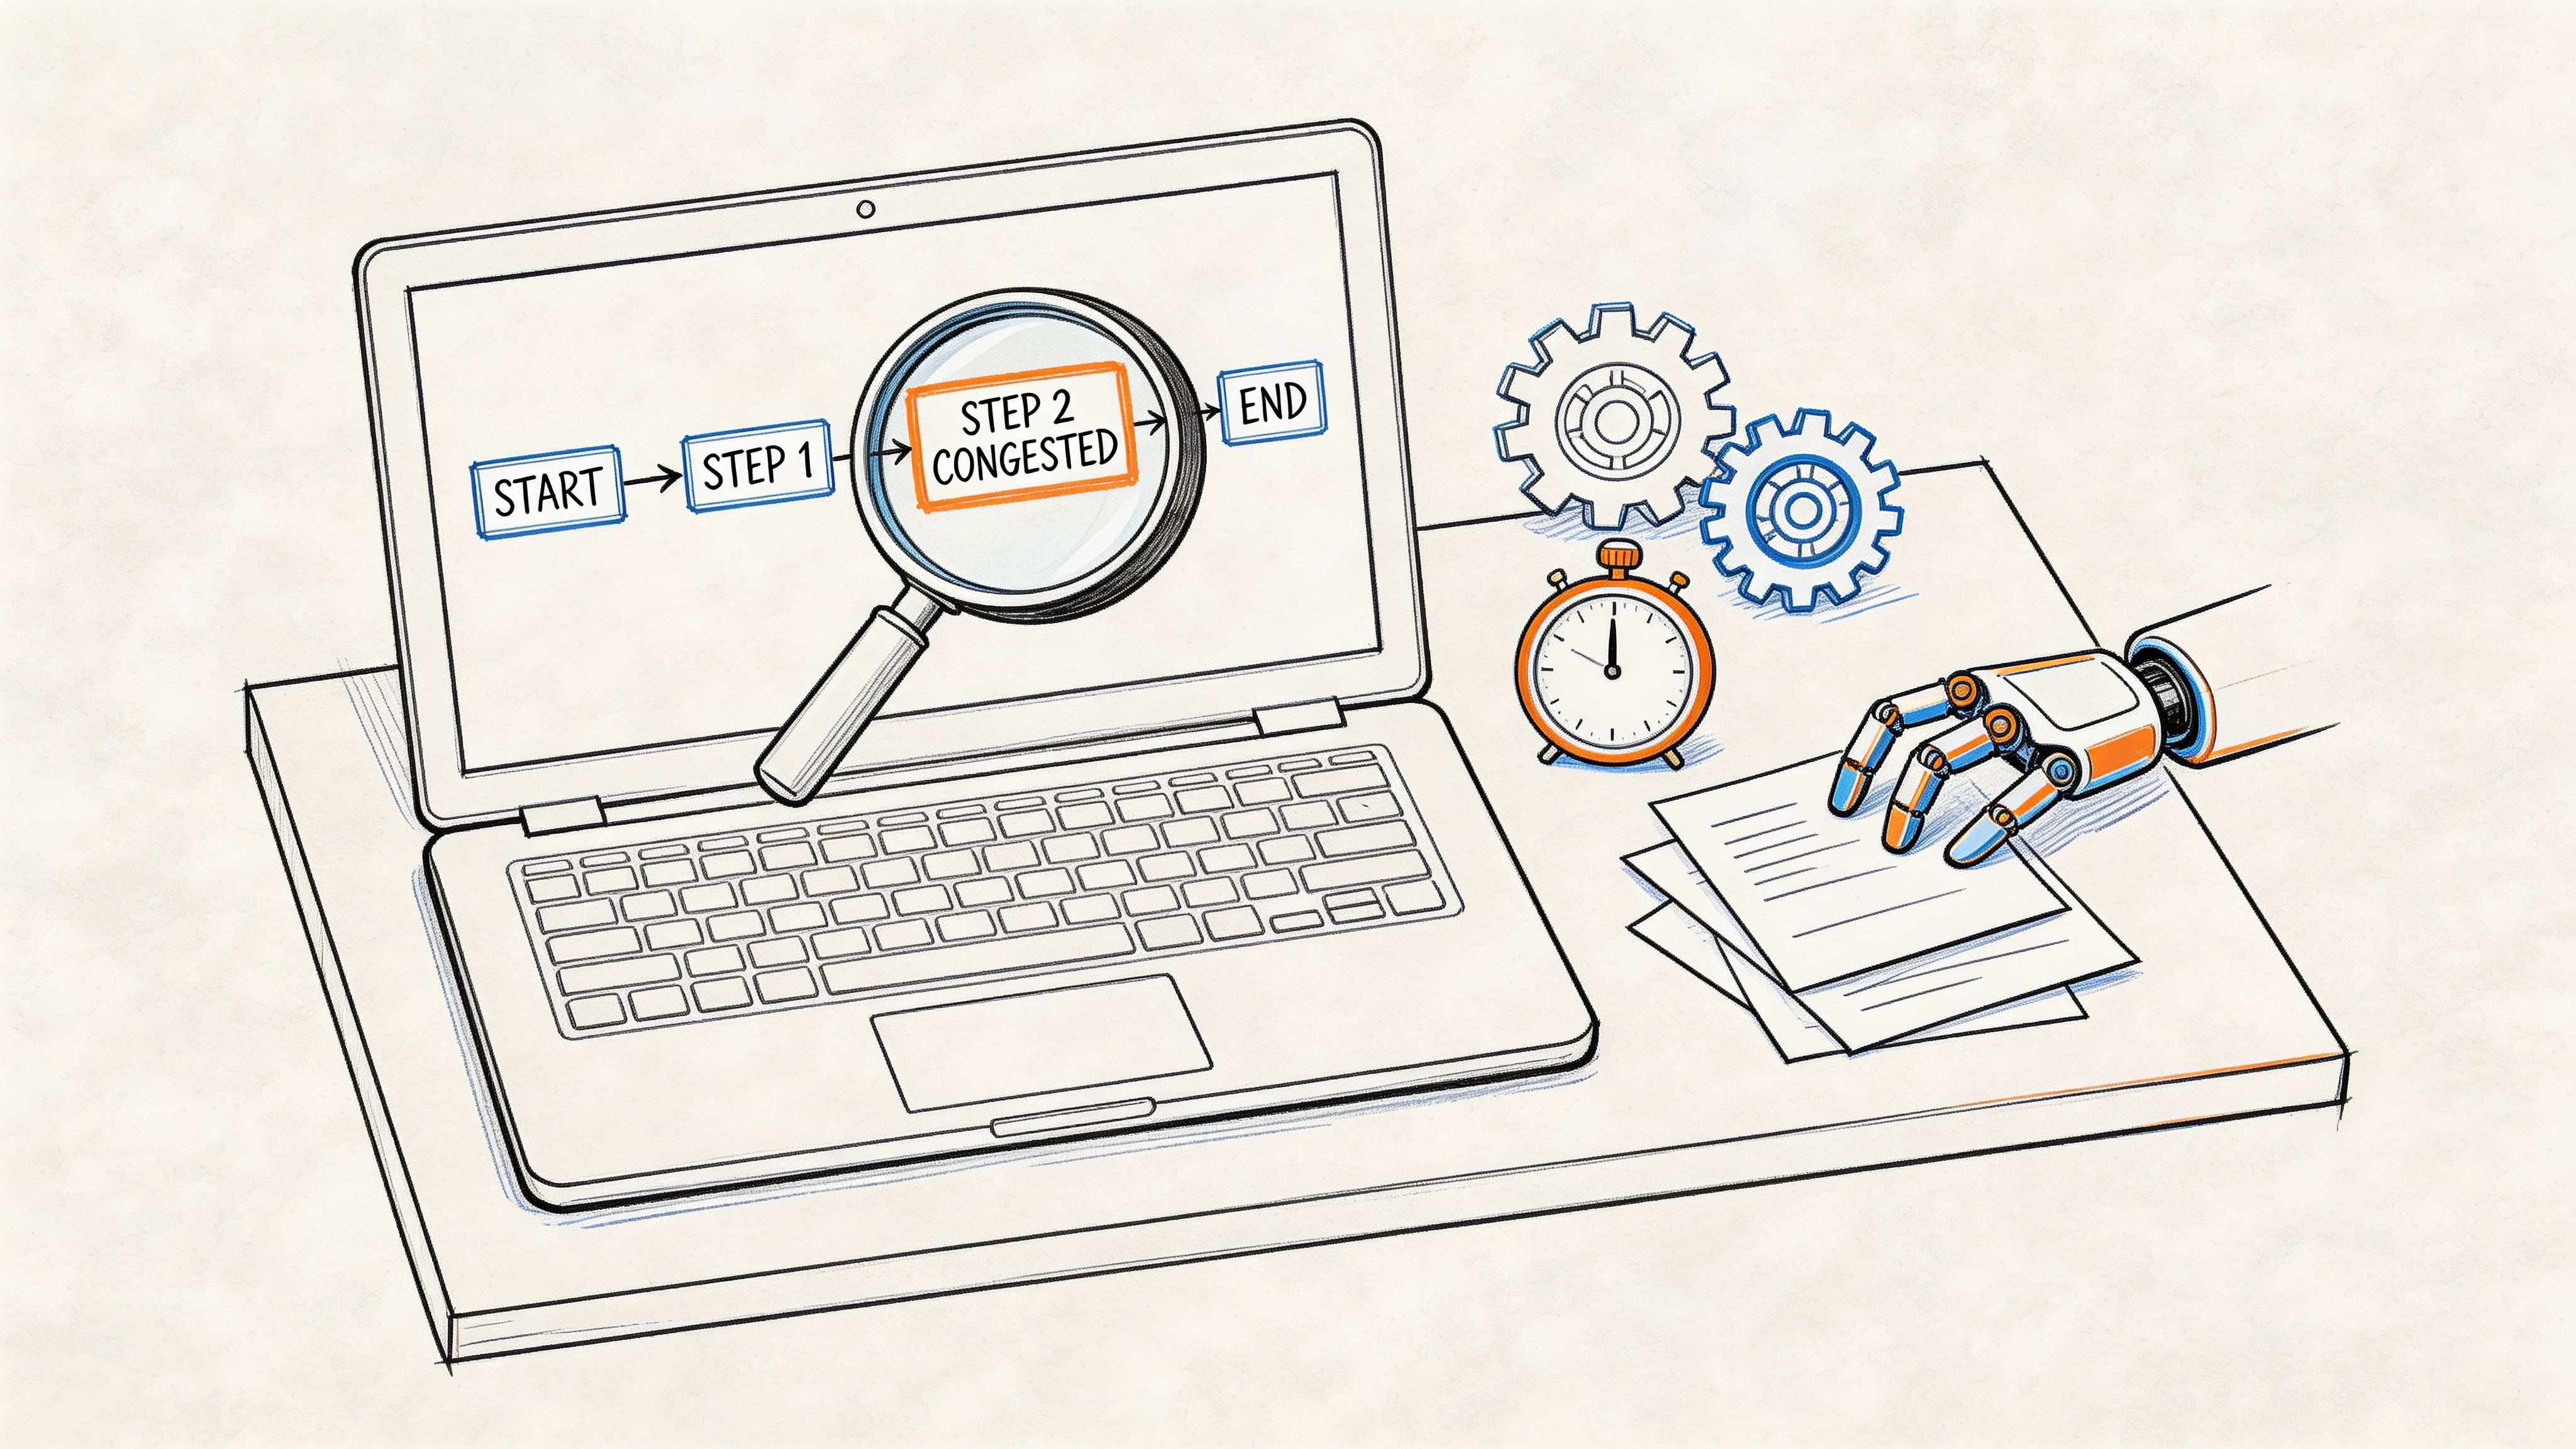
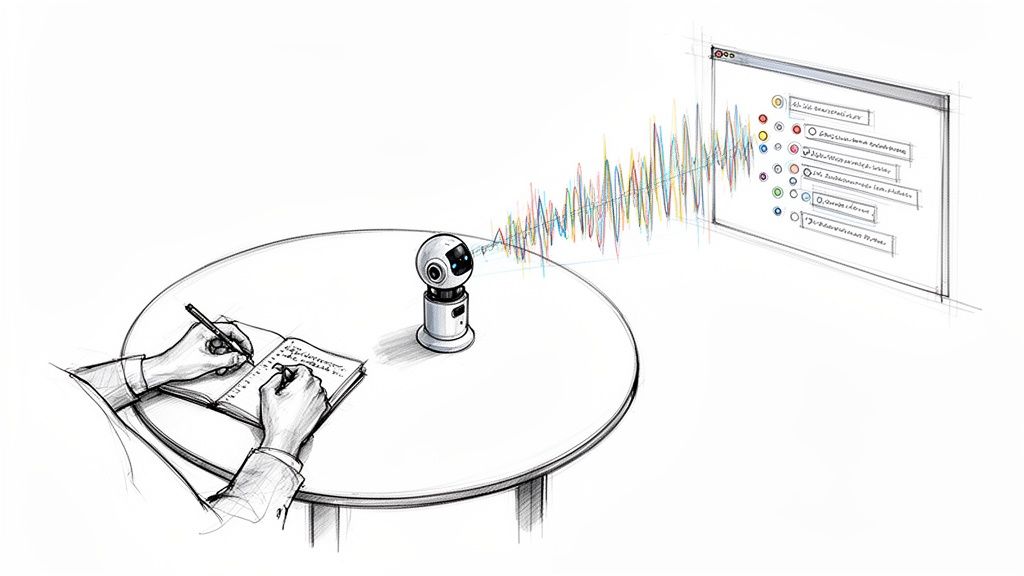
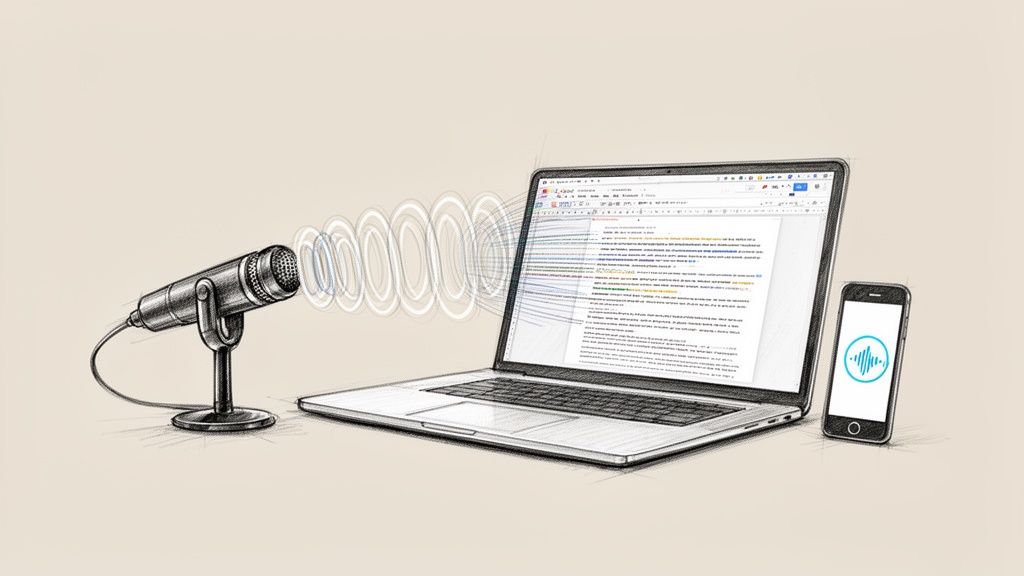
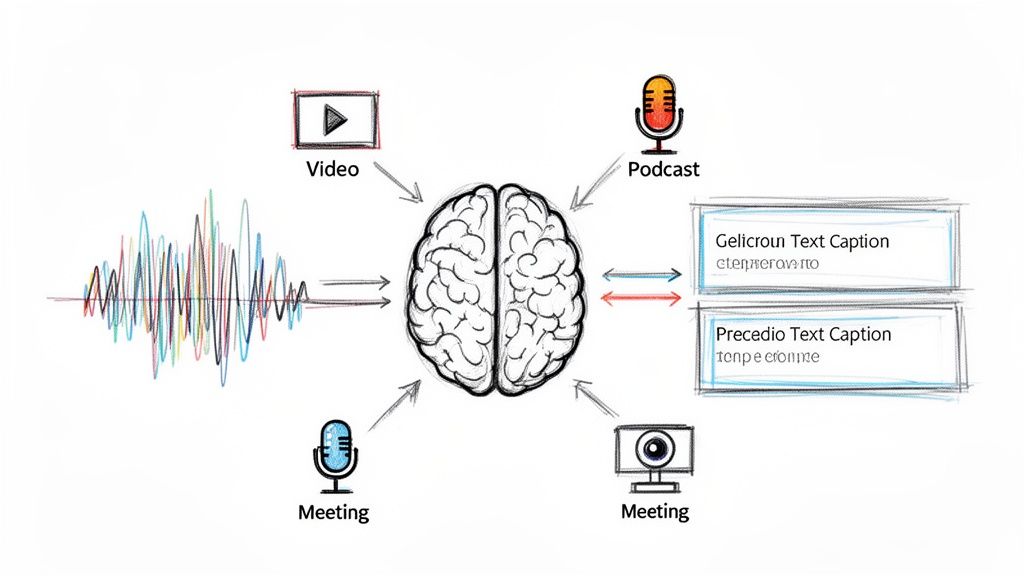
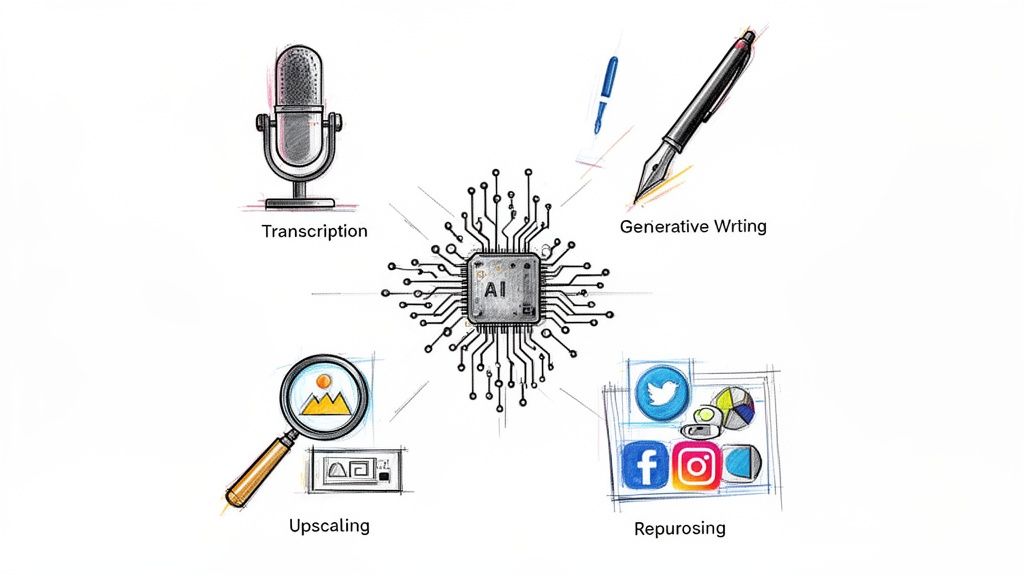
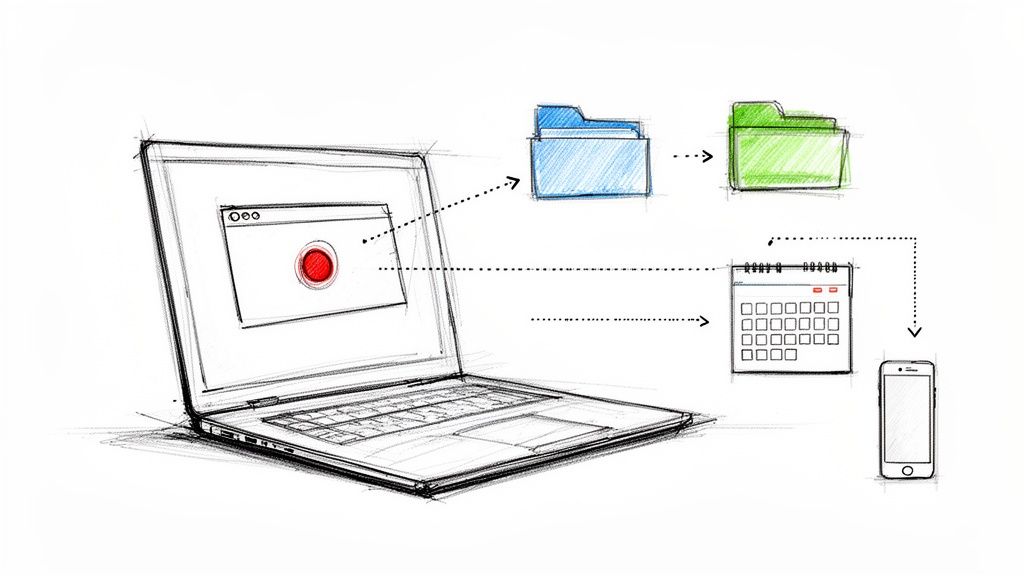
Let's be honest: manually scrubbing through a long interview or webinar to find the exact right moment is a huge time-drain. It’s tedious work that can take hours. This is exactly where AI tools have completely changed my workflow.
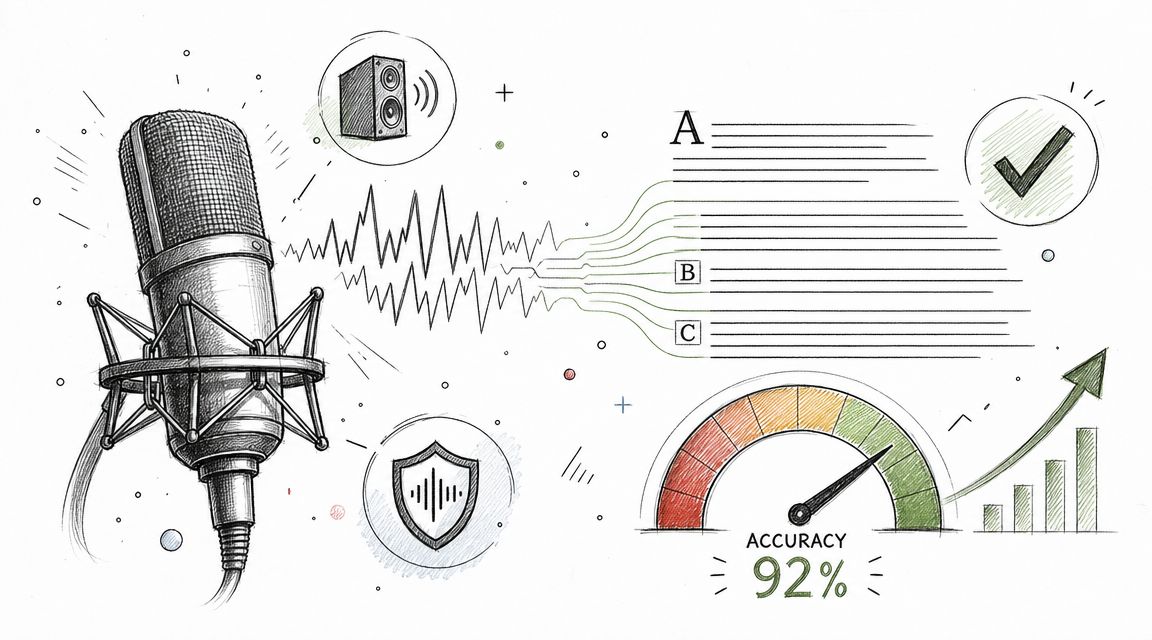
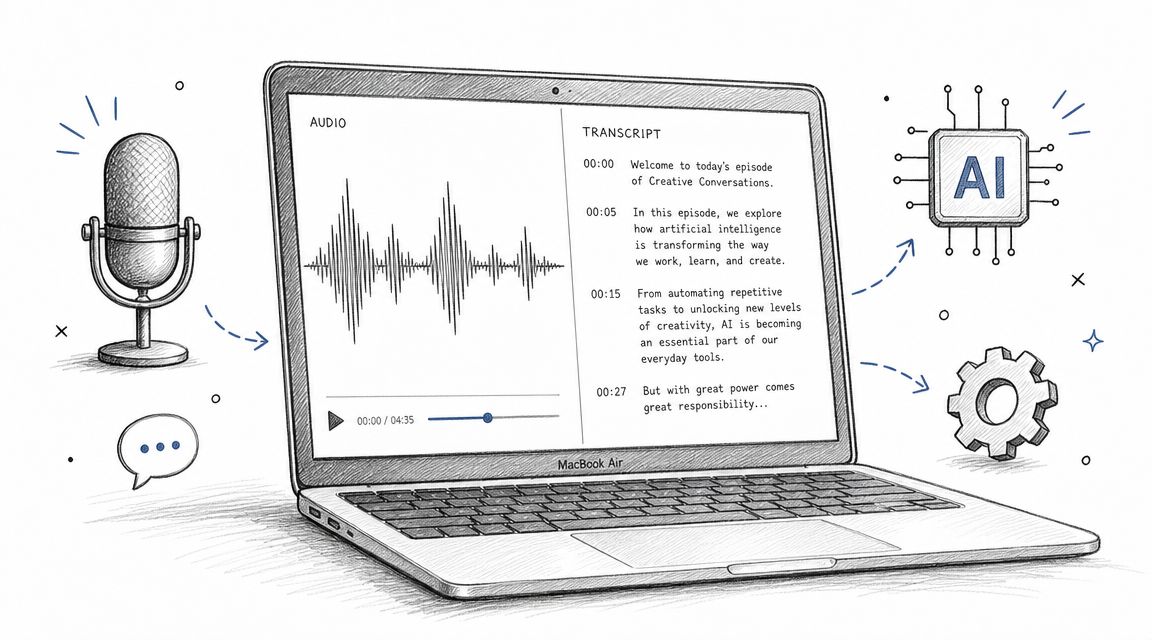
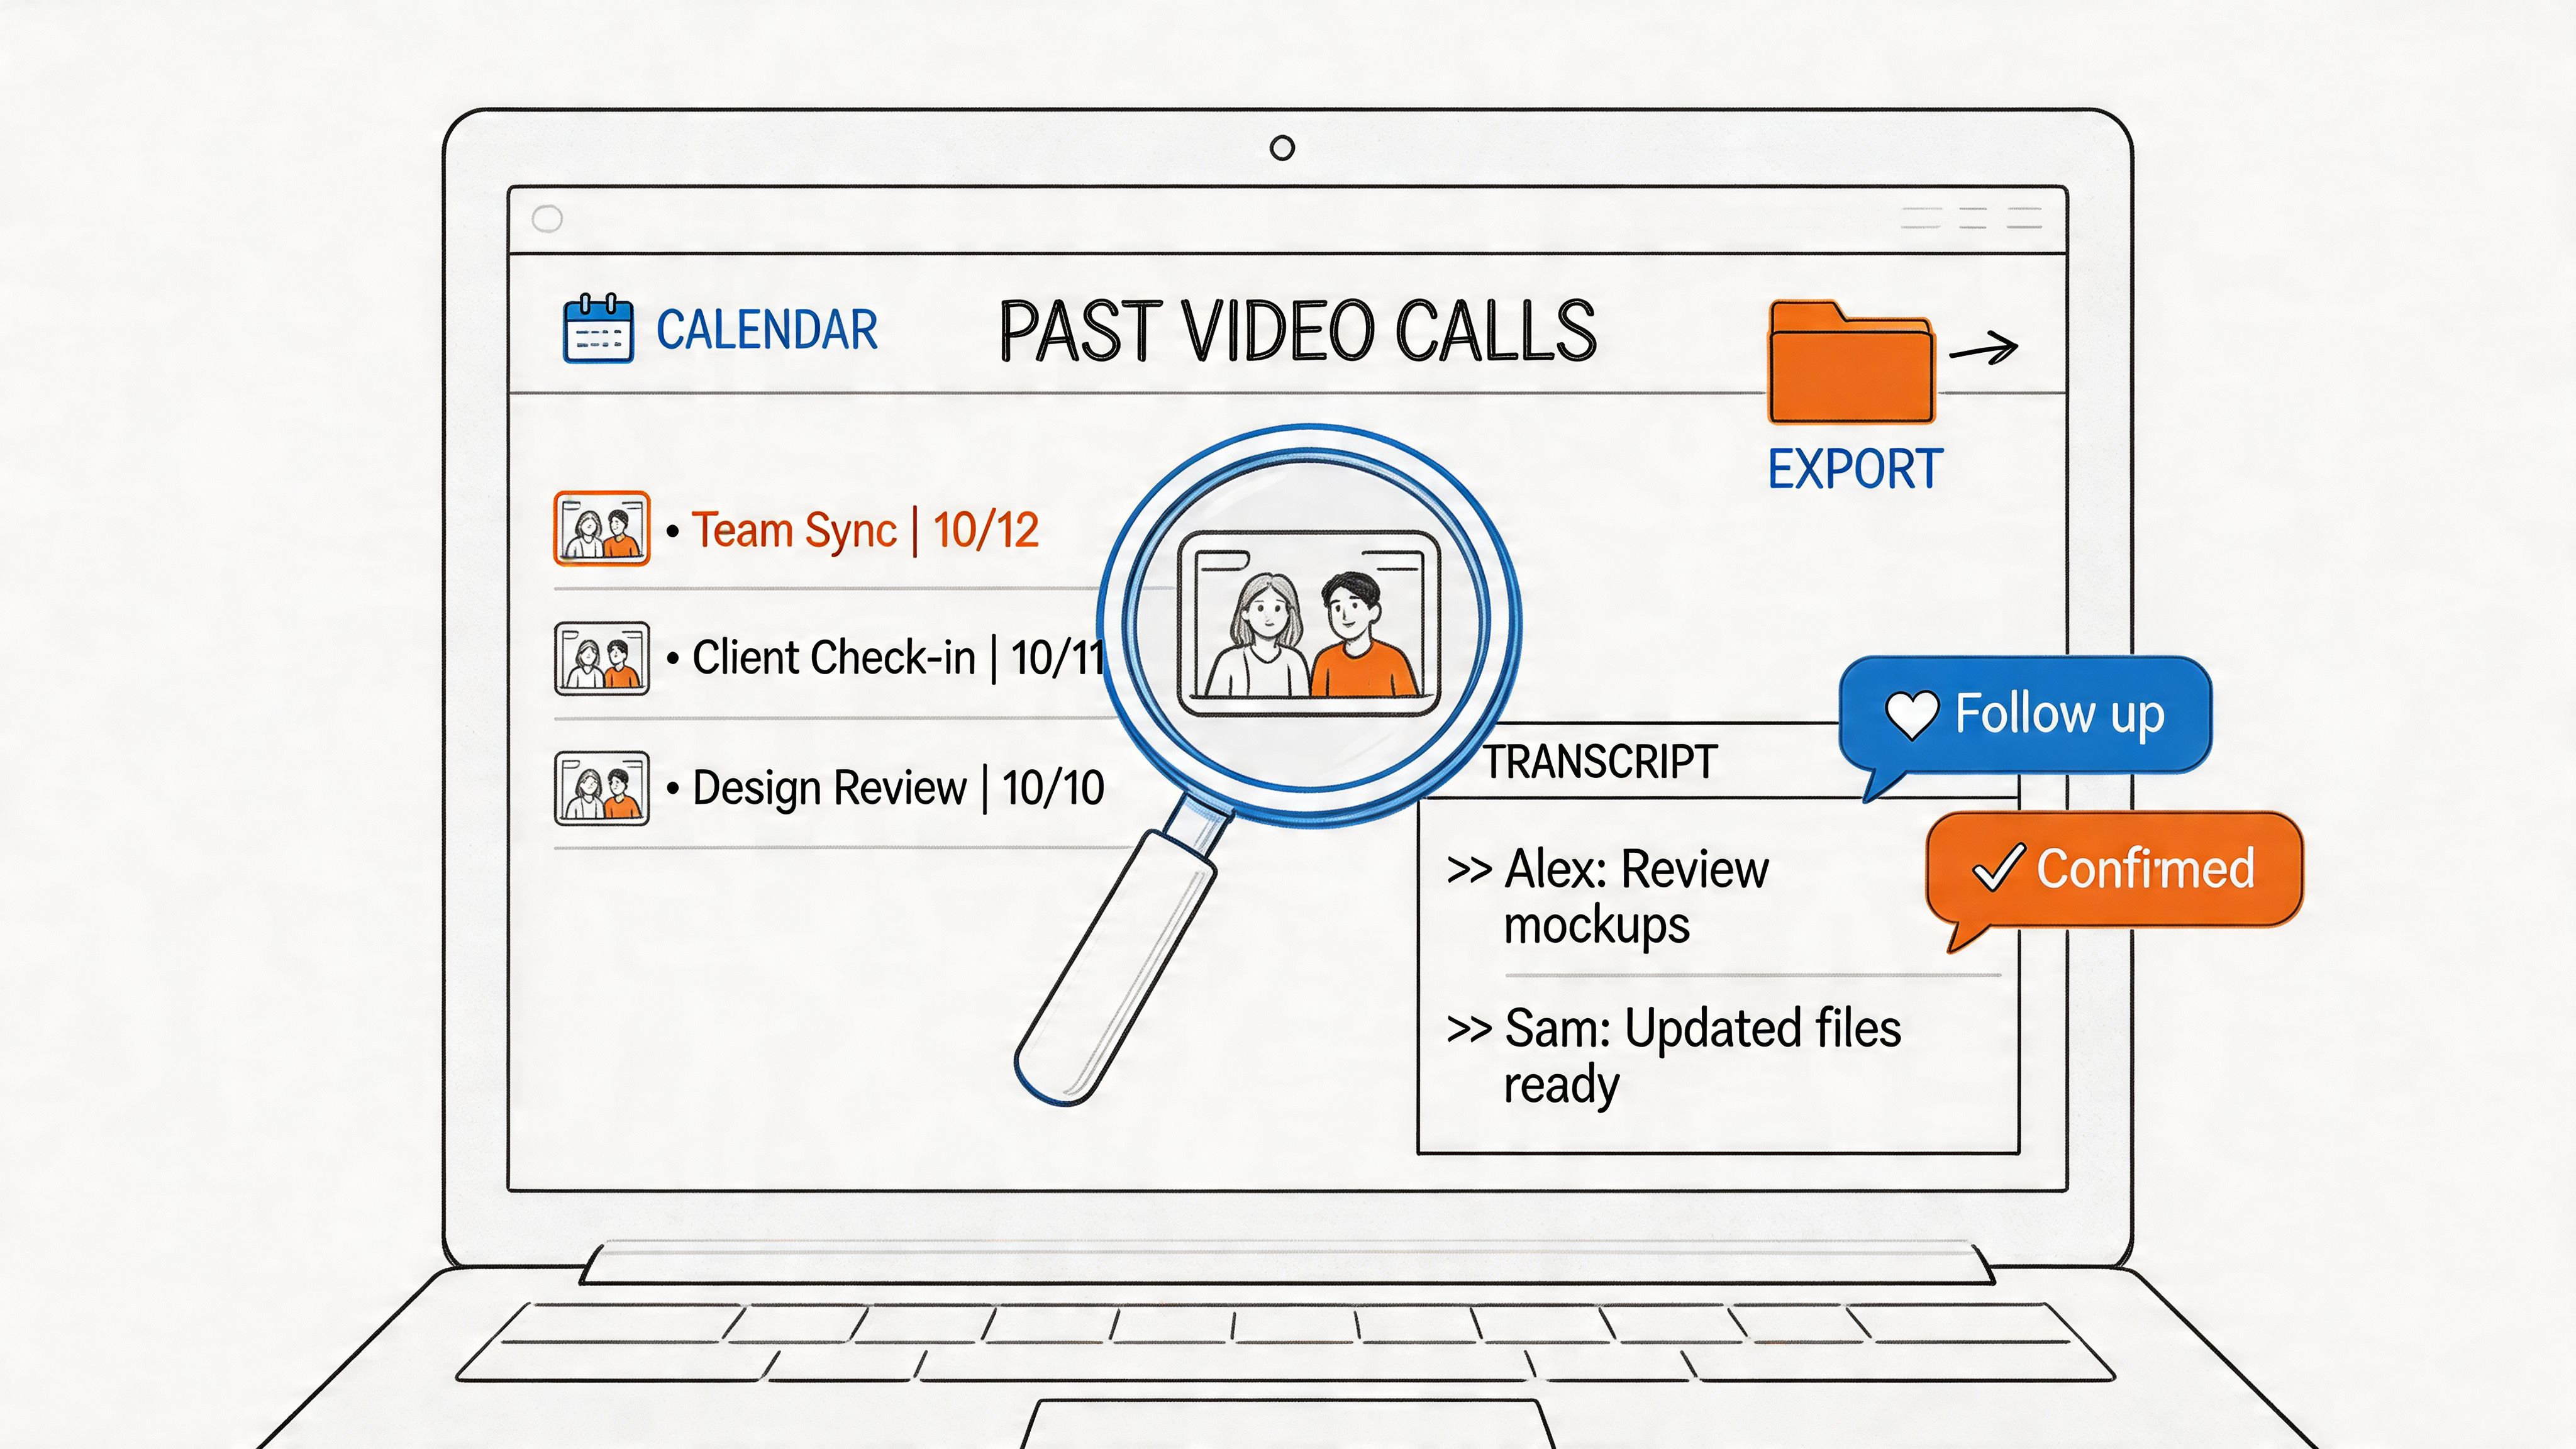
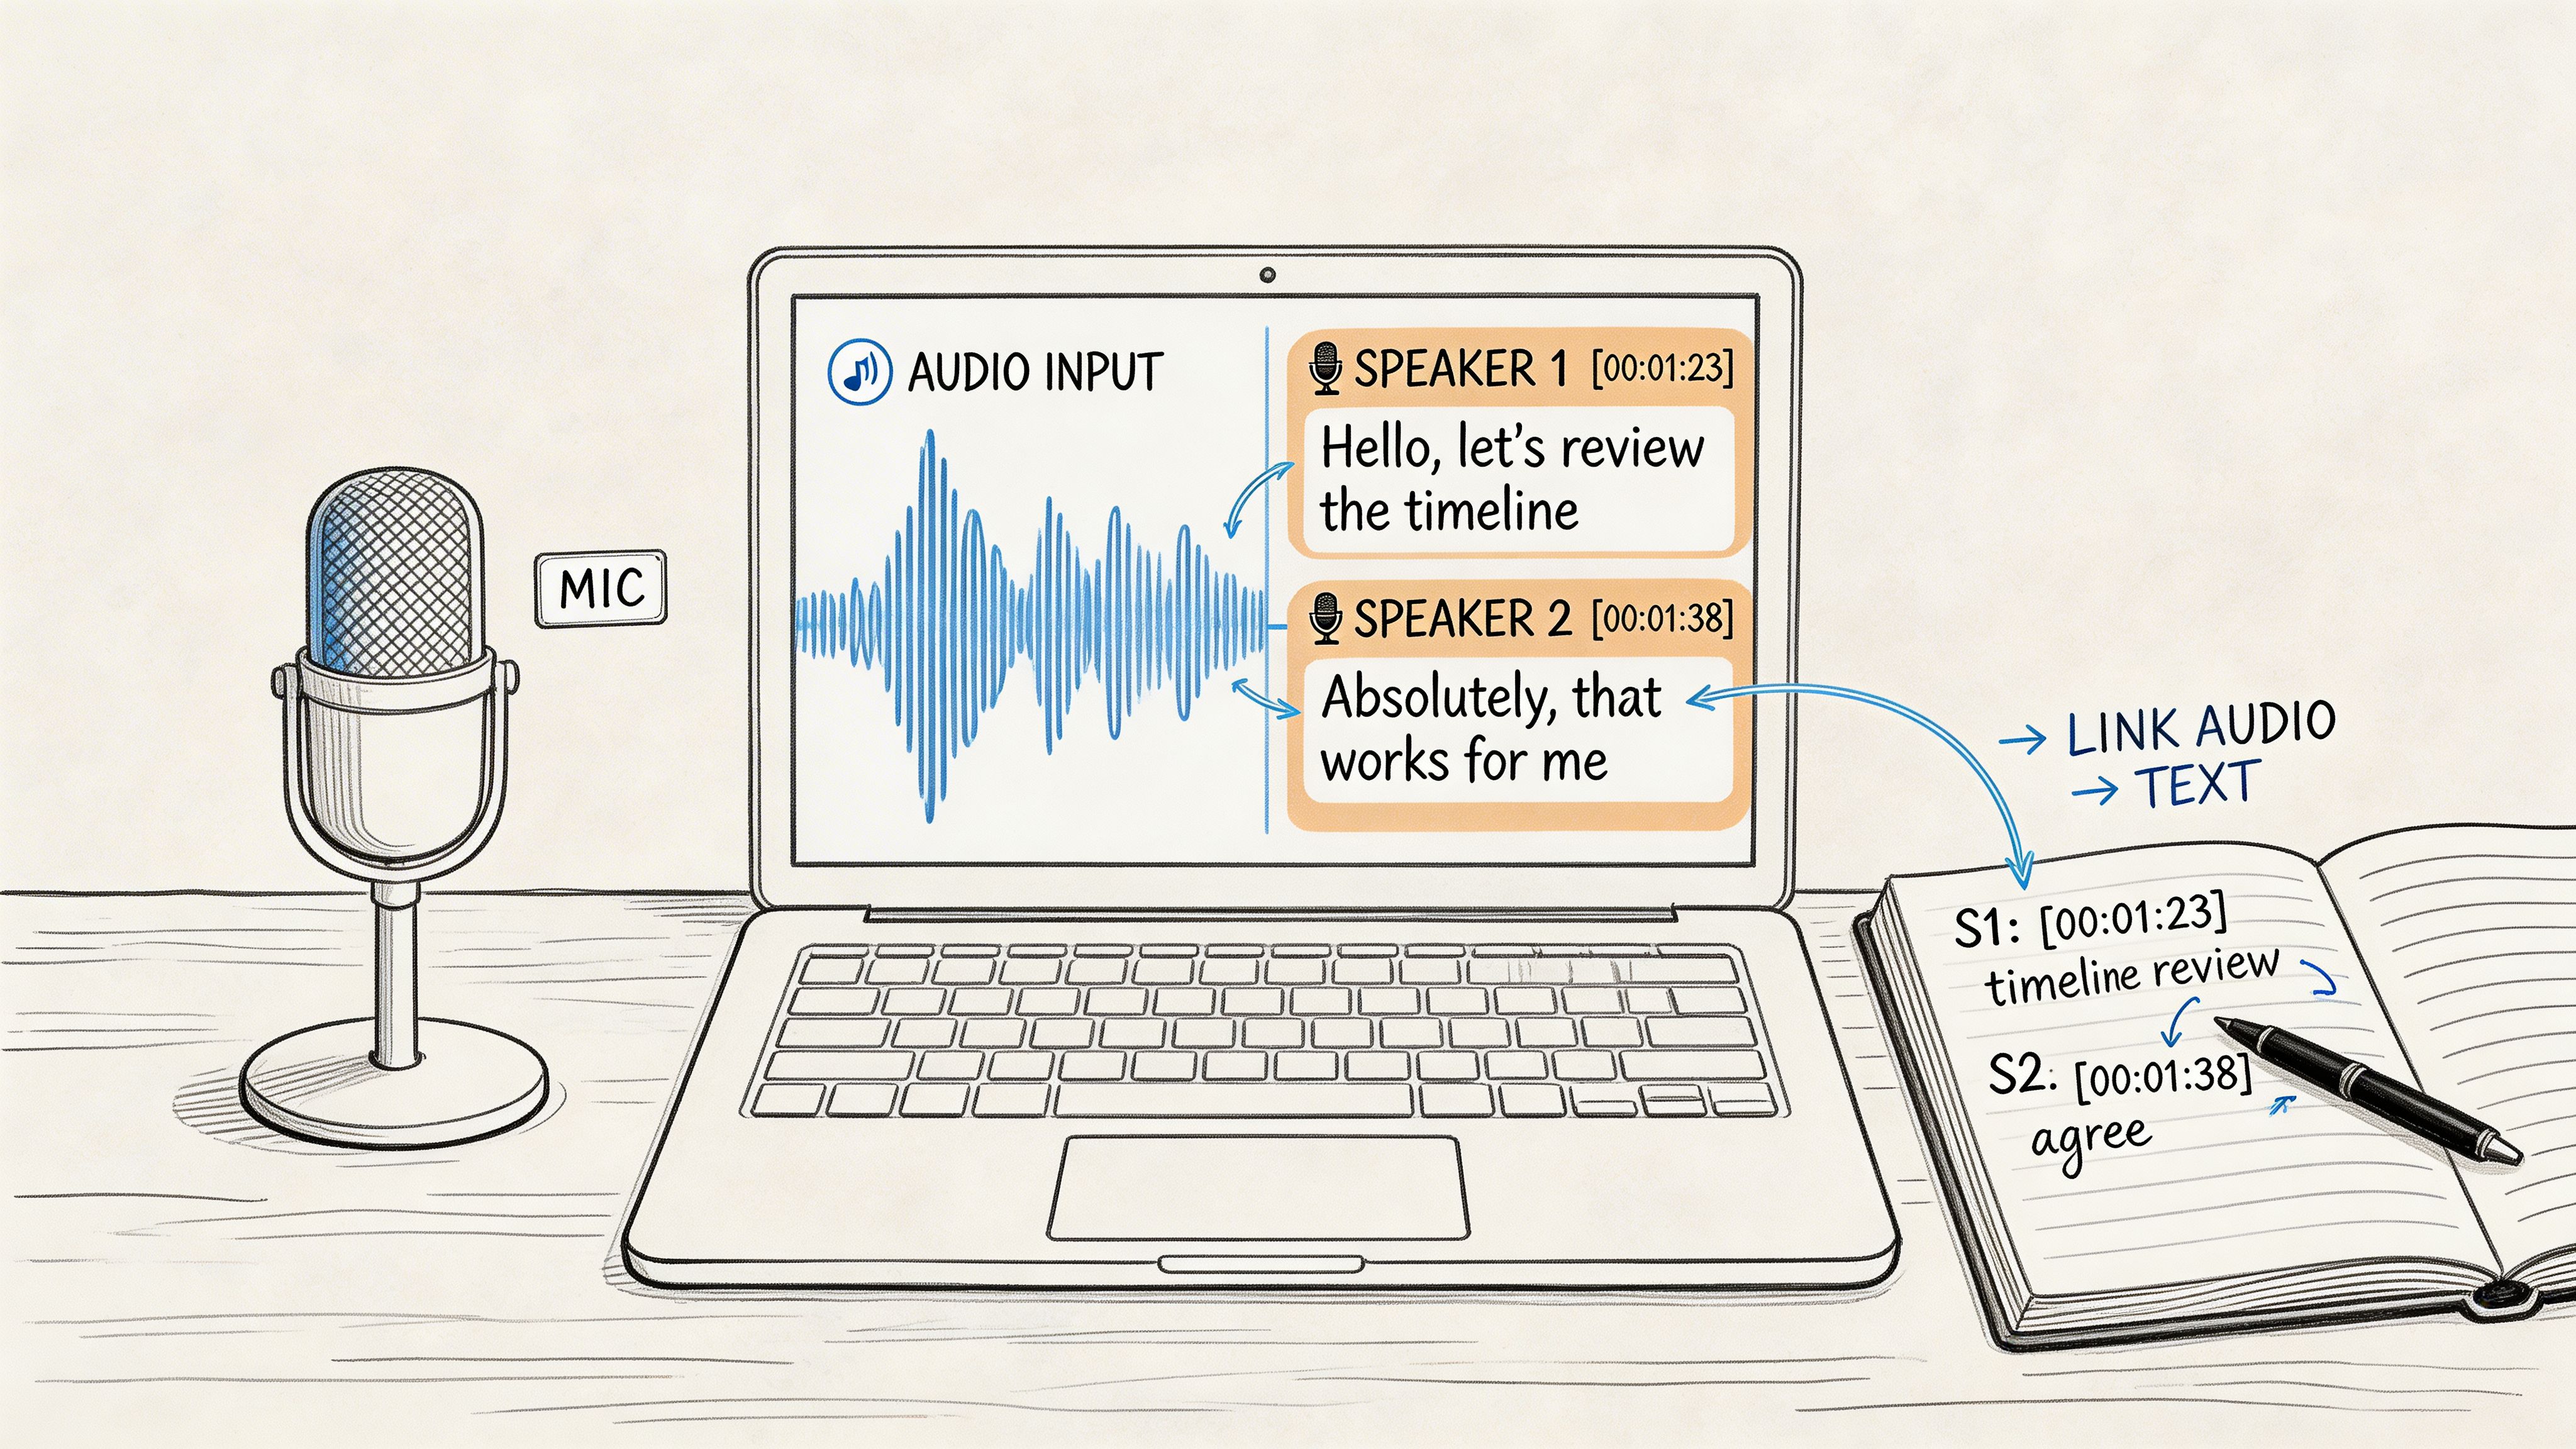
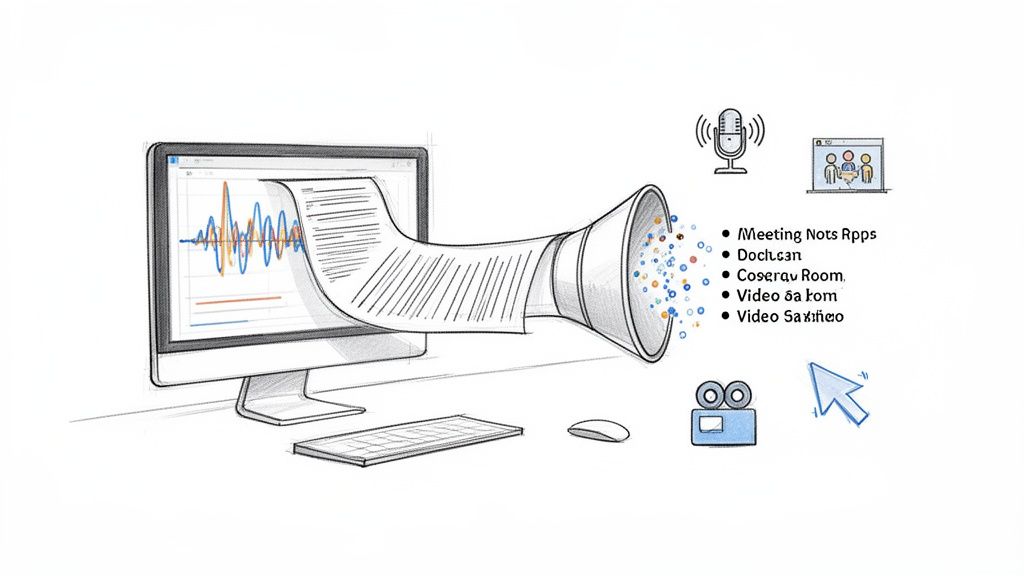
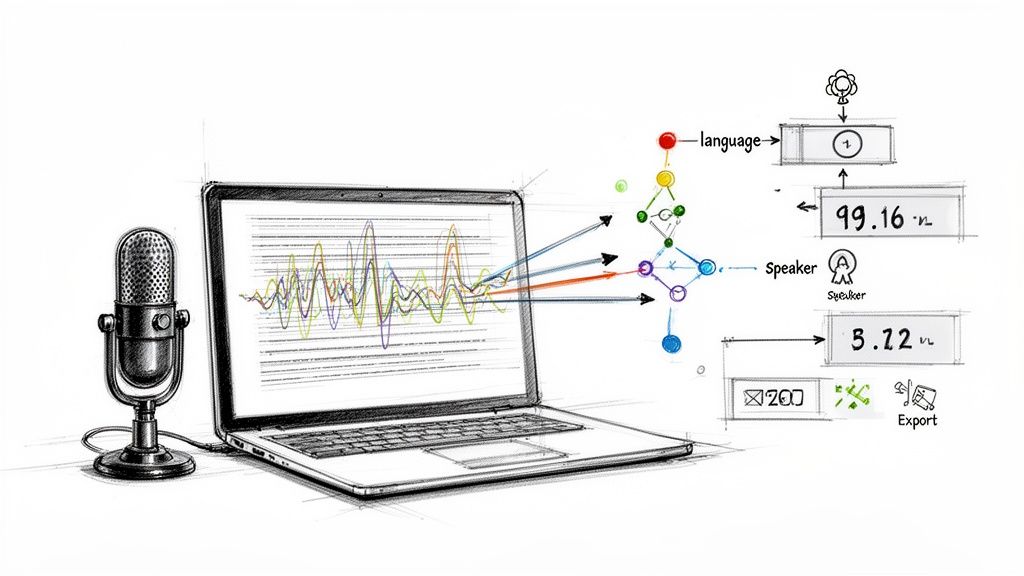
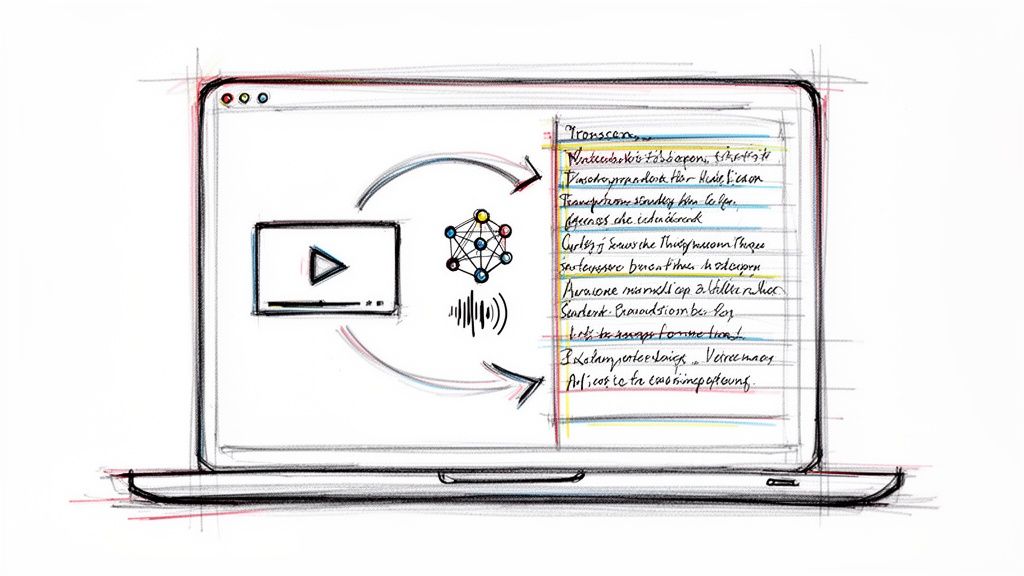
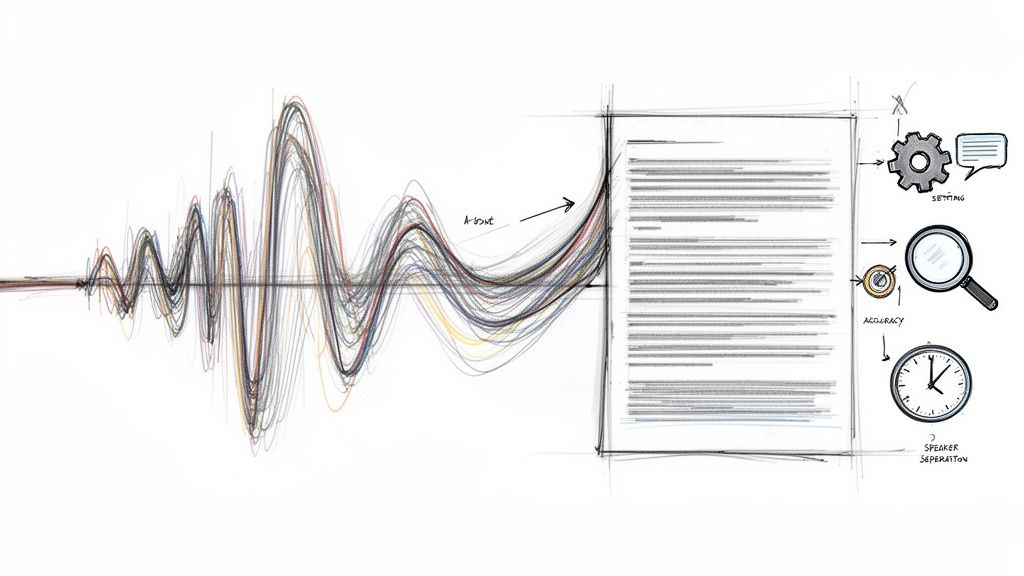
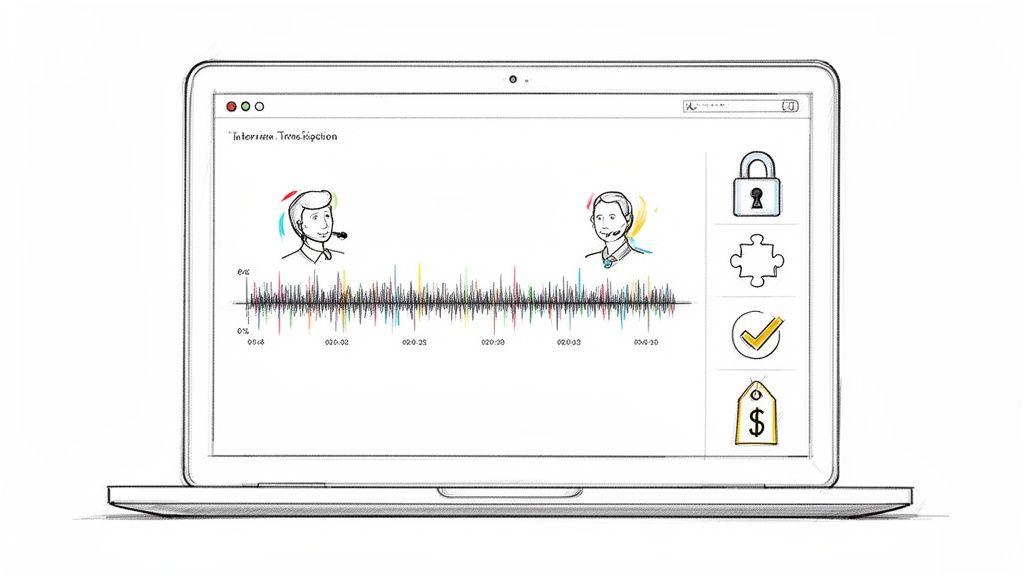
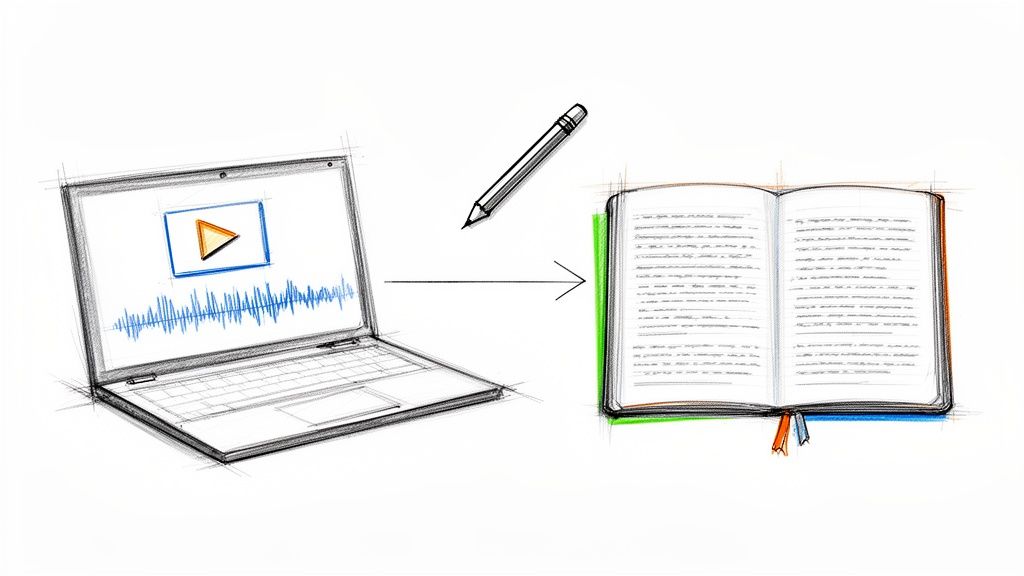
Instead of painstakingly re-listening to everything, you can use an AI transcription service. These tools take your video, process the audio, and generate a full, word-for-word transcript—complete with clickable timestamps for every single phrase.
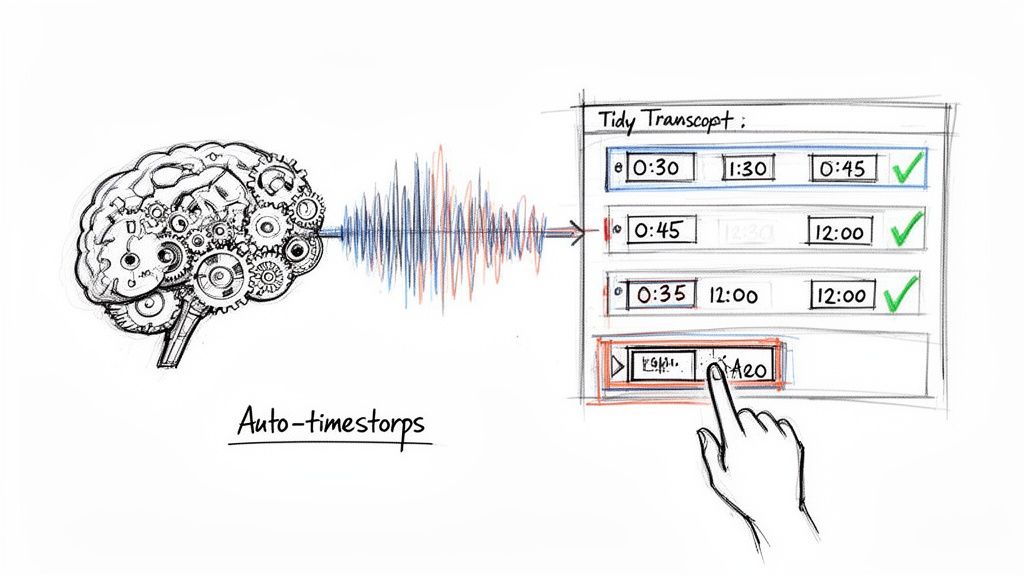
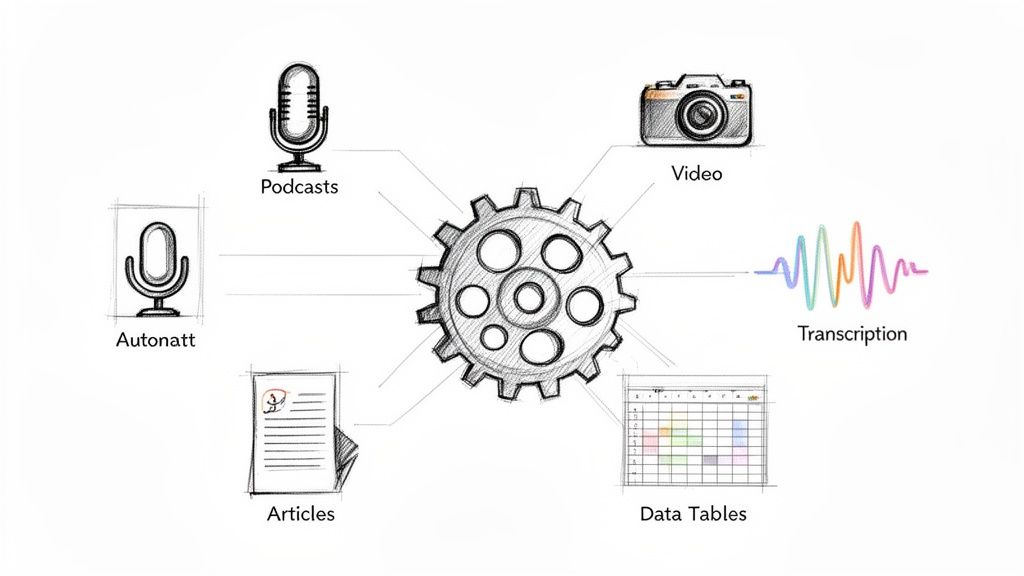
Suddenly, your hour-long video becomes a searchable document. This opens up a ton of possibilities. I've used this myself to:
- Find specific quotes for a blog post in seconds.
- Pinpoint powerful clips to chop up for social media.
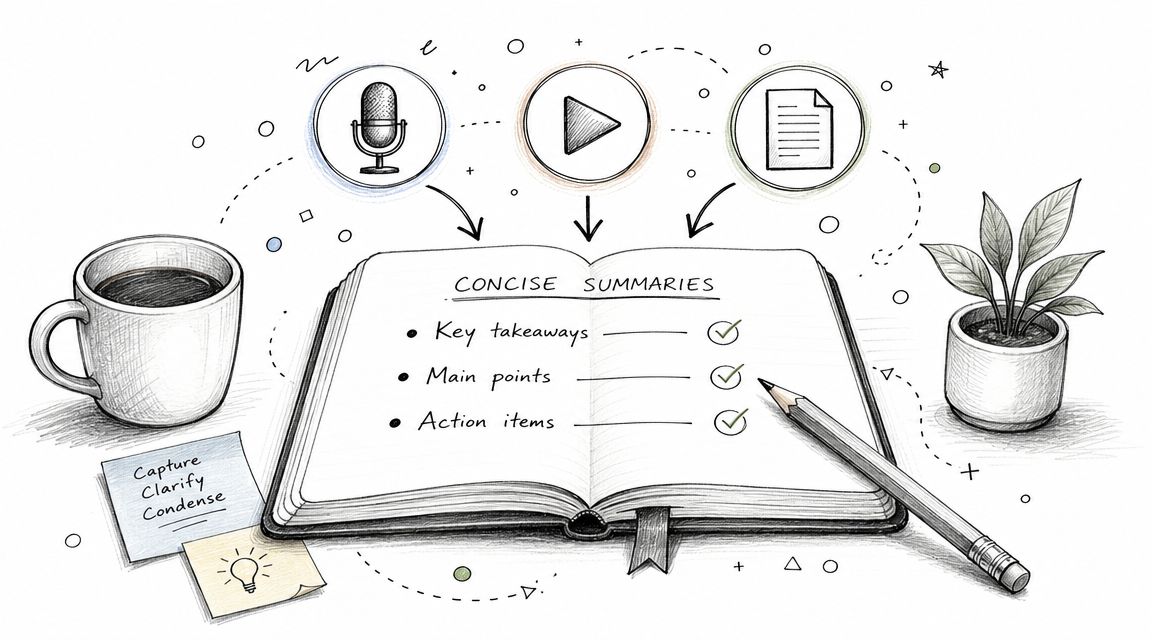
- Create a super detailed table of contents to help viewers navigate.
This isn't just a time-saver; it’s about getting more mileage out of your content. You can see just how an AI tool can transcribe YouTube videos to get a feel for the workflow.
For anyone in education, this is a genuine game-changer. Imagine students being able to jump directly to the part of a lecture explaining a complex formula. It’s no surprise that some studies show comprehension can jump by as much as 40% when academic videos are properly timestamped. Podcasters are also using this to share transcribed highlights, making their audio content more accessible and shareable.
Common Questions About YouTube Timestamps
Even after you've created a few timestamped links, some tricky questions can pop up. Let's tackle some of the most common ones I see so you can get your links working perfectly every time.
Can You Add a Timestamp to a YouTube Short?
The short answer is no, you can't. YouTube Shorts are designed for a quick, looping experience, and the platform doesn't currently support clickable timestamps for them. You can always leave a comment like "The best part is at 0:12," but it won't be a live link that jumps the viewer to that spot.
"Why isn't my timestamp link working?"
Nine times out of ten, when I've had a timestamp link fail, it's due to a tiny formatting mistake. It’s almost always one of two things.
First, check the character you used to add the timestamp. If it's a clean, standard video URL, you'll use a question mark: ?t=. But if the URL already has a question mark in it (which is common for links from playlists or search results), you need to use an ampersand instead: &t=.
The other common culprit is the time format itself. While 2m15s might look right, it can be finicky.
The most reliable fix? Just use total seconds. For two minutes and fifteen seconds, you’d add
&t=135sto the end of the URL. This simple trick has saved me from most formatting headaches.
And of course, give it a quick once-over to make sure the time you entered isn't longer than the video itself!
How Can I Pinpoint the Exact Time for a Link?
This is the easy part. Just play the video and hit pause right at the moment you want to capture. The time you see on the video player is exactly what you need.
For some pro-level precision on a desktop, I use the period (.) and comma (,) keys. They let you move forward or backward one frame at a time, so you can nail the exact moment you want to share.
Tired of manually scrubbing through videos to find key moments? With a tool like Whisper AI, you can generate a full, searchable transcript with clickable timestamps in just a few minutes. Unlock the power of your video content today!