A Practical Guide to Creating Subtitles for Documentaries
Crafting subtitles for your documentary isn't just a final checkbox on your post-production to-do list; it's an art form that directly shapes how many people your story can reach and how deeply it resonates. The difference between slapped-on captions and thoughtfully created subtitles is the difference between a viewer merely watching and truly understanding.
From my experience, subtitles are your film's universal passport. They don't just translate dialogue; they carry the emotional weight, the subtle nuances, and the critical details of your narrative across cultural and linguistic divides. Investing in high-quality subtitles is, without a doubt, one of the best investments you can make in your documentary's impact.
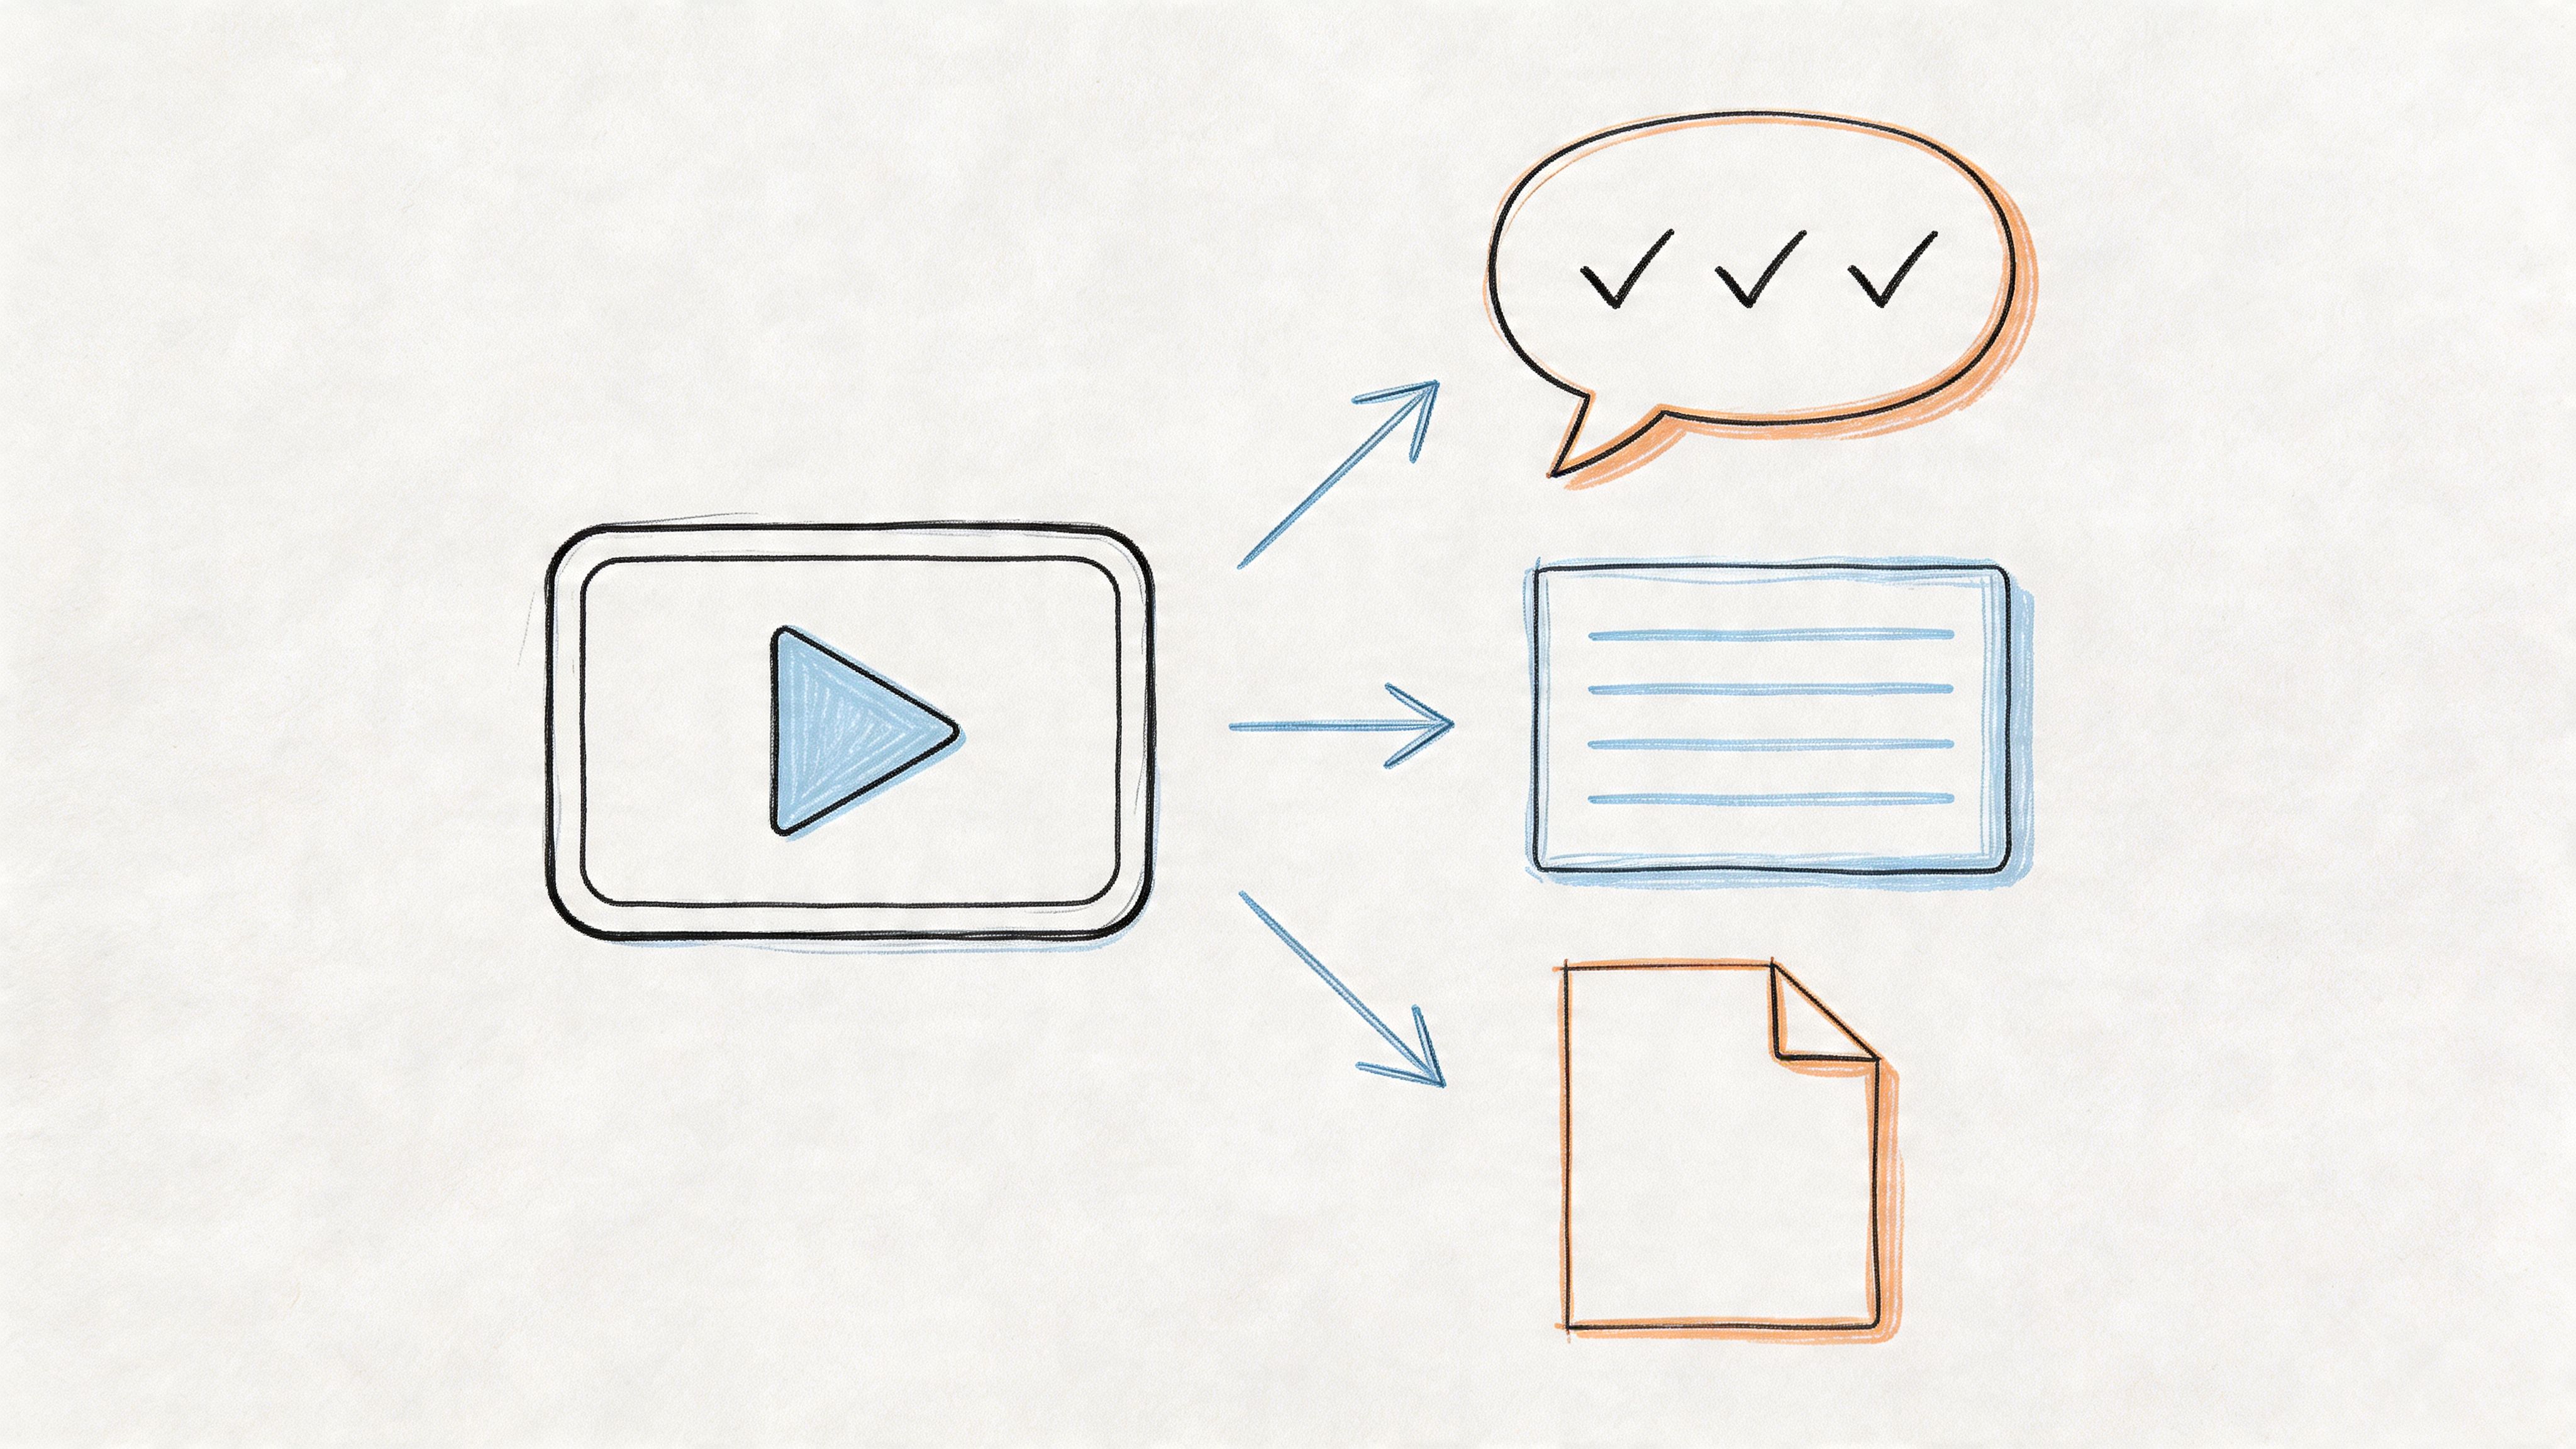
Let's walk through my process for creating professional-grade subtitles, from the initial transcription all the way to the final export.
Taking Your Story Global
The most obvious benefit of subtitles is unlocking a worldwide audience. I’ve seen it happen time and again: a small documentary about a niche community issue suddenly finds a massive, passionate following in South Korea or Brazil. Why? Because high-quality subtitles made the story feel local to them.
This isn't just about reaching new markets; it's about forging genuine human connections that transcend geography.
Good subtitles do more than make a film watchable; they make it feel like it was made for you, no matter where you are or what language you speak. This sense of inclusion is what turns a passive viewer into an advocate for your film.
Keeping Your Audience Hooked
In our world of constant distraction, subtitles are a powerful anchor for a viewer's attention. The data backs this up. It's not just a niche preference anymore; roughly 50% of Americans now regularly watch content with the subtitles on. Even more telling, about 27% admit they use them to stay focused while juggling other tasks. You can dive deeper into these subtitle usage trends to see just how much viewing habits have changed.
This is especially critical for documentaries. If you're tackling complex scientific theories, dense historical accounts, or technical jargon, precise captions are non-negotiable. They give your audience the scaffolding they need to follow along, absorb key facts, and remember the information you've worked so hard to present.
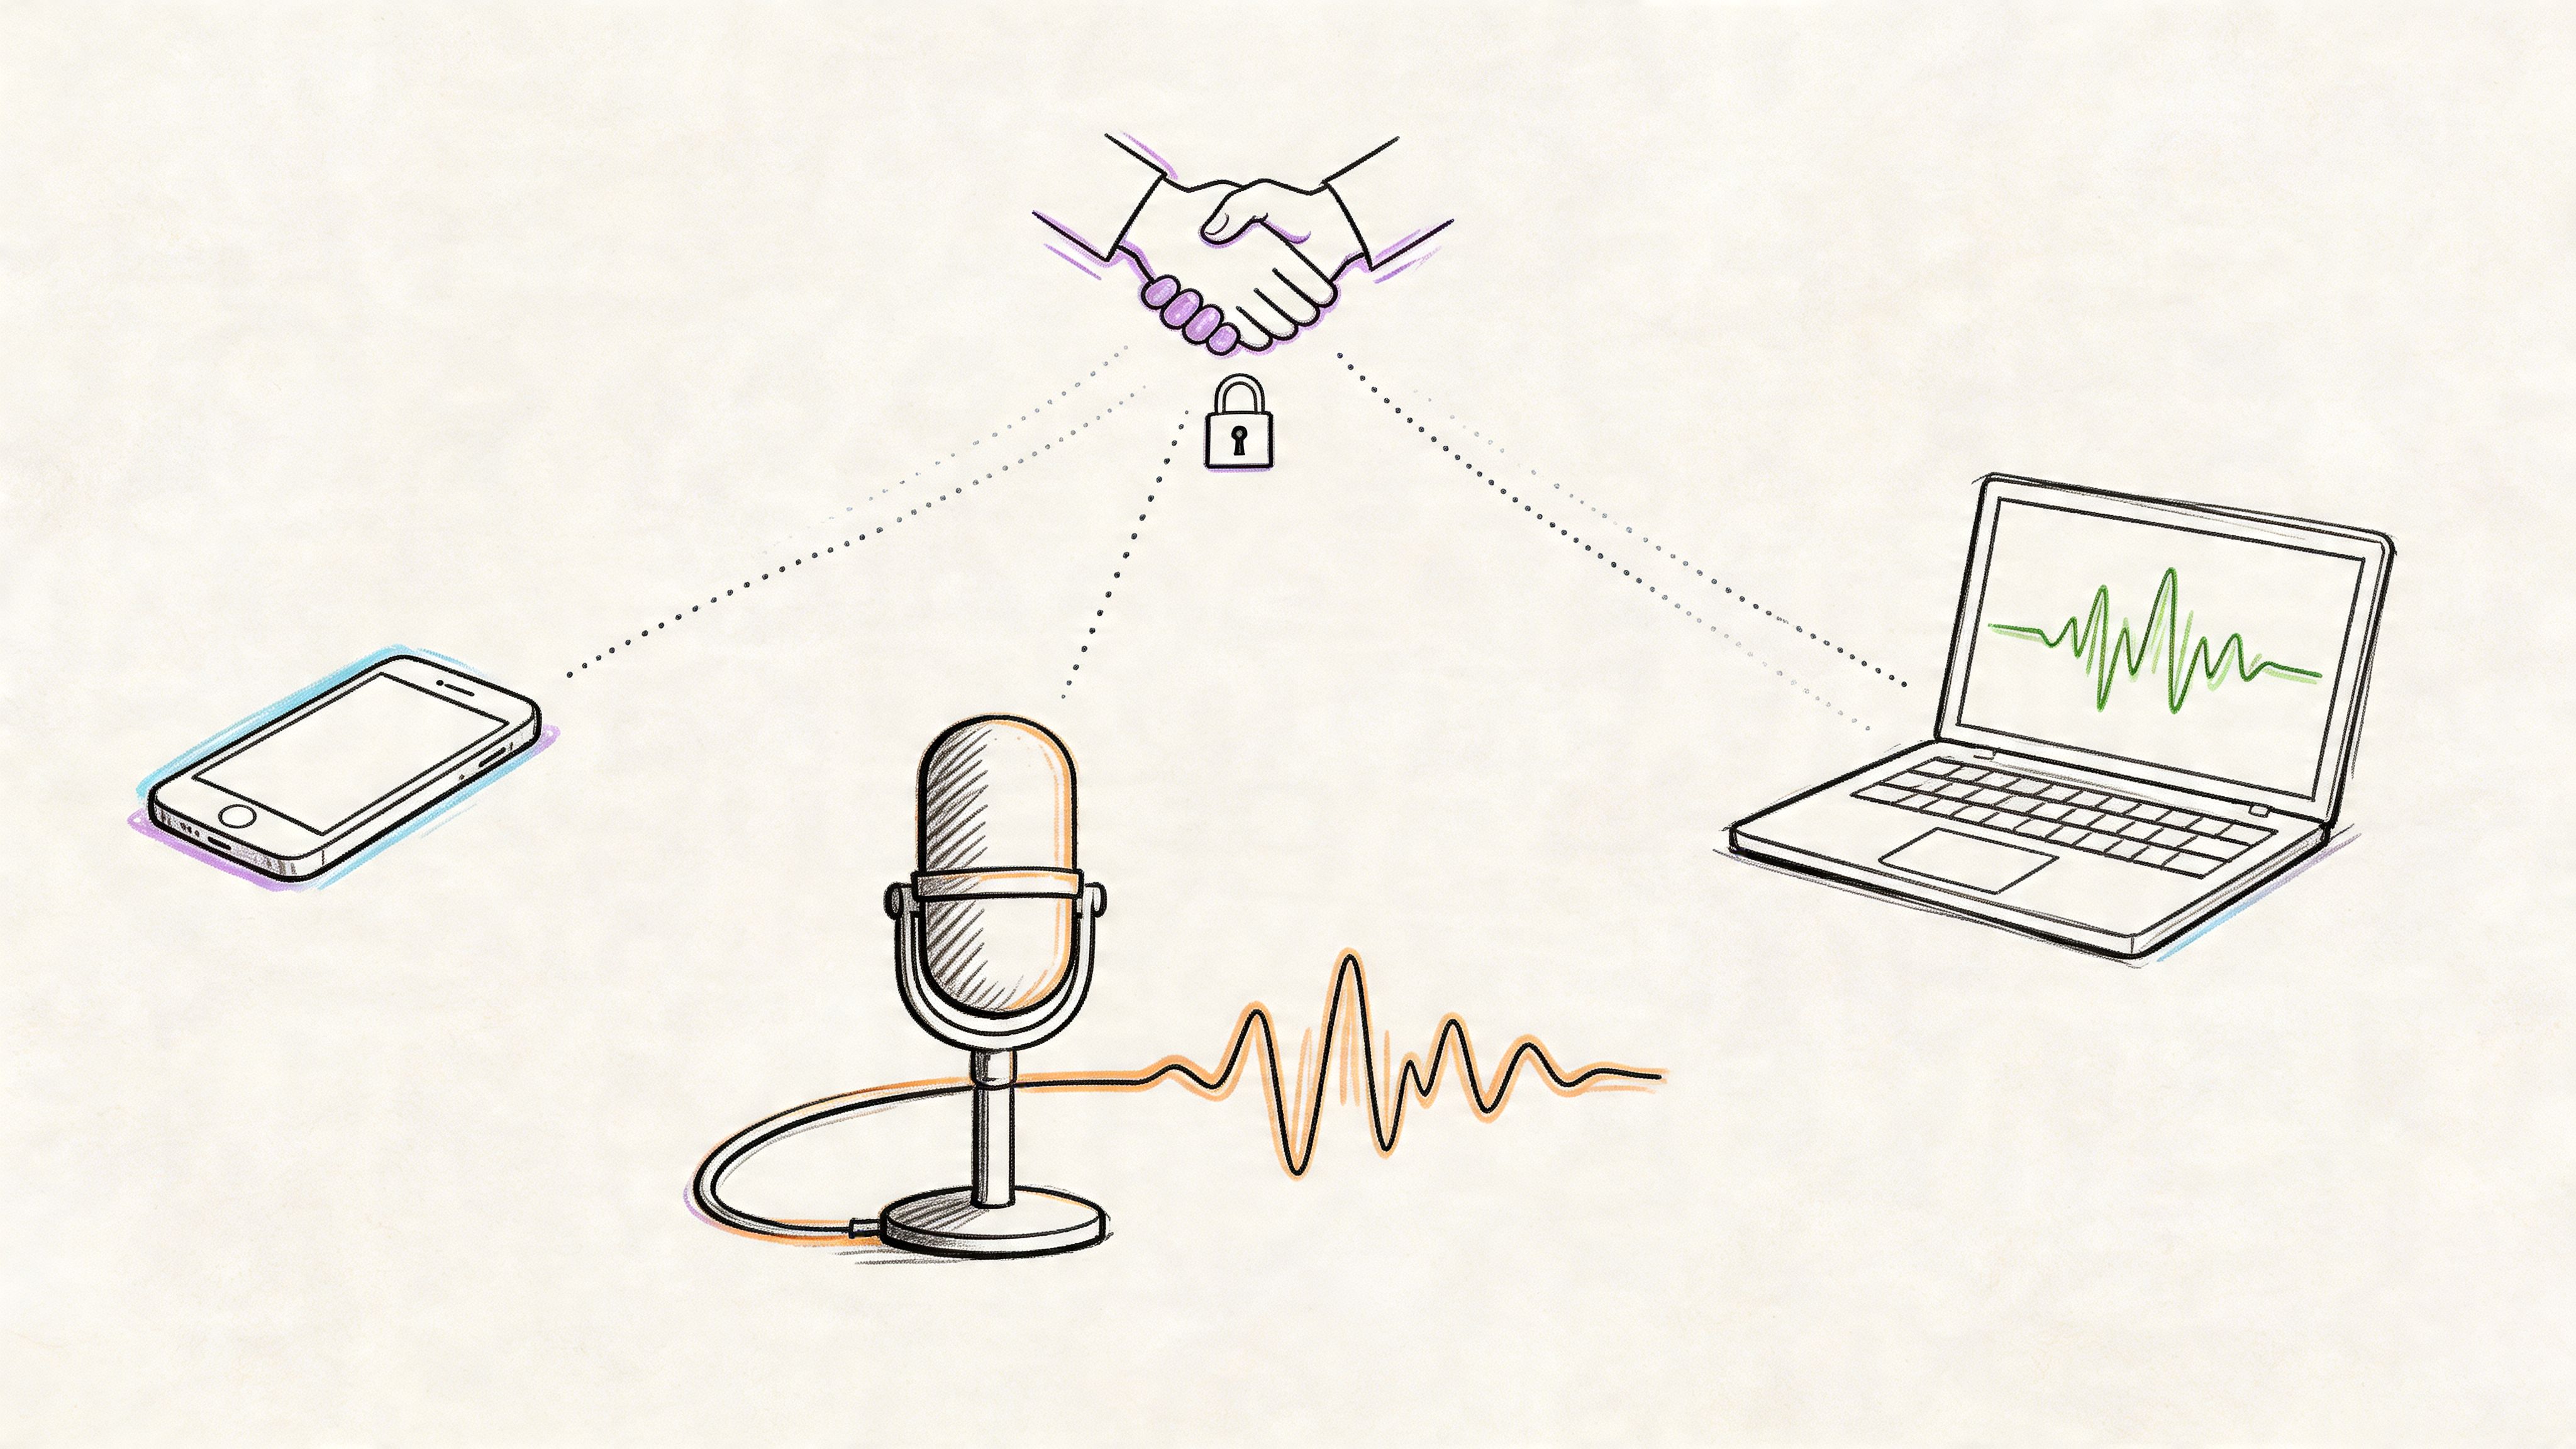
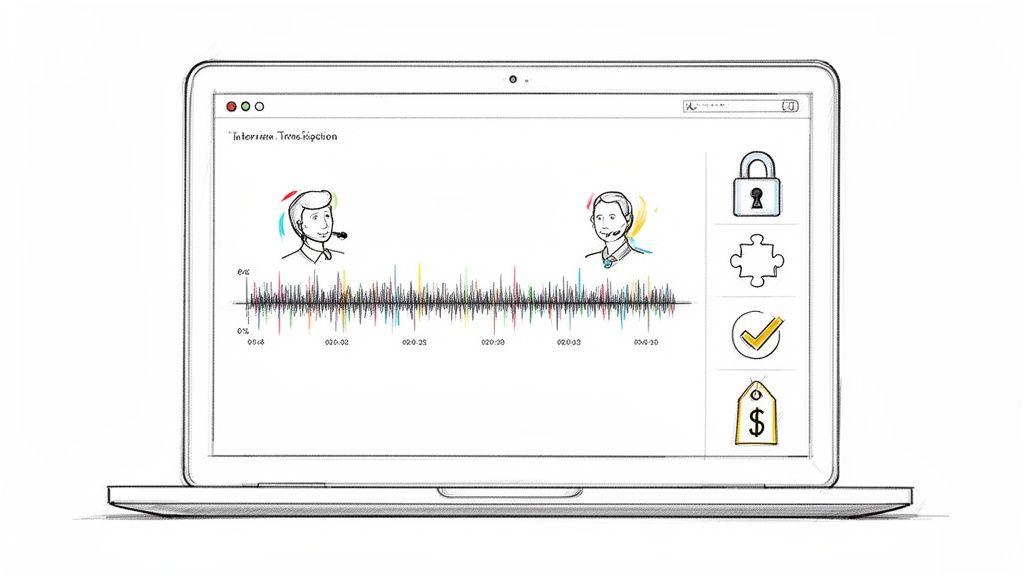
Professional services like Rev have built their entire business model on this need for accuracy, blending AI with human expertise to get it right.
This hybrid approach is a great example of the industry standard. For a documentary, where every word matters, that blend of speed and human oversight is exactly what you need to ensure your message lands perfectly.
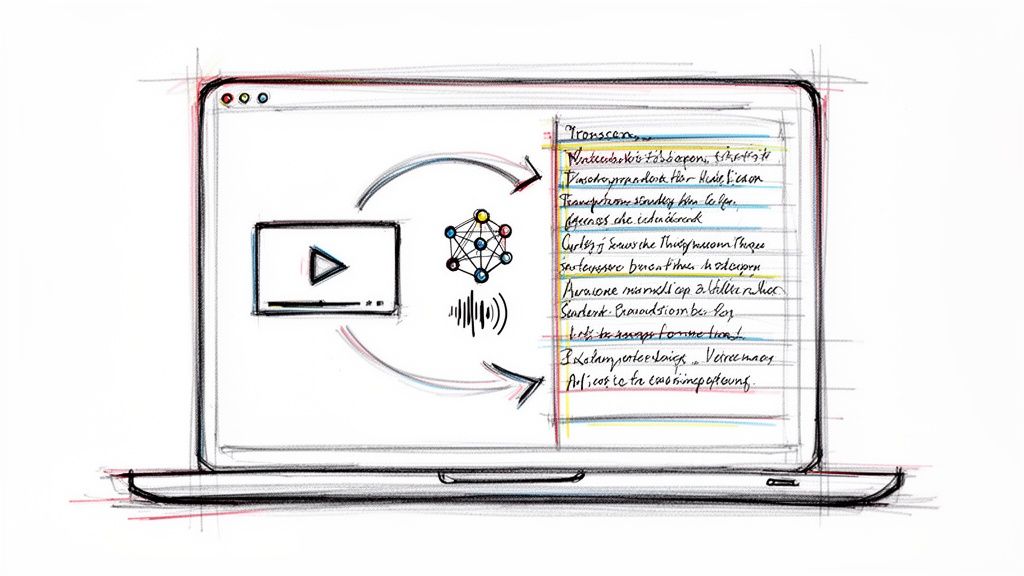
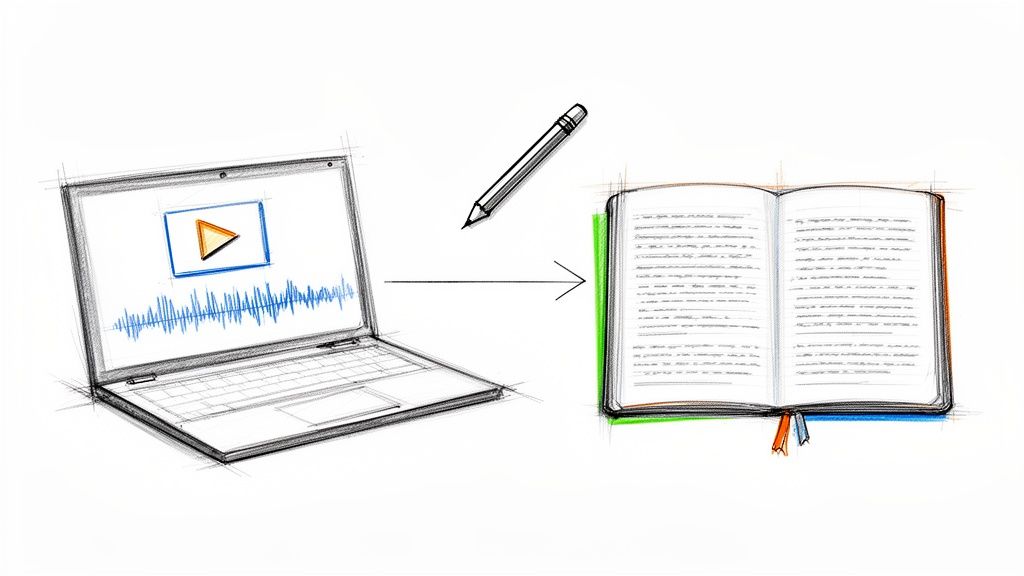
Getting Your Transcription Right
Everything in subtitling starts with the transcript. It's the foundation for everything that follows, and if it's not solid, your entire project will suffer. Before you even touch timing or styling, you need a perfect, word-for-word text version of everything said in your documentary.
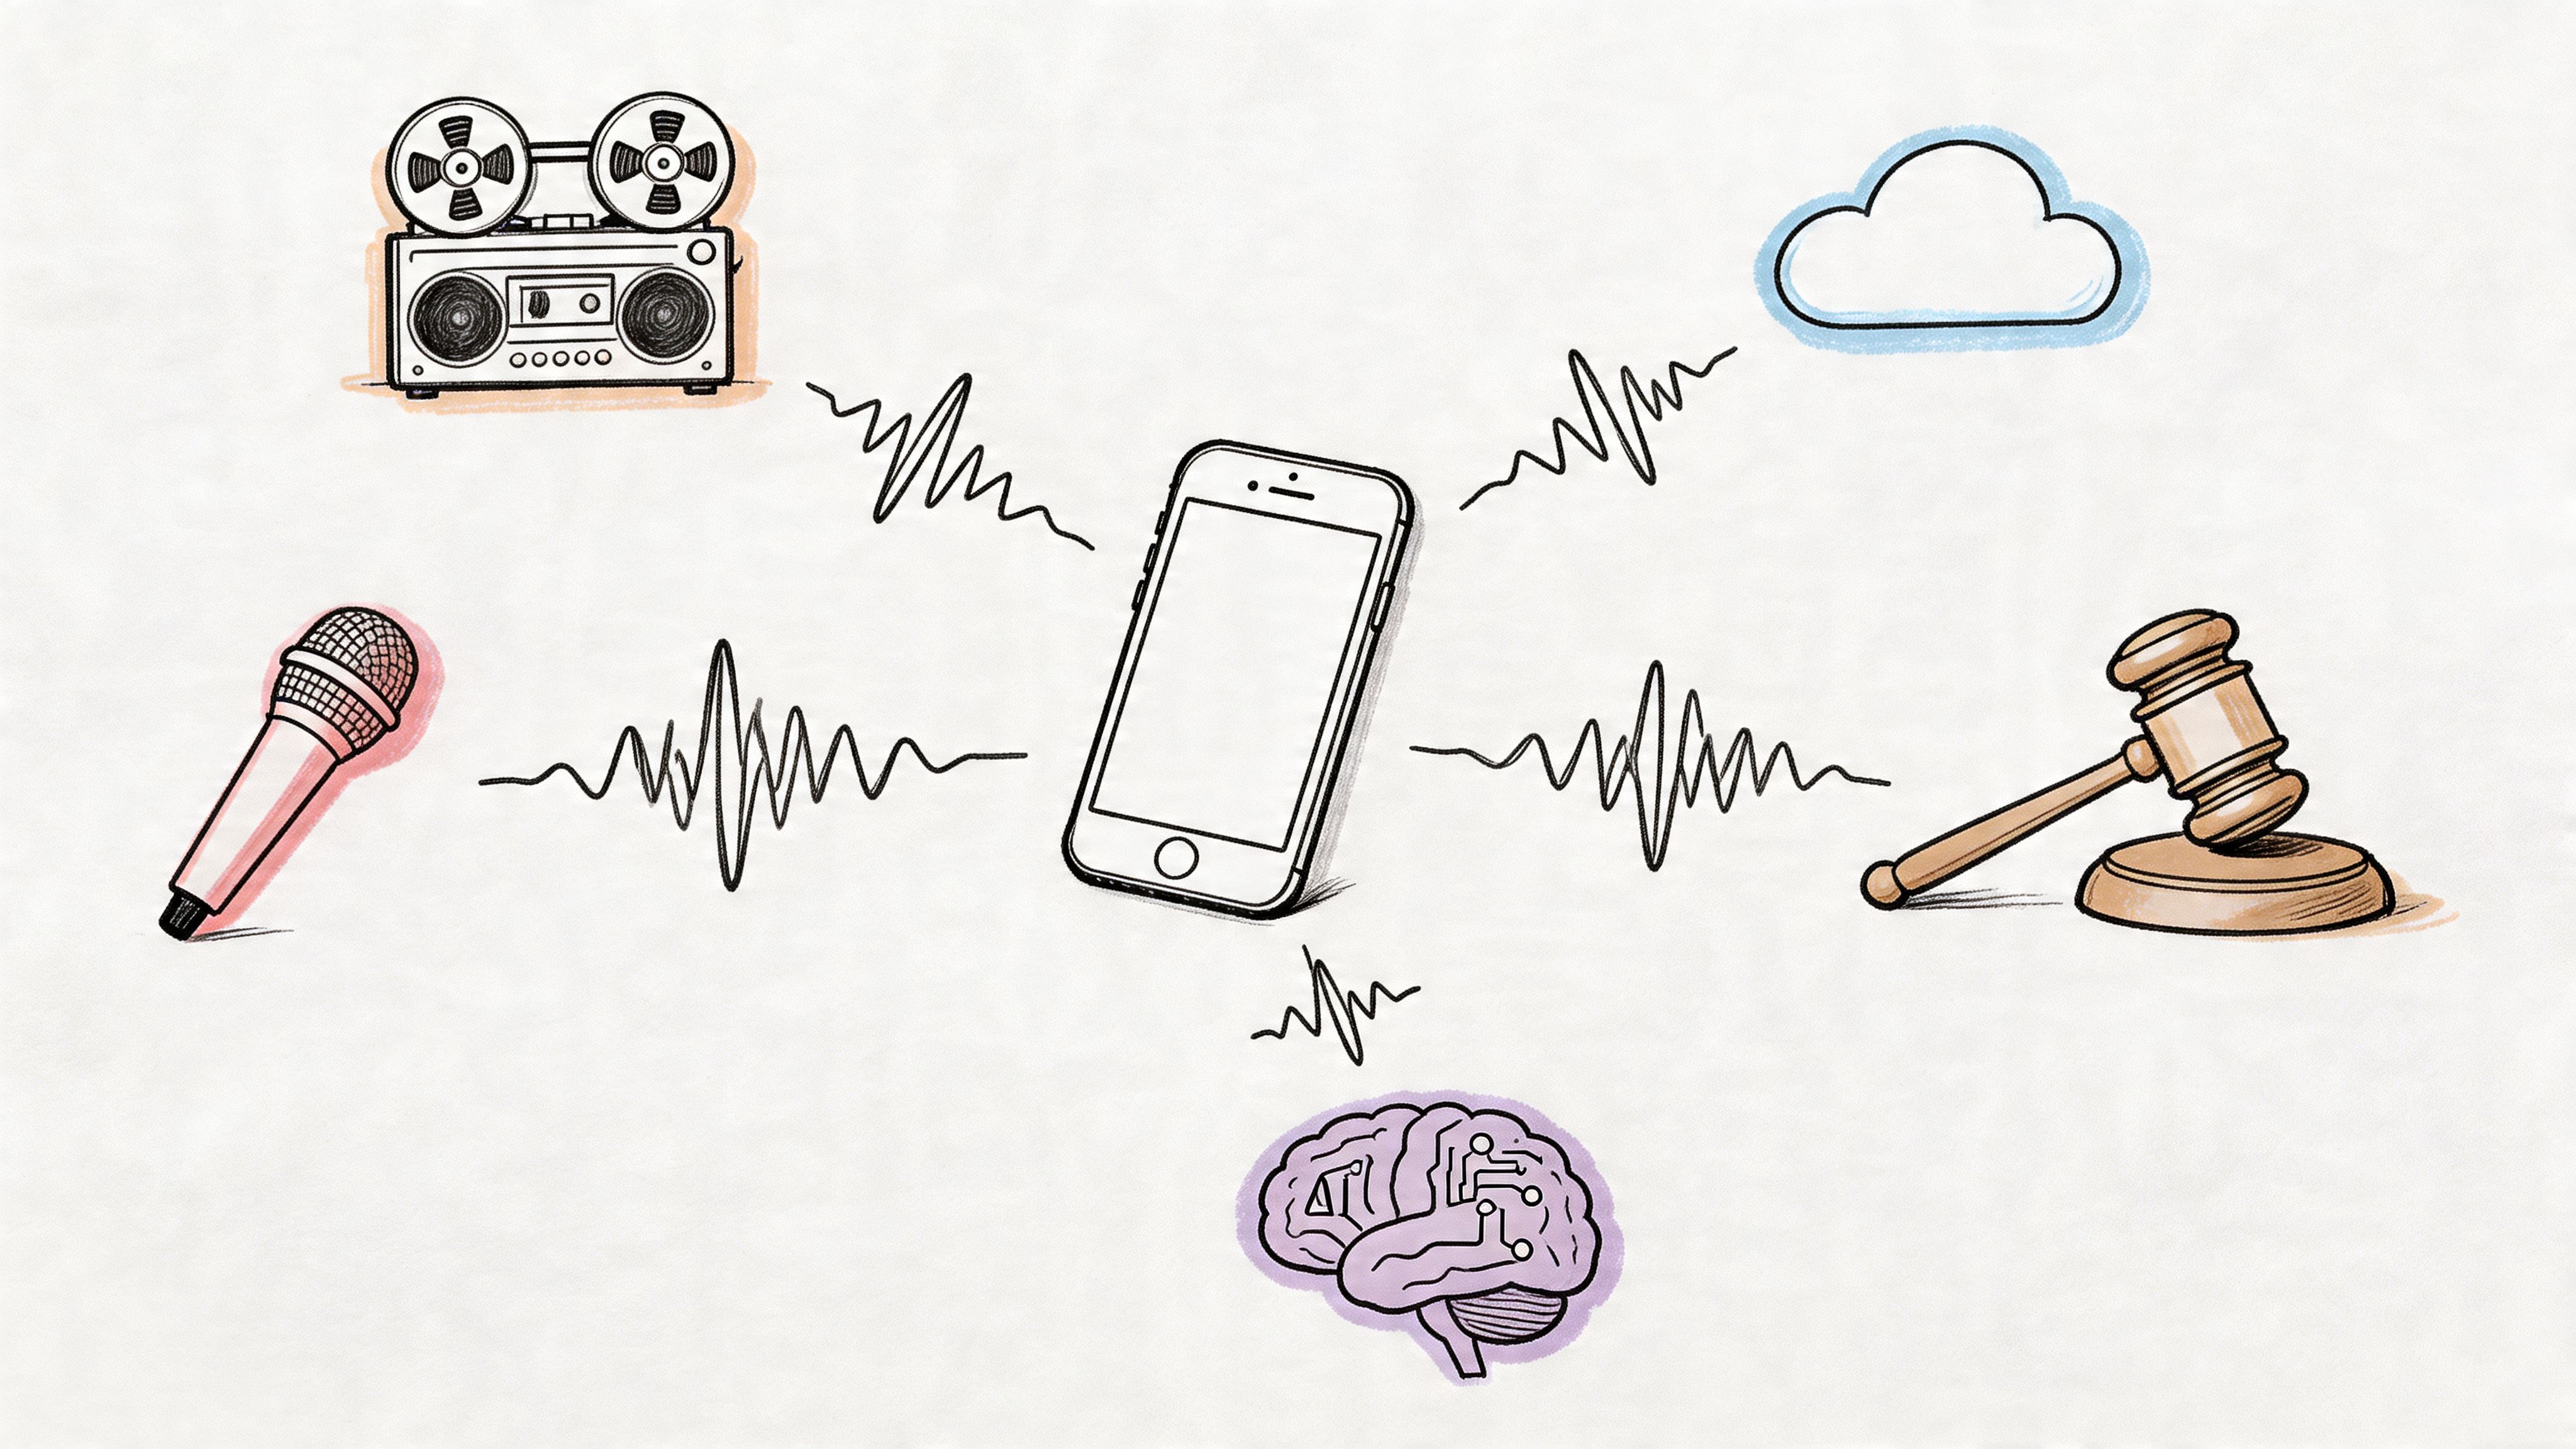
So, how do you get there? You have two main routes: go with an automated AI service or stick with a traditional human transcriber. Honestly, there's a place for both, and the right choice depends entirely on your documentary's audio and your budget.
Choosing Your Transcription Method
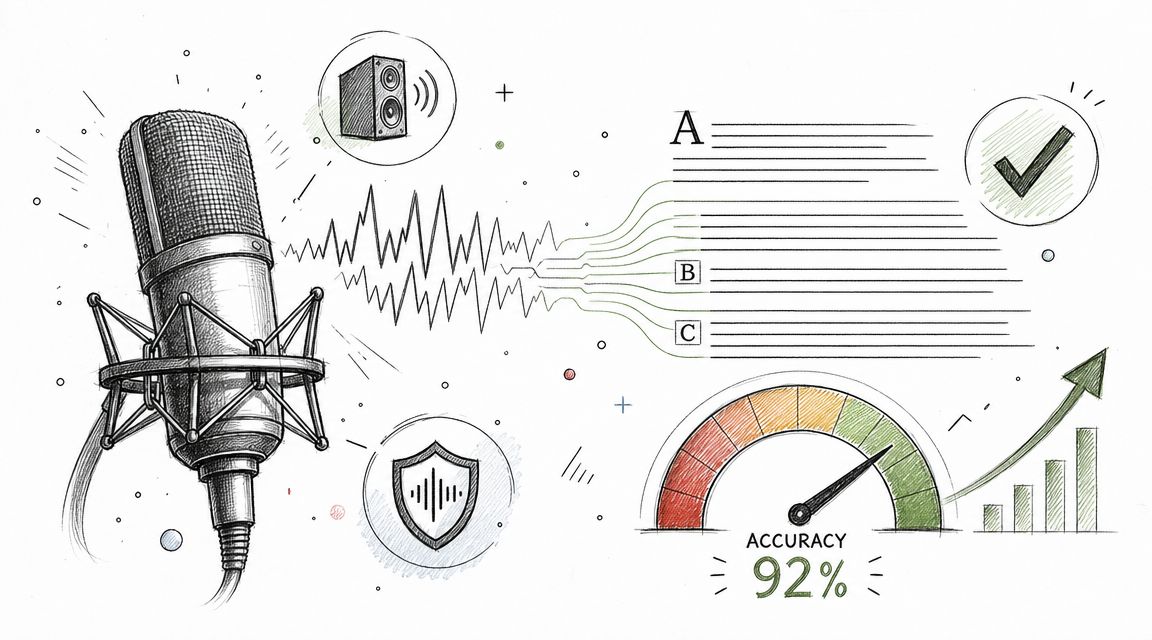
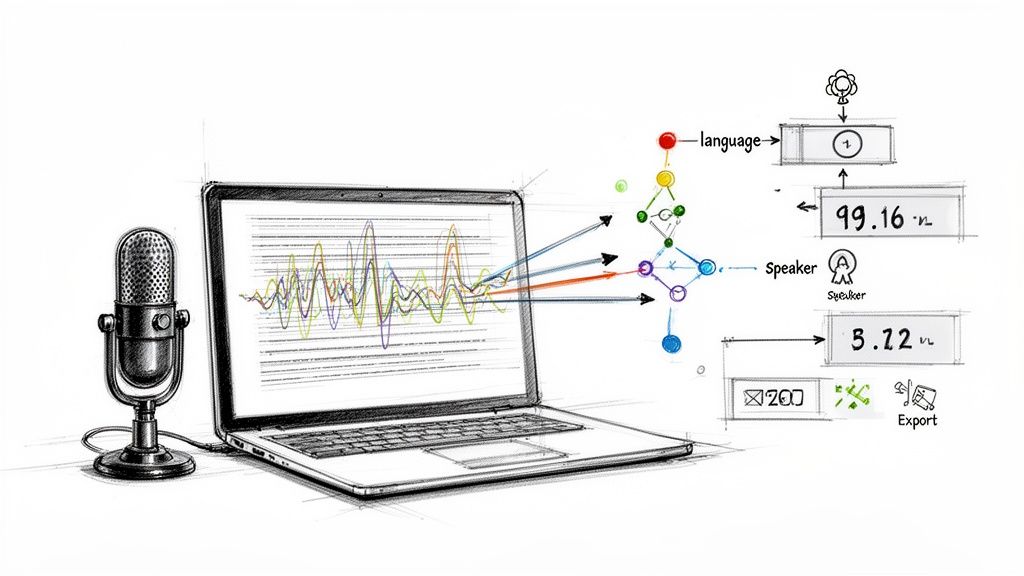
AI transcription tools have gotten remarkably good. They're fast, affordable, and for many projects, they're the perfect starting point. If your documentary has clean audio, one or two speakers, and not a lot of heavy jargon, an AI can spit out a transcript that’s 85-95% accurate in a matter of minutes. That gives you a fantastic head start.
But let's be realistic. AI isn't perfect. If you're dealing with thick accents, people talking over each other, or highly technical language, you'll probably need the nuance of a human transcriber. It costs more and takes longer, but you get near-perfect accuracy from the get-go. A human can catch the subtle stuff an algorithm just flies past. If you're curious about what the latest tools can do, this breakdown of AI-powered transcription services is a great resource to see if it makes sense for your film.
Cleaning Up an AI Transcript
My own workflow is usually a hybrid. I let an AI do the heavy lifting first, which saves me a ton of time and money. Then, I roll up my sleeves and do the final polishing myself.
Here’s my checklist for that cleanup pass:
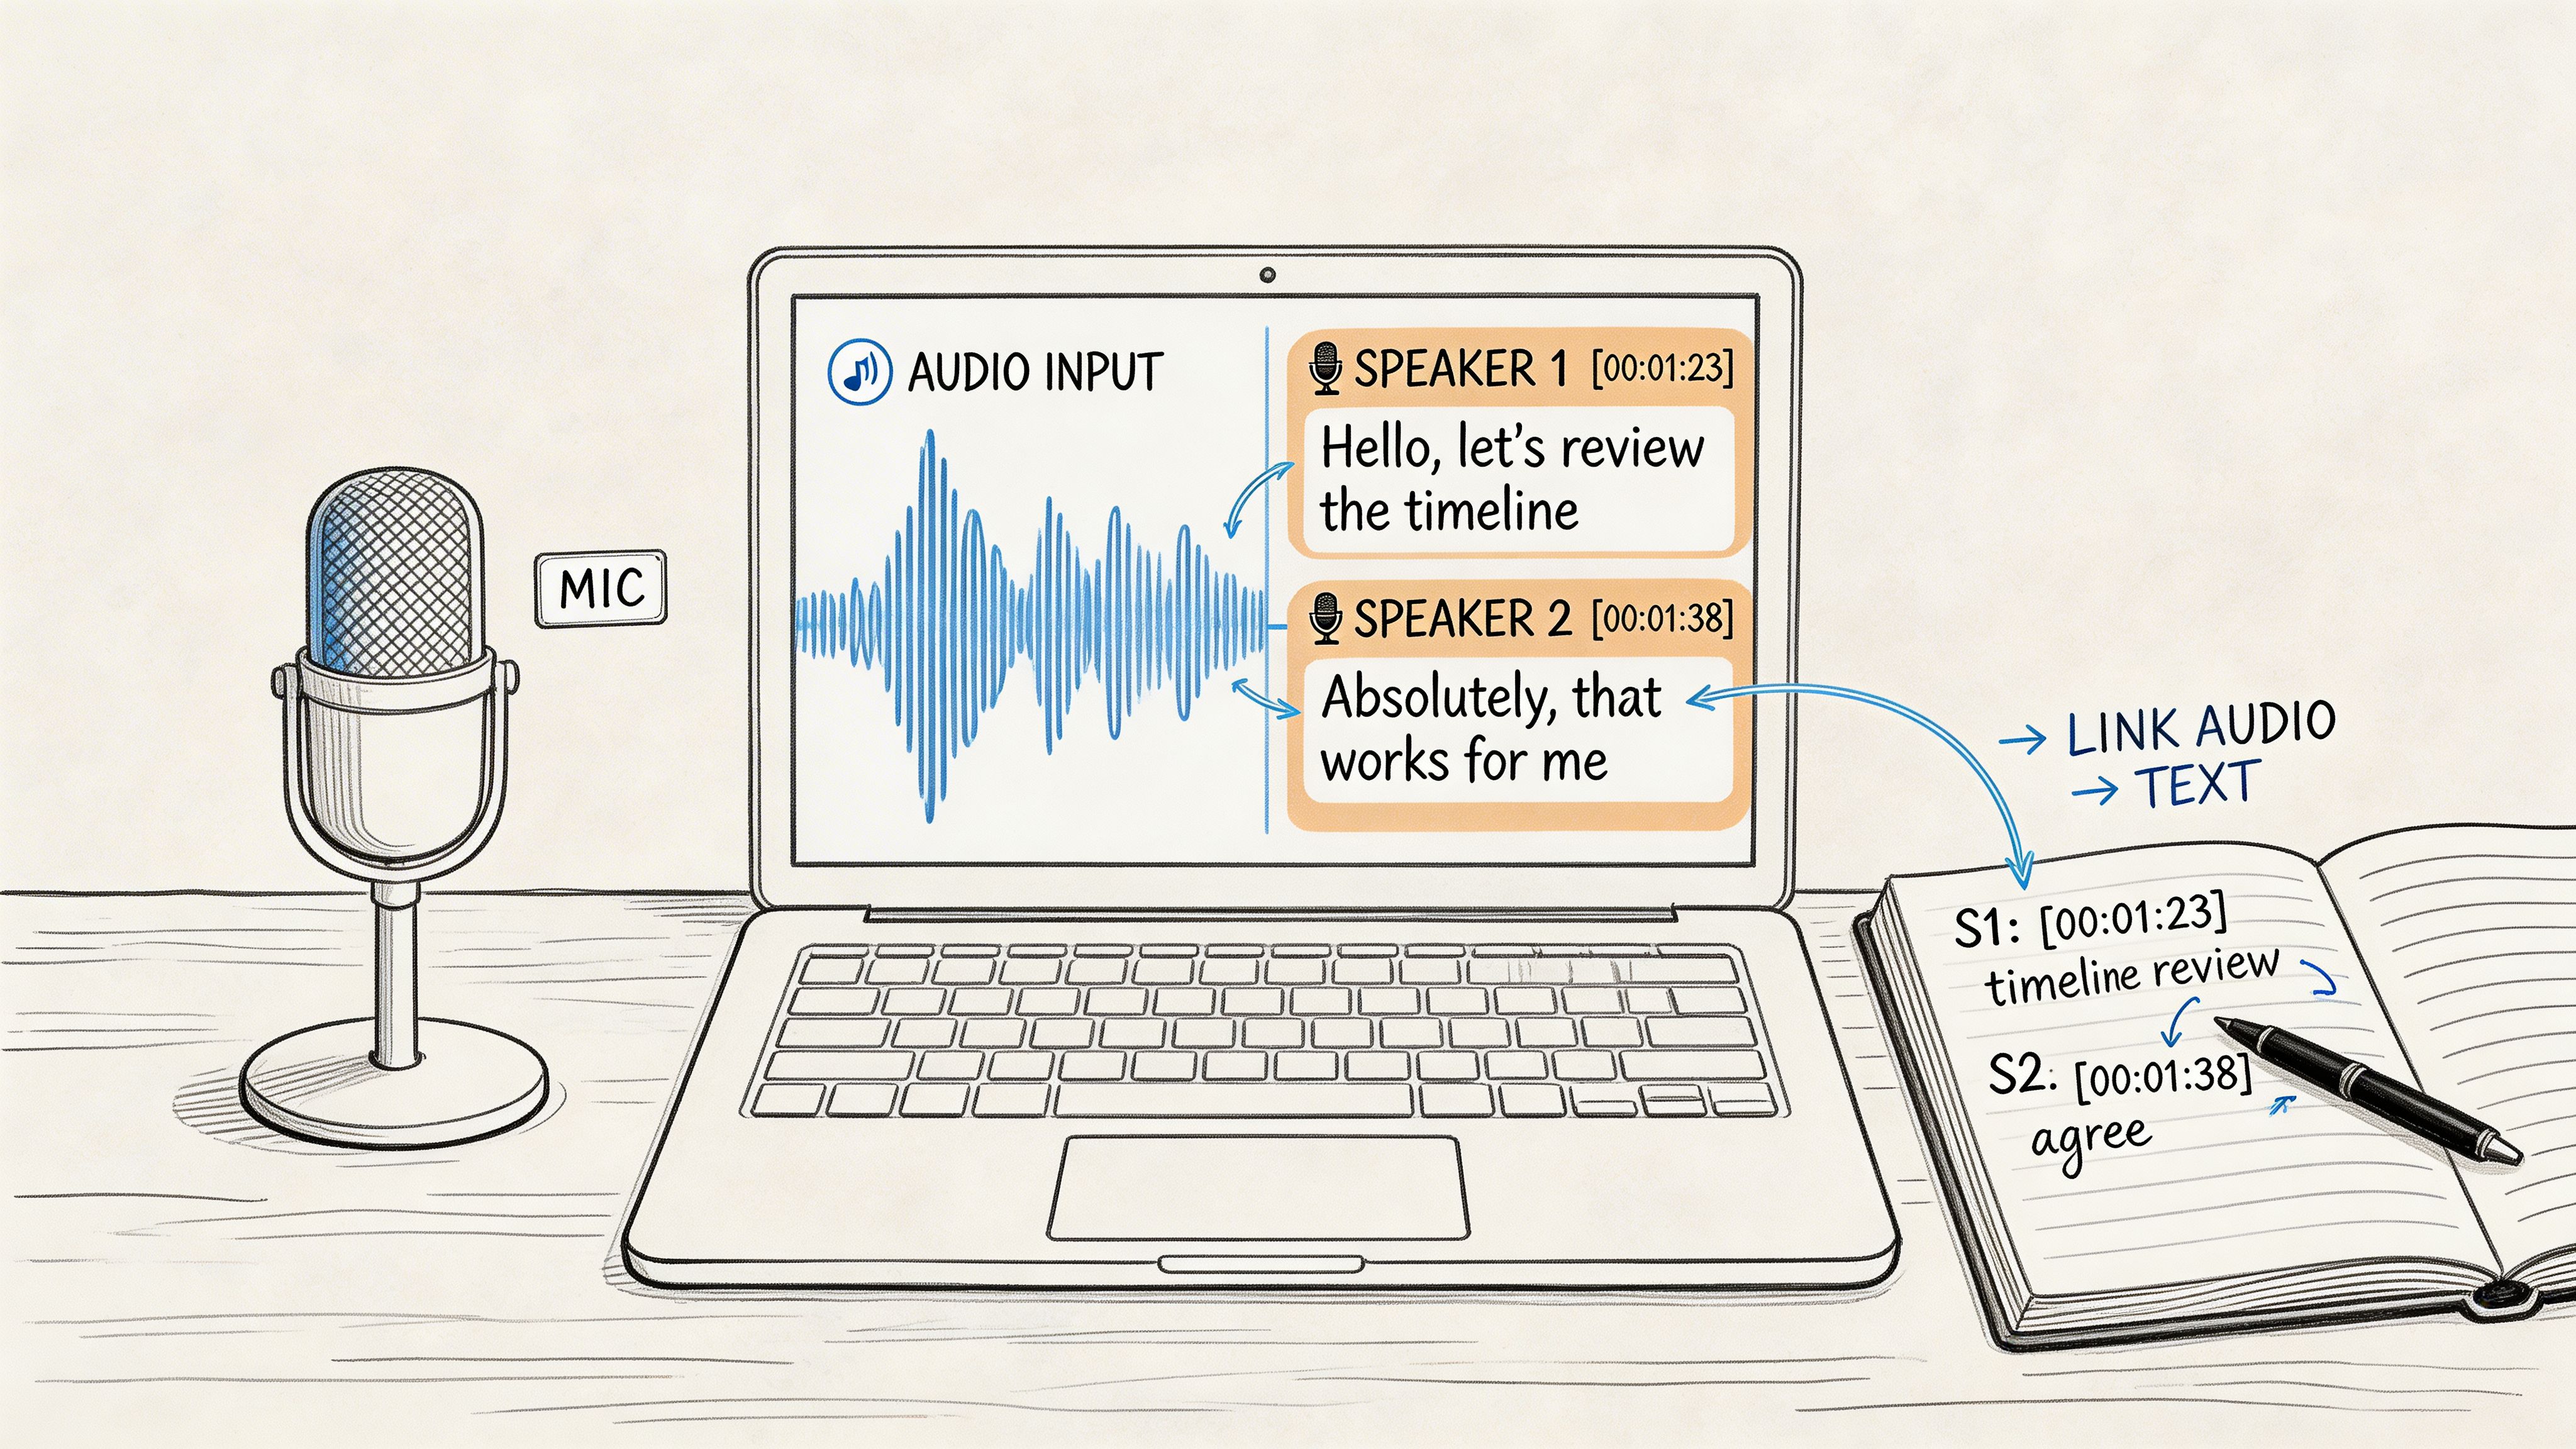
- Correct Speaker Labels: AI often gets confused when conversations get lively. I meticulously check that every line of dialogue is assigned to the right person. This is non-negotiable.
- Fix Specialized Terminology: Documentaries are full of expert language. Whether it's a scientific term or a specific historical name, I double-check everything against my research to make sure it’s spelled and used correctly.
- Refine Punctuation for Natural Speech: A raw transcript can feel stiff. I tweak the punctuation to match how people actually talk—adding commas for pauses, em dashes (—) for interruptions, and ellipses (…) for trailing thoughts.
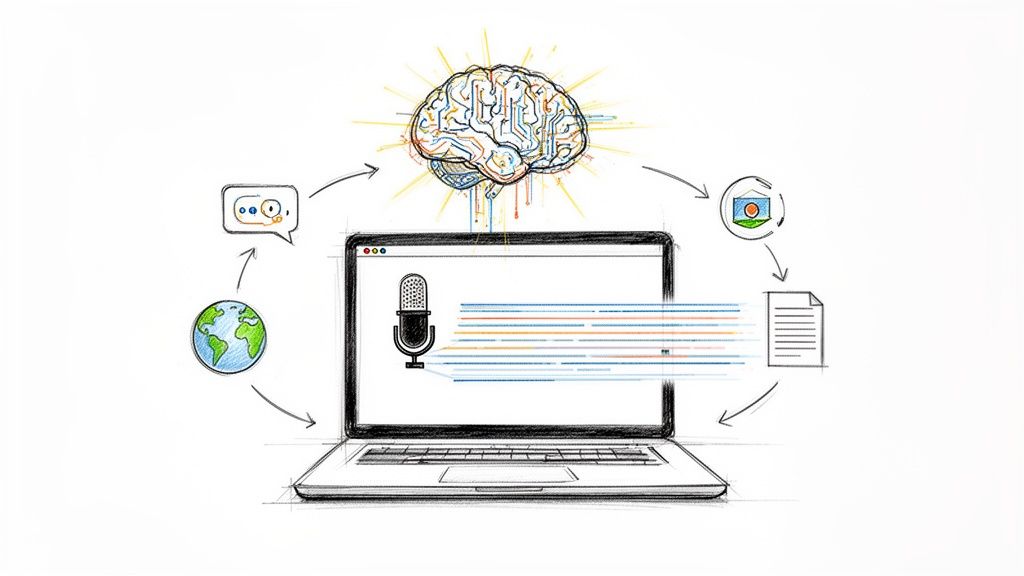
This attention to detail at the transcript stage is what sets the stage for subtitles that truly connect with viewers, open up your content to the world, and even boost its visibility online.
As you can see, a great transcript is the first domino to fall, leading to much bigger wins down the line.
Beyond Translation to True Localization
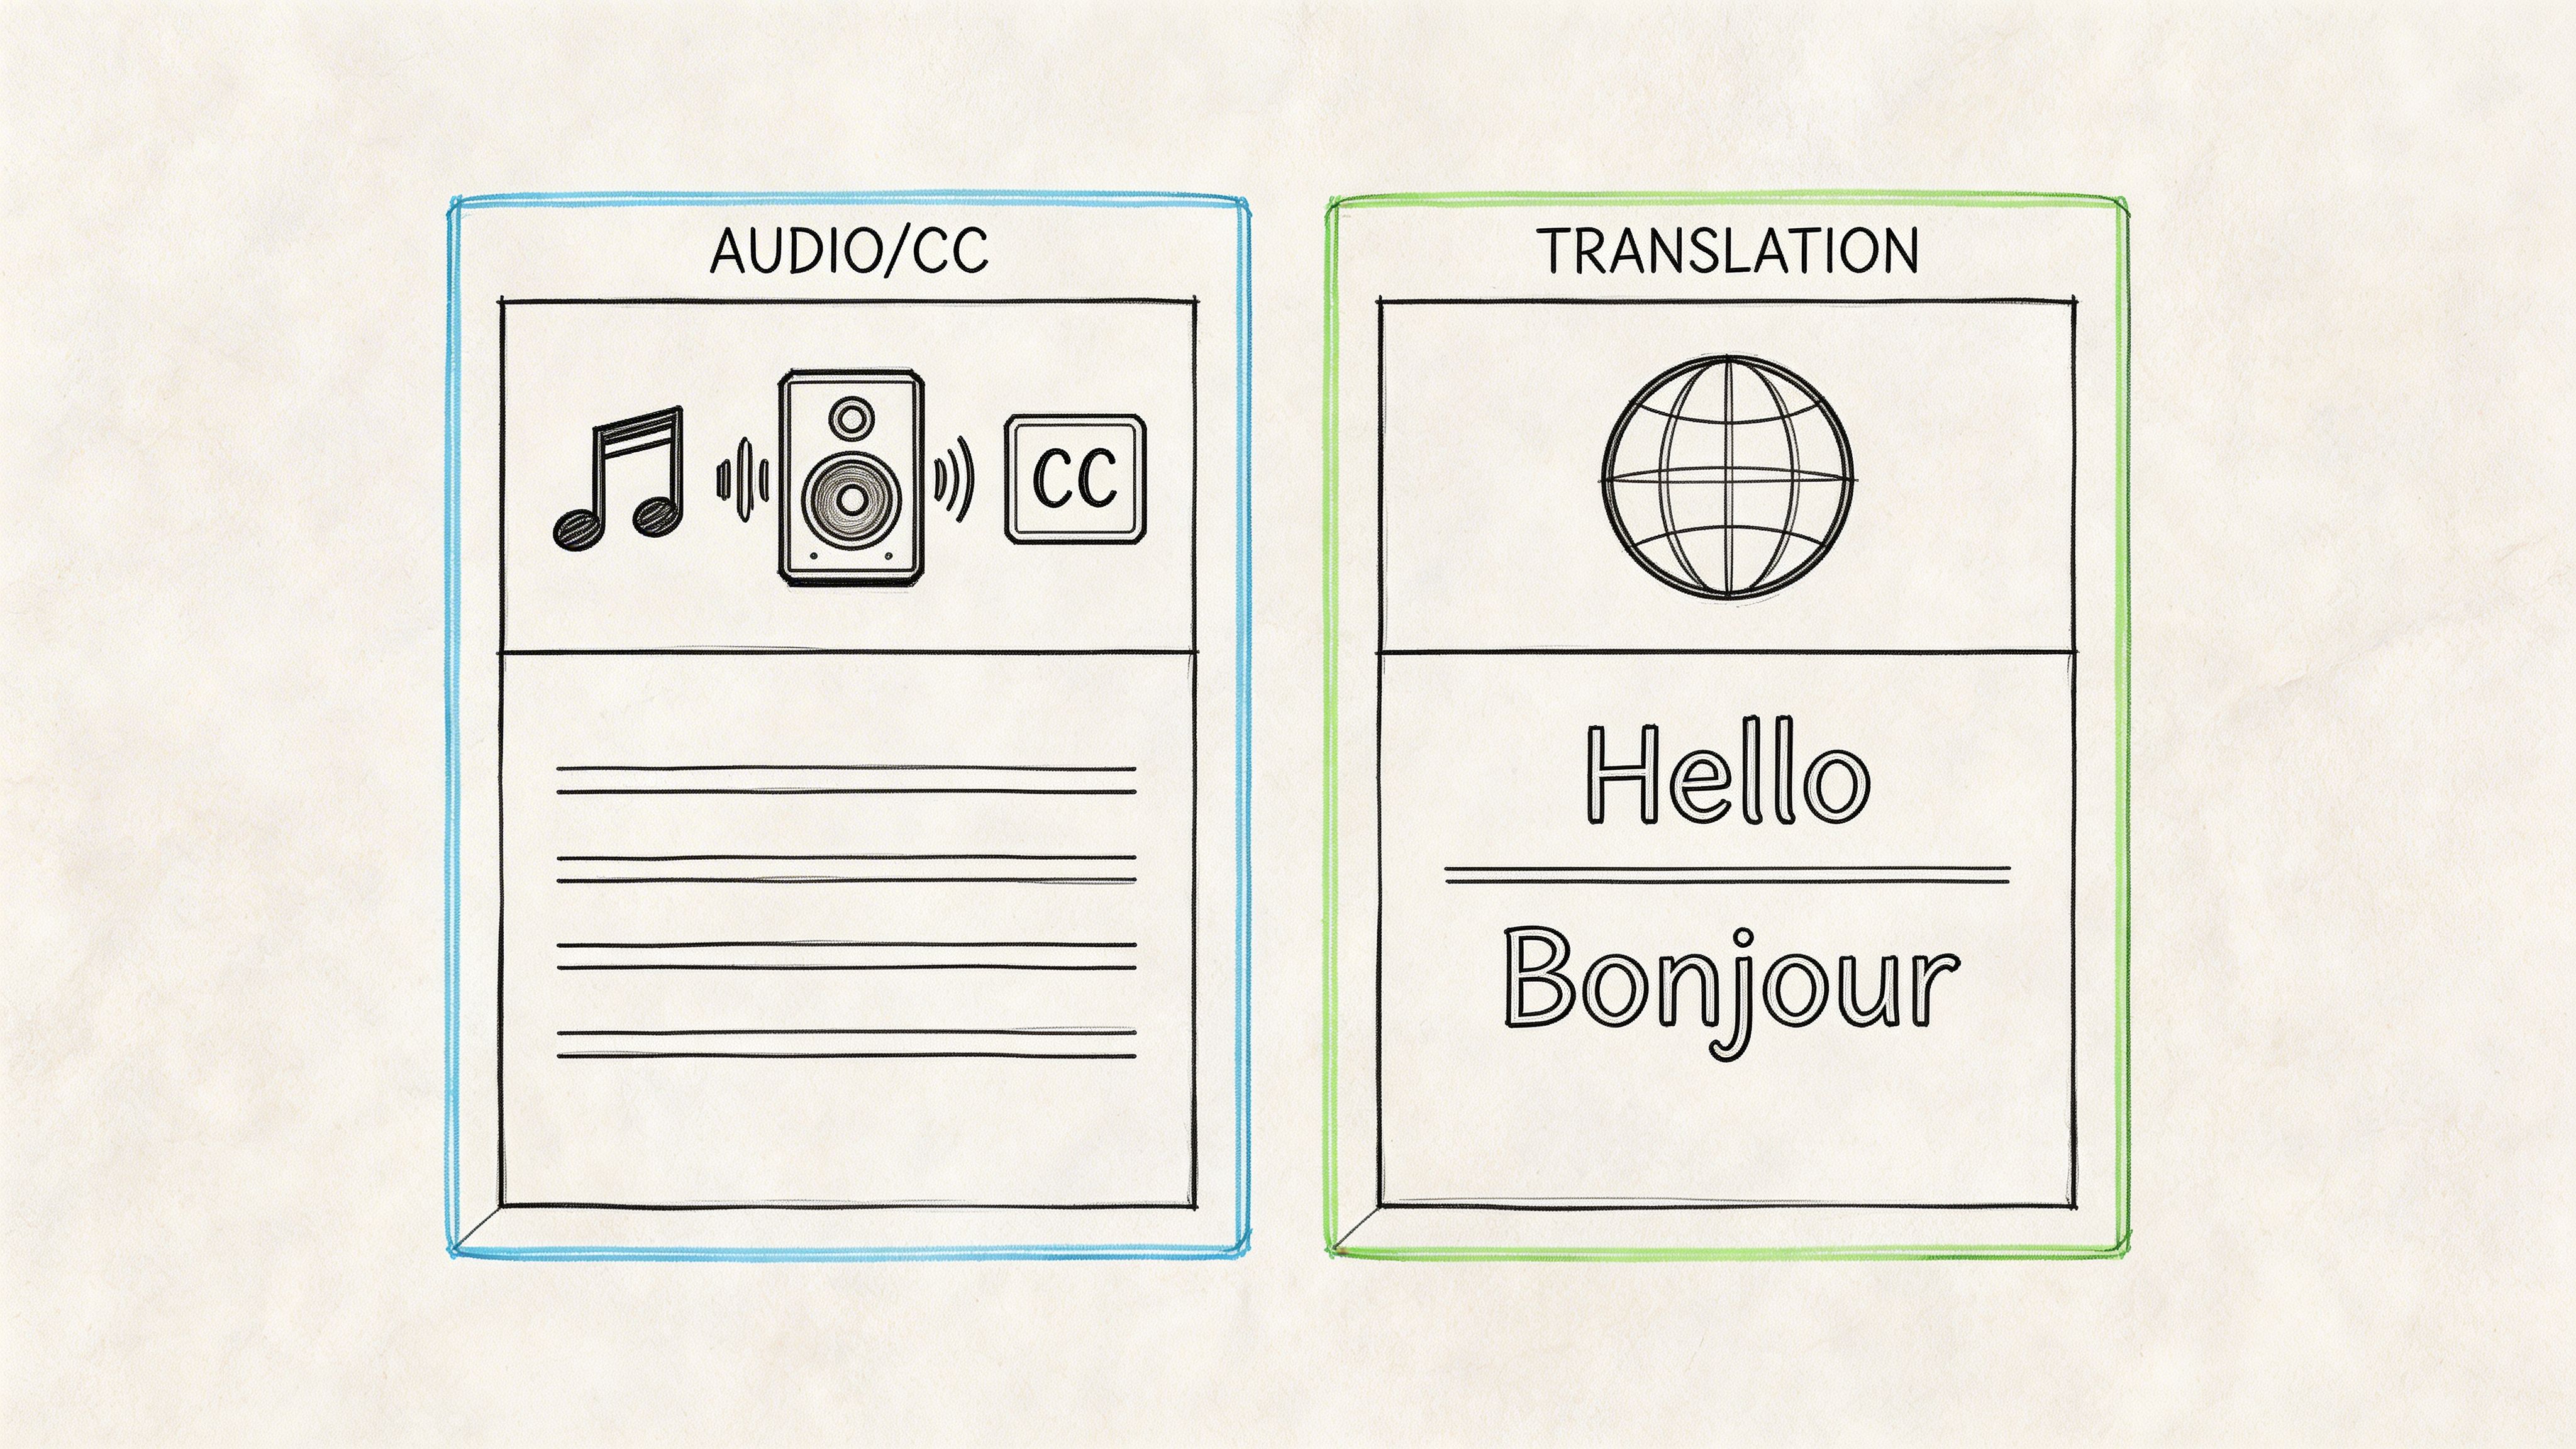
If you're creating subtitles for an international audience, a literal, word-for-word translation is almost always a mistake. This is where localization becomes crucial.
Localization is the art of adapting your content to a specific culture, not just a different language. It ensures that idioms, cultural references, and humor resonate with the target audience instead of causing confusion.
For example, a common American phrase like "it's a home run" makes no sense if you translate it literally for an audience in a country where baseball isn't played. A good localization expert would swap that for a culturally relevant idiom that means the same thing, like "he's hit the bullseye." That's the difference between a subtitle that feels foreign and one that feels authentic.
The Art of Perfect Subtitle Timing
Synchronization can make or break the entire viewing experience. After you’ve spent hours polishing your transcript, the next critical step is making sure your subtitles appear and disappear in perfect harmony with the documentary's audio and visuals. This is where technical precision meets a filmmaker's intuition.

Good timing isn't just about matching words to a speaker's mouth. It's about respecting the viewer's cognitive load. If subtitles show up too early or linger too long, it creates a jarring disconnect that pulls people right out of the story. The real goal is a seamless experience where the text feels like a natural part of the film.
Of course, before you can nail your subtitle timing, you have to be comfortable with the basics. Having a solid grasp of mastering audio-video synchronization is a must—it makes the whole process smoother and far more accurate.
Respecting Reading Speed and Rhythm
One of the first principles I learned in subtitling is to stick to established reading speeds. The industry standard usually lands somewhere between 15 and 20 characters per second (CPS). This gives most viewers enough time to read the text, process what's happening on screen, and hear the audio without feeling rushed.
But remember, that's a guideline, not a hard-and-fast rule. If your documentary is for a younger audience or has really complex visuals, you might want to slow that pace down a bit. On the other hand, for a fast-paced scene with rapid-fire dialogue, you'll need to condense the text to keep up.
The real art of timing is in finding the rhythm of the edit. Your subtitles shouldn't just match the dialogue; they should complement the pacing of the cuts, the score, and the emotional flow of the scene.
The Craft of Spotting Subtitles
"Spotting" is the term we use for breaking down long sentences from your transcript into shorter, digestible chunks that fit cleanly on the screen. It's easily one of the most crucial skills for creating professional subtitles for documentaries. As a rule of thumb, a single subtitle should almost never exceed two lines.
Let’s look at a real-world example of how I would spot a dense line:
- Original Line: "The archival research, which took our team over three years to compile from various international sources, revealed a series of previously unknown connections between the two historical events."
- Subtitle 1: The archival research took our team over three years to compile...
- Subtitle 2: ...from various international sources.
- Subtitle 3: It revealed a series of previously unknown connections...
- Subtitle 4: ...between the two historical events.
See how that works? Each chunk is timed to the speaker's natural pauses, making the information much easier for the viewer to absorb. This is why starting with a transcription with timecode is so valuable; it gives you the initial timestamps you need to start this spotting process.
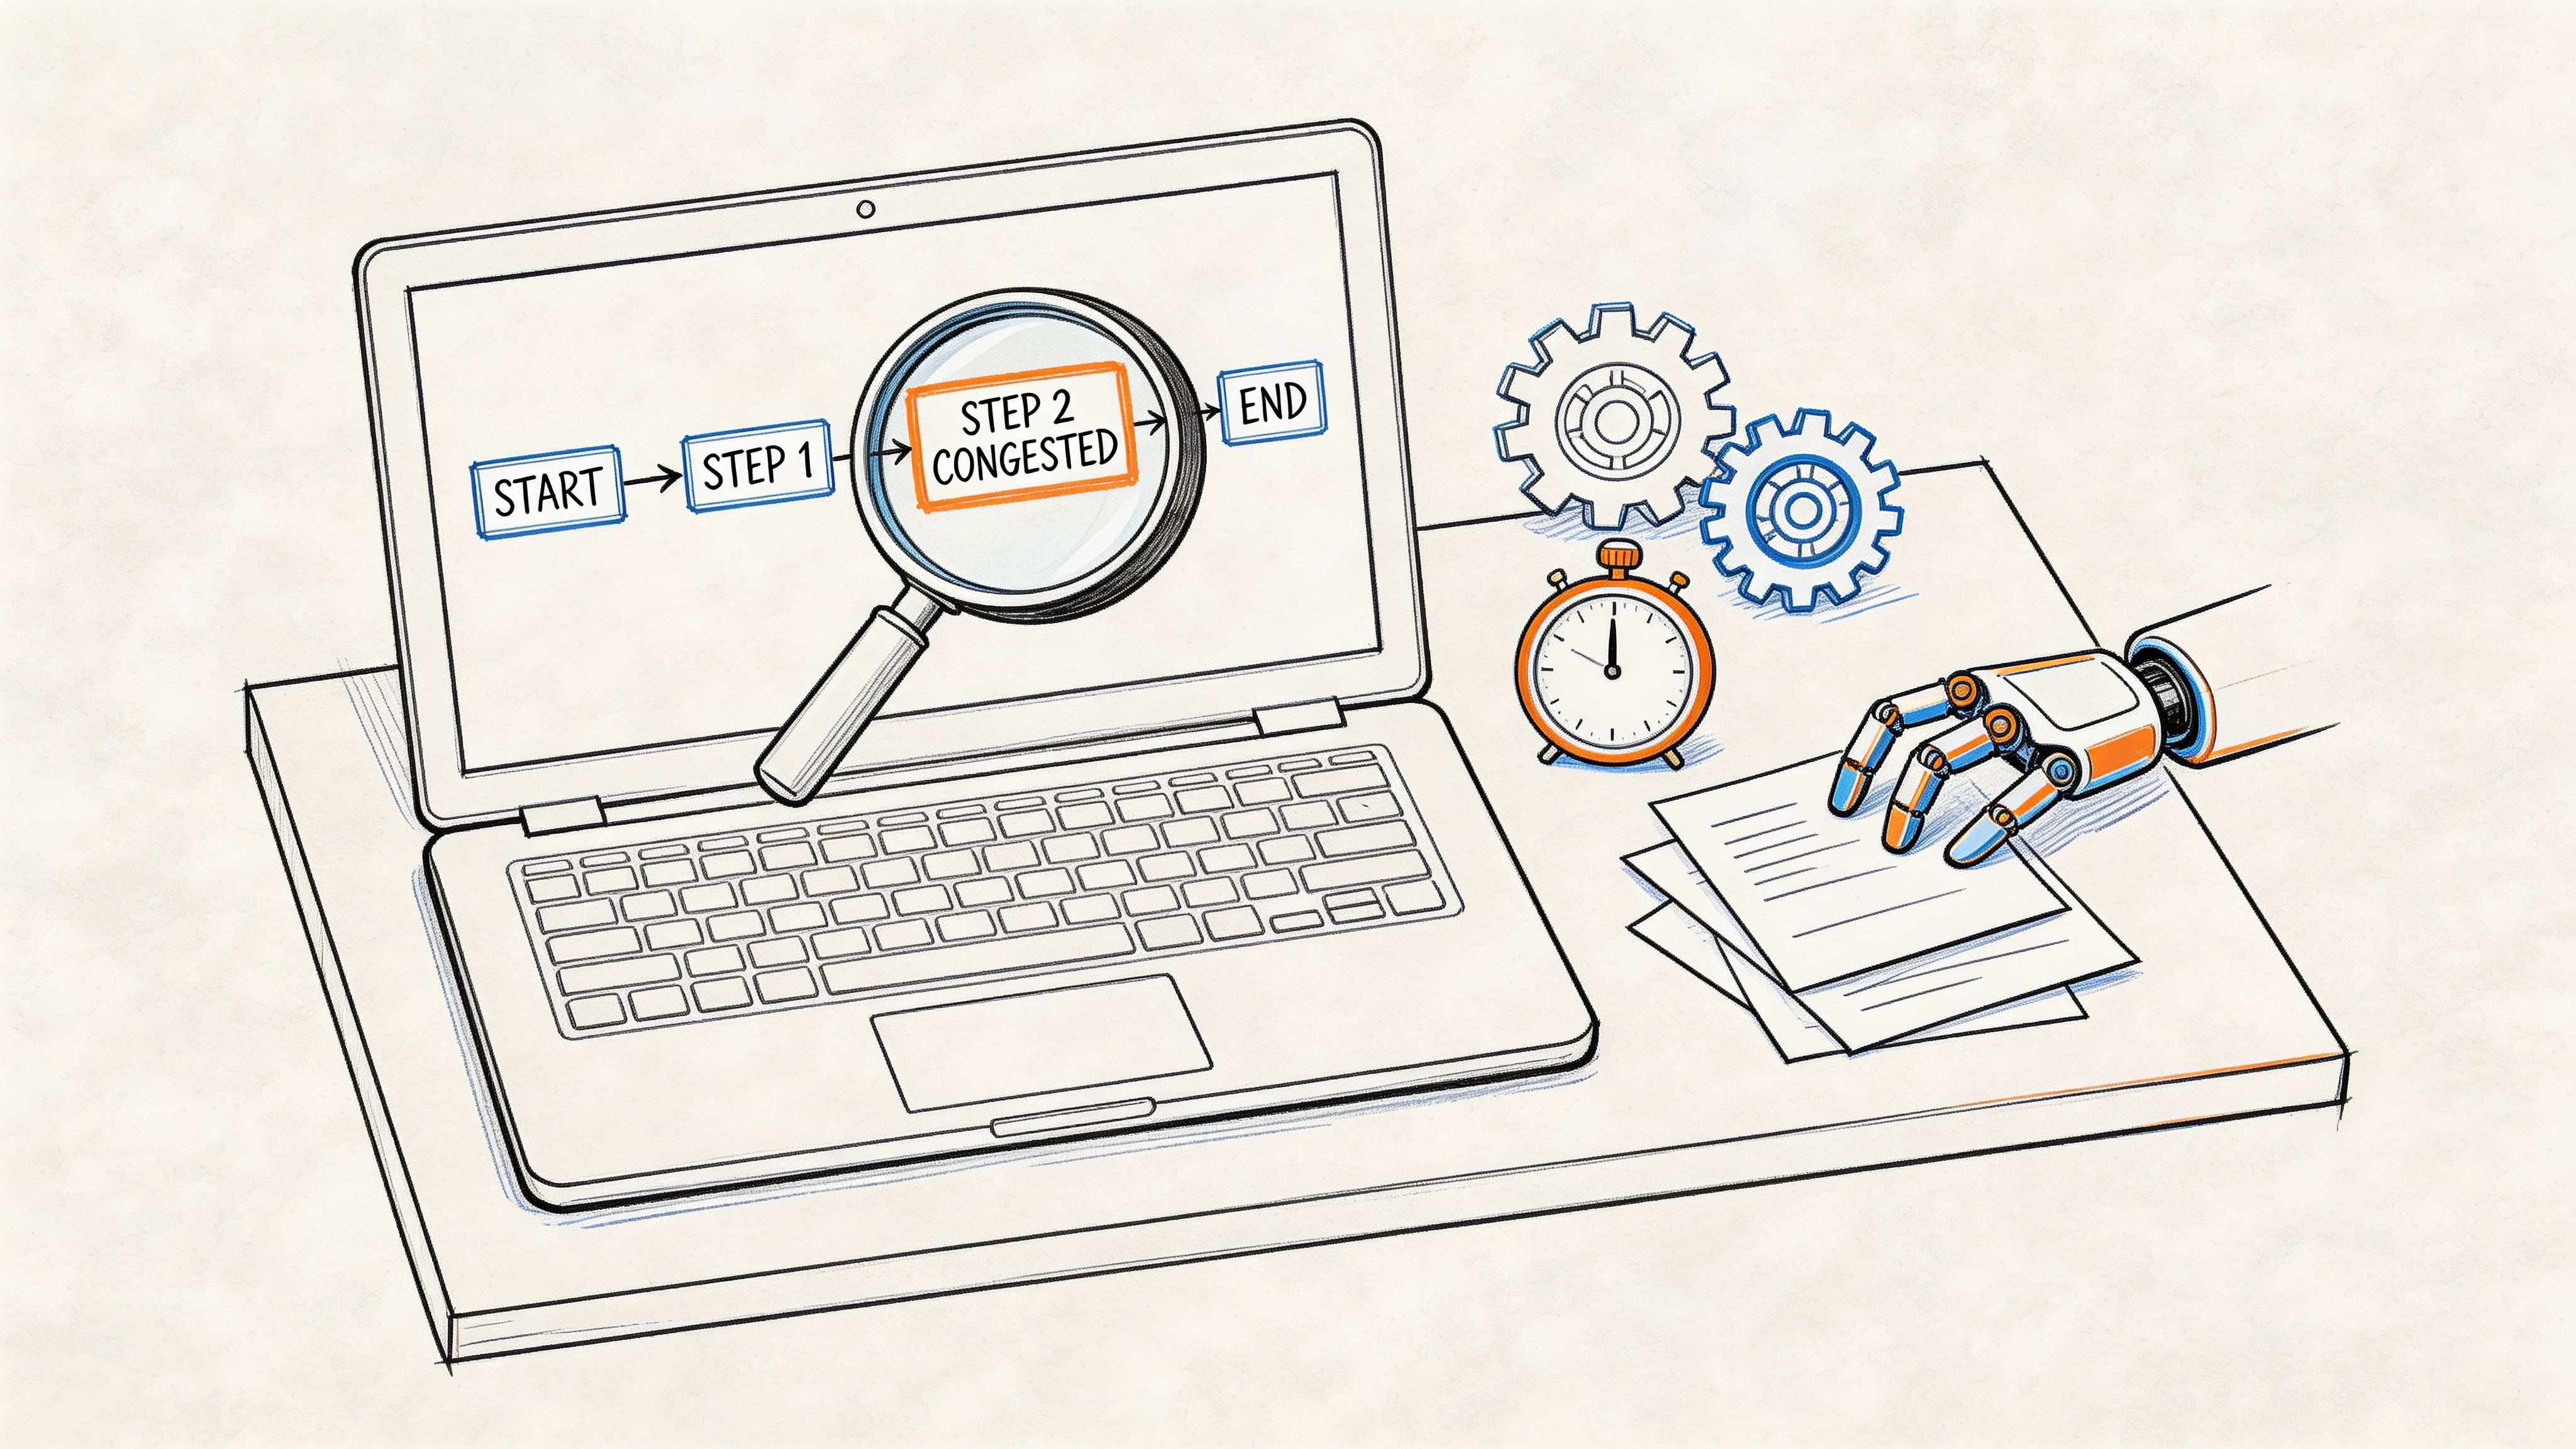
Handling Tricky Timing Scenarios
Documentaries are messy. They're full of overlapping speakers, lightning-fast interviews, and moments where a critical visual element is competing for the viewer's attention. You'll run into these challenges all the time.
Here are a few strategies I’ve picked up over the years to handle them:
- Overlapping Dialogue: When two people talk over each other, I use a dash (
-) on each line to signal a new speaker. If it's just too chaotic, I make a judgment call and prioritize subtitling only the most important dialogue. - Positioning: 99% of the time, subtitles belong at the bottom-center of the screen. But if there’s a key visual there—like a name graphic or a piece of evidence—don't hesitate to move the subtitle to the top of the screen for that shot.
- Fast Speakers: For someone who talks a mile a minute, you have to be willing to edit the text for brevity. Your goal is to capture the meaning of what they're saying, not create a wall of text that flashes by too quickly to be read.
Bringing Subtitles to Life: Styling for Readability and Impact
Once you’ve nailed the timing, it’s time to focus on the aesthetics. Styling subtitles is where artistry meets function. Don't treat subtitles as just text slapped on a screen; they're a core design element of your film. The choices you make here—font, size, color—will either make for a smooth viewing experience or a jarring, distracting one.
The ultimate goal is effortless readability. You want your audience to absorb the information without even realizing they're reading. That’s why you’ll see most professional subtitles for documentaries using clean, no-fuss sans-serif fonts like Helvetica, Arial, or Roboto. They’re built for screen clarity, lacking the little decorative "feet" (serifs) that can blur together and slow down a reader.
The Ground Rules for Good Styling
When it comes to styling, less is almost always more. A few guiding principles will ensure your subtitles complement your film's visual language instead of competing with it. Simplicity and consistency are your best friends here, creating a reliable experience for the viewer from start to finish.
Based on my experience, these are the non-negotiables for every project:
- Choose Your Font Wisely: Stick with a sans-serif font. Period. Legibility is everything, and these typefaces are the undisputed champions for on-screen text.
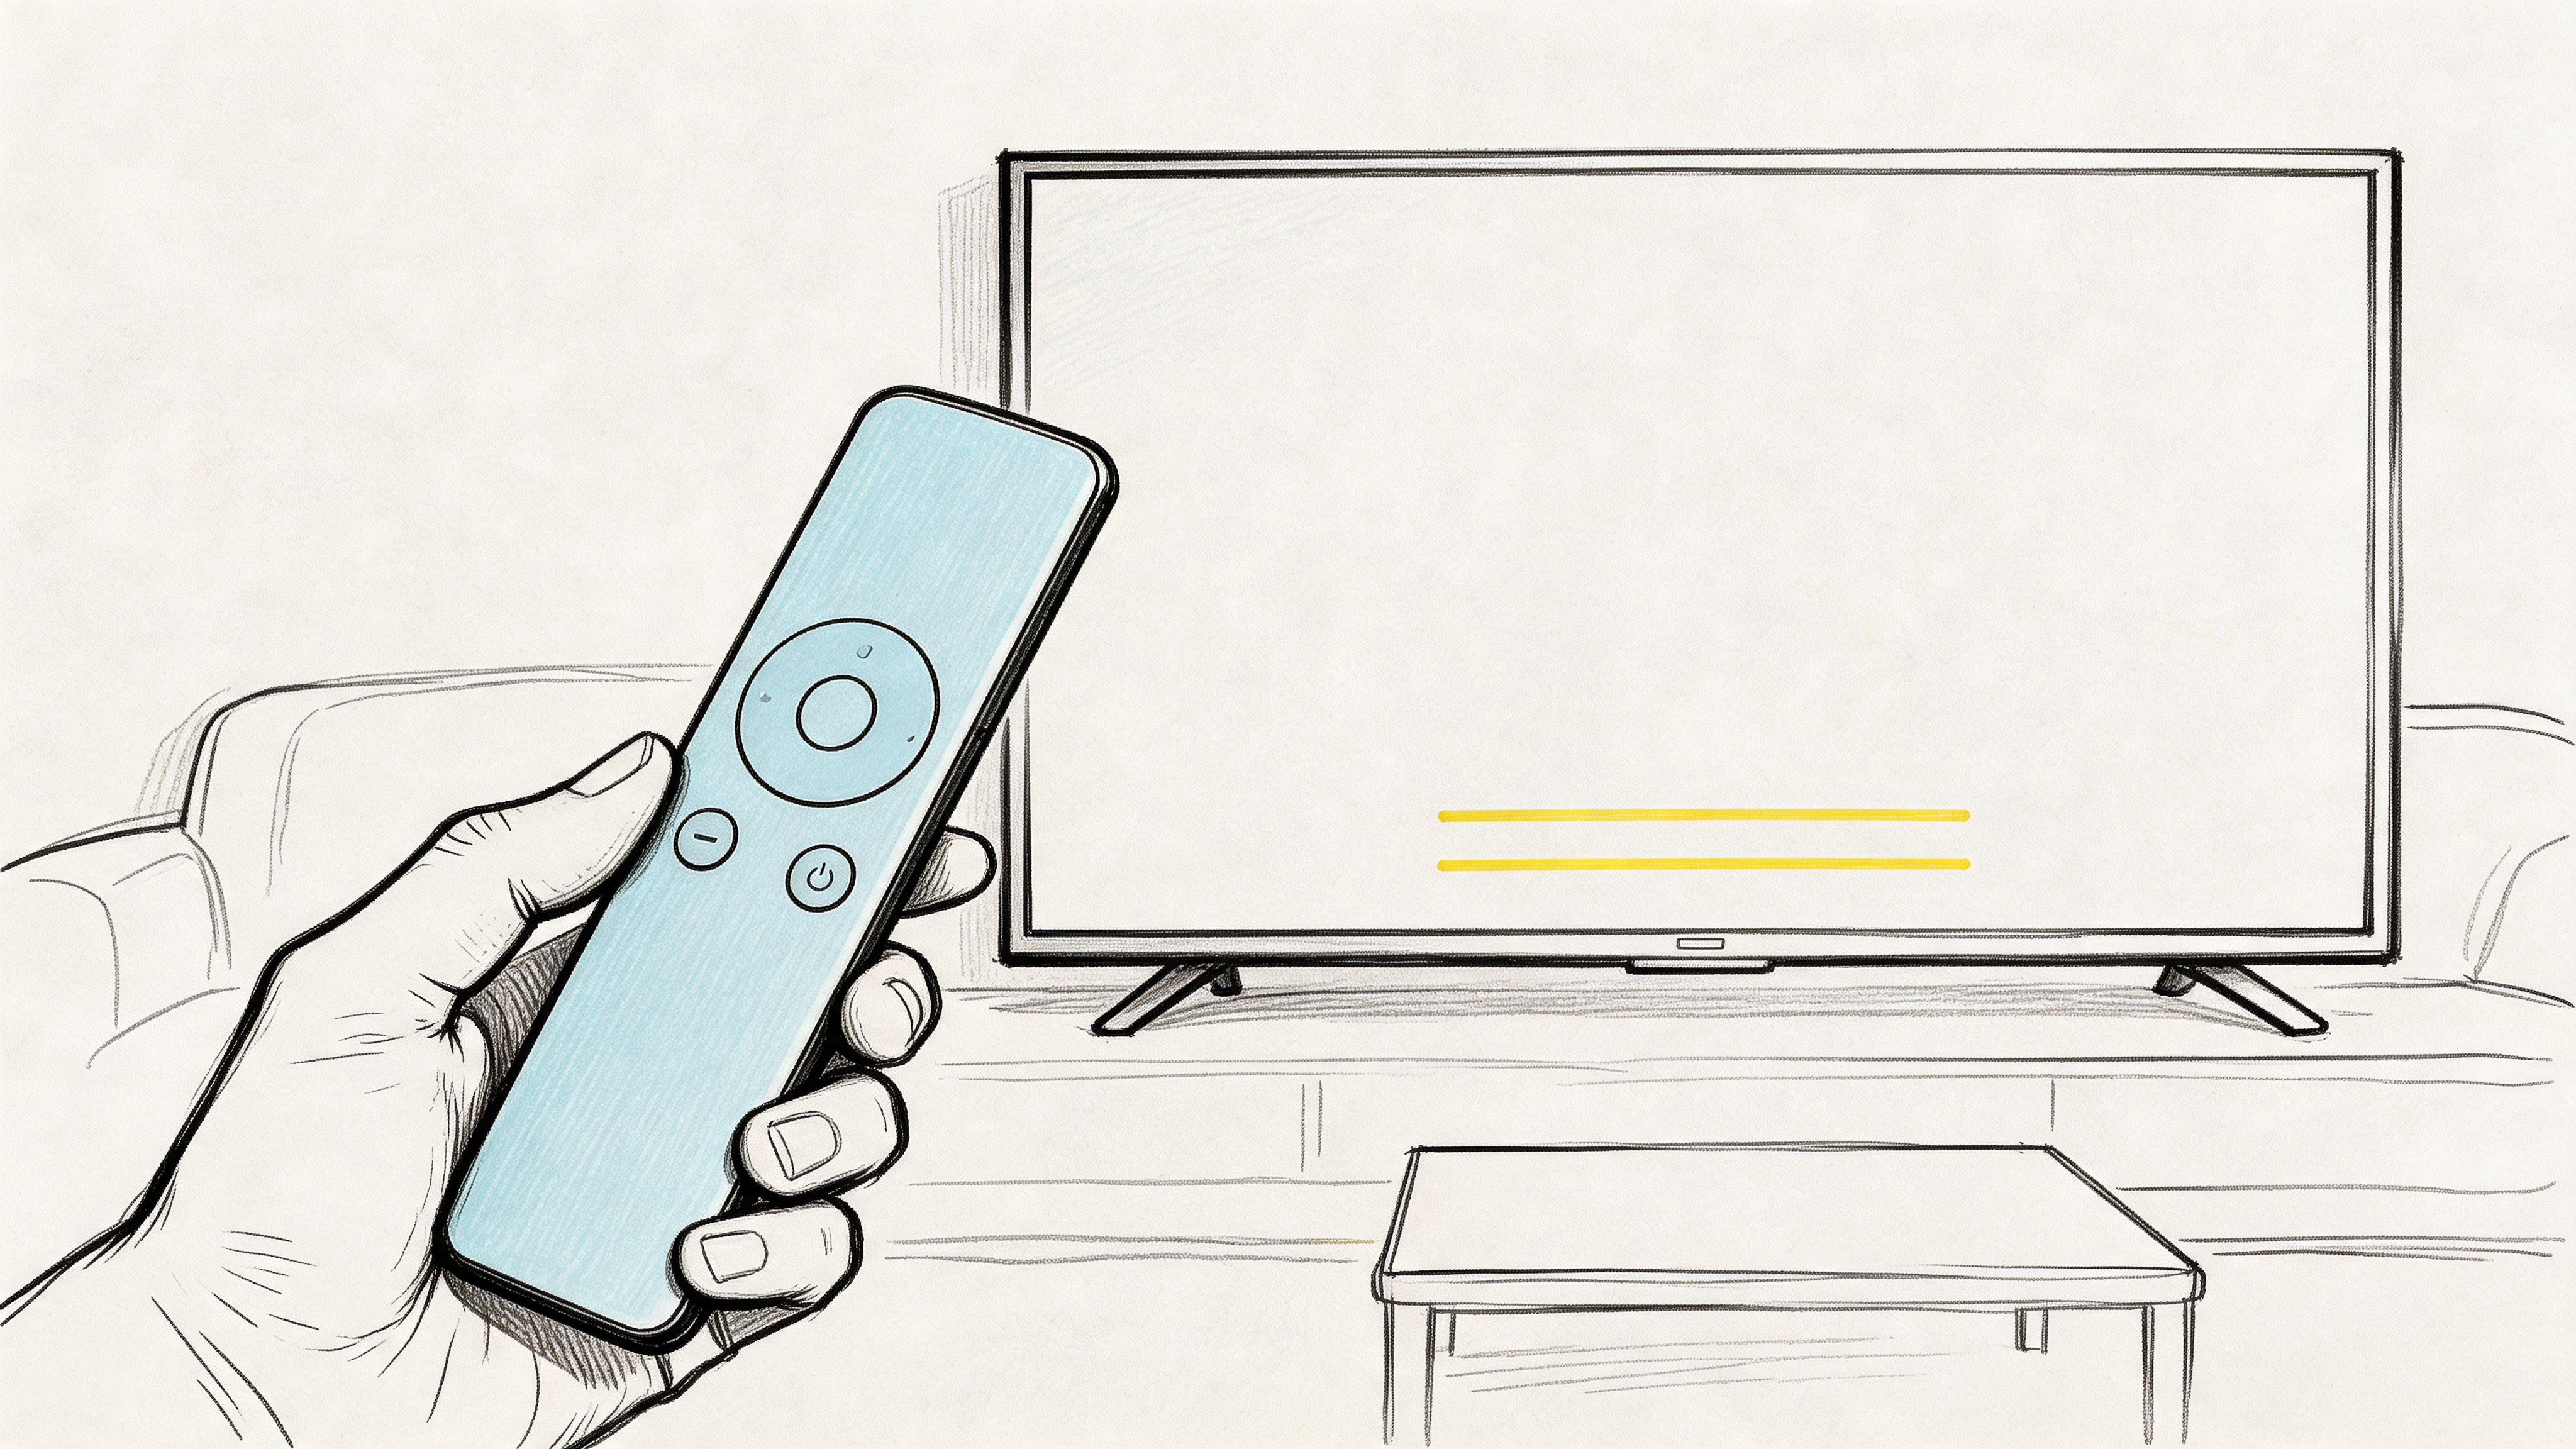
- Get the Size and Placement Right: Your text needs to be big enough to read on a phone but small enough that it doesn't cover up important action on a 65-inch TV. The industry standard is centered at the bottom of the screen for a reason—it’s exactly where people’s eyes go to look for them.
- Master Color and Contrast: You can’t go wrong with classic white text. To make it pop against any background, add a soft black outline or place it in a semi-transparent black box. Steer clear of bright, flashy colors for dialogue unless you have a very specific, story-driven reason to do so.
The best subtitle styling is invisible. The moment your audience starts thinking about your font choice, you’ve lost them. Their attention has drifted from the story, and that's the last thing you want.
Going Beyond the Basics with Advanced Styling
Once you have the fundamentals down, you can start using style to add another layer of information. This is incredibly helpful in documentaries with a lot of speakers or when non-verbal sounds are critical to the scene. For example, assigning a distinct, subtle color to each main speaker can be a lifesaver for the audience during a rapid-fire interview montage.
This is also where Subtitles for the Deaf and Hard-of-Hearing (SDH) really shine. SDH isn't just about dialogue; it includes descriptions of important sound effects and music, typically formatted in brackets to set them apart.
- Identifying Speakers: You might use labels like
MAN 1: It was unbelievable.or put an off-screen narrator's lines in italics. - Describing Sounds (for SDH): Simple cues like
[Tense music swells]or[Door slams shut]add a huge amount of context for viewers who can't hear them.
These small touches make the film more accessible and create a much richer experience for everyone.
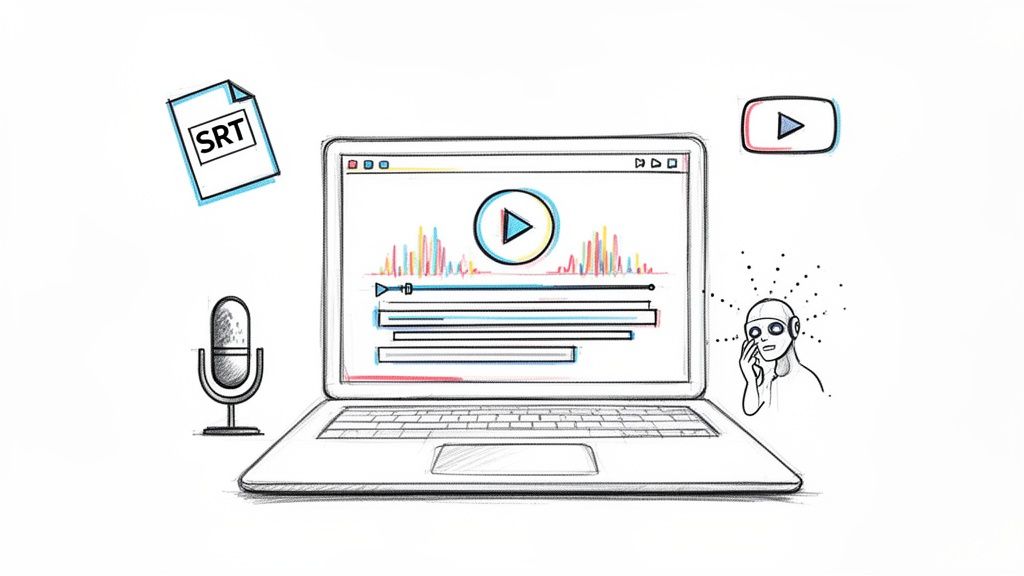
Open Captions vs. Closed Captions: What's the Difference?
The final piece of the puzzle is deciding whether you need open captions or closed captions.
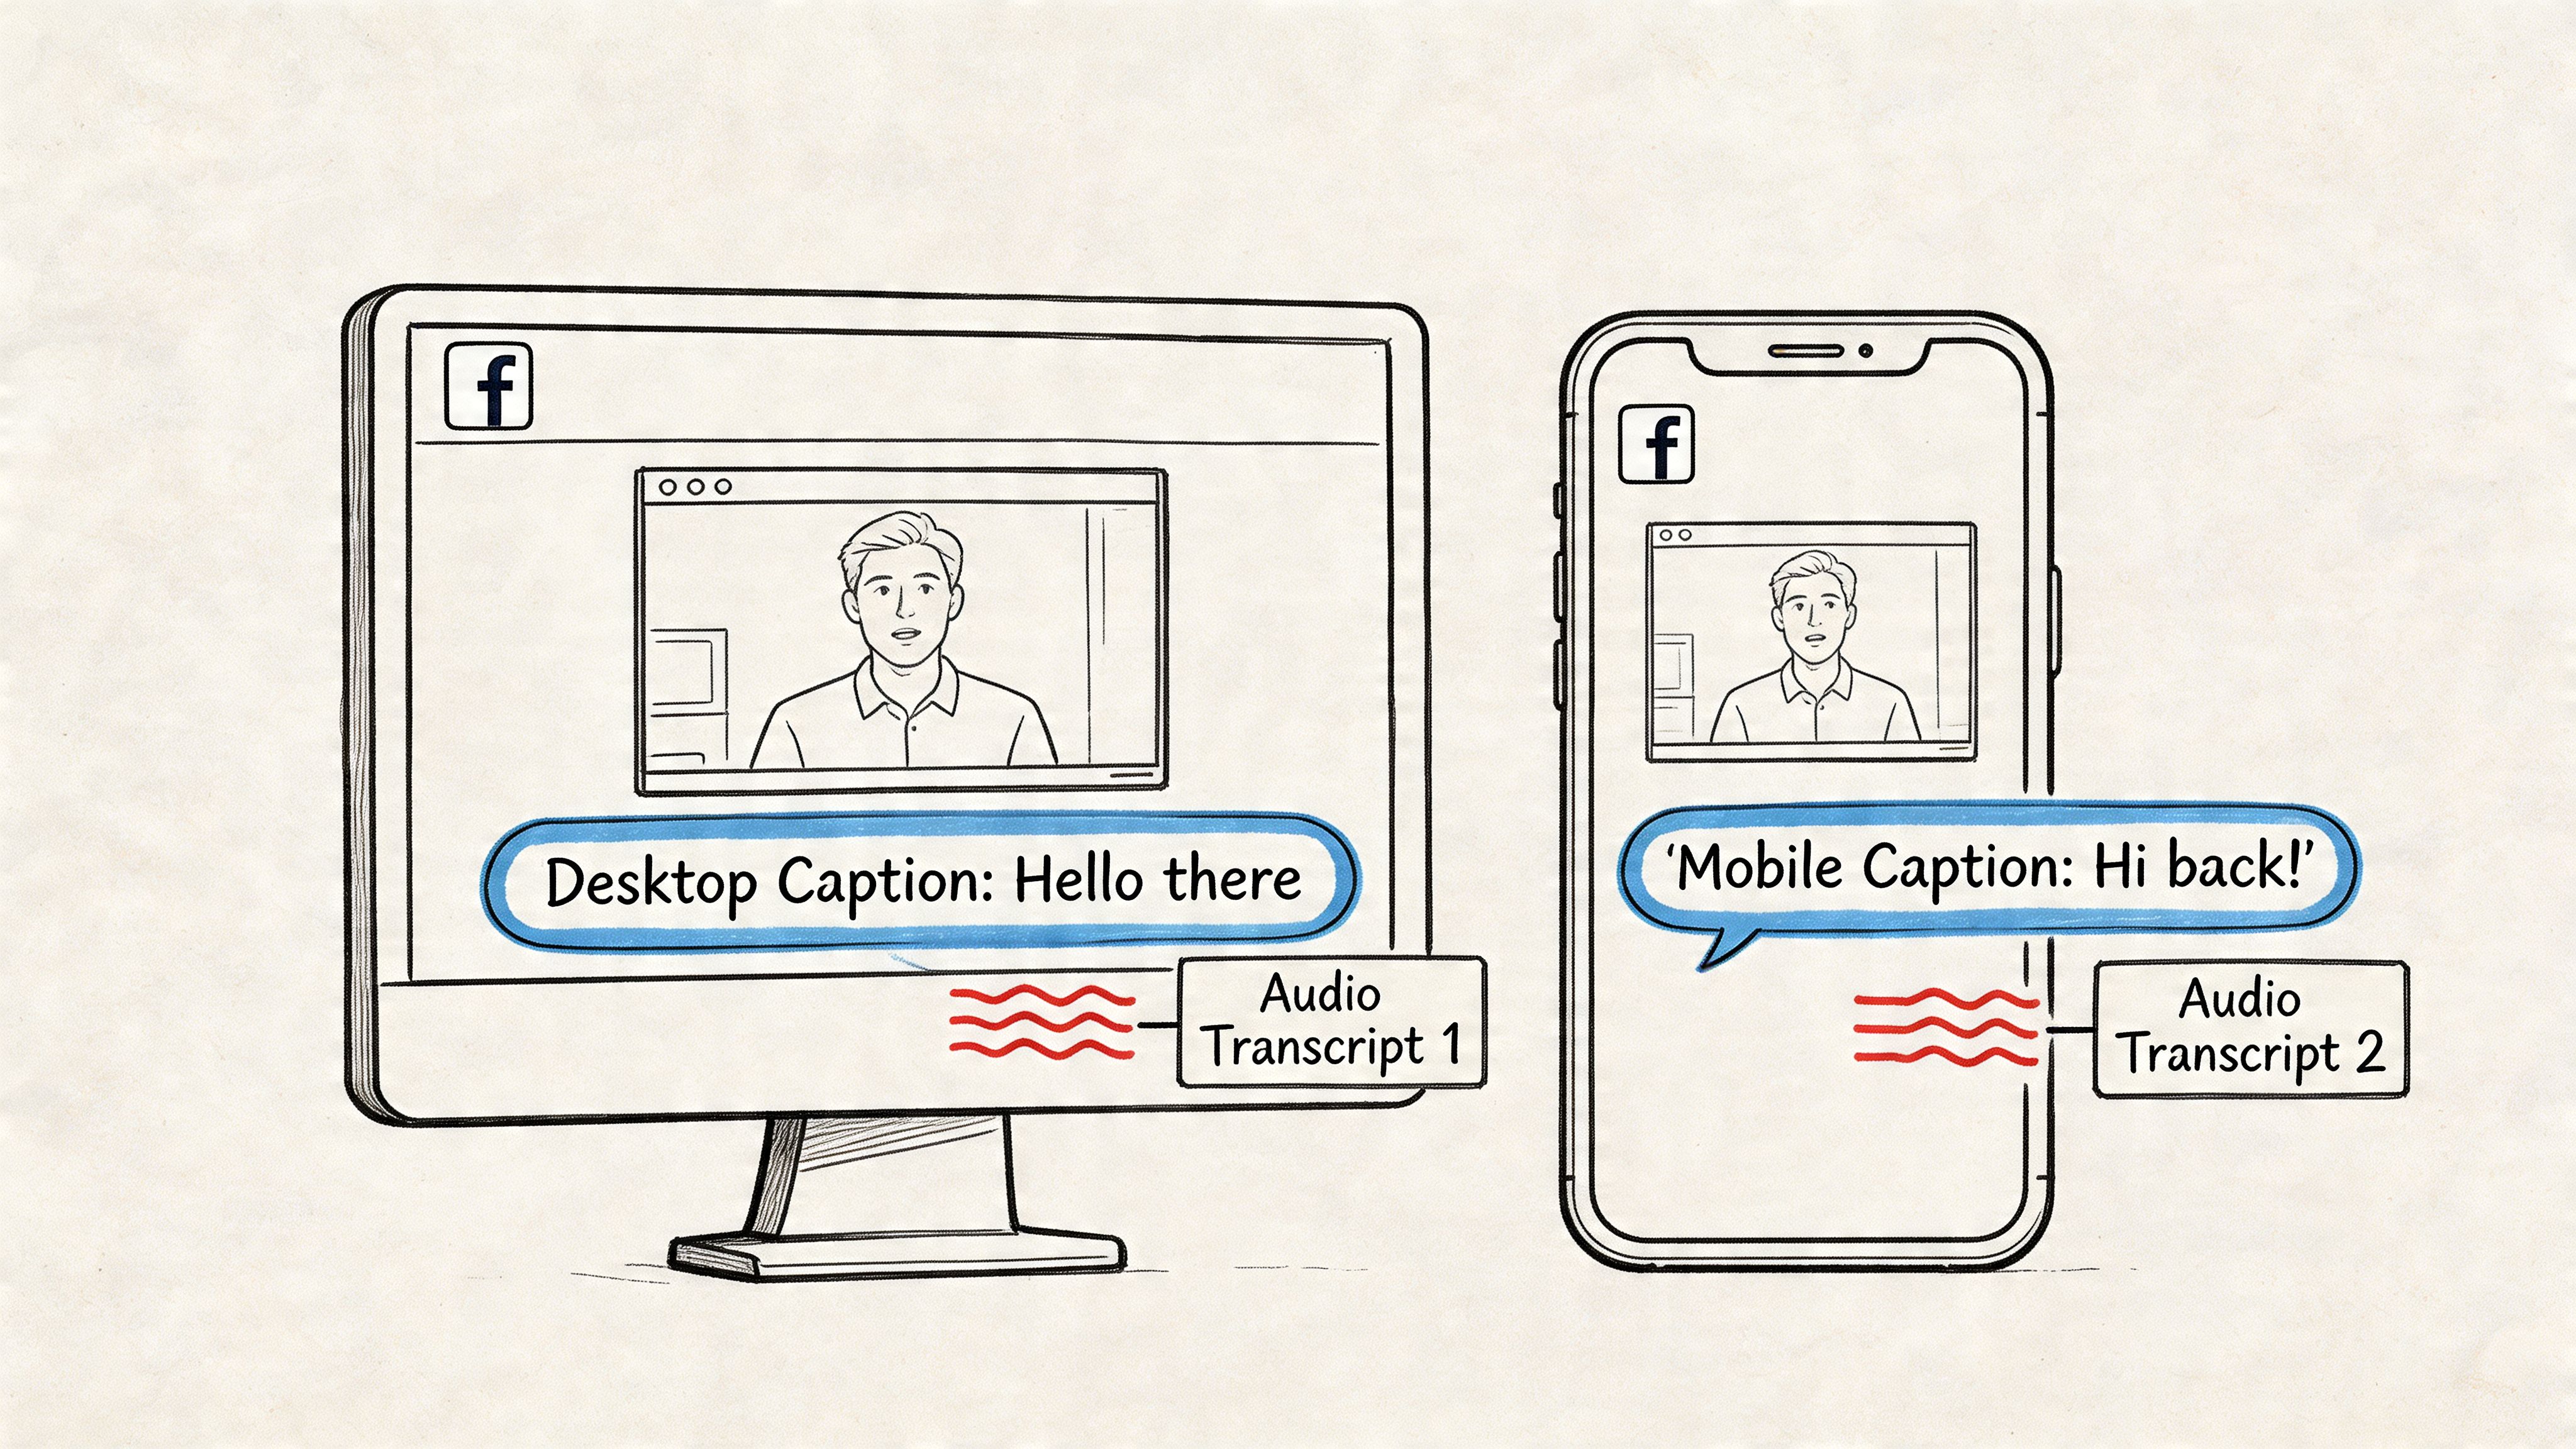
Most of the time, you'll be creating closed captions (CC). These are delivered as a separate file (like an SRT) alongside your video. Viewers can turn them on or off as they please, which is the standard for streaming platforms like YouTube and Netflix. It gives the user control.
Open captions, on the other hand, are "burned in" or permanently embedded into the video image. They can't be turned off. I almost always use these for short social media clips, since so many people watch with the sound off. It guarantees your message gets across, regardless of their settings.
Getting Your Subtitle Files Out the Door
You've put in the hours—transcribing, tweaking timing, and getting the style just right. Now for the final push: exporting your subtitles and delivering them to the world. This last step is all about technical precision. One wrong setting can make your carefully crafted captions unreadable, so it pays to get it right.
The first hurdle is choosing the right file format. You'll almost always be deciding between two main players: SRT and VTT. Think of them as the .doc and .pdf of the subtitle world—they get the same job done, but in slightly different ways.
SRT vs. VTT: Which Format Should You Choose?
An SRT (.srt) file, or SubRip Subtitle, is the industry workhorse. It's a simple, plain-text format that contains a number for each caption, a start and end timecode, and the text itself. That's it. Its strength lies in this simplicity; nearly every video player, editing software, and streaming platform on the planet, from Adobe Premiere Pro to VLC, understands it.
A VTT (.vtt) file, short for Web Video Text Track, is the more modern, web-focused option. It does everything an SRT can do but adds support for advanced features like text styling (bold, italics), color, and precise screen positioning. If you're uploading directly to web platforms like YouTube or Vimeo, VTT gives you far more creative control.
My rule of thumb: When in doubt, export an SRT. It’s the safest, most compatible bet. But if you’ve applied specific styling for a web platform and want to preserve it, VTT is the way to go.
The Export and Upload Workflow
Getting your subtitle file out of an editor like DaVinci Resolve or Premiere Pro is usually a breeze. Look for an "Export" option within your "Captions" or "Subtitles" panel.
Here's a critical tip I always follow: check the character encoding. Make sure you export using UTF-8 encoding. This universal standard prevents any special characters, accents, or symbols from turning into gibberish (like †or ’) for your viewers. It’s a small detail that makes a huge difference.
Once you have your shiny new .srt or .vtt file, the upload process is specific to each platform. On YouTube, for example, you'll head to the "Subtitles" tab in your video's details and simply upload the file. For a more detailed breakdown of that process, our guide on how to caption YouTube videos walks you through it step-by-step.
What About Social Media? Go with Burned-In Captions
For social media, you have to think differently. People scroll through platforms like Instagram and LinkedIn with their sound off. If your subtitles aren't visible by default, your message is lost. The solution is to create burned-in captions (also called open captions).
Instead of exporting a separate file, you render the text directly into the video frames. In your editing software, you just make the caption track visible before you export the final video. The text becomes a permanent part of the picture.
This guarantees your documentary clips make an impact, even in a silent feed. It's a simple step that can massively boost viewer engagement and make sure your story gets heard—literally.
Common Questions on Documentary Subtitling
Even with the best workflow, you're bound to run into a few tricky questions when subtitling a documentary. Nailing these details can be the difference between a polished, accessible film and a frustrating viewing experience. Let's walk through some of the most common challenges filmmakers run into.
These issues often circle back to the basics of subtitling. If you ever need a refresher, it can be helpful to review the fundamental definition of a subtitle to make sure your core concepts are solid.
What Is the Industry Standard Reading Speed for Subtitles?
As a general rule of thumb, aim for a reading speed between 15 and 20 characters per second (CPS). This is the sweet spot that allows most people to read the text, watch the action on screen, and absorb the audio without feeling overwhelmed.
But this isn't a hard-and-fast rule. You have to adapt to your audience and content. For example, a documentary for young children might need a slower pace, closer to 10-12 CPS. You also have to respect the edit; a subtitle should never flash on screen for less than a second or linger for more than seven, no matter how much text there is.
The real goal is a comfortable, almost invisible viewing experience. The audience should absorb the subtitles without consciously reading them. Good timing feels natural and respects the viewer's rhythm.
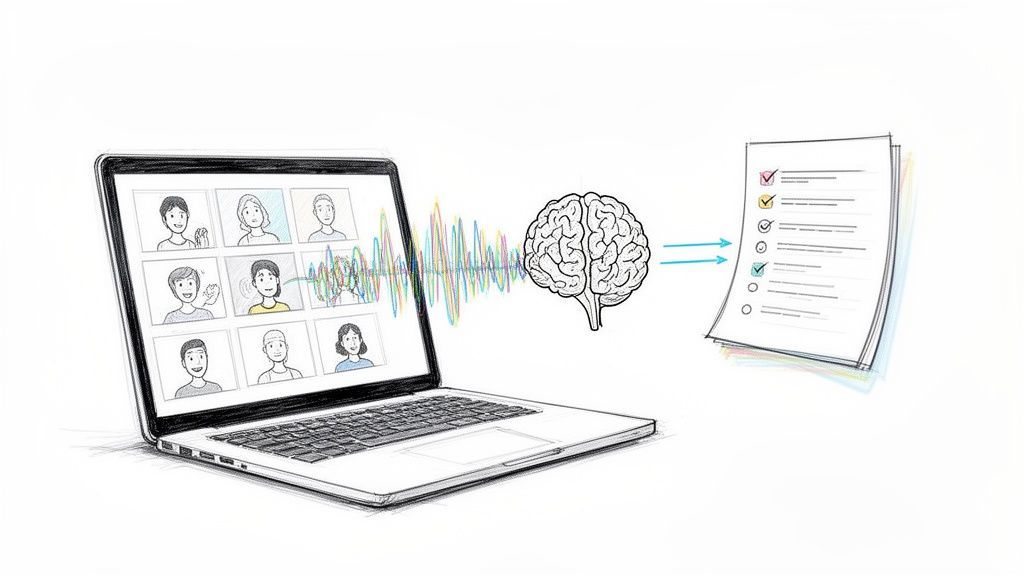
Should I Use AI Transcription for My Documentary?
Absolutely—as a starting point. AI transcription tools are a massive time-saver, especially when you're working against a tight deadline or on a tight budget. They do their best work with documentaries that feature a single, clear speaker and high-quality audio.
The reality, though, is that AI transcripts almost always need a human touch. They can stumble over complex technical terms, thick accents, or conversations where people talk over each other. The most effective approach is a hybrid one: let an AI generate the first draft, then have a human editor go through it to fix errors, correctly identify speakers, and add natural punctuation.
What's the Difference Between Open and Closed Captions?
It all comes down to control and how the text is displayed.
- Closed Captions (CC): Think of these as a separate layer on top of the video. They come in a separate file (like an SRT or VTT), and the viewer can turn them on or off. This is the standard for streaming platforms like Netflix and for broadcast TV.
- Open Captions: These are "burned" directly into the video file, becoming a permanent part of the image. You can't turn them off. This is the go-to choice for social media clips where videos often autoplay without sound, ensuring your message gets across immediately.
How Do I Handle Non-Dialogue Sounds for SDH?
When creating Subtitles for the Deaf and Hard-of-Hearing (SDH), you have to describe important sounds that add to the story. These audio cues are placed in brackets to separate them from spoken words.
The key is to only describe sounds that are relevant to the plot or the emotional tone of a scene.
- Atmospheric Sounds: [dramatic music swells], [tense silence]
- Action Cues: [phone ringing], [door slams shut]
- Speaker Identification: [John, off-screen]
The whole point of SDH is to give someone who can't hear the same understanding and emotional experience as a hearing person. These contextual sounds are a crucial part of making that happen.
Ready to create accurate, polished subtitles for documentaries without the manual grind? Let Whisper AI handle the heavy lifting. Our AI-powered platform generates precise transcripts in minutes, complete with speaker detection and timestamps, so you can focus on the creative work of telling your story. Get started with Whisper AI today and see how easy professional transcription can be.