How to Caption YouTube Videos: A Complete Guide
Knowing how to caption YouTube videos is about more than just adding text to a screen. From my experience, it’s a crucial step in making your content accessible, engaging, and discoverable. The process can be as straightforward as using YouTube's built-in tools or as efficient as using AI to generate professional SRT files in minutes.
In this guide, I'll walk you through the exact methods I use, from simple edits to advanced workflows, to ensure my videos reach the widest possible audience.
Why YouTube Captions Are a Game Changer for Your Channel
Before diving into the "how," it's essential to understand why this is one of the most impactful things you can do for your channel's growth. Adding captions isn't a minor tweak; it’s a core strategy that improves everything from viewer retention to your search ranking. Think of it as opening the door to a much broader and more engaged audience.
Many creators I've spoken with initially skip captions, assuming they’re only for viewers who are deaf or hard of hearing. While accessibility is a primary and vital reason, the benefits extend much further. What about people watching in a loud café, on a silent commute, or non-native speakers who rely on the text to follow along? Without captions, you're likely losing a significant portion of your potential audience who will simply click away if they can't understand your content.
Boosting Viewer Metrics and SEO
From my own analytics, I've seen a clear correlation: good captions lead to better stats. When people can easily follow what you're saying, they stick around longer. That increased watch time is a powerful signal to the YouTube algorithm that your content is valuable, which can lead to more visibility across the platform.
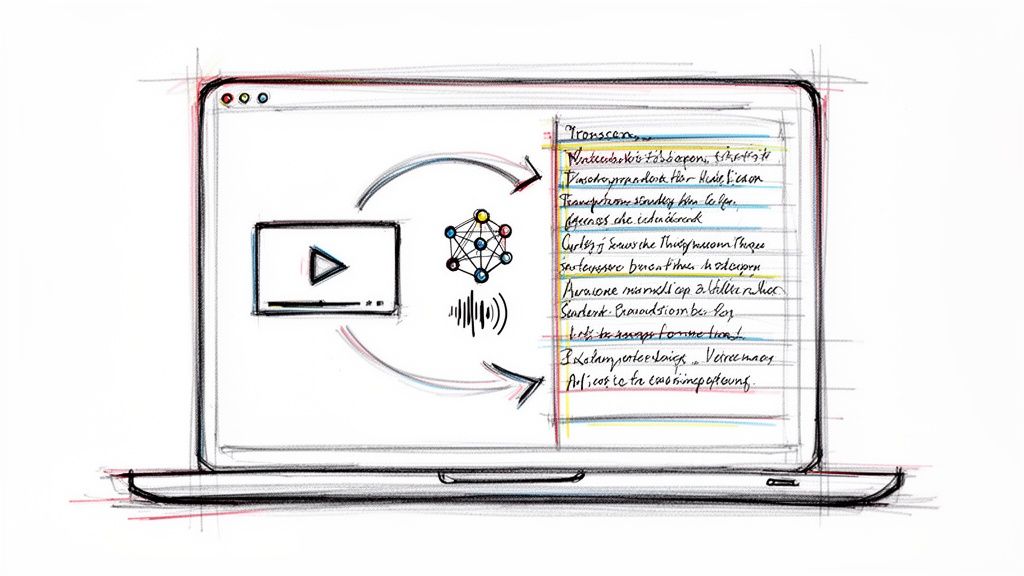
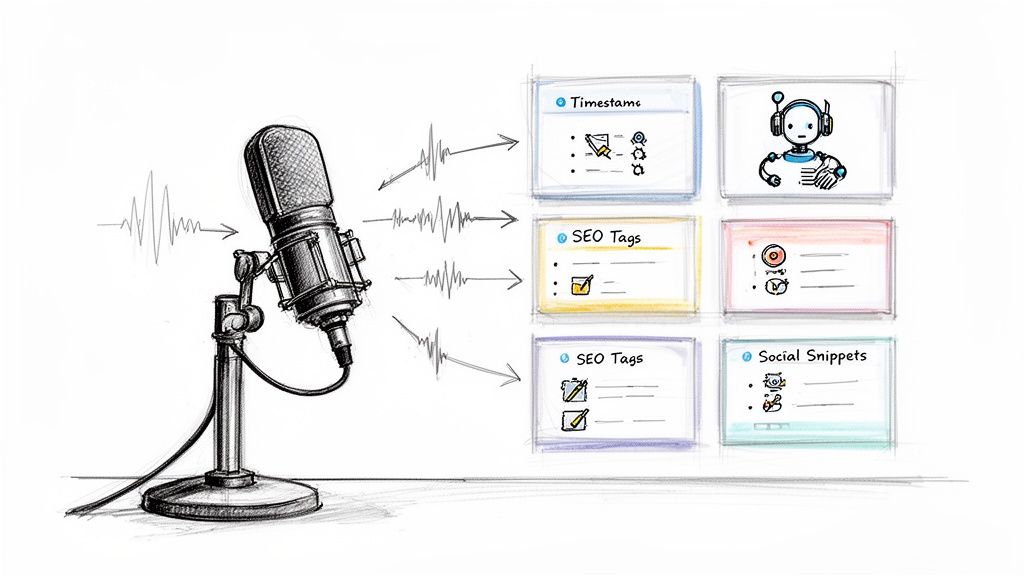
Furthermore, captions are an SEO powerhouse. Search engines can't watch a video, but they can crawl every single word in your caption file. This gives them a rich understanding of your video's topic, helping you rank for relevant keywords beyond your title and description. This process of turning spoken words into crawlable text is a game-changer. You can get a deeper dive into what is audio transcription in our detailed guide.
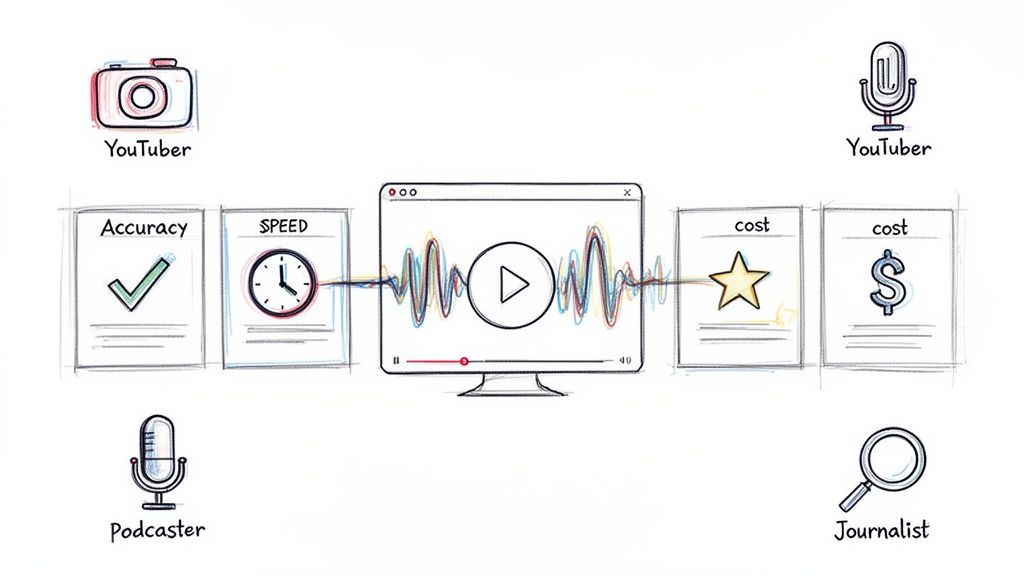
This chart breaks down the direct impact captions can have on the metrics that matter most.
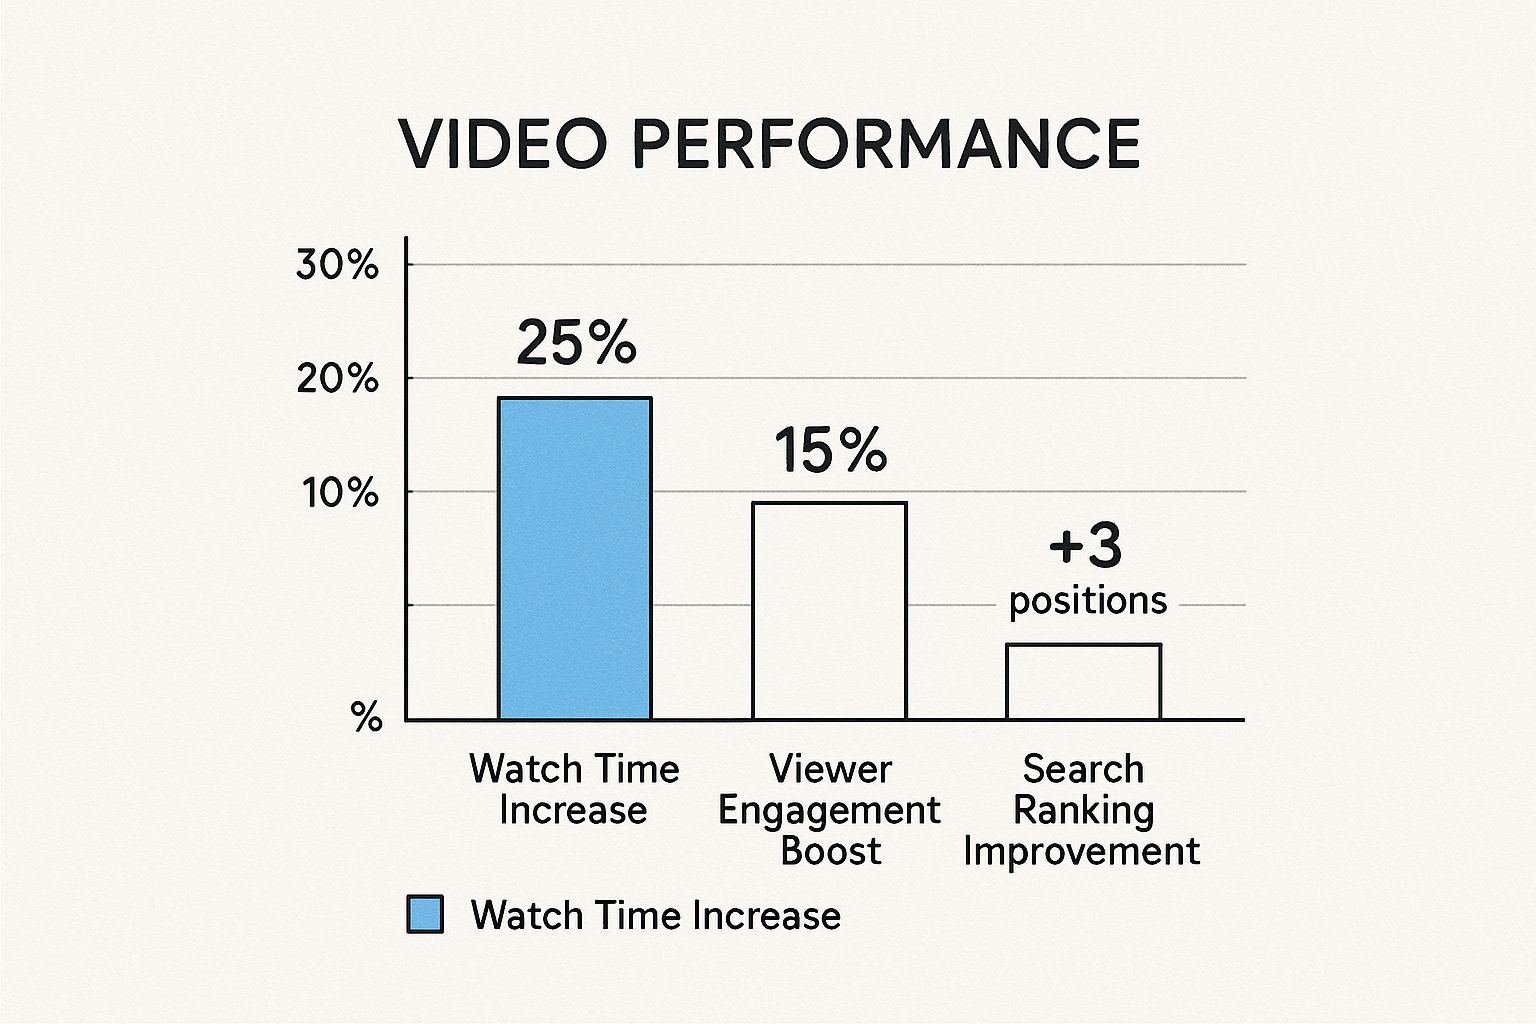
As you can see, the benefits are clear and measurable. We're talking tangible gains in watch time, engagement, and search visibility.
The Data Behind the Impact
The data speaks for itself. Captions and subtitles are essential for making videos more accessible and keeping viewers engaged. In fact, videos with captions get a 12-13% boost in view counts within the first two weeks. That’s a direct reflection of how much they improve the viewing experience. You can dig into more stats on this over at Gling.ai.
Based on my experience, ignoring captions means you’re essentially making your content invisible to both search engines and a huge part of your potential audience. It’s one of the simplest yet most effective ways to broaden your reach.
How to Add Captions Using YouTube's Built-In Editor
While powerful third-party tools are great, you don't have to look far to get started. YouTube provides a surprisingly effective set of free tools right inside YouTube Studio. This means you can add, edit, and perfect your captions without ever leaving the platform, which is the best starting point for most creators.
With over 800 million videos on the platform, making your content accessible is one of the surest ways to stand out. Captions are a massive part of this. A staggering 80% of viewers say they're more likely to watch a video to completion if it has subtitles. That direct impact on watch time makes mastering the built-in editor a skill worth having. If you're curious about viewer habits, you can find more stats like these over at awisee.com.
To get started, head over to your YouTube Studio, click "Subtitles" in the left-hand menu, and select the video you want to caption. From there, you'll see a few different ways to get the job done.
Here’s what the main subtitle editor interface looks like. This is your command center for managing all your video's captions.
This screen gives you a clear overview of any existing subtitles and the prominent "Add" button to create new ones.
Navigating the Captioning Options
Once you click to add subtitles, YouTube gives you a few choices. Each one is designed for a different workflow, so your choice depends on whether you have a script ready or are starting from scratch.
- Edit auto-generated captions: This is usually the quickest method. YouTube's AI transcribes your audio, but it’s rarely perfect. Your job is to go through and clean it up—fix punctuation, correct misspelled words, and identify different speakers. The timing is already set, so you just focus on the text.
- Auto-sync: If you already have a full transcript of your video typed out, this feature is a huge time-saver. You paste the entire block of text, and YouTube’s algorithm matches the words to the correct timestamps in the audio automatically.
- Type manually: This option gives you complete control. You listen to the video and type out the captions as you go. It sounds tedious, but YouTube has a handy "pause while typing" feature that makes it much easier. As you type, it creates the timestamps for you.
My personal workflow almost always starts with editing the auto-generated captions. It saves a significant amount of upfront typing and lets me focus my energy on correcting errors and ensuring the timing feels natural for the viewer.
Practical Tips for Editing
No matter which path you choose, you'll end up in the subtitle editor, which displays your text alongside the video's timeline. The goal here isn't just to get the words right; it's to make the captions genuinely easy to read.
For instance, if you see a single caption block that’s too long, split it into two shorter, more digestible lines. All you have to do is place your cursor where you want the break and press Shift + Enter.
You can also drag the ends of the caption blocks on the timeline to fine-tune their start and end times. Getting them to appear and disappear in perfect sync with the audio is what makes captions feel professional instead of clunky.
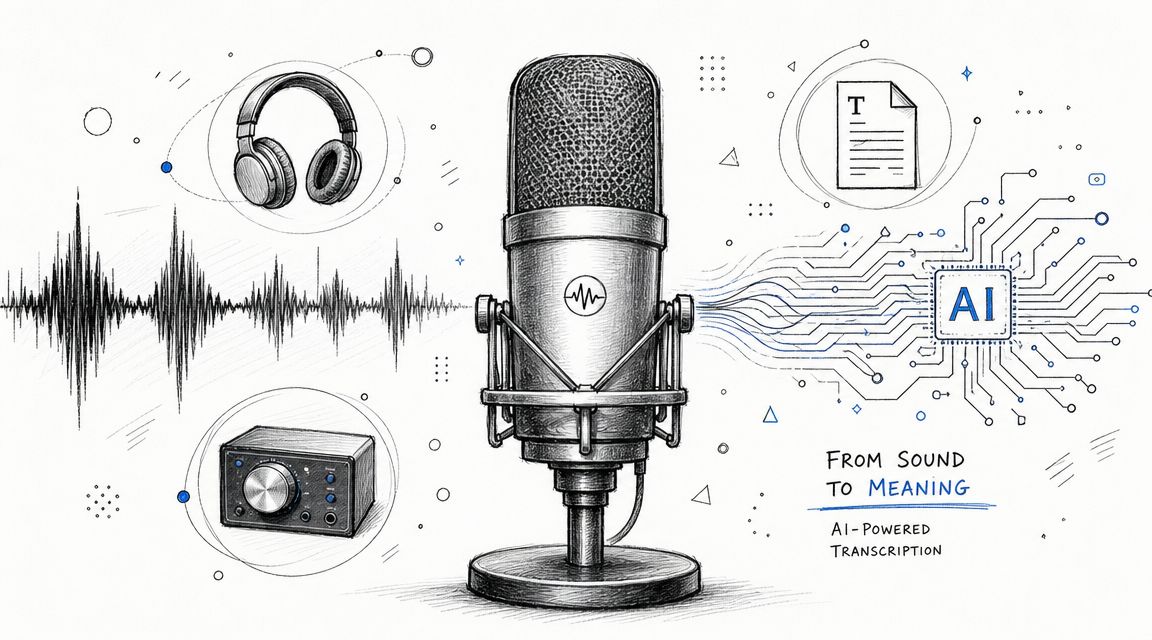
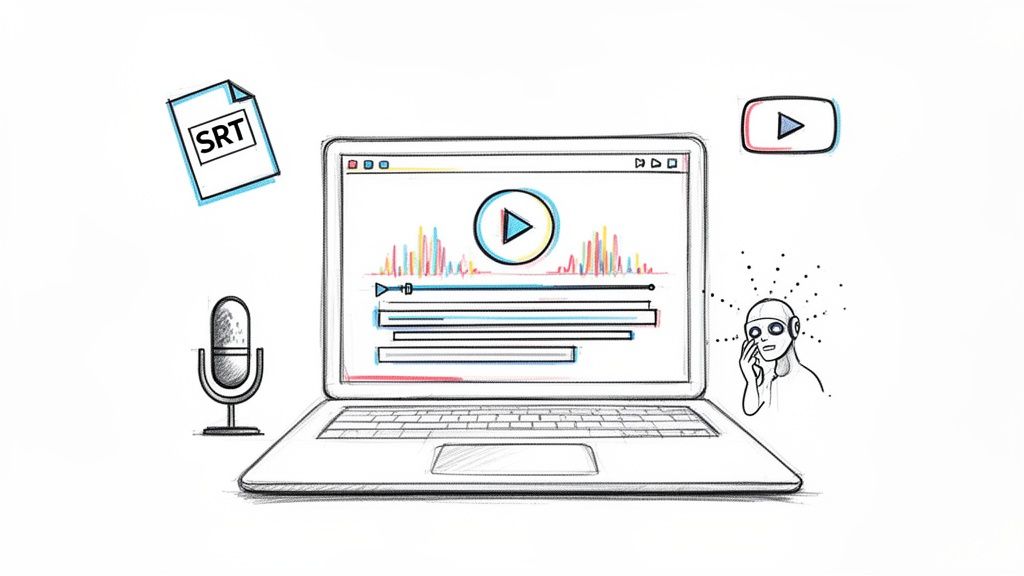
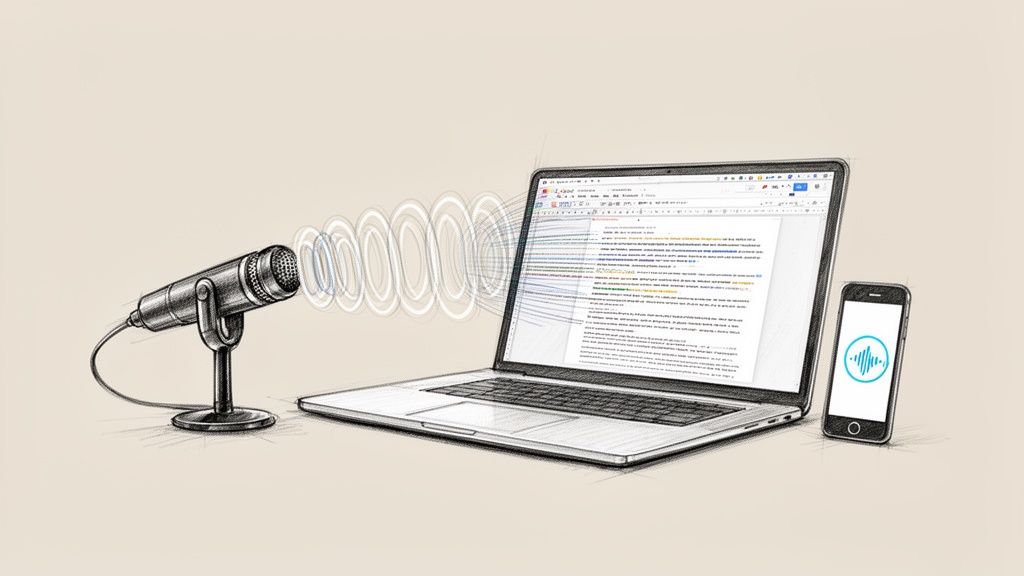
Using AI for Fast and Accurate Transcriptions
YouTube’s built-in editor is a solid starting point. However, if you're serious about creating content regularly, your most valuable asset is time. Manually transcribing videos or even cleaning up YouTube's often-flawed auto-captions can consume hours. It can become a major bottleneck in your production schedule.
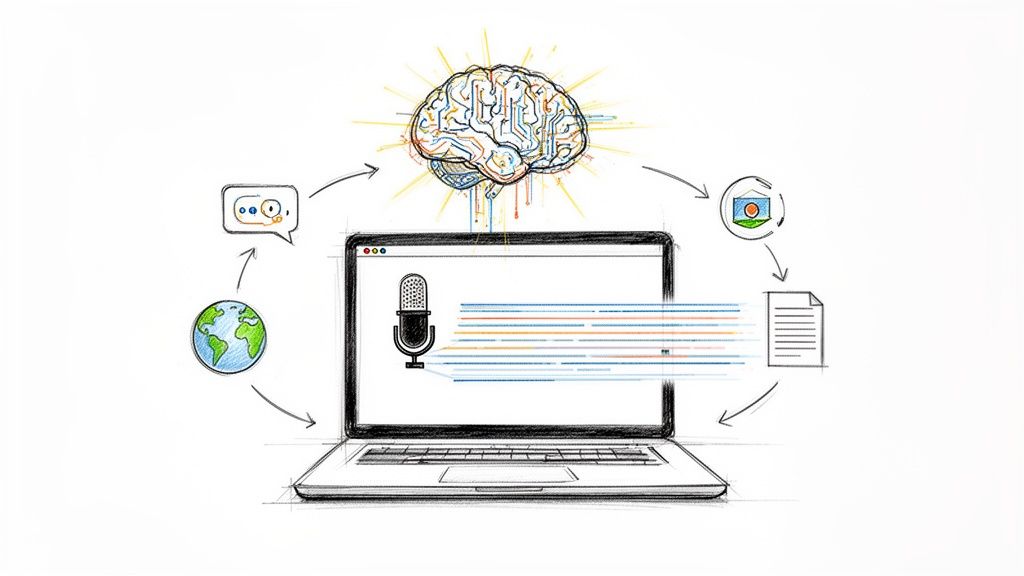
This is where dedicated AI transcription tools, like Whisper AI, completely change the game.
These tools are designed for one purpose: turning your audio into text quickly and accurately. In my experience, they are far superior to YouTube's native auto-captions, especially when dealing with challenging audio—such as strong accents, background noise, or technical jargon. Using a dedicated AI isn't about skipping the editing process; it's about starting with a much cleaner draft.
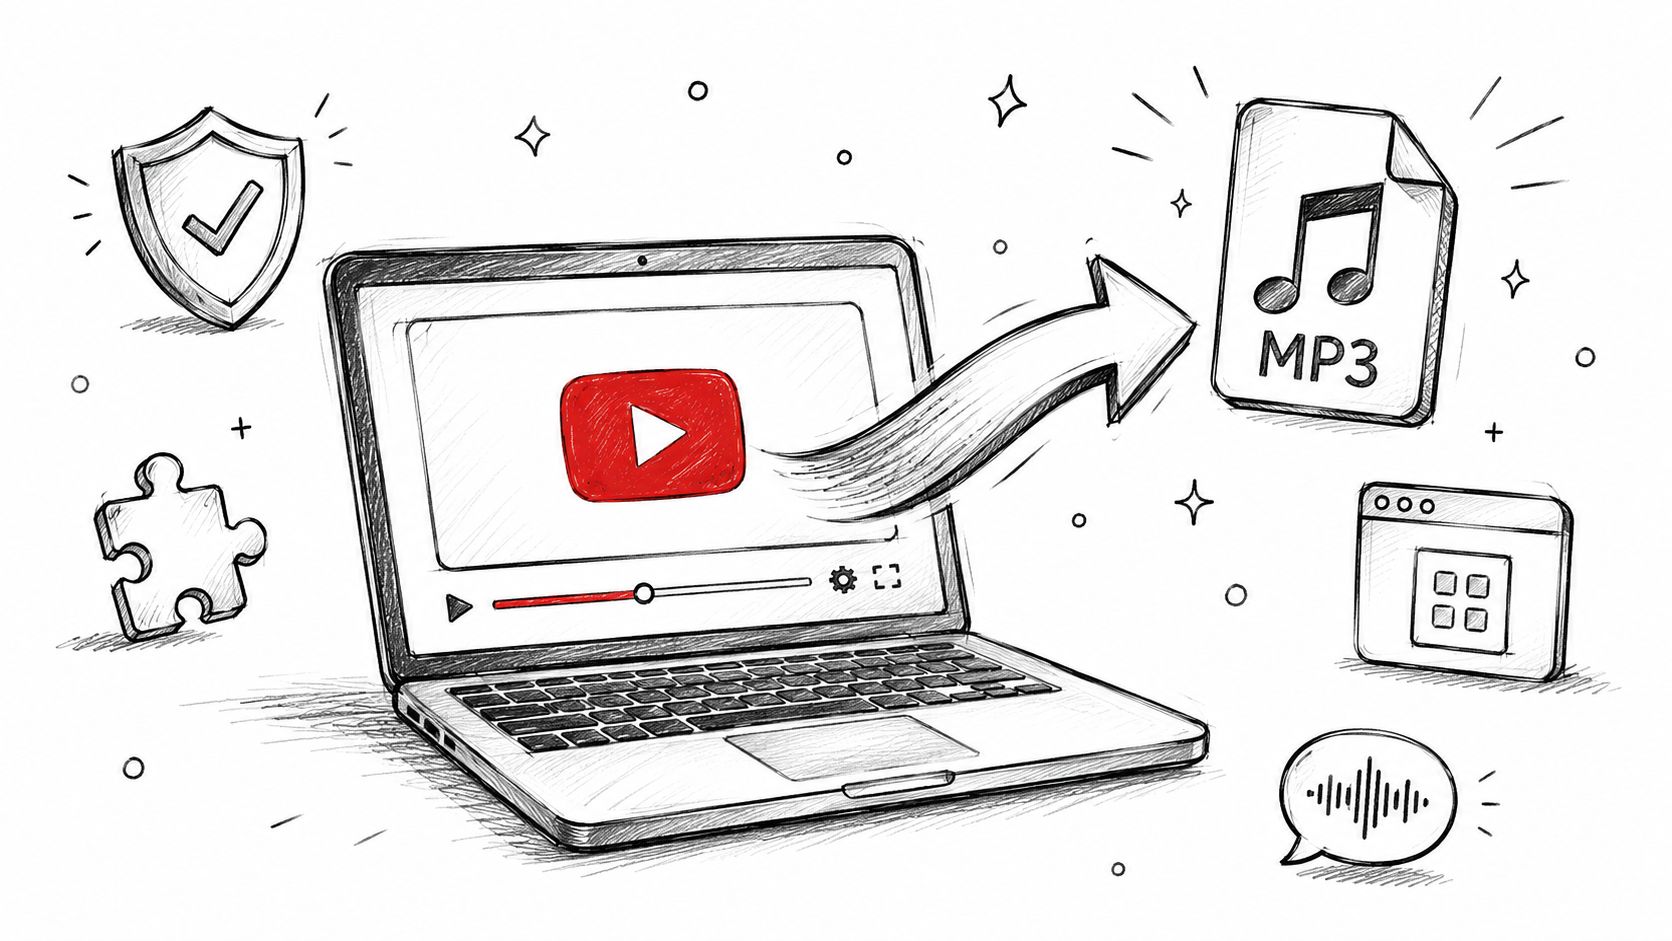
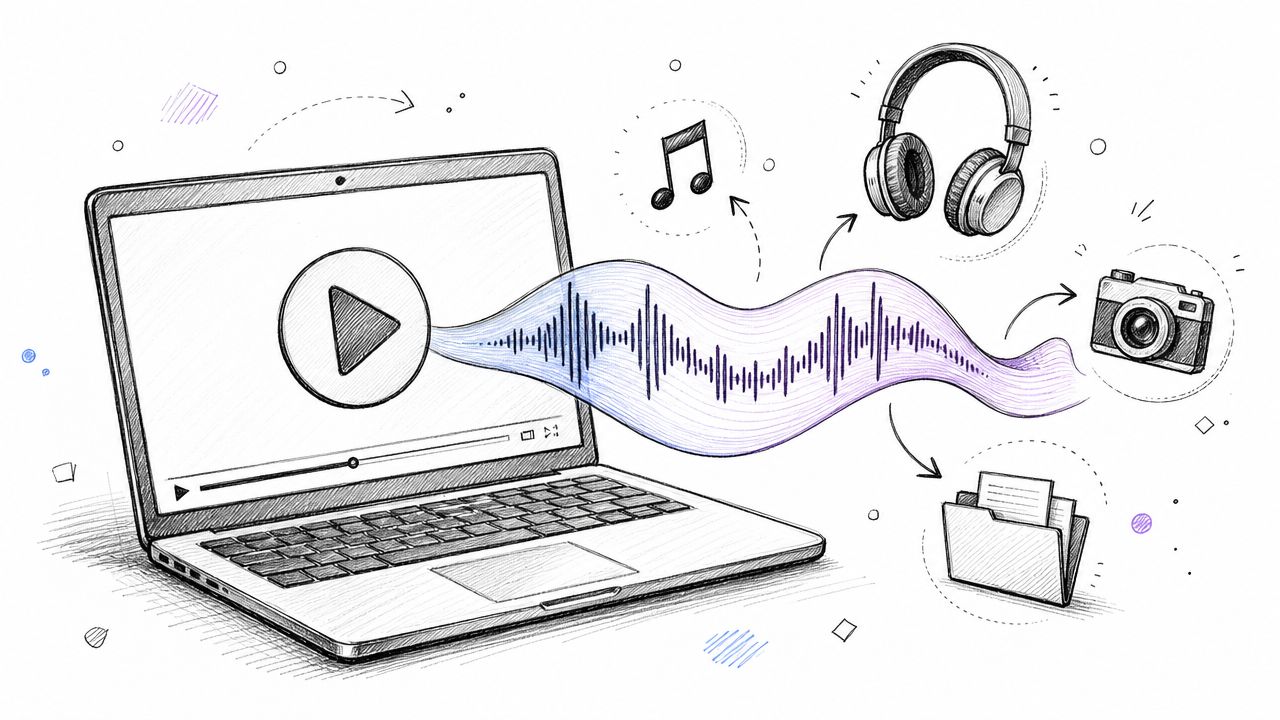
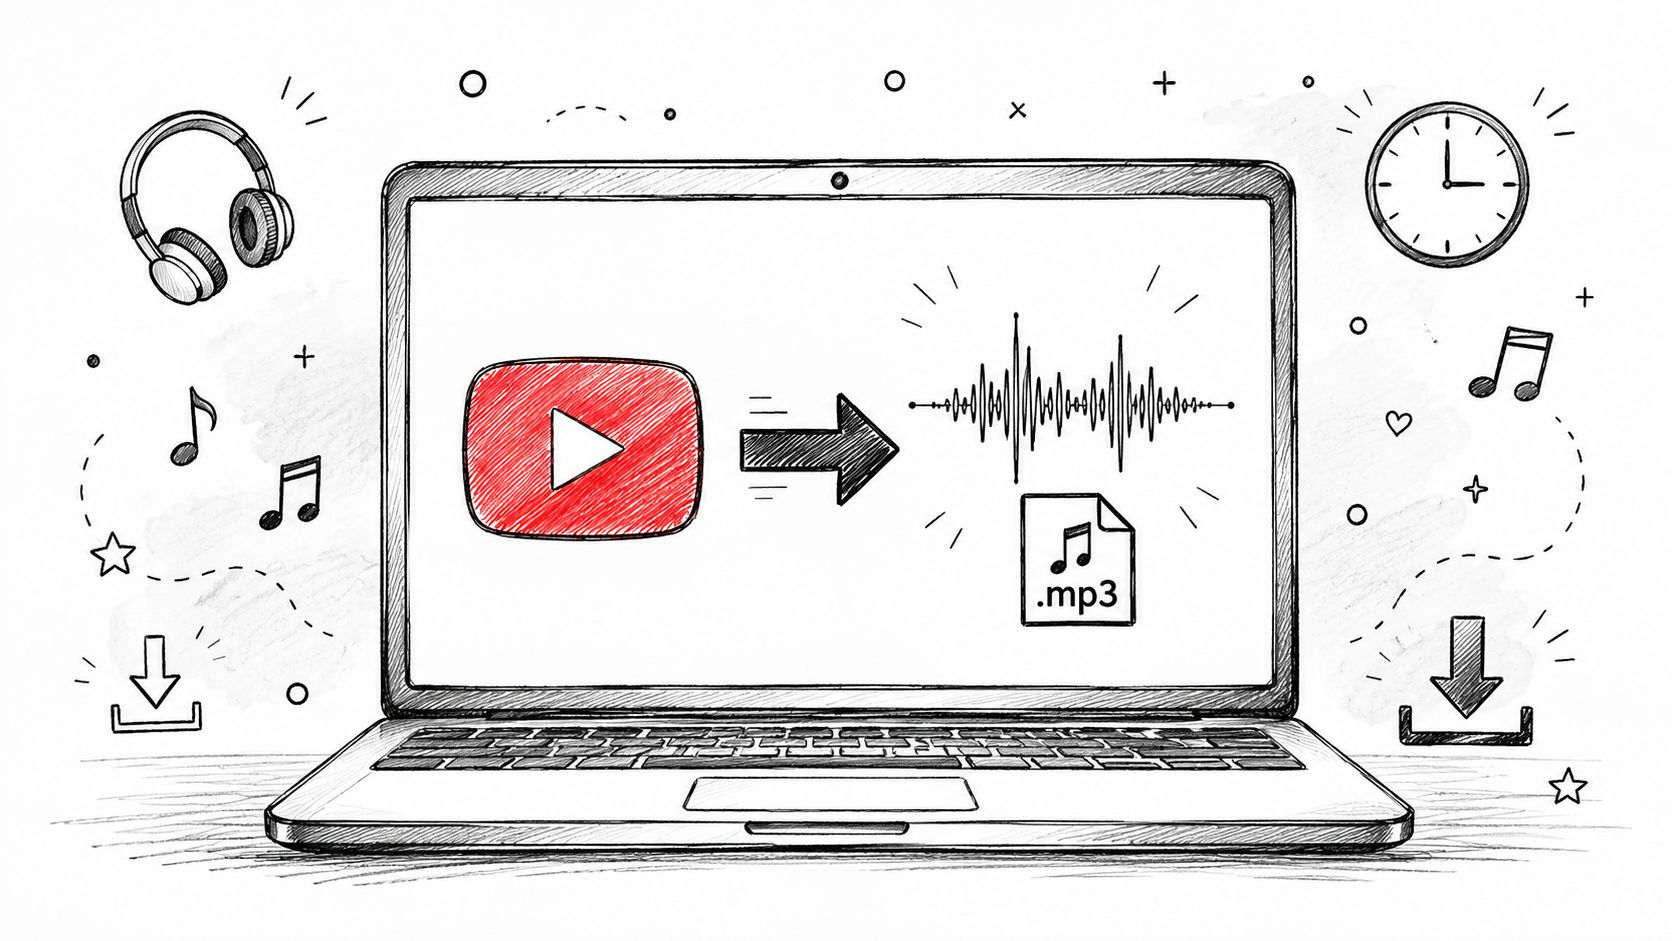
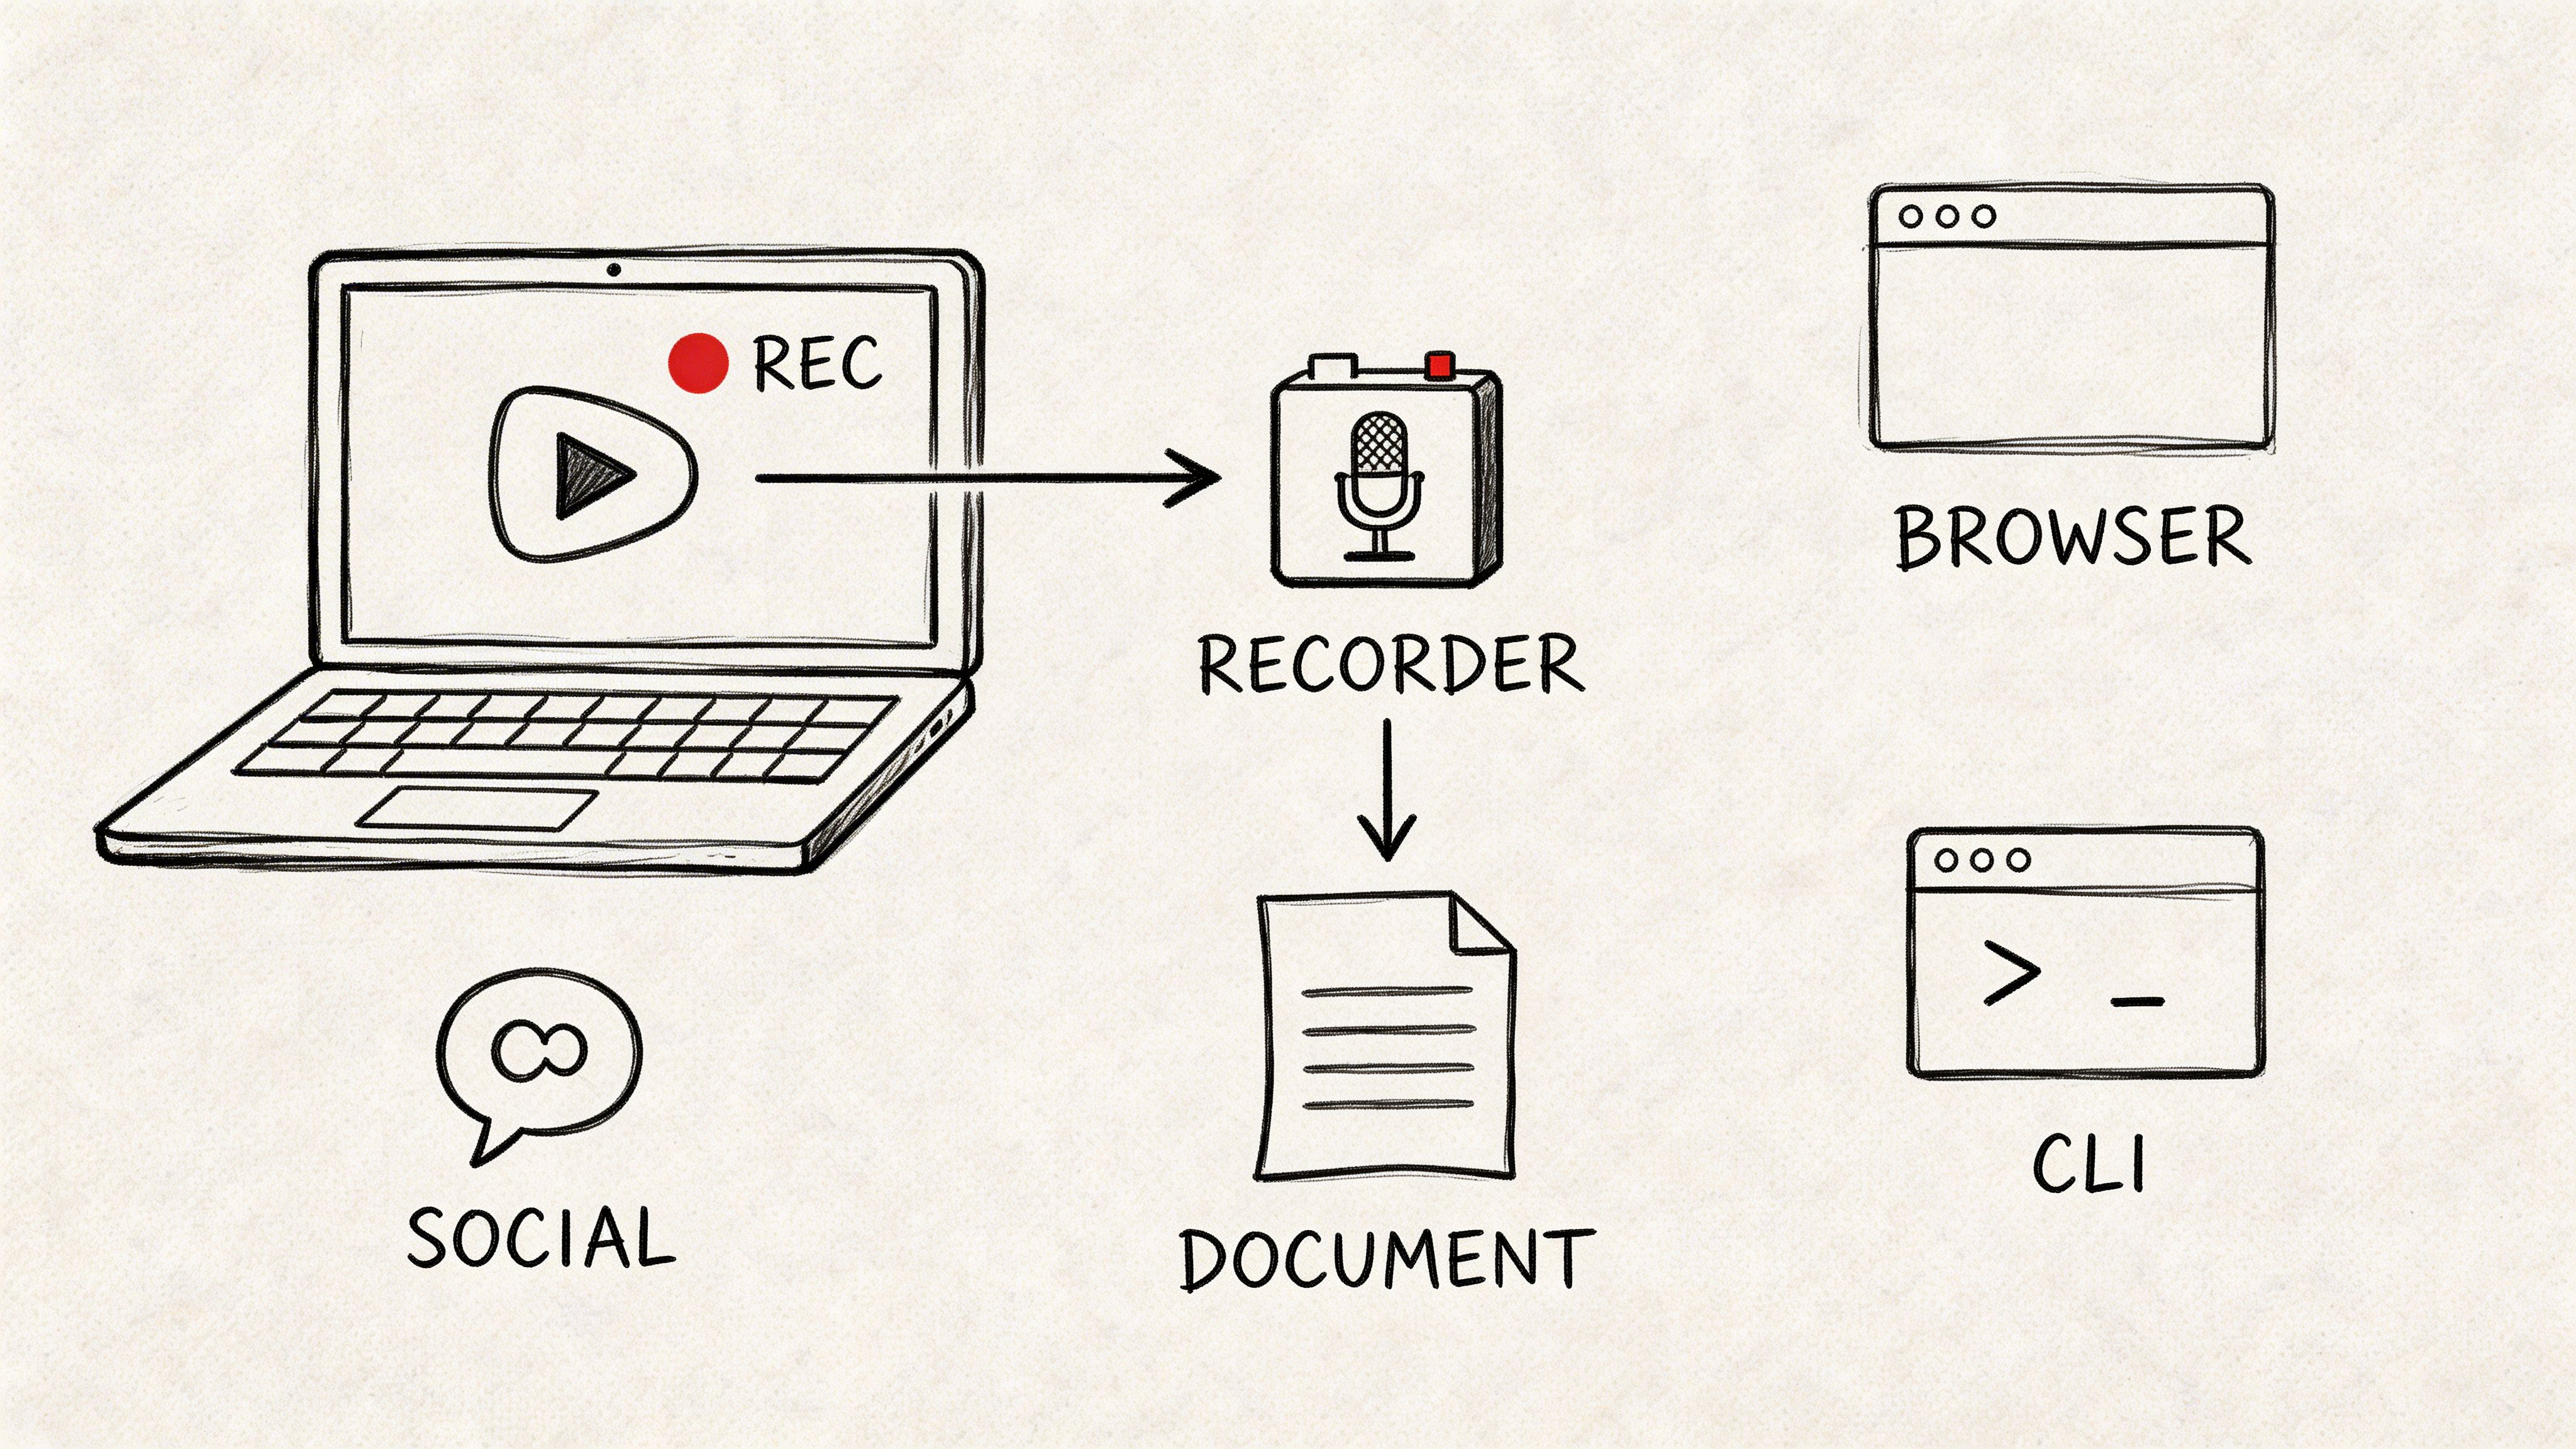
The process is straightforward. First, you need to extract the audio from your video file. If you’re using editing software like Adobe Premiere Pro or DaVinci Resolve, you can export the audio track as an MP3 or WAV file with just a couple of clicks.
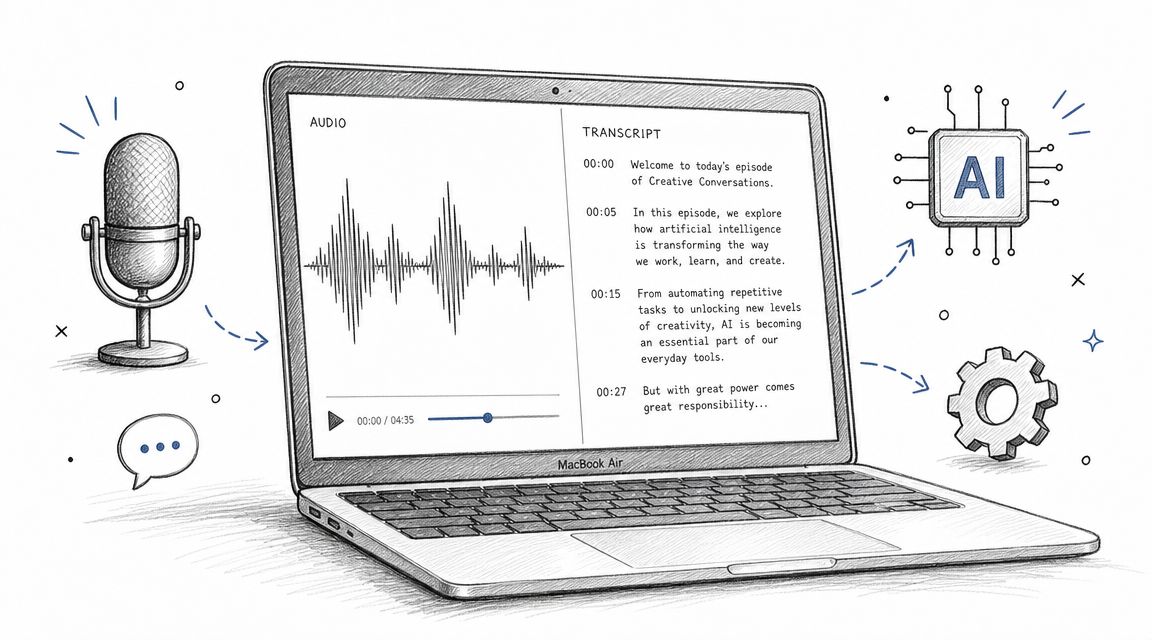
Once you have the audio file, you upload it to the AI service.
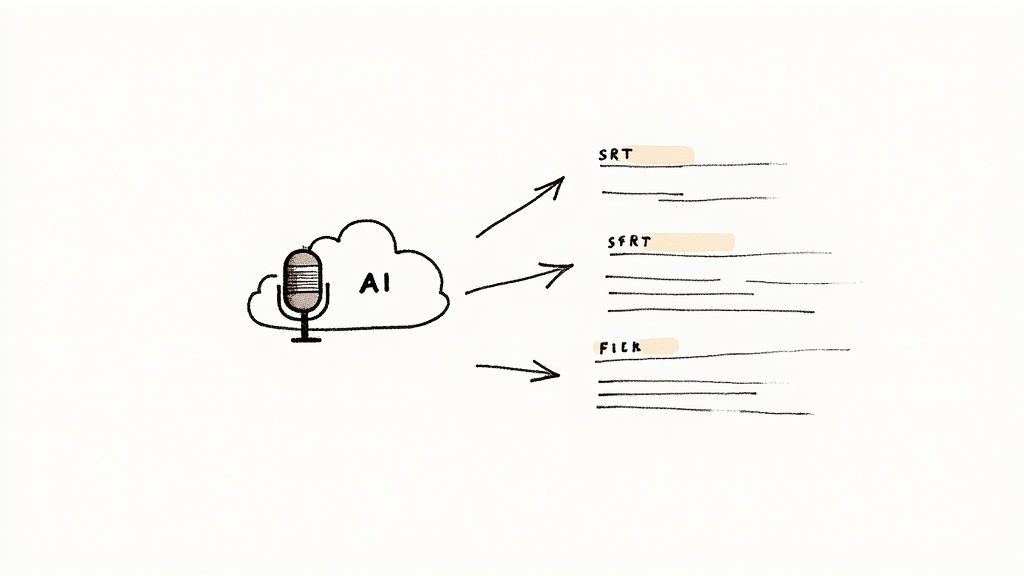
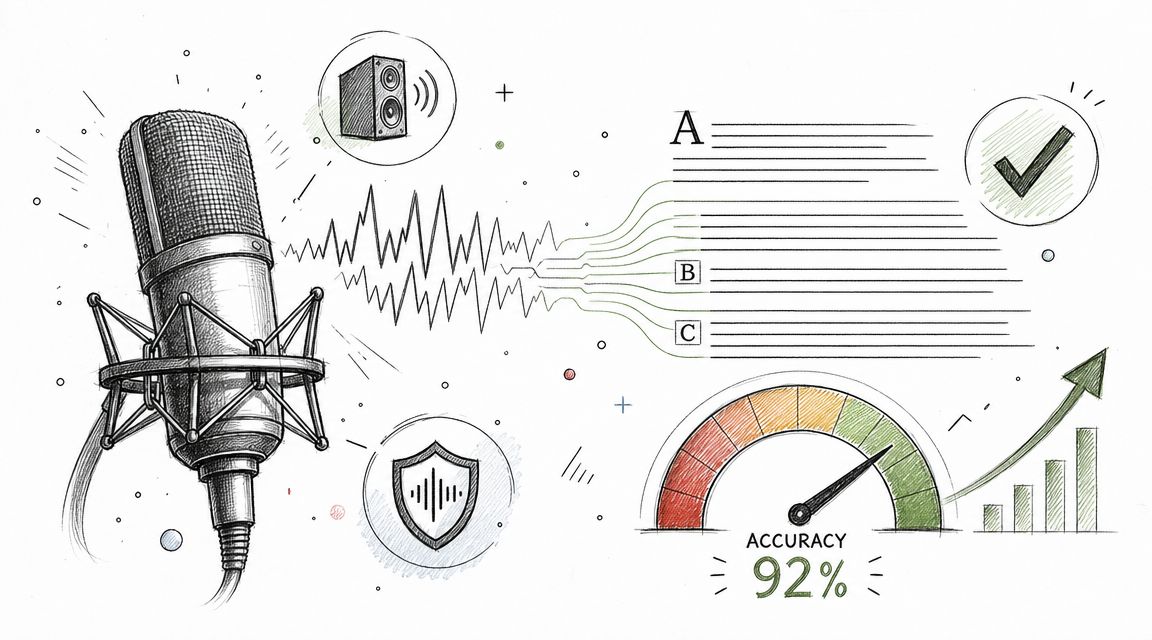
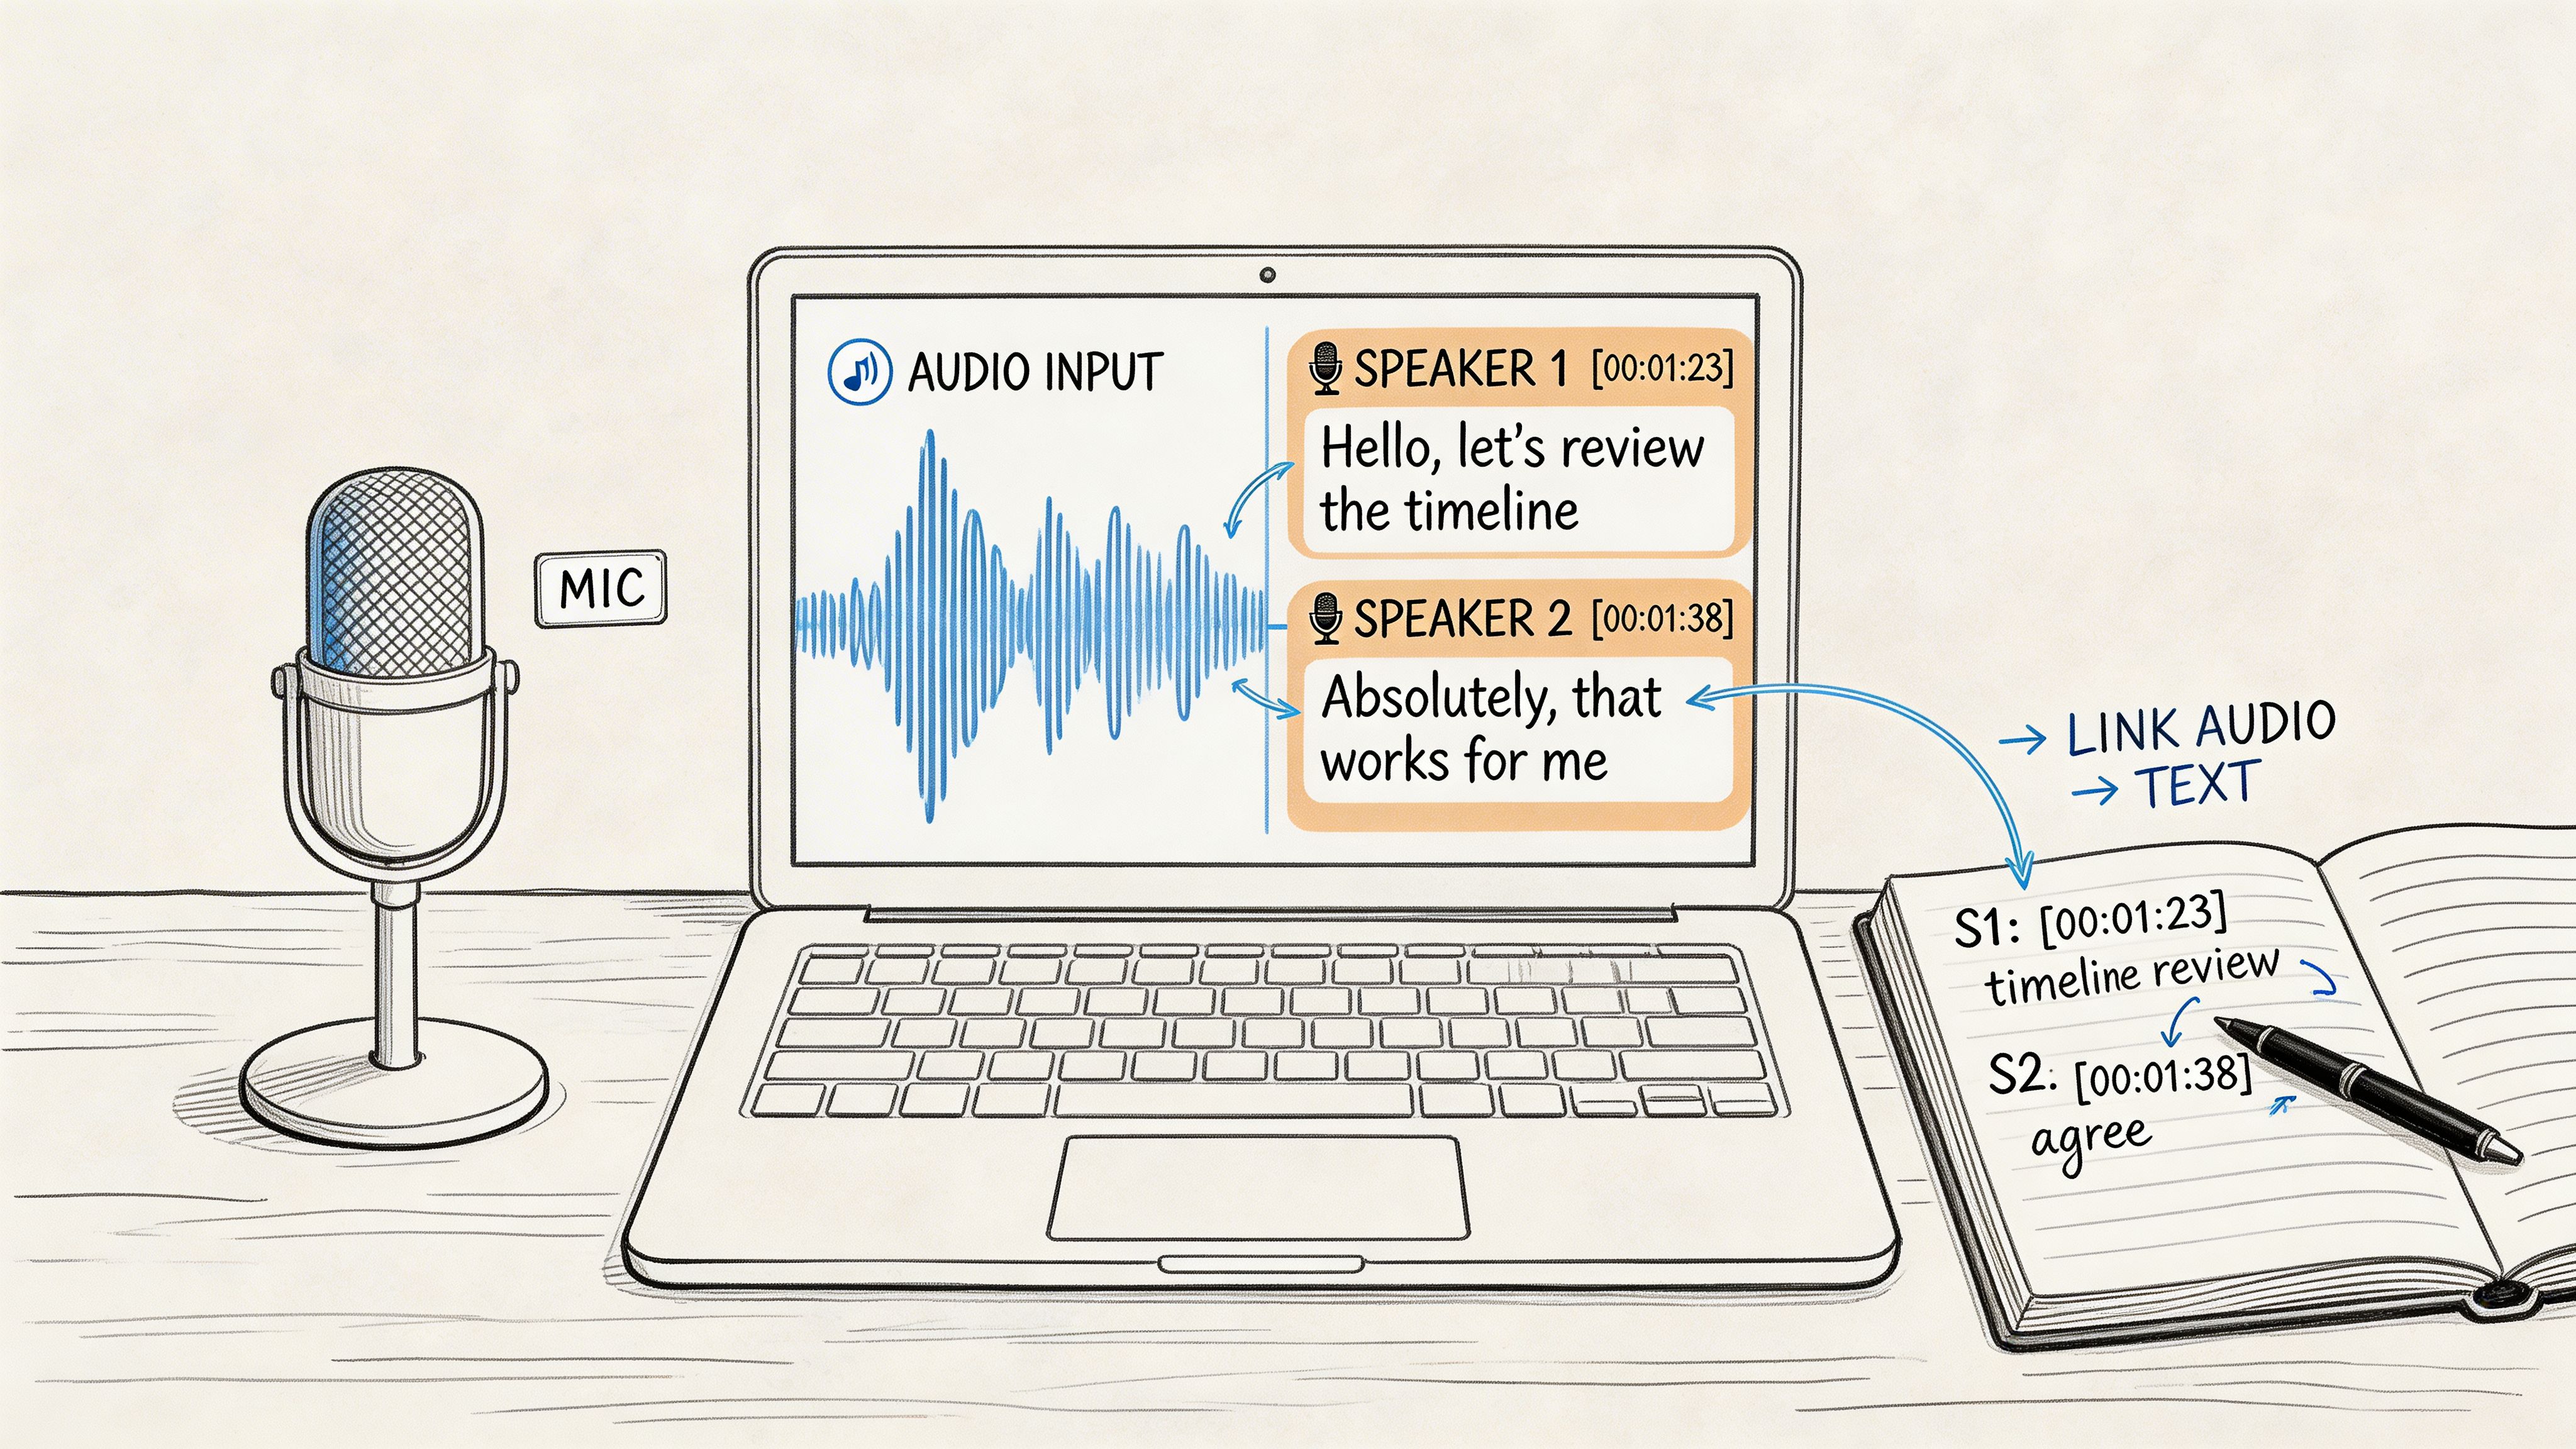
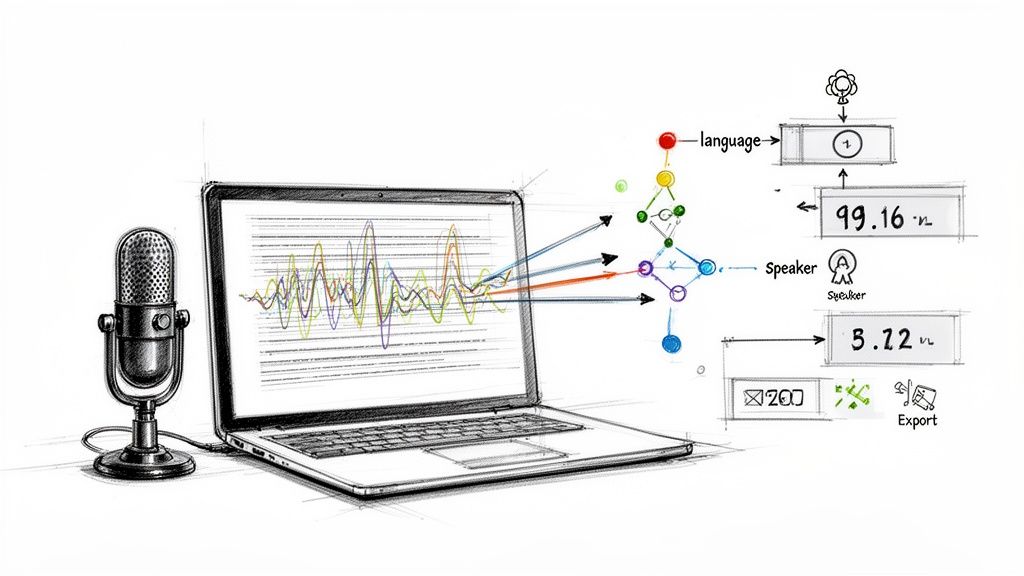
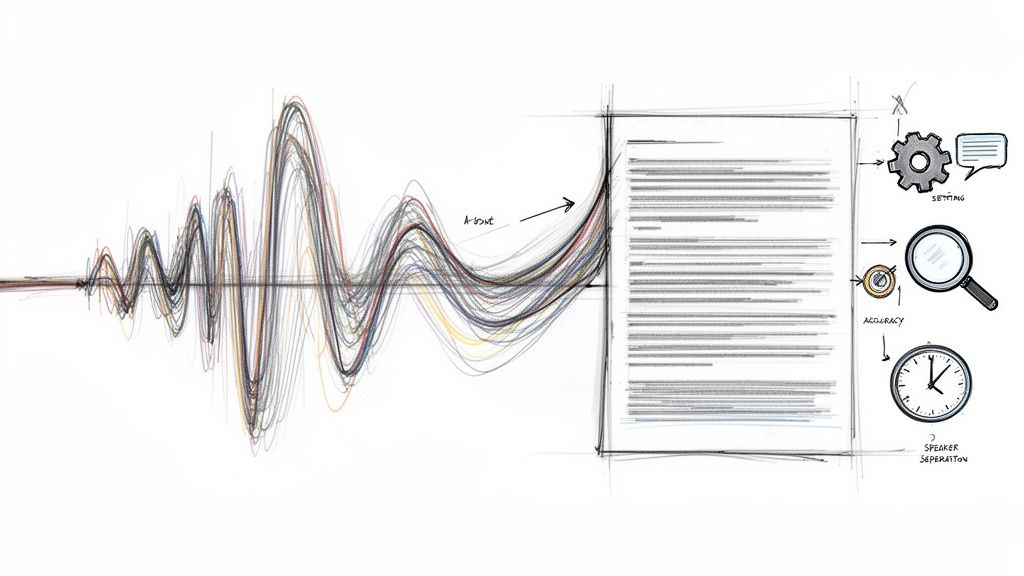
In just a few minutes, the AI will generate a complete text document. A good service can produce a transcript that is 95-99% accurate, often including punctuation and identifying different speakers. This level of accuracy is a massive time-saver, dramatically reducing the time you need to spend on manual edits. If you want to dive deeper into the tech, check out our guide on video transcription AI.
From Raw Text to an SRT File
So you have your nearly perfect transcript. What’s next? You need to convert it into a SubRip Subtitle (.SRT) file. This is the universal format that YouTube and virtually every other video platform uses for captions. An SRT file might look technical at first, but it's built on a simple, logical pattern.
Each caption segment in an SRT file has three core components:
- A sequence number: A counter (1, 2, 3...) to keep the captions in the correct order.
- A timestamp: This tells the video player the exact moment a caption should appear and disappear, down to the millisecond (
hours:minutes:seconds,milliseconds). - The caption text: The actual words your viewers will see on screen.
The real power here is control. When you create your own SRT file, you're not just fixing typos. You're directing the entire viewing experience by deciding precisely when and how your captions show up.
A Practical SRT Example
Let's imagine the first few seconds of your AI transcript reads: "Hey everyone, welcome back to the channel. Today, we're diving into how to caption YouTube videos."
Here’s how that would look formatted correctly in an SRT file:
1
00:00:01,500 --> 00:00:04,250
Hey everyone, welcome back to the channel.
2
00:00:04,500 --> 00:00:07,800
Today, we're diving into how to caption YouTube videos.
Simple, right? The first line appears at 1.5 seconds and disappears at 4.25 seconds. The next one follows, creating a seamless reading experience. While you could build this file by hand in a text editor, a huge time-saver is that most good transcription services can export directly to the SRT format for you.
Mastering SRT Files for Total Caption Control
While AI tools give you a significant head start and YouTube's editor is handy for quick fixes, nothing beats the power and flexibility of an SRT file. If you want total control over your captions, this is the professional standard.
An SRT (SubRip Subtitle) file is a plain text document that combines your caption text with hyper-precise timing. It's the gold standard for a reason.
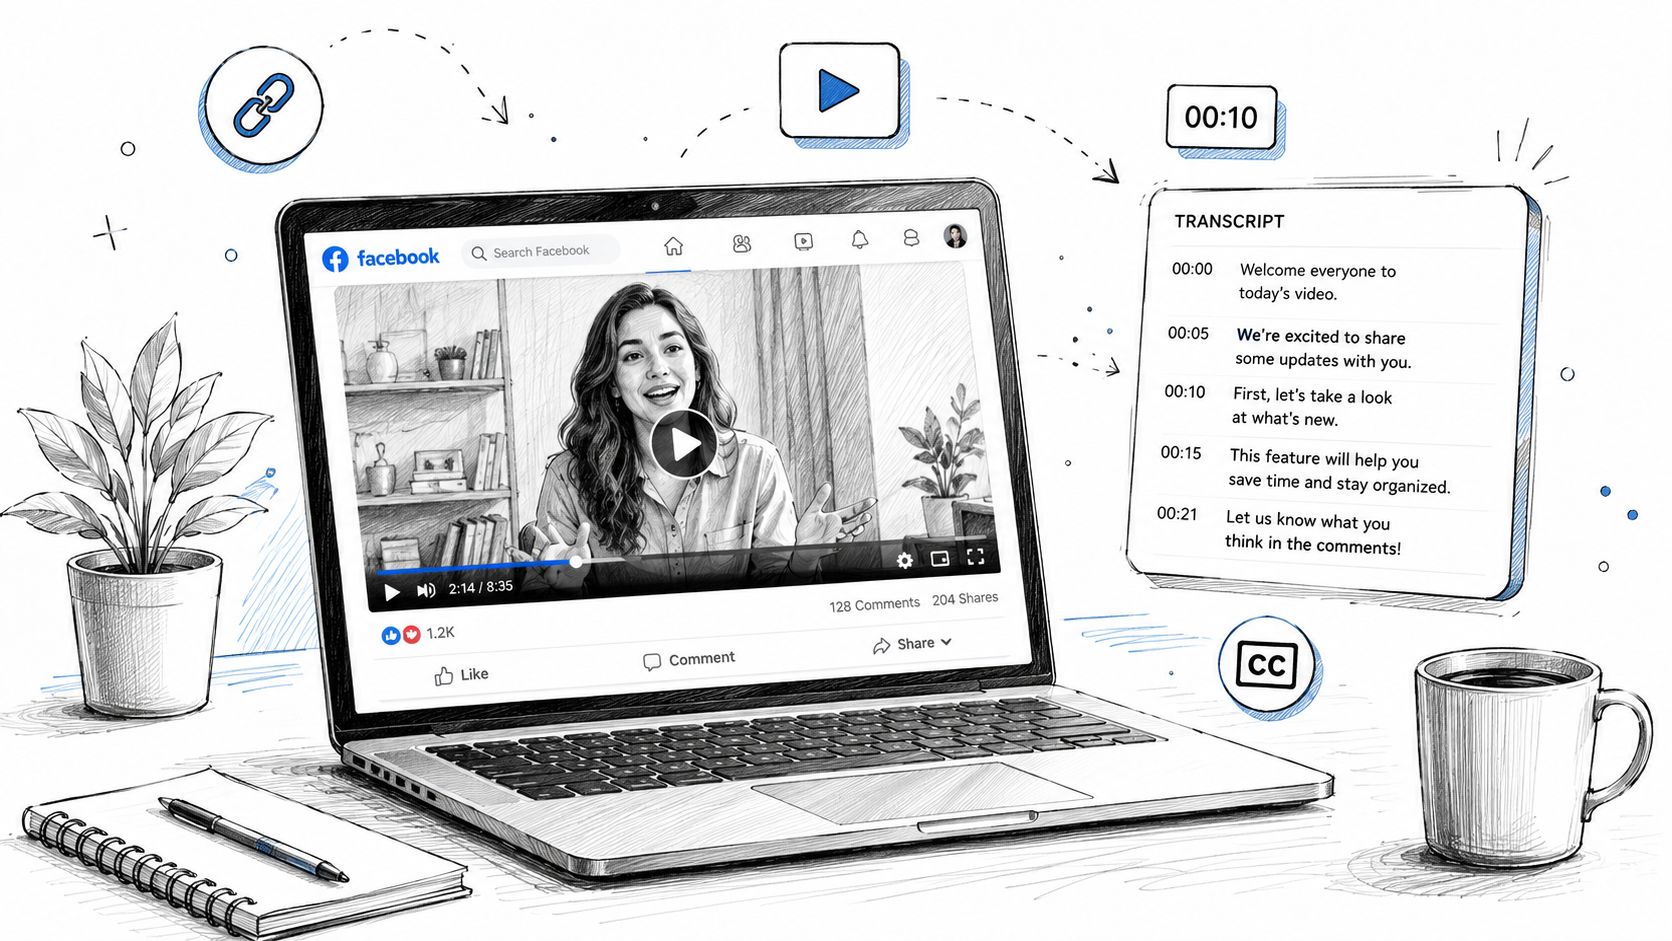
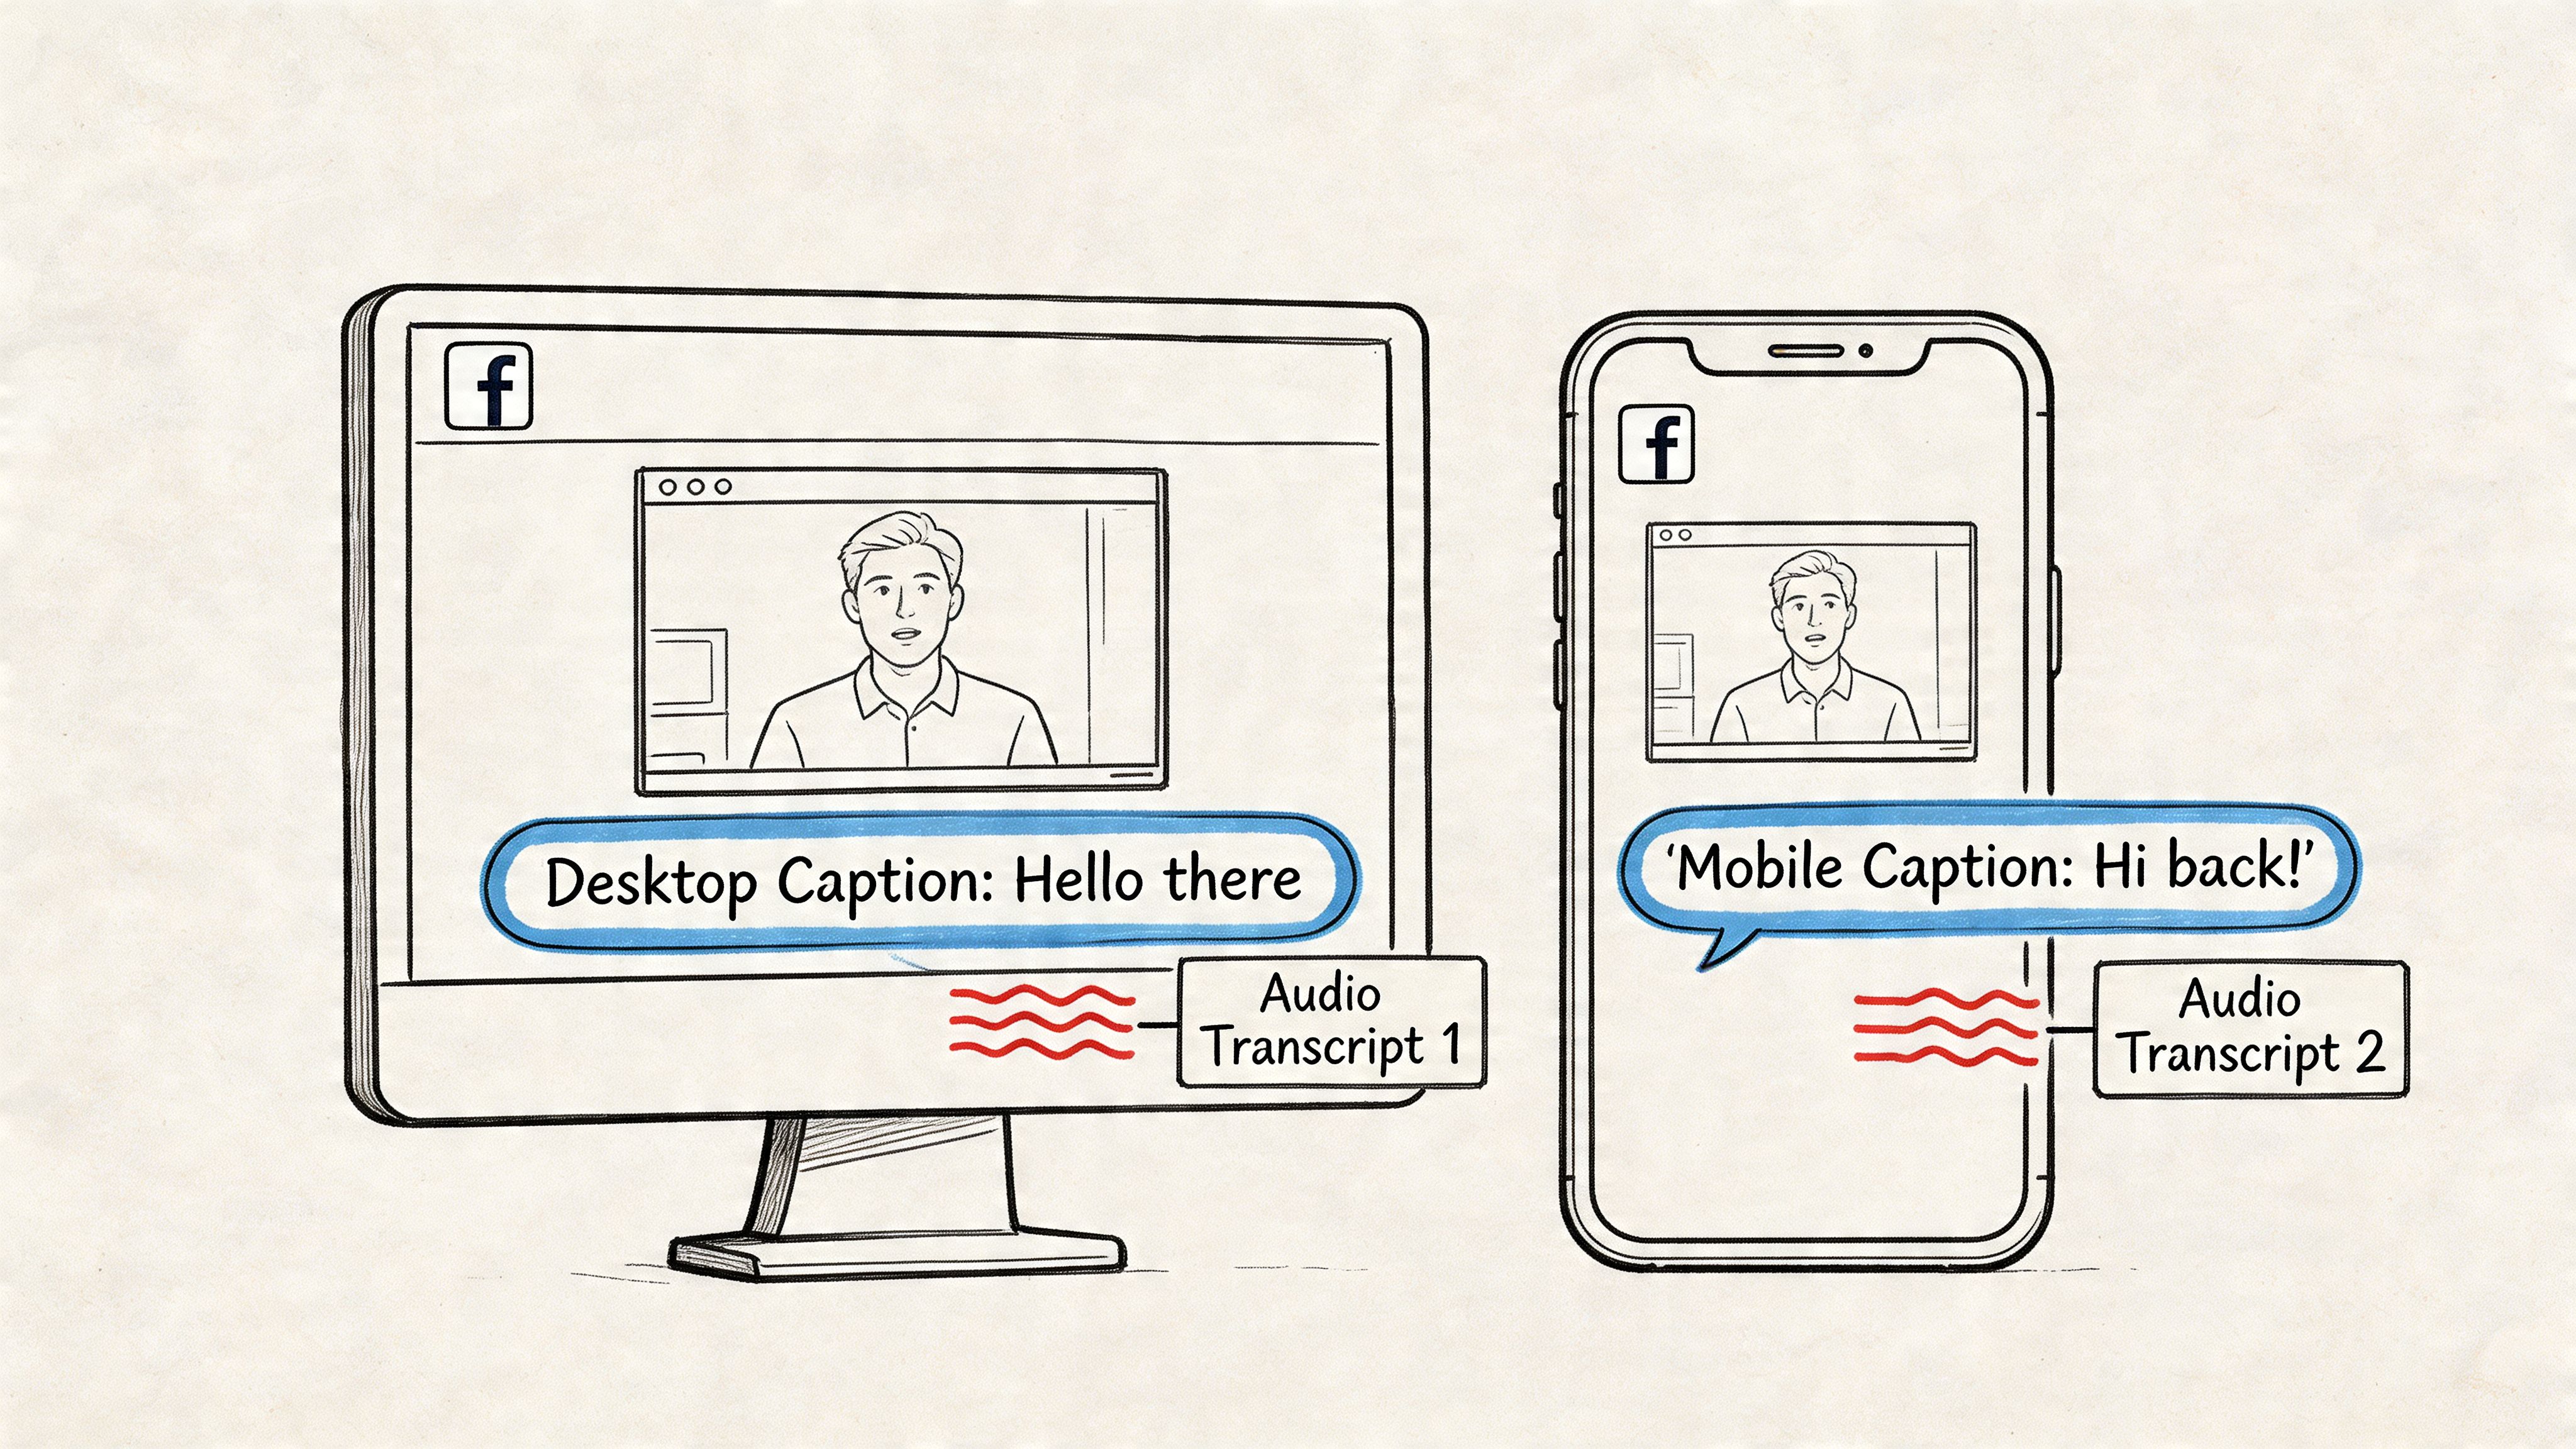
Think of an SRT file as a universal passport for your video's captions. Once you have it, you're not limited to YouTube. You can upload that same file to Vimeo, Facebook, LinkedIn—any platform where your video is hosted—and get a perfectly consistent viewing experience. You’re creating one master asset that travels with your content.
The Anatomy of an SRT File
Looking at an SRT file for the first time might seem technical, but its structure is surprisingly straightforward. It’s just a numbered list of caption blocks, and each block contains a few key parts. Once you understand it, you can edit your captions with surgical precision.
Here’s a simple breakdown of each caption chunk:
- A Sequence Number: A number (1, 2, 3...) to keep the captions in order.
- The Timestamp: This is the core element. It tells the player the exact moment to show and hide the caption, formatted as
hours:minutes:seconds,milliseconds --> hours:minutes:seconds,milliseconds. - The Caption Text: The words you want your audience to read.
- A Blank Line: This is crucial—it acts as a separator, telling the software that one caption block has ended and the next is about to begin.
This simple structure gives you granular control. If you want to learn more about how these timings work, we have a whole guide on creating a transcription with timecode that dives deeper into the specifics.
The real advantage here is independence. An SRT file is a document that you own. You can back it up, send it to a translator, or upload it across ten different platforms without being locked into a single company's ecosystem.
Creating and Uploading Your Own SRT File
So, how does this process work in practice?
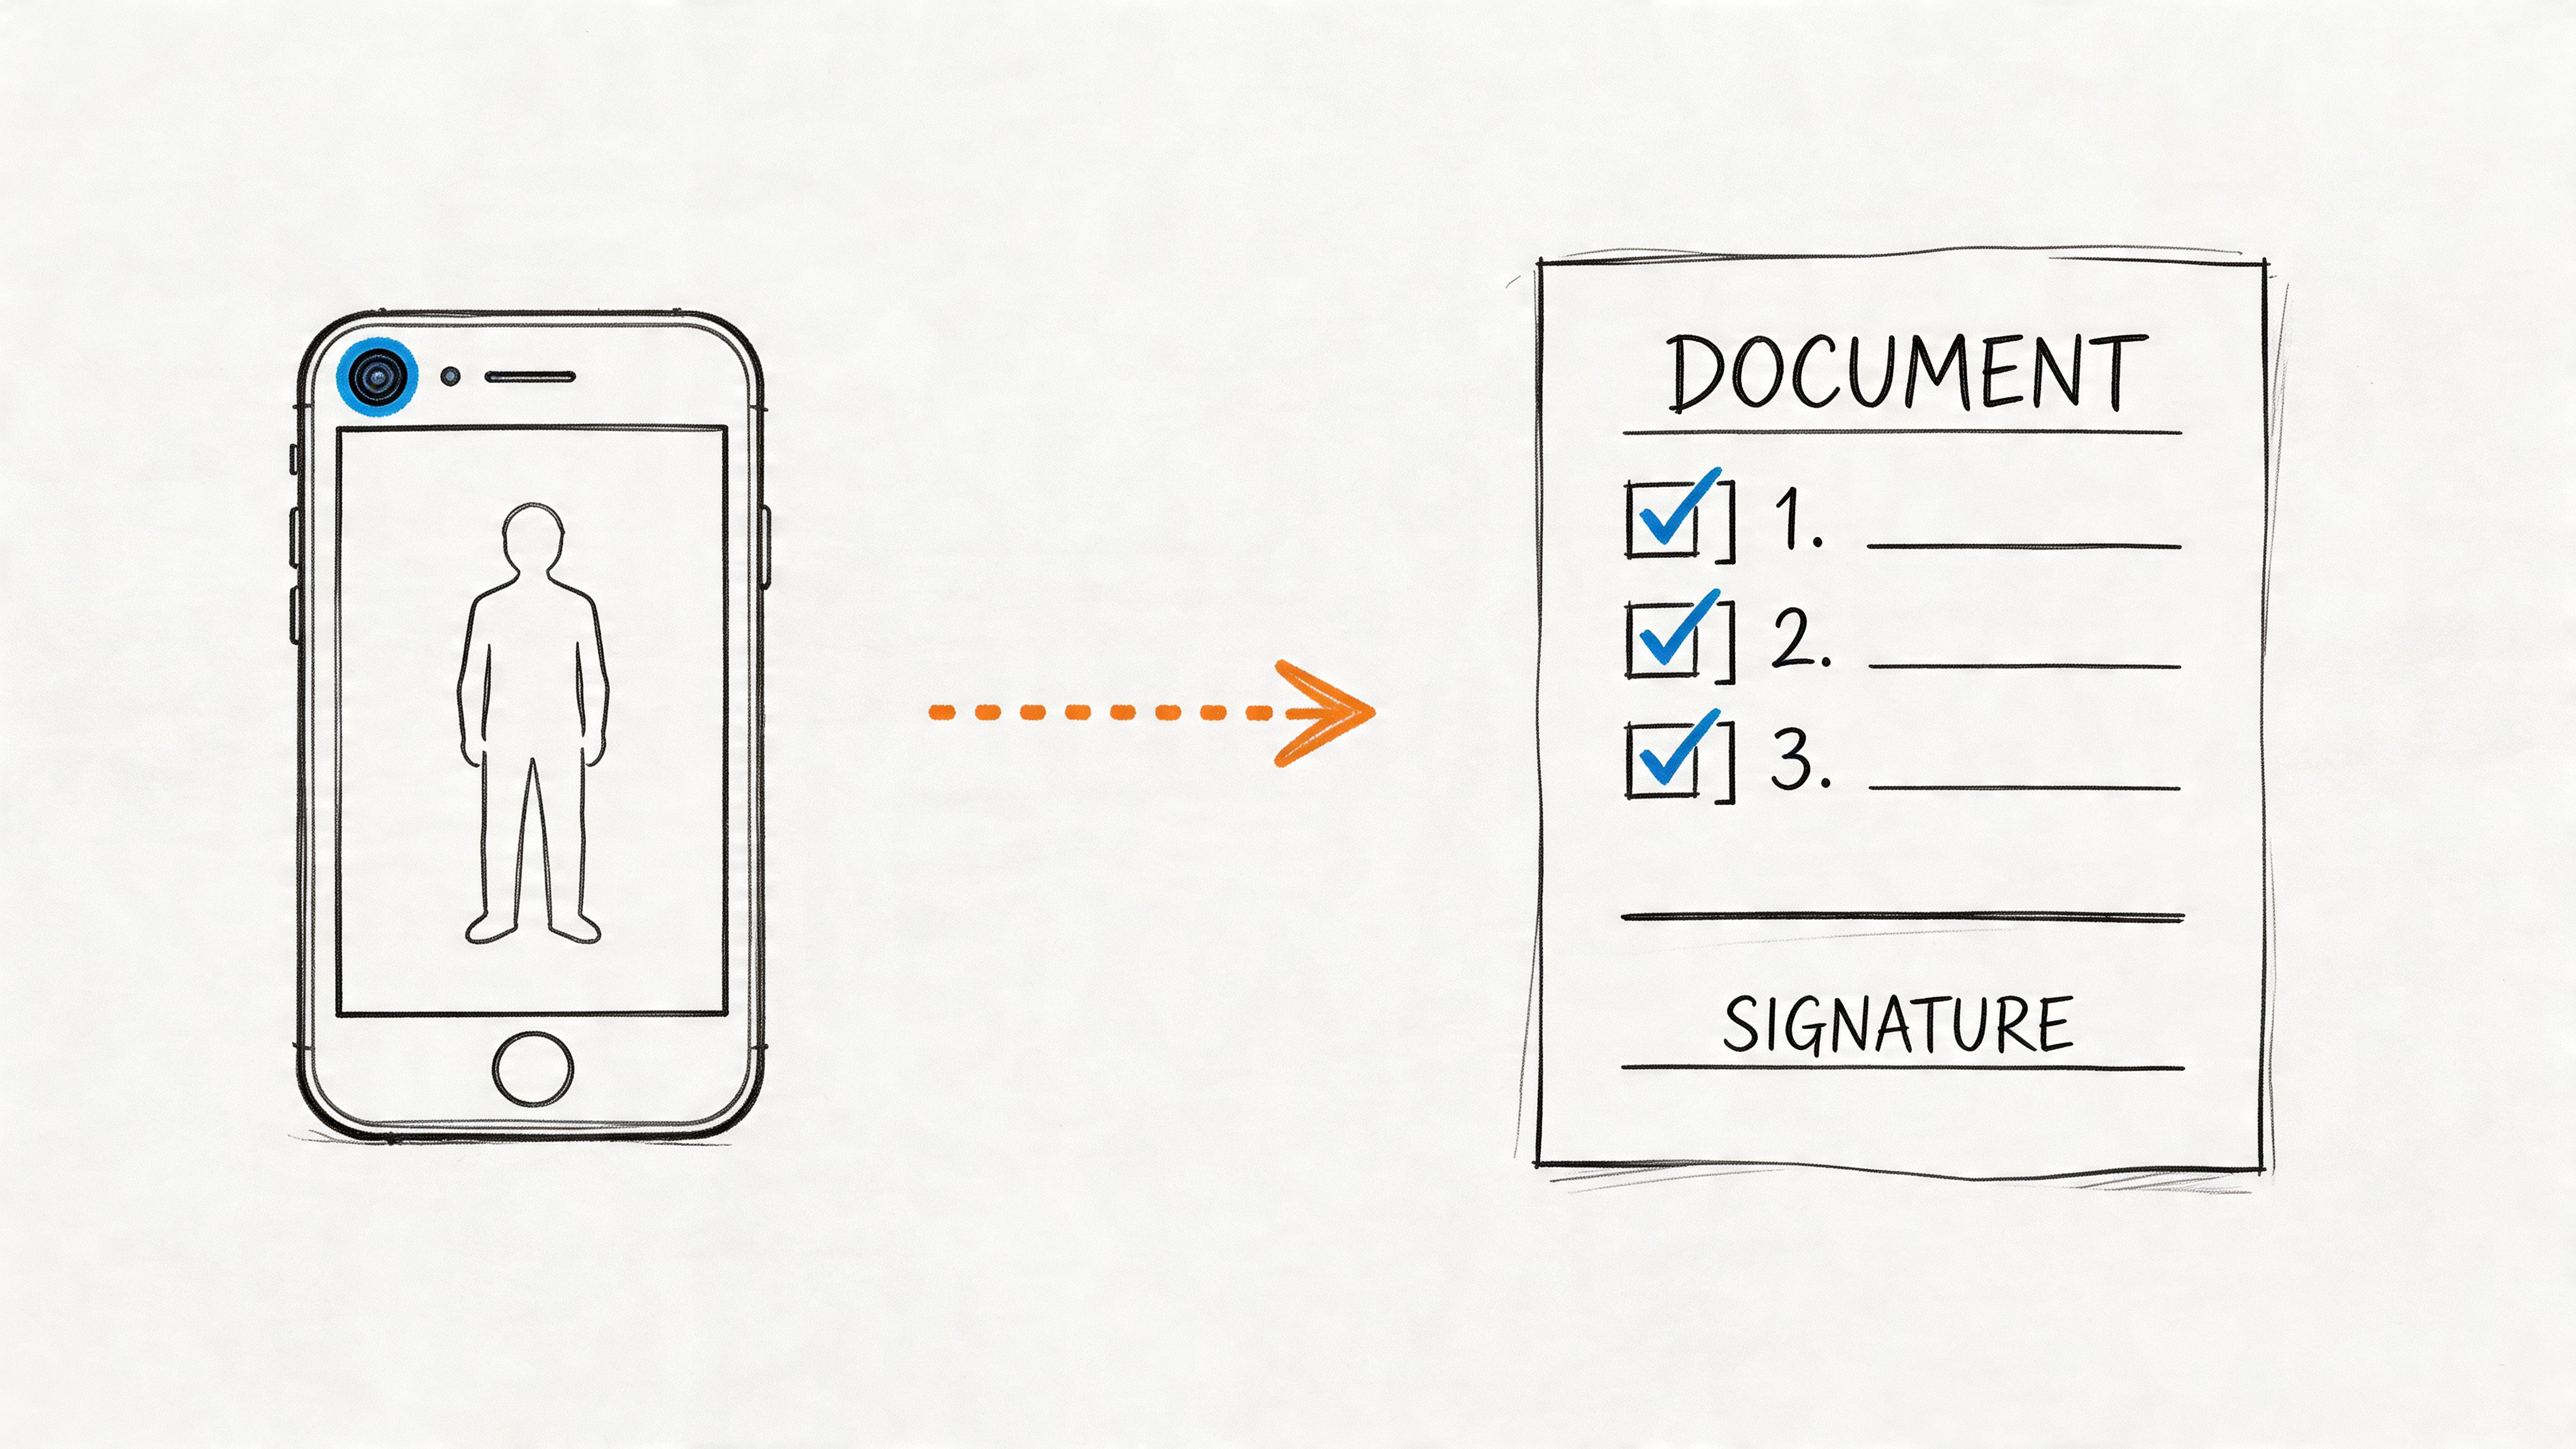
Let’s say the first line of your video is, "Welcome! In this video, we'll cover three key tips." You’d open a basic text editor—like Notepad on Windows or TextEdit on a Mac—and type the following:
100:00:02,150 --> 00:00:05,850Welcome! In this video, we'll cover three key tips.
You would repeat this pattern for every line of dialogue. When you’re finished, you save the file with a .srt extension (e.g., my-video-captions.srt).
Building one from scratch can be tedious. A much smarter workflow is to generate an SRT file with an AI tool first, which handles about 90% of the work. Then, you just go in to review and polish it.
Once your SRT file is ready, uploading it to YouTube is simple:
- Go to YouTube Studio, find your video, and click the Subtitles tab.
- Click "Add Language" and select the language of your captions.
- Find your new language in the list and click "Add" under the Subtitles column.
- You'll see several options. Choose "Upload file".
- Select "With timing" and continue.
- Upload your
.srtfile, and YouTube will populate the editor with your perfectly timed captions, ready to publish.
Best Practices for Creating Readable and Effective Captions
Knowing the technical steps to add captions is one thing, but crafting captions that actually improve the viewing experience is the real art. Once you've mastered the basics, focus on the details that separate good captions from great ones. The goal is to make your text a seamless guide, not a distraction.
Readability is everything. You want the text to feel so effortless that the viewer barely notices they're reading.
A solid rule of thumb I always follow is to keep captions to one or two lines at a time. It’s also crucial to break those lines at natural pauses in speech. Forcing someone to speed-read a dense, three-line block of text in a few seconds creates a frustrating experience and pulls them out of your video.
This simple technique syncs the rhythm of your text with your speaking patterns, making the content much easier to follow and preventing the captions from overwhelming your visuals.
Formatting for Clarity and Accessibility
Beyond line breaks, consider how you handle non-speech sounds. This is absolutely critical for viewers who are deaf or hard of hearing, as these audio cues provide context that dialogue alone cannot convey. Globally, there are over 430 million people with disabling hearing loss, and thoughtful, descriptive captions are what make your content truly accessible to this massive audience.
The best practice is to use brackets to describe important sounds that influence the story or mood.
- [upbeat music playing] instantly sets the tone.
- [audience laughter] confirms a joke landed.
- [door slams] can add drama or signal a sharp transition.
- [phone ringing] clues the viewer into an interruption.
These small descriptions bridge the gap between sight and sound, creating a more complete experience for everyone.
Good captions don't just repeat words; they translate the entire audio experience into text. This includes tone, sound effects, and speaker identification, making your video comprehensible without sound.
Weaving in Keywords Naturally for SEO
Finally, let's circle back to search engine optimization. Your caption file is a complete, time-stamped transcript of your video, and search engines read every single word. This is a golden opportunity to reinforce your video's topic and boost its discoverability on both YouTube and Google.
The key is to be natural. While polishing your transcript, simply ensure your main keywords and related phrases are included where they fit organically. For example, if your video is about "how to caption YouTube videos," your transcript will naturally include phrases like "SRT file," "YouTube Studio," and "add subtitles."
Never stuff keywords where they don't belong. The goal is not to trick the algorithm but to have a clean, accurate transcript that perfectly reflects your content. When your spoken words, captions, title, and description are all aligned, you send a powerful, clear signal to YouTube about your video's topic, helping it reach the right audience.
Your Top YouTube Caption Questions, Answered
Once you get the hang of captioning your videos, a few more specific questions always seem to pop up. I get these all the time from other creators, so let's clear up some of the common sticking points you might run into.
Think of this as your go-to FAQ for getting your captions just right.
Can I Fix My Captions After I’ve Already Published a Video?
Yes, and you absolutely should! I can’t tell you how many times I’ve noticed a typo weeks after a video went live. Thankfully, YouTube makes this incredibly easy.
Just head back into YouTube Studio, find the video you want to tweak, and click on the Subtitles tab. From there, you can jump right back into the editor and make changes. It’s perfect for:
- Fixing those sneaky typos that you missed the first time around.
- Fine-tuning the timing if you notice a caption appears too early or lingers too long.
- Adding context to outdated info. I've sometimes added a quick note like "[Update: This feature now looks different]" to an older tutorial. It’s a great way to keep your content relevant without having to re-upload.
Your captions are never set in stone. Treat them like a living part of your video that you can improve whenever you need to.
Do Captions Make My Video Look Cluttered or Unprofessional?
This is a fear I hear a lot, but the reality is quite the opposite. Viewers today are completely used to seeing text on screen—in fact, many expect it. Research shows that over 50% of Americans use captions regularly, even when they can hear the audio just fine.
The trick is to focus on quality. As long as your captions are clean, well-timed, and aren't blocking something important on screen, viewers won't see them as a distraction. They'll see them as a helpful, professional touch.
A poorly auto-generated caption file with glaring errors is what looks unprofessional. A clean, accurate SRT file shows you care about the viewer's experience.
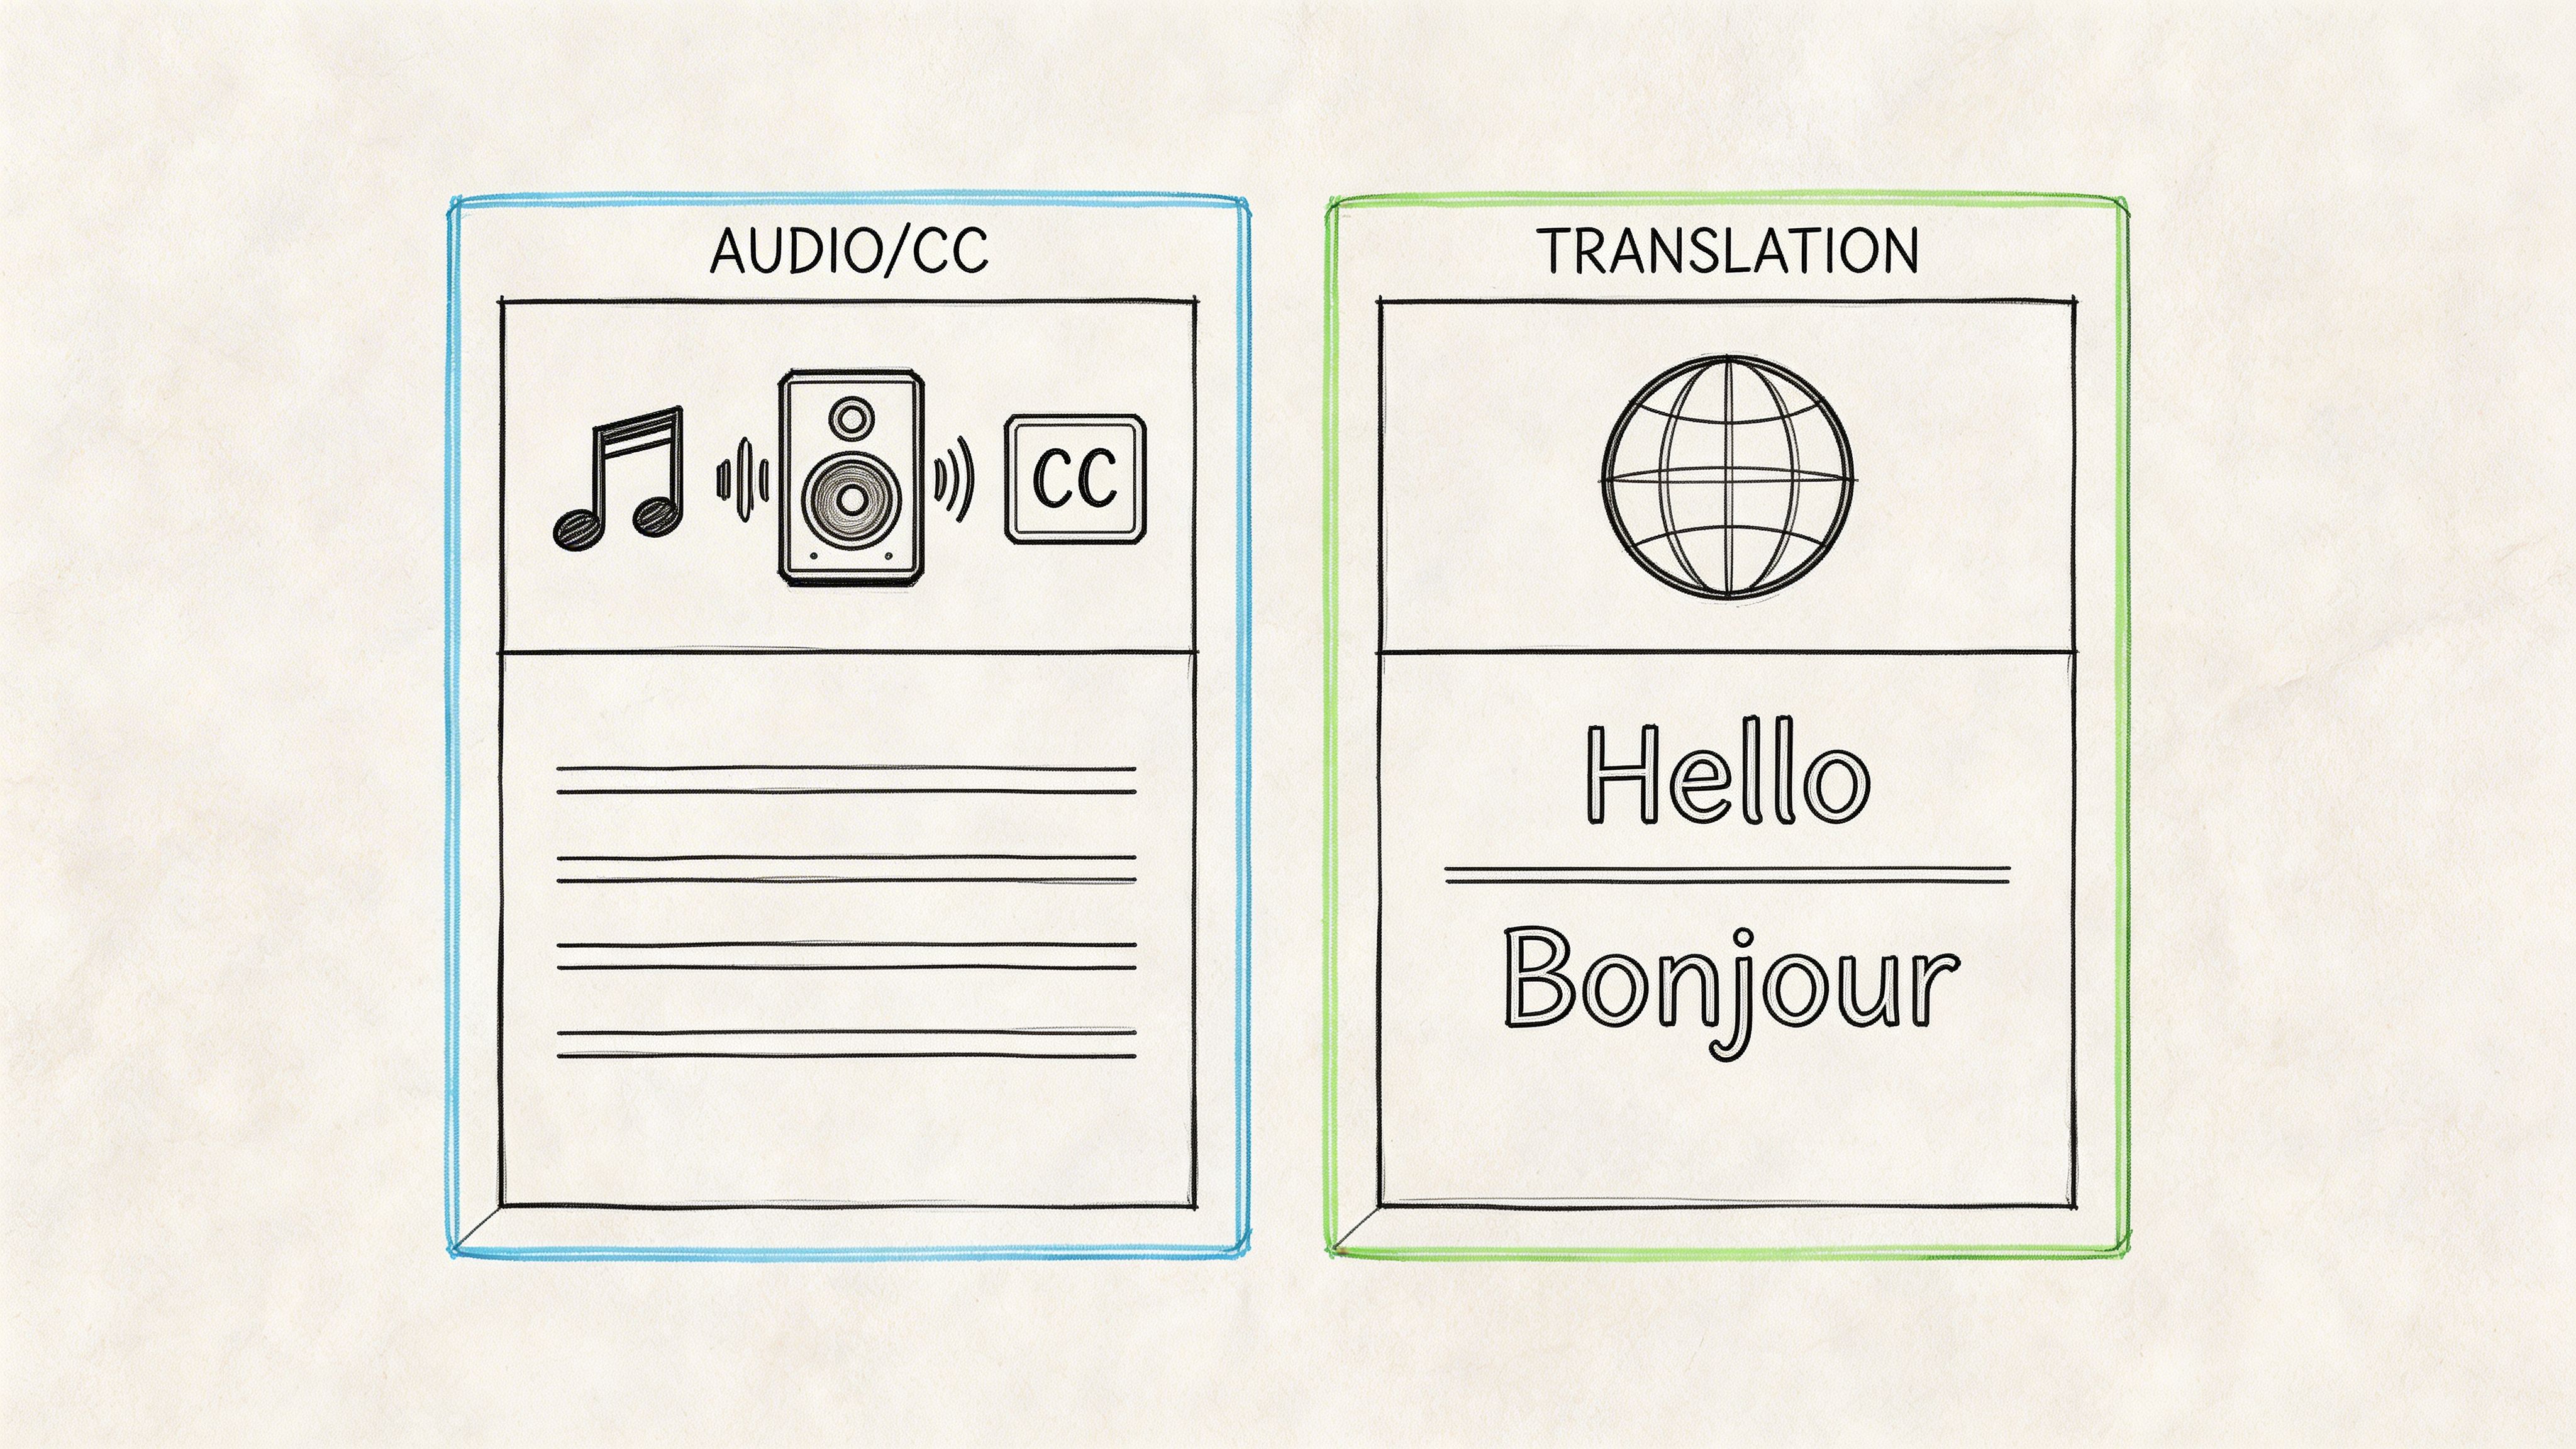
What’s the Real Difference Between Captions and Subtitles?
You’ll see YouTube use these terms almost interchangeably, but there's a key distinction that matters, especially for accessibility.
- Captions (CC) are for people who can't hear the audio. They don't just include dialogue; they also describe important sounds, like
[upbeat music starts]or[phone rings]. They paint the full auditory picture. - Subtitles are for people who can hear the audio but don't speak the language. They’re a straight translation of the spoken words and nothing else.
For the sake of making your videos accessible to everyone, you should always be creating captions. This ensures that someone watching on mute or with a hearing impairment gets the exact same experience as everyone else.
Ready to stop wrestling with manual transcription and create perfect captions every time? Whisper AI uses advanced AI to turn your videos into accurate, ready-to-use text and SRT files in minutes. Join over 50,000 creators who save time and expand their reach by visiting https://whisperbot.ai.