Can You Record a Teams Meeting? Your 2026 Guide
The short answer is yes, you absolutely can record a Teams meeting. In fact, the feature is built right into the platform, making it incredibly simple to capture everything from audio and video to screen-sharing sessions. For anyone in a remote or hybrid work setup, this capability is a game-changer. My own experience using this daily has shown me just how vital it is for keeping projects on track when team members are in different time zones.
Yes, You Can Record a Teams Meeting—And It’s Easier Than You Think
Think about how often this happens: a key team member joins a client call ten minutes late because they were double-booked. Instead of derailing the conversation to catch them up, they can just review the meeting recording and its AI summary later. This is where Teams recording shines, turning a one-time event into a permanent, searchable resource for your entire team. From personal experience, this has saved my team countless hours by preventing repetitive catch-up meetings.

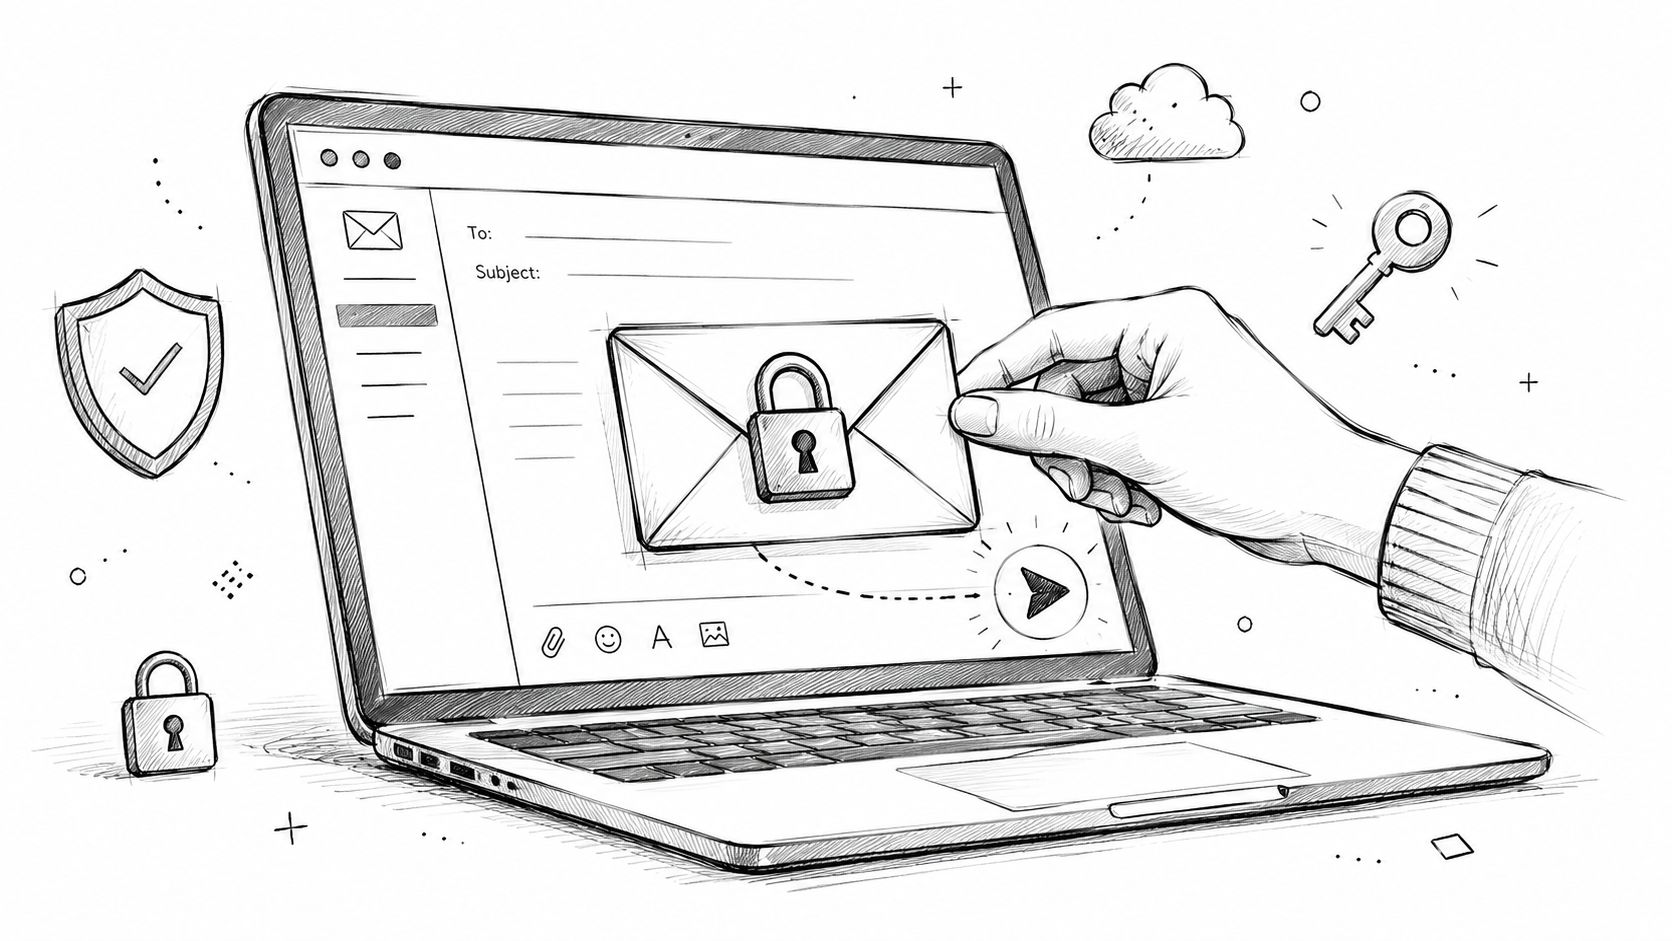
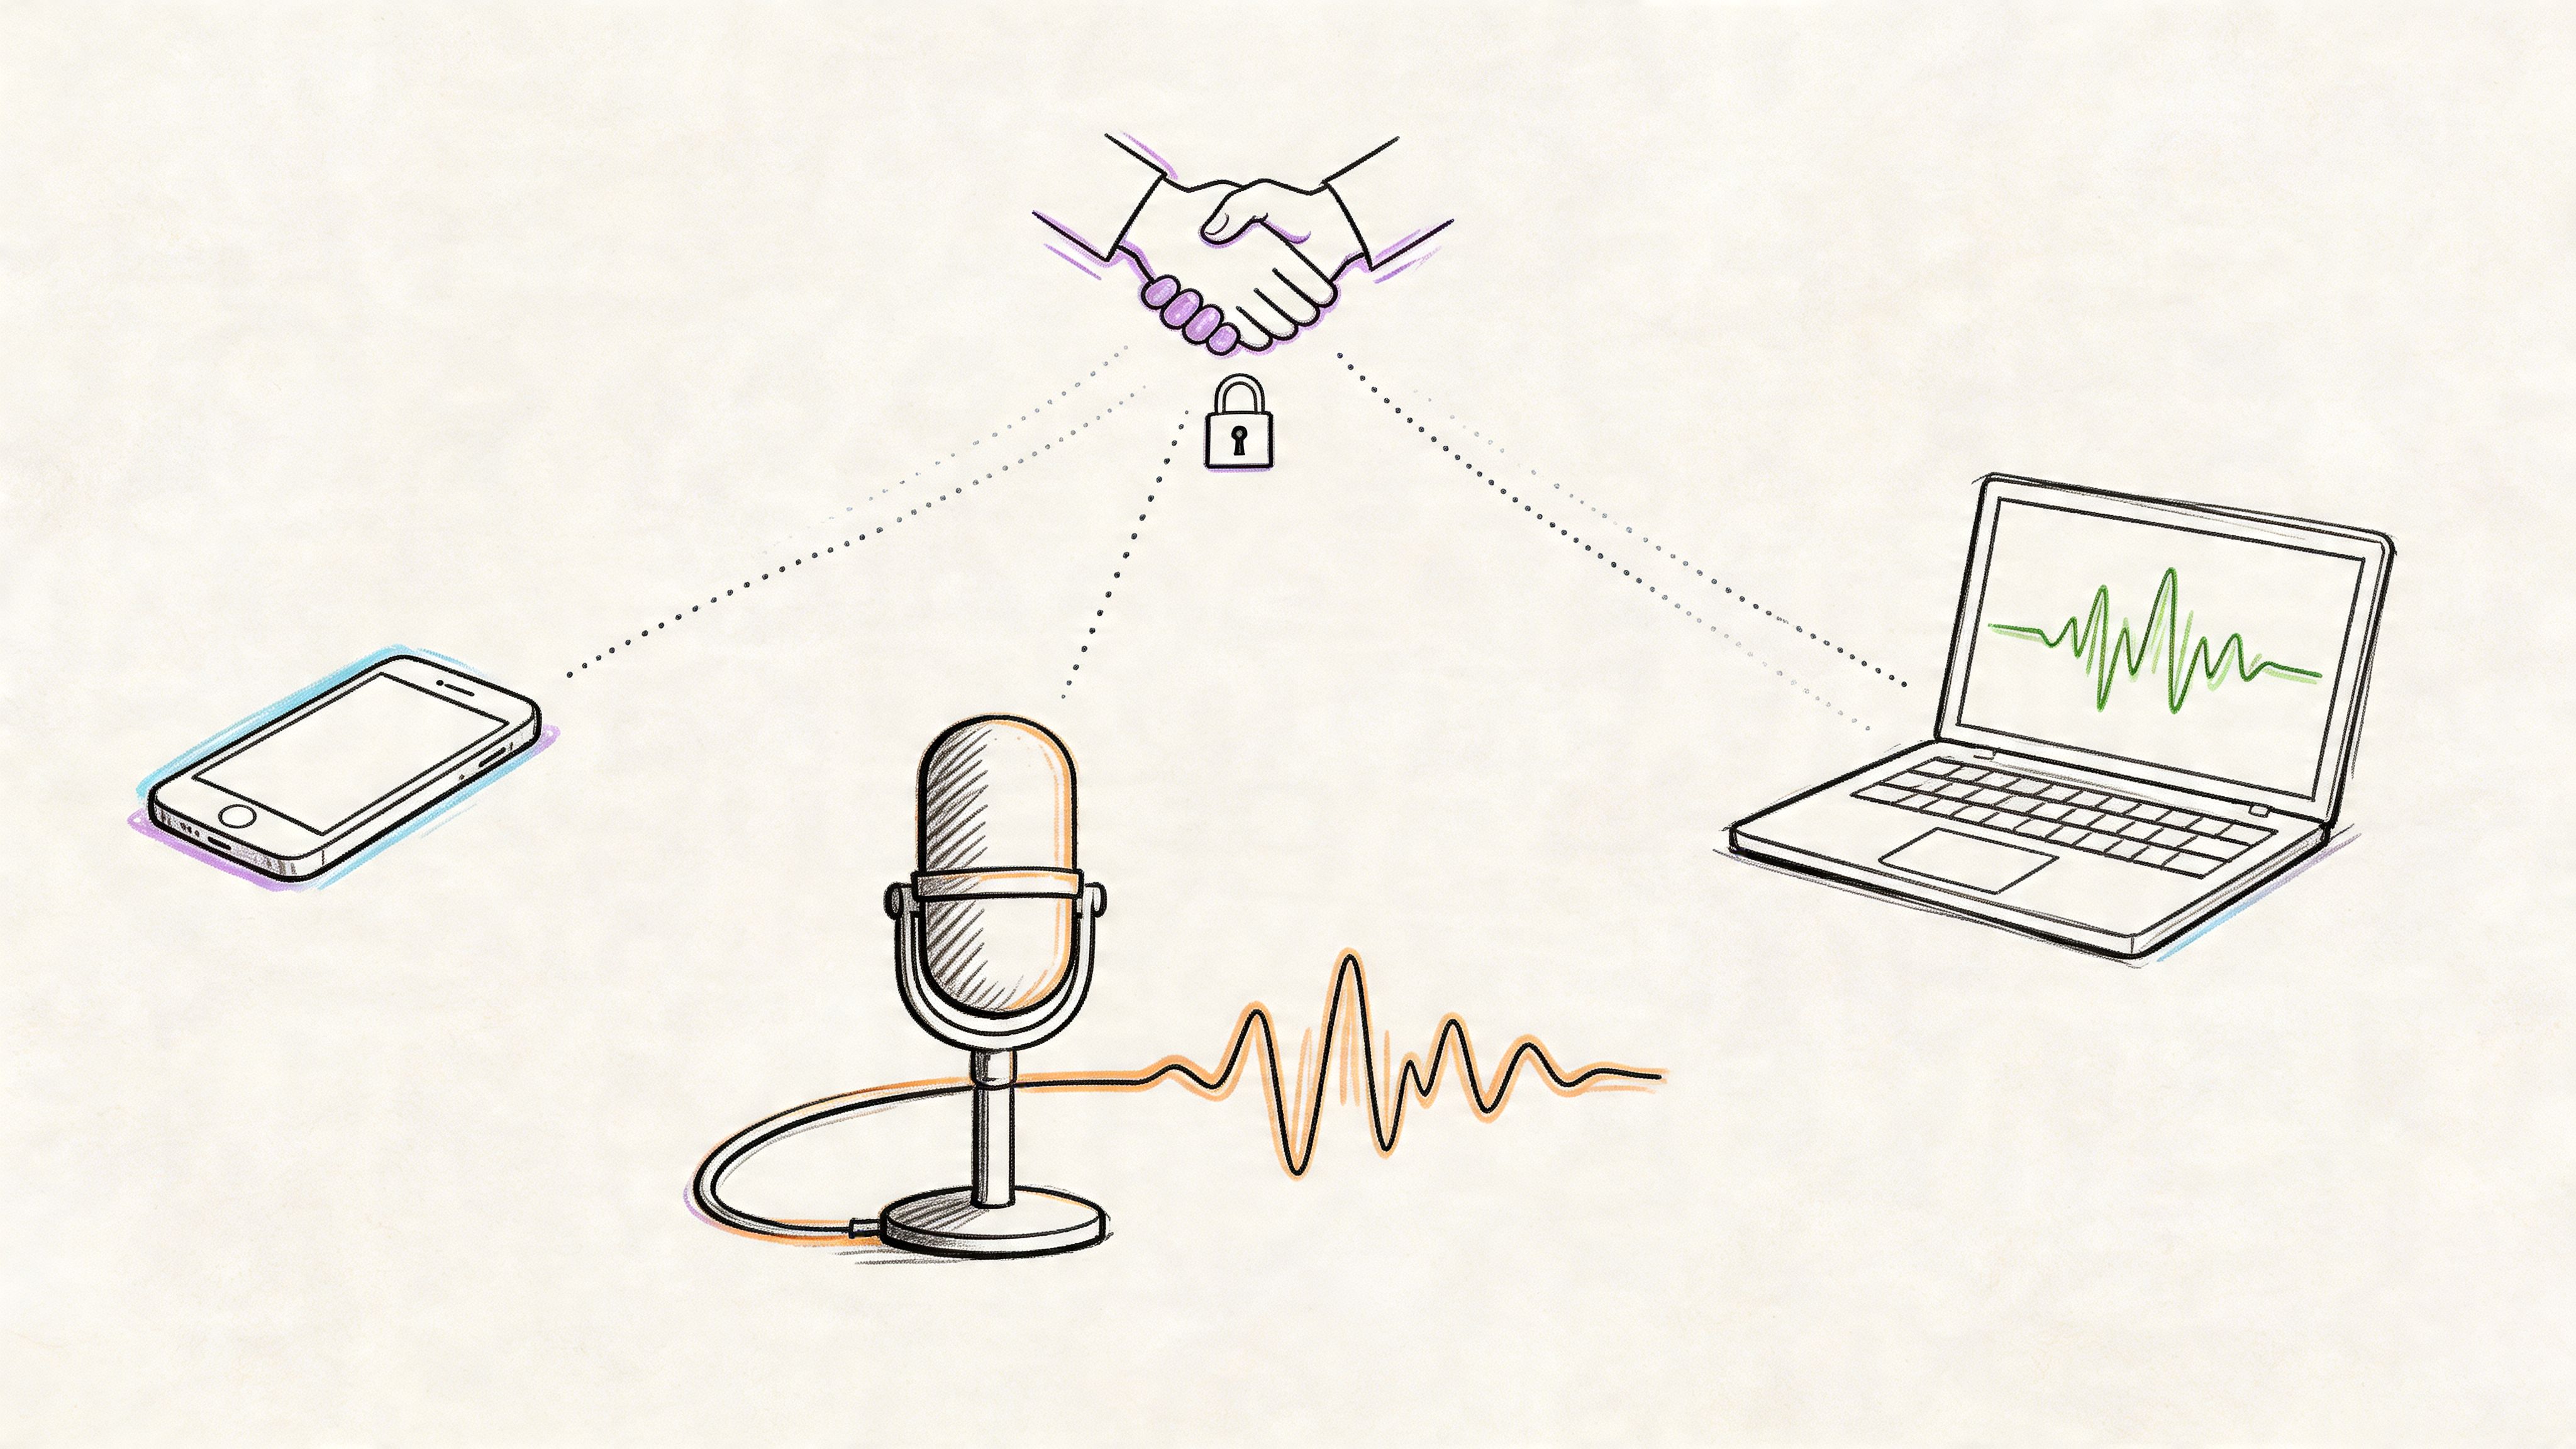
Since its major improvements in the early 2020s, meeting recording has become a core part of collaborating in Microsoft Teams. The moment you hit record, every single person in the meeting sees a banner at the top of their screen letting them know. This isn't optional; it's baked in to ensure transparency.
This is a really important feature for privacy and compliance. Only one person can record at a time, and your organization's admin can even set up policies that require consent before a participant is allowed to unmute. You can find more of the nitty-gritty details in Microsoft's official documentation on meeting recording policies.
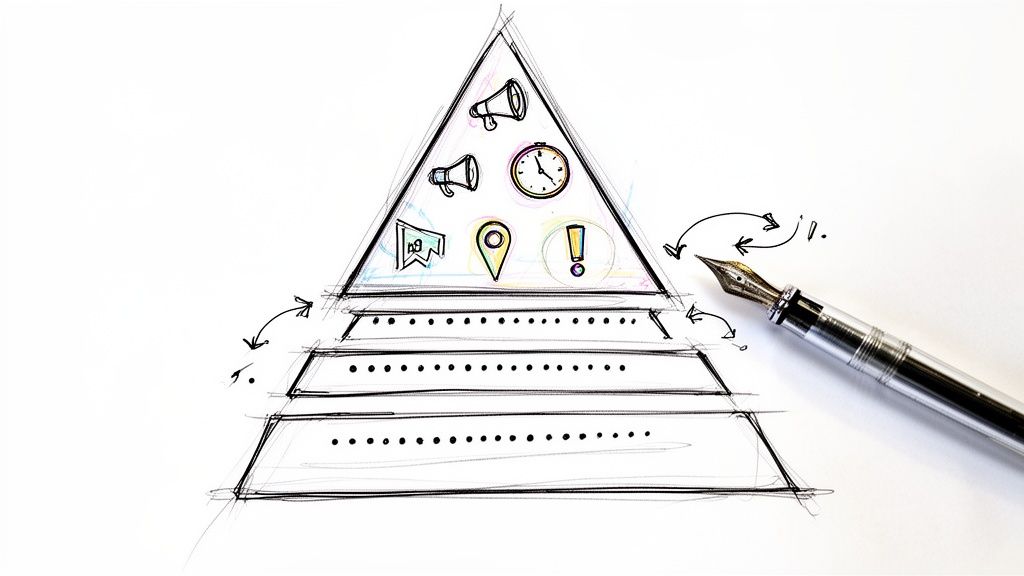
Teams Meeting Recording at a Glance
To help you get started, here’s a quick summary table with the essential rules and locations for your Teams recordings. It covers the most common questions people have right out of the gate.
| Aspect | Details |
|---|---|
| Who Can Record | The meeting organizer and others from the same organization. Guests and external users typically cannot start a recording. |
| Notification | Yes, a banner appears for all participants when a recording starts. This notification cannot be disabled. |
| What's Recorded | Everything shared during the meeting is captured: audio, video from all participants, and any screen-sharing activity. |
| Storage Location | Recordings from channel meetings are saved to the channel's SharePoint folder. All other meeting recordings go to the OneDrive of the person who hit record. |
This table gives you the basics, but the storage location is a frequent point of confusion, so it's worth remembering the SharePoint vs. OneDrive distinction.
A key takeaway here is that the automatic notification banner is non-negotiable. It’s Microsoft's way of hardwiring consent and transparency into the platform, which ultimately protects both the host and the attendees.
Now that you know it's possible—and have the high-level rules down—we can get into the practical side of things. Let's walk through exactly how to start and stop recordings, who has permission, and where to find your files afterward.
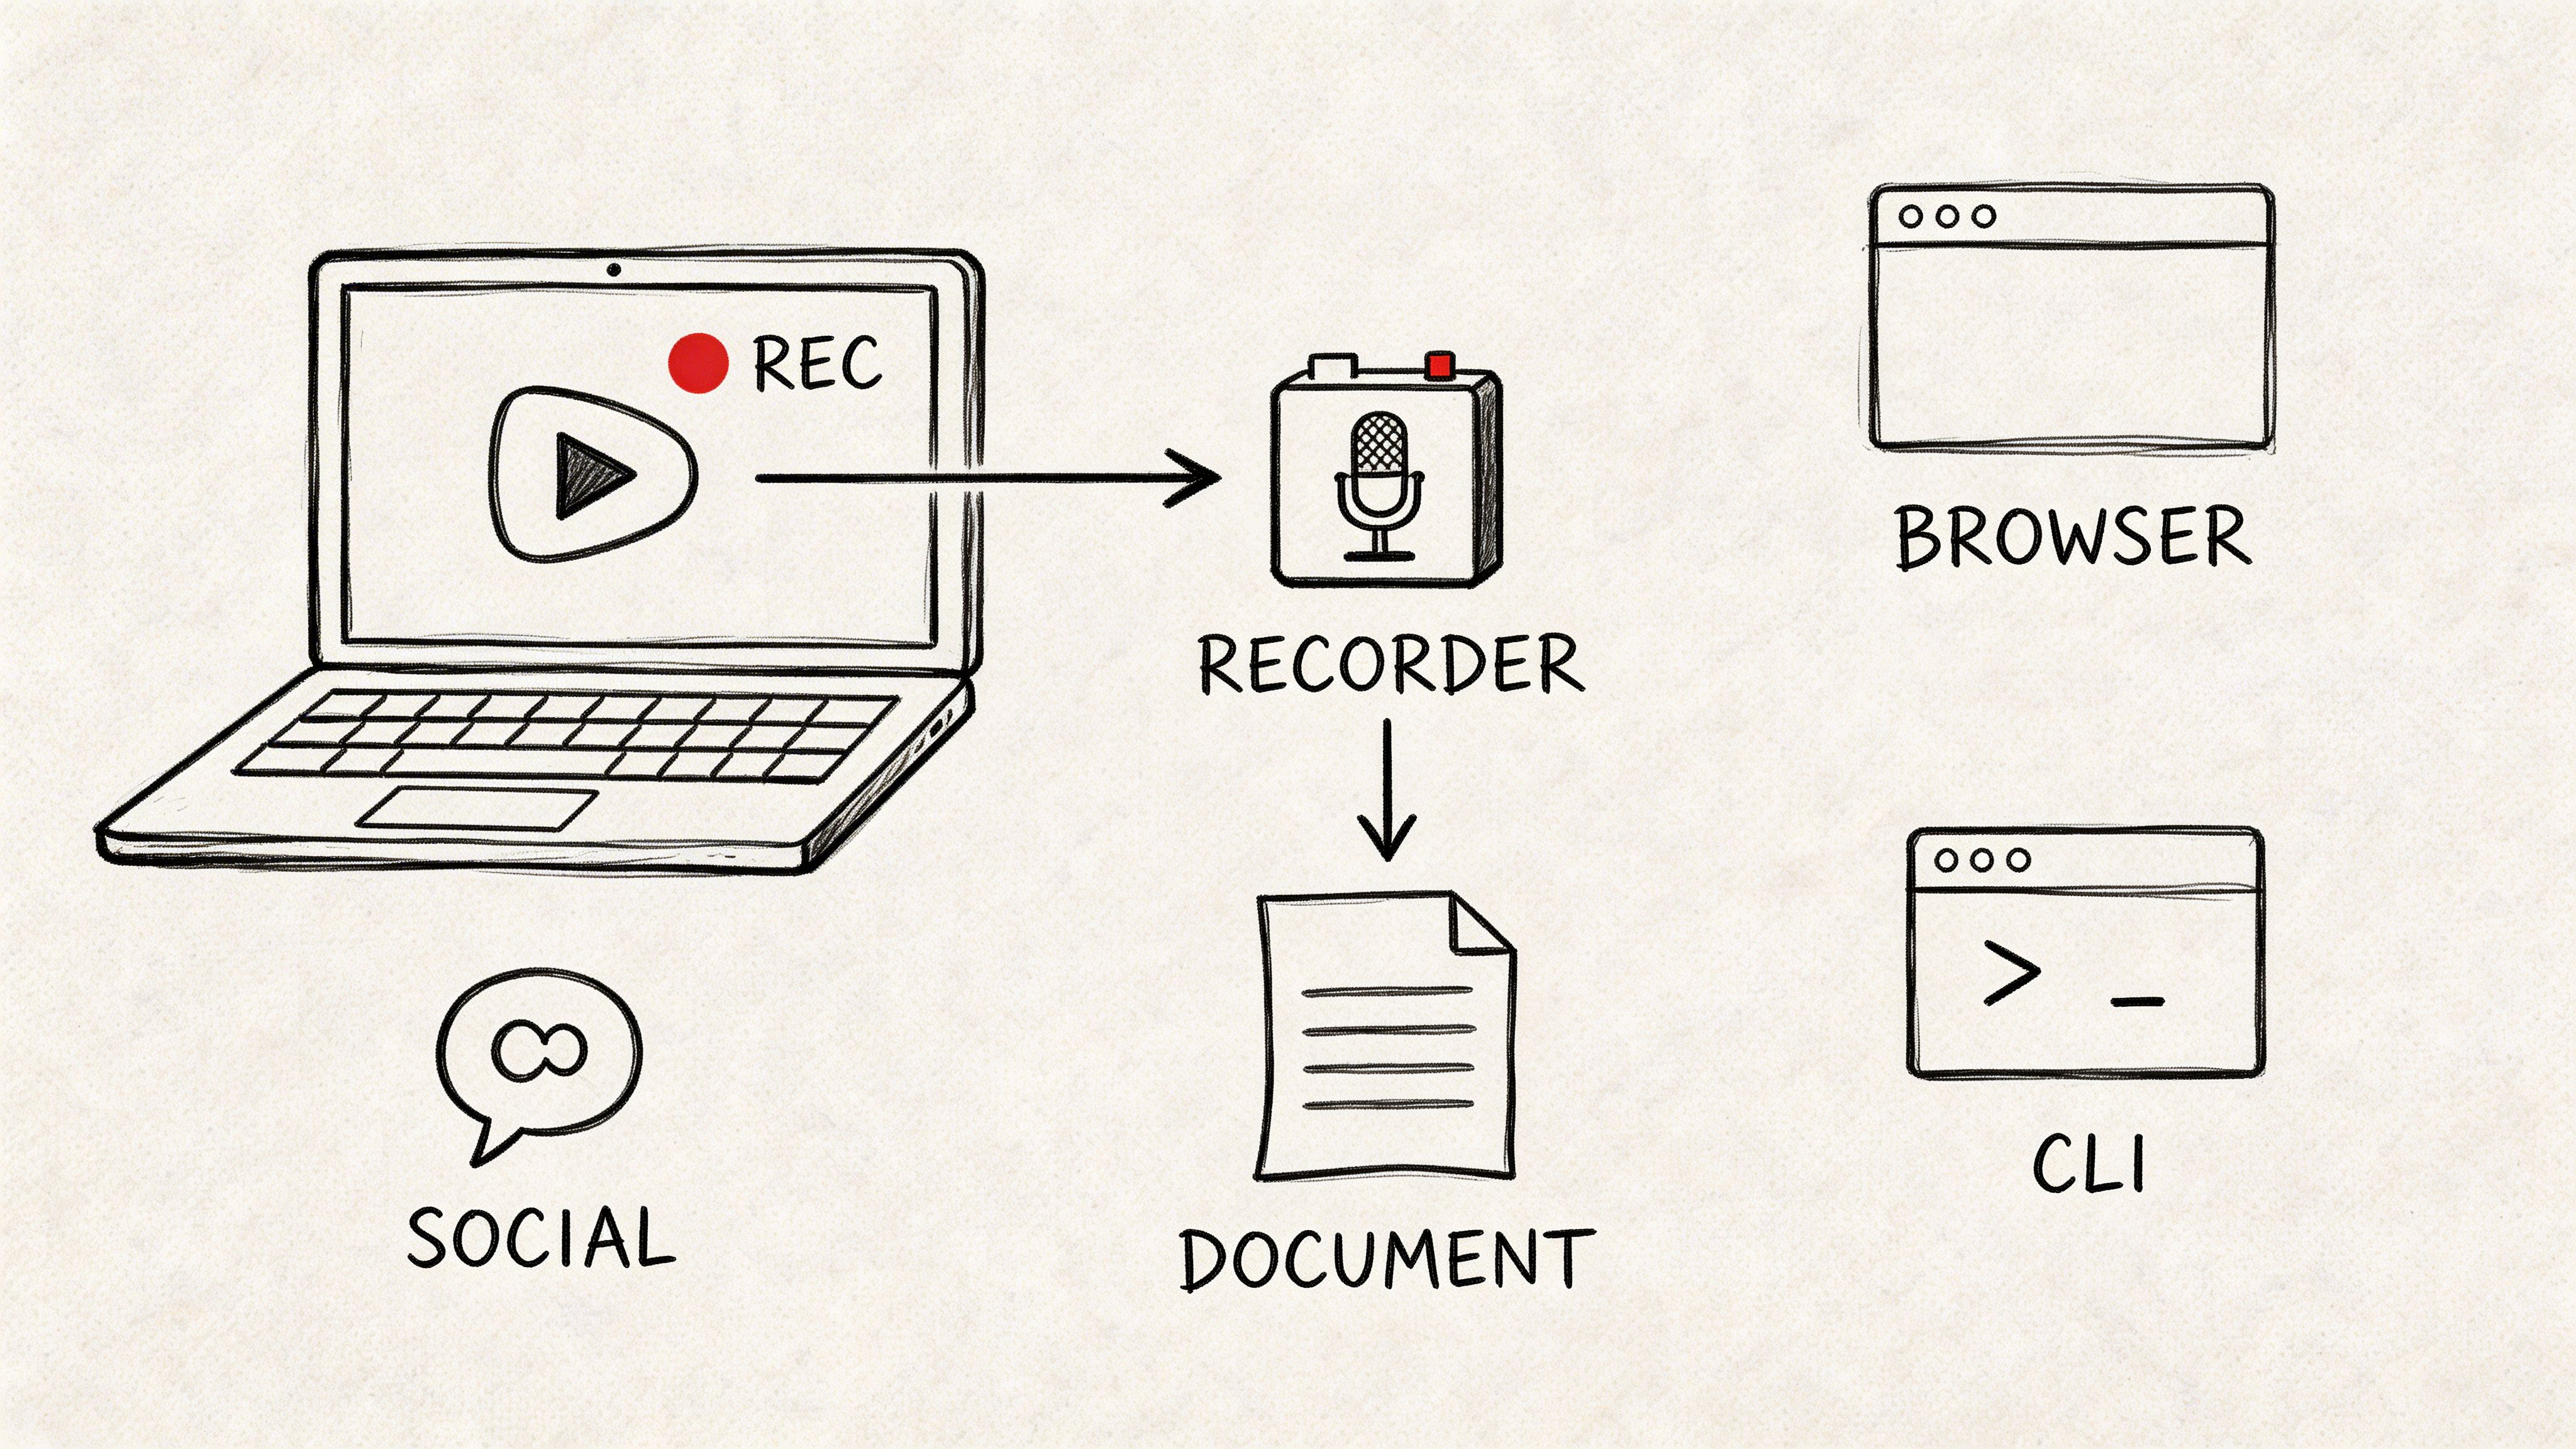
Alright, let's get down to the nuts and bolts of actually recording your meeting. It's a simple process, whether you're using the Teams desktop app, a web browser, or your phone.
The real trick isn't how to press the button, but when. From my experience, it’s best to wait until all the key people have joined and you’ve finished the initial pleasantries. This way, you capture the important discussion without a recording full of "Can you hear me now?" and small talk.
Once you’re ready to go, look for the More options menu in your meeting controls—it's the one with the three dots (...). Click that, and you'll see a list of actions.
From that menu, simply choose Start recording.
Knowing for Sure That You're Recording
The moment you hit record, Teams makes it incredibly obvious to everyone that the session is being captured. You don't have to wonder if it's working.
- A banner pops up at the top of everyone's screen saying, "Recording and transcription have started." Everyone sees this, even guests.
- You'll also spot a small, red recording icon next to the meeting timer in the top-left corner.
- A notification will appear in the meeting chat, creating a permanent marker of when the recording began.
These cues are your confirmation that everything said and shared on screen is being saved.
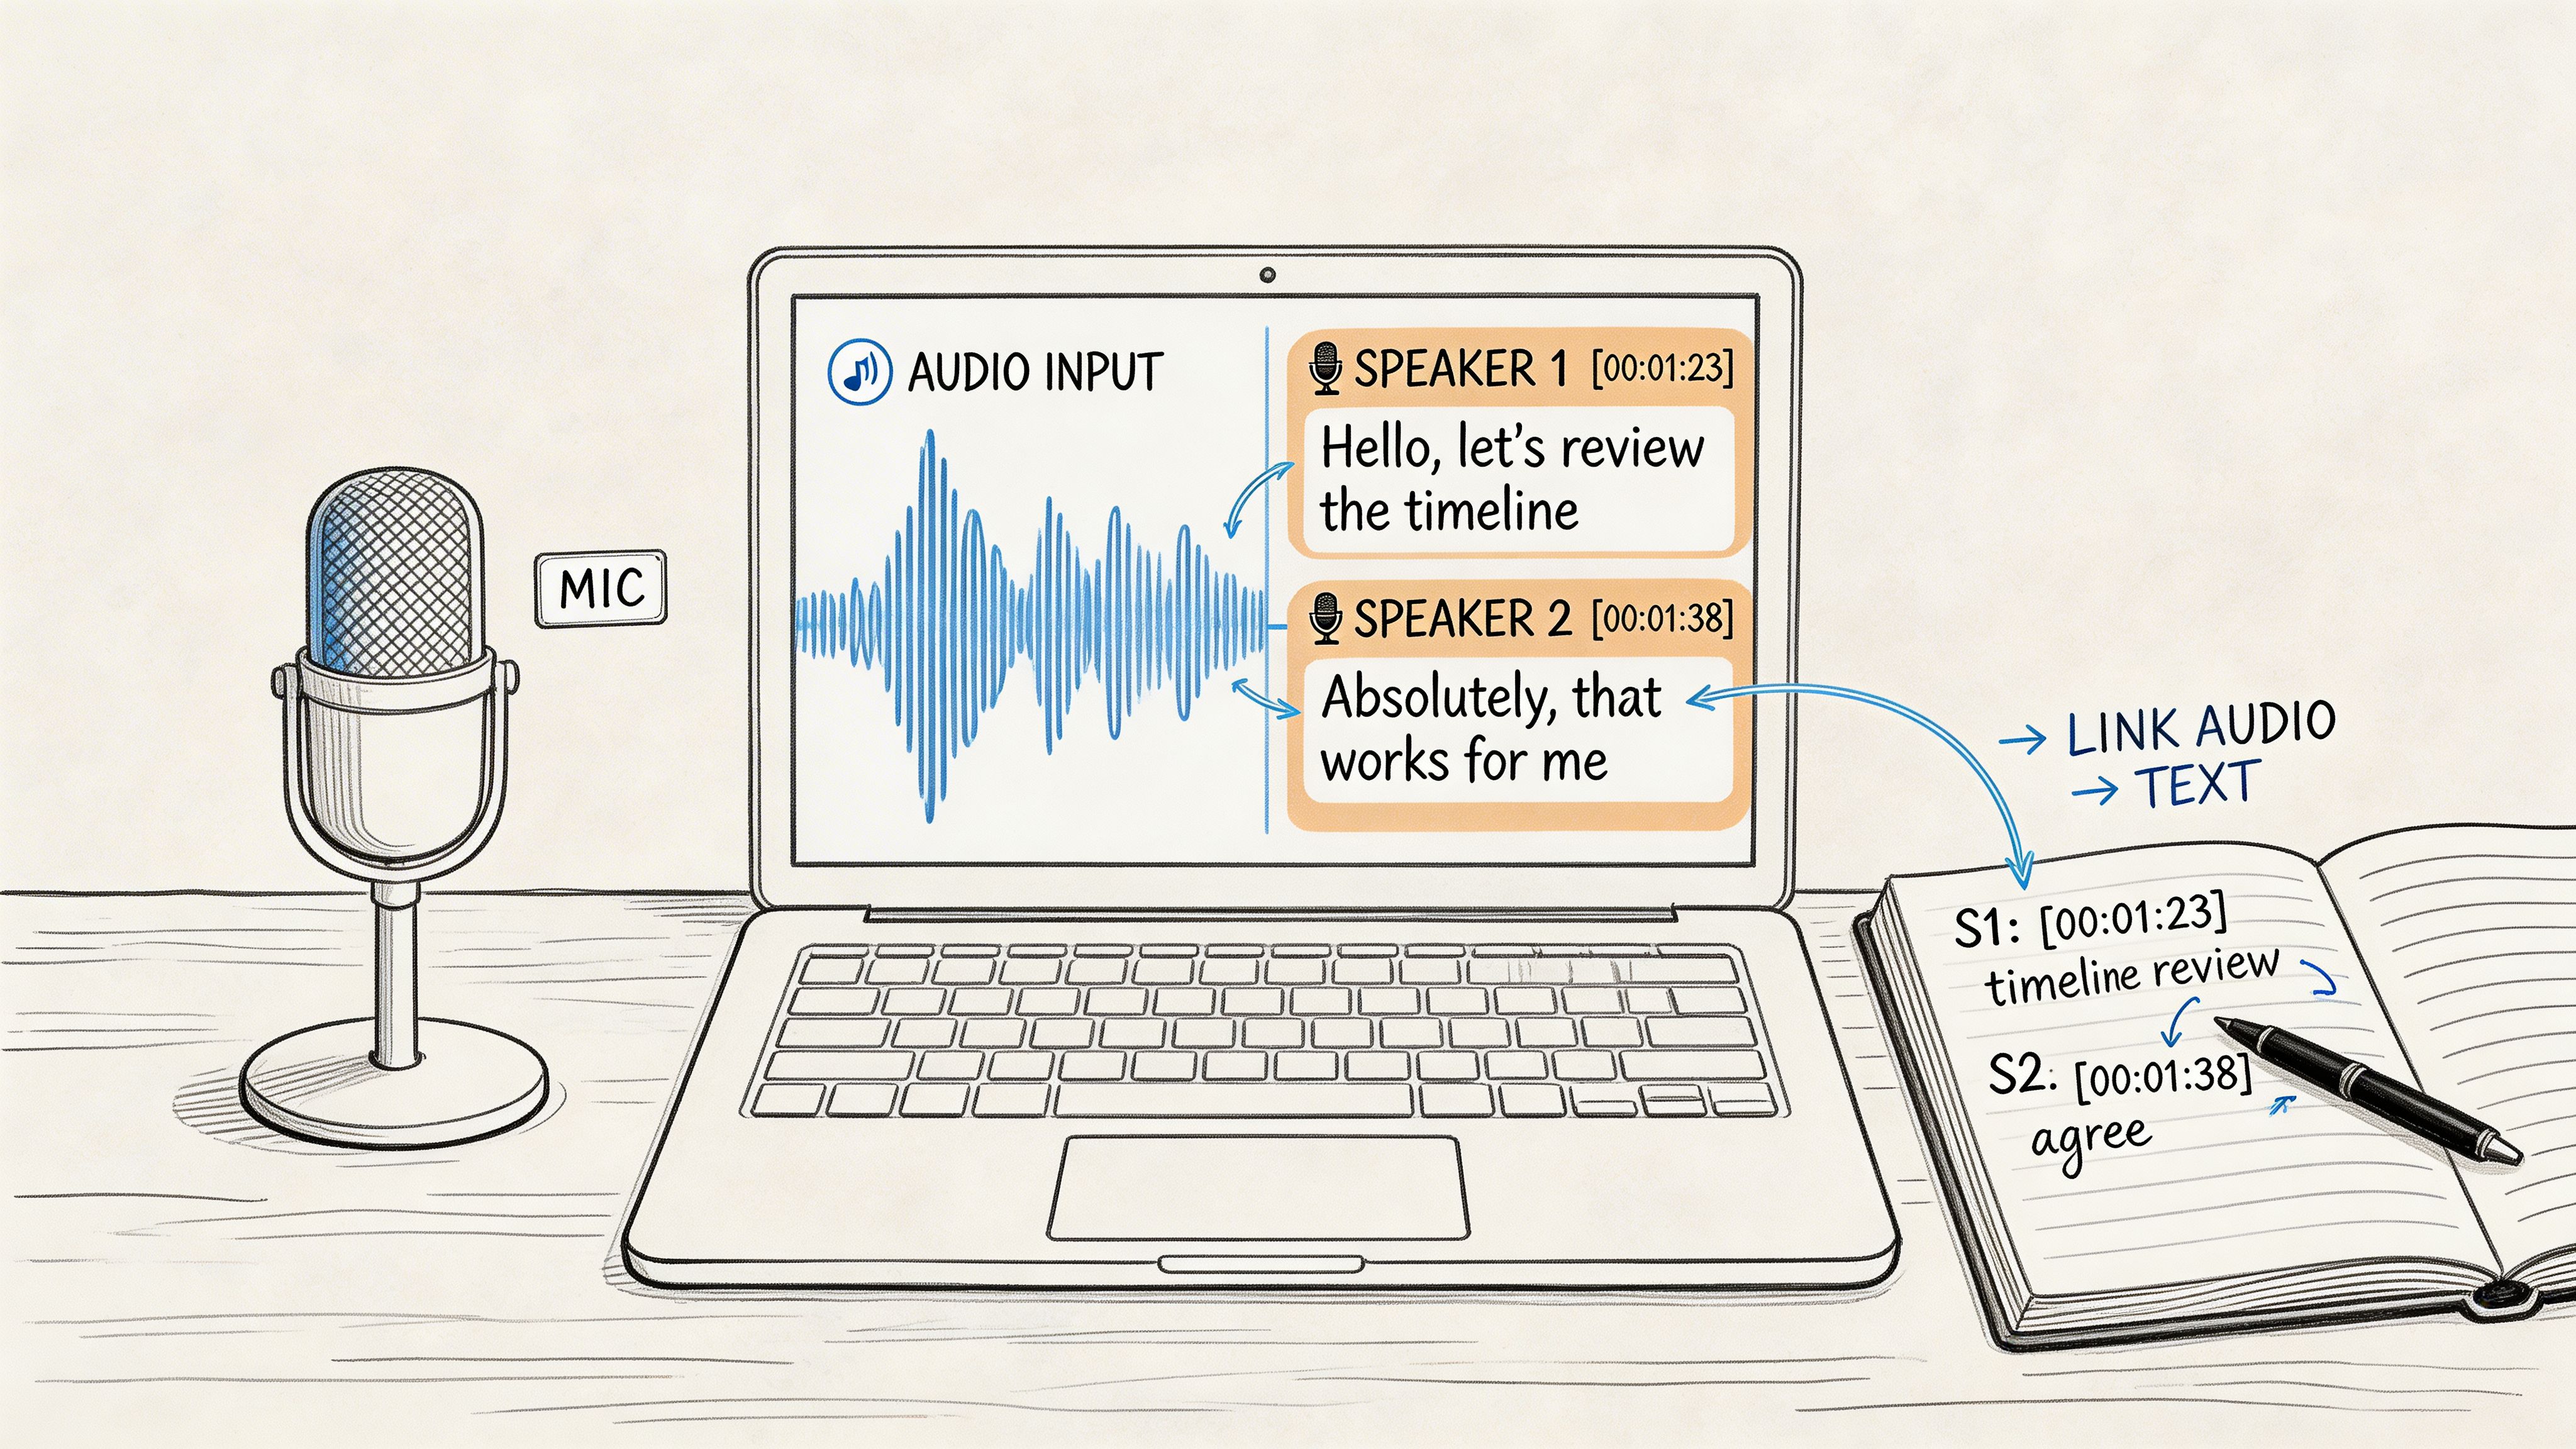
Pro Tip: One of the most powerful combinations in Teams is starting the recording and the live transcription at the same time. Both options are right there in the 'More options' menu. Running them together gives you a searchable text file alongside your video, which makes finding key moments after the meeting a breeze.
Add Live Transcription for a Richer Record
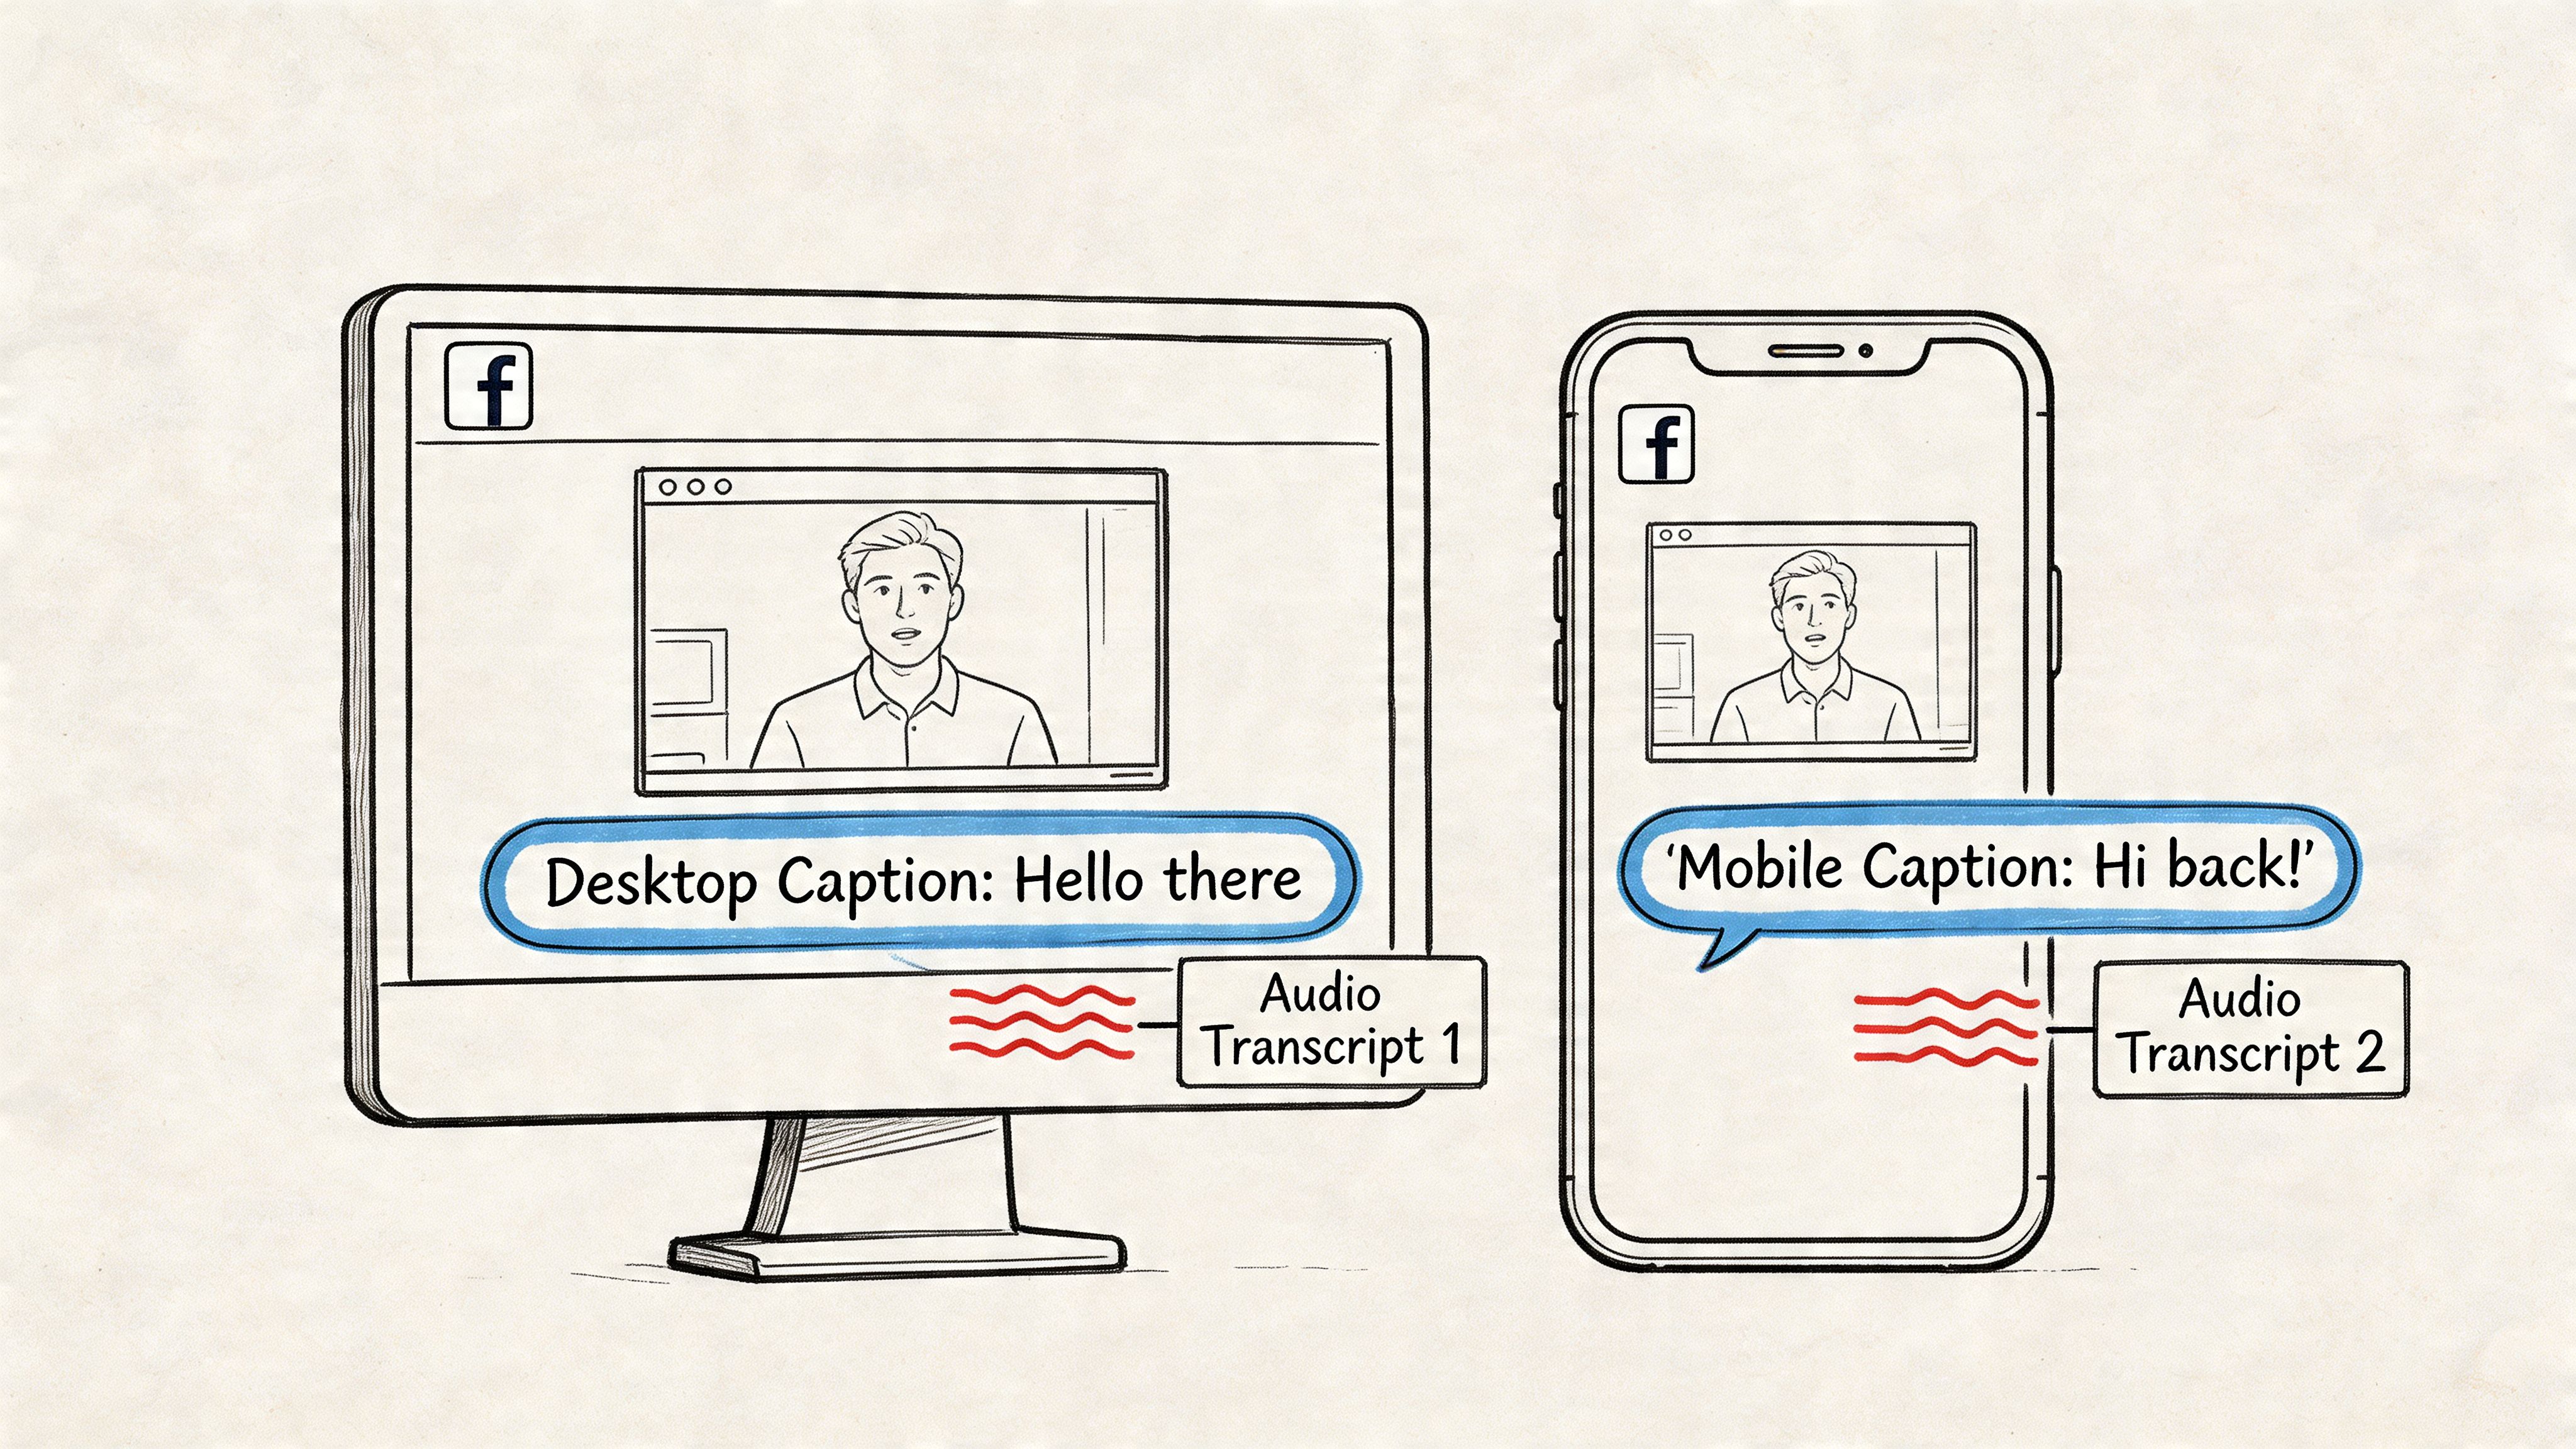
While a video recording is great, enabling live transcription takes your meeting notes to another level. It creates a real-time, written log of the entire conversation, even showing who said what. This is a game-changer for accessibility and for anyone who wants to review the discussion without scrubbing through video.
To turn it on, just head back to that same More options (...) menu and select Start transcription. Just like with recording, everyone in the meeting gets a notification that transcription is on. The two features work together perfectly, giving you both a video and a text file when you're done.
How to Stop the Recording
When your meeting is wrapping up, stopping the recording is just as easy as starting it.
The most direct way is to go back to the More options (...) menu. The button that used to say "Start recording" will now read Stop recording. Click it, and you'll be asked to confirm.
Alternatively, the recording will stop on its own if you end the meeting for all participants. It also stops automatically if the last person with recording permissions leaves the meeting.
Once the recording is stopped, Teams gets to work processing the file. It will show up in the meeting chat and in your OneDrive or SharePoint a few minutes later, ready for you to review or share.
Understanding Who Can Record a Teams Meeting
So, who actually gets to hit the record button in a Microsoft Teams meeting? It’s a common question, and the answer isn't always straightforward because permissions are layered.
It all starts at the top with your company's IT administrator. They set the organization-wide rules that dictate whether meeting recordings are even allowed. If they’ve disabled it for the entire company, no one can record, period.
Assuming recording is enabled, the control then passes to the meeting organizer. By default, both the organizer and any internal team member with a "presenter" role can start and stop a recording. This works perfectly for most day-to-day internal meetings where a few people might need to share that responsibility.
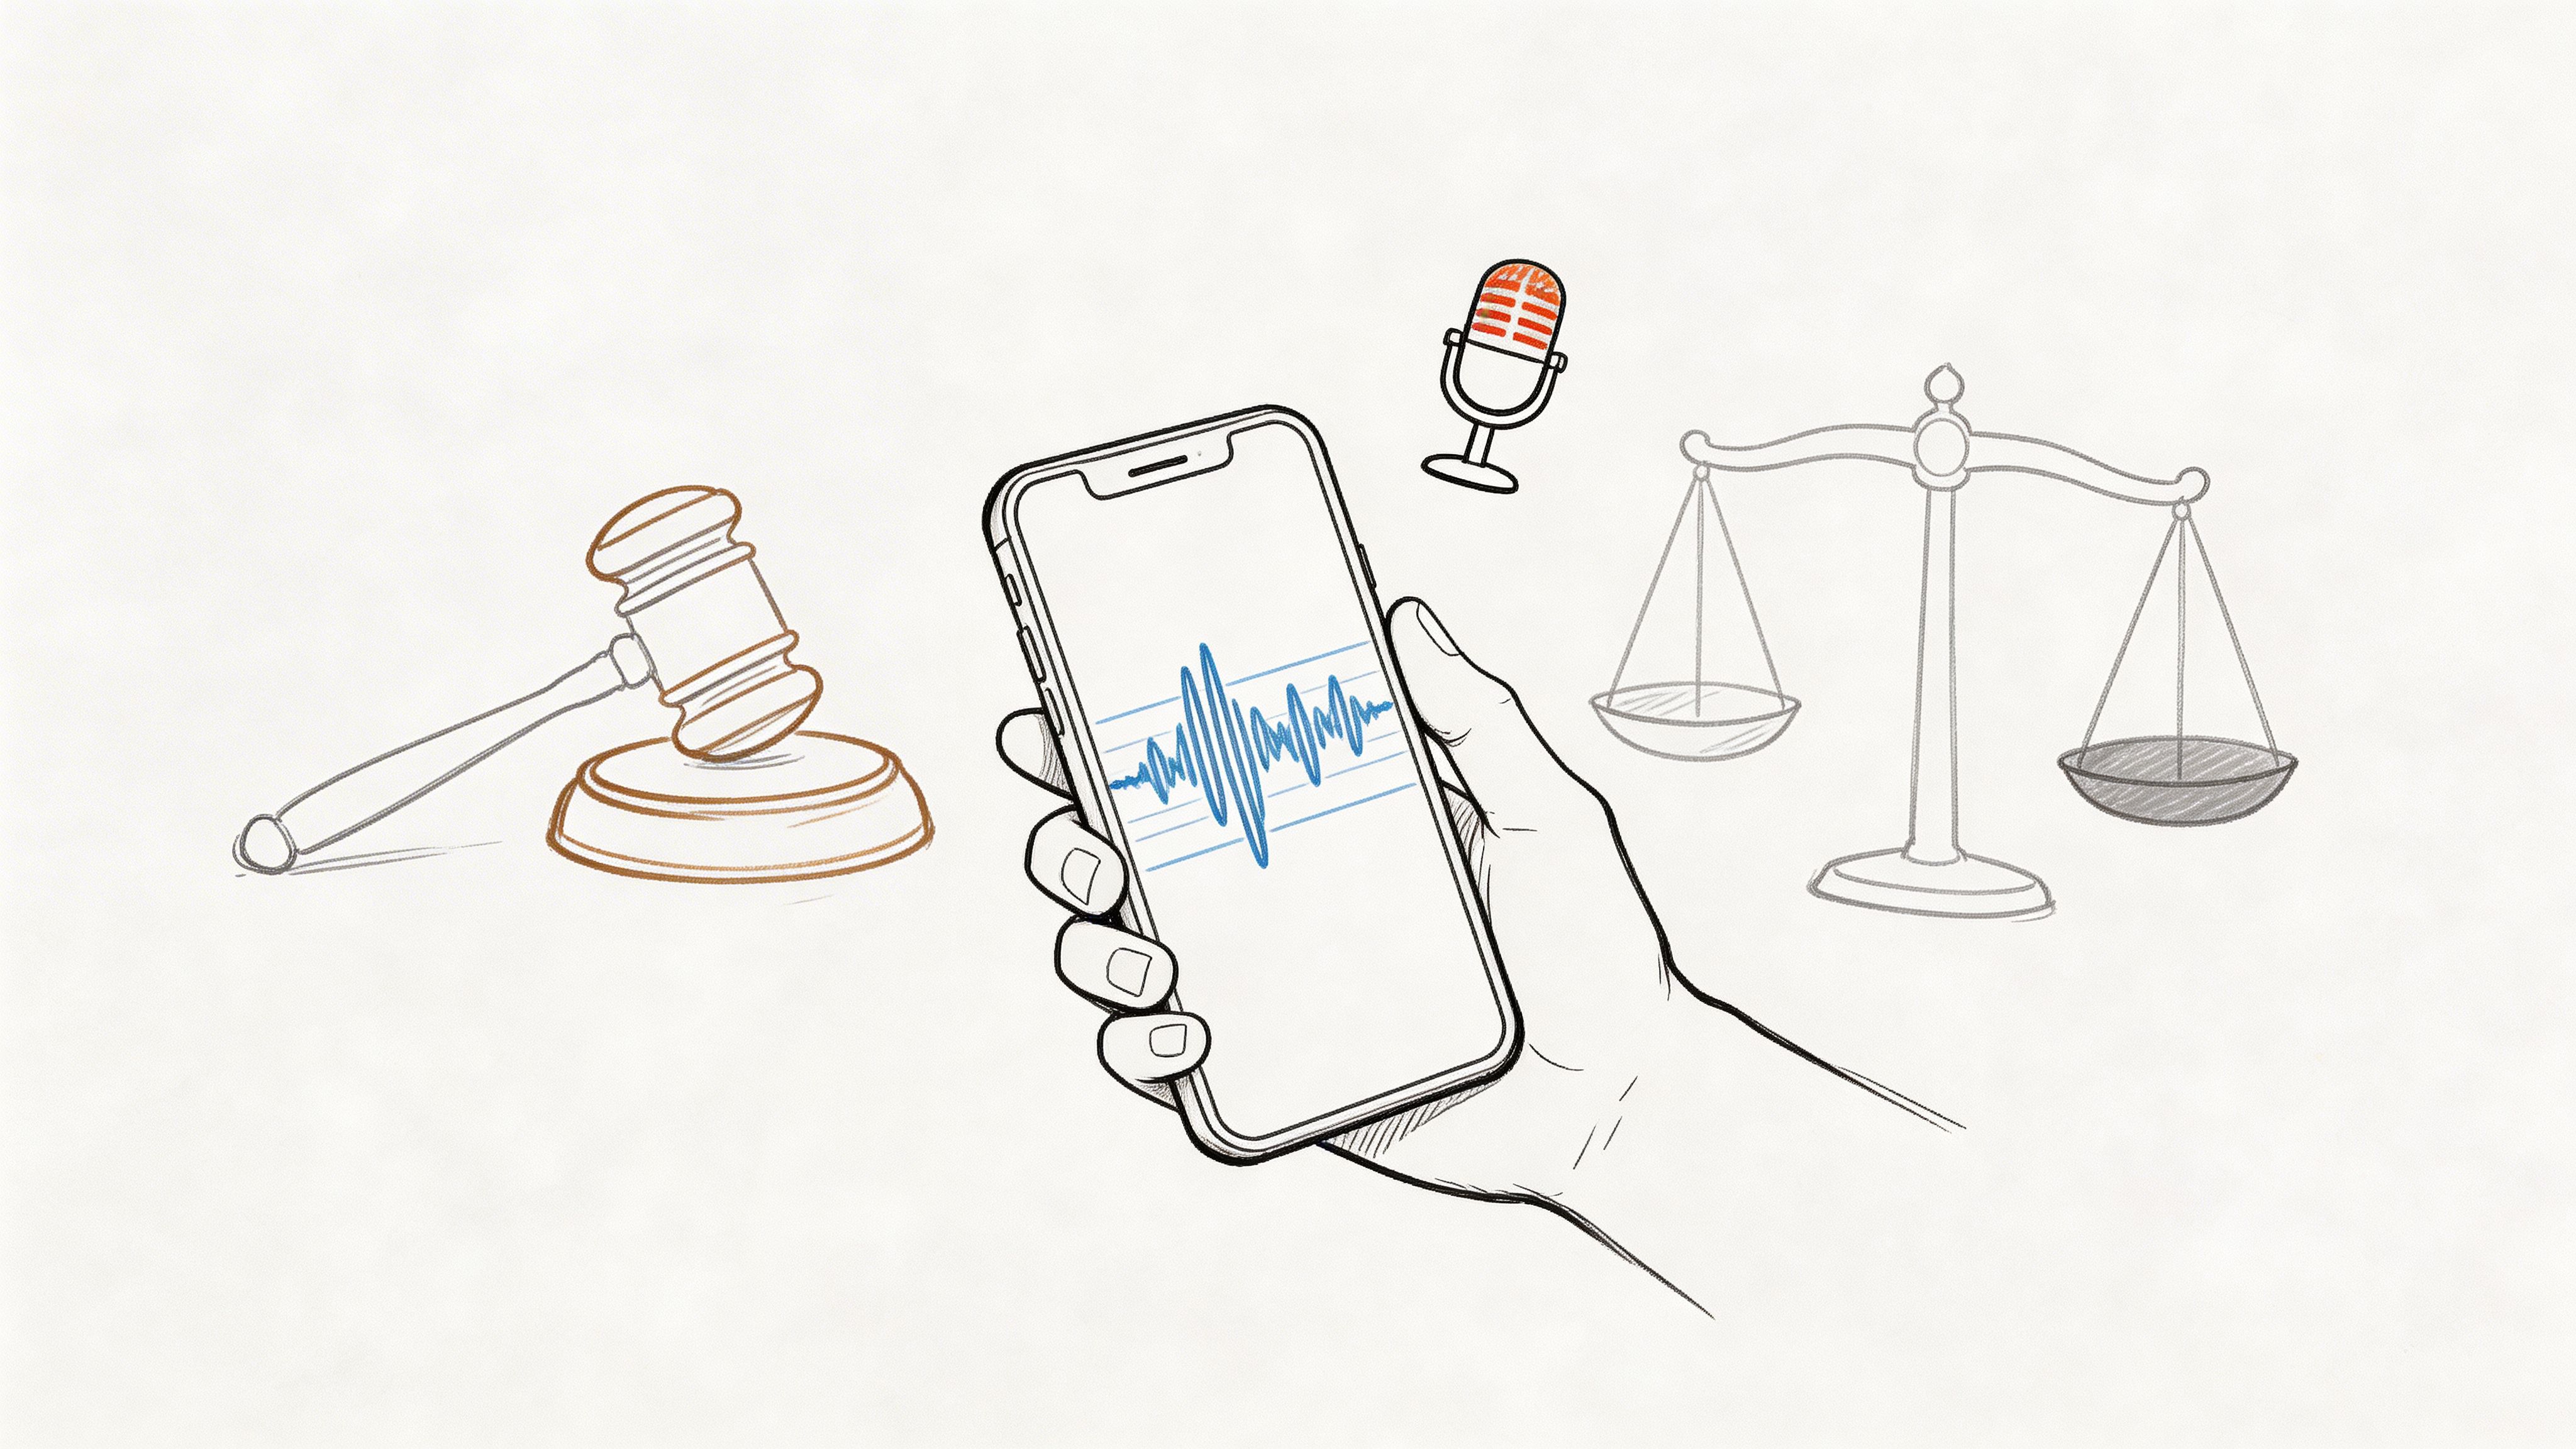
But that default setup can be a real problem in certain situations. Picture a large public webinar or an all-hands meeting. The last thing you want is a well-meaning presenter accidentally stopping the recording halfway through. From my own experience hosting webinars, this is a real risk. This is where you need to get more specific with your permissions.
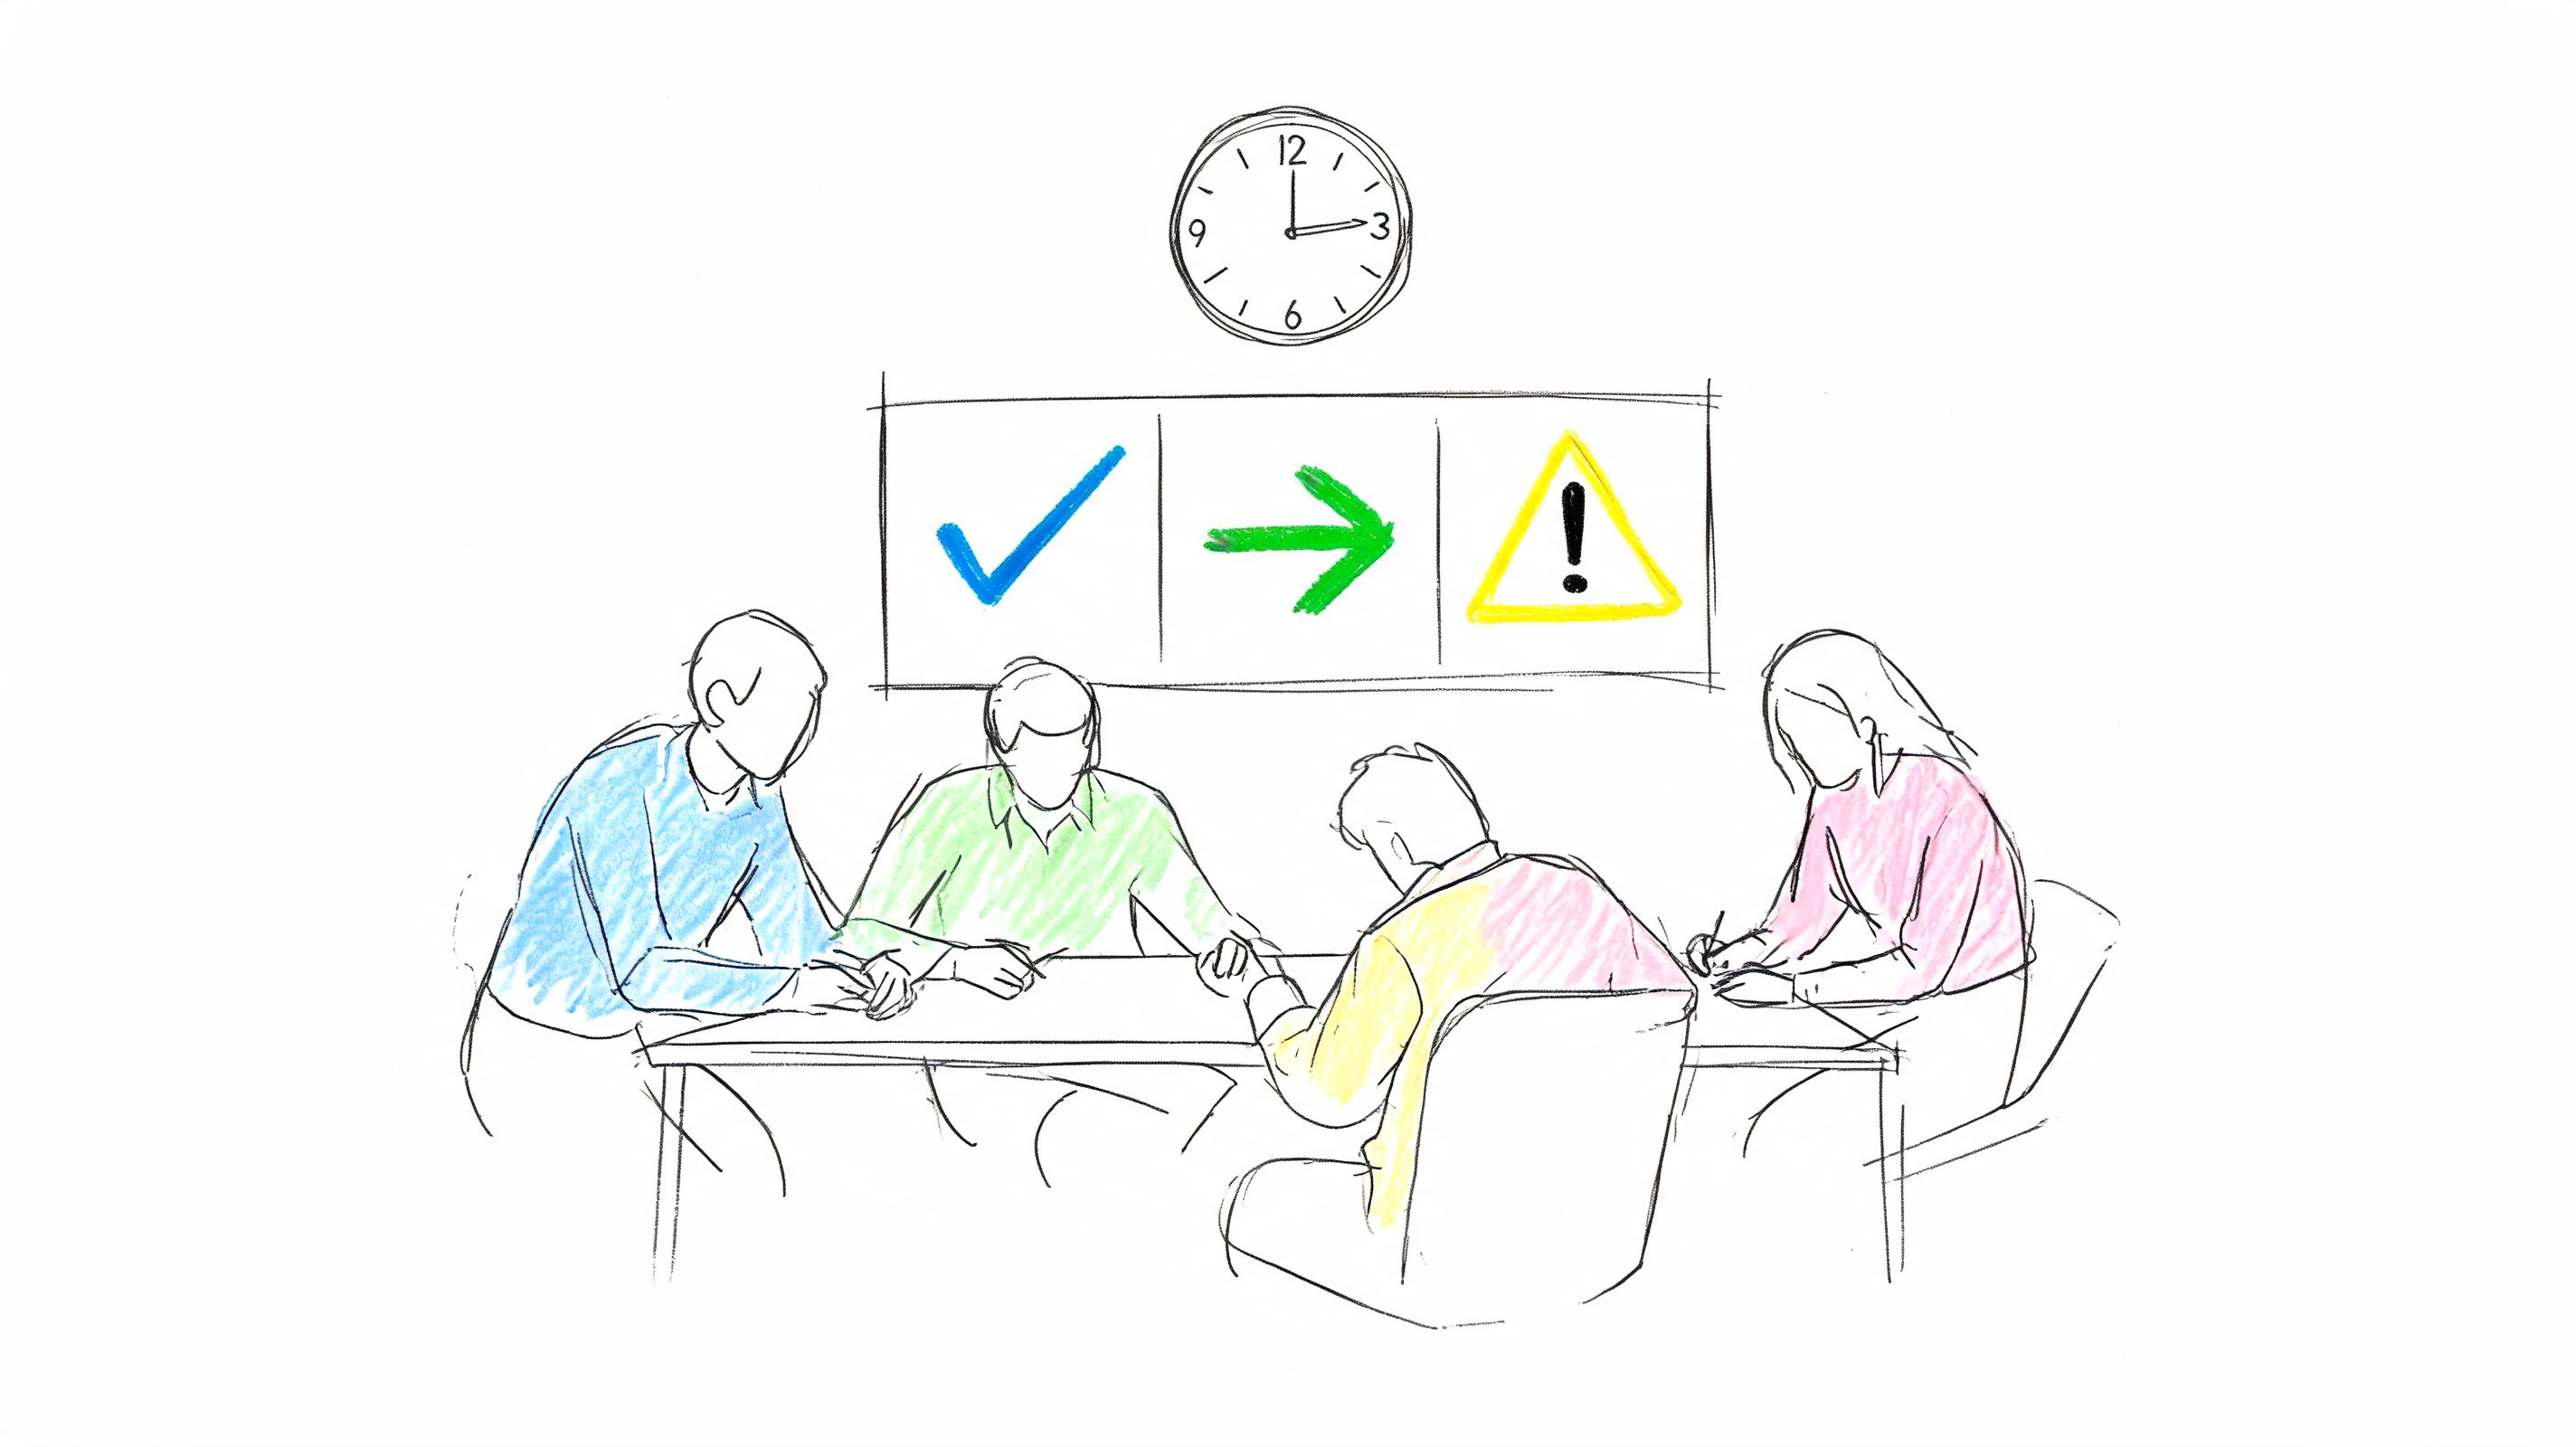
Customizing Recording Permissions
Thankfully, you can fine-tune who has recording rights before the meeting even starts. Just head into the Meeting options for that specific event. In the "Who can record and transcribe?" dropdown, you'll see a couple of choices:
- Organizers, co-organizers, and presenters: This is the default setting and is great for collaborative working sessions.
- Organizers and co-organizers only: This is the one you want for formal presentations, webinars, or any high-stakes call. It locks down recording controls to just a few trusted people.
This decision-making process is a critical first step before you even think about hitting record.

As the flowchart shows, getting the permissions right is the very first gate you have to pass through.
I can't stress this enough: always check your Meeting options before a critical call. It takes less than a minute and can prevent a major headache, like someone stopping the recording of a key client demo. I learned this lesson the hard way once, and now it's a non-negotiable part of my pre-meeting checklist.
Admin Policies and Guest Access
Beyond individual meeting settings, your IT admin has a few other powerful controls. One of the most important is setting a default expiration date for recordings. To save on storage, many organizations have policies that automatically delete recordings after 60 or 120 days.
What about people from outside your organization? The rules for external guests are very clear: they cannot start or stop a recording, even if you make them a presenter. This is a built-in security feature to keep your company's data safe.
The only technical way around this involves an admin adding the external user as a licensed B2B collaboration user in Microsoft Entra ID—a step that’s almost never practical for a simple meeting.
These granular controls are becoming the norm in modern collaboration tools. As features continue to evolve, giving organizers and admins command over who records and for how long files are kept is essential. For a deeper dive into the backend policies, you can explore more on Teams recording policies and their evolution.
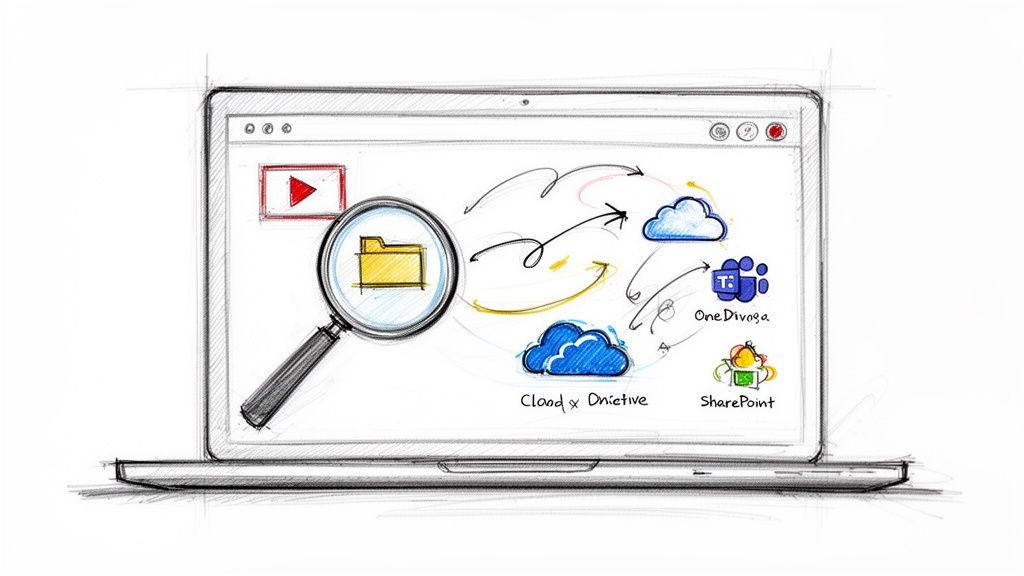
Where to Find Your Teams Meeting Recordings
So, you've just wrapped up a meeting and hit "Stop recording." Now comes the big question: where did that file actually go? Finding your Teams recording is easy once you know the system, but it all hinges on one simple detail—the type of meeting you just had.

Getting this right from the start will save you a ton of frantic searching later.
The Two Main Storage Locations
Microsoft Teams automatically sorts your recordings into two different buckets based on how the meeting was created. The logic is actually pretty straightforward.
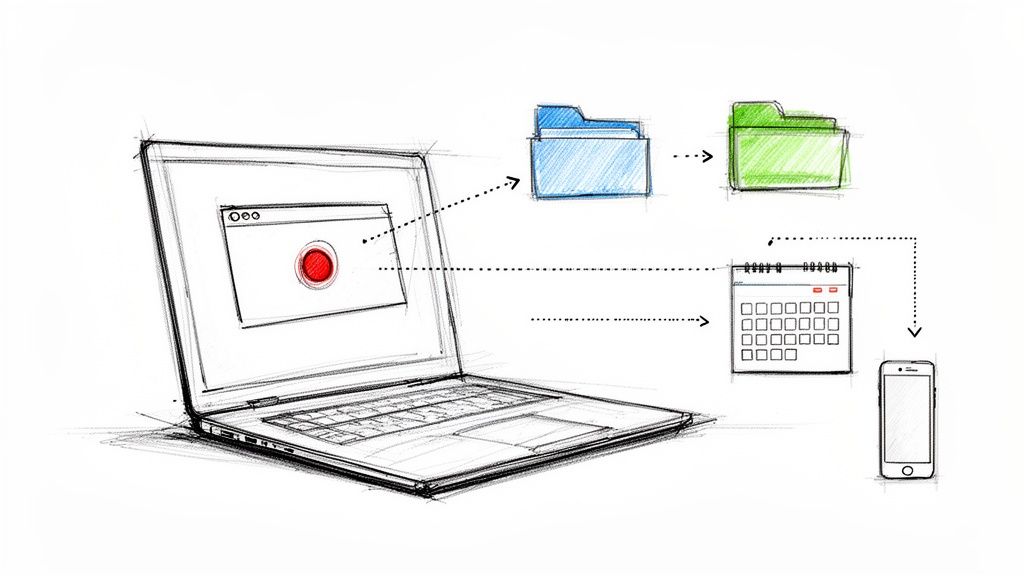
Private or Scheduled Meetings: If you set up a meeting through your Teams calendar or Outlook, Teams treats it as a private event. The recording is saved directly to the OneDrive folder of the person who hit the record button.
Channel Meetings: When you start a meeting from within a specific Teams channel, the recording is considered a team asset. It gets saved to the channel's dedicated SharePoint site, where every member can access it.
This system is designed to keep your personal meeting recordings private while making team-related content transparently available to the whole group. With Teams becoming such a hub for asynchronous work, having these recordings stored securely in the cloud is a huge advantage.
As Microsoft points out in its official guide to meeting recordings, these files capture not just audio and video but all the content that was shared during the call.
Finding and Sharing Your Recordings
Knowing where the file lives is one thing, but you also need to know how to manage and share it. The storage location directly impacts who has access and what your sharing options are.
In my experience, the absolute fastest way to find any recording is to pop back into the meeting's chat history. A tile with the recording link and a thumbnail shows up there almost as soon as it's done processing.
To make sense of the permissions, here’s a breakdown of how OneDrive and SharePoint storage differ.
OneDrive vs SharePoint: Where Your Recording Lives
The table below clarifies the key differences between the two storage models, which should help you understand who can see your recording and how you can share it.
| Feature | Private Meeting (Stored in OneDrive) | Channel Meeting (Stored in SharePoint) |
|---|---|---|
| Storage Location | "Recordings" folder in the recorder's OneDrive. | "Recordings" folder in the channel's SharePoint site. |
| Initial Access | Only the organizer, recorder, and attendees can access it. | All members of the Teams channel can view and download. |
| Sharing Method | Share like any other OneDrive file using a link with specific permissions (view-only, edit, etc.). | Managed with SharePoint permissions; all channel members have access by default. |
This distinction is crucial for managing privacy and collaboration. For a deeper dive into navigating these folders, you might find our guide on how to find Teams recordings helpful.
Managing Attendance and Expiration
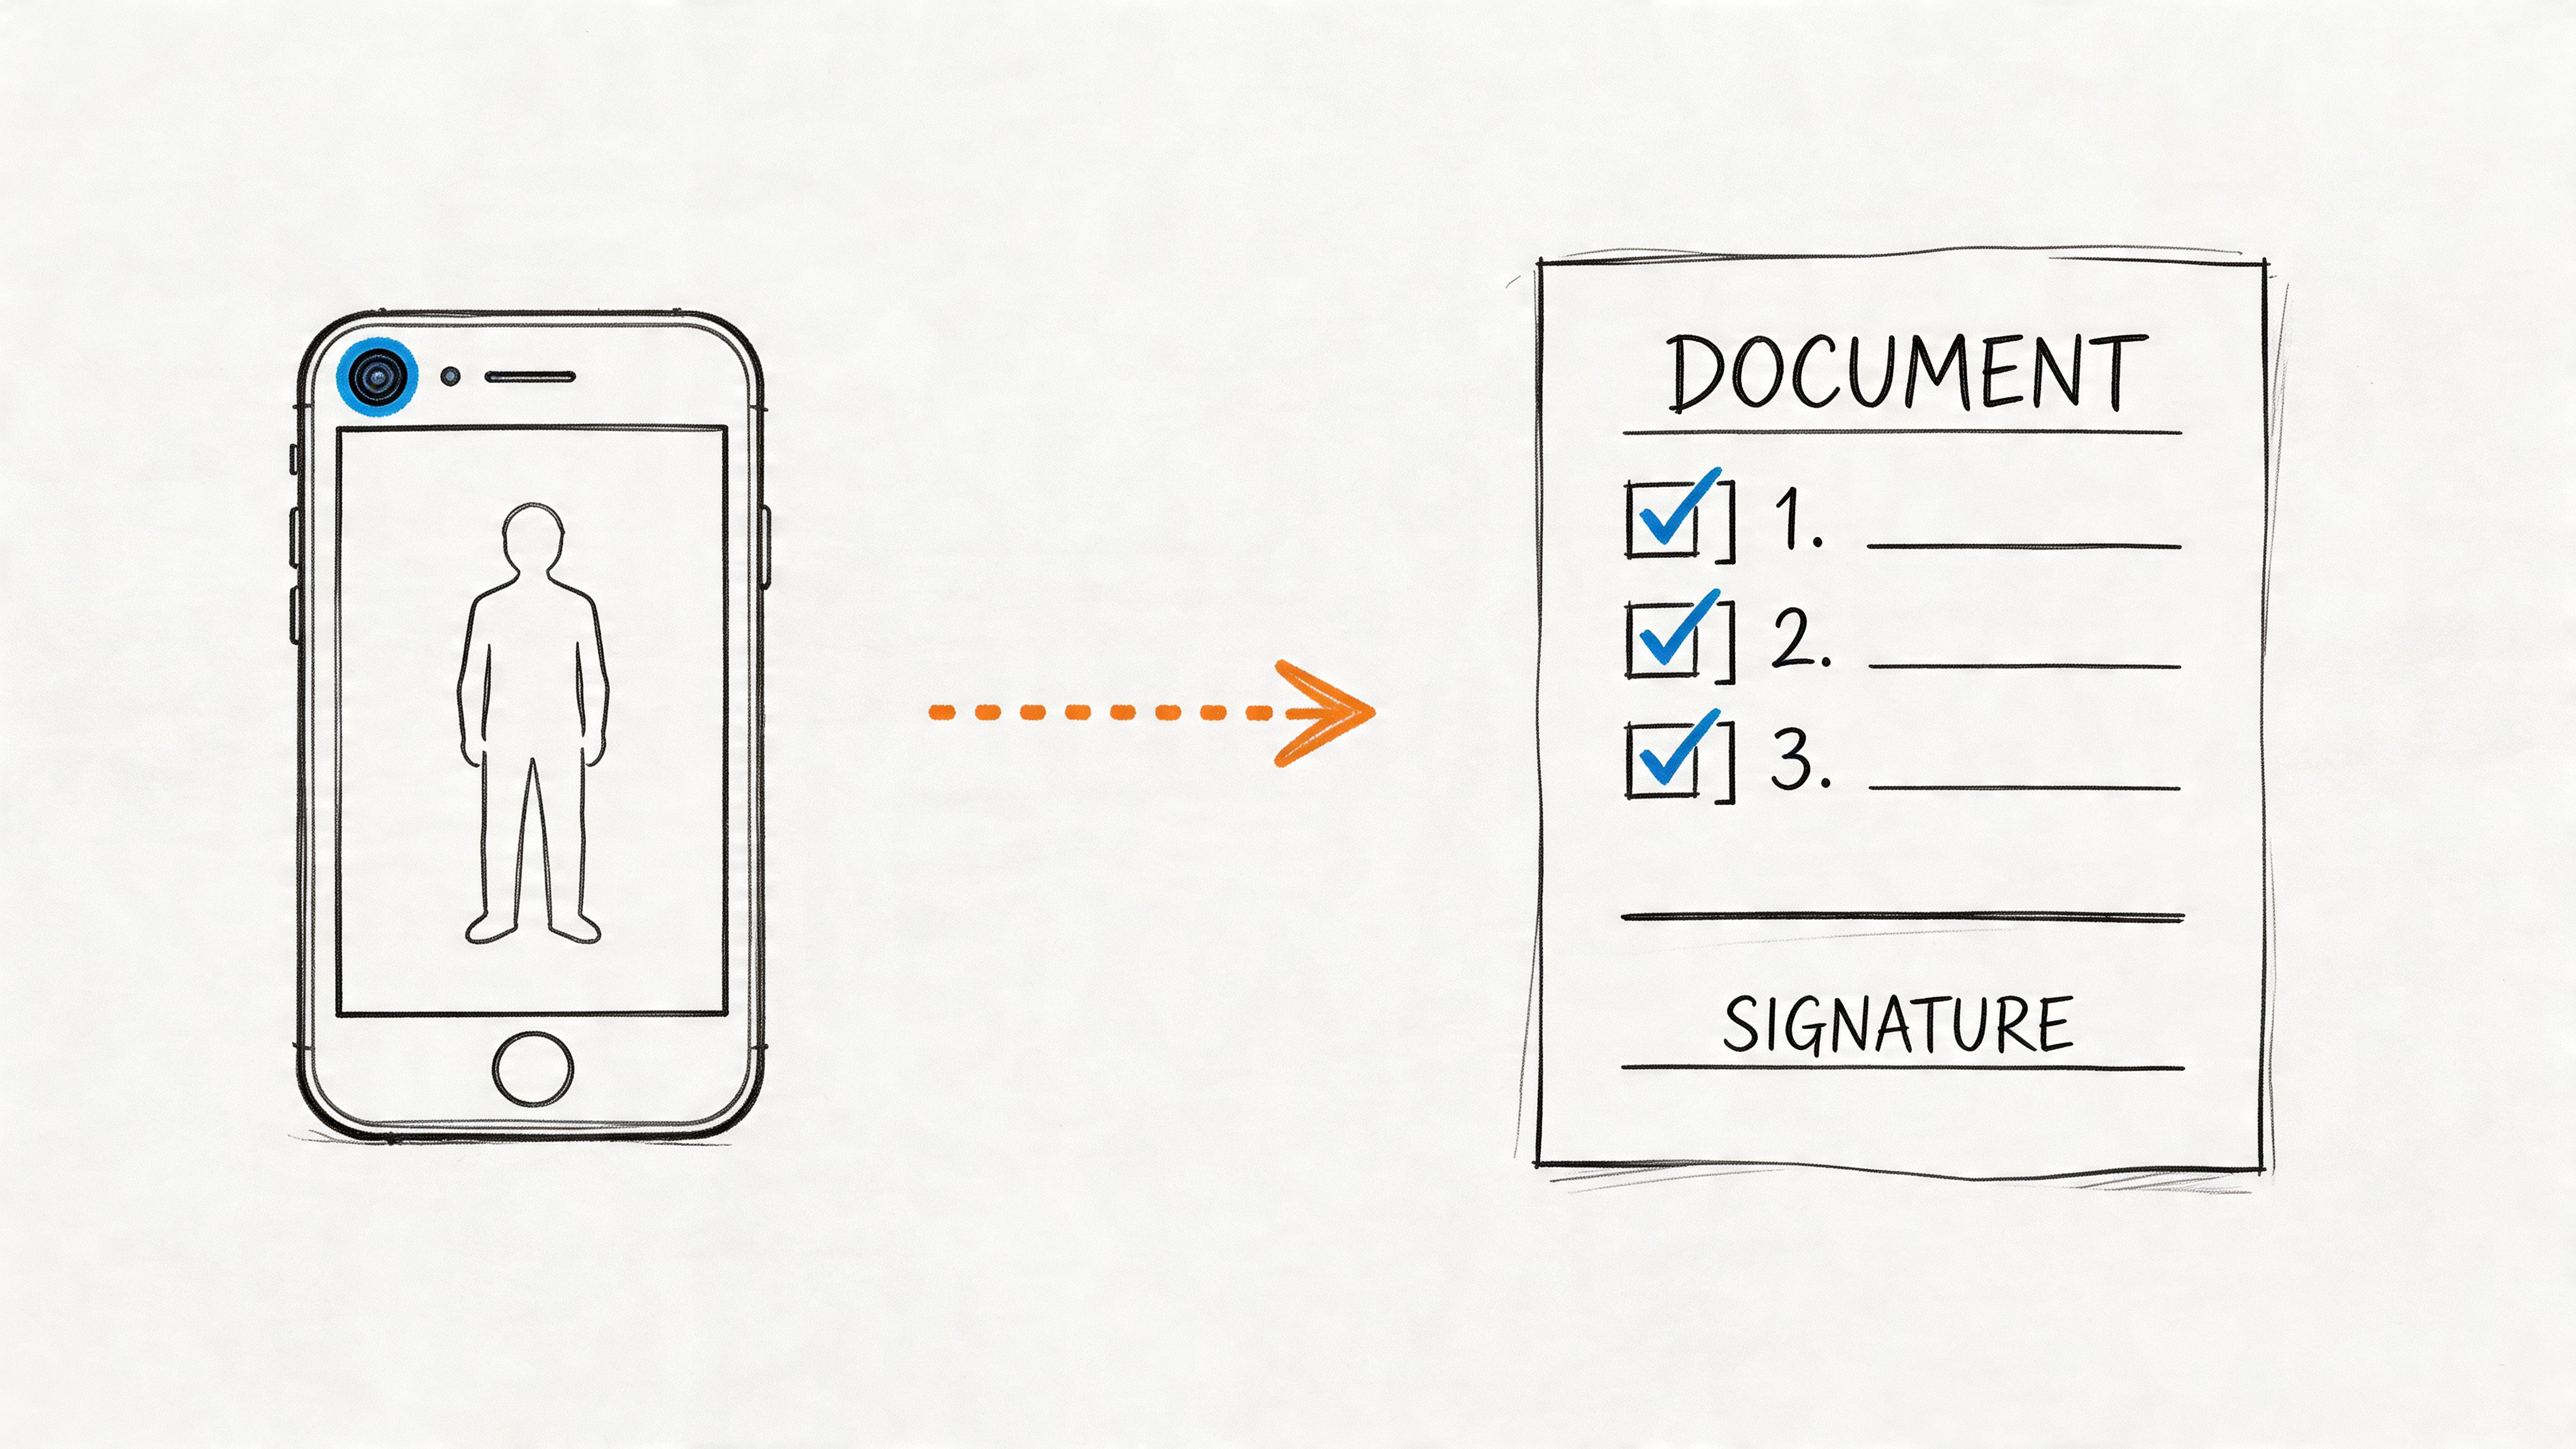
Beyond the video file itself, Teams also creates a handy attendance report. This is a CSV file that lists everyone who joined the meeting, along with the time they entered and left. You can typically find it in the meeting chat about five minutes after the call ends or under the "Attendance" tab in the calendar event.
One last thing to keep in mind: your recordings probably won't live there forever. Most organizations have an IT admin set a default expiration date, which is often between 60 and 120 days. Don’t worry—you’ll get an email notification before a recording is deleted, giving you a chance to extend its life directly from OneDrive or SharePoint if you need to hold onto it for longer.
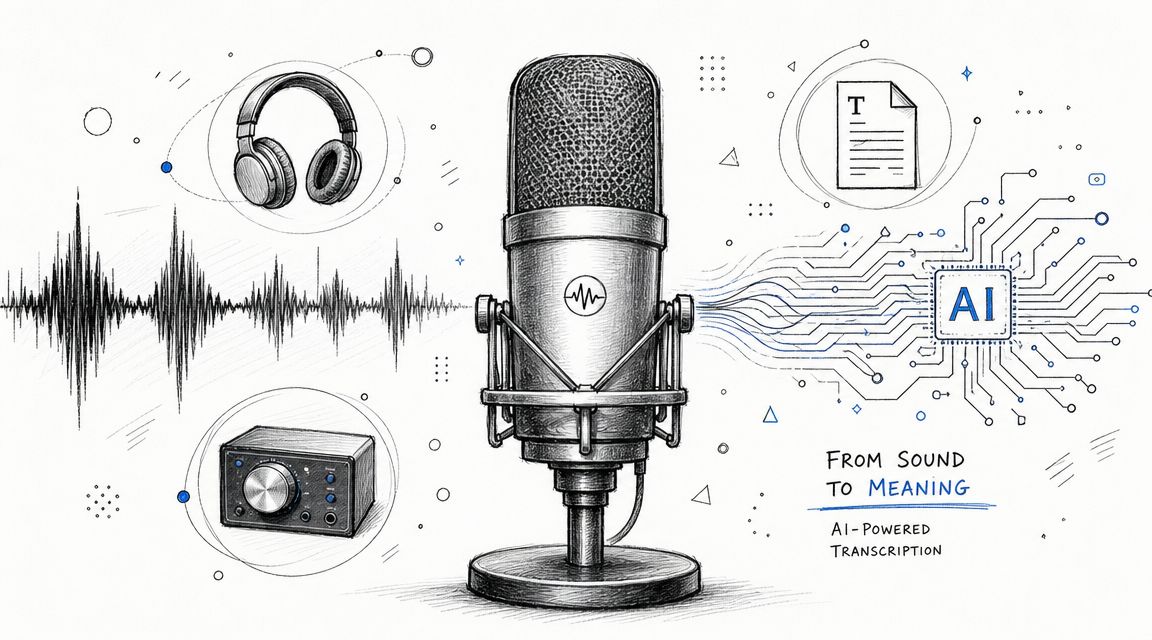
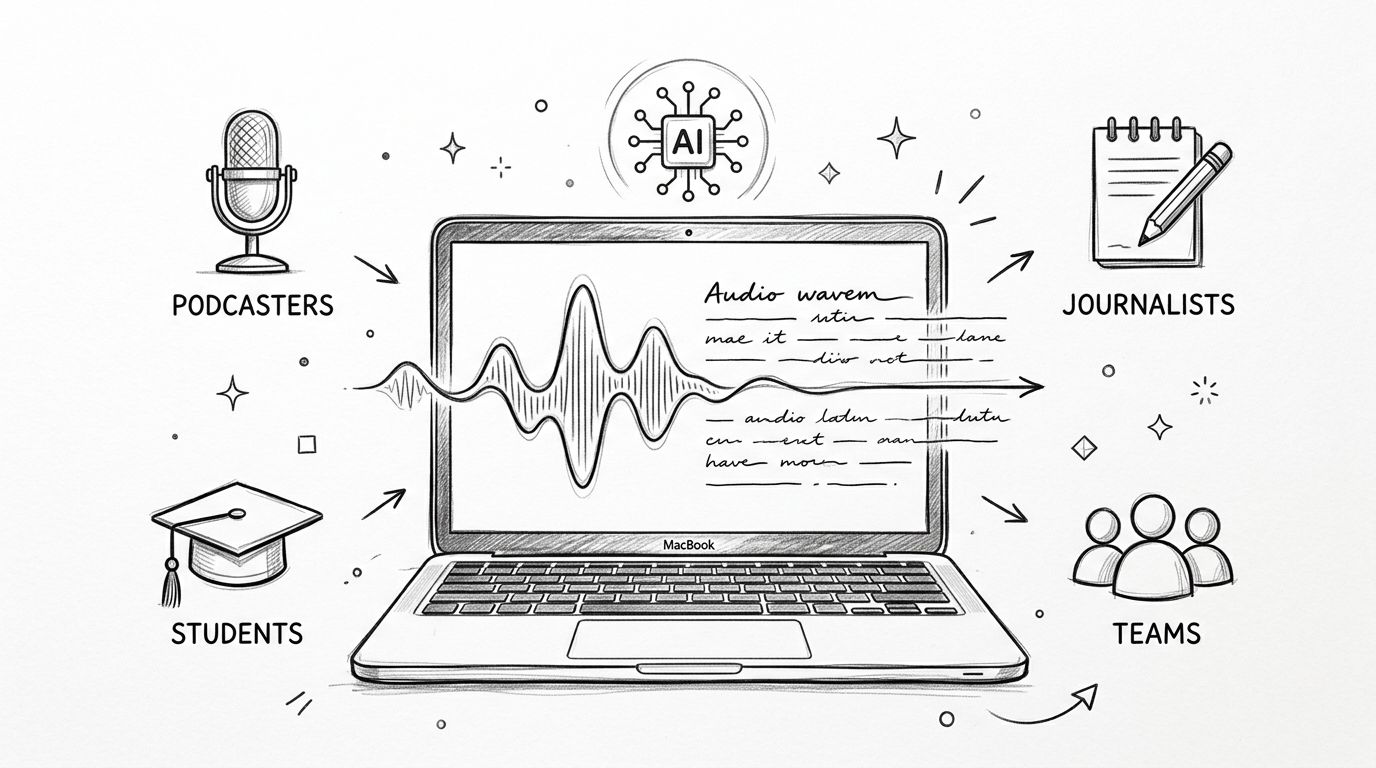
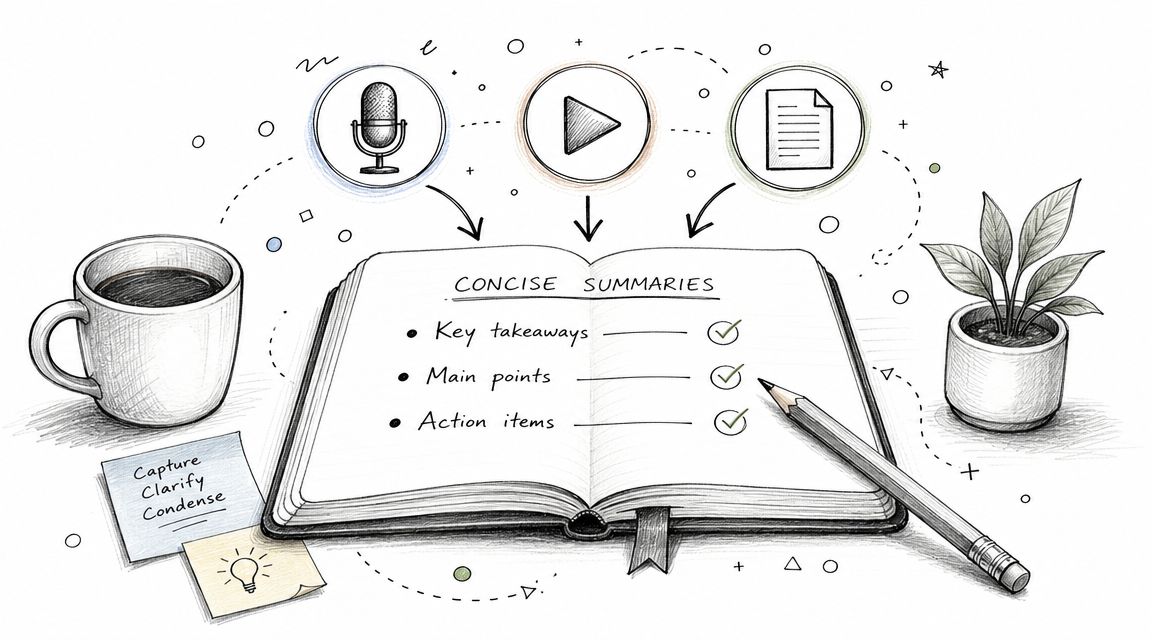
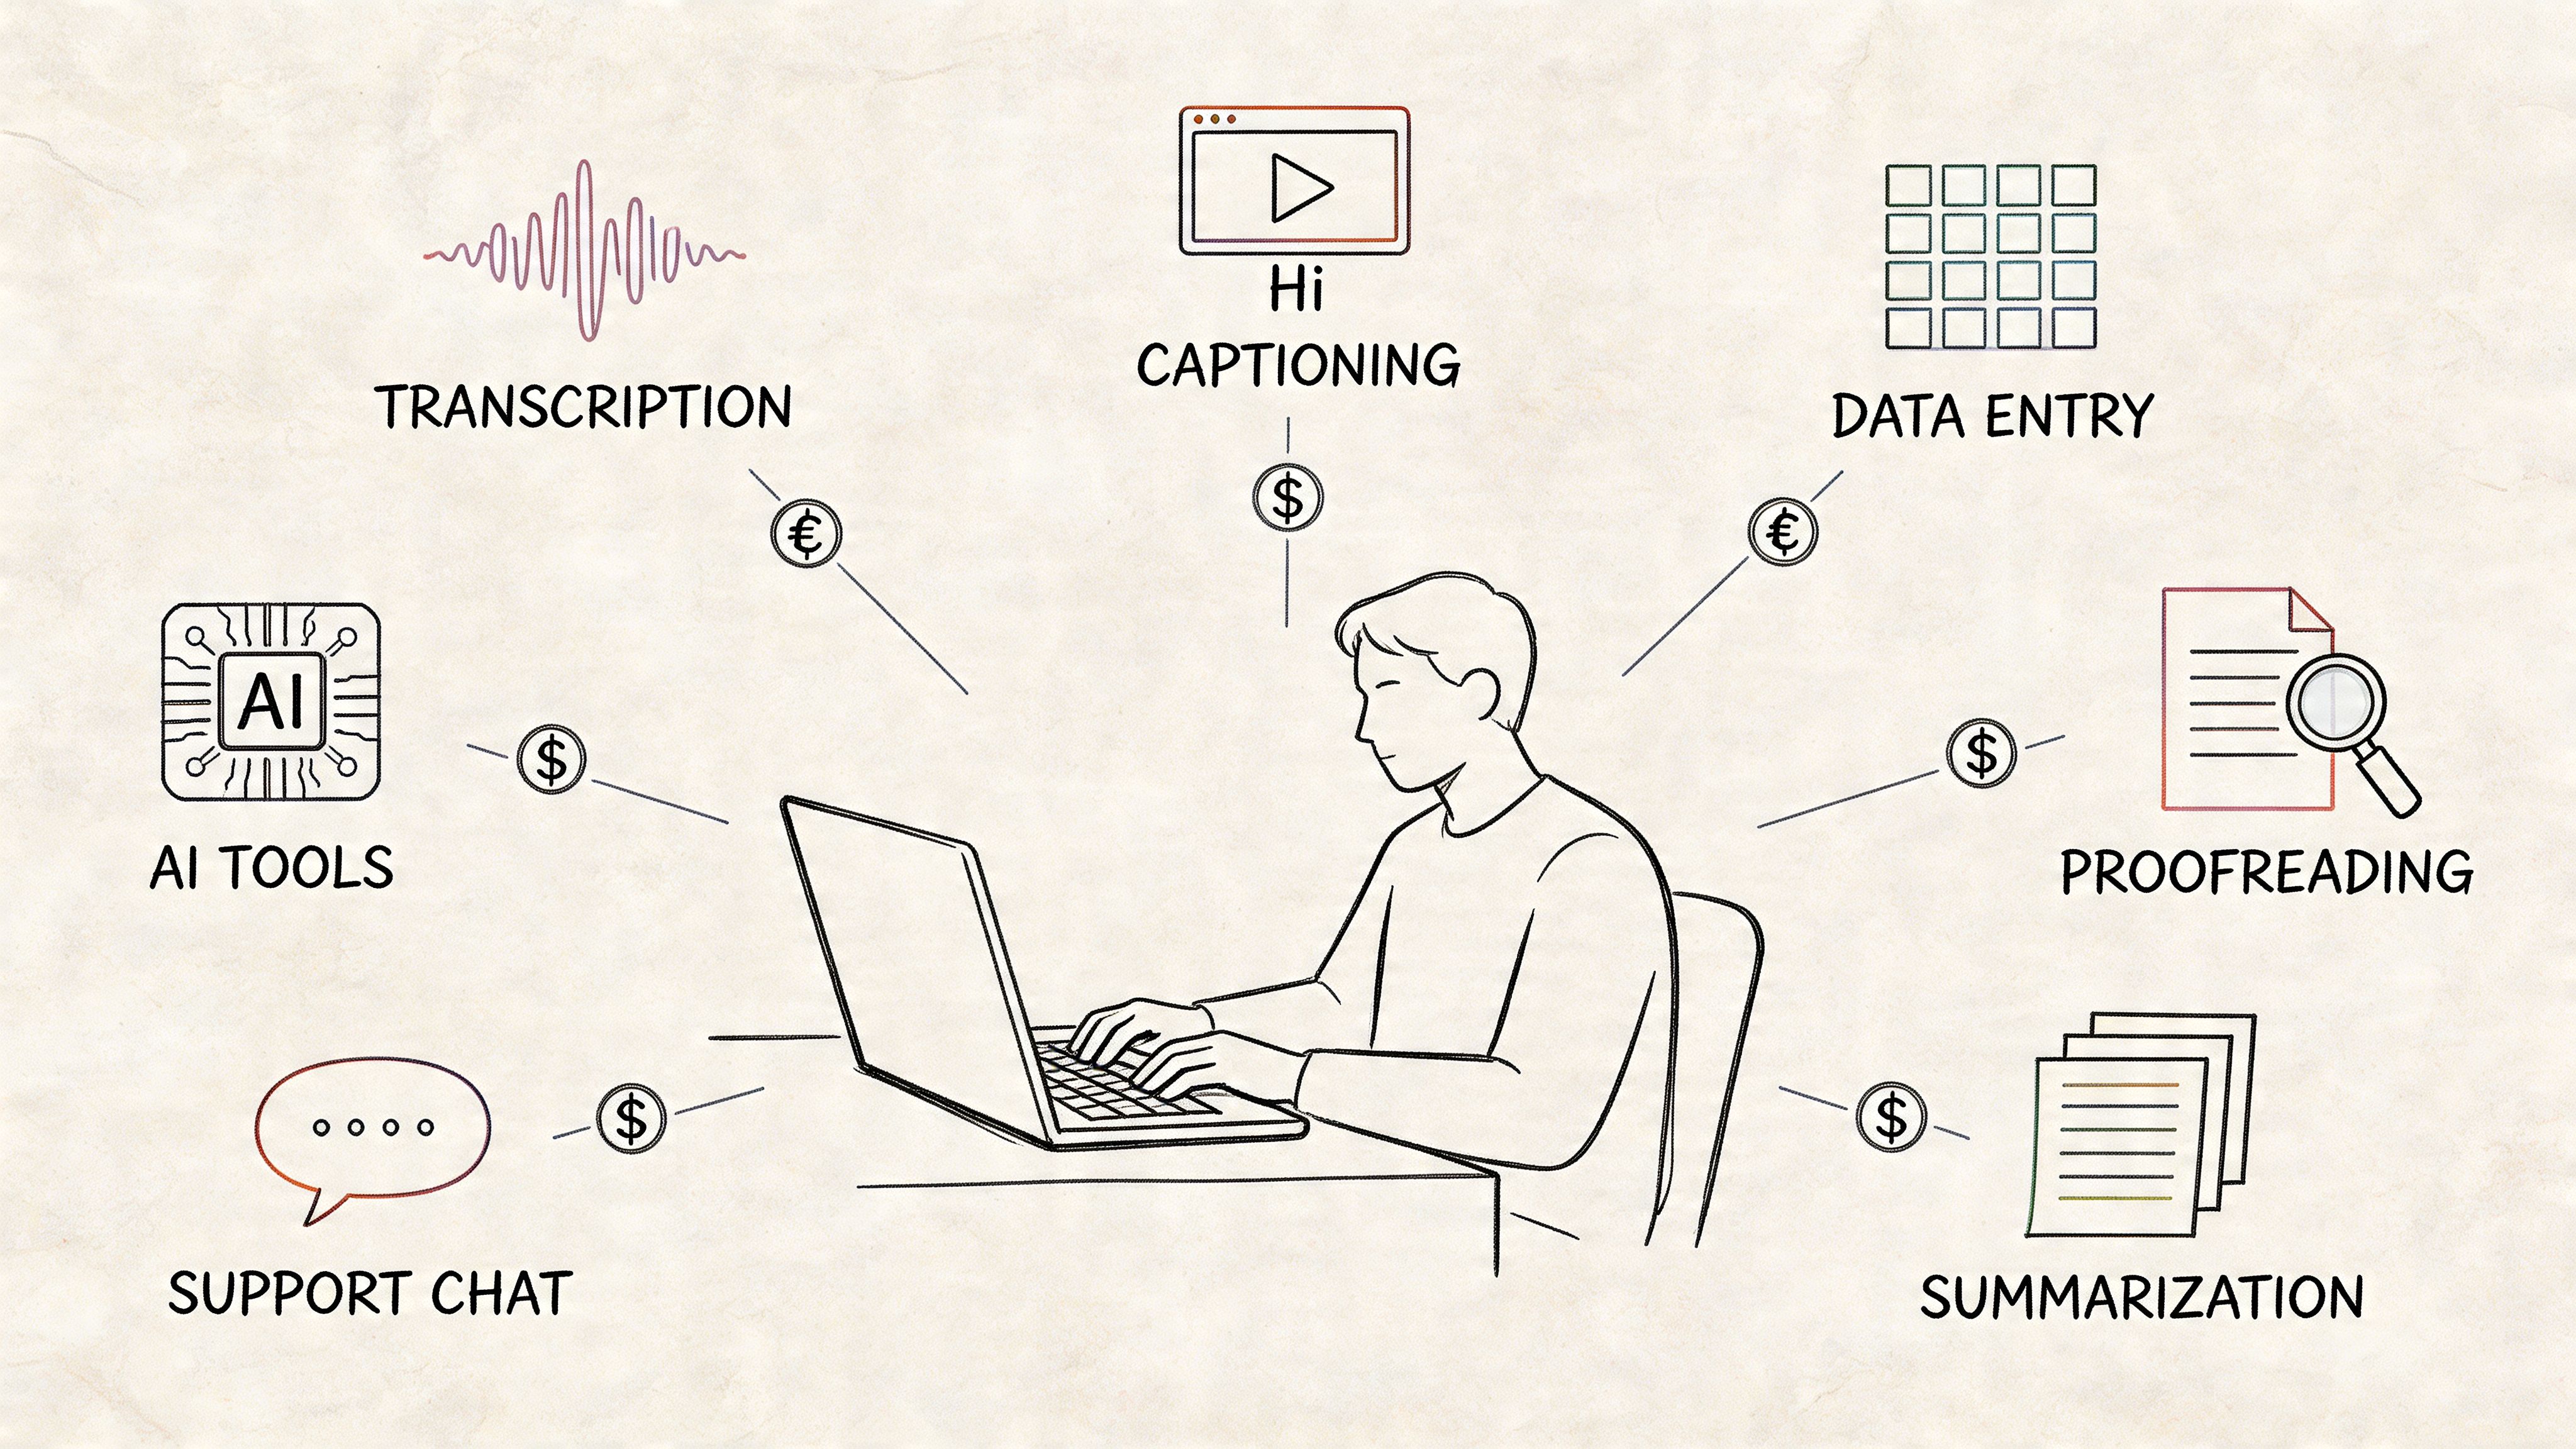
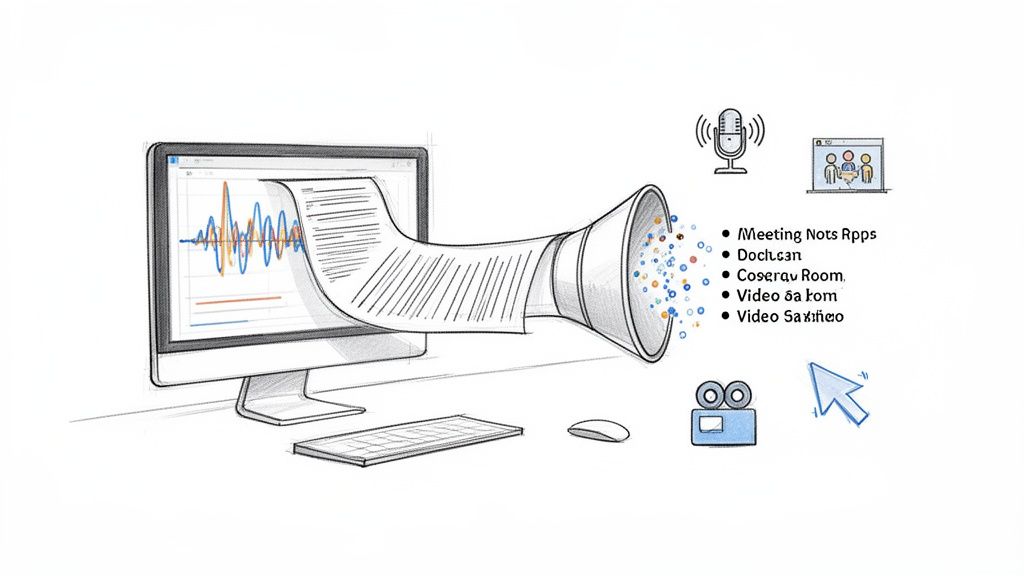
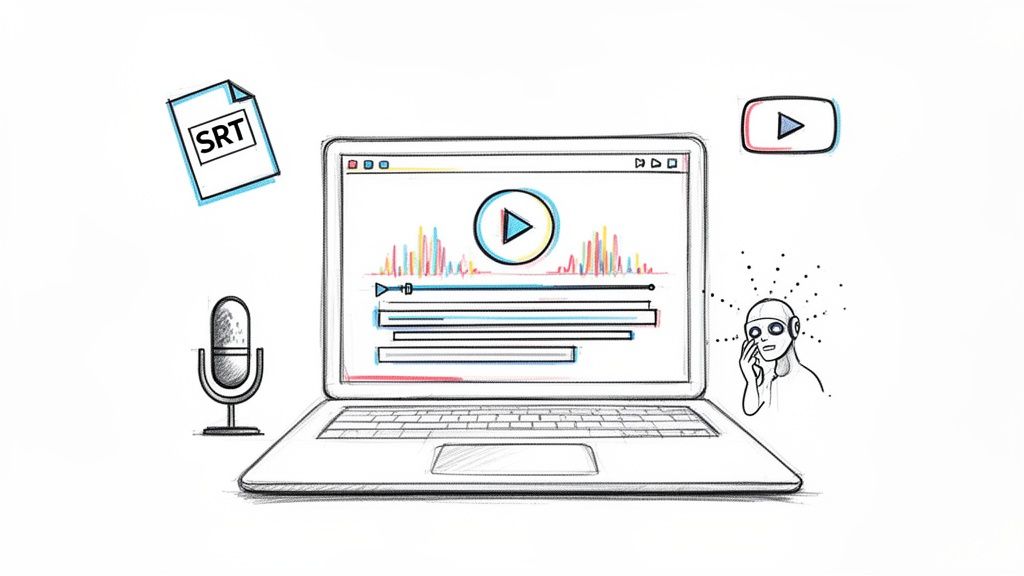
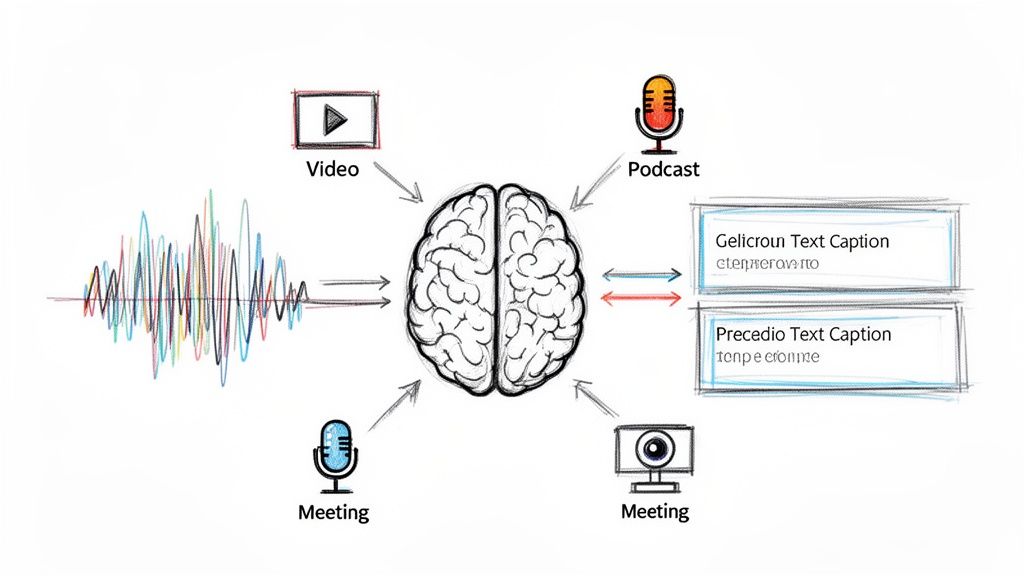
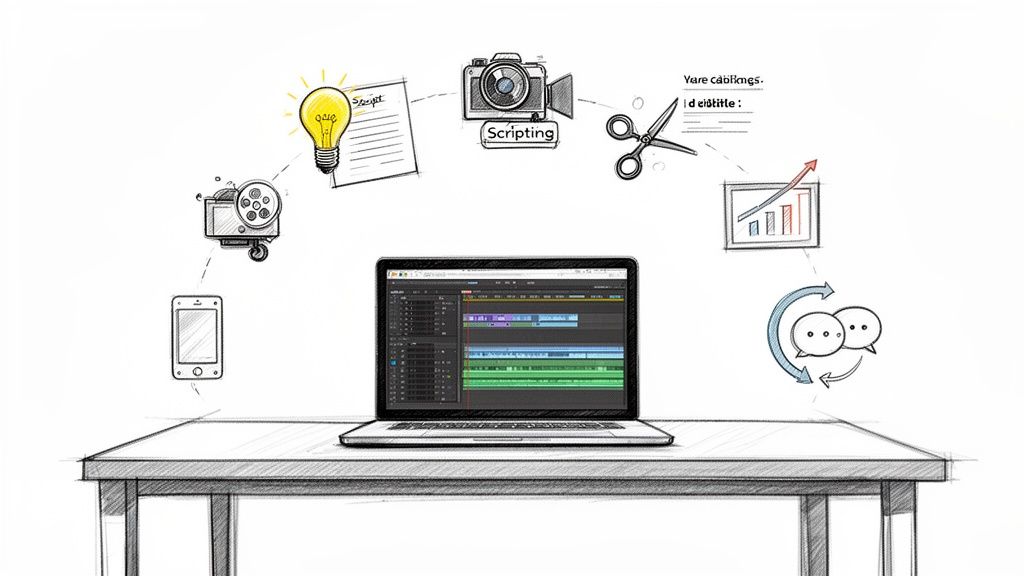
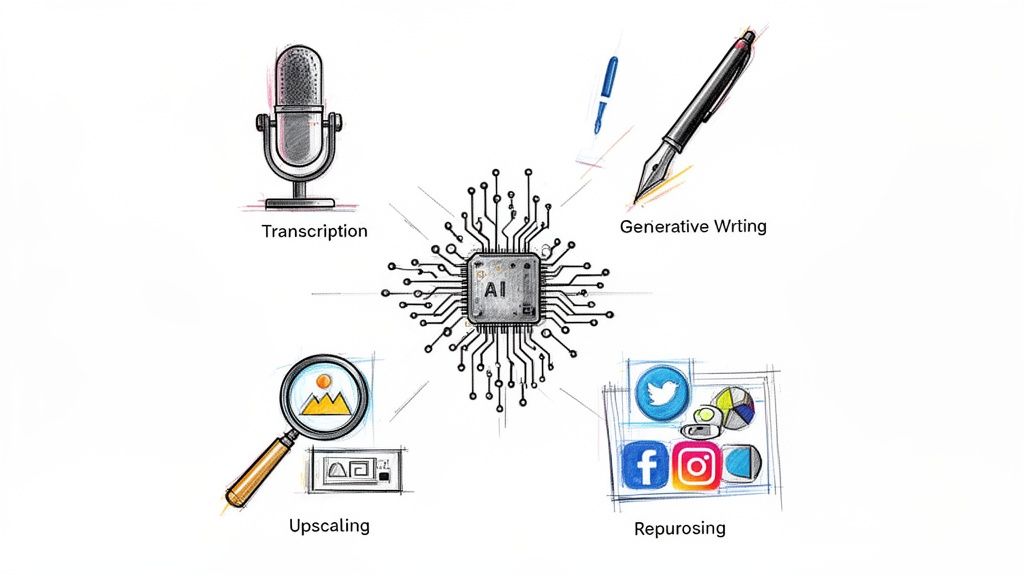
Squeeze More Value from Your Recordings with AI

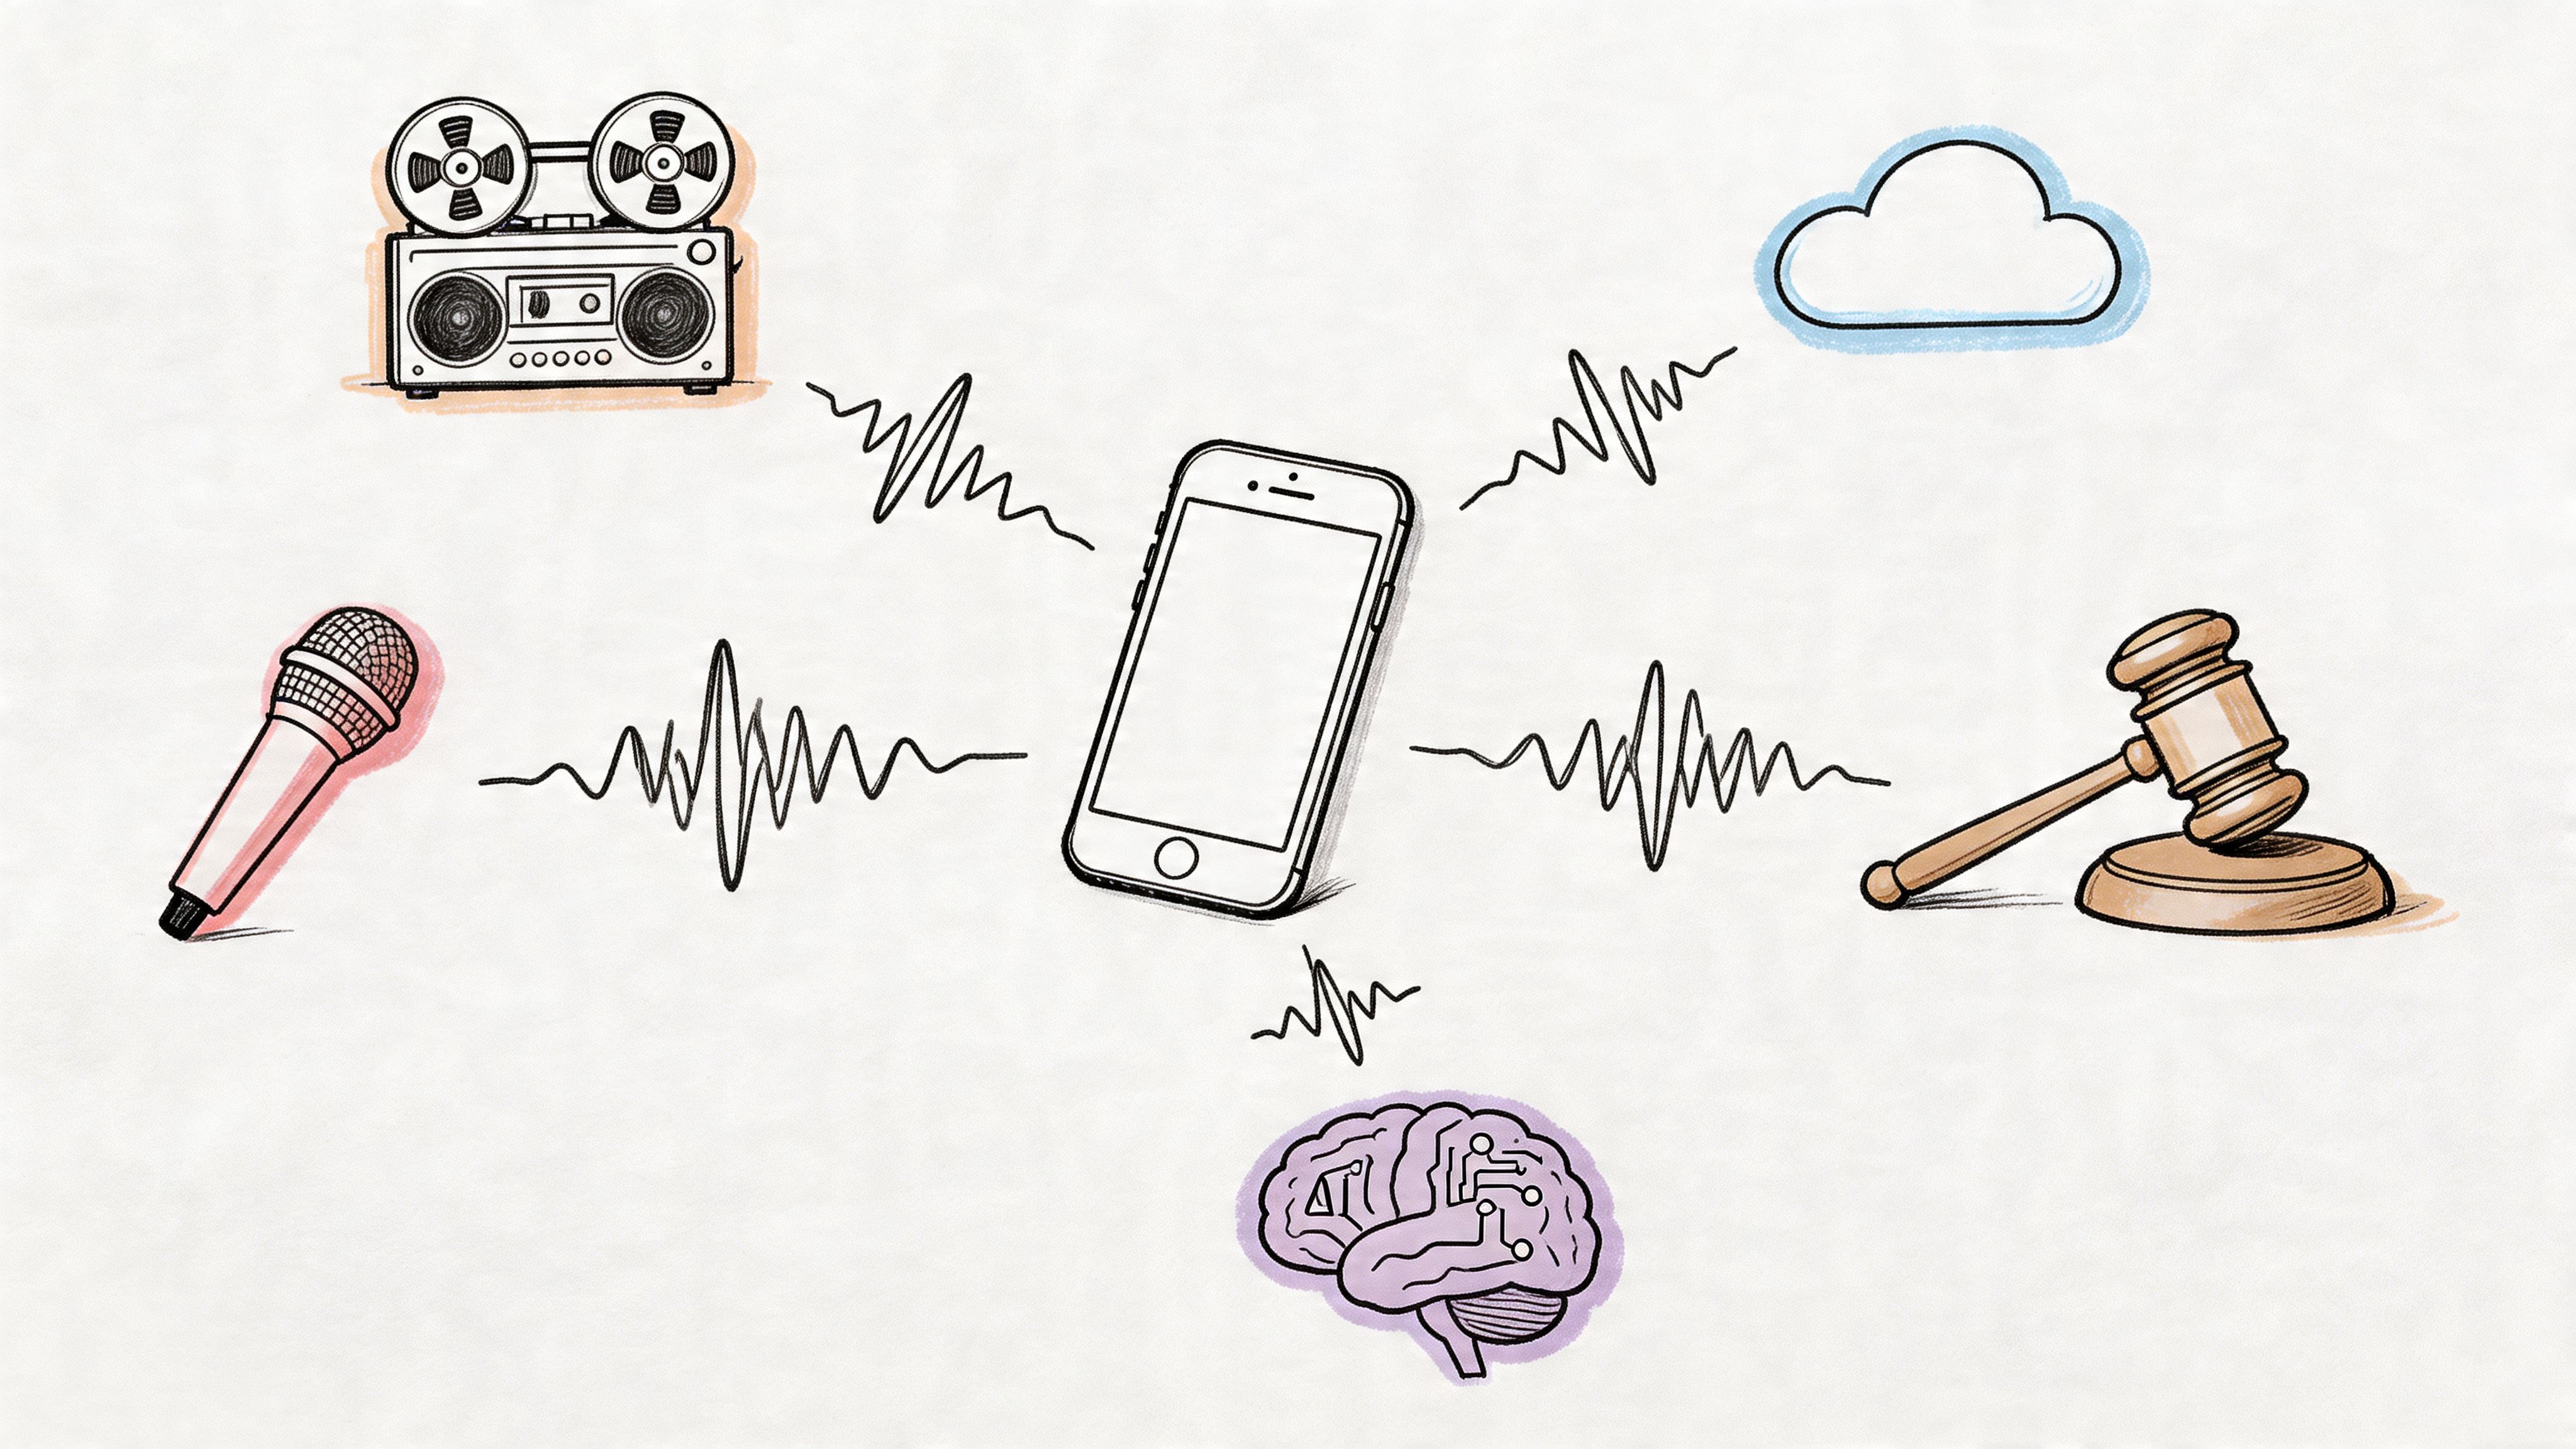
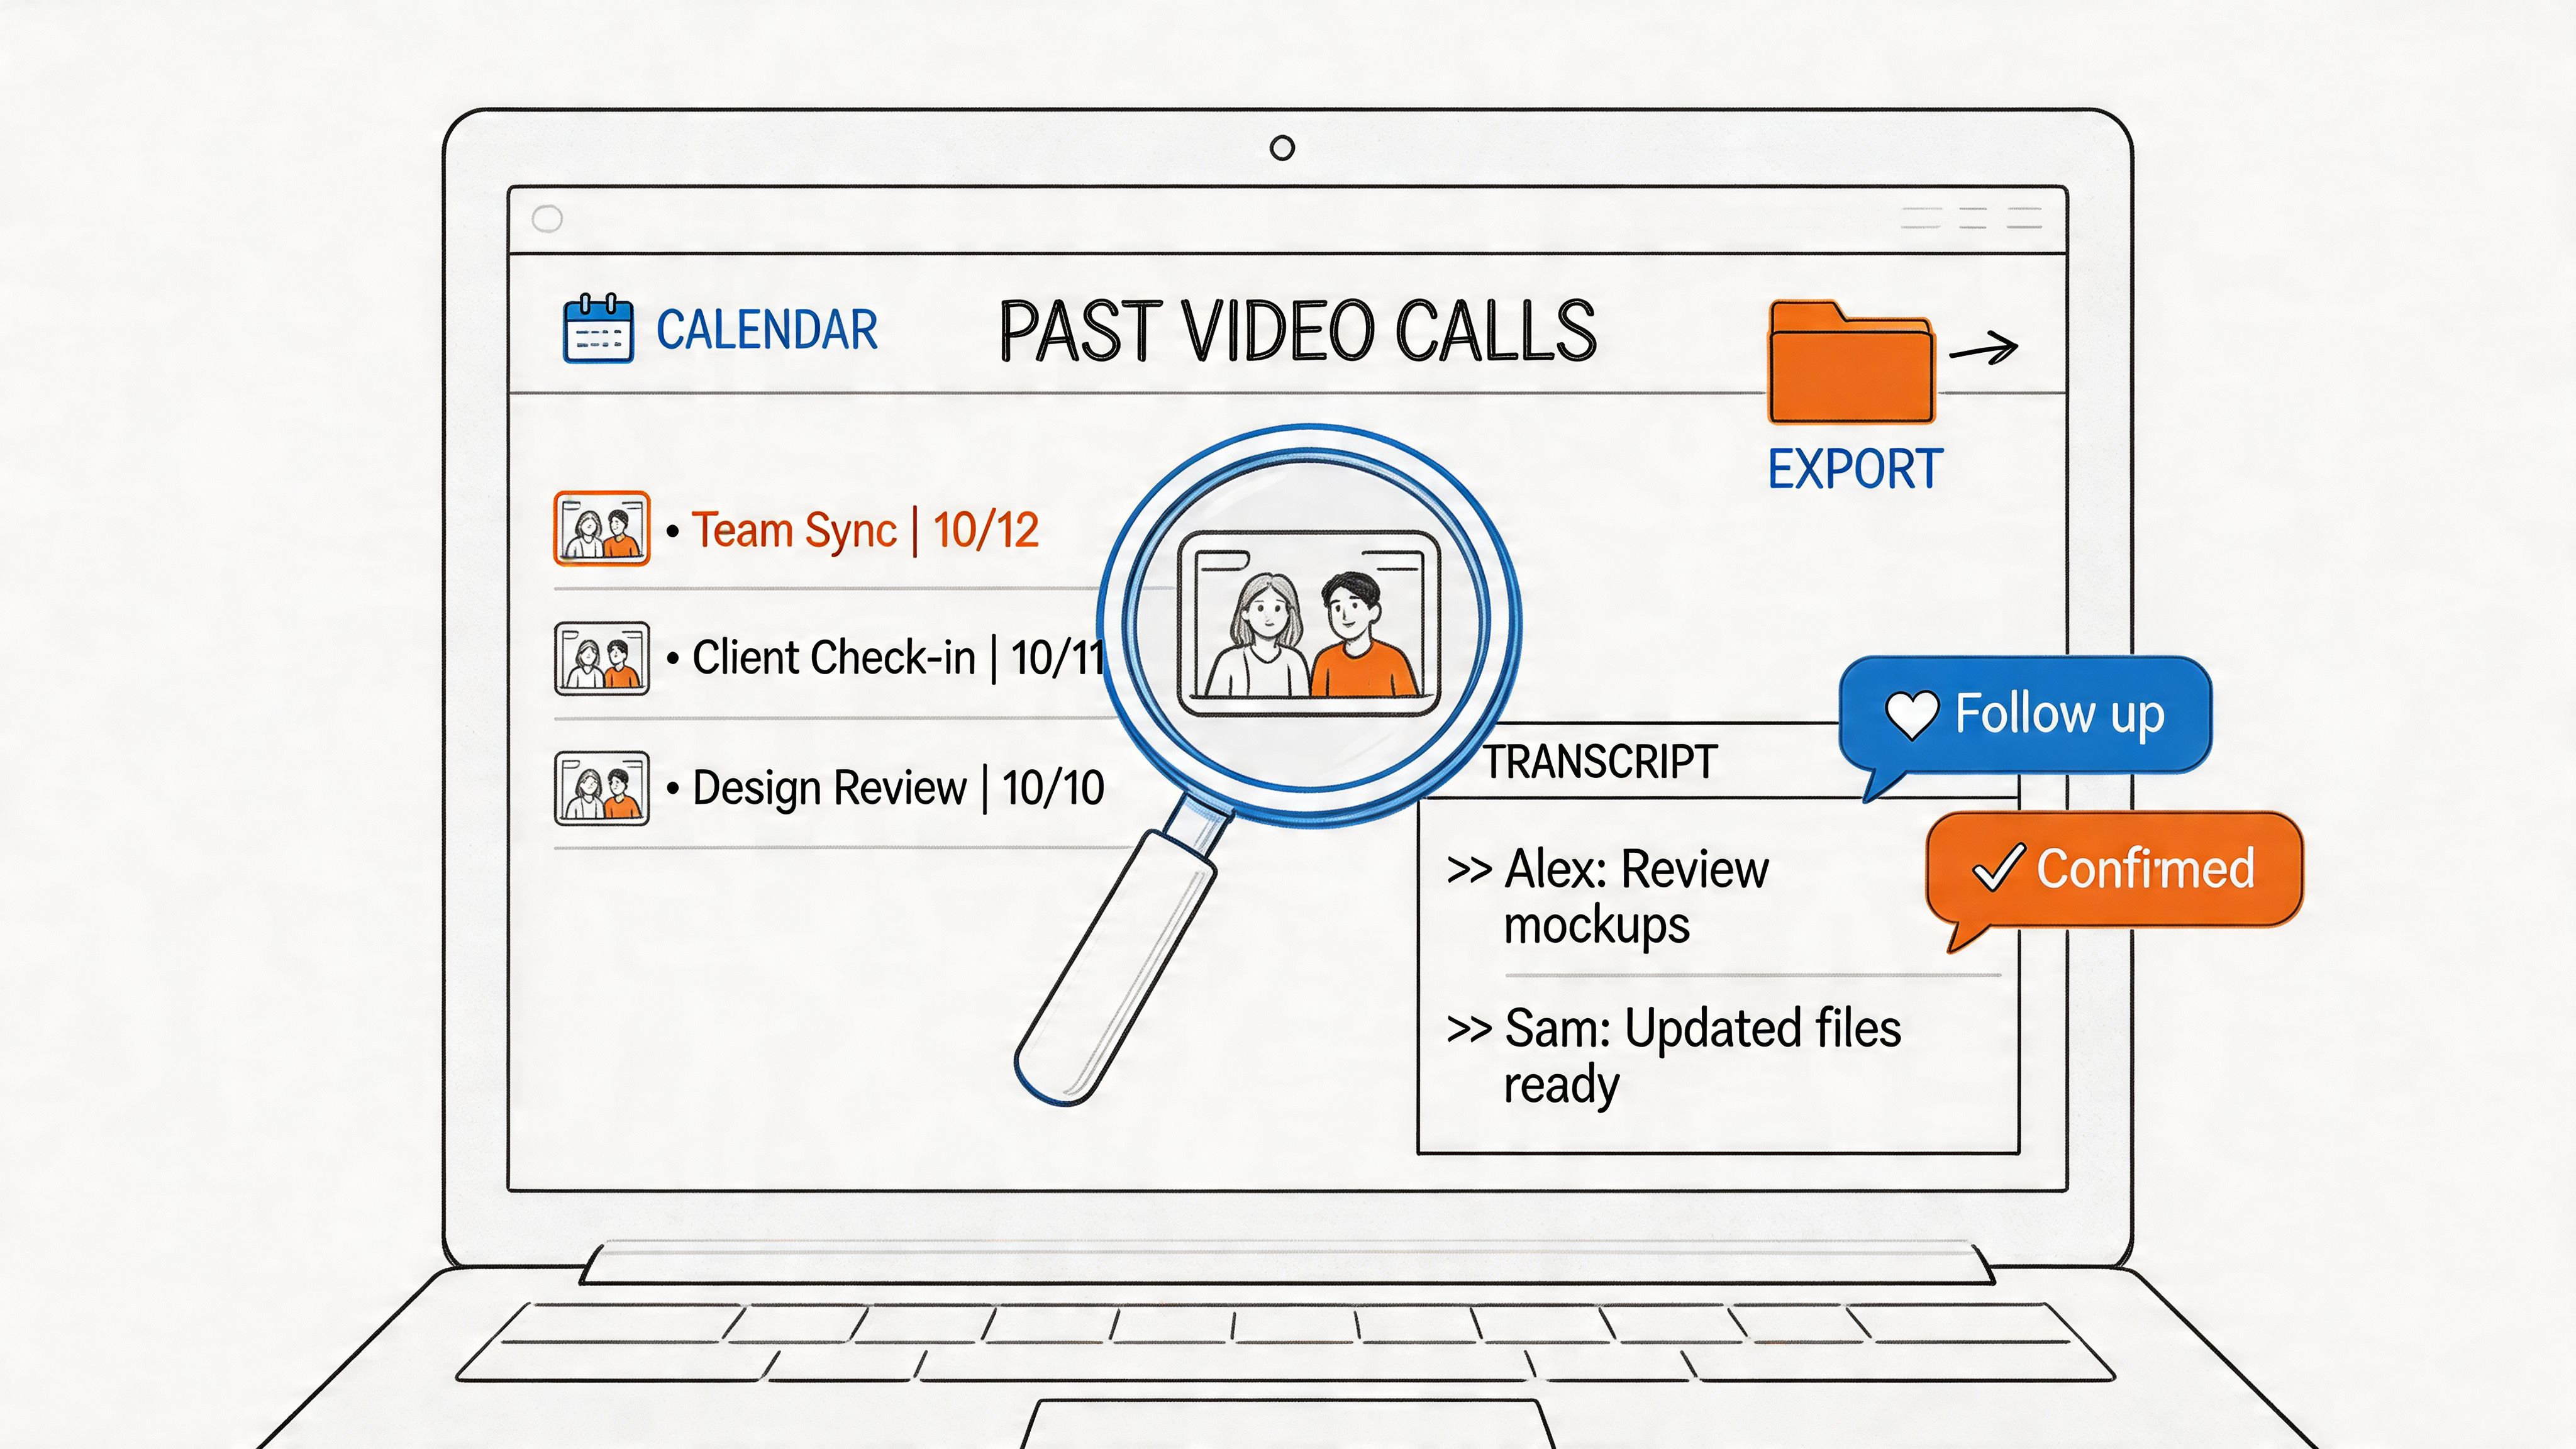
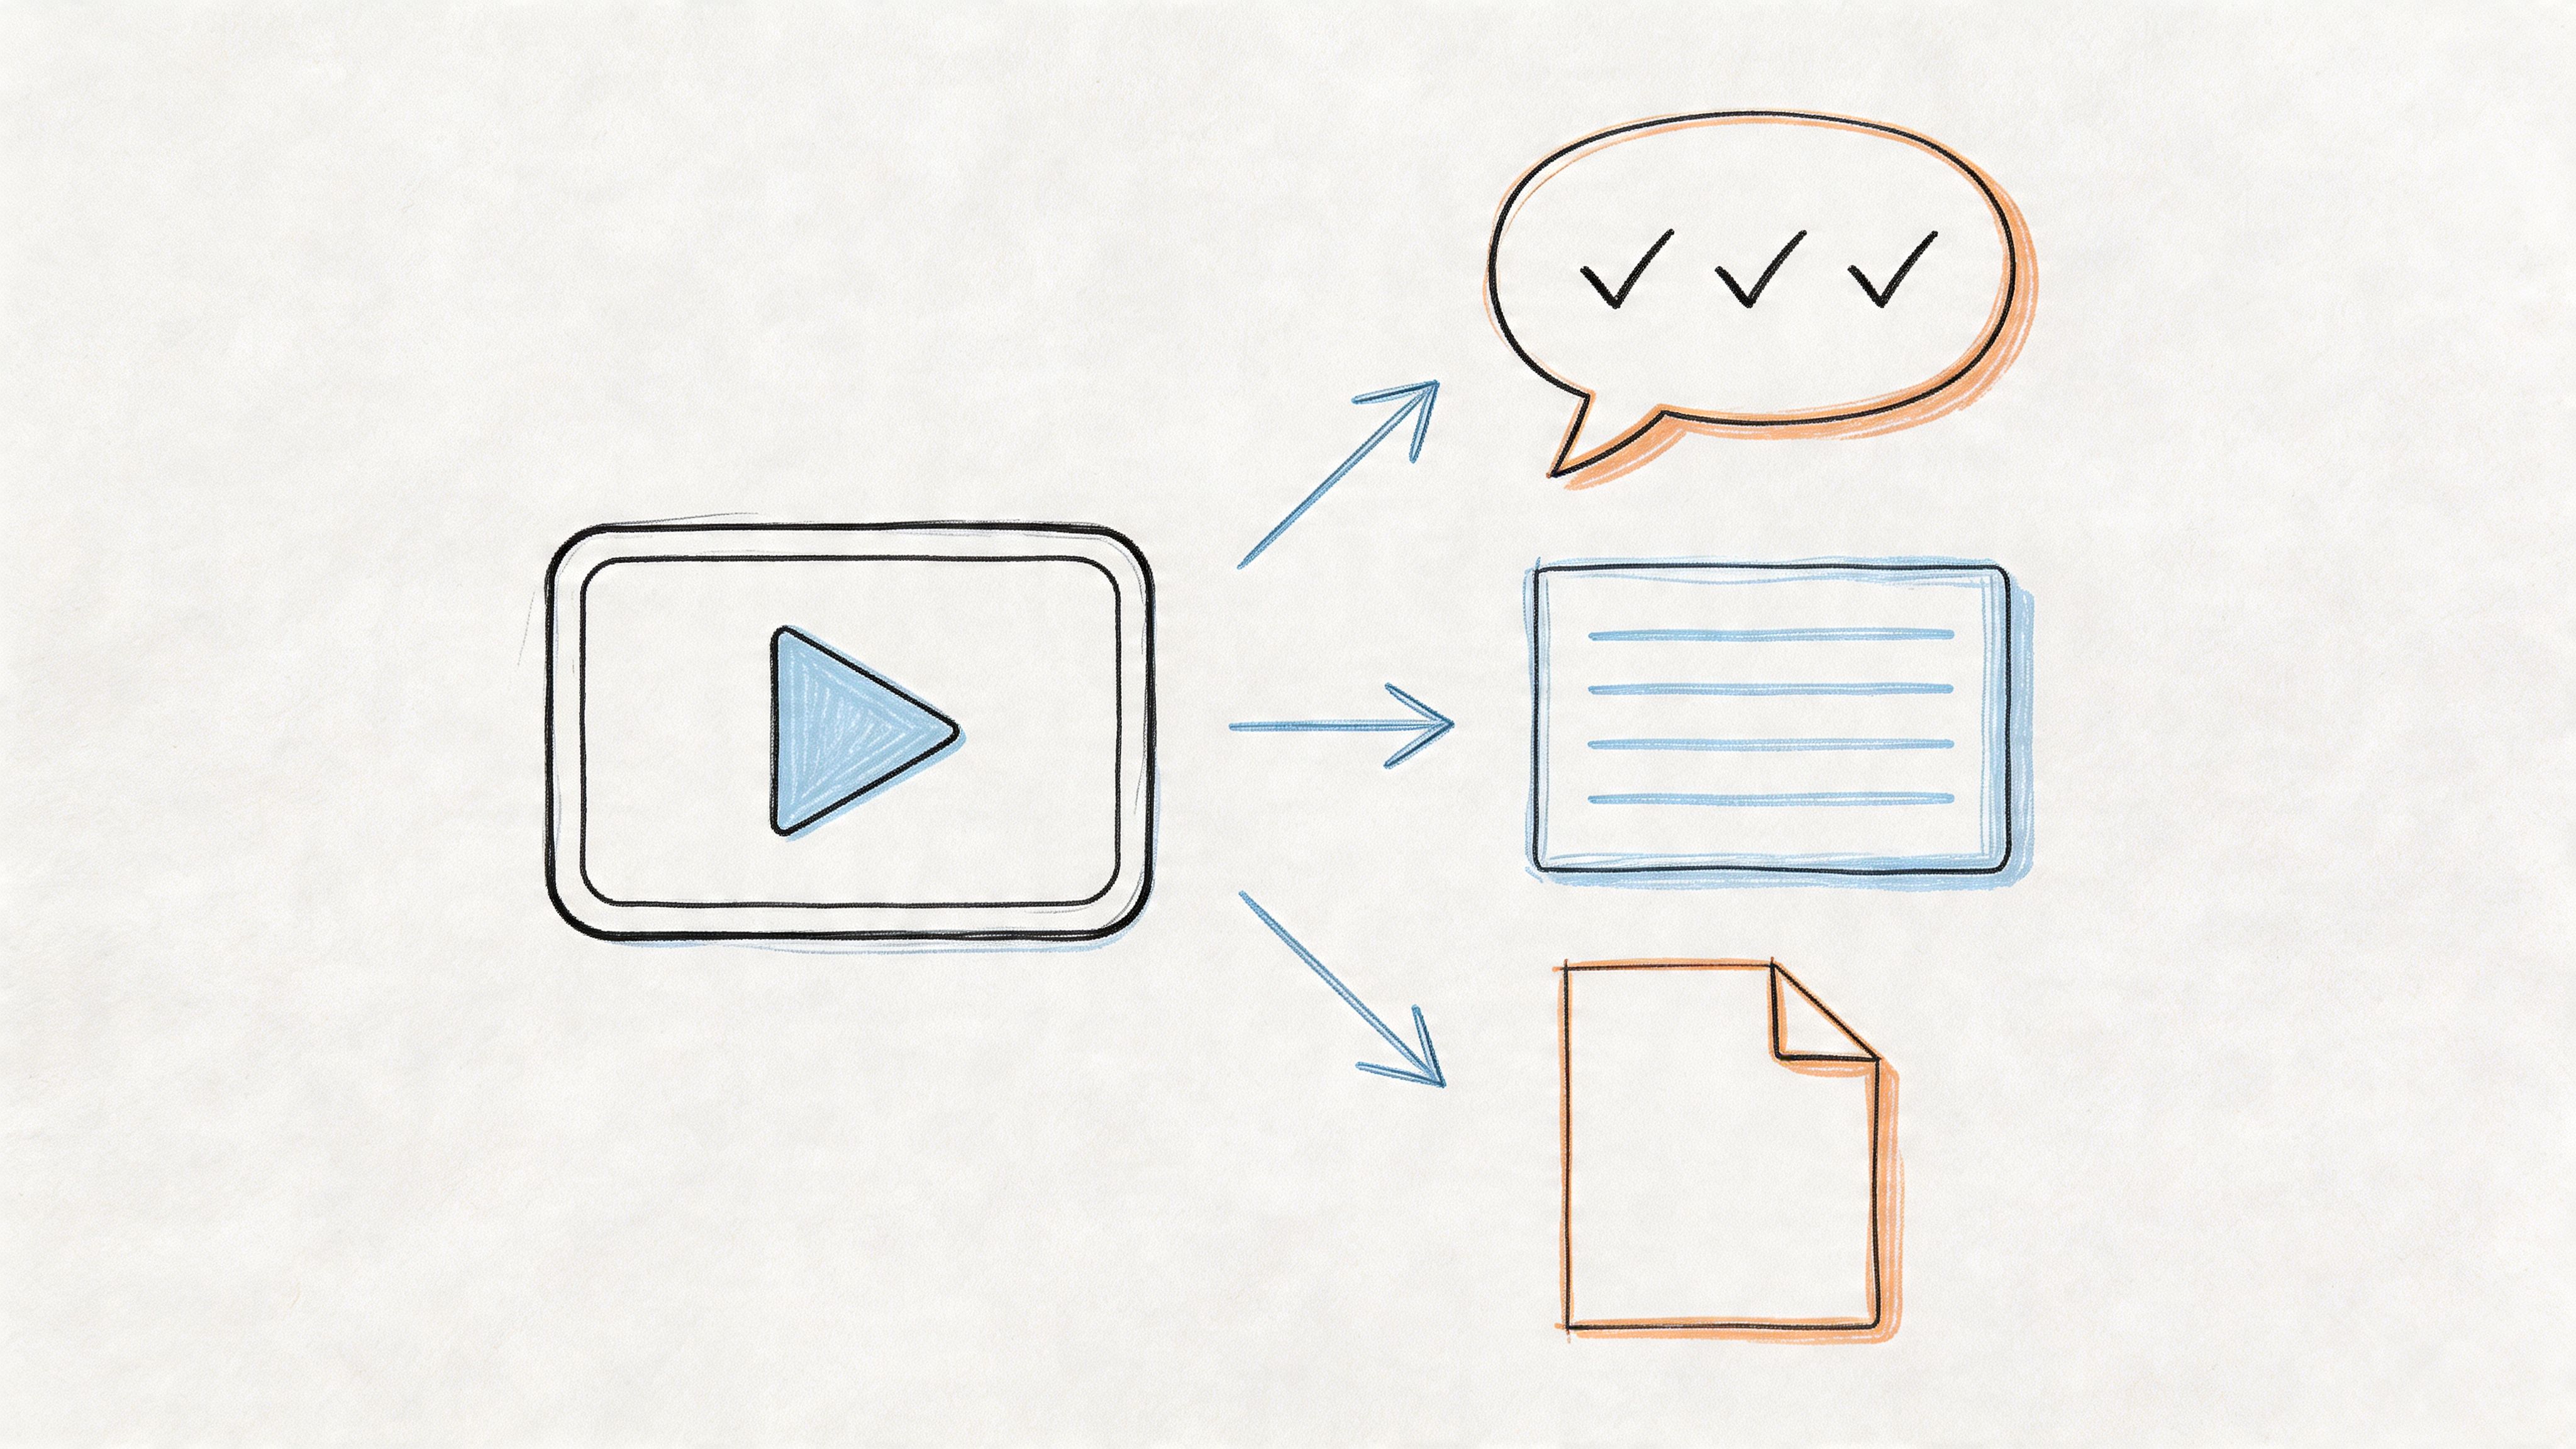
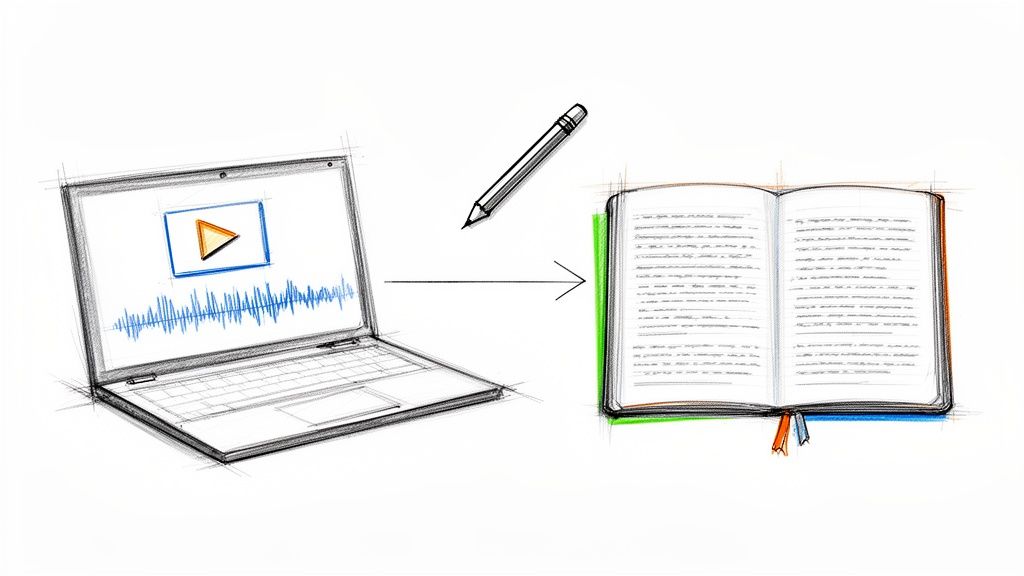
Having a recording of your Teams meeting is great for your archives, but let's be honest—how often does anyone go back to watch a full hour-long video? The real gold is buried in the conversation, and that’s where AI can completely change your workflow.
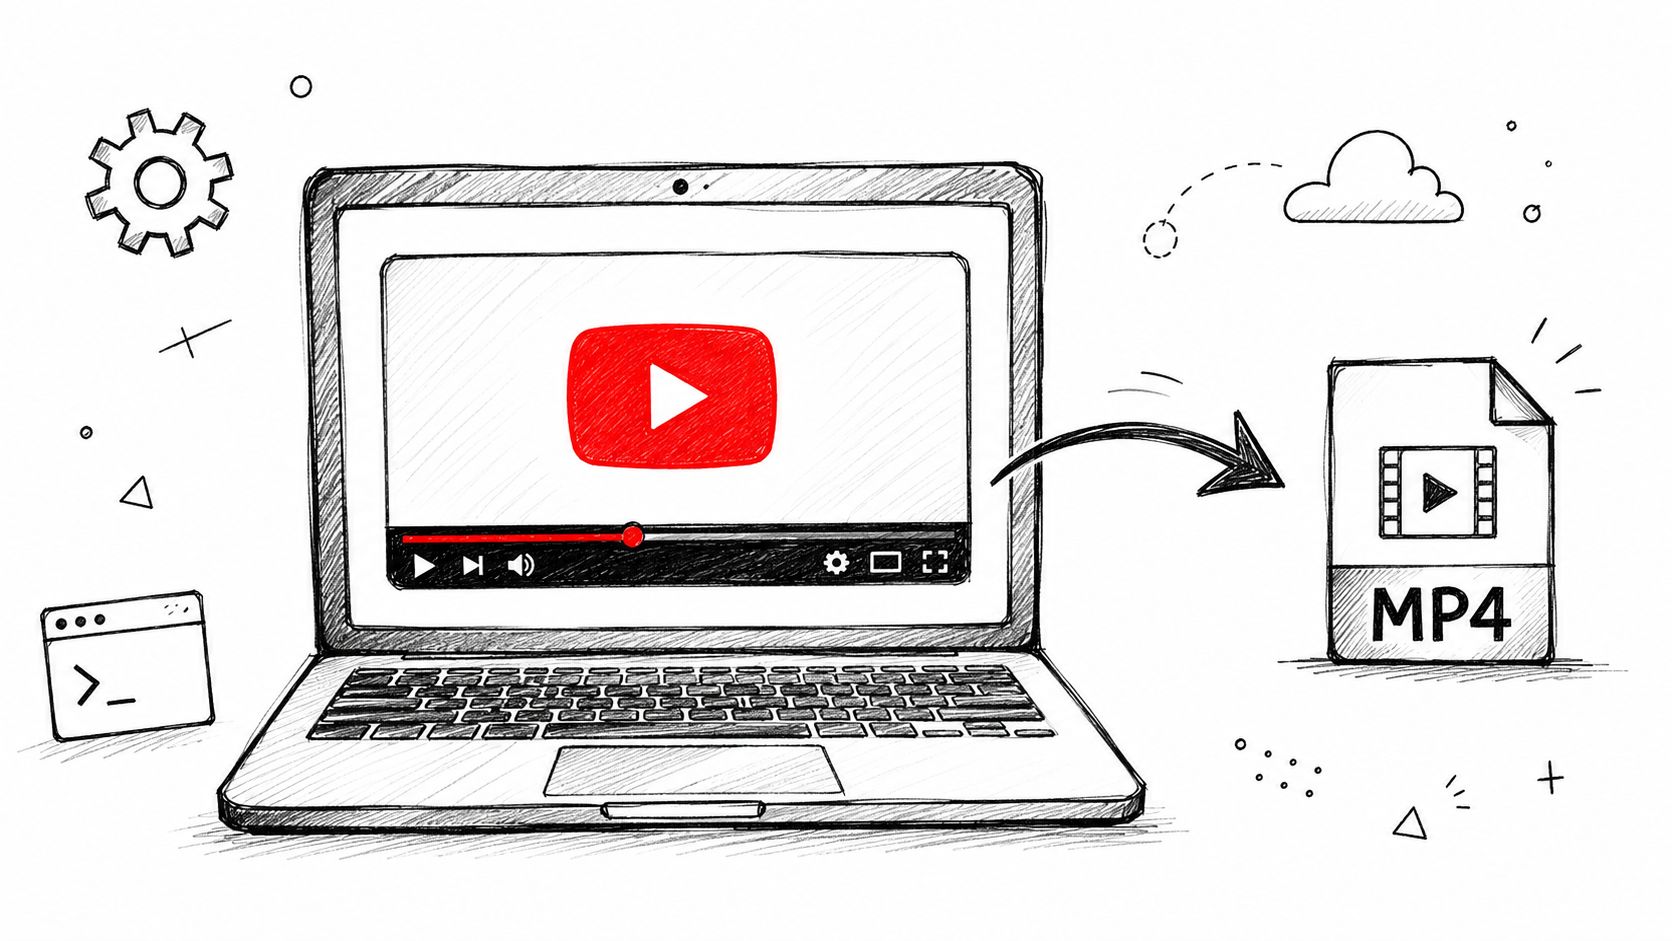
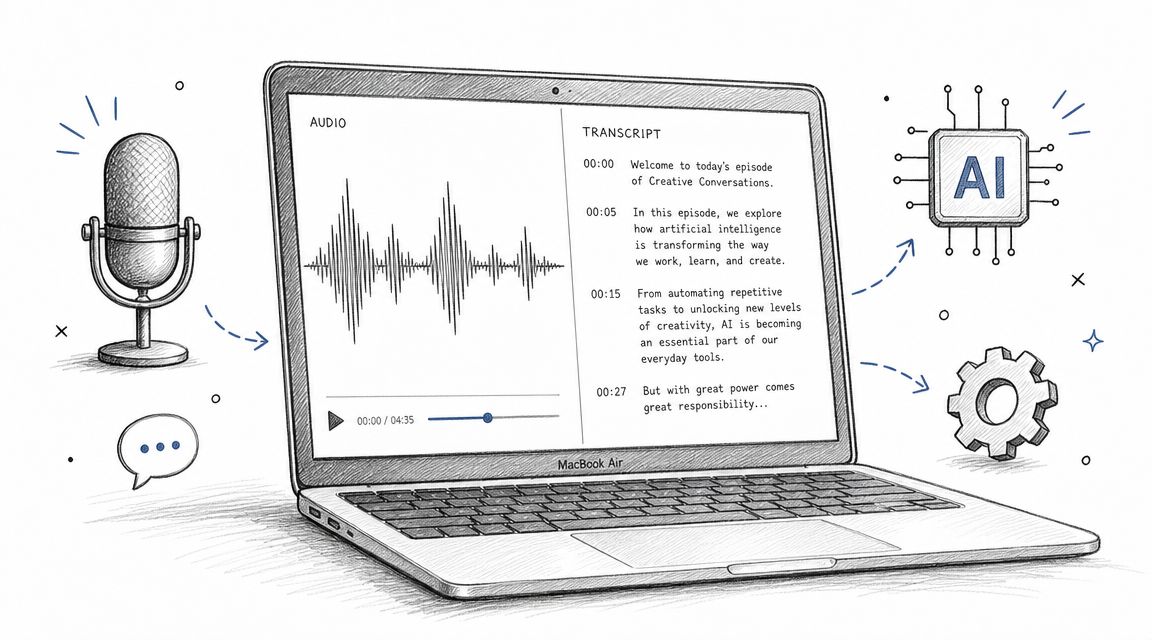
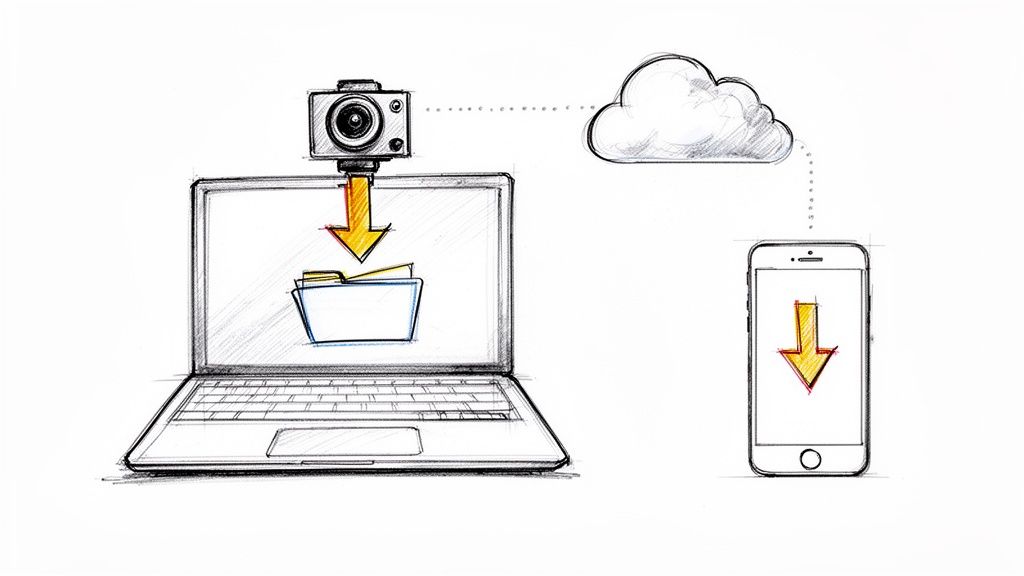
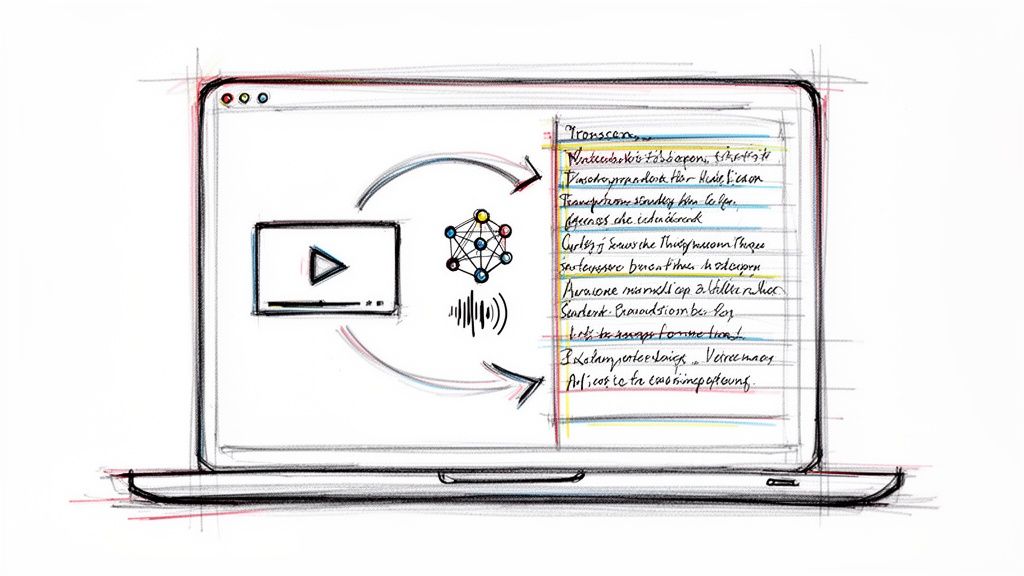
The process is refreshingly straightforward. Once your meeting recording appears in OneDrive or SharePoint, just download the MP4 file. You can then upload that video directly into an AI transcription service, like Whisper AI, and watch the magic happen.
Suddenly, that passive video file becomes an active, searchable document. No more manually typing up notes or endlessly scrubbing the timeline to find that one specific comment someone made.
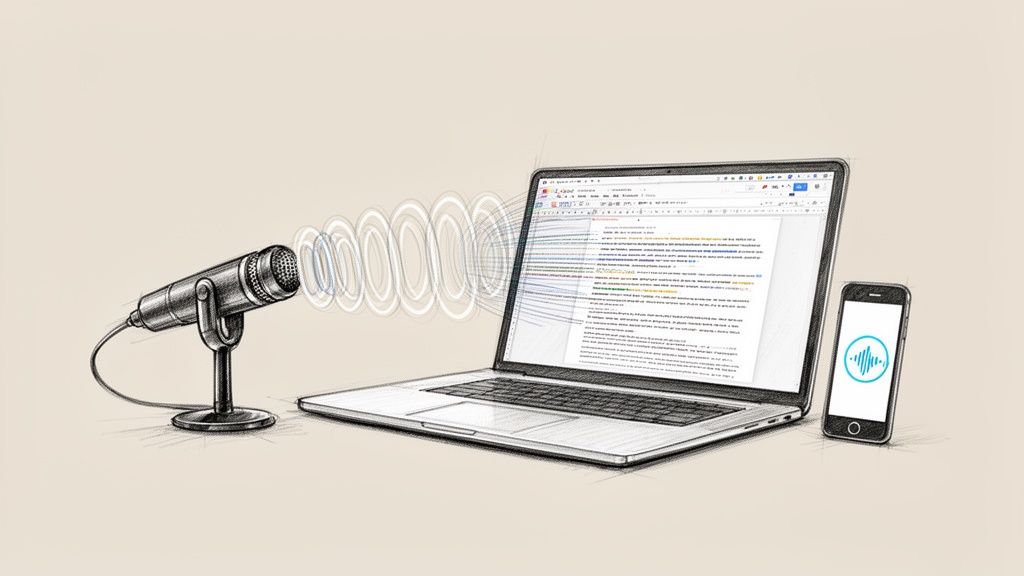
From Raw Conversation to Clear Insights
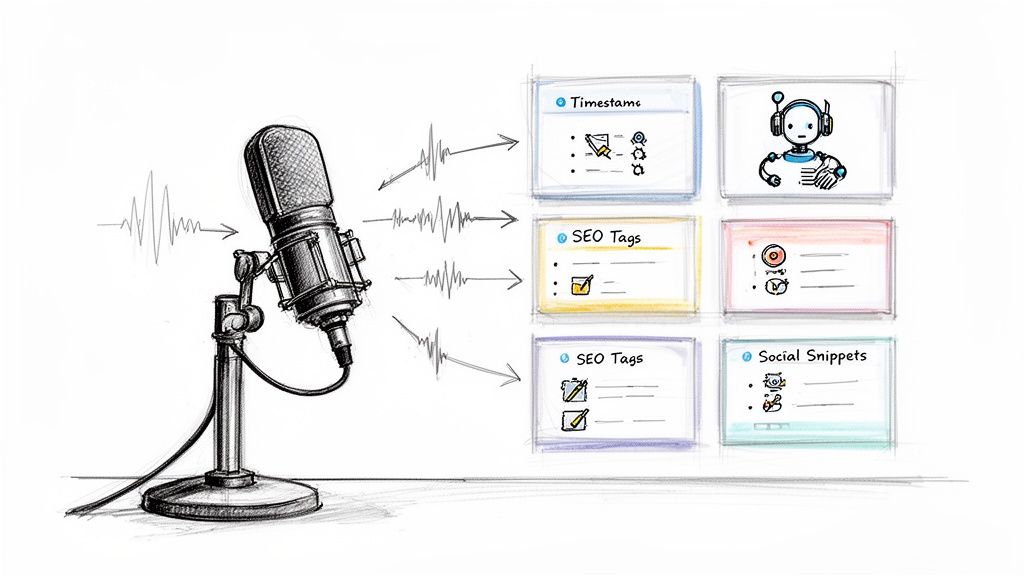
Think about your team's last big brainstorming session. Maybe it was a 90-minute marathon filled with great ideas, key decisions, and a handful of action items. Instead of assigning someone the painful task of rewatching the whole thing, you can let an AI tool handle the grunt work.
Here’s what you get back in just a few minutes:
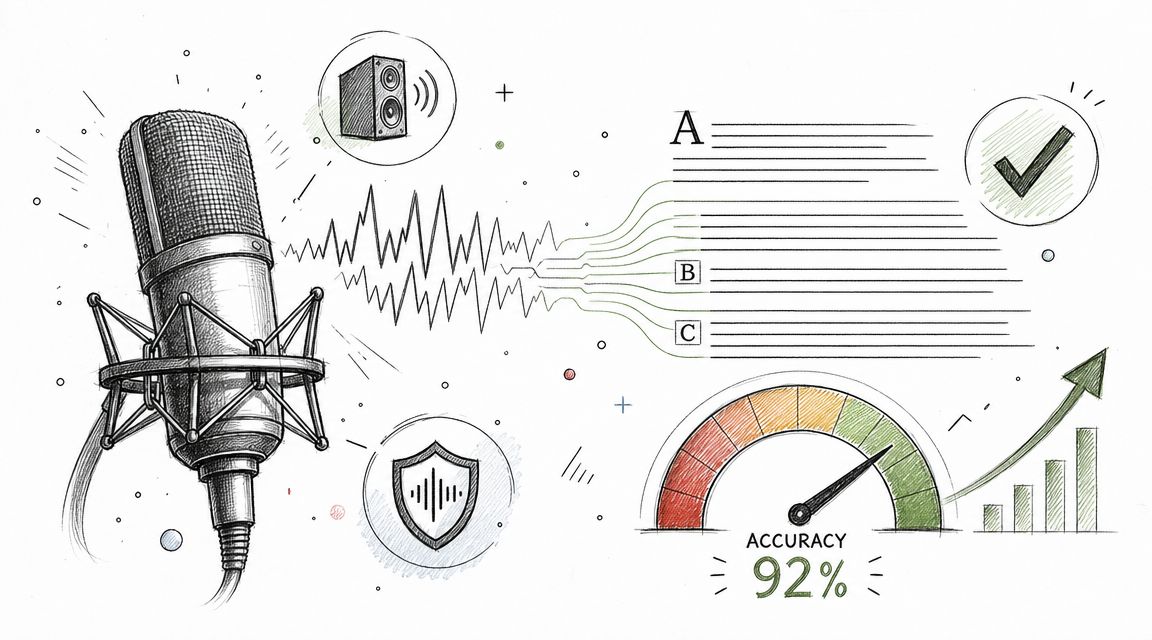
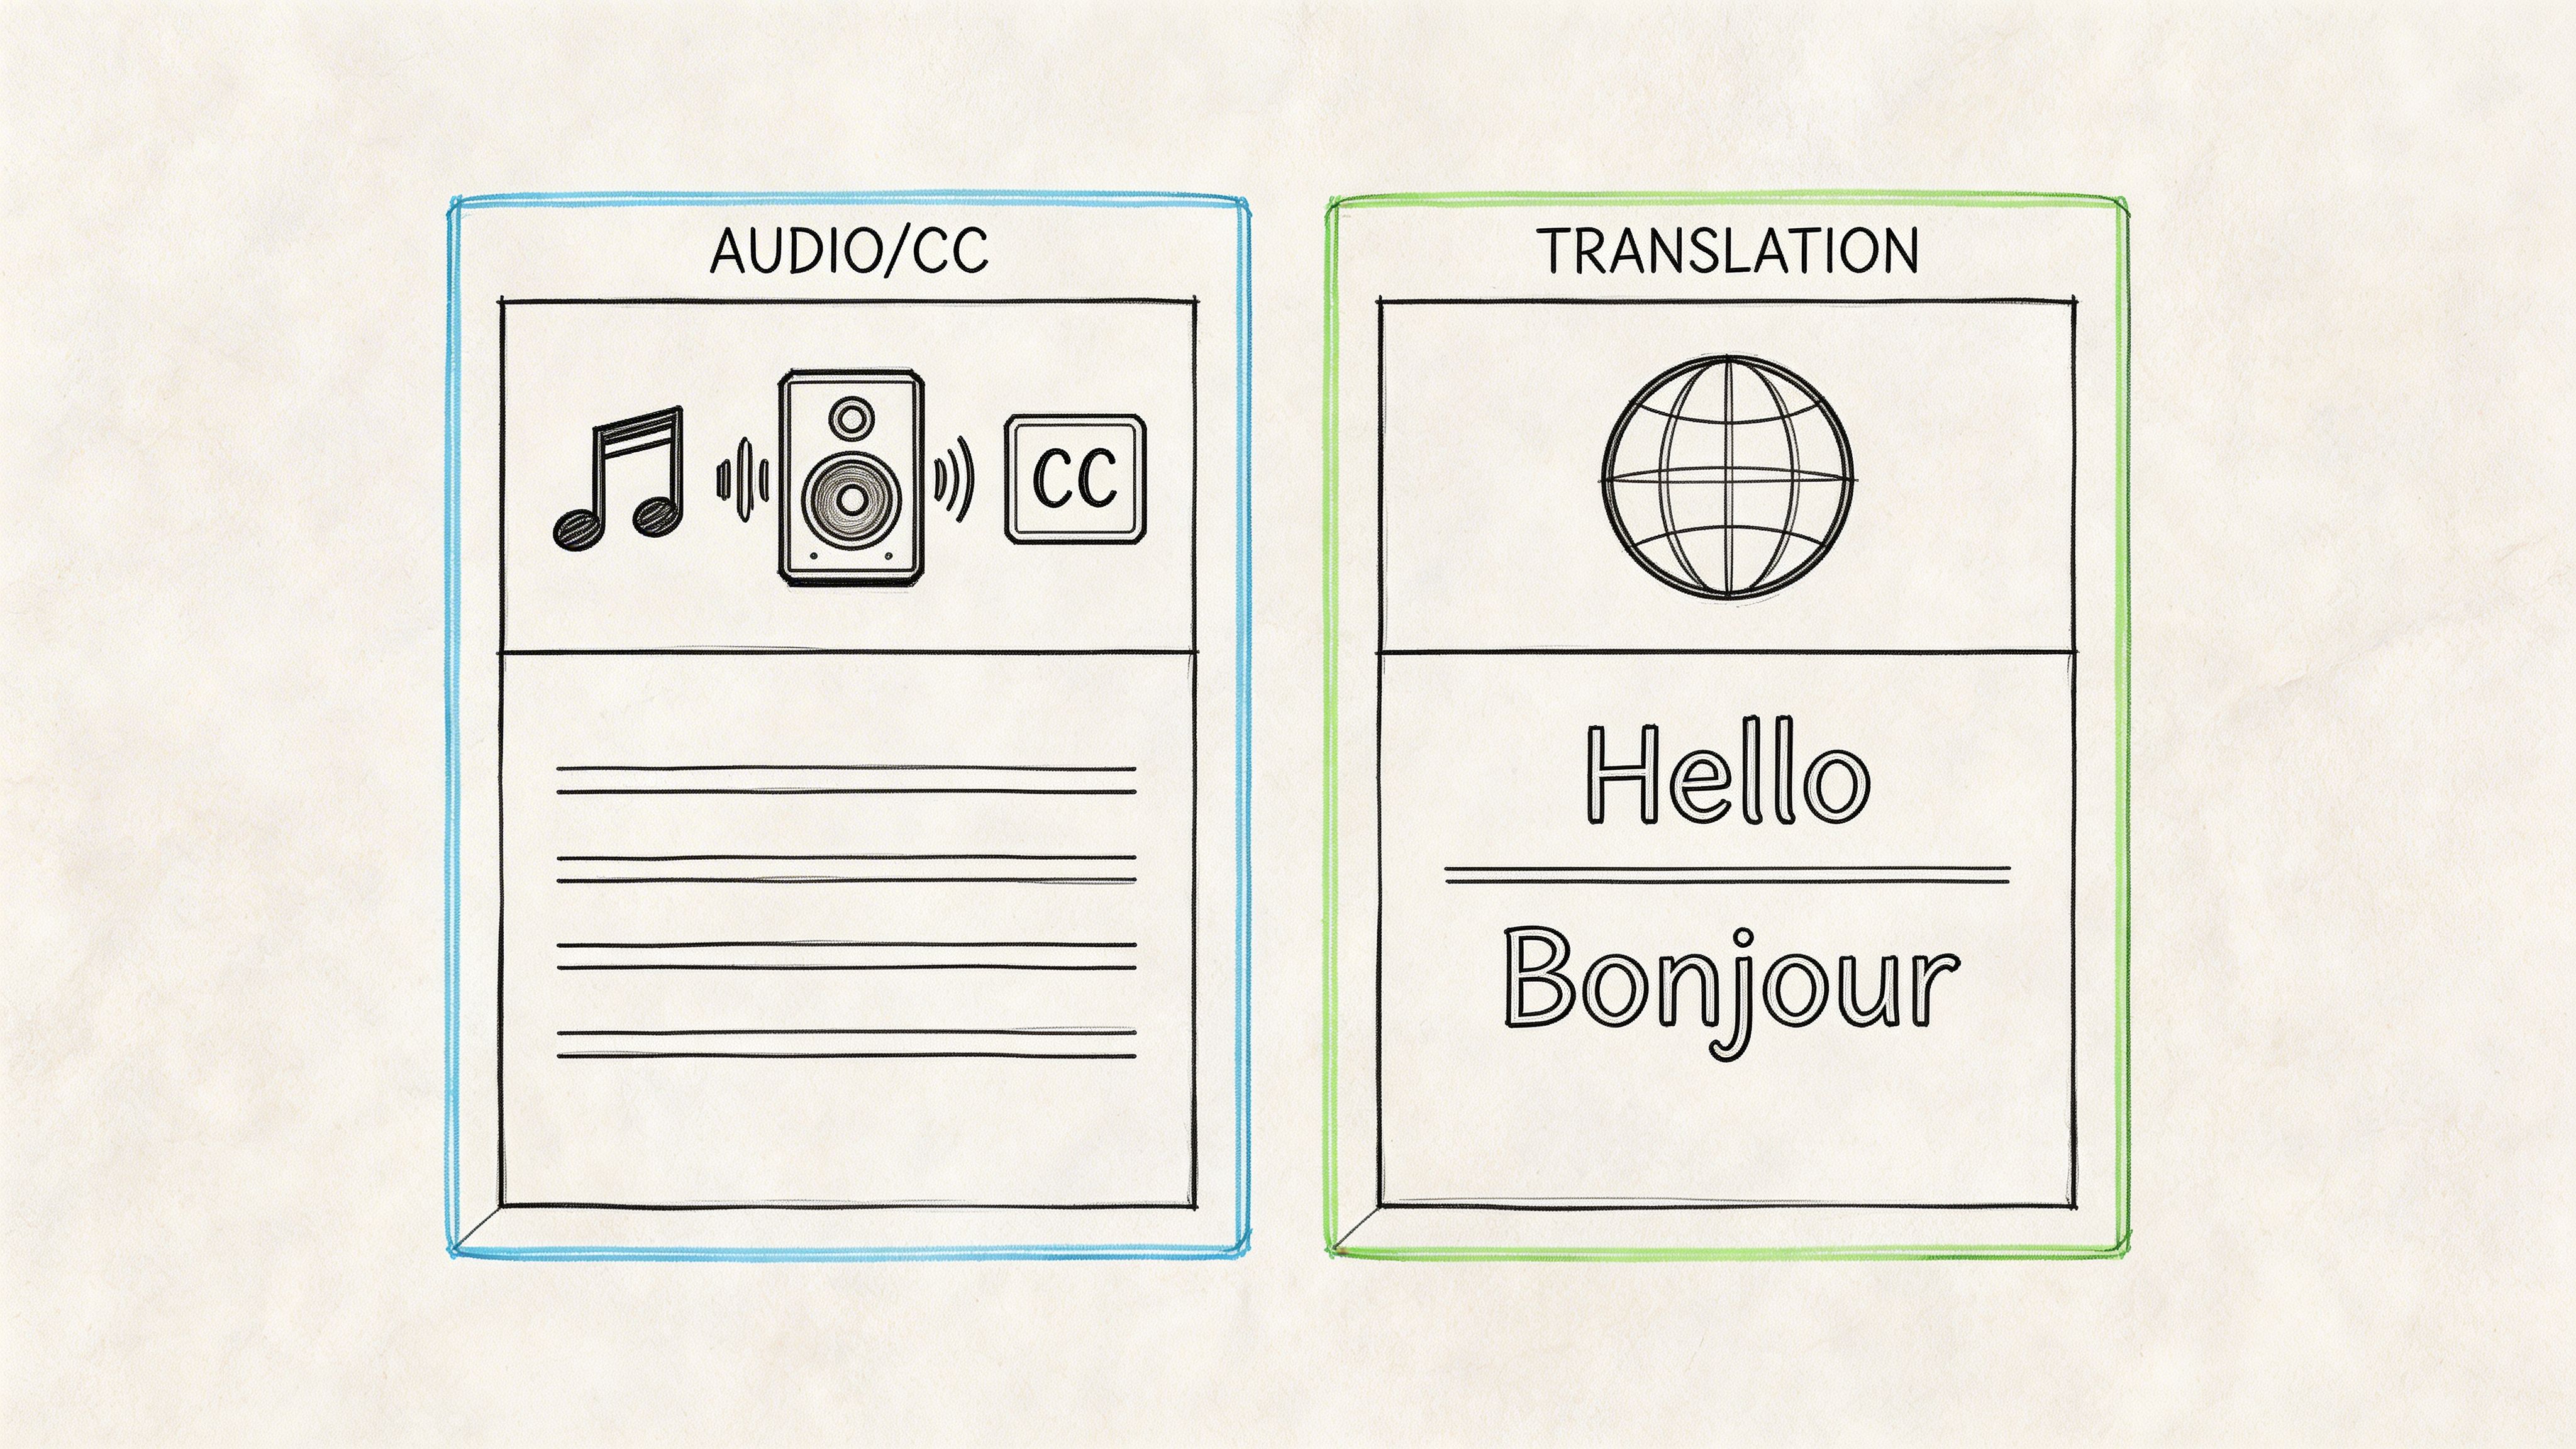
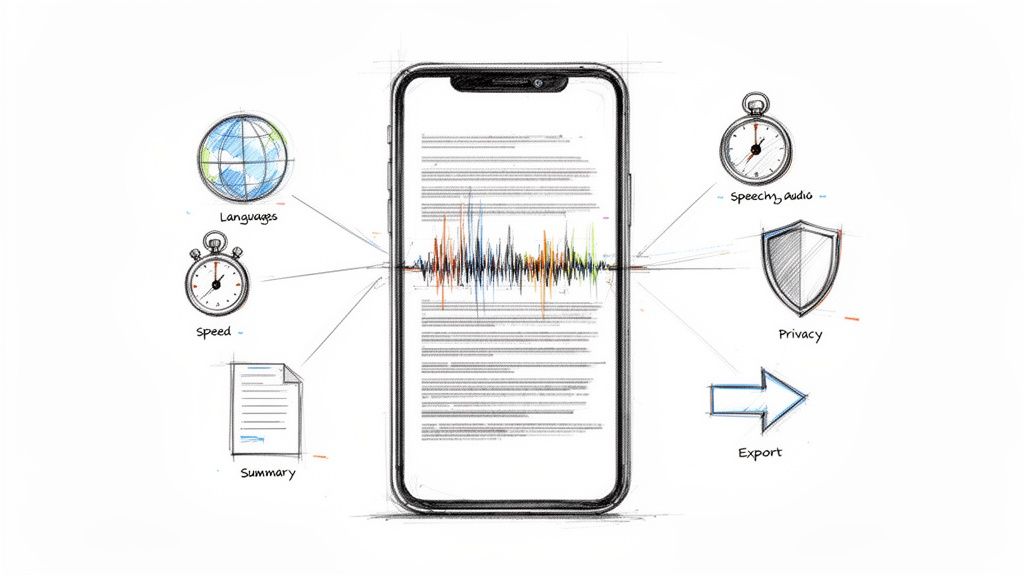
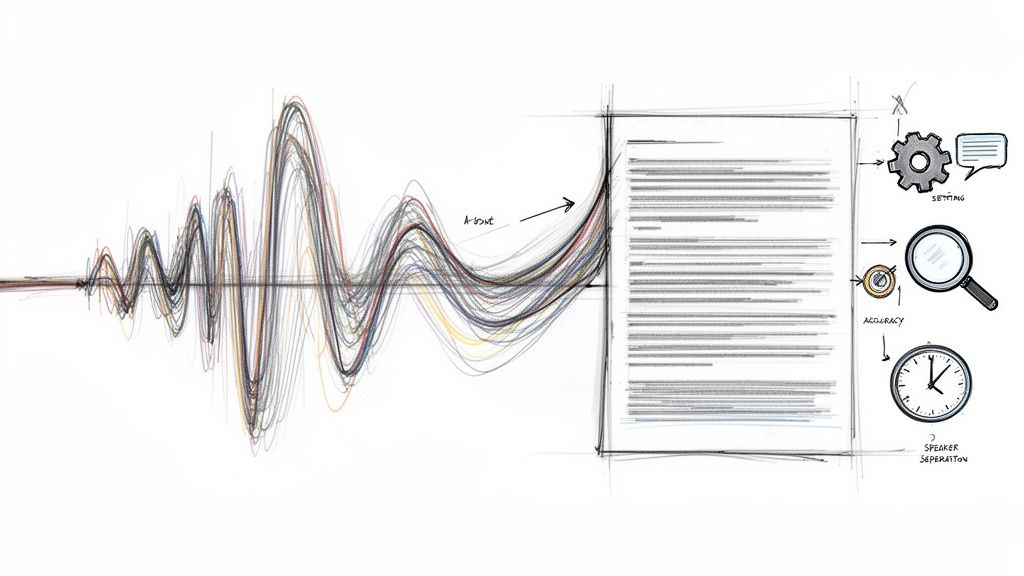
- A perfect, word-for-word transcript: Every sentence is captured with timestamps, so you can instantly jump to a specific moment in the video.
- Automatic speaker identification: The AI figures out who said what and labels the dialogue accordingly, which is incredibly helpful for tracking feedback.
- AI-generated summaries: This is the real game-changer. You get a clean, concise summary of the entire meeting, often with bullet points that pull out the most important decisions and next steps.
This is a lifesaver for global teams, too. Many of these AI platforms can handle dozens of languages, giving you accurate transcripts and summaries even from multilingual calls. It’s a fantastic way to break down communication barriers.
Put Your Meeting Content to Work
This isn't just about saving time on note-taking. It’s about making your meeting content truly useful for everyone, including people who couldn't be there. A new team member can quickly catch up on project history, and managers can get the highlights from several meetings without dedicating hours to watching recordings.
You can even take it a step further. To make your recordings more polished, you can check out some of the best AI tools for video editing to help you pull out clips, create highlight reels, or refine the content.
By pairing your Teams recordings with smart AI processing, you create a system that works for you. You spend less time documenting and more time acting on the valuable insights from your discussions. If you're ready to make your meetings more effective, our guide on how to summarize a meeting with AI dives deeper into this process.
Common Questions About Recording Teams Meetings
Even after you get the hang of recording, a few specific questions always seem to pop up. Let's walk through some of the most common ones we hear from people using Microsoft Teams every day.
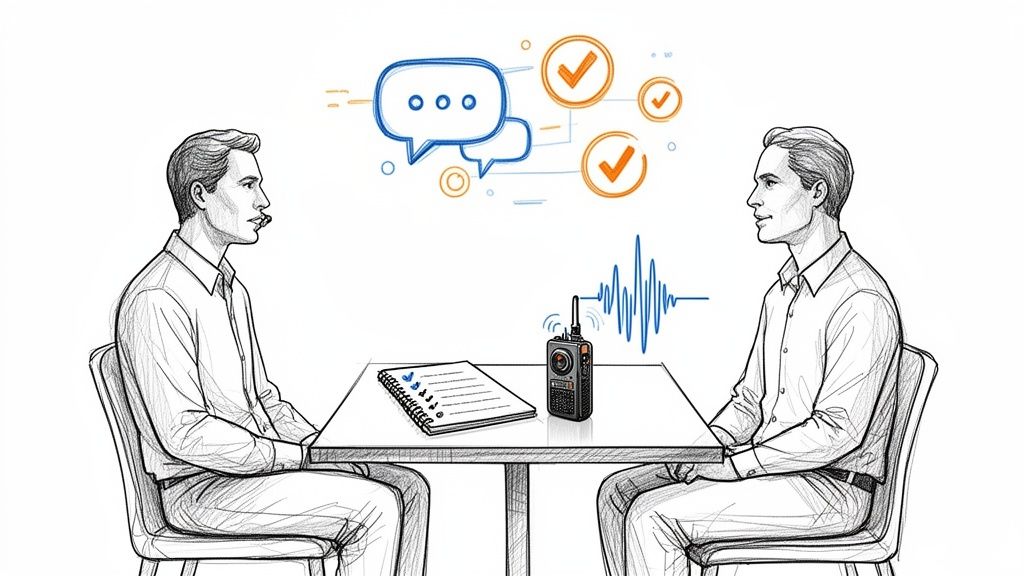
Does Teams Tell Everyone When You Start Recording?
Yes, it does. The moment you hit record, a notification banner appears at the top of everyone's screen. It's a non-negotiable privacy feature that clearly announces the meeting is being recorded and transcribed.
This alert shows up for every single person, whether they're joining from their desktop, the web, or a mobile app. You can't turn it off, and frankly, you wouldn't want to—it's what keeps everything transparent and helps everyone stay compliant with privacy rules.
Can I Record a Teams Meeting if I'm a Guest?
The short answer is almost always no. Microsoft intentionally limits recording privileges to the meeting organizer and other internal members of the same organization. It’s a straightforward security measure to maintain control over company data.
Now, an organizer can technically grant recording permissions by promoting a guest to a "Presenter" or co-organizer role. But this is where it gets tricky. Most of the time, this won't work unless the organization's IT admin has specifically enabled it in the backend settings.
Key Insight: From experience, even promoting a guest to co-organizer rarely grants them recording rights. The most reliable approach is to have someone from inside the organization handle the recording and simply share the file with the guest afterward.
How Long Are Teams Meeting Recordings Stored?
This is entirely up to your company's IT administrator. There's no single answer, but most organizations set recordings to automatically expire and be deleted after a certain time, usually between 60 and 120 days.
The good news is that the owner of the recording gets an email notification before it's deleted. This gives you a chance to go in and extend the expiration date if you need to keep the file longer. If you’re using a personal Microsoft 365 account, expect a much shorter lifespan for your recordings—often just 30 days.
What Happens if I Forget to Stop the Recording?
Don't panic—you won't end up with an eight-hour video of an empty meeting room. Teams is smart enough to automatically stop the recording as soon as the very last person leaves the meeting.
Once it stops, the file will process for a few minutes and then show up in the meeting chat and your designated storage location (OneDrive or SharePoint). It's treated just like any other recording, so you can still use AI to generate a perfect summary. For a closer look at that process, check out our guide on creating a transcript from a video file.
Ready to turn those raw Teams recordings from simple video files into a source of powerful, actionable insights? With Whisper AI, you can get accurate transcripts, speaker labels, and clear summaries in just minutes. Stop spending hours on manual notes and start unlocking the real value in your conversations.
Try Whisper AI for free and supercharge your meeting workflow today!