How to Capture Streaming Video: A 2026 Guide
Some streams disappear the moment the event ends. Others stay online but become hard to search, quote, clip, or analyze. That is when people start looking up how to capture streaming video.
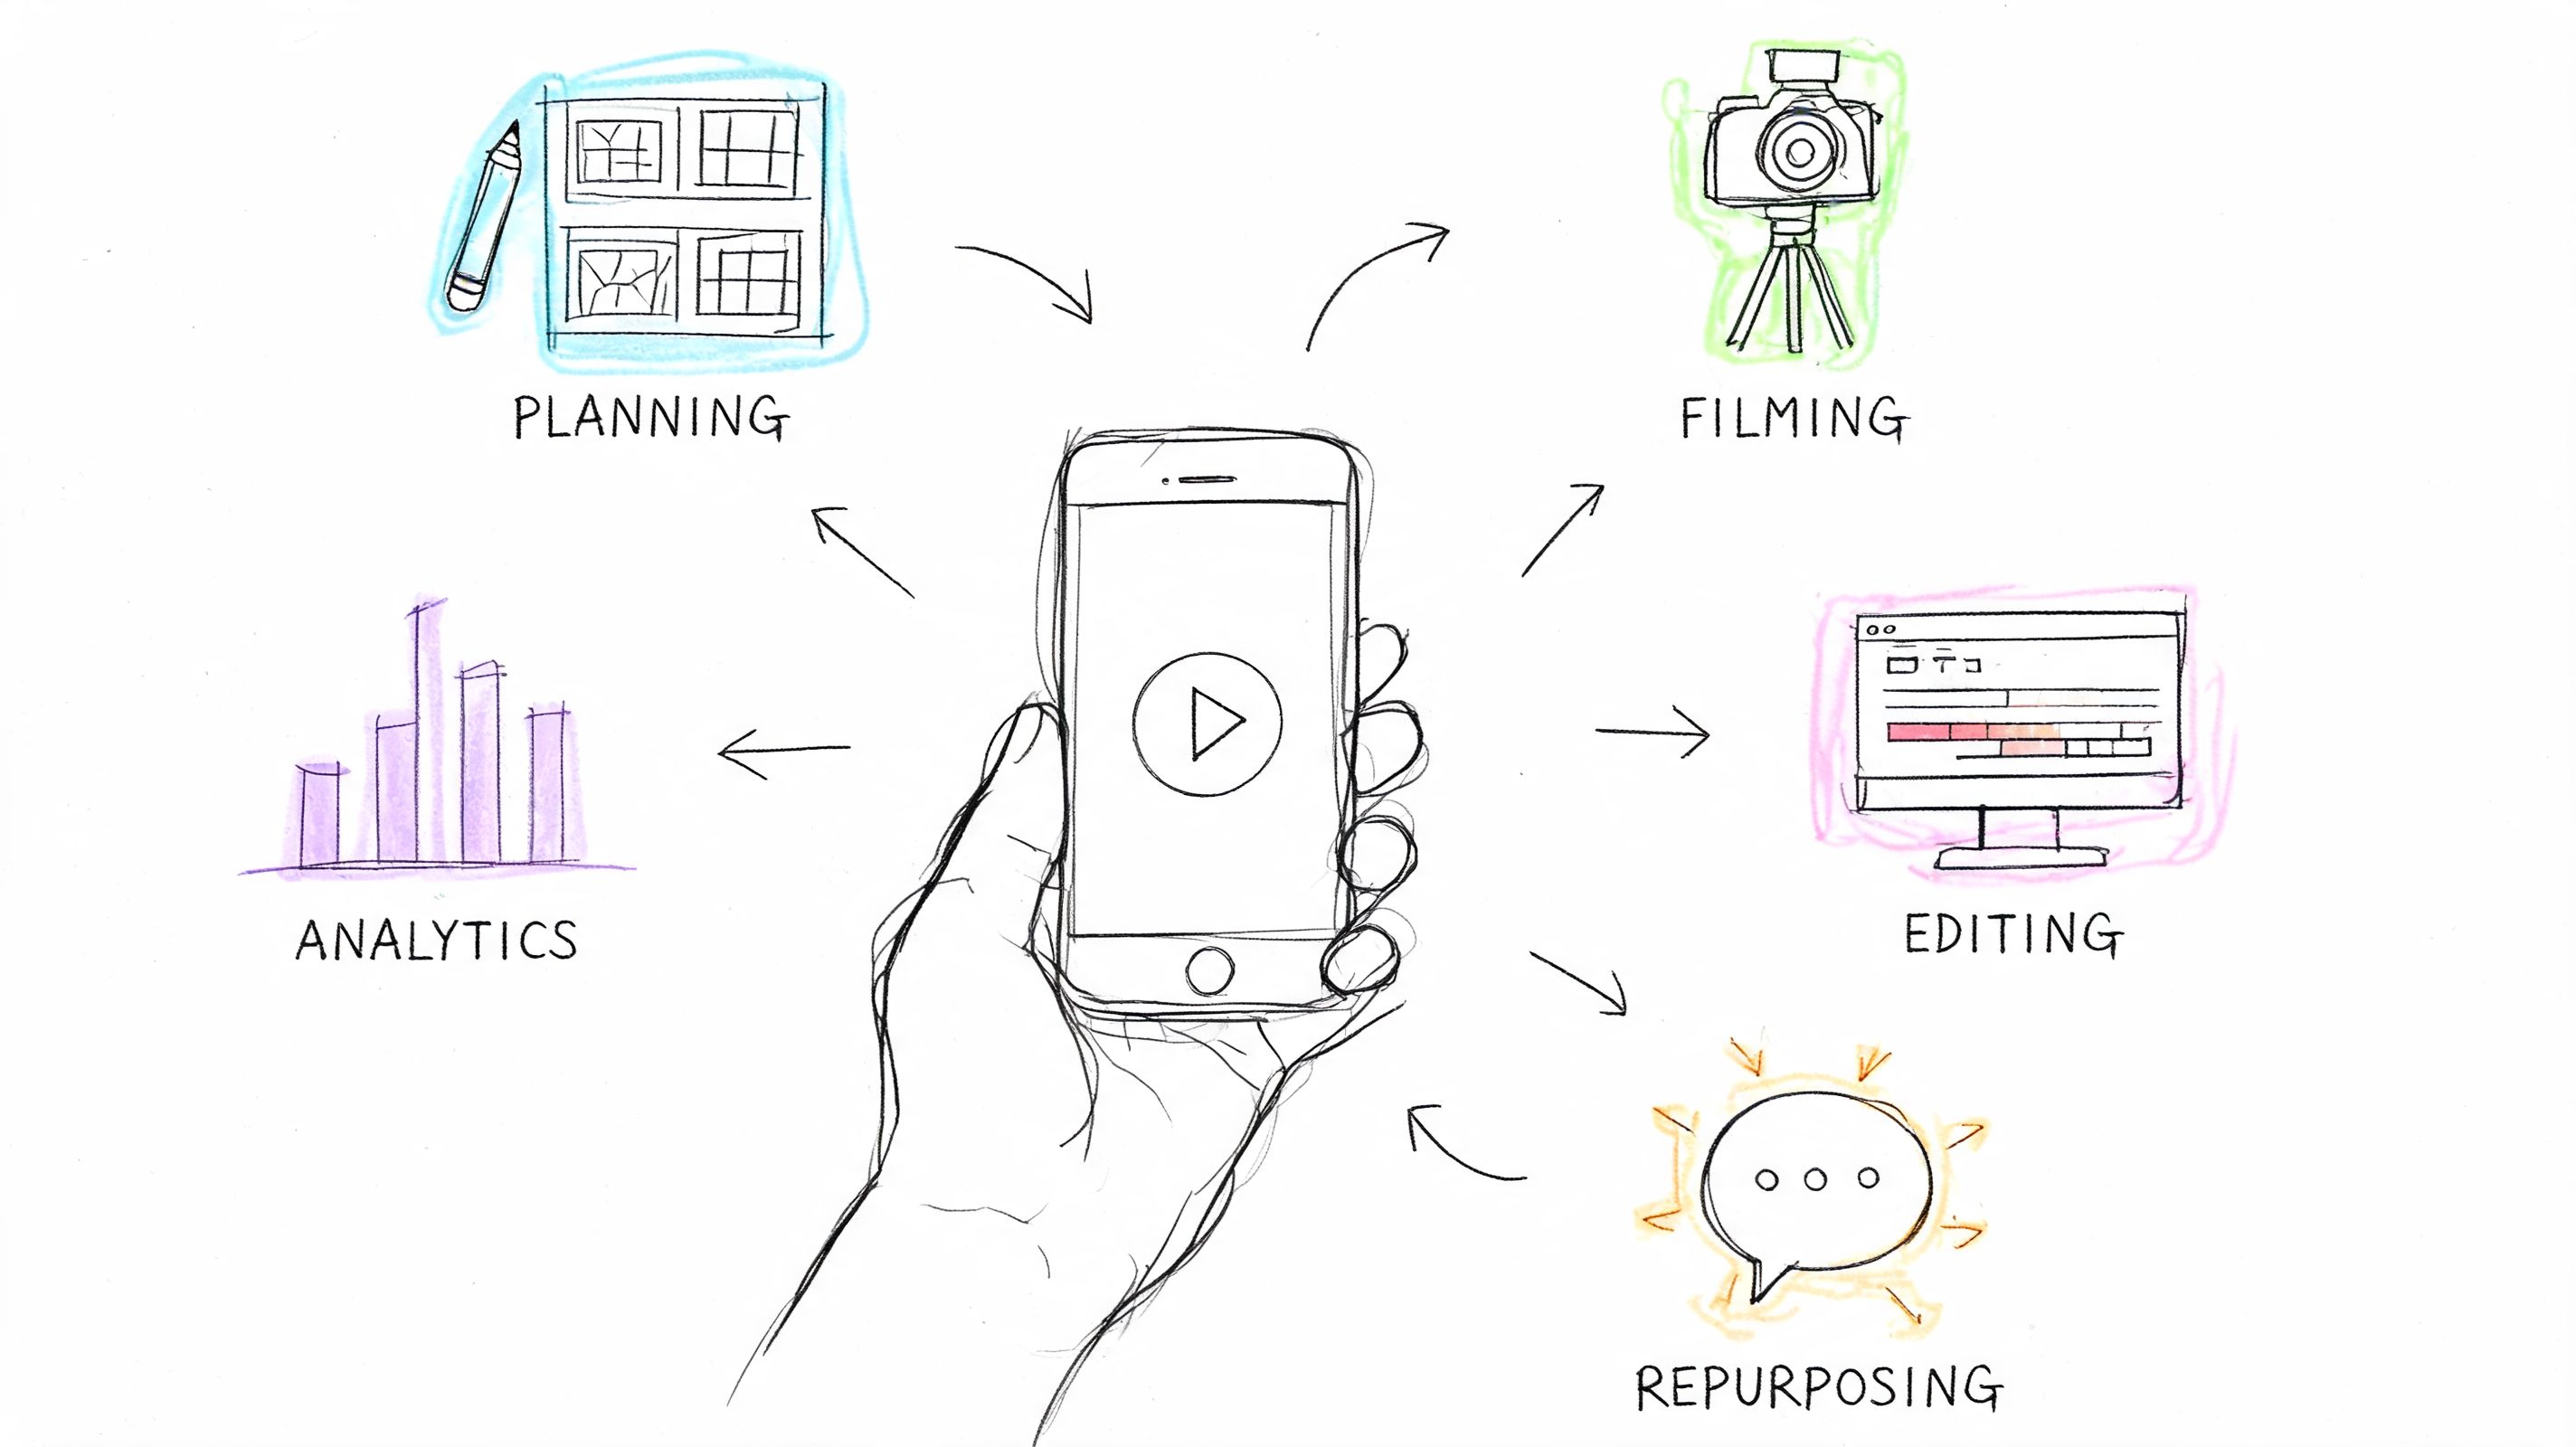
The need is rarely just “save a copy.” A marketer wants to review a competitor’s live product launch without scrubbing through a replay. A journalist needs a record of an interview before a channel edits or removes it. A creator wants a clean source file for clips, captions, and summaries. A researcher wants notes from a long webinar without rewatching the full thing.
The practical question is not whether you can record a stream. It is which method gives you the right balance of quality, reliability, effort, and legal safety for the job. That answer changes depending on whether you are grabbing a quick reference copy, archiving a public event, or preparing footage for transcription and post-production.
Why You Need to Capture Streaming Video
A captured stream becomes useful the moment you need to do something with it besides watch it once.
For content teams, the biggest value is review. Raw view counts tell you very little about what held attention. Metrics like Total Hours Watched and Retention Rate are more meaningful for understanding content performance, and capturing the stream gives you material for detailed post-event analysis, as discussed in SproutVideo’s breakdown of live stream metrics.
That matters in ordinary situations:
- A social media manager wants to see where viewers stayed engaged during a competitor’s live Q and A.
- A podcast producer wants to pull quotes and repurpose a guest appearance into short clips.
- A student or researcher needs a stable copy of a panel discussion for notes and citations.
- An internal team wants to preserve a training session before the host removes access.
Why capture matters
Streaming is convenient for delivery, not for reuse.
A live player is built for watching in the moment. It is not built for careful review, annotation, transcript generation, or editorial work. Once the event is over, you may lose access, lose quality, or lose context.
Practical takeaway: If the stream contains information you may need later, capture first and organize second. Waiting until after the replay disappears is a common mistake.
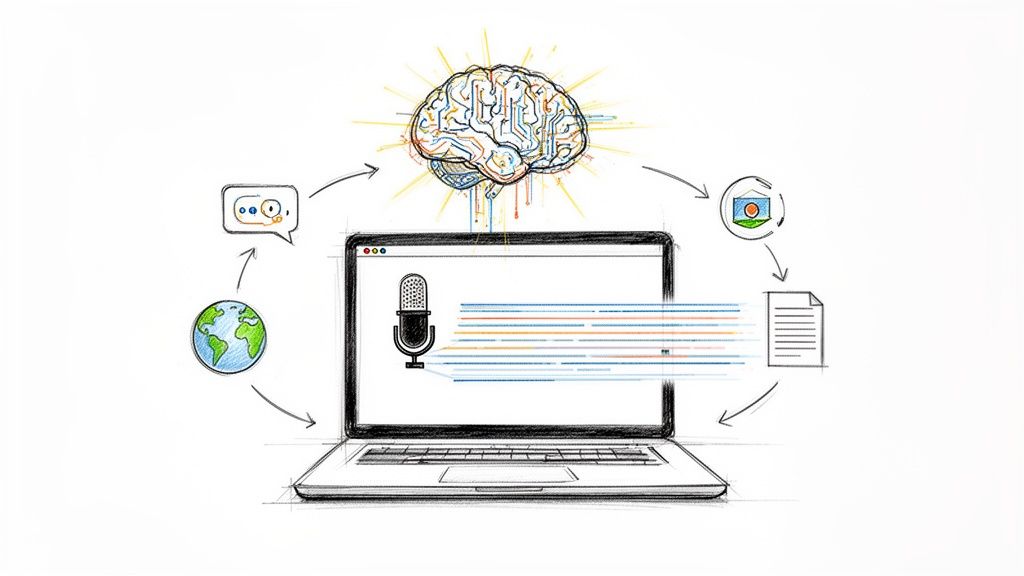
There is another reason professionals capture streams. Many workflows now run from video to text, not from video to final video. A clean recording gives you a stable source for transcripts, summaries, chapters, captions, and internal search. That is much more valuable than a vague memory of what was said at minute forty-three.
Choosing Your Video Capture Method
Many users pick a tool too early. They install OBS, or a browser extension, or a downloader, and then try to force every stream through that one workflow. That creates avoidable quality loss, sync problems, or wasted time.
Choose the method based on the source and the outcome you need.
Video Capture Method Comparison
| Method | Best For | Ease of Use | Max Quality | Cost |
|---|---|---|---|---|
| Browser recorder or extension | Quick reference captures, short clips, casual use | High | Moderate | Usually low |
| OBS Studio screen recording | Flexible recording of live playback, tutorials, webinars, mixed layouts | Moderate | High | Free |
| Direct stream download with yt-dlp or similar tools | Best-quality file capture from supported platforms | Lower | Very high | Free |
| Hardware capture card | External devices, protected playback chains, console or camera ingest | Moderate | High | Paid |
Browser tools for quick jobs
Browser-based recorders and lightweight extensions are fine when speed matters more than perfection.
If you just need a temporary copy of a public webinar or a social clip for internal reference, these tools can be enough. The main advantage is low setup friction. The main drawback is reliability. Browser recorders struggle with long sessions, adaptive bitrate playback, and audio routing.
Use this route when:
- You need speed: You want a quick save, not a polished archive.
- The stream is short: Fewer moving parts means fewer chances for drift or failures.
- You do not need editing latitude: A good-enough MP4 is acceptable.
Skip it when the stream matters.
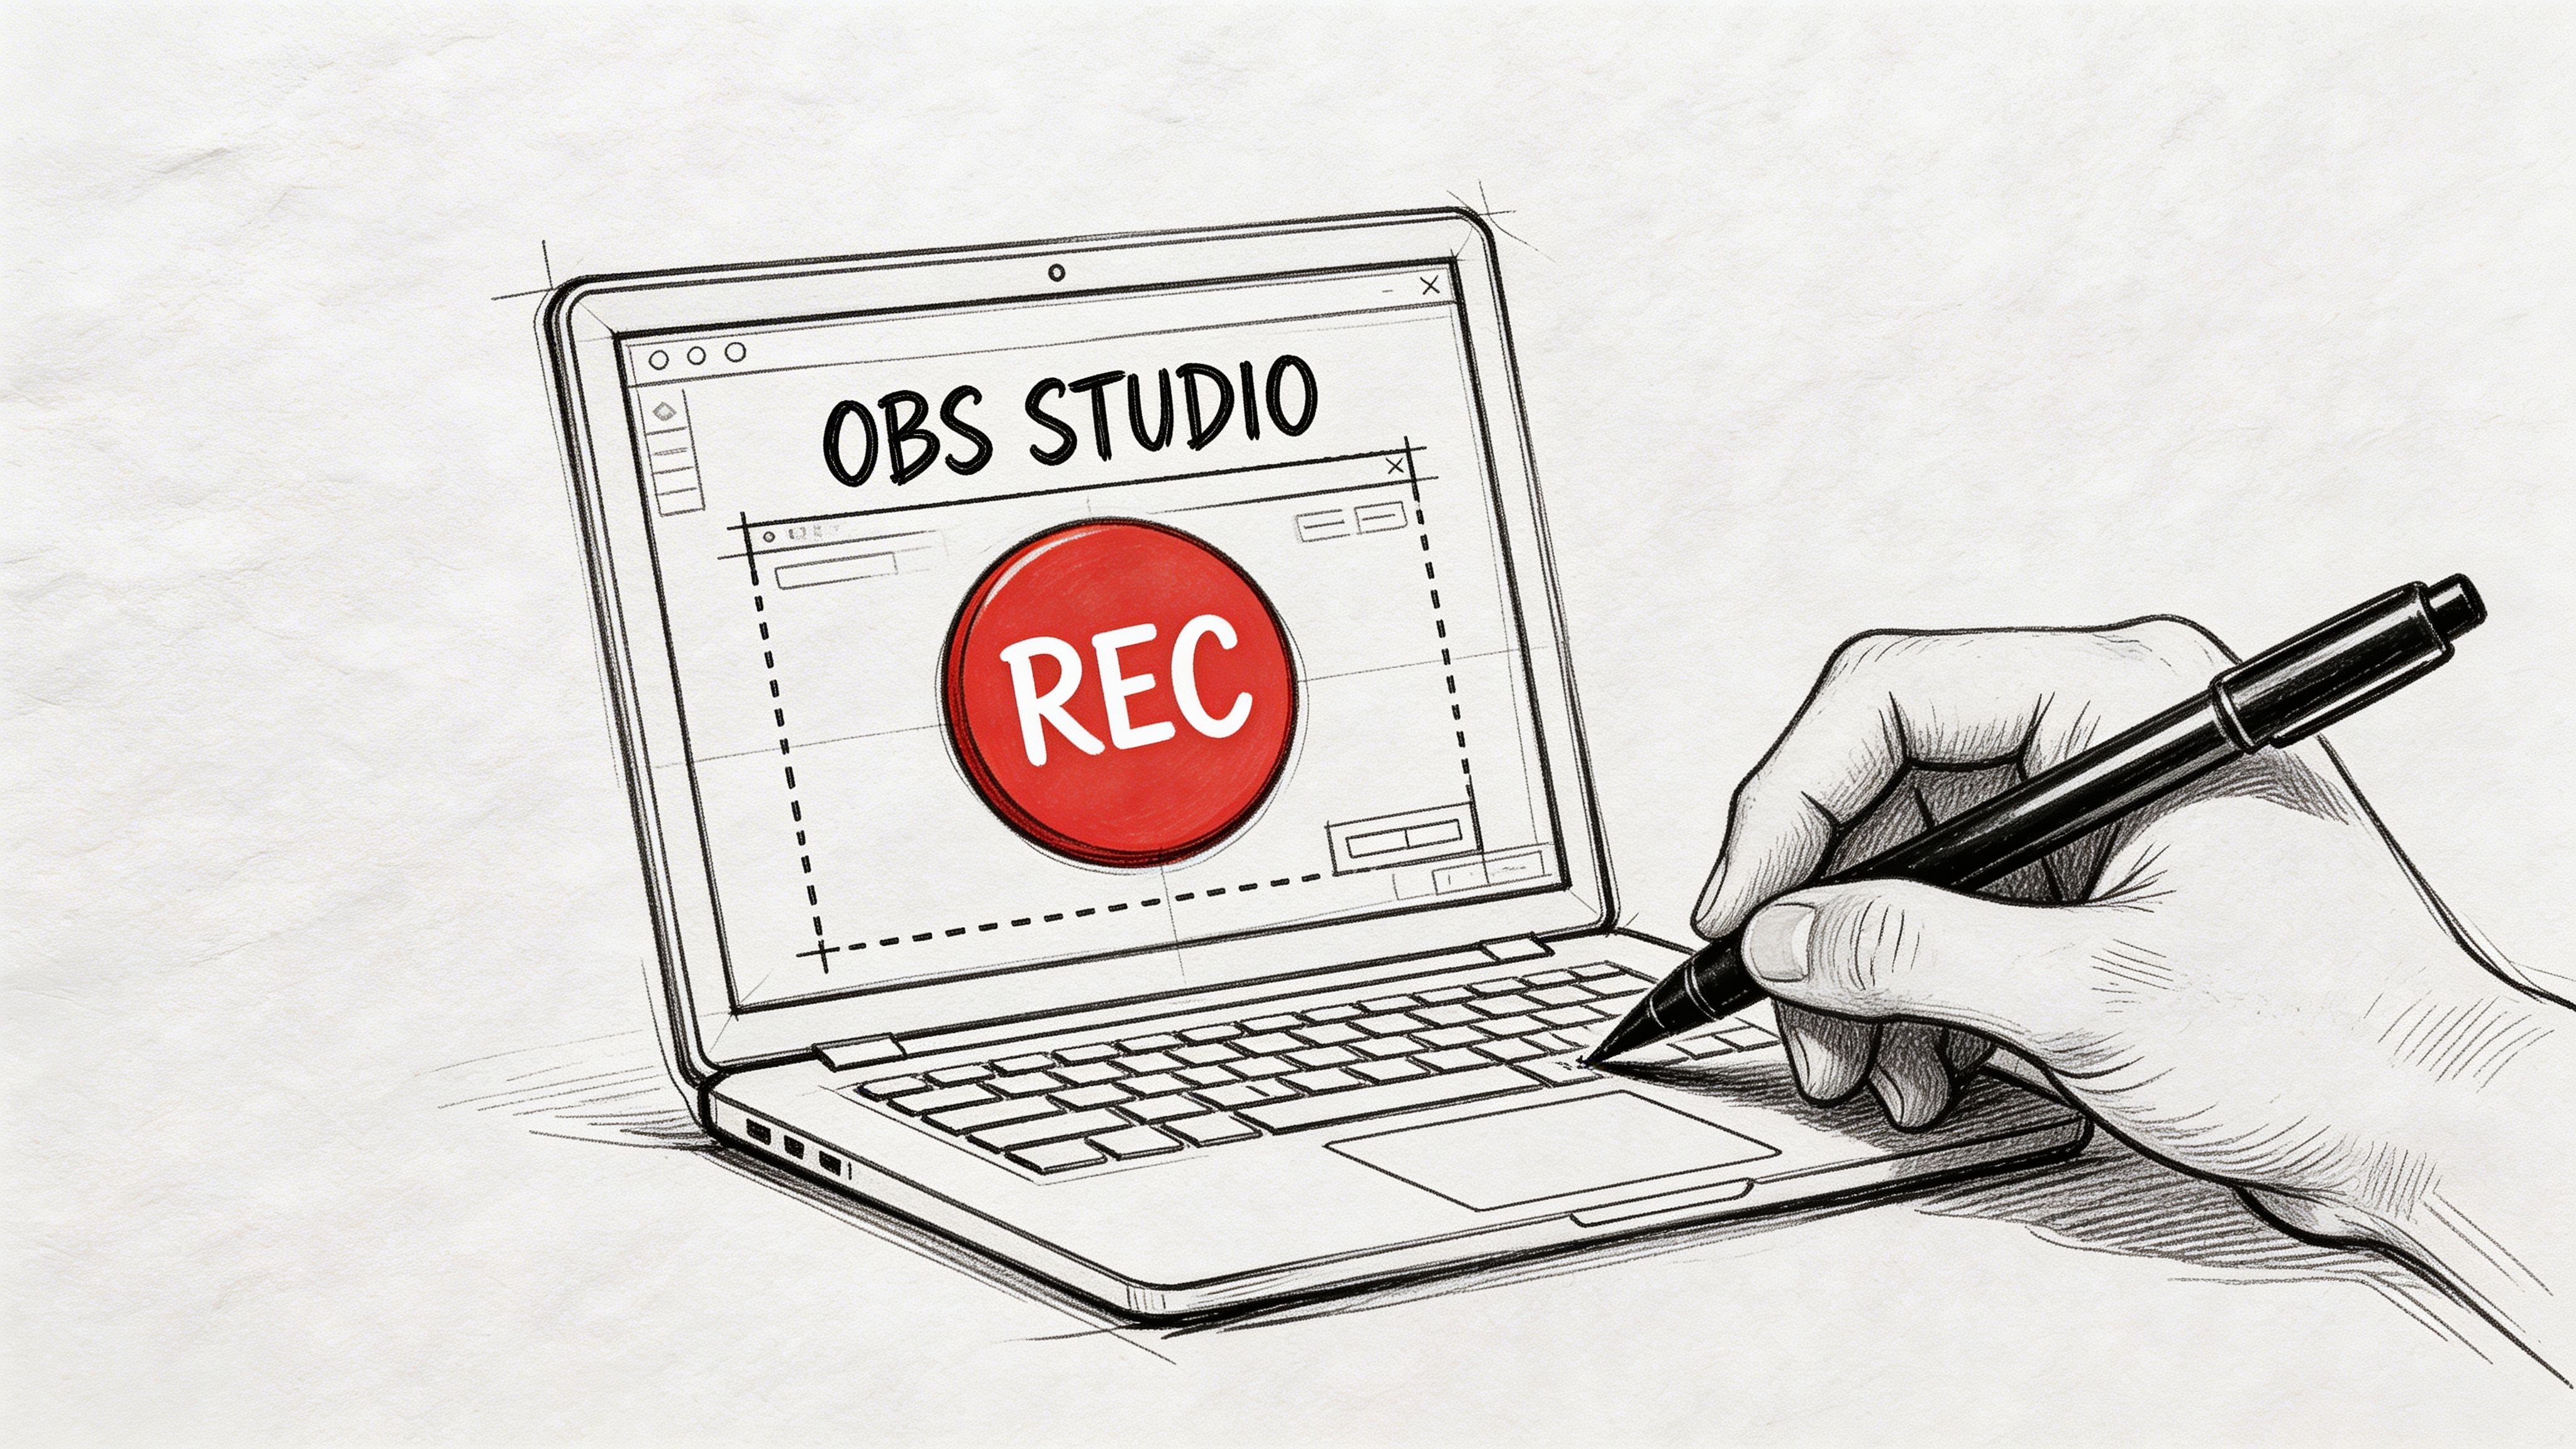
OBS Studio for controlled screen capture
OBS is the best default choice when you need flexibility.
It can record a browser window, a specific display, a cropped region, system audio, and even multiple sources at once. That makes it ideal for webinars, live interviews, YouTube streams, and training sessions where you may need to capture the player plus slides or a presenter feed.
OBS also lets you control your output settings. That matters because stable bitrate and frame rate sit at the core of good capture quality, much like the quality metrics used by streaming platforms themselves.
Best fit for OBS:
- Live events you cannot download directly
- Streams that need commentary or picture-in-picture
- Situations where you want visual monitoring while recording
Trade-off: OBS is more reliable than simple browser tools, but it asks you to understand scenes, sources, and audio paths.
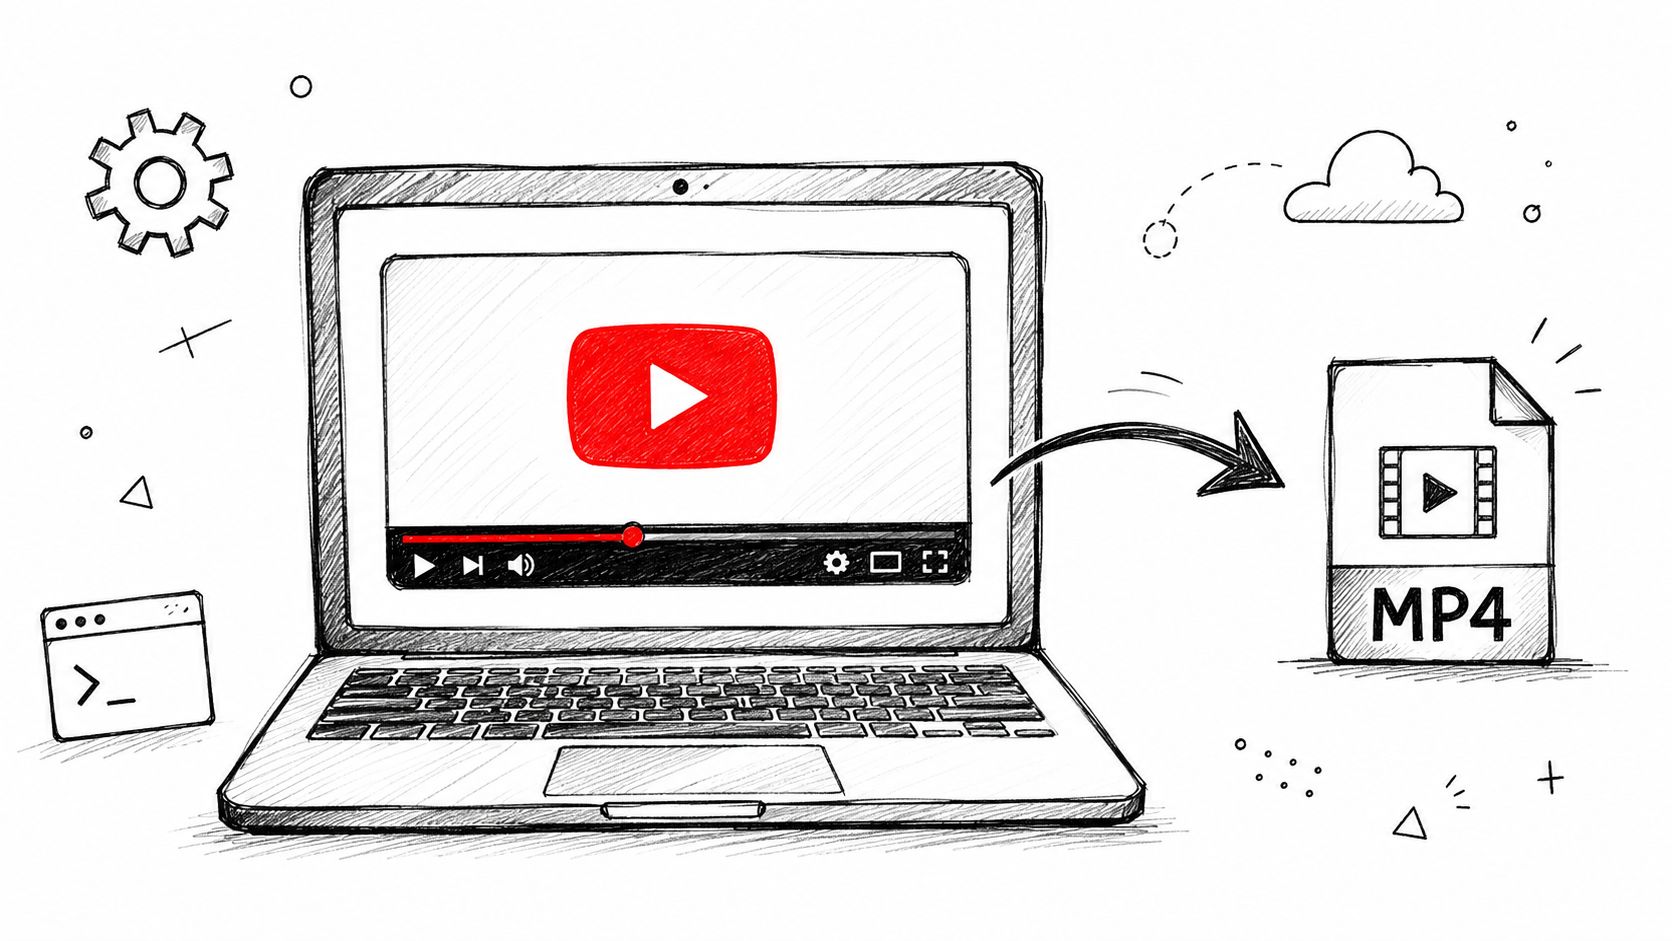
Direct stream downloads when quality comes first
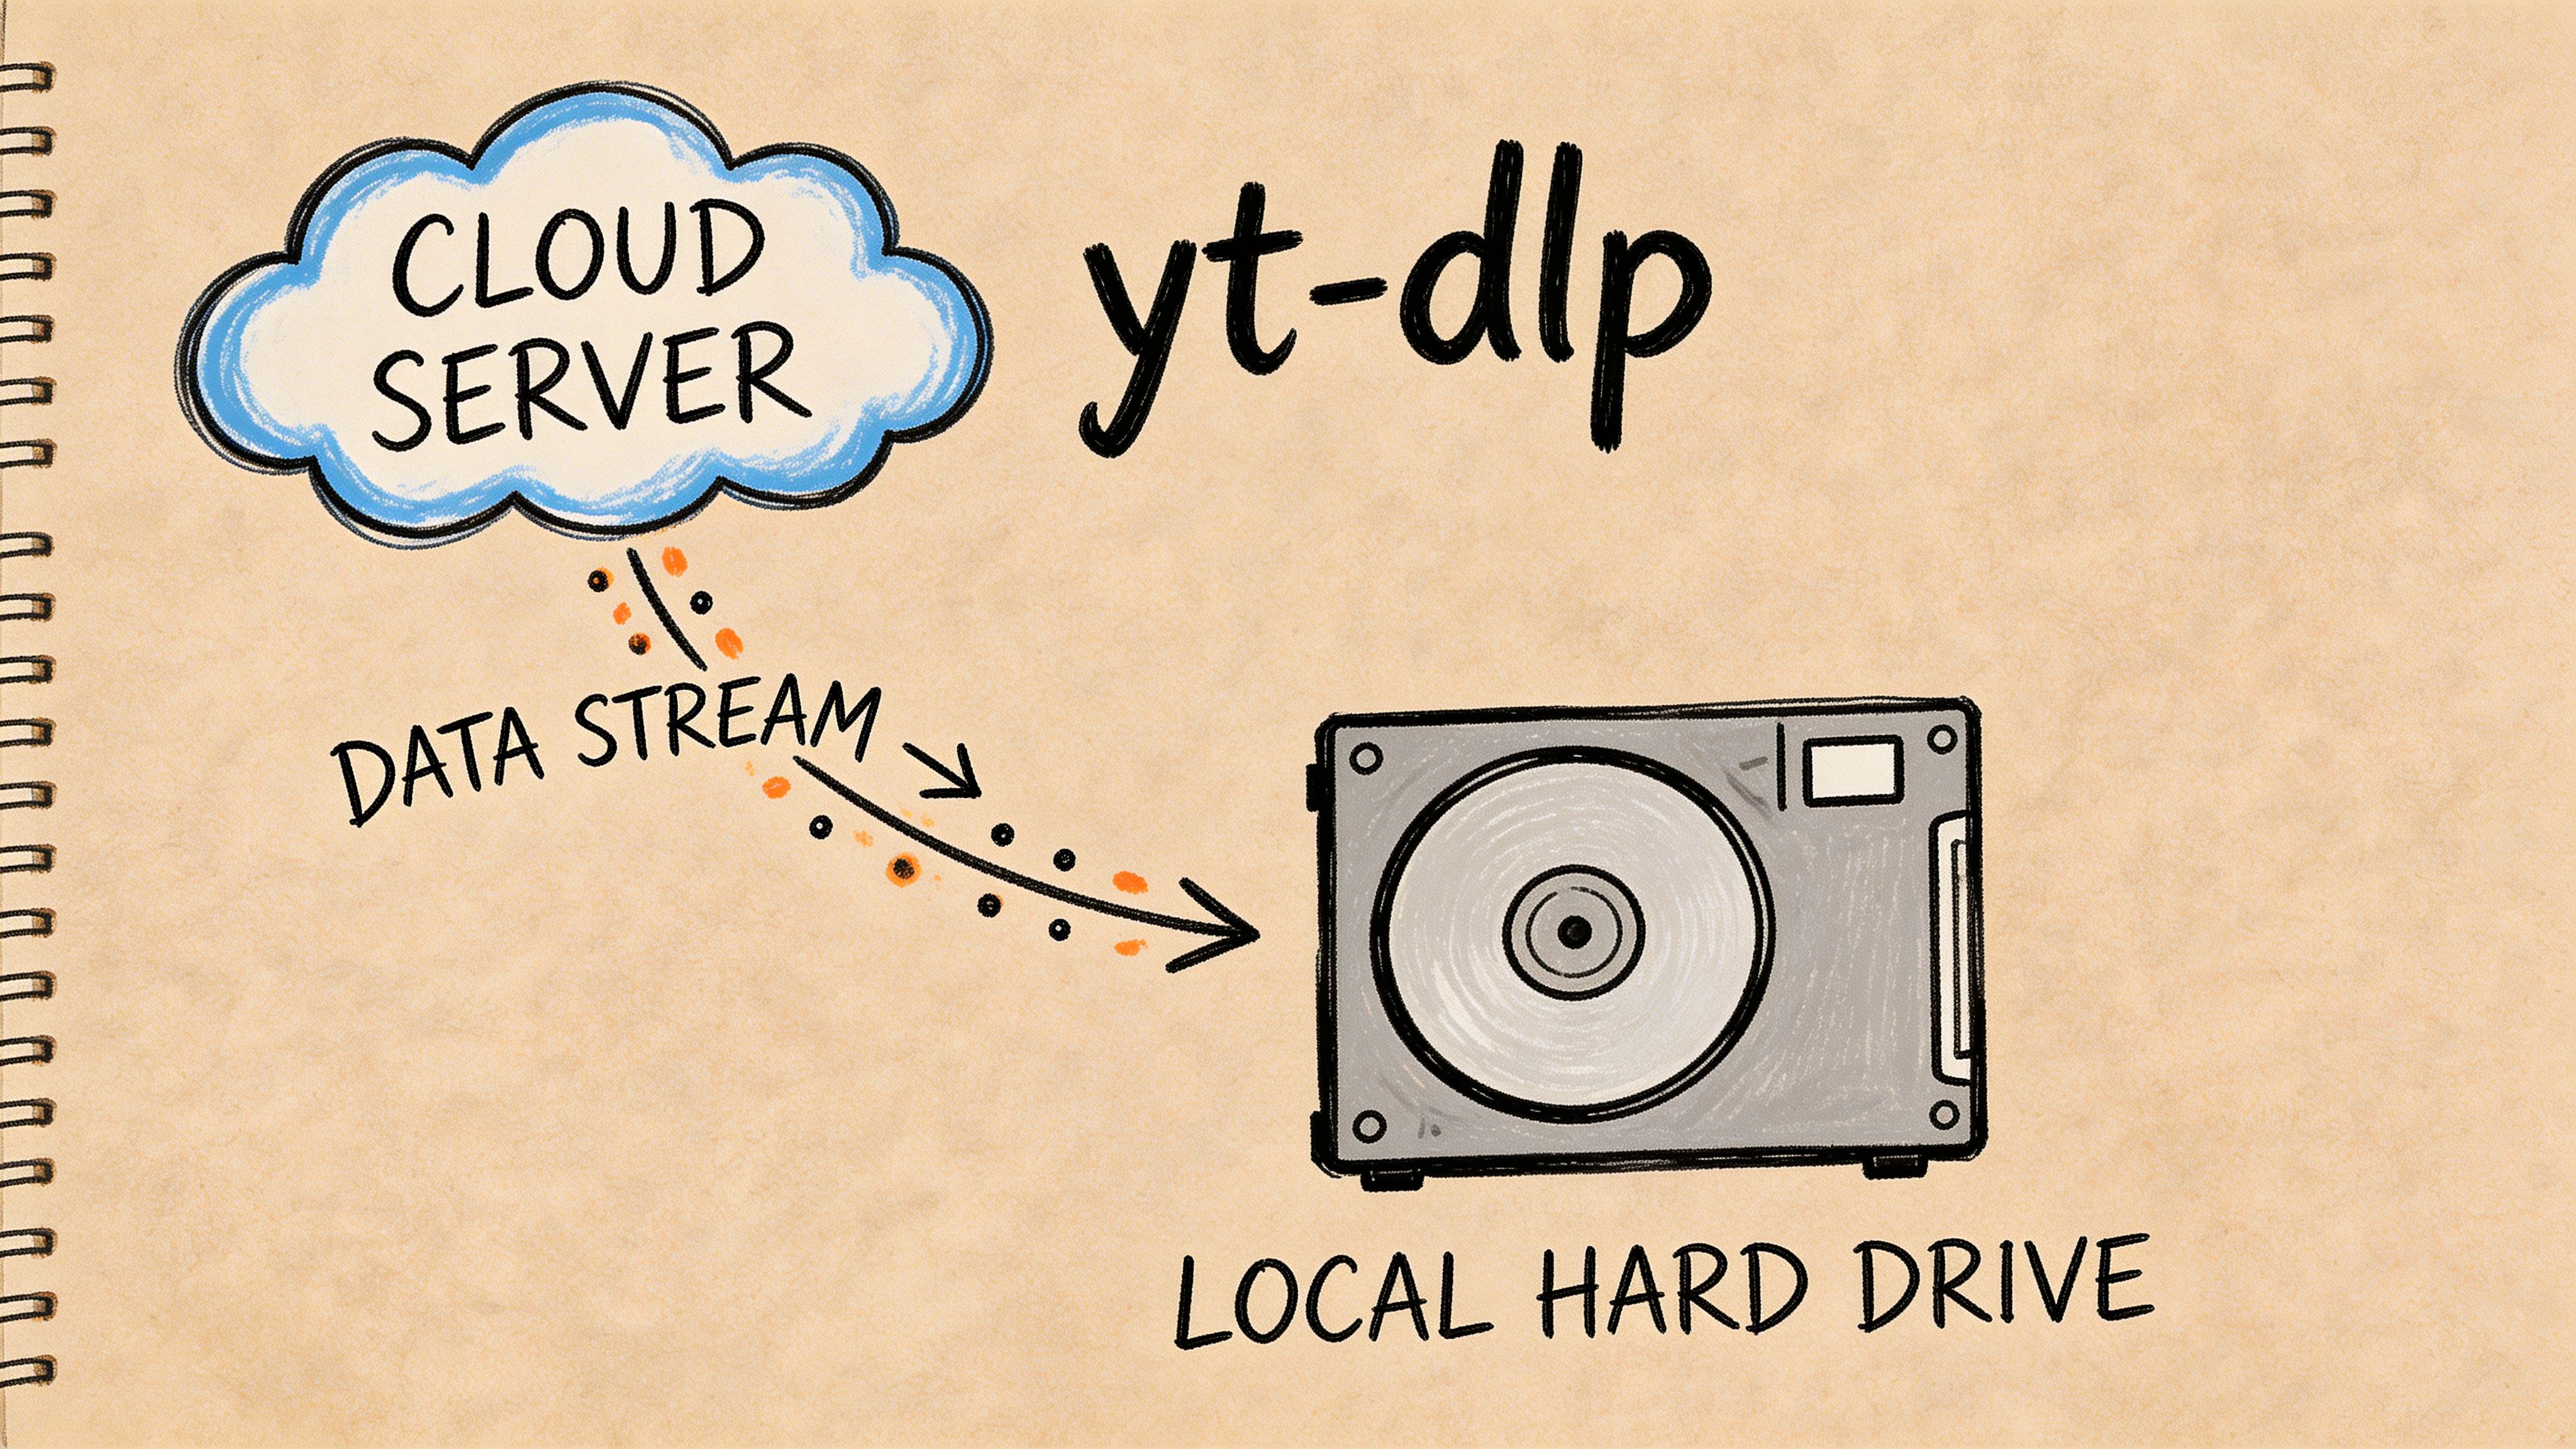
If the platform exposes a downloadable media stream, direct capture is the cleanest method.
Tools like yt-dlp do not record your screen. They retrieve the stream data itself when the source is accessible. That avoids re-encoding your display and gives you a better archive for editing, clipping, and transcription later.
This is the method to reach for when:
- You want the closest thing to the original file
- You care about smaller files without quality loss
- You are collecting VODs or public stream URLs, not just what is visible on your monitor
It is not the easiest option for beginners, but it is the best one.
Hardware capture when software is not enough
A capture card solves a different problem.
If you are recording from a console, camera, set-top box, or a second machine, hardware ingest is cleaner and more stable than trying to do everything on one computer. It also helps when you want to isolate the recording workload from the machine you are using to watch or present.
This is the right answer for:
- External HDMI sources
- Production environments
- Long recordings where system load is a concern
The downside is obvious. You pay for the device and you add setup complexity.
Rule of thumb: Use OBS when you need flexibility, yt-dlp when you can access the stream directly, and hardware capture when the source lives outside your computer or your workstation cannot carry the recording load cleanly.
Screen Recording Mastery with OBS Studio
OBS is still the tool I recommend most because it handles the messy middle. Not every stream is downloadable, not every site plays nicely with extensions, and not every user wants to work from the command line.
If you set it up correctly, OBS gives you a dependable recording workflow.
Build a clean scene first
Start with one scene for capture. Do not pile everything into a default layout.
Add only the sources you need:
- Window Capture: Best when the stream sits in a browser or app window.
- Display Capture: Use when Window Capture fails or the player is protected from direct window capture.
- Audio Output Capture: Grabs system playback without your room noise.
- Audio Input Capture: Only add your mic if you need narration.
If your goal is a pure copy of the stream, record the player window and system audio only. New users leave the microphone enabled, then wonder why keyboard noise and room echo ended up in the file.
Set recording quality on purpose
Good capture starts with stable settings, not maxed-out settings.
Bitrate and frame rate matter because they shape how motion, detail, and text survive recording. The same core idea appears in streaming quality measurement: average bitrate reflects video data delivered per second, and frame rate affects how smooth the viewer experience feels, as explained in Wowza’s guide to streaming video analytics.
In practical terms:
- Match frame rate to the source when you can. If the stream looks like standard talking-head video, you do not need to force a higher frame rate.
- Avoid underpowered encoding settings that make motion smear or text break up.
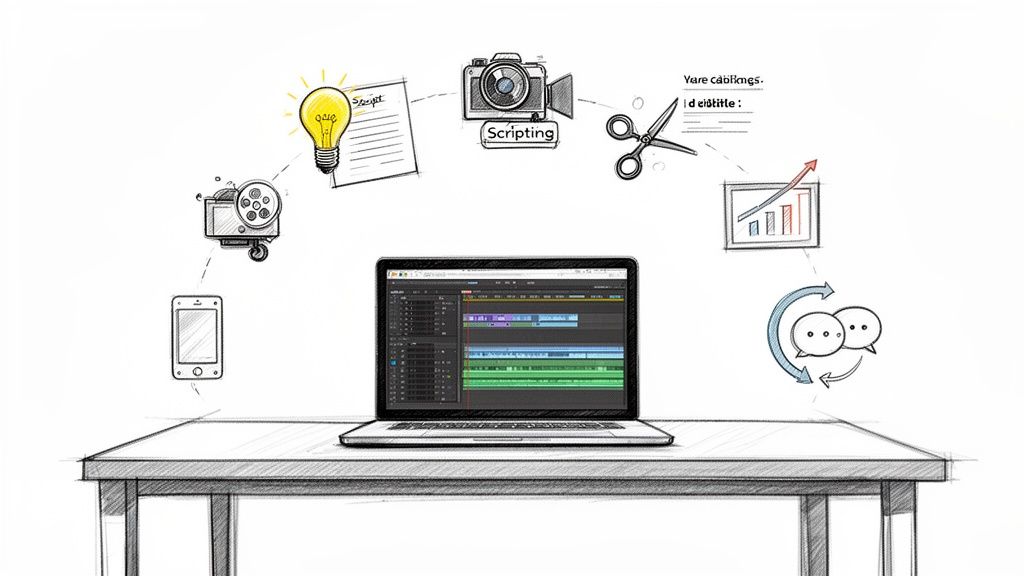
- Record to a stable format first if you are worried about crashes, then remux later for easy editing.
For creators planning post-production, it also helps to think ahead about the edit. If you are going from captured stream to clips, titles, and exports, good source quality makes everything downstream easier. This is true if your workflow includes dedicated tools discussed in this guide to video editing software for YouTube.
Fix the black screen problem
The most common OBS failure is simple. You hit record and get a black rectangle instead of video.
The cause is hardware acceleration in the browser or a mismatch between how OBS and the browser are using the GPU. The practical fixes are:
- Try Window Capture first, then switch to Display Capture if the player stays black.
- Disable browser hardware acceleration and restart the browser.
- Run OBS and the browser with the same permission level, especially on some Windows setups.
- Test before the live event starts. Do not troubleshoot during the keynote.
Tip: If a protected player refuses to appear in Window Capture, stop fighting it. Use Display Capture on a clean monitor or separate desktop and record what you can legally view.
Keep your audio clean
Video problems are obvious. Audio problems ruin the file.
Check three things before every recording:
- Monitor source selection: Make sure OBS is grabbing the correct playback device.
- Watch the meters: If they move in OBS, you are capturing signal.
- Prevent double audio: Do not record both desktop audio and the same signal through another path unless you want duplicates.
A fast test saves pain later. Record fifteen seconds, play it back with headphones, and confirm you have picture, sync, and the right audio source.
Use OBS like an operator, not just a recorder
Treat OBS as a control room.
Create one profile for streams, one for webinars, one for interviews. Name your scenes clearly. Save a “browser only” scene. Save a “display fallback” scene. Once that is done, capturing becomes routine instead of improvised.
That is what makes OBS valuable. It is not merely free. It is repeatable.
Advanced Capture with Direct Stream Downloads
When direct stream download works, it is better than screen recording.
You avoid recording the pixels on your screen and instead capture the underlying media stream itself. That means a cleaner file, less wasted storage, and fewer artifacts from your local display setup.
According to Applian’s 2026 guide, stream detection recording can produce files up to 70% smaller than screen recordings at the same perceptual quality, and it reaches 95-98% capture completeness on unprotected HLS streams because it pulls original stream data instead of re-encoding the screen (Applian).
Why this method is better
Screen recording is always a second-generation copy. Even a good one.
Direct download is closer to acquiring the source media. You skip monitor scaling, desktop notifications, accidental cursor movement, and a lot of encoding guesswork. That makes this method useful if the file will later be clipped, subtitled, archived, or transcribed.
Typical good candidates include public:
- YouTube videos
- webinar replays
- some live or archived HLS streams
- selected platform VODs where access is permitted
A simple yt-dlp workflow
You do not need to become a command-line expert to use yt-dlp effectively. A basic workflow is enough.
Start with these ideas:
Test the URL
Confirm the stream or VOD resolves and is playable in your browser.List formats
yt-dlp can show available formats so you can choose the highest useful quality instead of guessing.Download the preferred stream
Save the best compatible video and audio combination for your editing or archive workflow.Check the file
Open it immediately. Do not assume completion means success.
If you regularly save meeting recordings or event replays, the same logic applies to other hosted sources. This walkthrough on how to download Zoom recording is useful if your capture work extends beyond public streaming platforms.
Common failure points
The method is strong, but it is not magic.
Watch for these issues:
- Protected streams: Some sites expose playlists but still enforce access controls.
- Expired tokens: A URL copied too late may no longer work.
- Wrong variant selection: You may accidentally save a lower rendition if you do not inspect the available formats.
- Live instability: Some live streams need careful timing and retries.
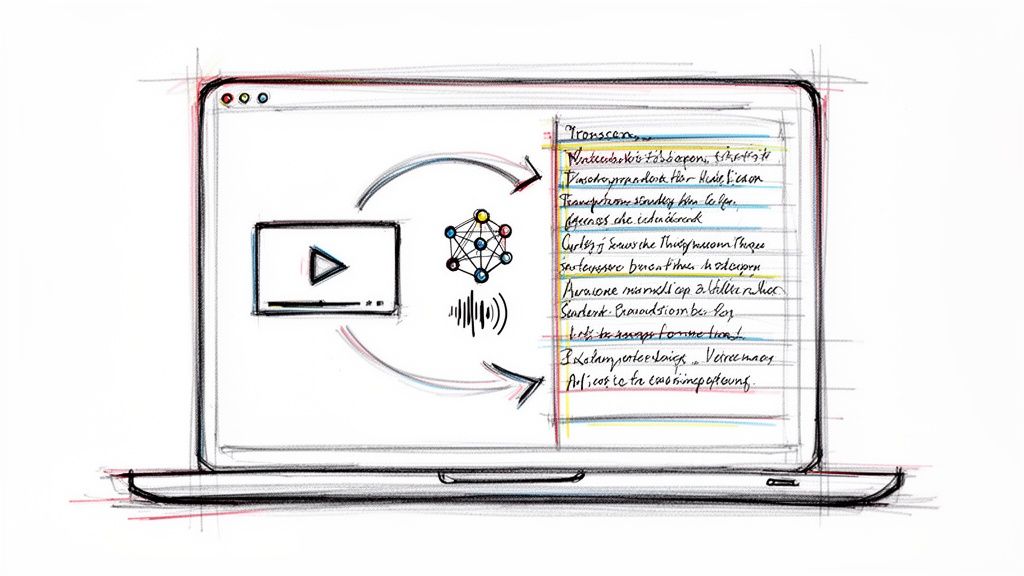
A short visual explainer helps if you are new to this approach.
When not to use direct download
Do not force this method onto every source.
If the stream is DRM-protected, if the platform terms prohibit what you are attempting, or if you only need a quick on-screen reference clip, OBS may be the simpler answer. Direct capture shines when the source is accessible and you need the best technical result with the least generational loss.
Best use case: If you plan to search, summarize, clip, or republish excerpts under a defensible workflow, start with the highest-quality source file you can lawfully obtain.
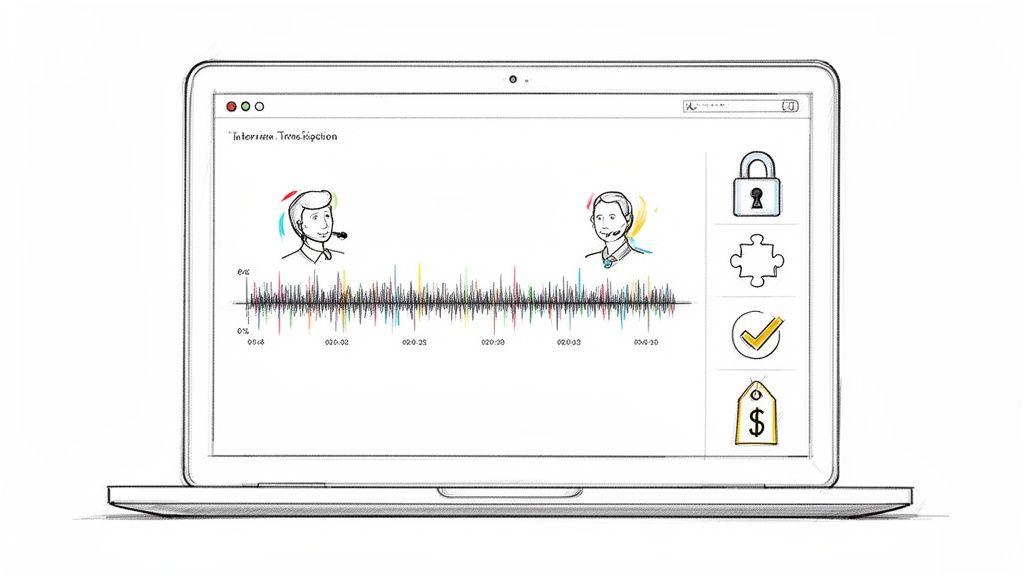
Understanding Legal Boundaries and Protected Content
Most tutorials on how to capture streaming video stop at the tool. That is where the primary risk starts.
Recording a stream is not just a technical decision. It sits at the intersection of copyright law, platform rules, access controls, privacy, and your intended use. Those are not the same thing.
Terms of service are not the whole story
A platform can prohibit a behavior in its terms even when the legal analysis is more nuanced. The reverse is also true. Something may be technically possible and still create legal exposure.
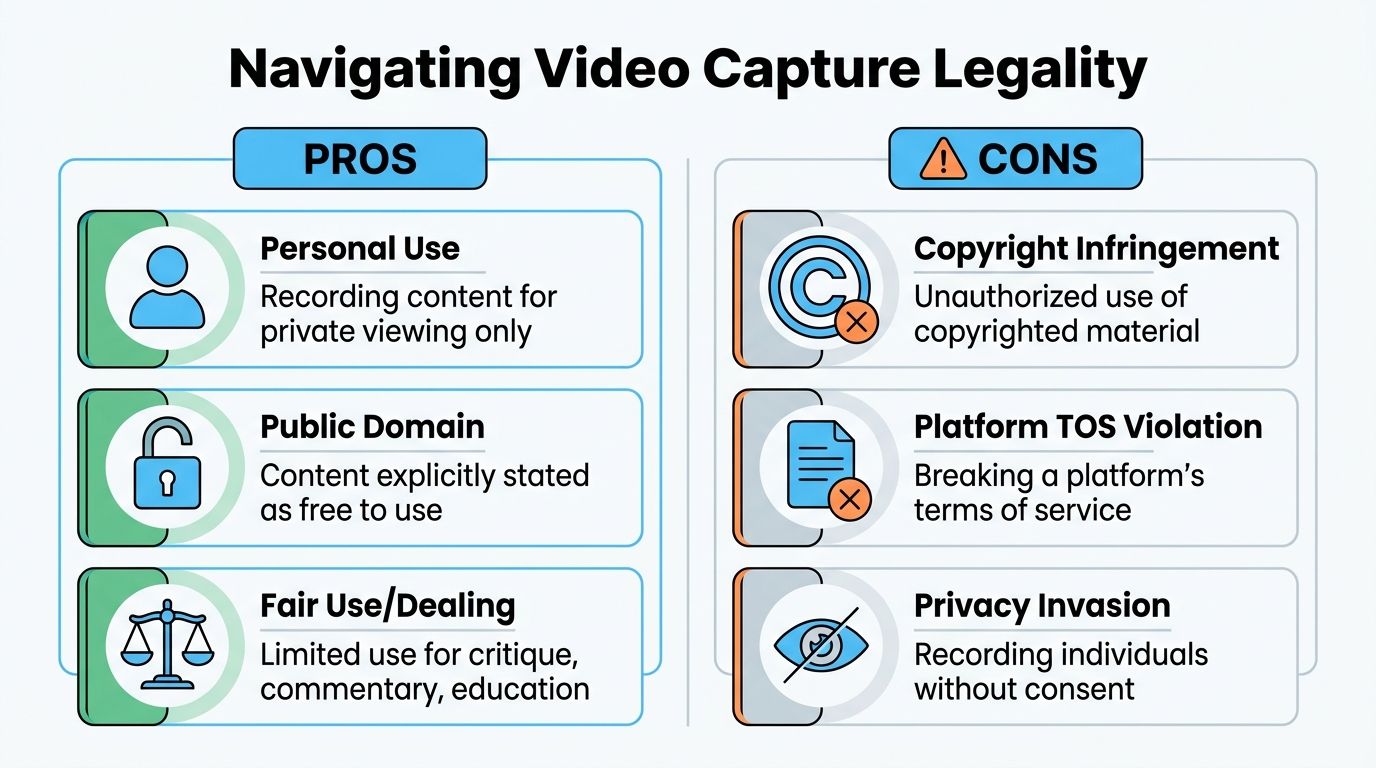
That is why “Can I record this?” has to be broken into separate questions:
- Do you have access to the content legitimately
- Does the platform prohibit capture or redistribution
- Is the content protected by DRM
- What are you going to do with the recording afterward
Recording a public webinar for private note-taking is not the same risk profile as downloading a subscription movie and reposting clips.
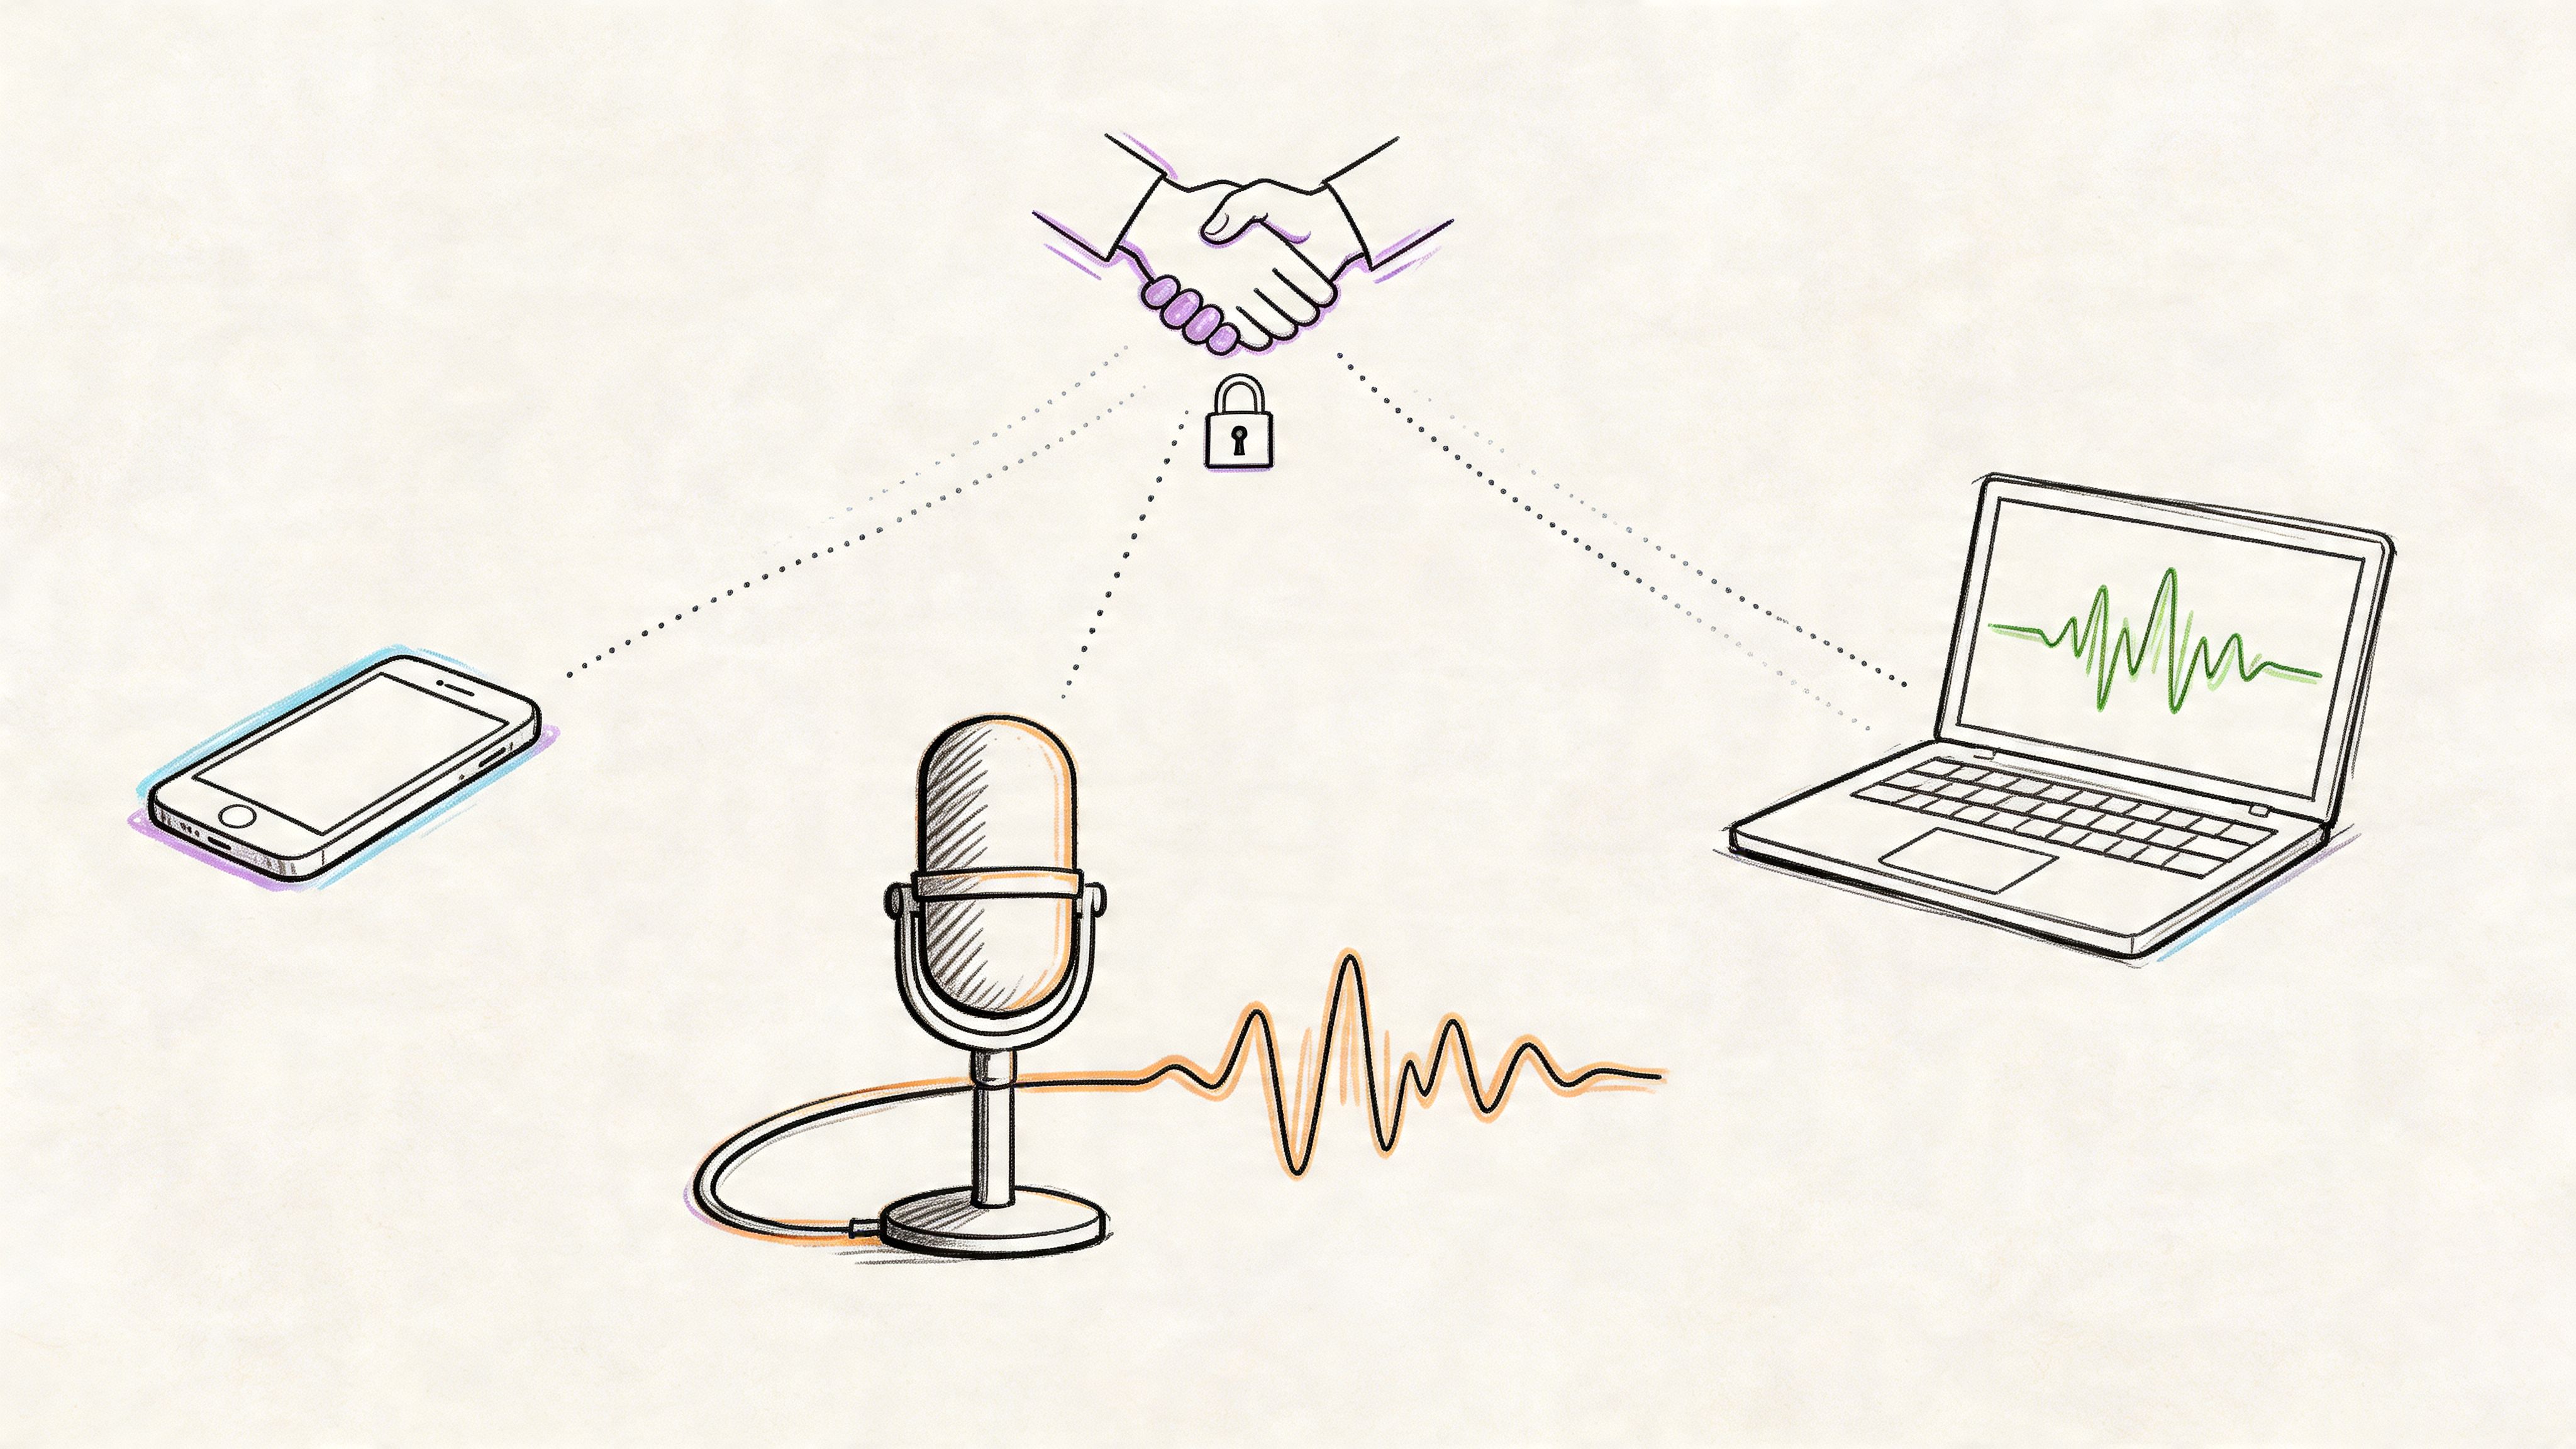
DRM changes the equation
Digital Rights Management is not just an inconvenience. It is a deliberate access control system.
Many users run into it without understanding what is happening. A 2025 report found that 42% of streamers encounter DRM errors, and a Twitch transparency report noted 2,300 account bans in Q1 2026 for unauthorized captures. The same source also notes that searches for “legal way to record streaming” exceed 120,000 per month, which shows how many users are trying to solve the issue without clear guidance (YouTube reference).
If a player goes black in a recorder or fails in a downloader because of DRM, treat that as a warning, not a puzzle to brute-force through.
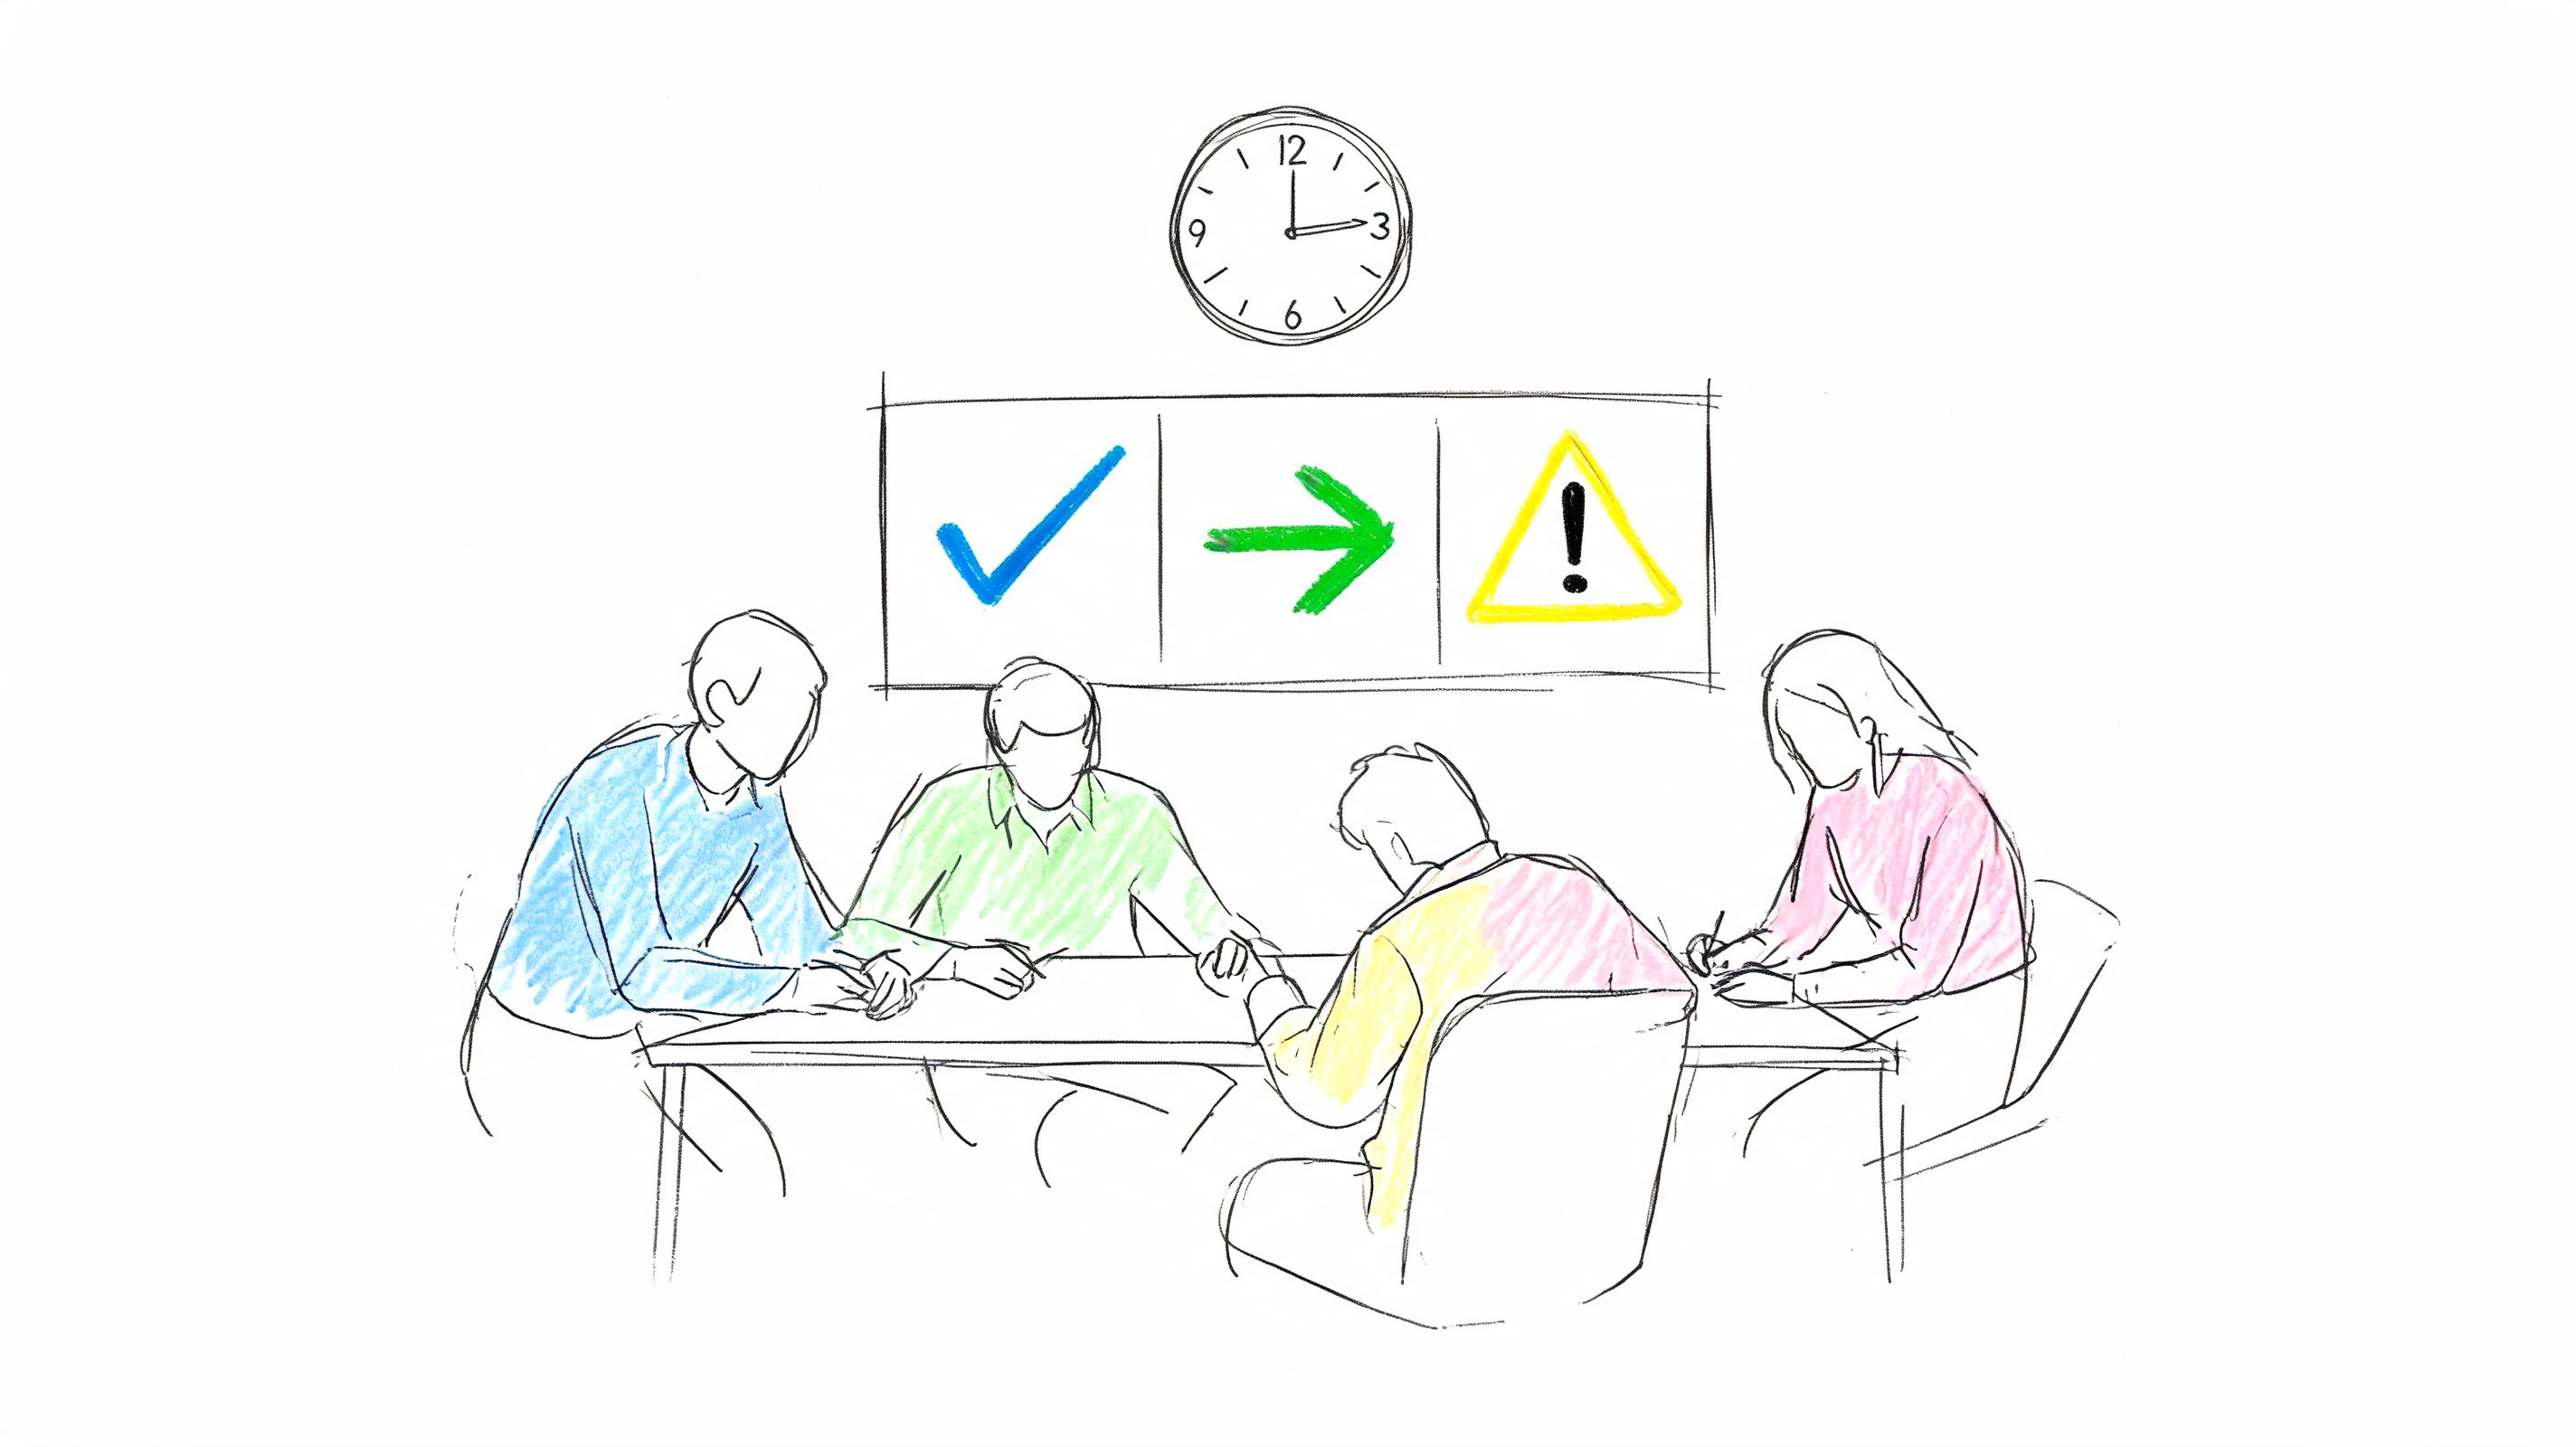
A practical risk framework
Use this simple filter before you record.
Low-risk situations
- Your own stream or webinar
- A public event you are allowed to archive
- A meeting or interview where participants understand it is being recorded
- Personal notes from a lawful source, kept private
Higher-risk situations
- Subscription entertainment
- DRM-protected VODs
- Paid content you do not control
- Anything you plan to repost publicly without permission
Immediate red flags
- The content is protected and you are trying to bypass that protection
- The platform explicitly forbids the action
- The recording includes people who did not consent
- Your use shifts from reference or analysis to redistribution
A safe default: If you would hesitate to explain the capture to the content owner, platform, or legal team, stop and reassess before you hit record.
Ethics matter too. Even when private note-taking feels defensible, people still deserve context, consent, and responsible handling of their material.
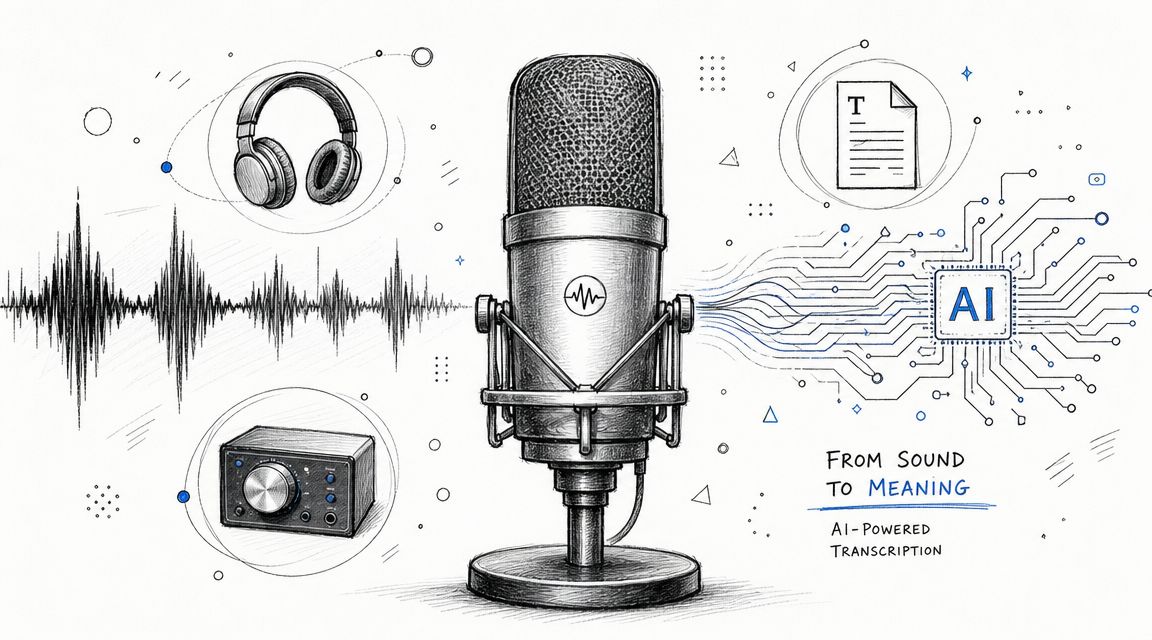
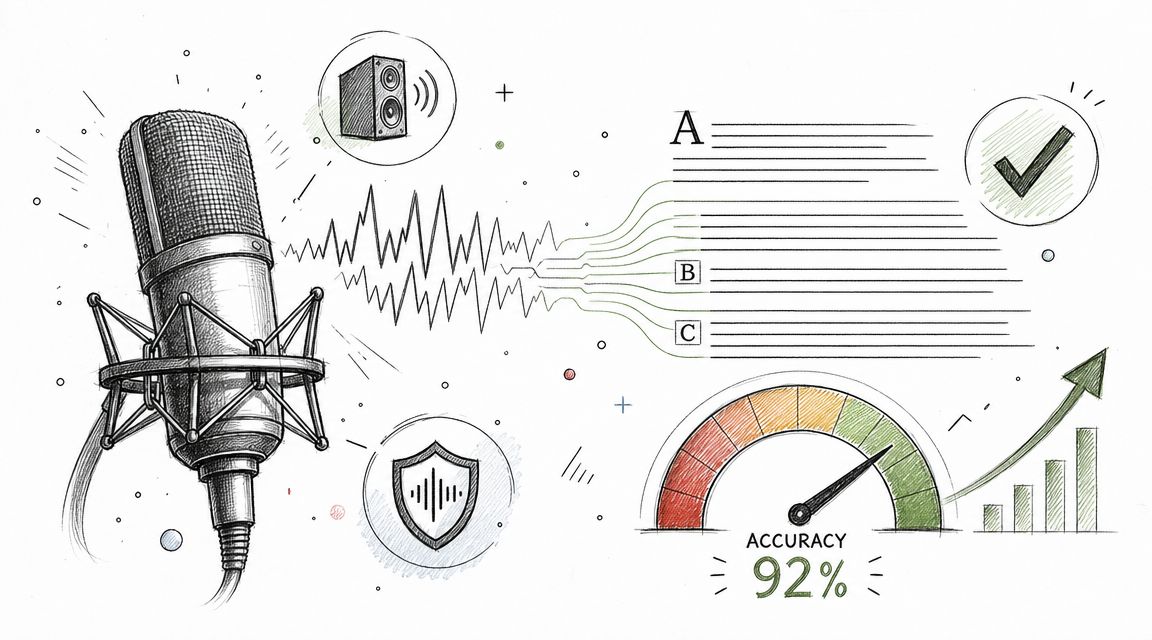
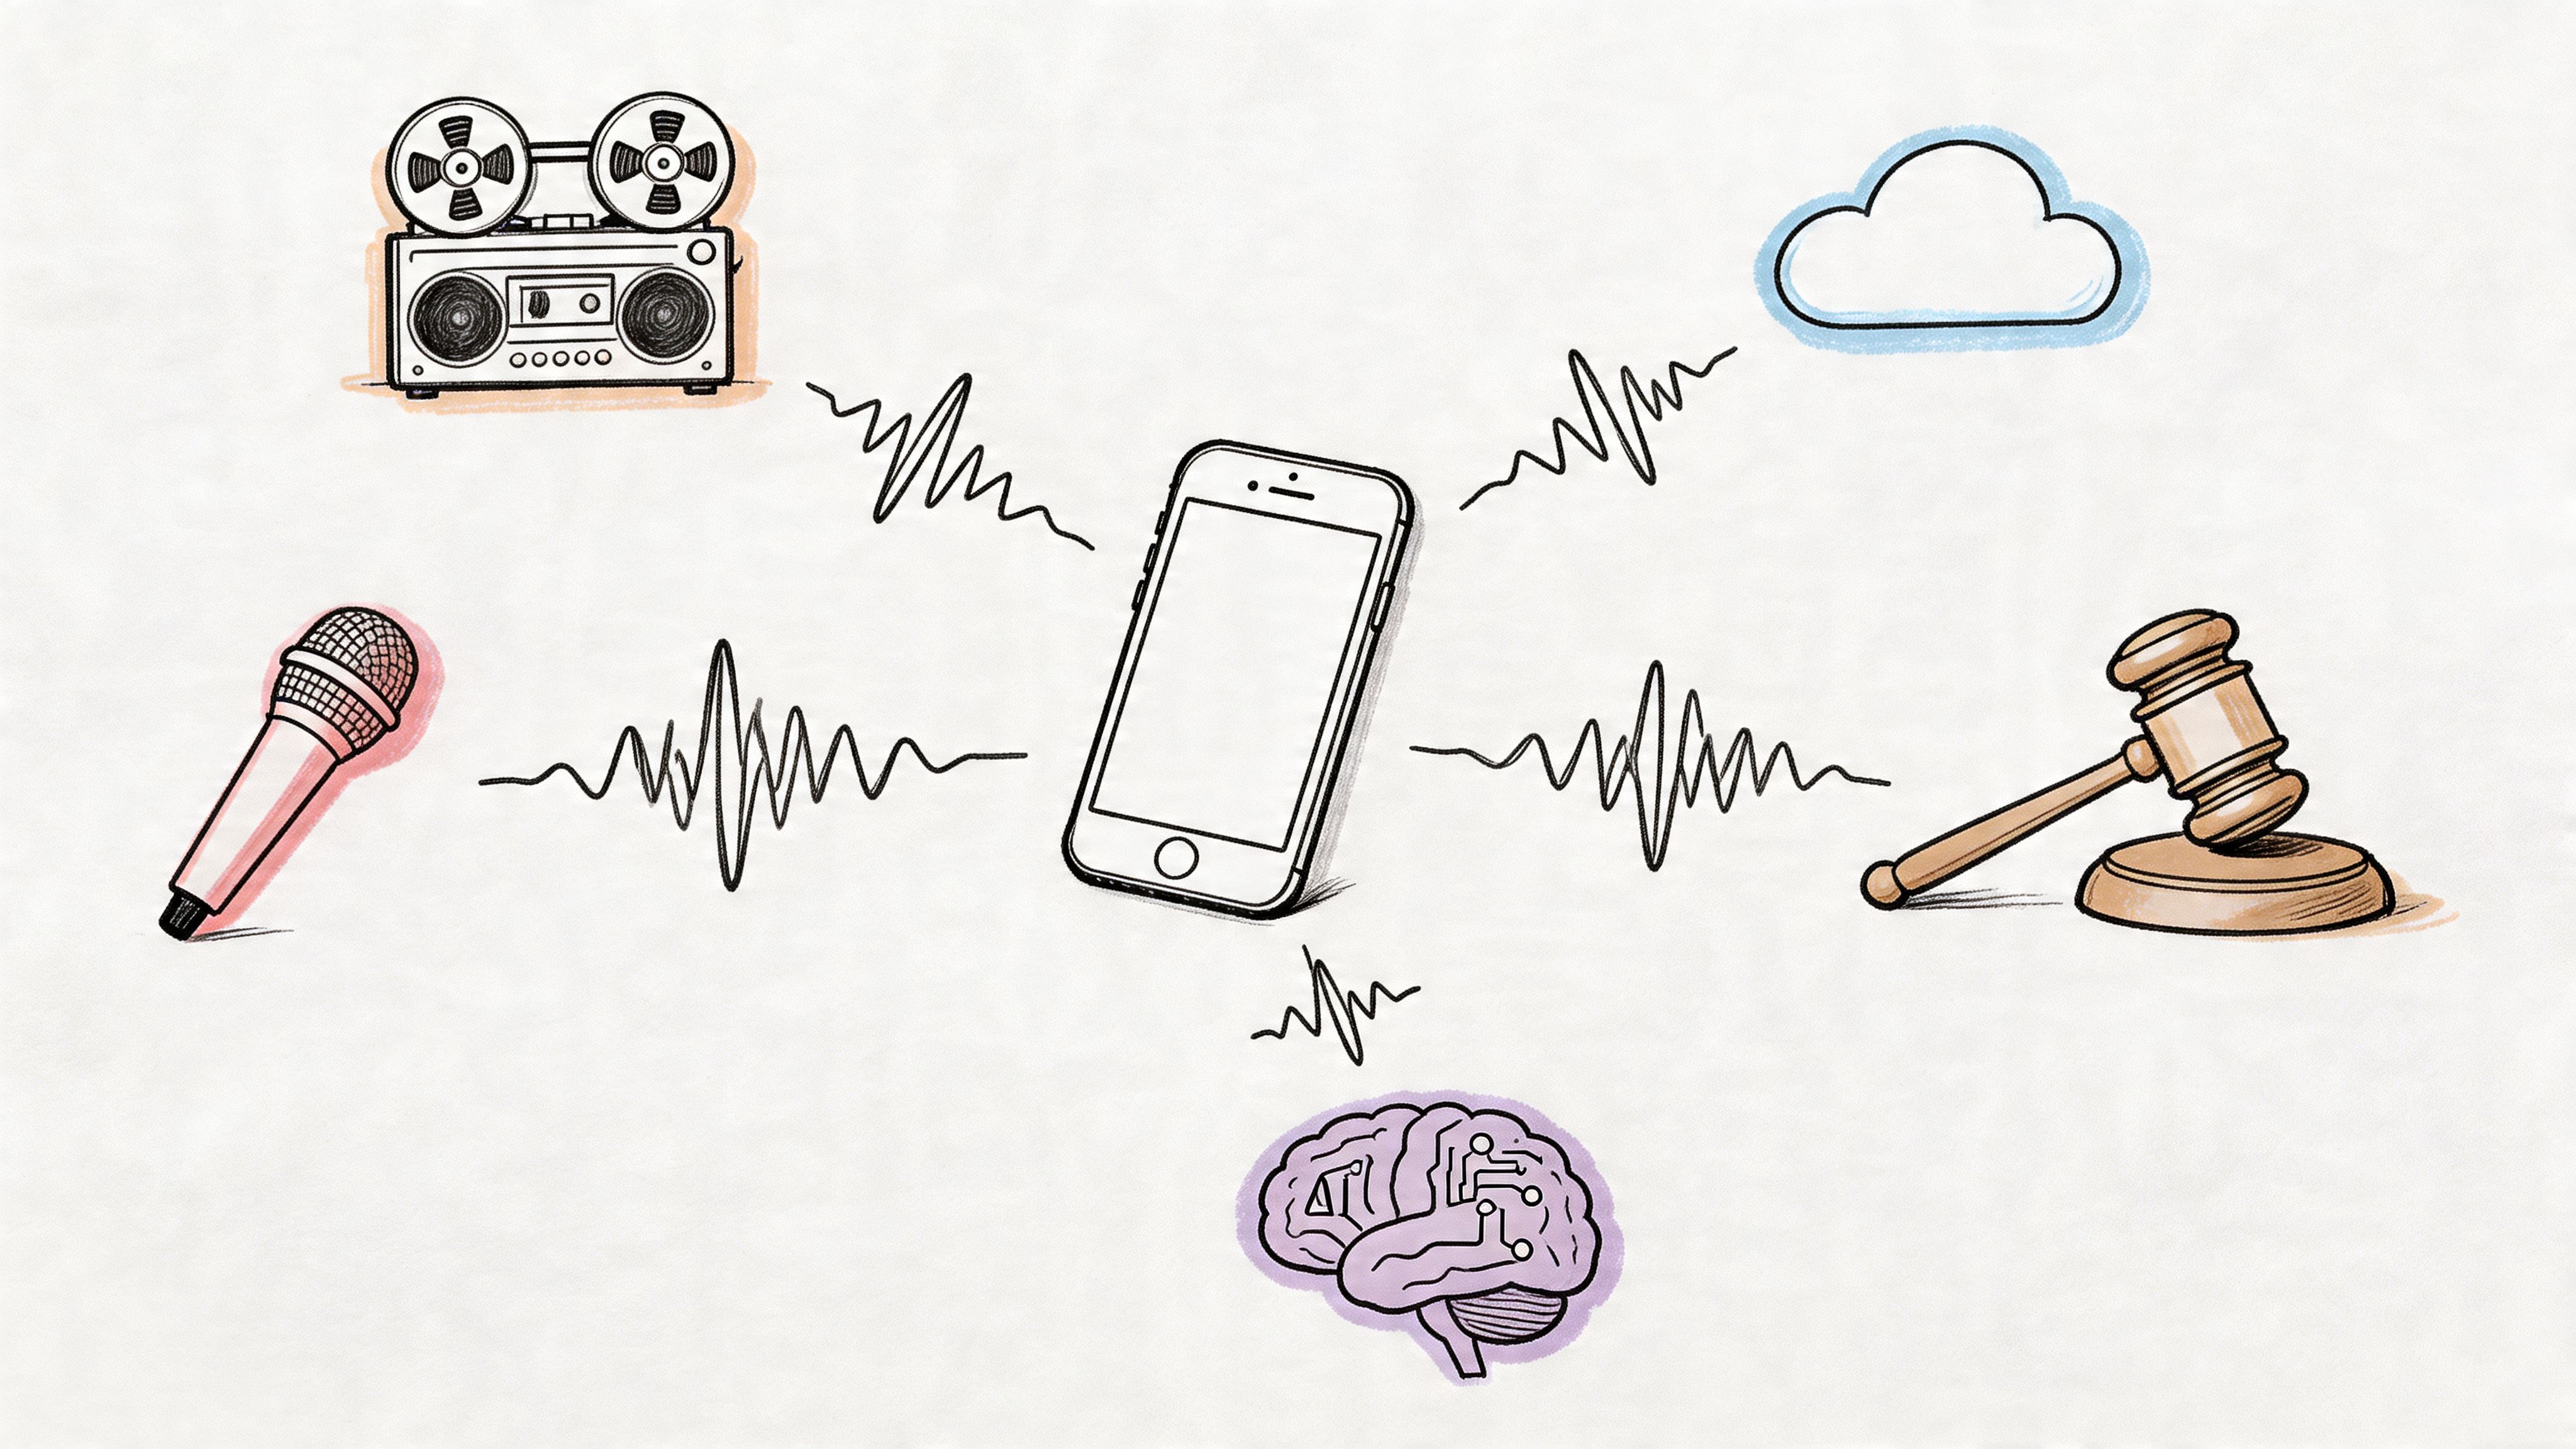
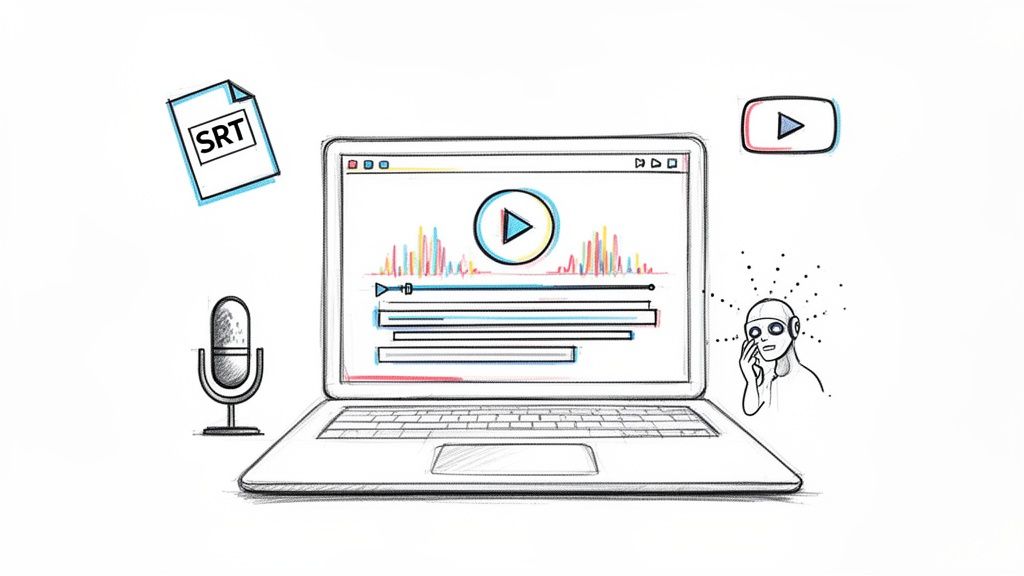
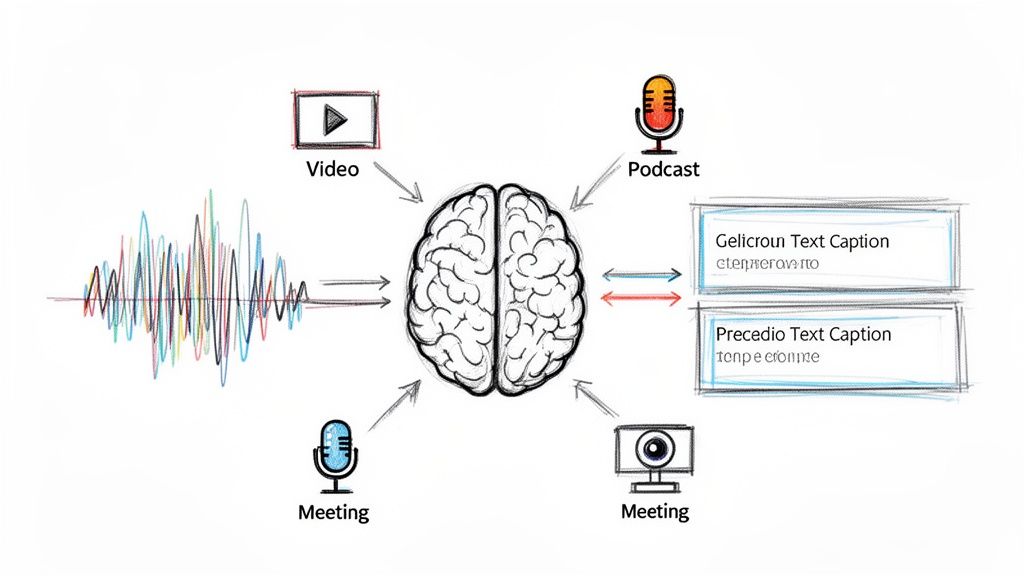
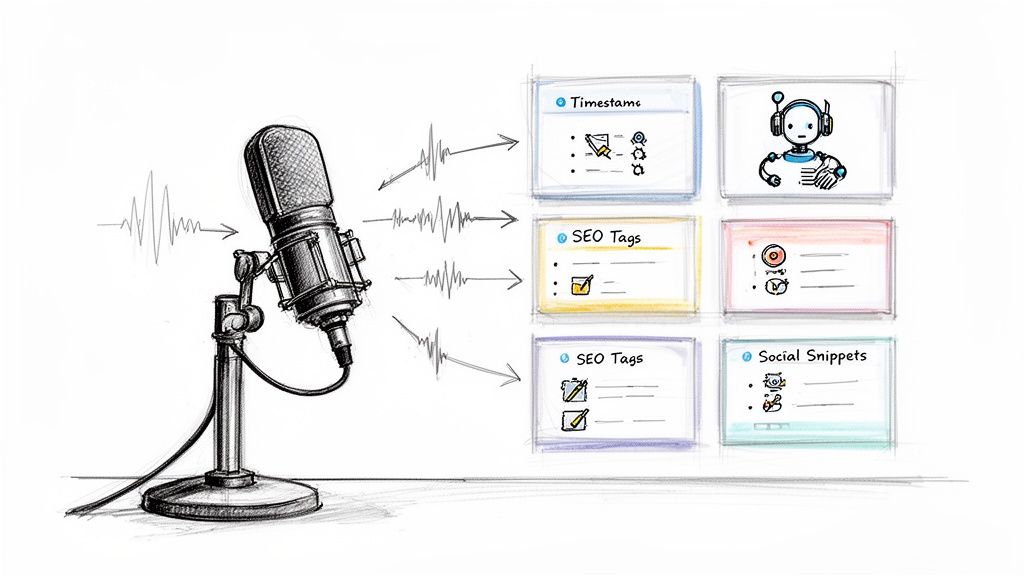
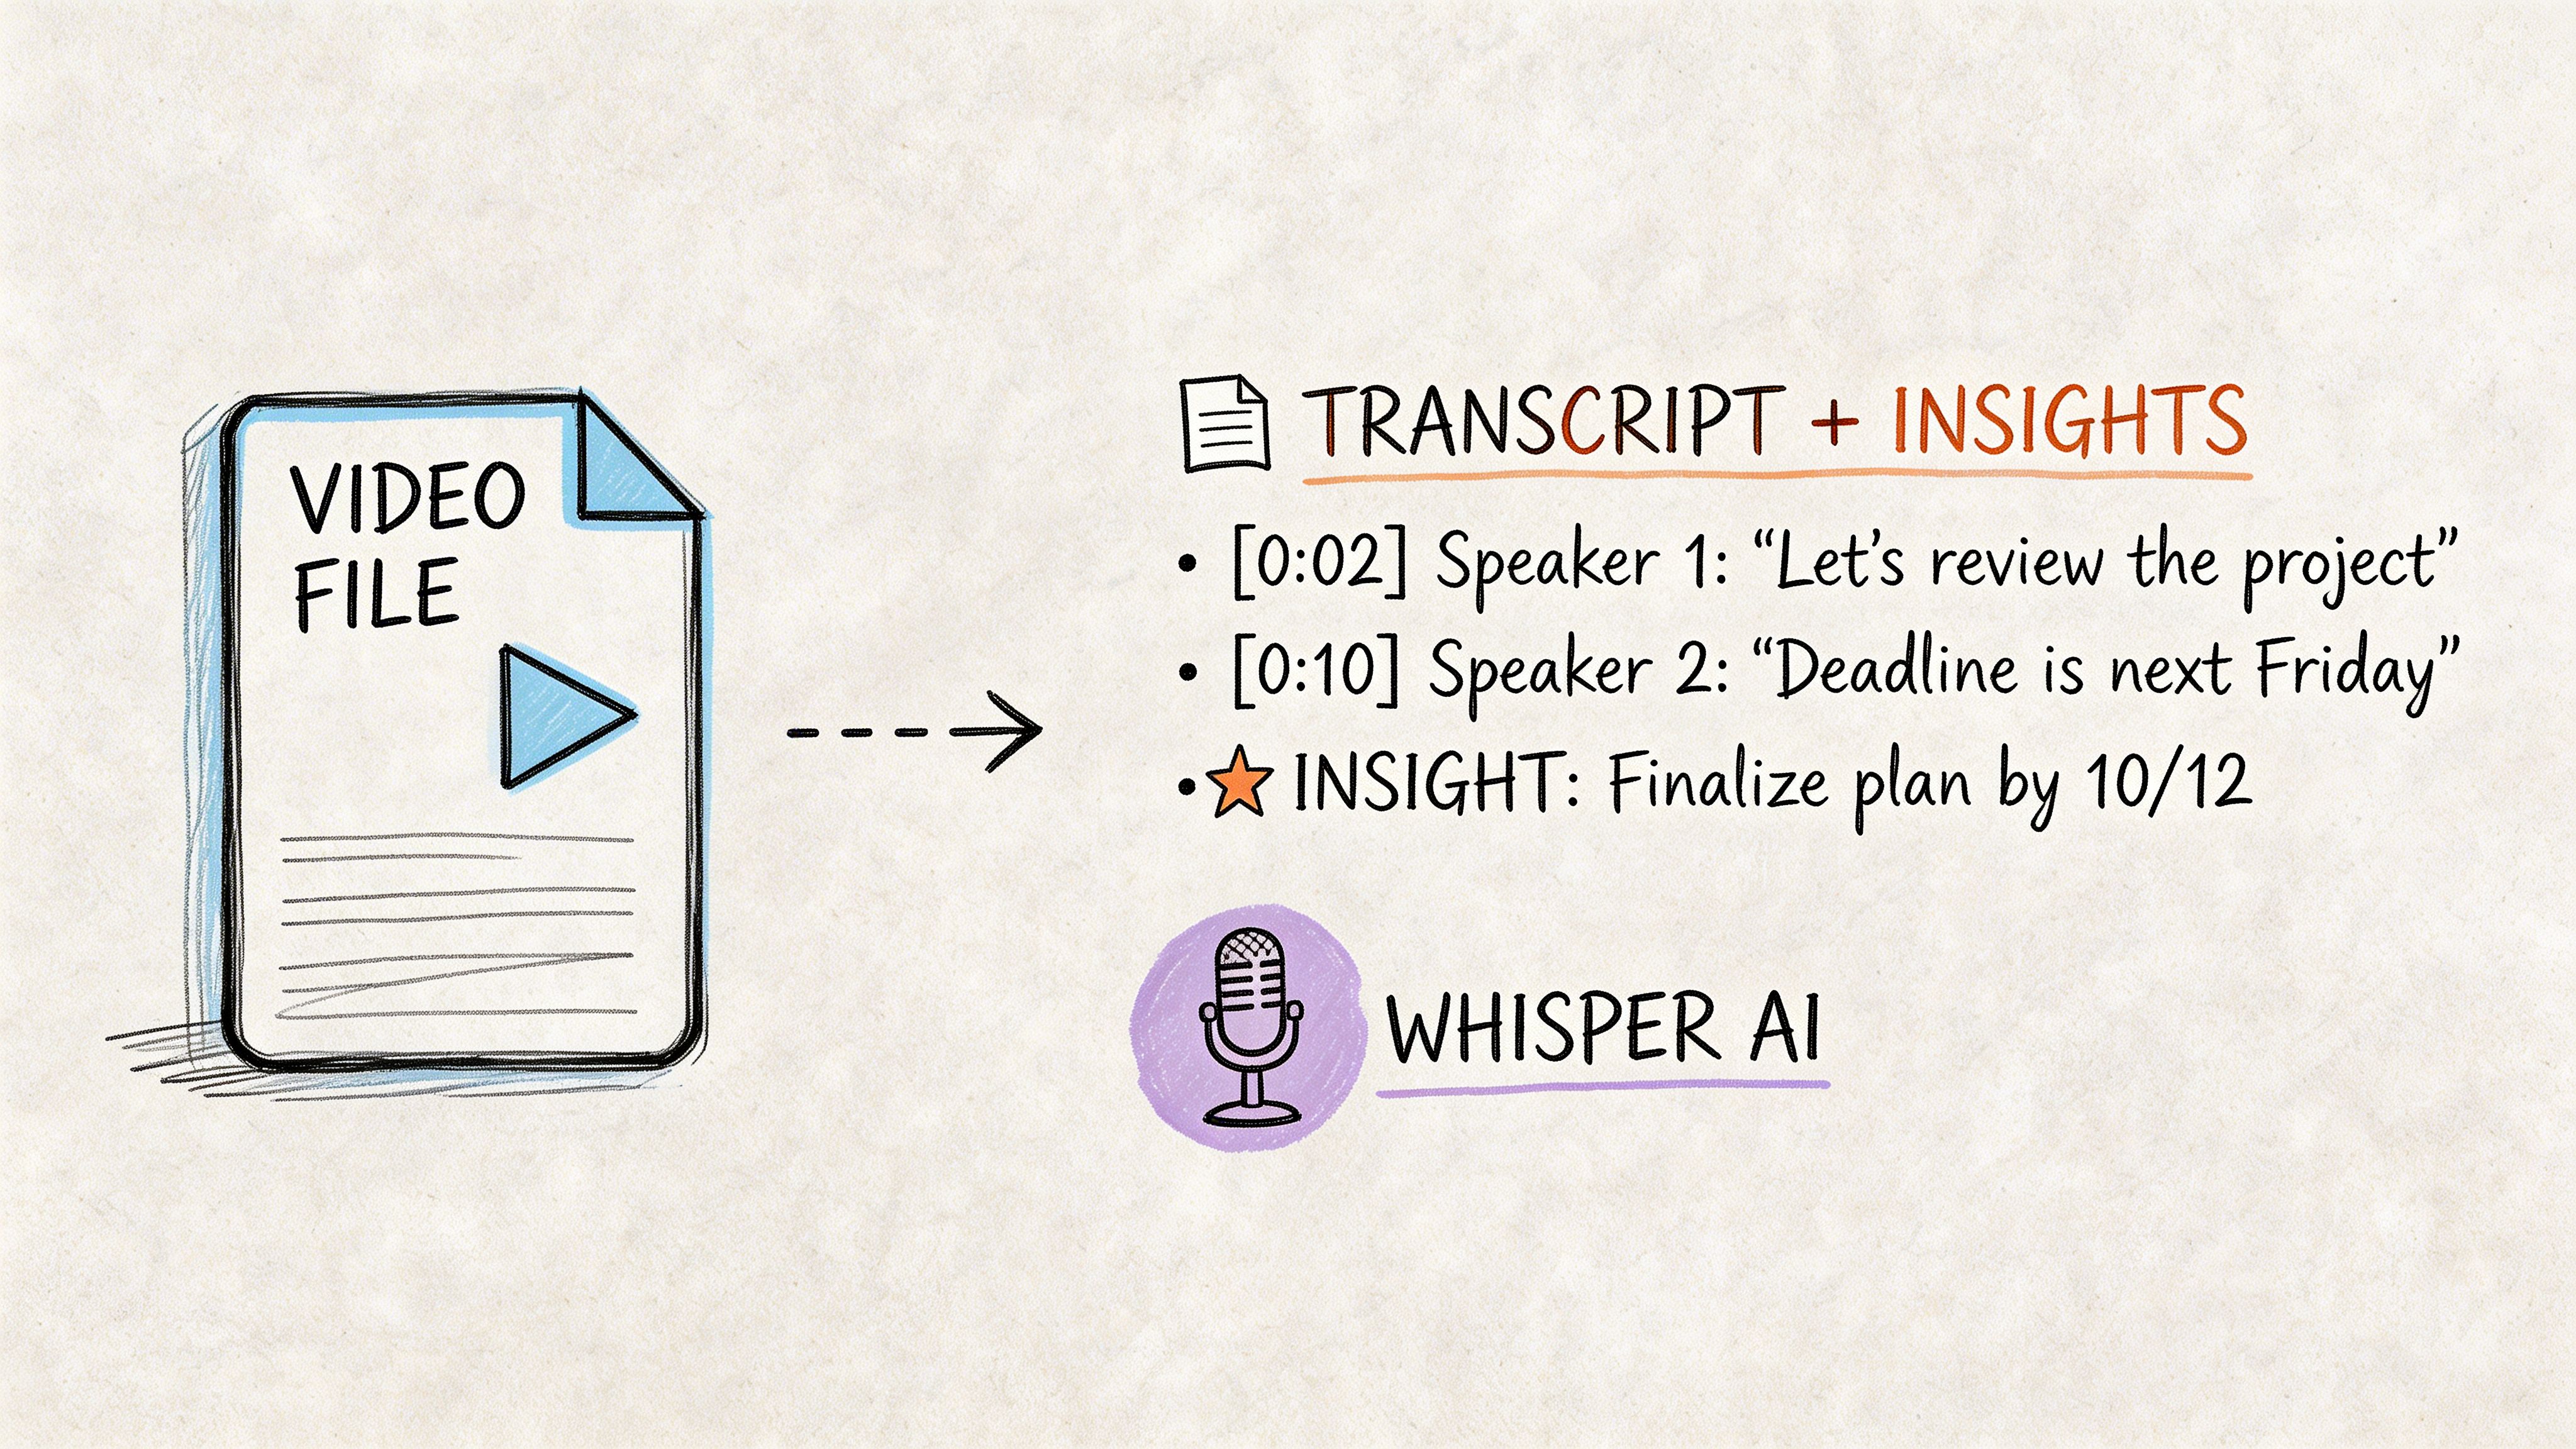
From Video File to Actionable Insights with Whisper AI
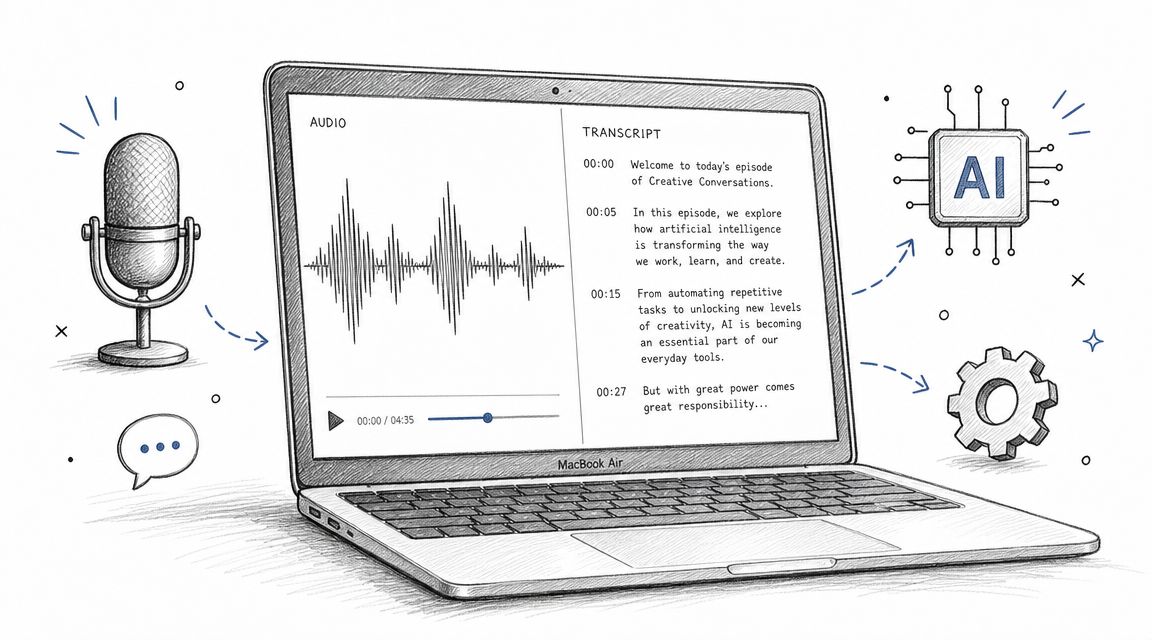
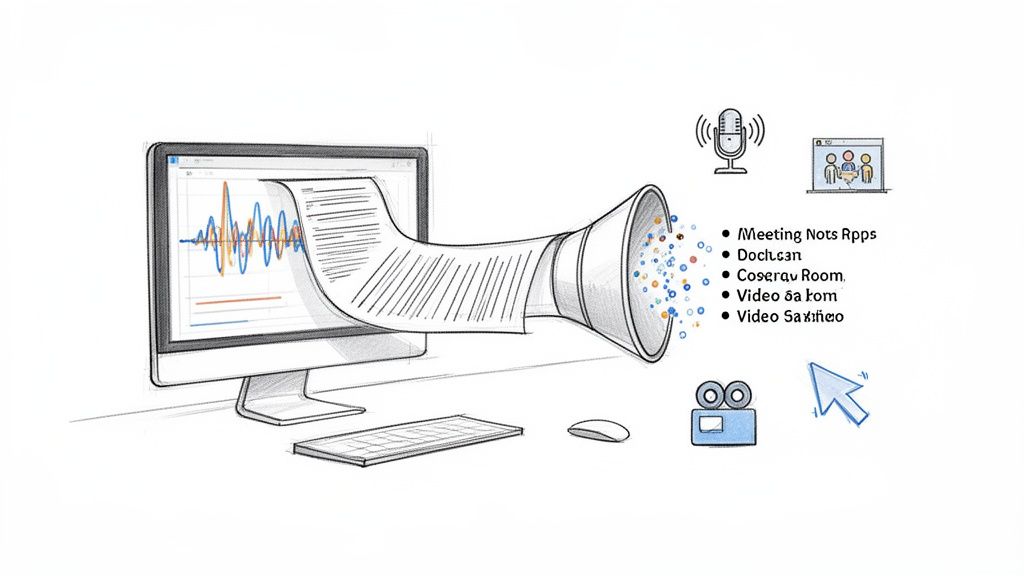
A captured stream is only halfway useful until you can search it.
Video is a terrible storage format for ideas. If you need a quote, a decision, a timestamp, a product claim, or a summary, scrubbing through a long recording wastes time. Converting the file into text changes the value of the capture immediately.
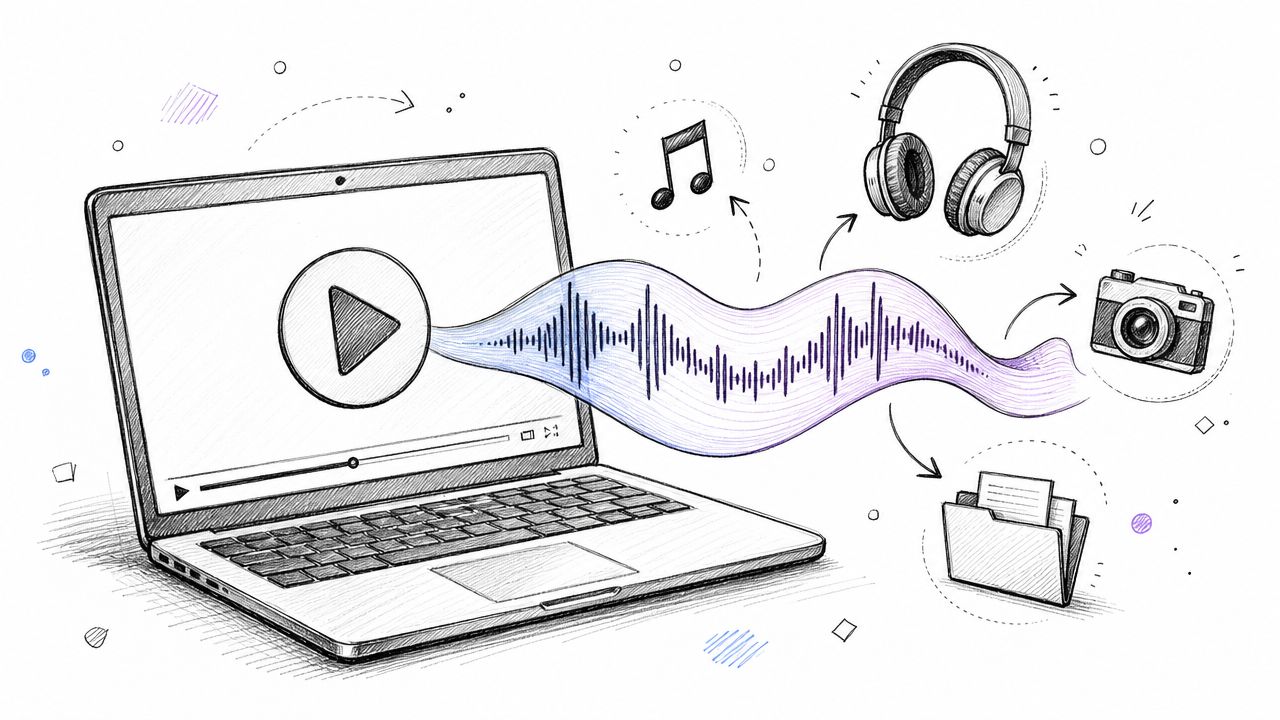
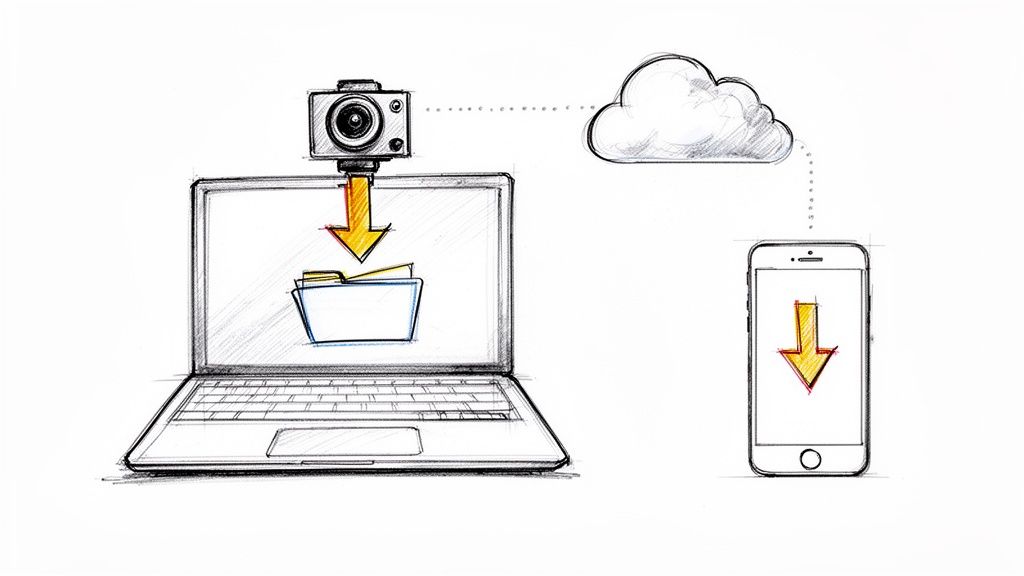
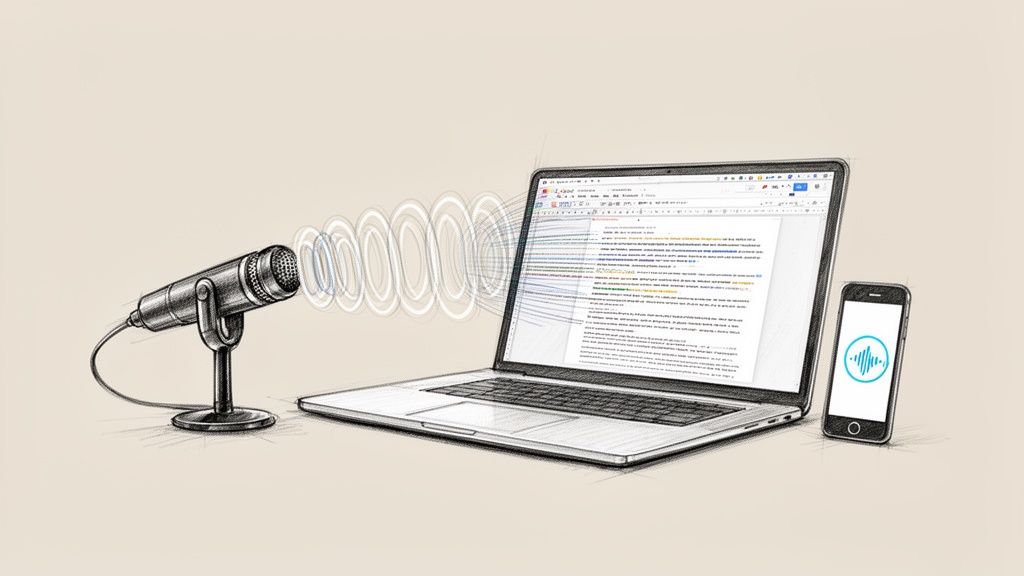
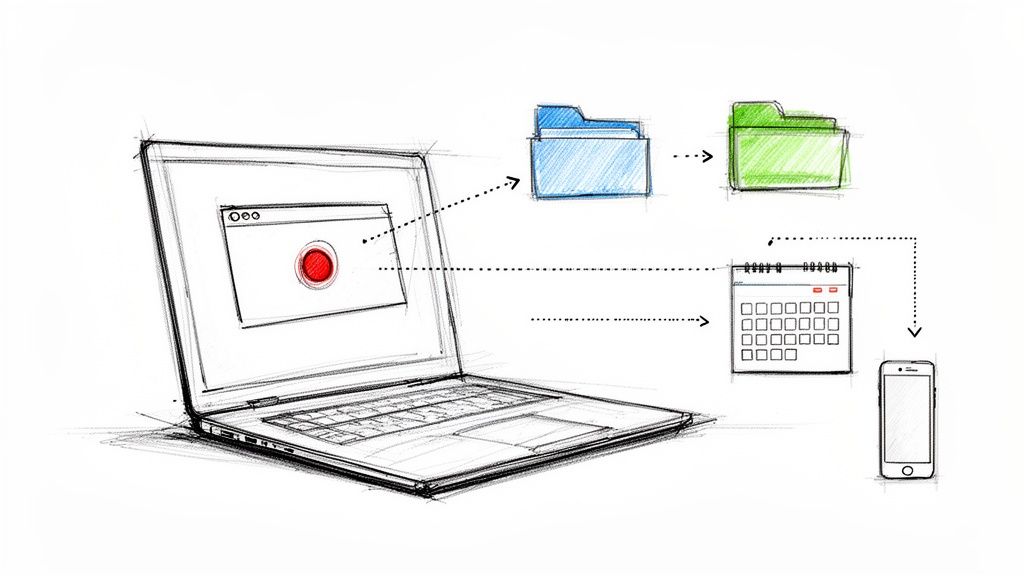
The workflow that saves the most time
The best workflow is simple:
- Capture the stream cleanly
- Save it in a broadly compatible format
- Run transcription
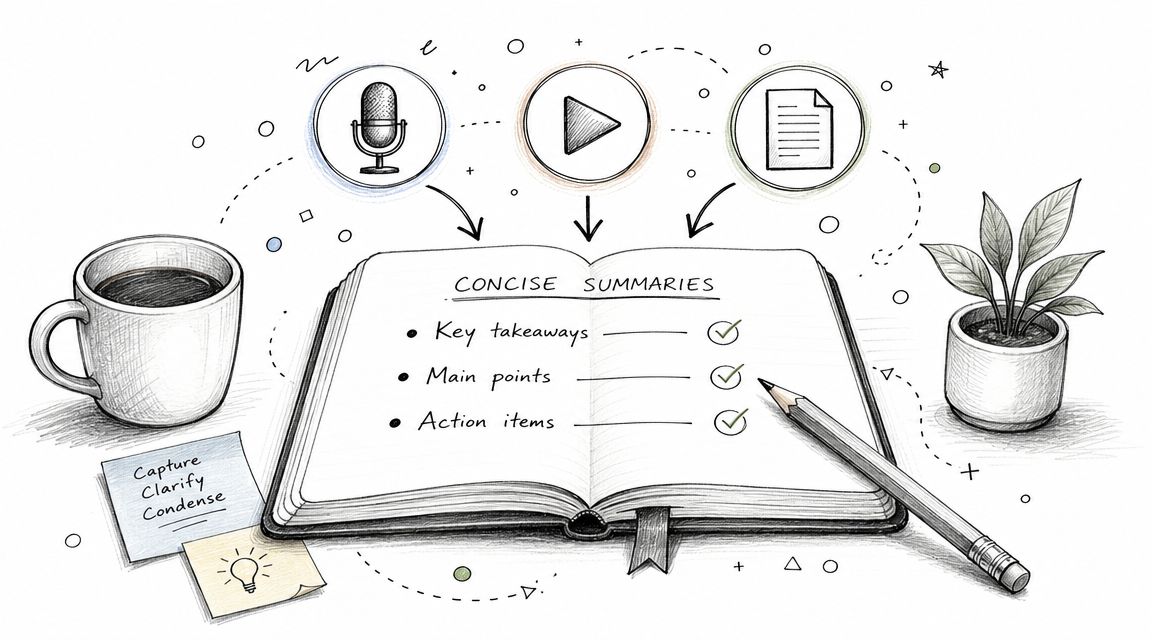
- Extract summaries, quotes, chapters, and action items
- Use the text for content, research, or internal documentation
A dedicated video to text converter becomes more useful than another editing shortcut. Once the stream is searchable, you stop treating it like a blob of footage and start treating it like source material.
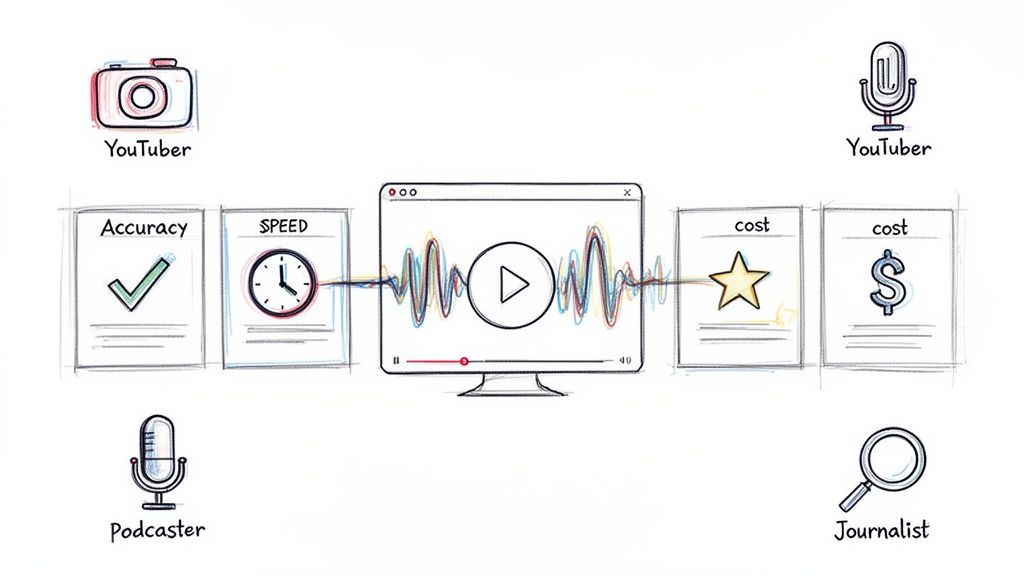
Who benefits most from this step
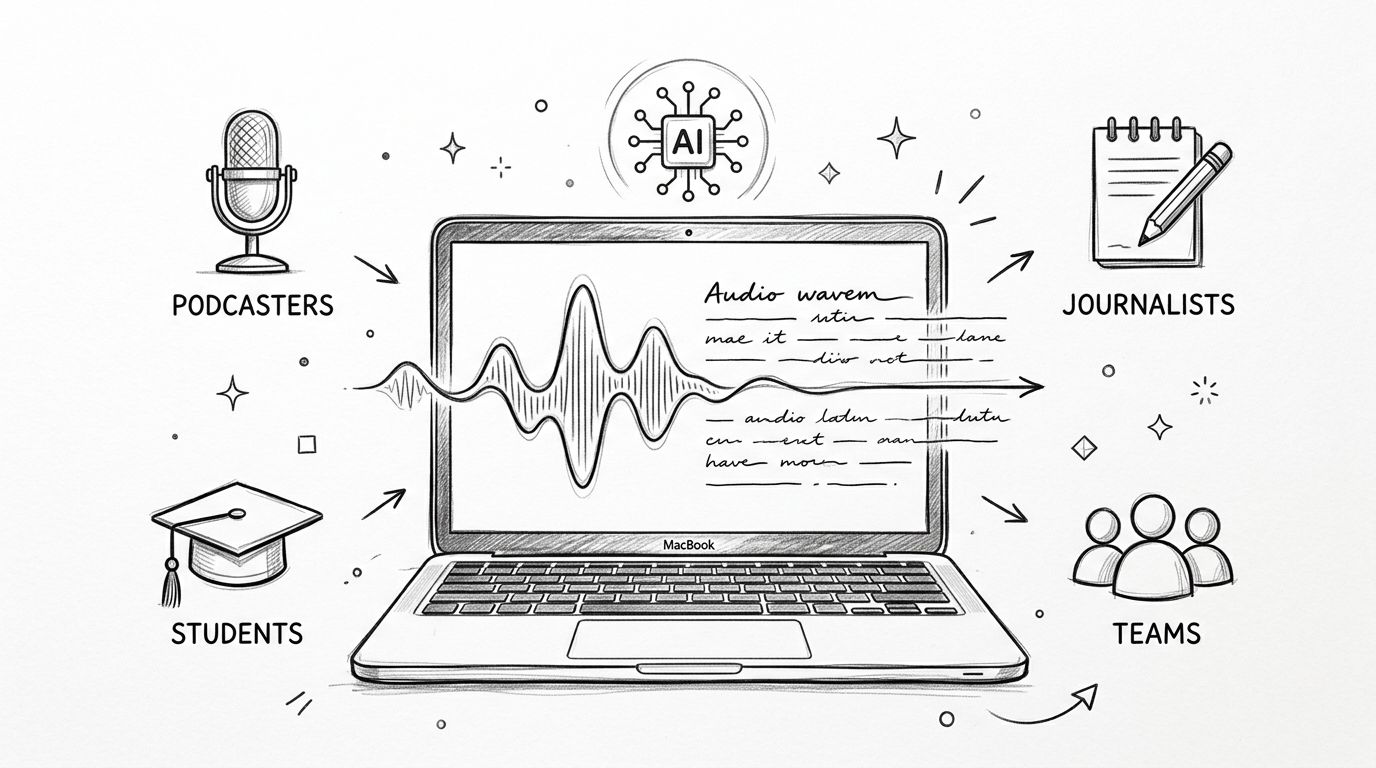
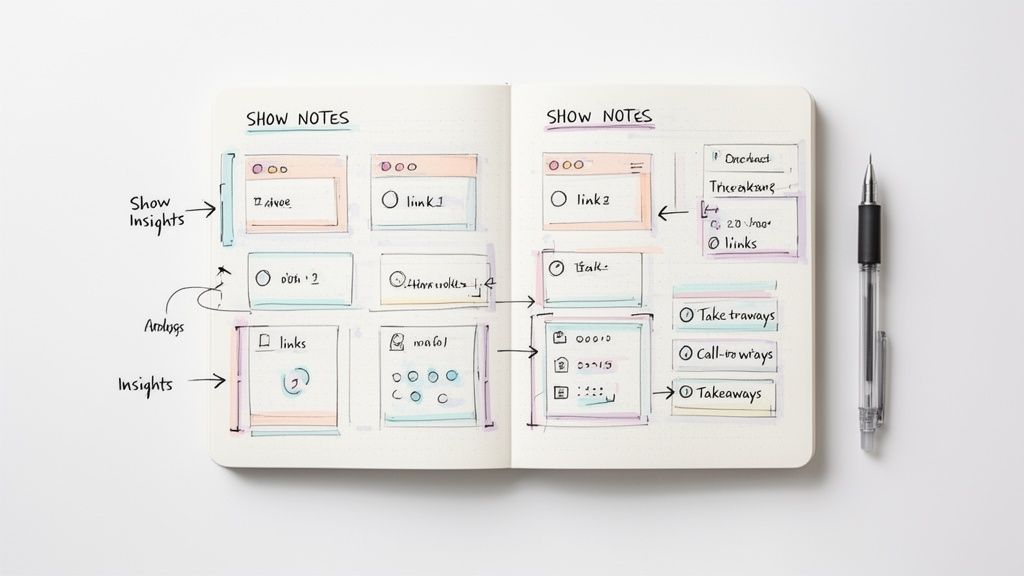
This is effective for:
- YouTubers and podcasters who want clips, captions, and show notes
- Marketers reviewing live launches, interviews, and community streams
- Researchers and journalists who need searchable transcripts and exact timestamps
- Internal teams turning webinars and meetings into summaries and follow-ups
A similar principle appears in other fields that convert raw visual data into usable information. For example, wildlife and monitoring teams use systems that transform game camera images into actionable intel because the raw files matter less than the patterns and decisions extracted from them. Stream capture works the same way. The file is the input. The insight is the asset.
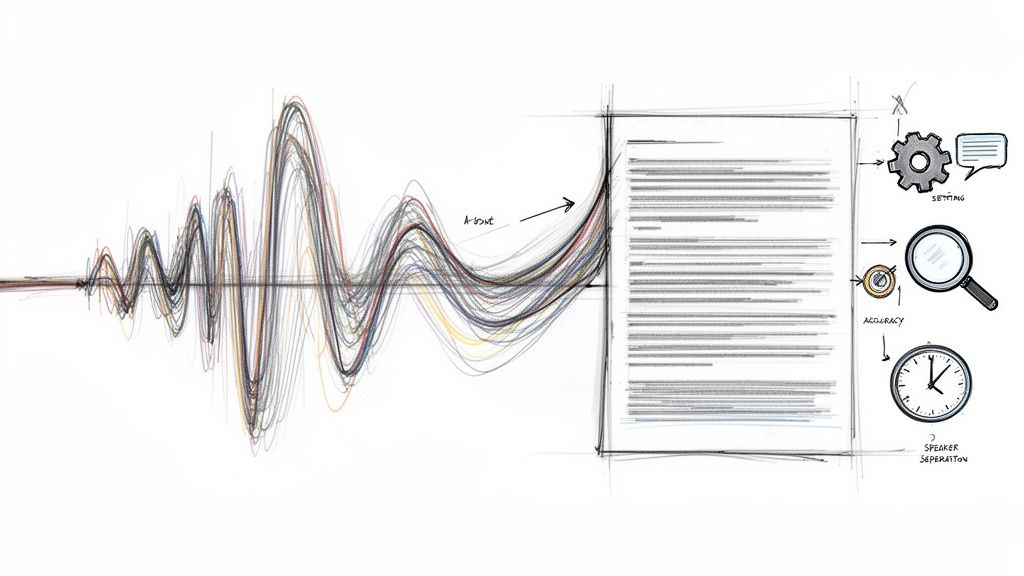
Why this matters more than a bigger media library
Many people overvalue storage and undervalue retrieval.
Having fifty recordings on a drive is not useful if nobody can find the moment where a speaker committed to a deadline, answered an objection, or revealed a product detail. Searchable text gives the footage a second life.
It also improves accessibility. Teams can skim first, then decide what deserves a full watch. Editors can jump to topics instead of scanning waveforms. Writers can pull direct passages for article drafts or internal memos. Analysts can compare themes across multiple events instead of relying on memory.
The practical lesson is simple. Capture preserves access. Transcription creates advantages.
Frequently Asked Questions About Capturing Streams
Can I capture streaming video on iPhone or Android
Yes, but mobile capture is the least predictable option.
Built-in screen recording works for casual reference captures. It is less reliable for long sessions, precise audio control, or protected players. If the stream matters, capture it on a desktop where you can control the source window, audio path, storage location, and output settings more carefully.
Why does my recording show a black screen
This points to one of three problems:
- Browser hardware acceleration conflicts
- Protected playback
- The wrong capture source in OBS or your recorder
Try switching from Window Capture to Display Capture, then test with hardware acceleration disabled in the browser. If the content is protected, the player may block direct capture entirely.
What is the best format to save the recording in
For many, MP4 is the practical target because it is easy to open, upload, edit, and transcribe.
If your recorder offers a more crash-tolerant working format during capture, you can record there first and convert or remux afterward. The main goal is compatibility without unnecessary recompression.
Should I use OBS or yt-dlp
Use OBS when you need to record what is playing on your screen.
Use yt-dlp when the stream source is accessible directly and you want the cleanest possible file. If both are possible, direct download is technically better. If only on-screen playback is available, OBS is the more dependable tool.
Can I record a live stream after it has ended
In some cases. It depends on whether the platform saves a replay or VOD.
If the replay is available publicly and lawfully, you may be able to use a direct download or playback capture workflow. If the event disappears when it ends, you needed to capture it live.
How do I avoid bad audio
Do a short test before the session.
Check that:
- System audio is the source you are recording
- Your mic is off unless you need it
- Playback sounds clean on review
- You are not capturing the same audio twice
Headphone monitoring during the test catches most mistakes fast.
What is the biggest beginner mistake
Recording the wrong thing.
People think they are capturing the stream, but they are capturing the whole desktop, the wrong browser tab, the wrong audio device, or a low-quality playback variant. A one-minute rehearsal fixes that.
Is it legal to capture any stream for personal notes
This is not automatically the case.
Private purpose can reduce practical risk in some situations, but access controls, copyright, platform rules, and privacy still matter. Public webinar notes and DRM-protected entertainment are not the same scenario. When in doubt, get permission or choose a platform-provided export, clip, or transcript option instead.
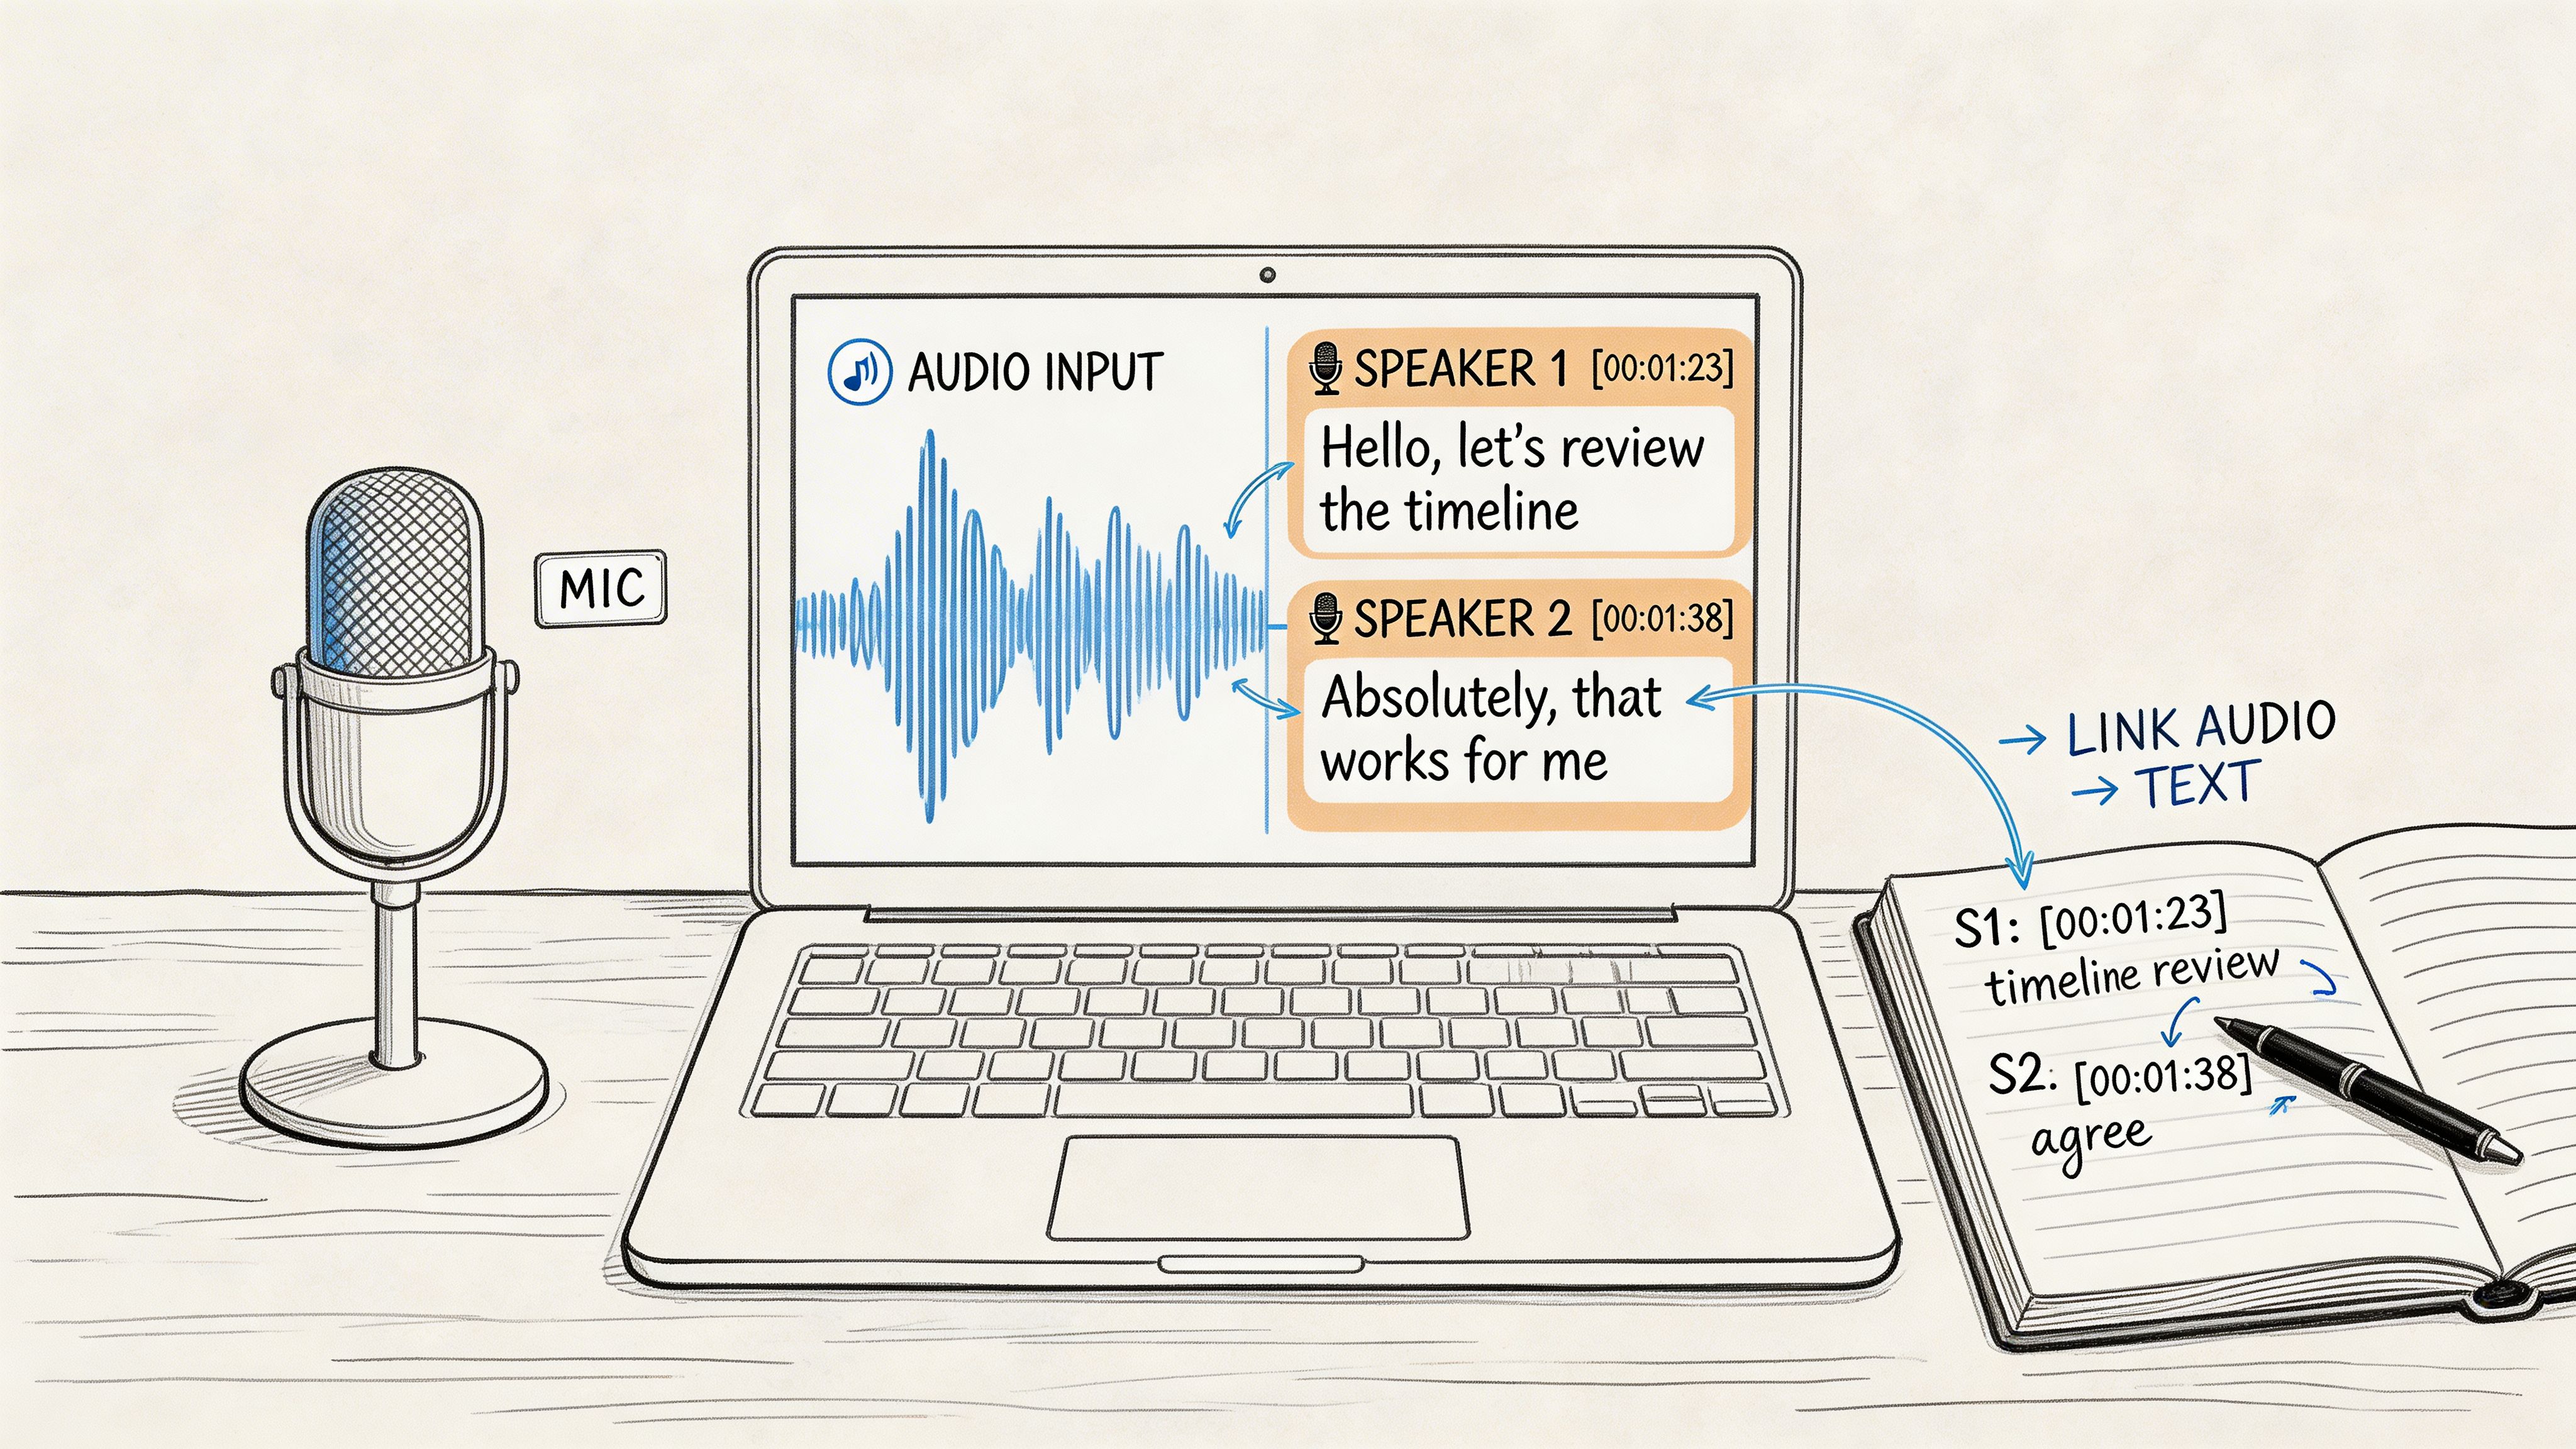
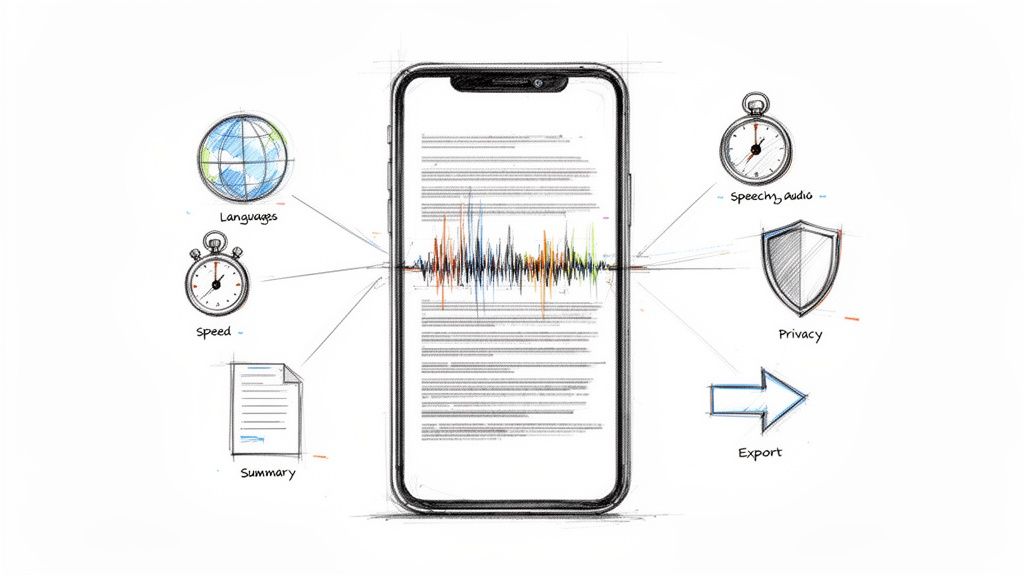
If you want to turn recordings into something you can use, Whisper AI helps convert video and audio into searchable transcripts, summaries, timestamps, and speaker-labeled notes so your captured streams become usable content instead of forgotten files.