How to Record a Webex Meeting: A Step-by-Step Guide for Hosts
So, you need to record a Webex meeting. The good news is, it's pretty straightforward. In my experience, it boils down to finding the Record button in your meeting controls and making a key decision: do you save it to the cloud or right onto your own computer?
That simple click captures everything—the video, the screen shares, the team chat—turning a fleeting conversation into a valuable resource you can come back to later. But that first choice, cloud vs. local, is the most important one you'll make, as it dictates how you can use the recording afterward.
Why Bother Recording Your Webex Meeting?
Recording meetings has quickly gone from a "nice-to-have" to a standard operating procedure for many of us. I find it essential for keeping a record of important client discussions, documenting training sessions, or just helping a colleague catch up on what they missed. A recording is an invaluable asset.
With video conferencing becoming a daily habit—projections show we'll hit over 300 million daily meeting participants by 2026 across the big platforms—knowing how to capture those conversations reliably is a crucial skill. The process itself is simple, but where you save that file really changes what you can do with it later.
Deciding Between Cloud and Local Recordings
This is your first fork in the road. Do you save the recording to the Webex cloud or directly to your computer? From my own workflow, the answer depends entirely on the purpose of the recording.
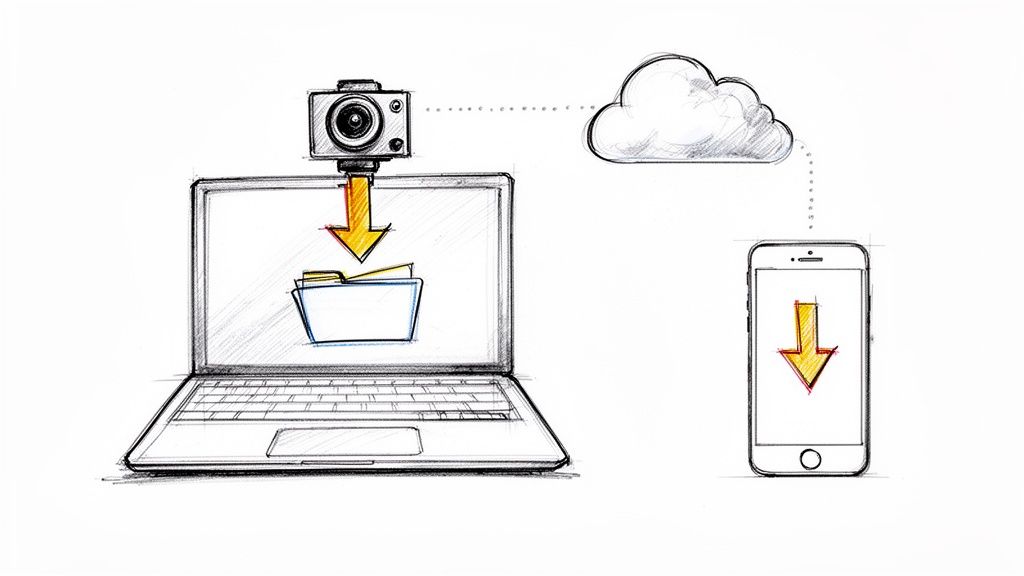
Cloud recordings are saved to your company's Webex site. This is fantastic for easy sharing. You get a simple link you can email out, drop in Slack, or post on a shared drive. If you've just hosted a webinar for a large audience or want your team to have instant access without downloading massive files, this is the way to go.
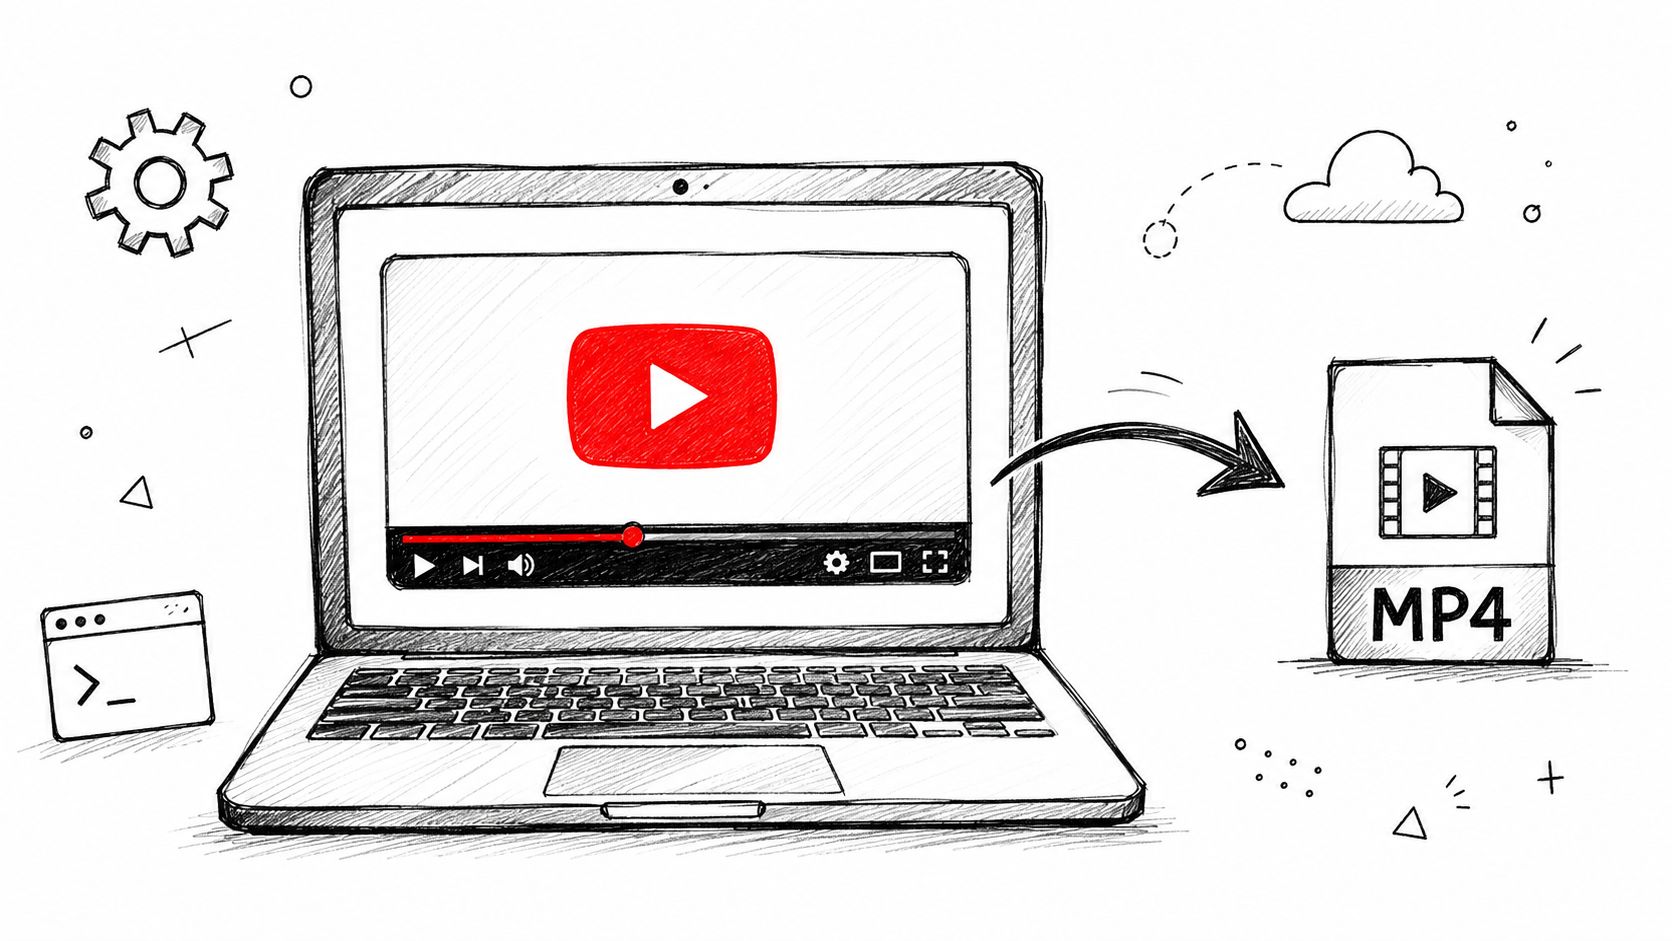
Local recordings, on the other hand, save the file (as an MP4) right onto your machine. This gives you total control. You have the file for offline access, and it's ready for you to drop into a video editor. I find this is the best option for confidential one-on-ones, sensitive internal discussions, or when I know I'll be doing some heavy editing myself.
If you jump between different meeting platforms, you'll find the core concepts are pretty much the same. In fact, we have a similar walkthrough that explains how to record a meeting in Teams which follows a similar logic.
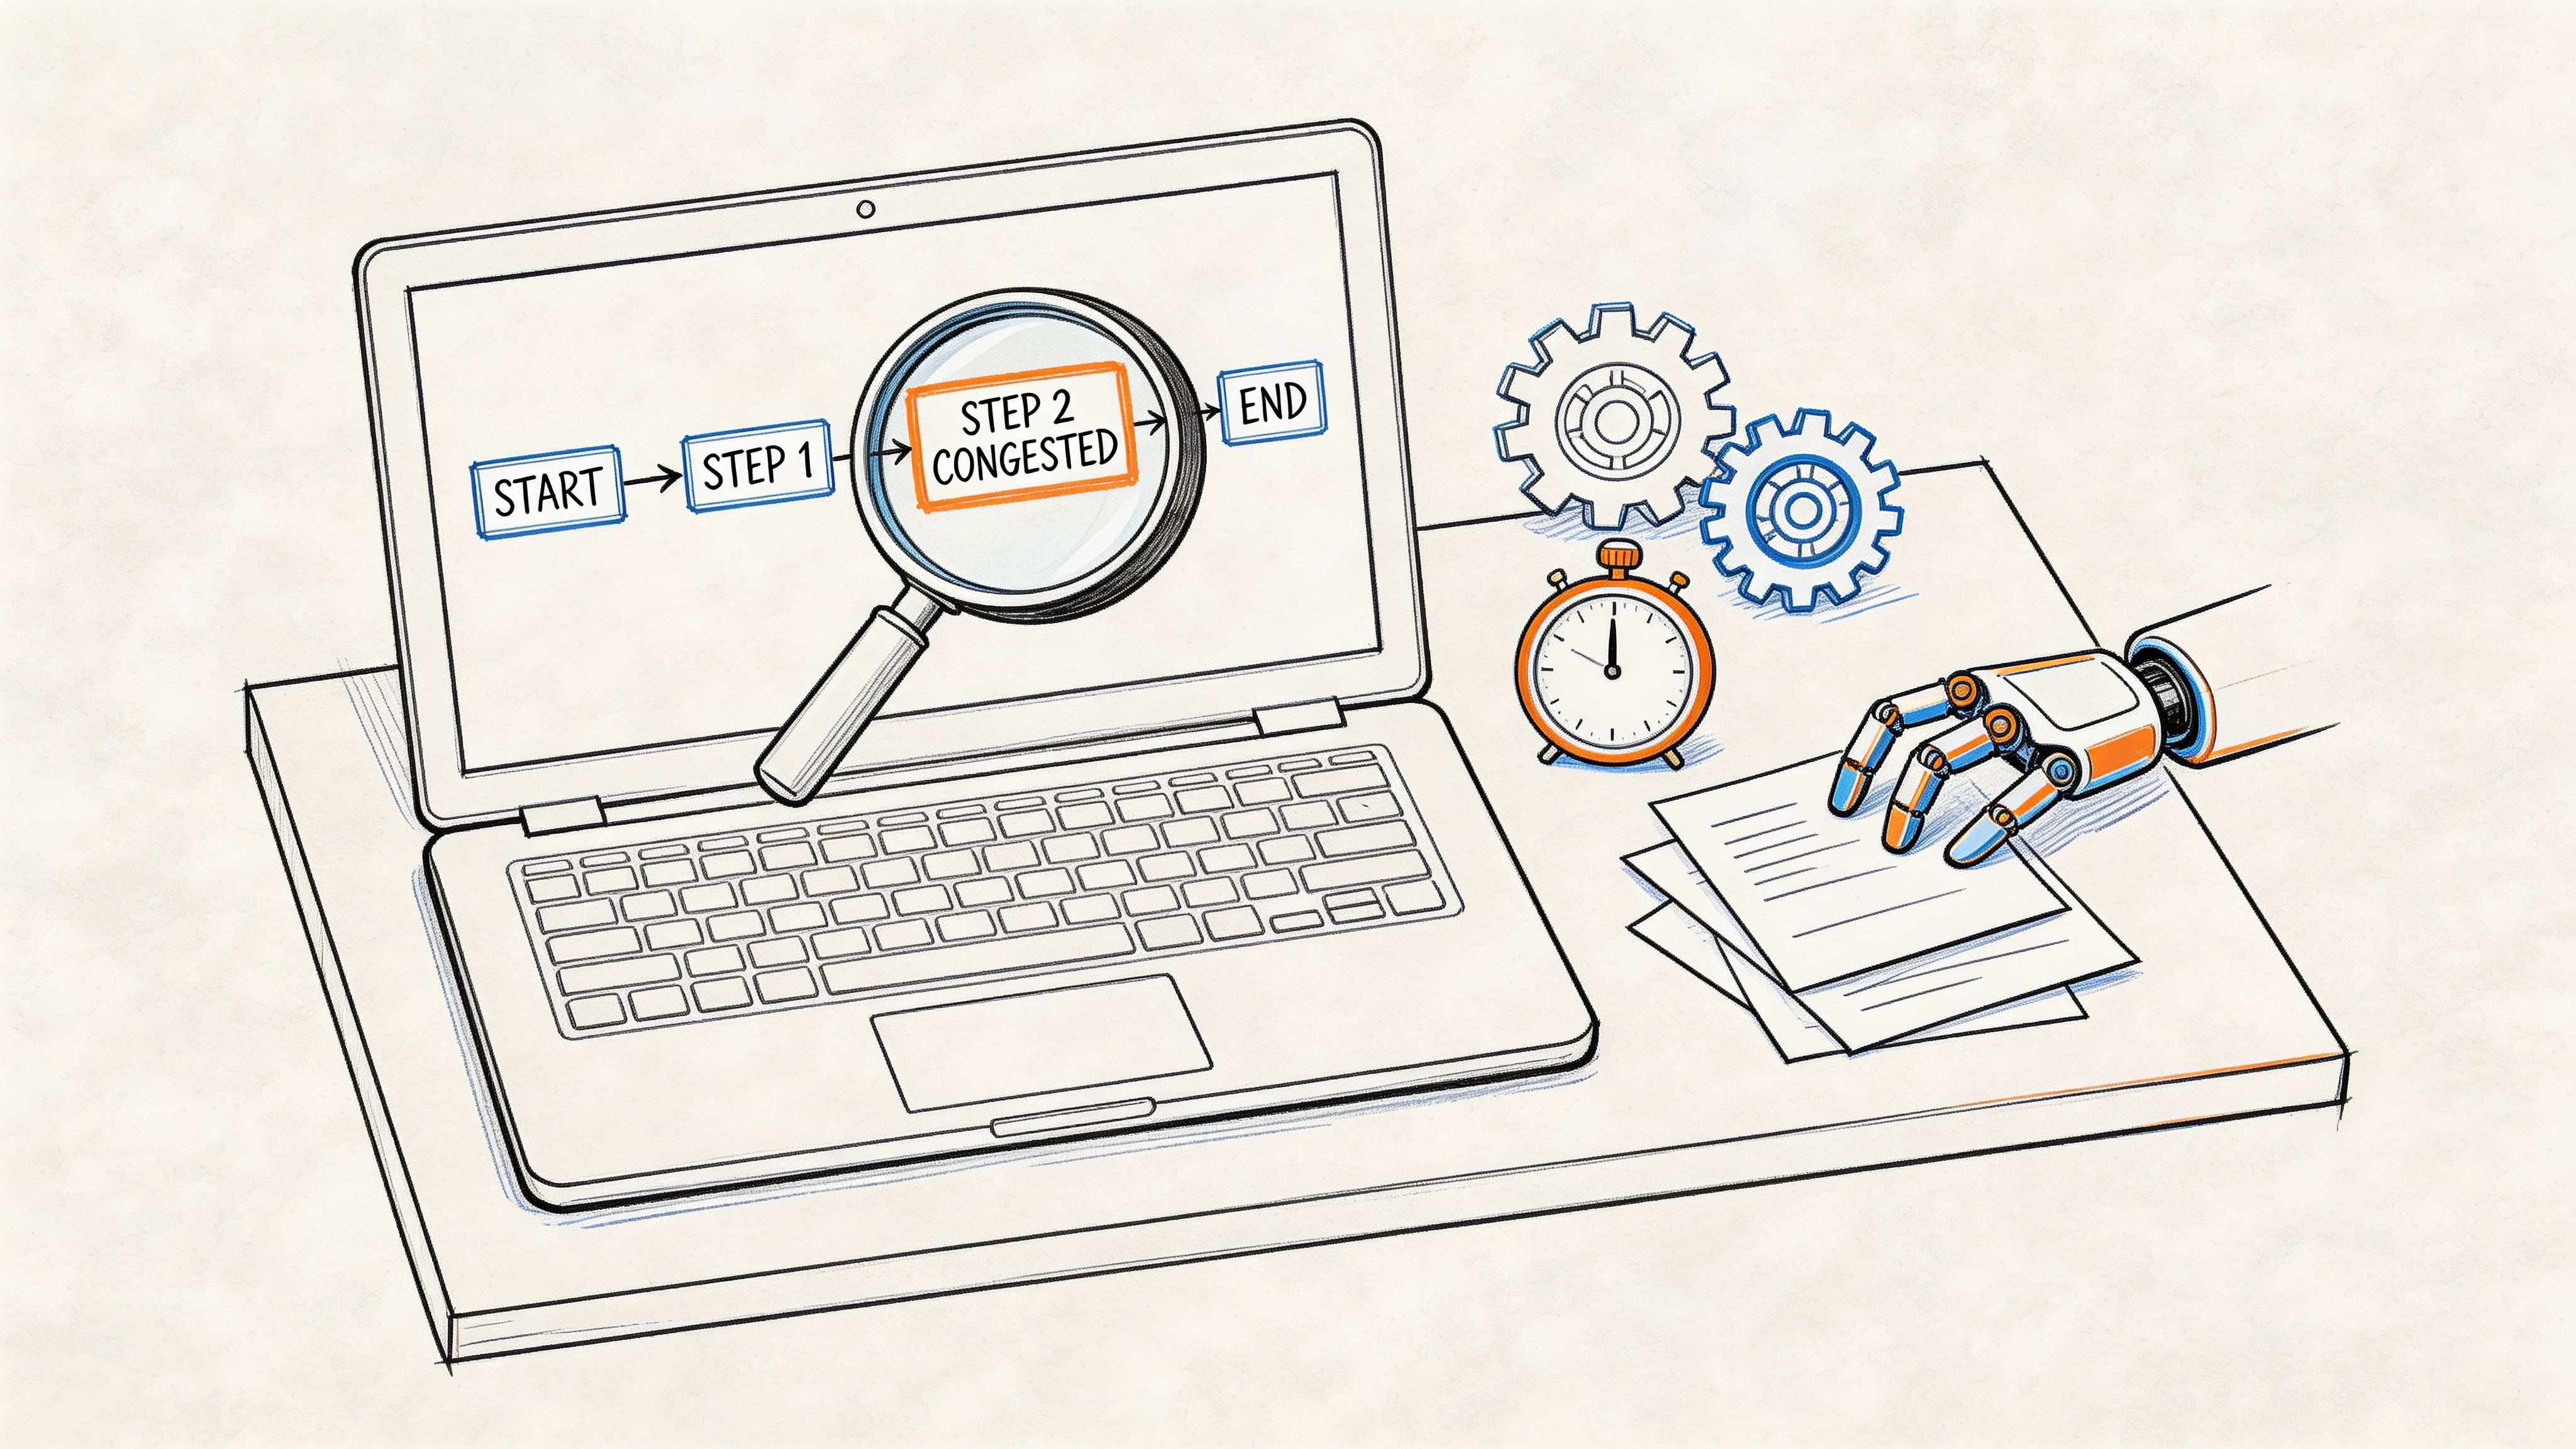
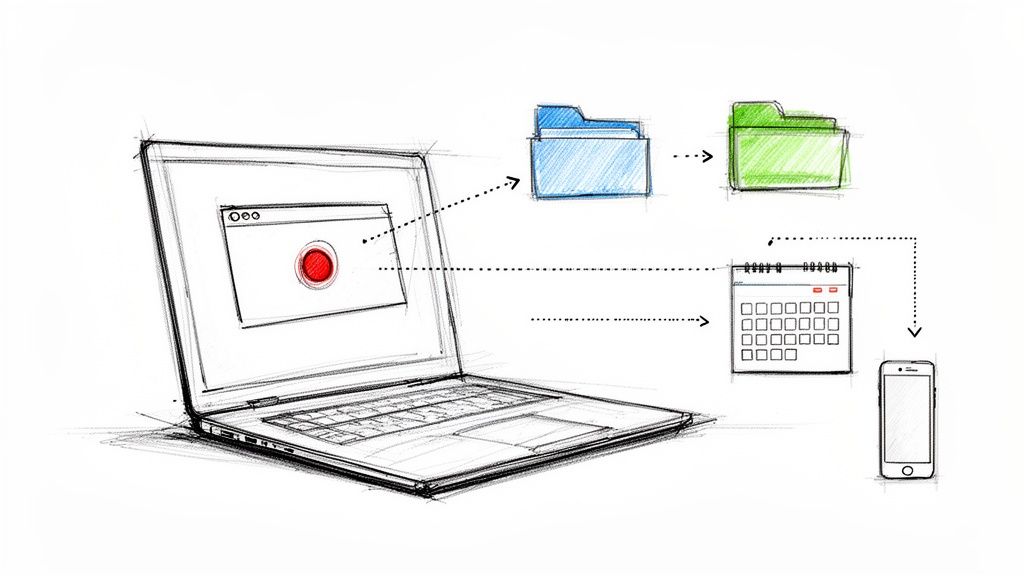
This decision tree breaks down the choice nicely.
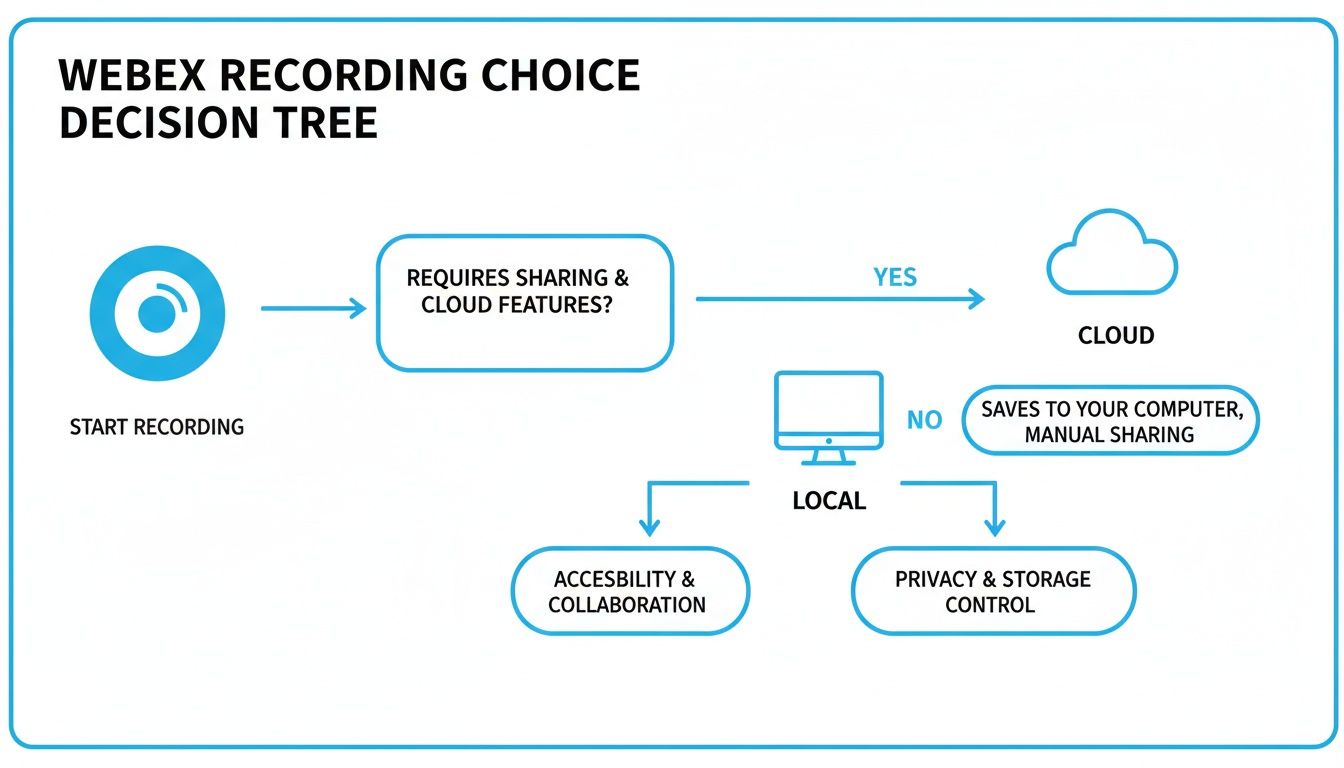
It all comes down to what you plan to do with the recording. Is it for wide distribution or for your own private use and editing?
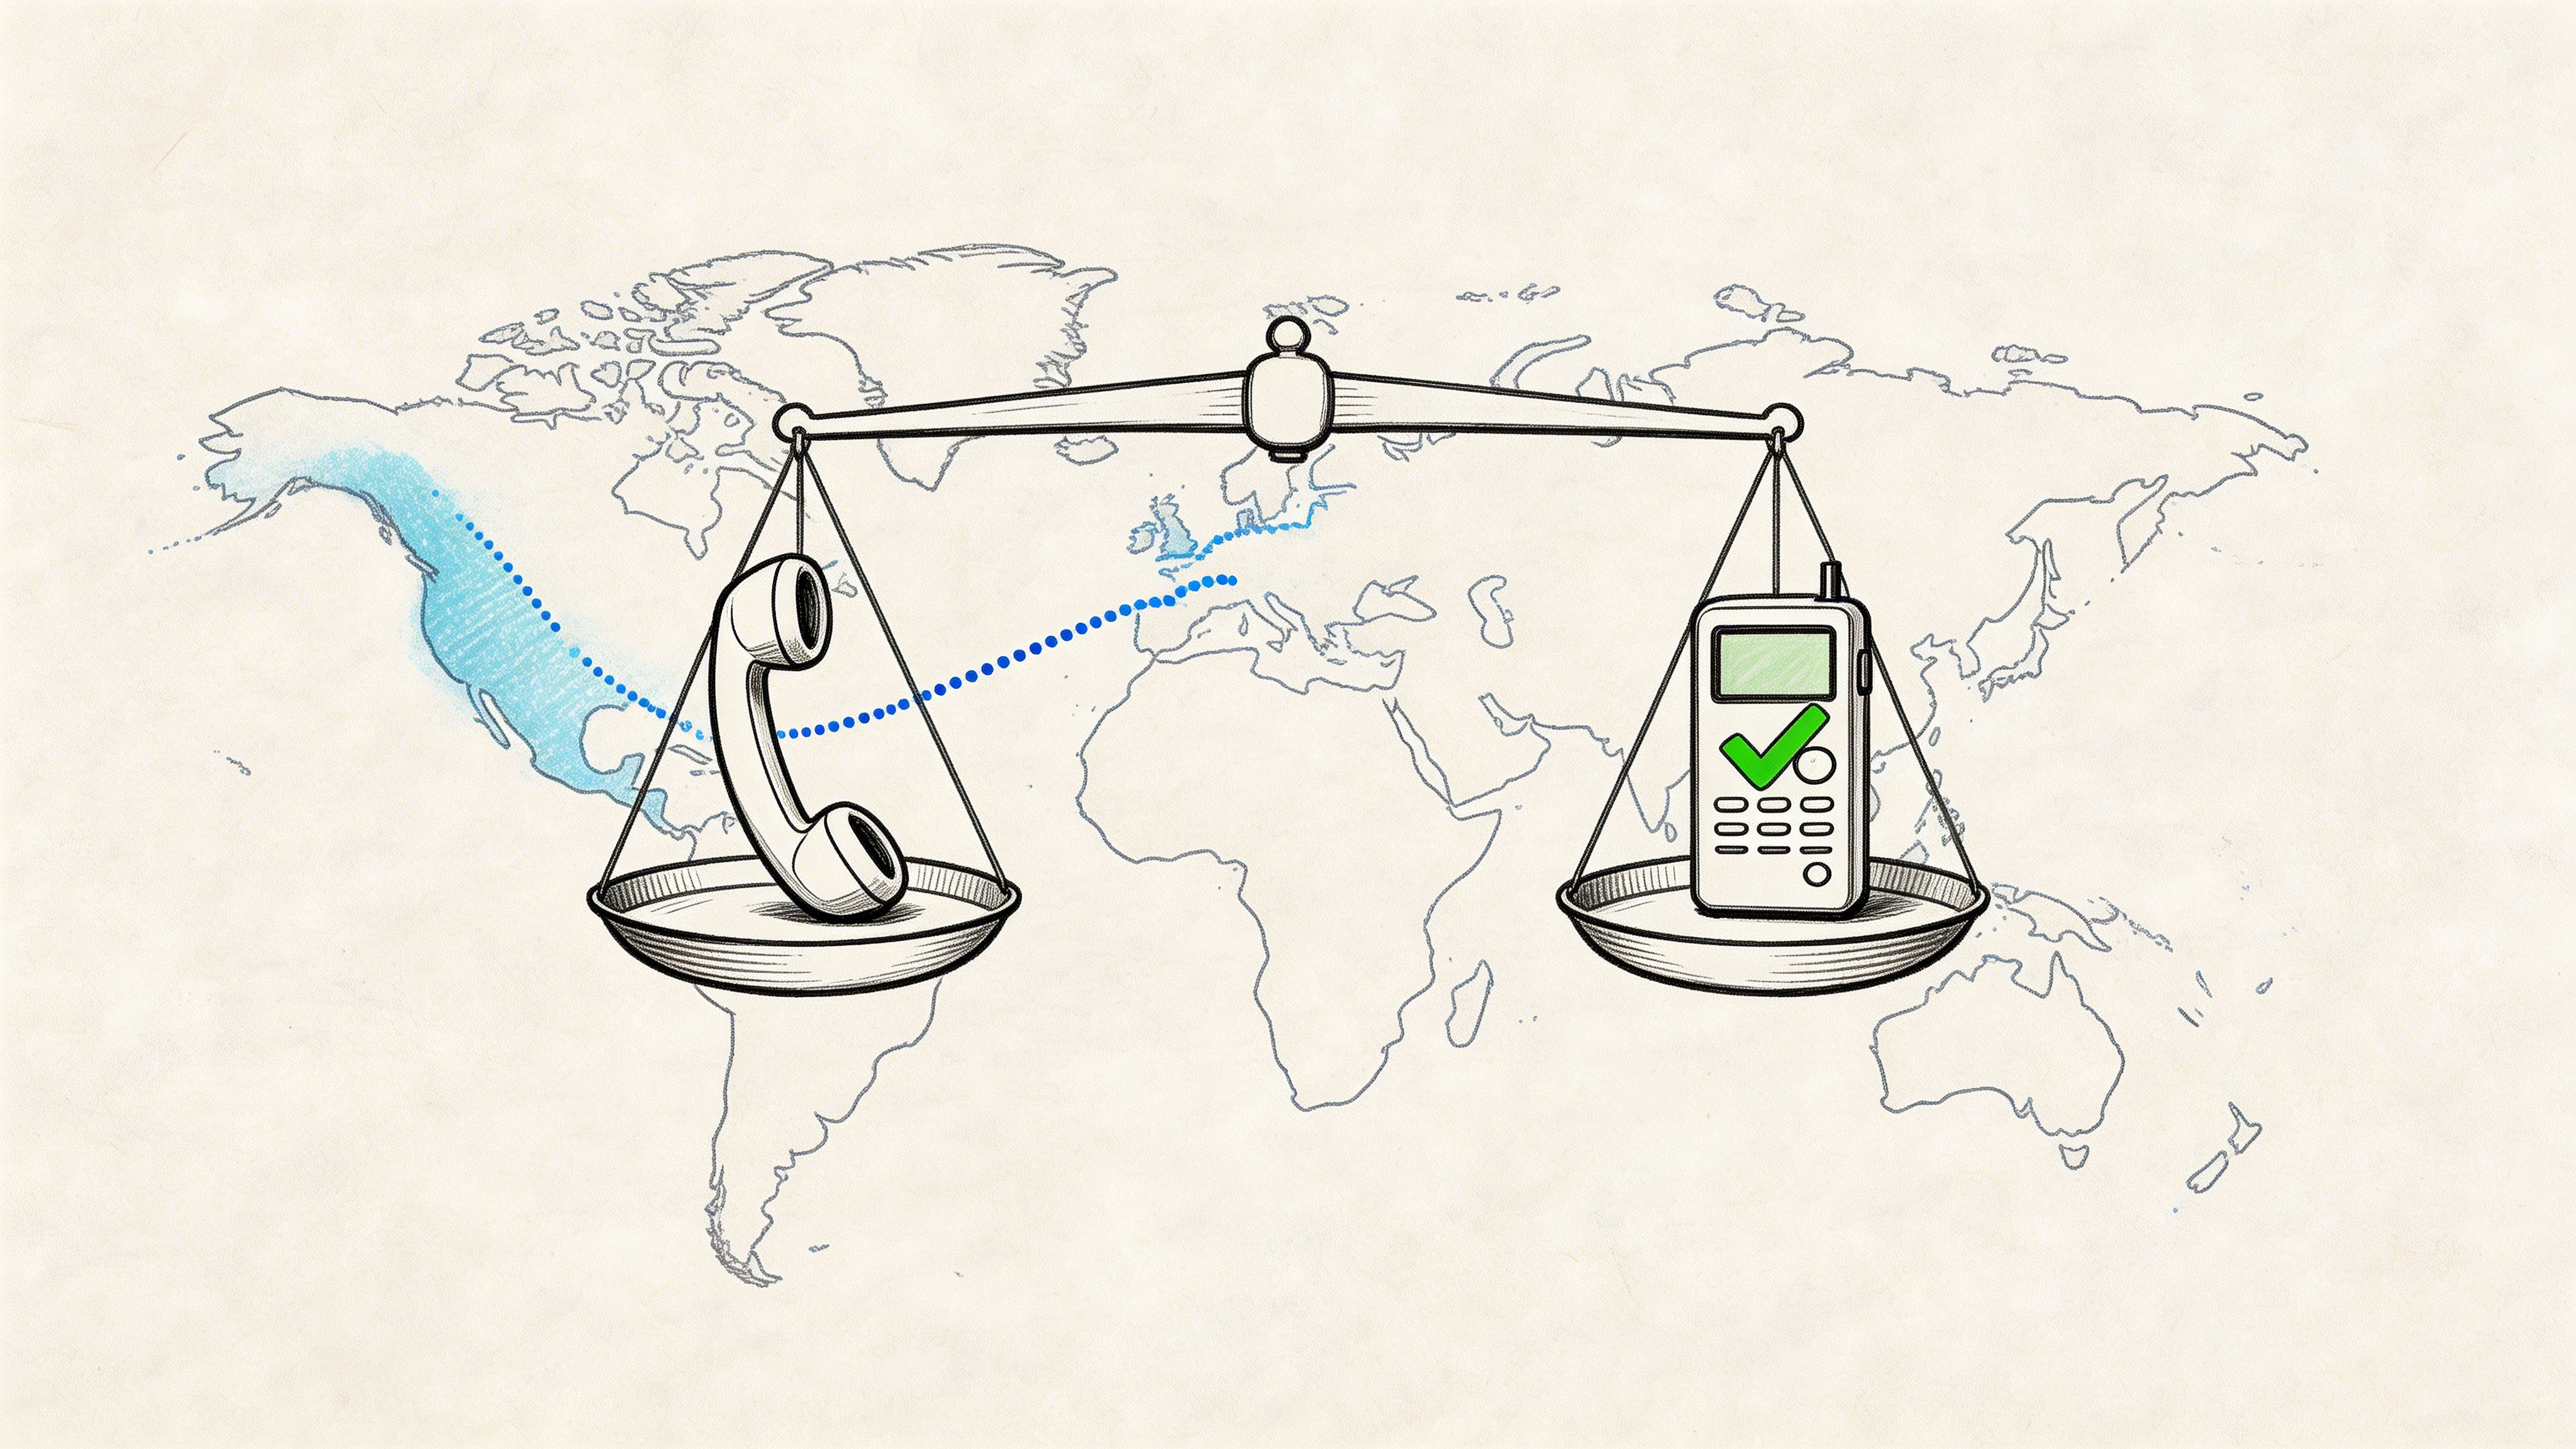
Cloud vs Local Webex Recording At a Glance
Still on the fence? This quick comparison table should help you decide which option is the right fit for your next meeting.
Ultimately, both options get the job done. But picking the right one from the start will save you a lot of hassle later.
Pro Tip: Choosing the right recording type upfront saves a ton of time. A cloud recording is your best friend for quick sharing and transcription, while a local file gives you complete control for any post-production work.
Knowing the difference between these two lets you adapt on the fly, ensuring you always capture your meeting in the most useful format for whatever you need.
A Host’s Guide to Capturing the Perfect Recording
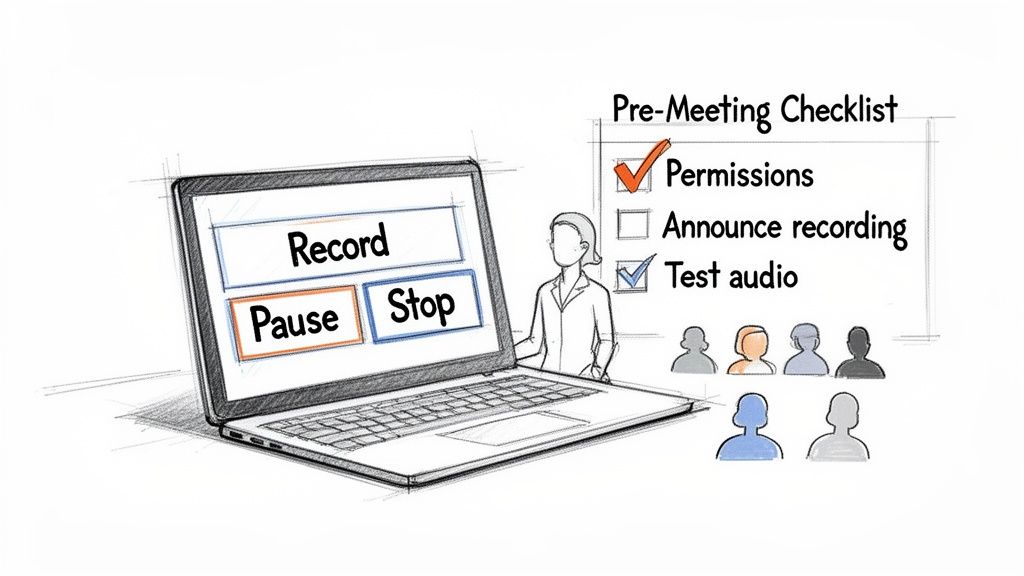
As the host, you’re in control from the moment you hit “Schedule.” Hitting Record is just the final flourish of a process that really begins with preparation. Based on my experience running hundreds of recorded sessions, a quick prep check makes all the difference, turning potential hiccups into a smooth, professional recording.
Before everyone logs in, I always head over to my Webex account settings. I confirm that recording permissions are active—nothing derails a session faster than finding the record button grayed out at the last second.
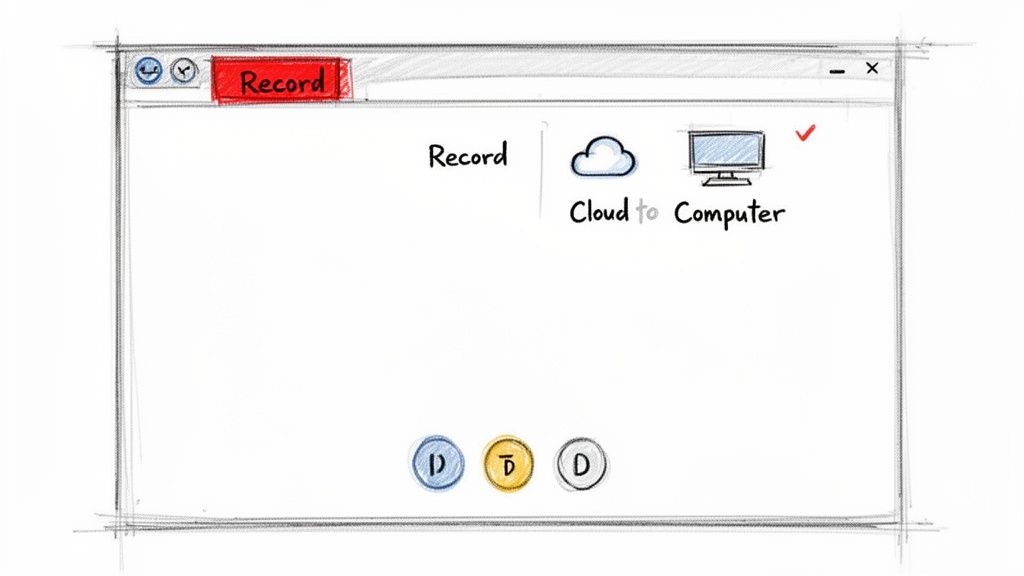
Once your attendees arrive, the meeting controls are your go-to. Tap Record and watch for the red dot in the corner; it’s your visual cue that everything is being captured in real time.
Starting And Managing Your Recording
Right after you click Record, Webex asks where to save: the cloud or your computer. Pick the option that fits your workflow, and the recording kicks off immediately.
Sometimes you’ll need a break—maybe for an off-the-record chat or a technical pause. That’s where these controls shine:
- Pause Recording: Use this when you want to freeze the action without splitting the file.
- Stop Recording: Hit this at the end of a segment or when the meeting wraps up; Webex will create a fresh file next time you record.
From personal experience, pausing for brief asides keeps your final video clean, while stopping helps organize distinct chapters in a single session.
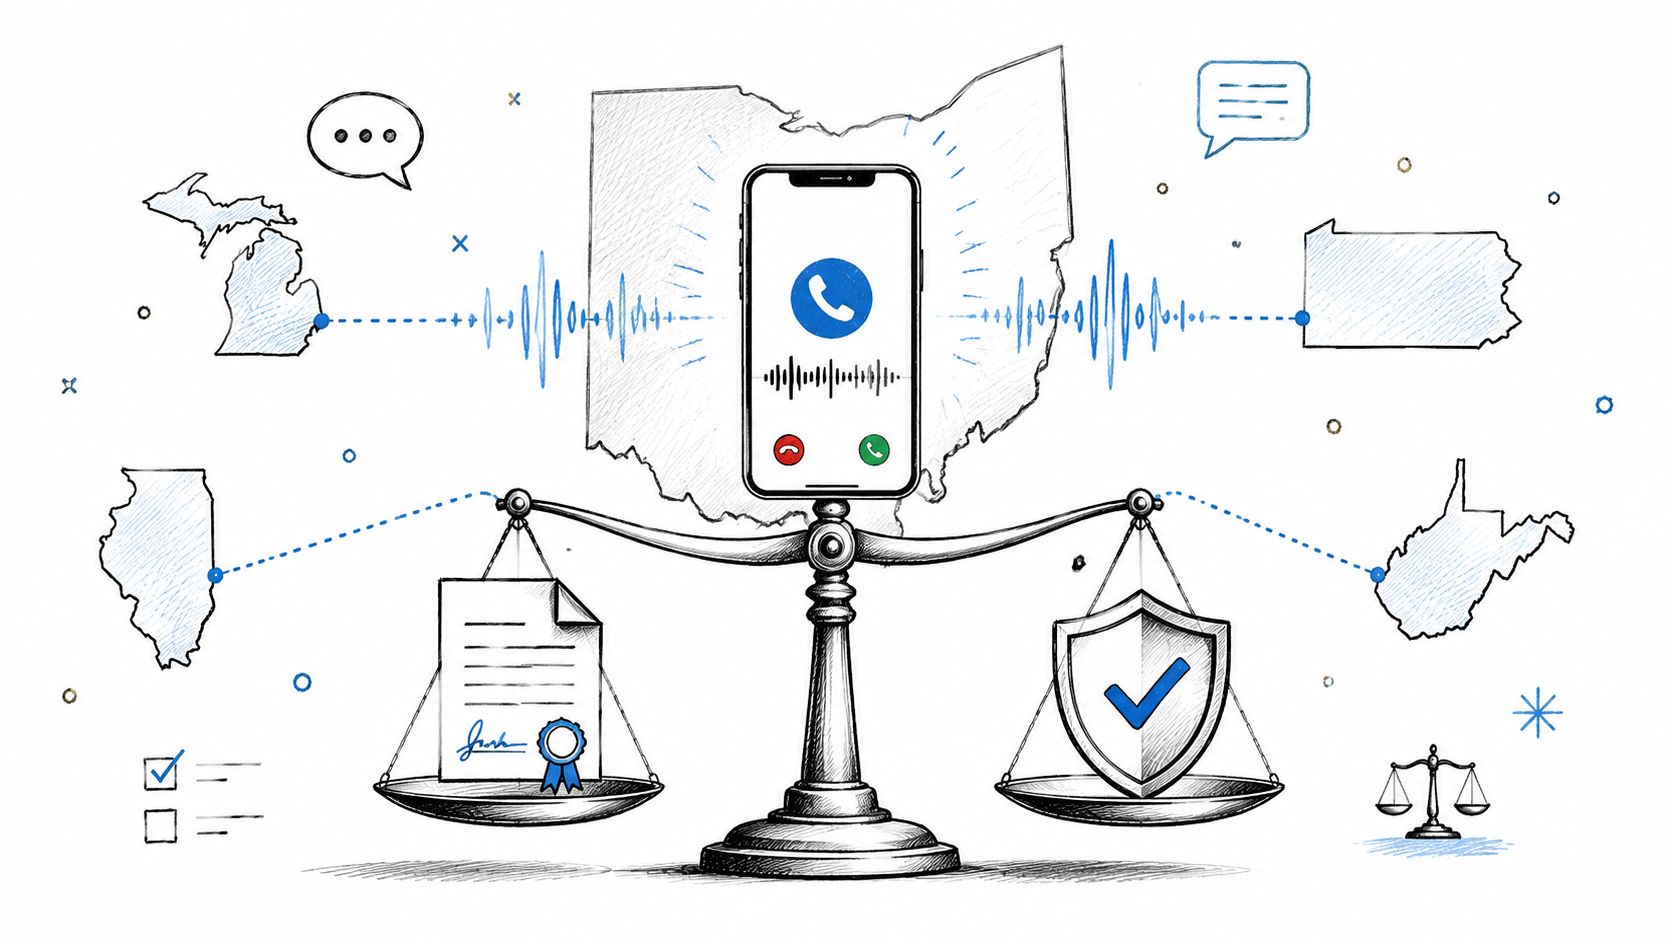
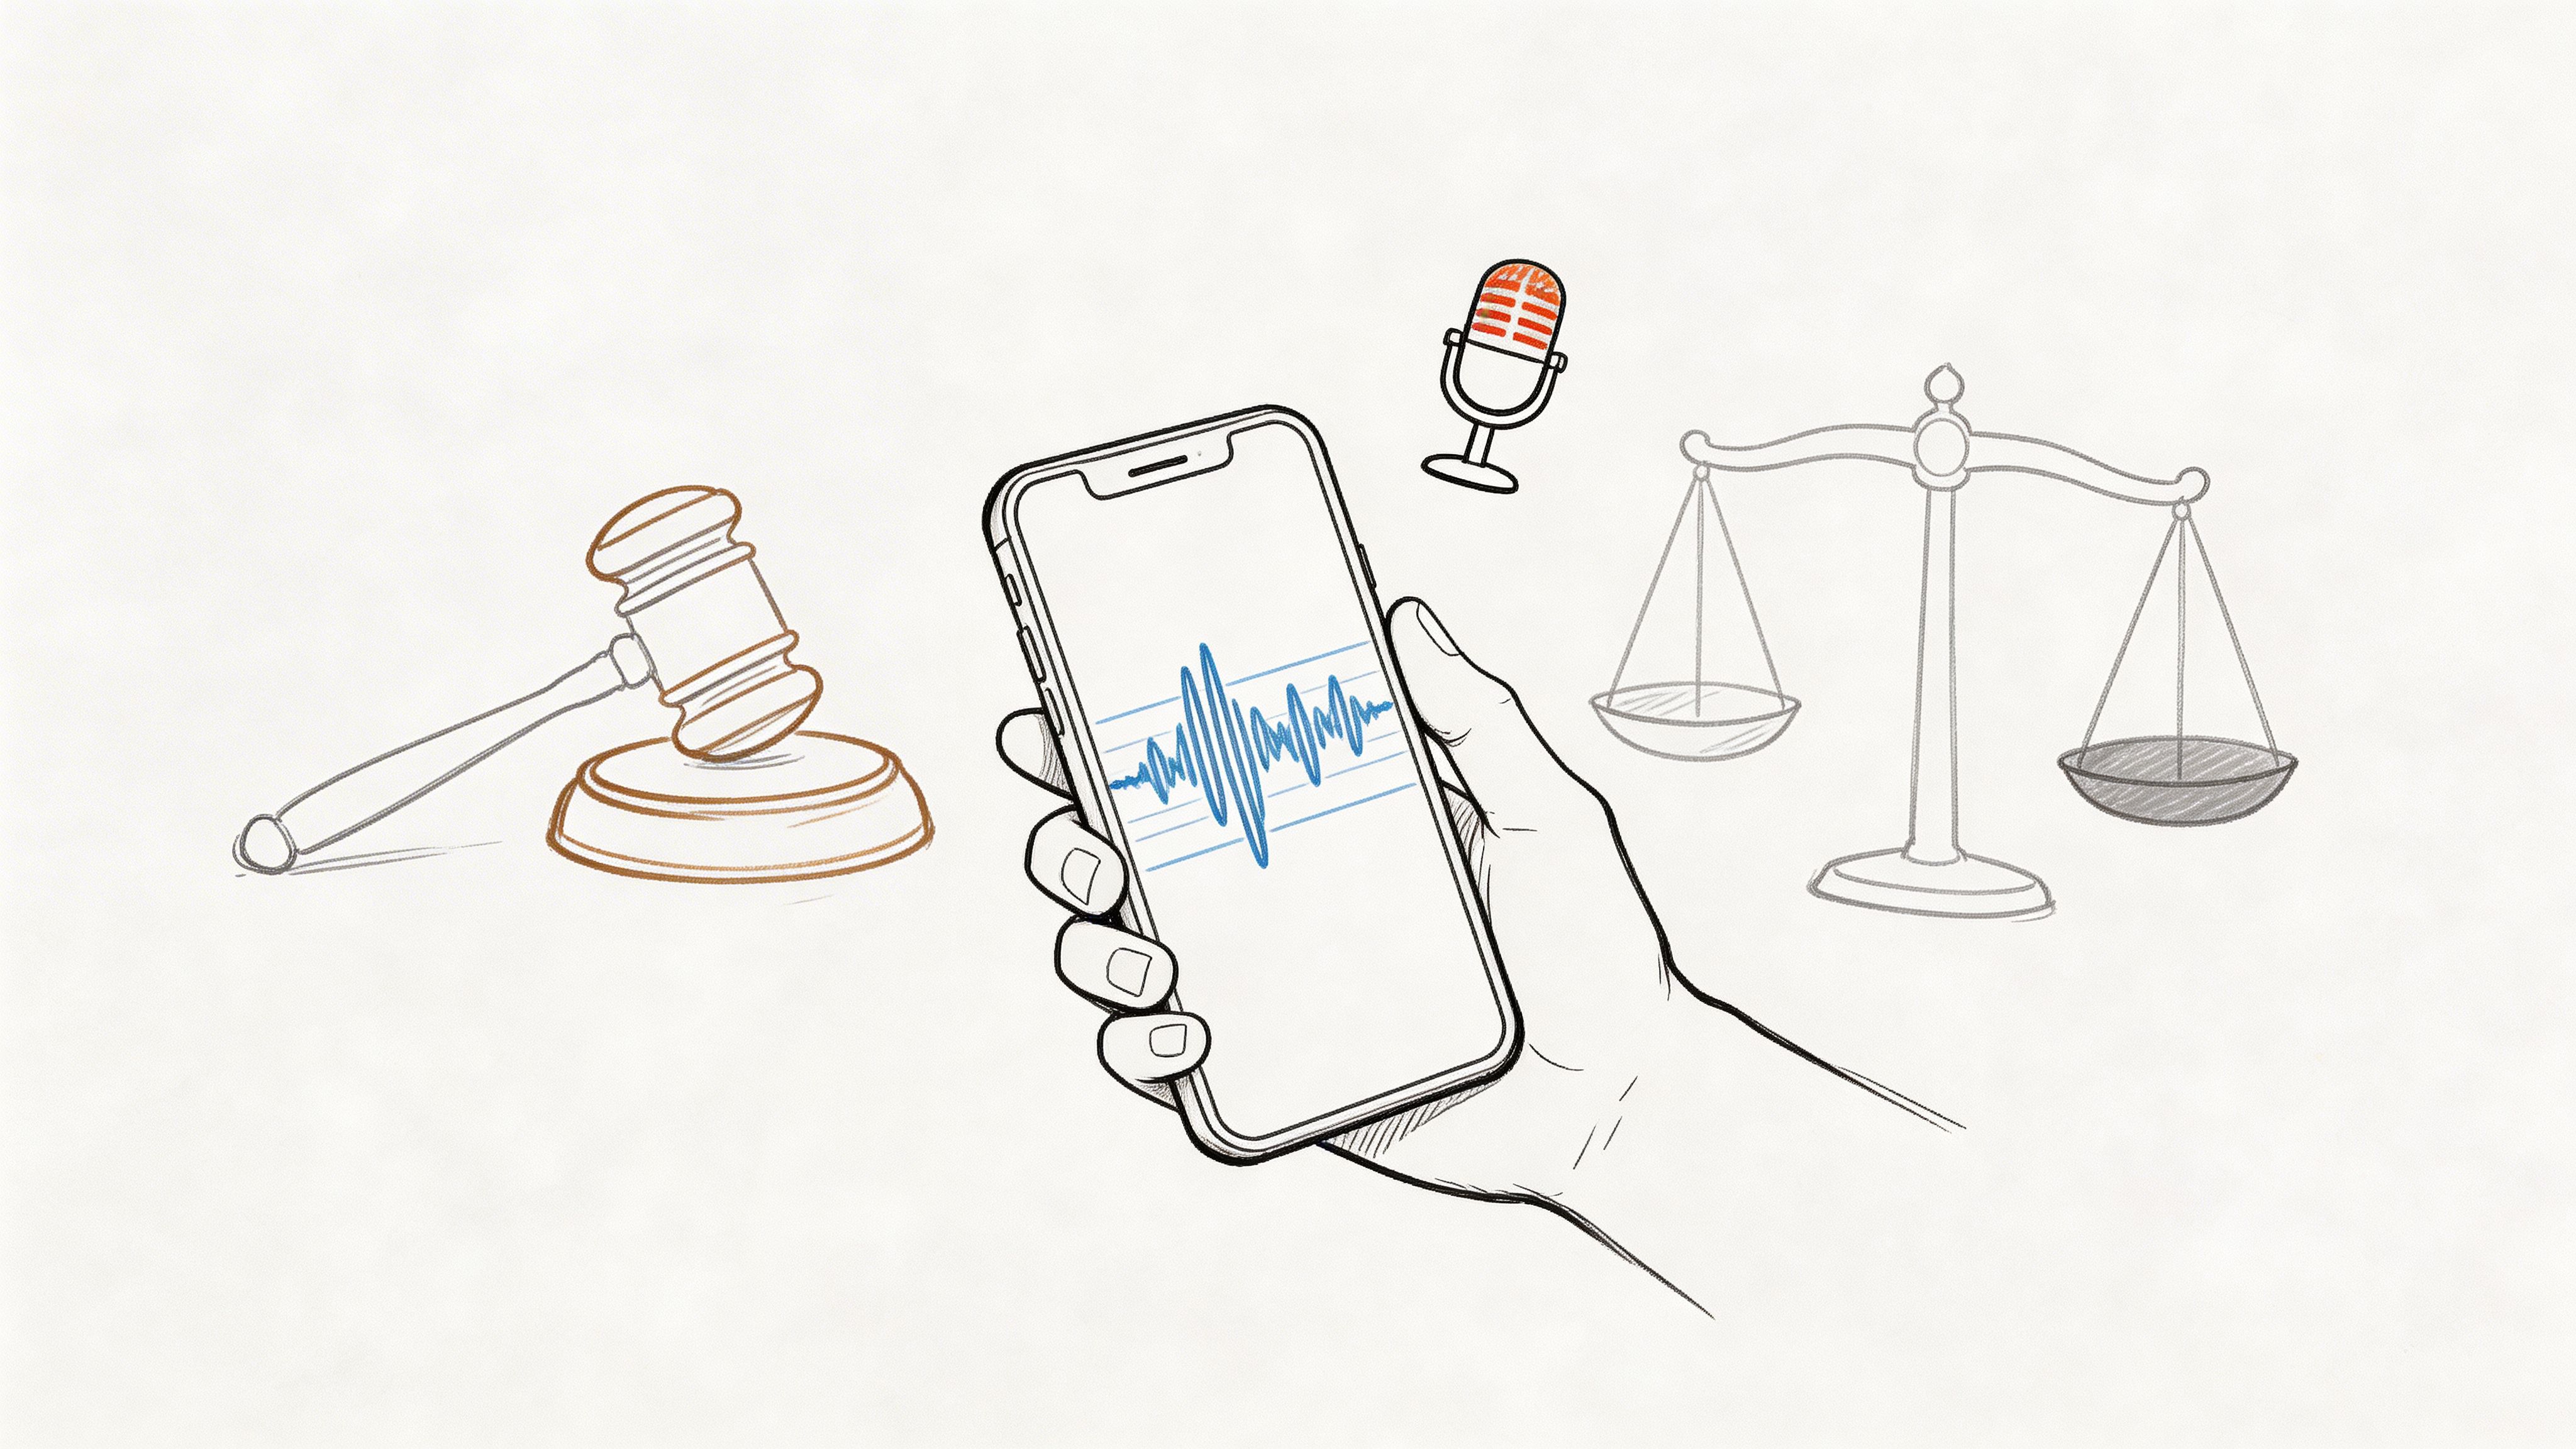
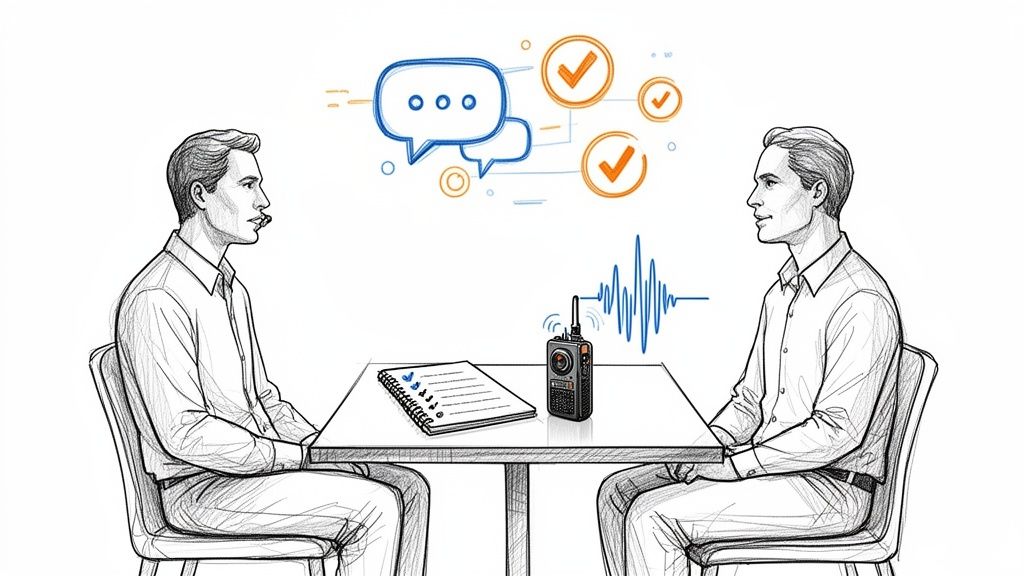
Announcing The Recording And Ensuring Consent
Transparency is key. A quick verbal notice at the start not only sets clear expectations but also covers legal and ethical bases. For example, I typically say something like this:
“Just a heads-up everyone: I’ll be recording this call so we can loop in team members who can’t make it. Please let me know if you have any concerns.”
That brief statement, combined with the visible recording indicator, keeps things above board and ensures consent is clear.
What Gets Captured In A Webex Recording
Knowing what’s included helps you plan ahead and set participant expectations. Your final recording will contain:
- Video: The active speaker plus any other video participants.
- Audio: All unmuted microphones.
- Shared Content: Slides, screen shares, whiteboards—anything you display.
Keep in mind that private chat messages and polling results aren’t part of the video export. If you’re running Webex from your home office, great audio and crisp visuals matter. For a deep dive into professional setups, check out this guide on remote recording with studio quality.
Navigating Webex Recording Permissions and Settings
If you’ve ever stared at a grayed-out "Record" button in a Webex meeting, you’ve hit the permissions wall. It’s a really common frustration, but the good news is that it's usually an easy fix once you understand who holds the keys.
Within any organization, Webex access isn't a free-for-all. The power to record is a specific privilege, and it’s typically controlled by the Site Administrator—often someone in your IT department. They're the ones who set the ground rules for what hosts and co-hosts are allowed to do.
So, if you’re a Host and the record button is out of commission, it’s almost certainly a site-level setting. Your first move should be to get in touch with your Webex admin to make sure your account is actually enabled for recording. Sometimes, a company might intentionally disable local recordings to keep all video files stored securely in the cloud for compliance reasons.
Understanding Key Recording Roles
The hierarchy is pretty straightforward, but figuring out your place in it is crucial for asking for the right permissions. It’s not just about knowing how to record a meeting; it’s about knowing if you can.
- Site Administrator: This person (or team) has the ultimate say. They can enable or disable cloud and local recording for the entire organization or just for certain groups of users. They also keep an eye on the company's total cloud storage quota.
- Host: As the person who created the meeting, you should have full control—if the administrator has given you the green light. You can start, stop, pause, and choose where to save the recording.
- Co-host: A co-host can also handle recording duties if the host is running late or needs a hand. One important catch, though: the recording always gets saved to the original host’s account, not the co-host's.
If you find yourself stuck without recording access, a quick email to IT support or your Webex admin is all it takes. Just ask them to enable recording permissions for your account, and you should be good to go.
Customizing Your Recording Settings
Once you've got the necessary permissions squared away, you can start tweaking your settings to get the recording just right. These options give you a surprising amount of control over the final video.
A big one is the recording layout. You can choose exactly how the video feed is captured.
A powerful but often overlooked feature is automatic recording. For any recurring meetings, like weekly team syncs or project stand-ups, you can tell Webex to start recording the second the first person joins. This is a total lifesaver for making sure nothing gets missed, even if you’re running a few minutes behind schedule.
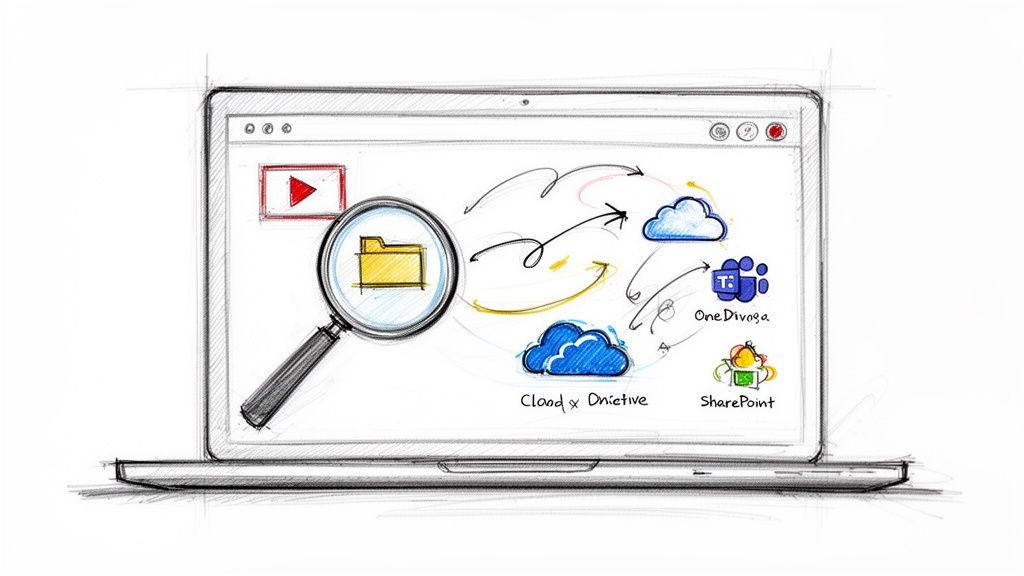
Managing and Sharing Your Webex Recordings
So, your meeting's done and the recording is ready. Great! But a recording tucked away on a hard drive or in the cloud isn't doing anyone any good. The real value comes when you get that content into the hands of your team, clients, or students.
Let's get that file to the right people.
Whether you saved the recording locally or to the cloud, finding it is a breeze. If it's a local MP4 file, just open up the folder you chose earlier. For cloud recordings, sign into your Webex site and click on the "Recordings" tab. You'll see a neat list of all your recent sessions waiting for you.
This dashboard is your command center for sharing.
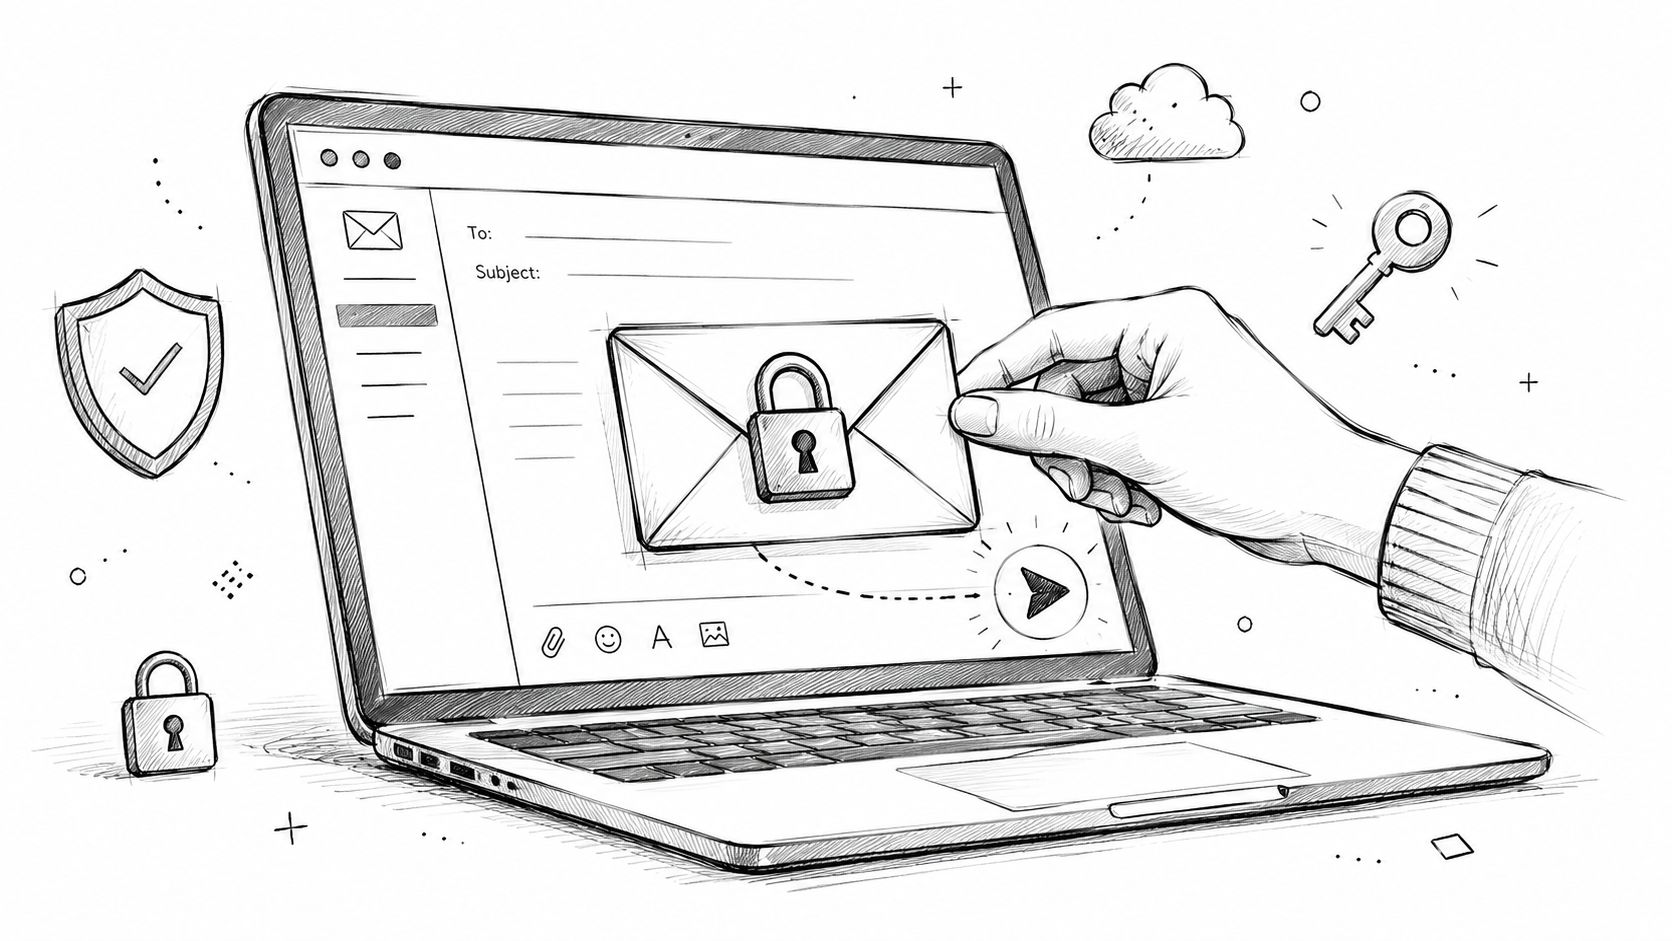
Securely Sharing Your Recordings
Not every recording is for public consumption. That internal strategy session or a confidential client debrief needs to be kept under wraps. Thankfully, Webex gives you some simple but powerful tools to lock down your content.
Before you fire off that link, think about who really needs to see it.
- Password Protection: The most straightforward way to secure a recording. Just add a password to the link, and only people with the magic word can get in.
- Restricted Access: You can also lock it down so only people signed into your company's Webex site can view it. Perfect for internal-only content.
- Download Prevention: Want people to watch but not keep a copy? Just toggle off the download option. It’s a great way to control the spread of your content.
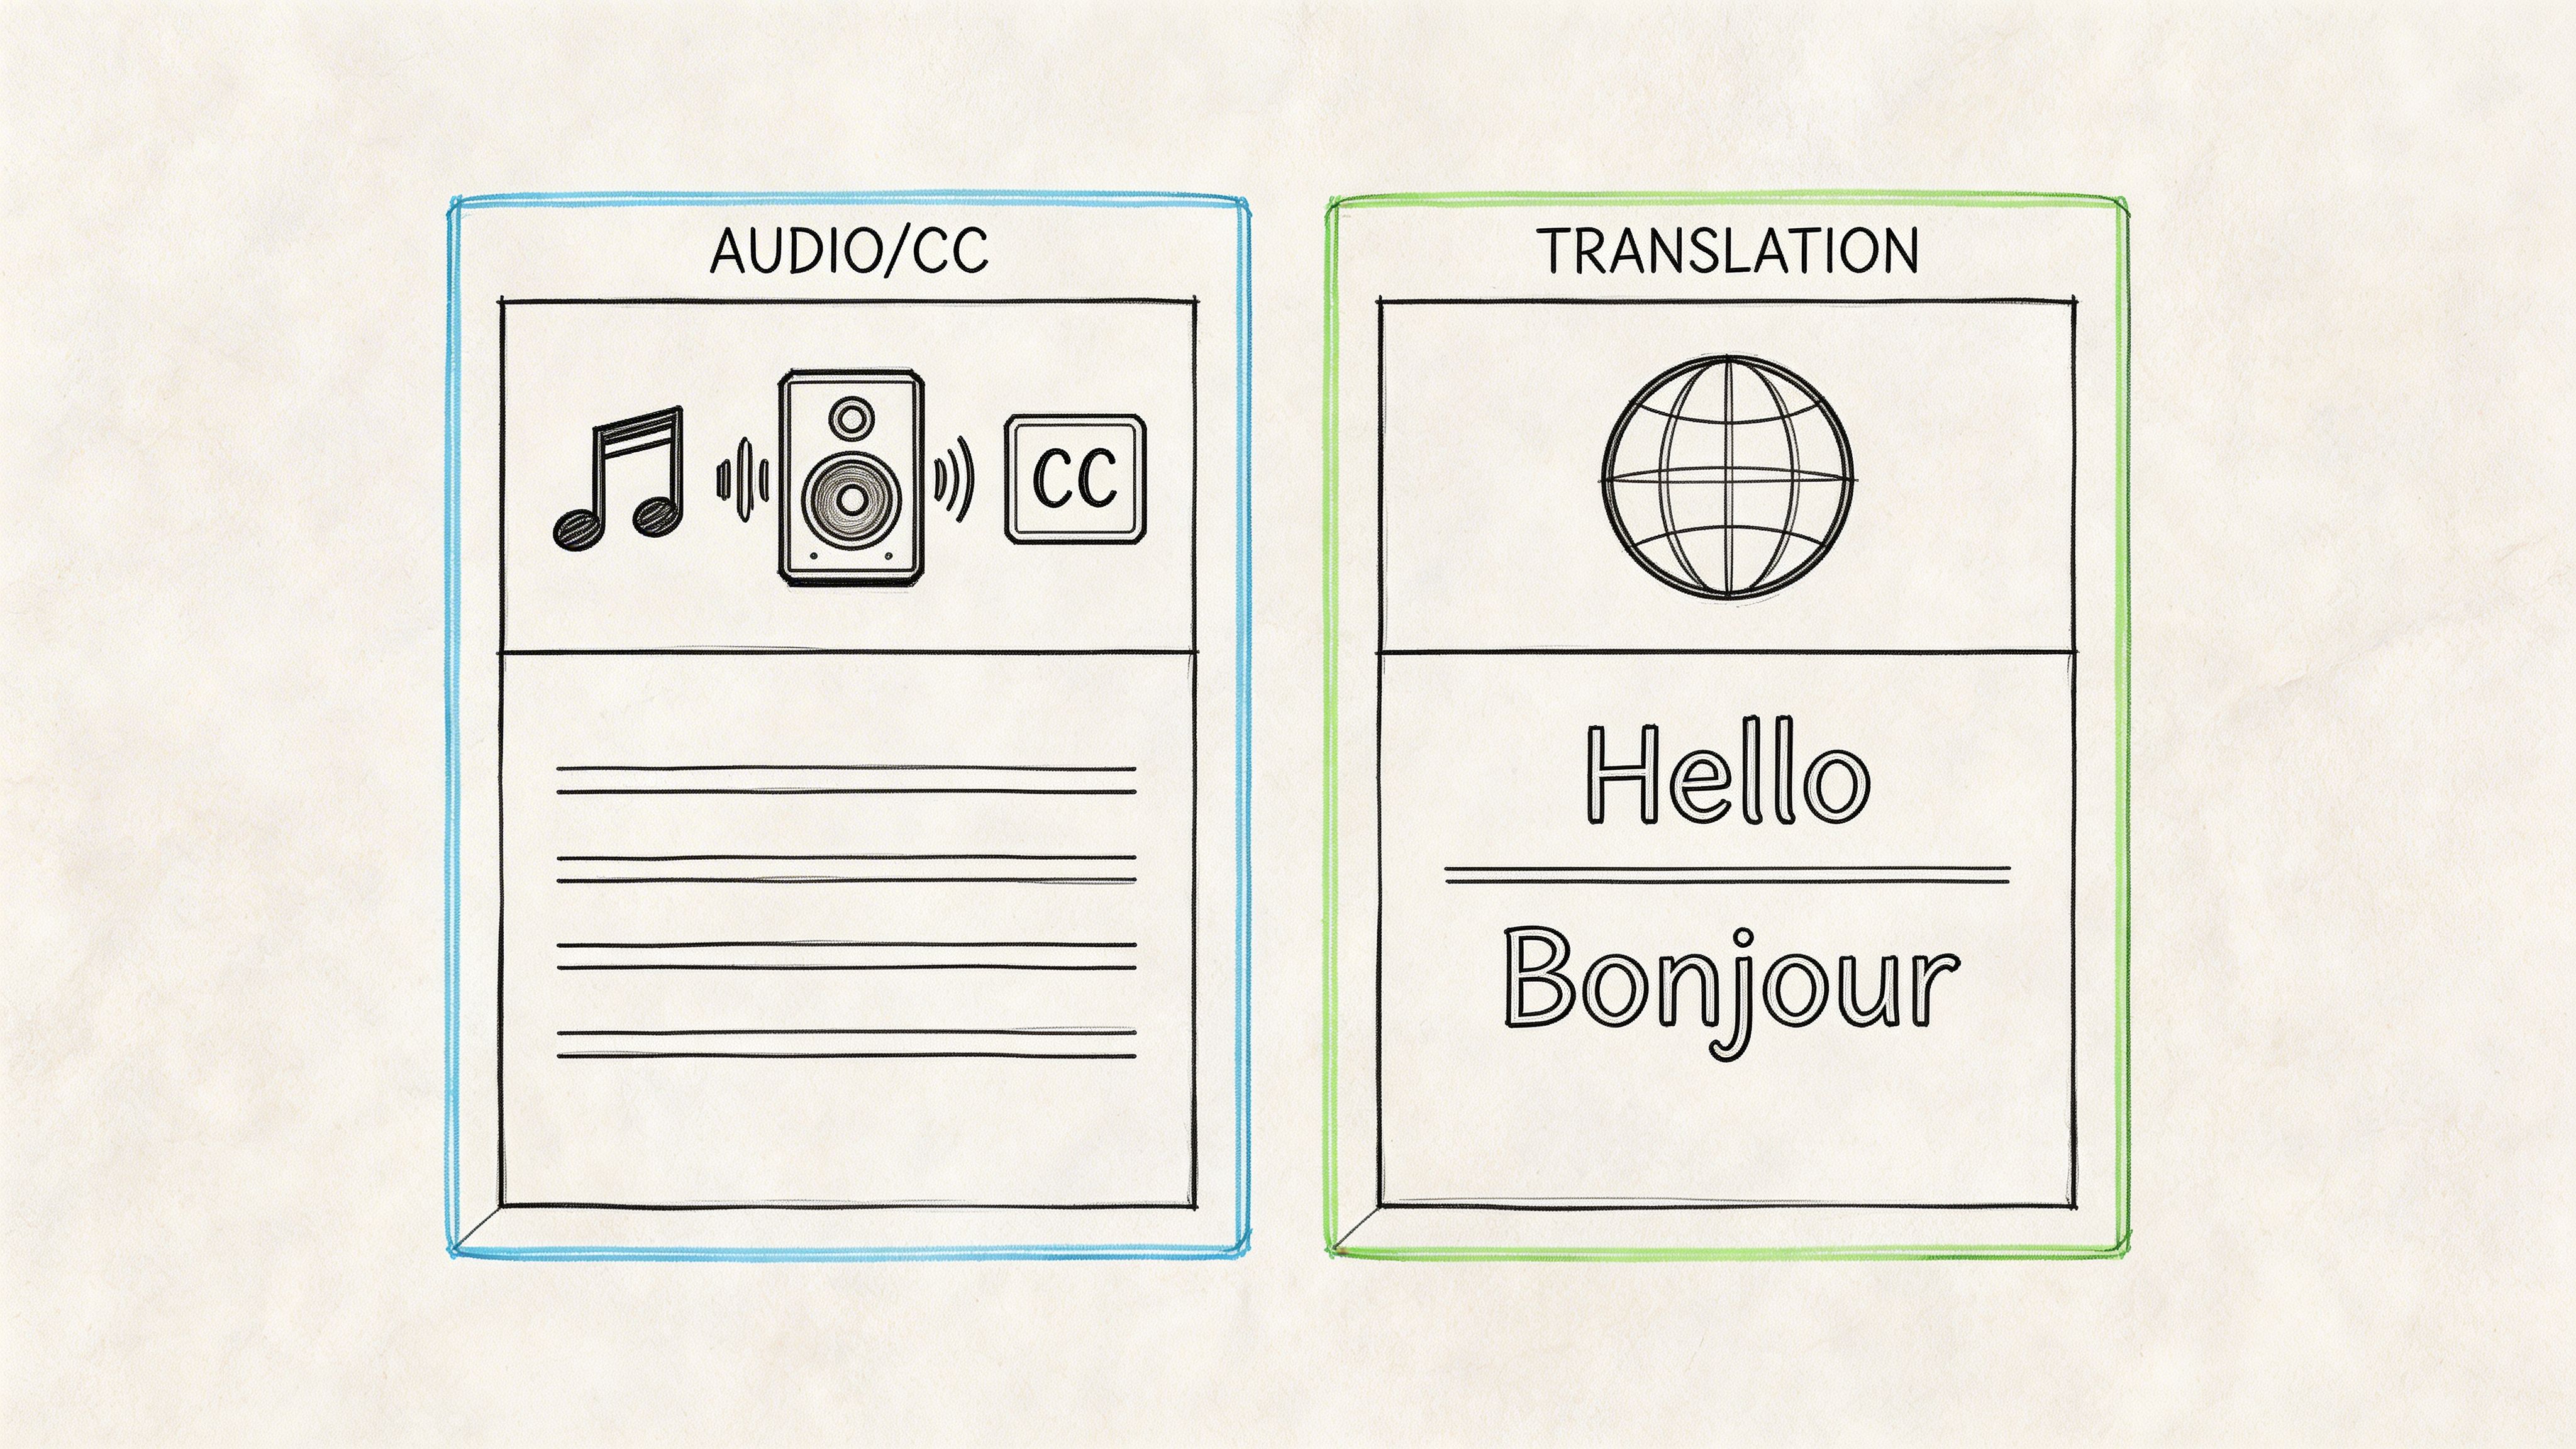
These features are non-negotiable for sensitive information. You can share with confidence, knowing your content won't end up in the wrong hands. And to make your shared videos even more effective, especially for viewers with hearing impairments, it’s worth understanding the role of subtitles and closed captions.
Key Takeaway: A recording is only as valuable as its distribution. Use Webex's built-in sharing tools like password protection and download prevention to make sure your content securely reaches its intended audience and achieves its purpose.
Tracking Viewer Engagement
Ever wonder if anyone actually watched the recording you sent out? With Webex, you're not just sending links into a black hole.
You get access to basic analytics that show who has viewed or downloaded your recording. This is incredibly useful for tracking compliance on a mandatory training session or seeing which prospects engaged with your latest product demo.
For a more granular look, hosts can pull detailed post-meeting reports. These Webex host reports combine recording views with attendance stats and can be easily downloaded as CSV files. As Webex continues to evolve, these analytics are getting more sophisticated. It's not uncommon for some large-scale HD recordings to generate files over 10GB.
You can learn more about how to generate these comprehensive reports on the official Webex help site. This data is your key to understanding the true impact and reach of your meetings long after they've concluded.
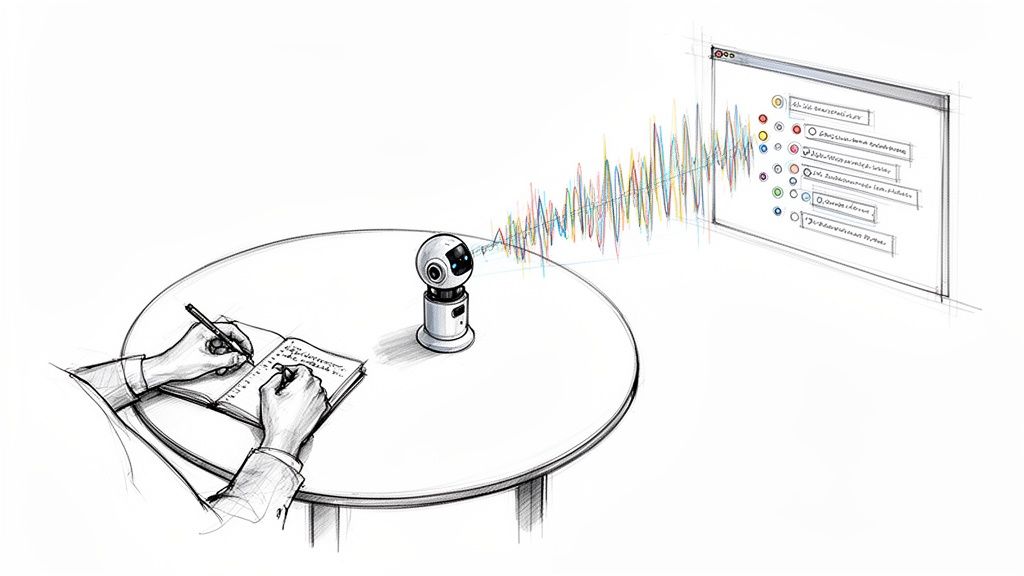
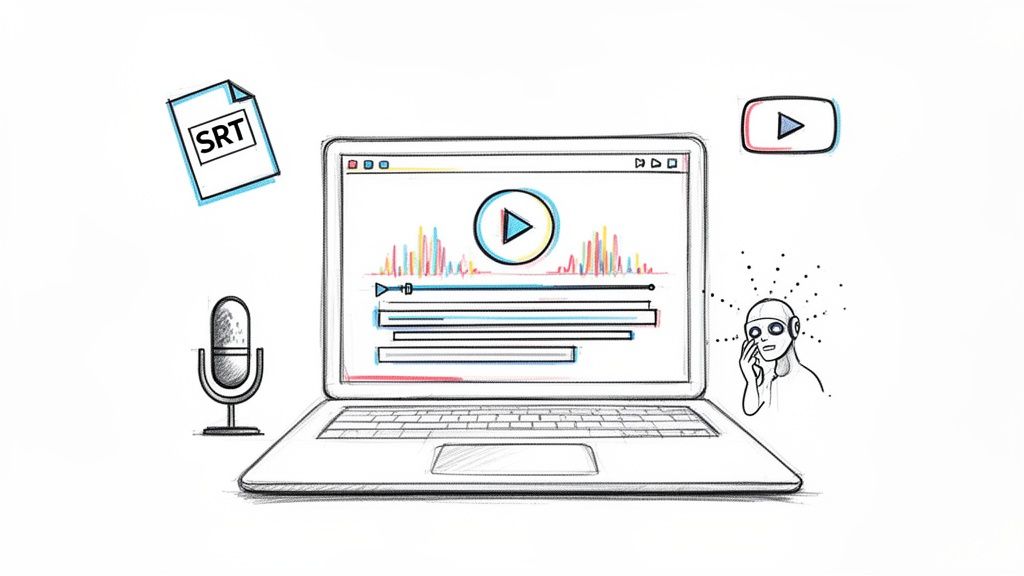
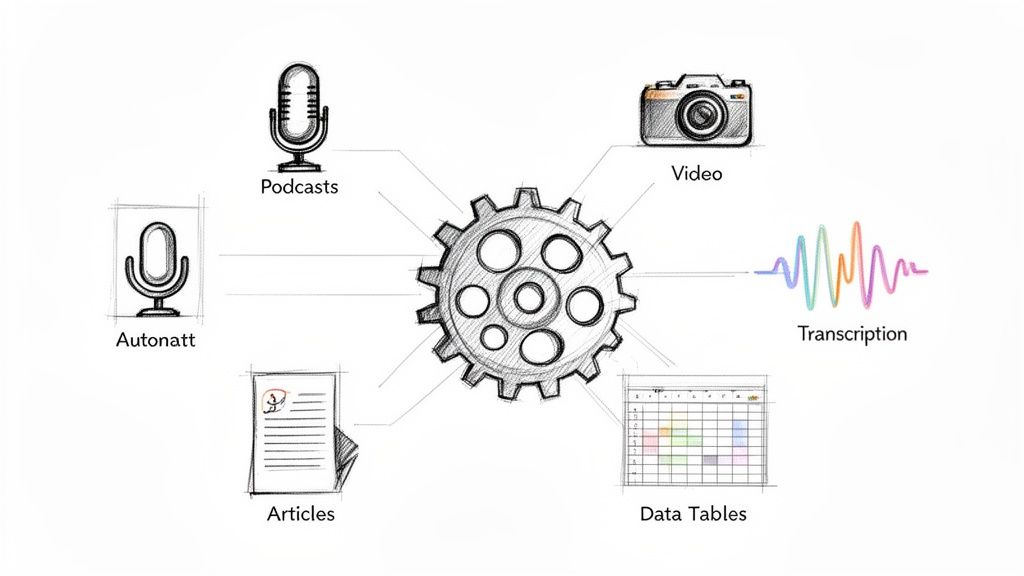
Turning Your Recording Into Actionable Insights
So you've recorded your Webex meeting. Now what? A raw video file sitting in the cloud is just potential. The real magic happens when you turn that hour-long discussion into something your team can actually use—like quick summaries, clear action items, and searchable text.
Let's be honest, nobody wants to spend an hour re-watching a meeting to find that one key decision. Manually transcribing and pulling out highlights is a massive time-sink. This is where a smarter post-meeting workflow, powered by good AI tools, can do the heavy lifting for you.
Instead of hitting rewind and play a dozen times, you can just upload your MP4 and let an automated system take over. This isn't just about saving a few minutes; it's about making your recorded content genuinely useful and accessible.
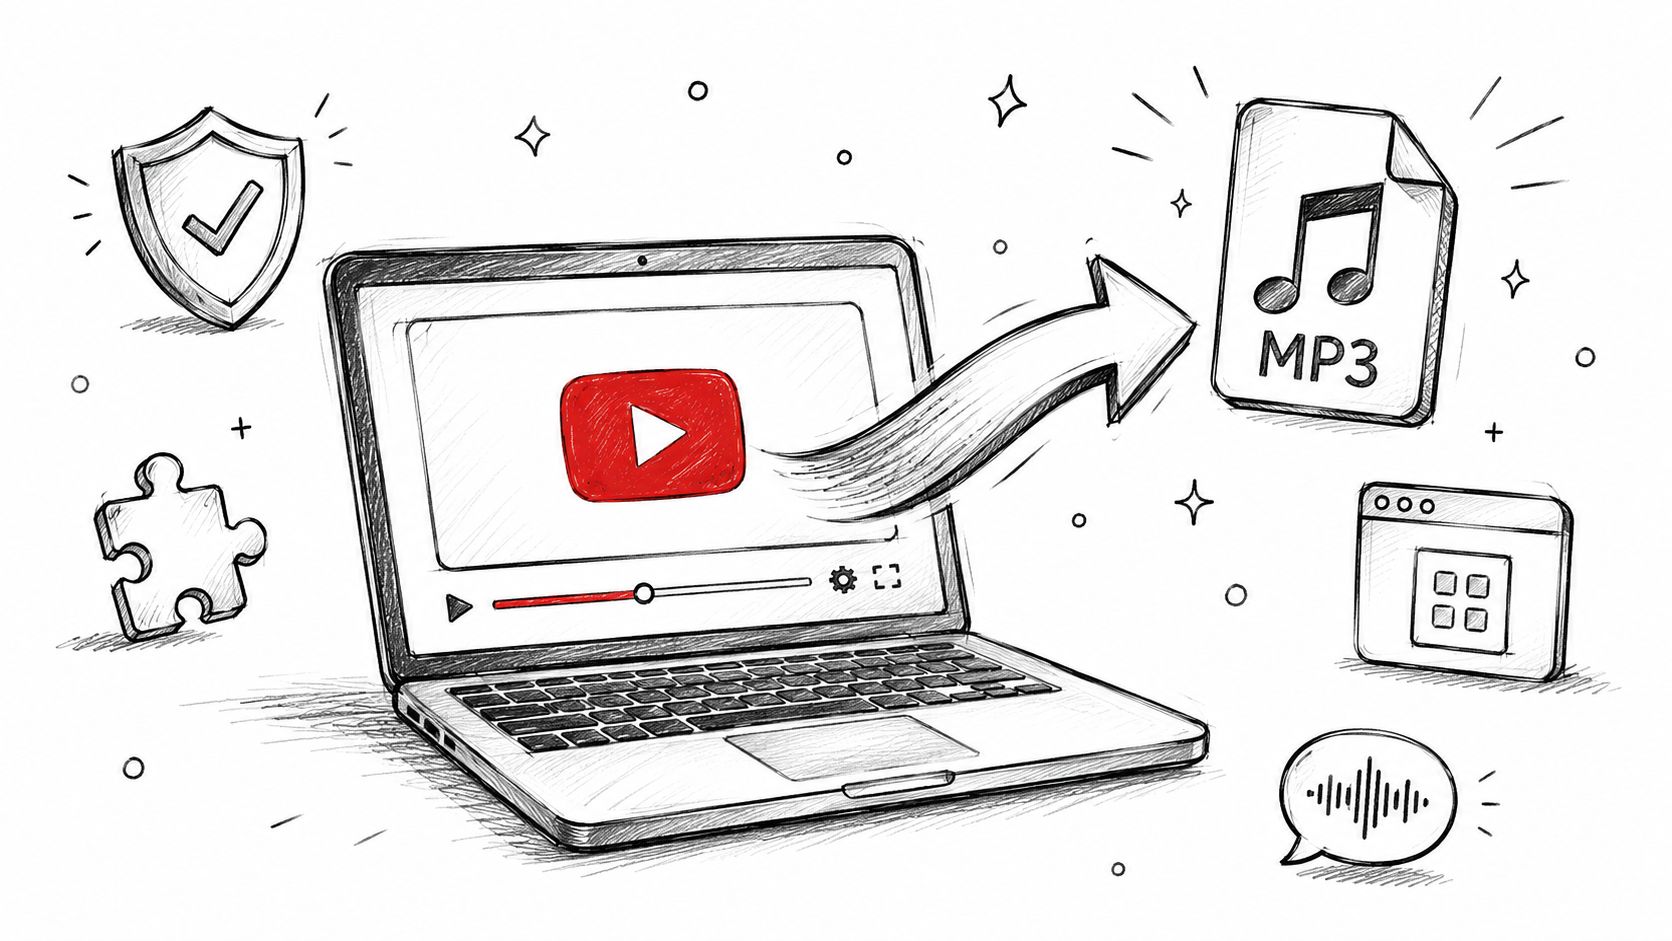
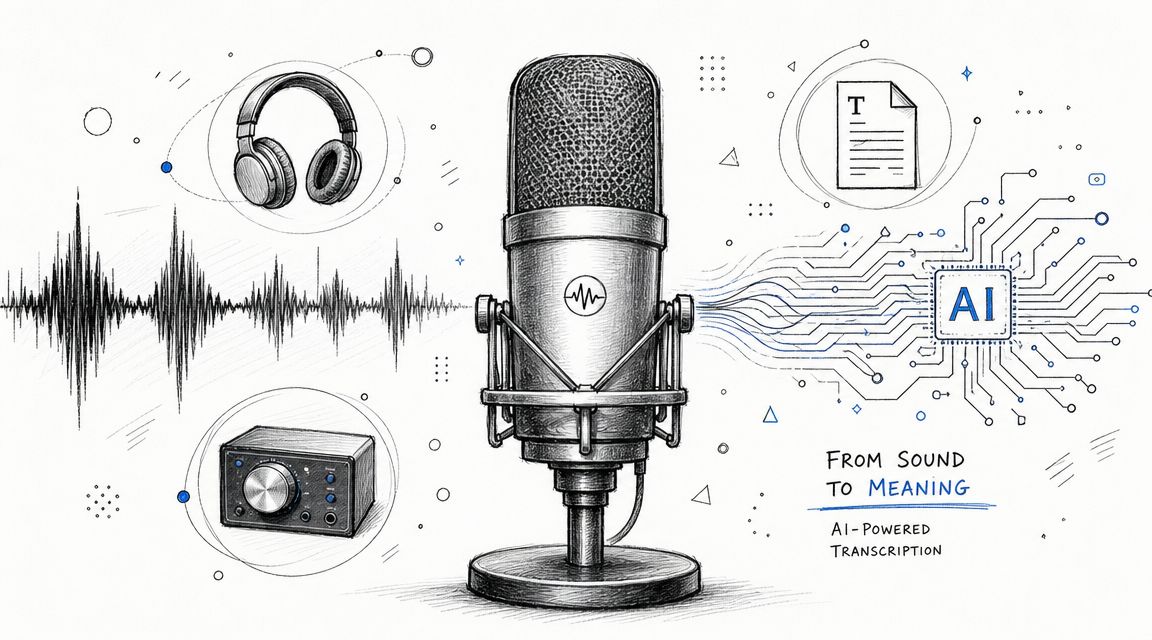
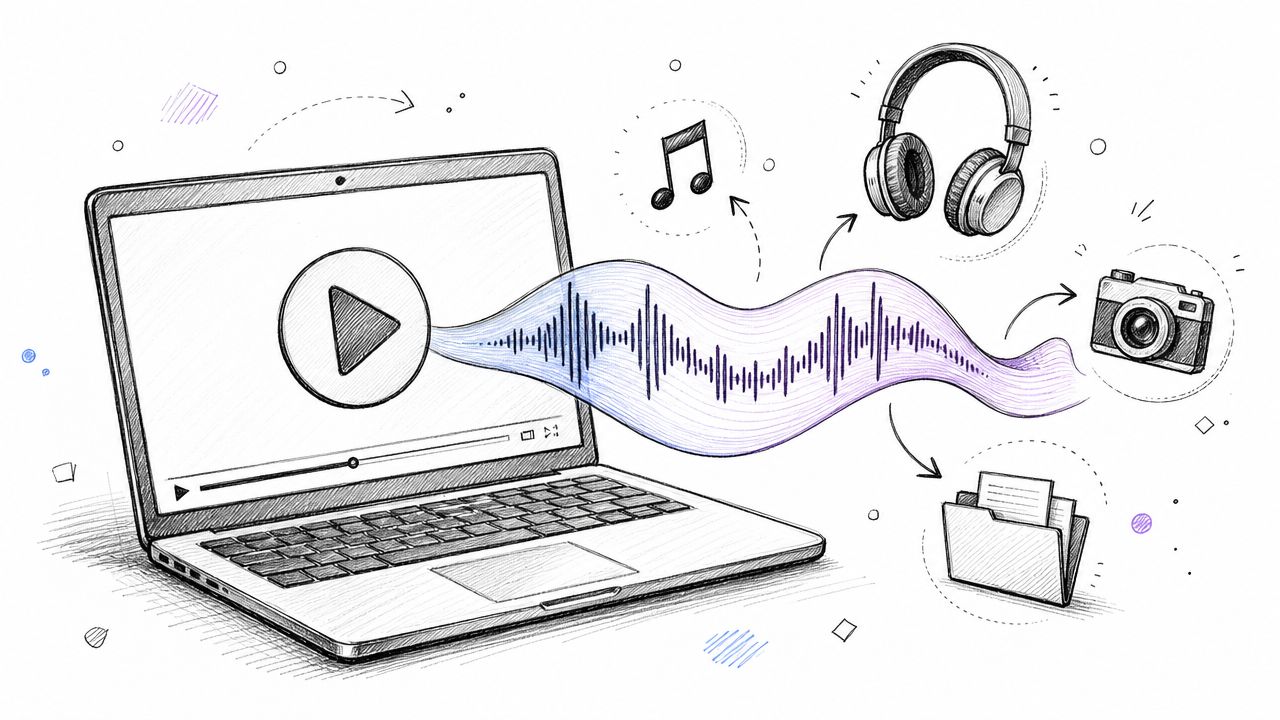
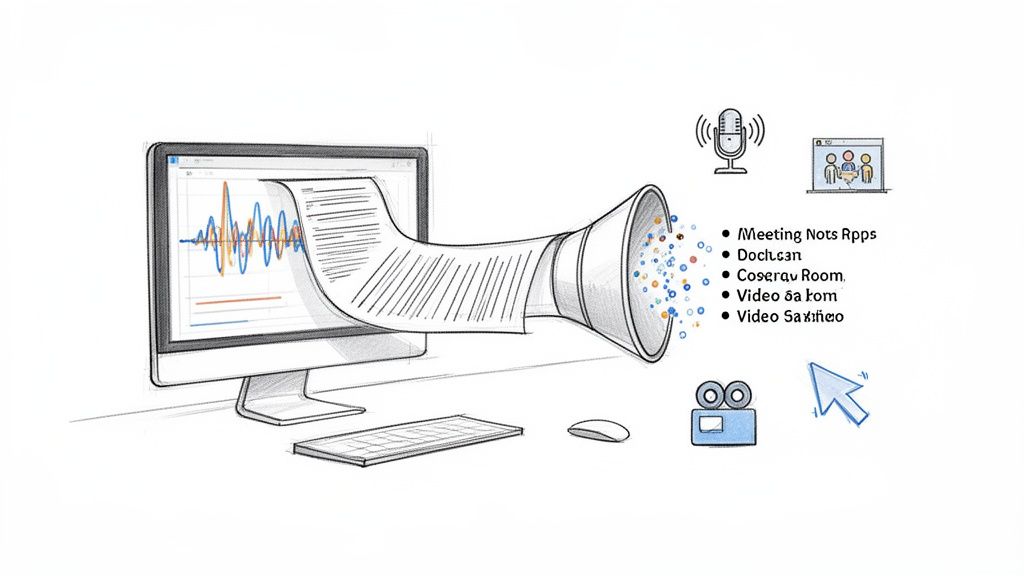
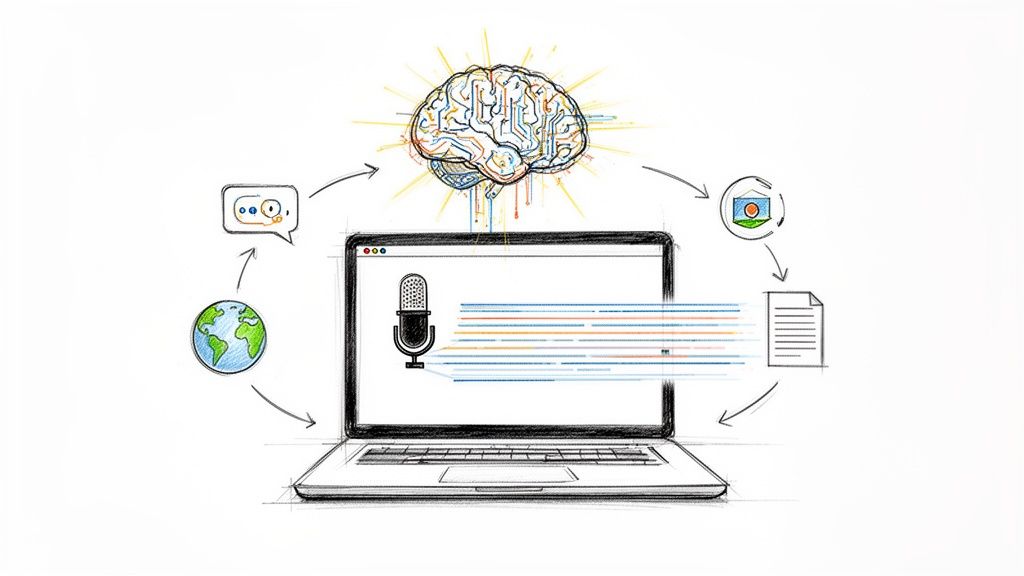
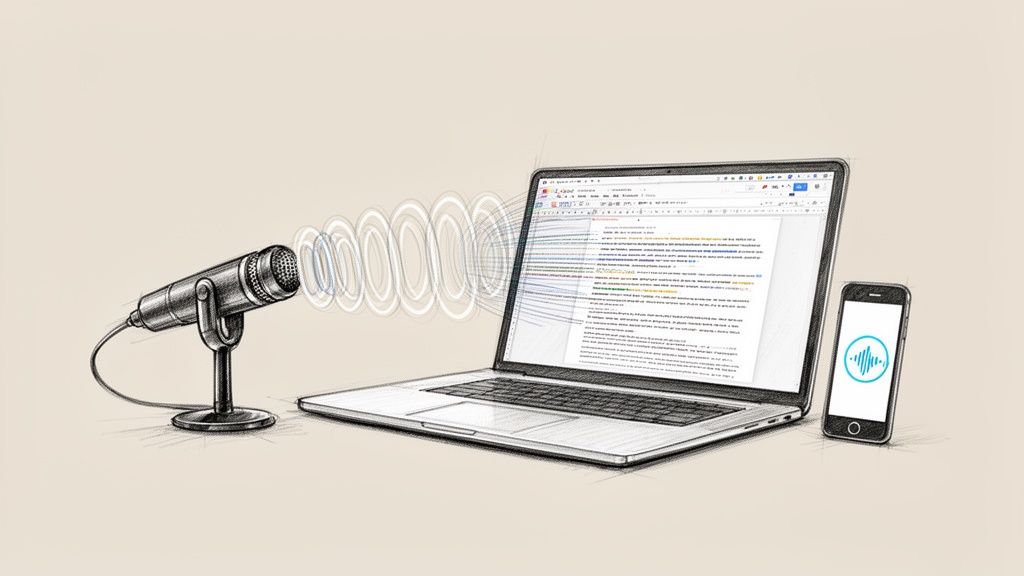
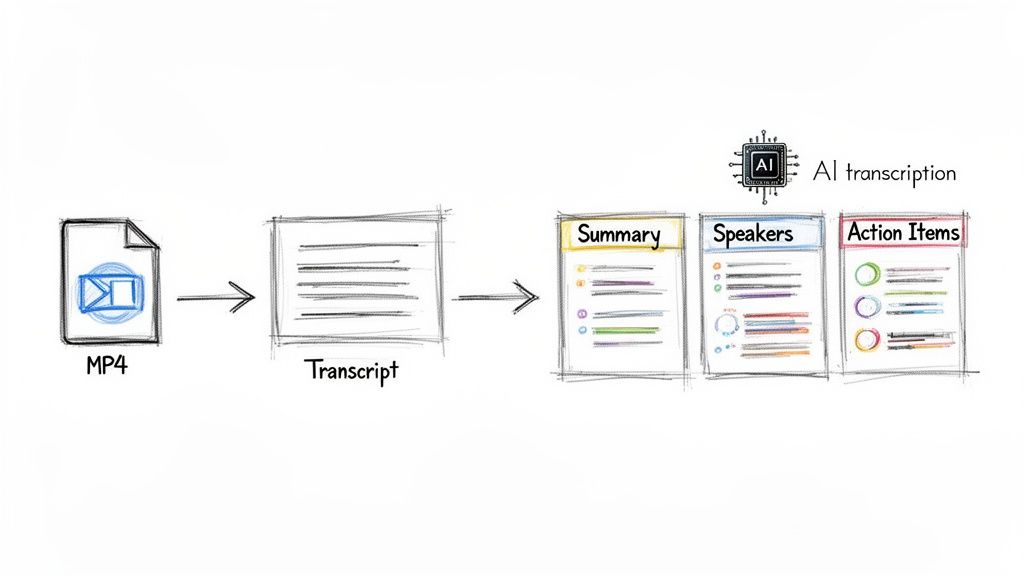
Transforming Your MP4 into Intelligence
Modern AI platforms are designed to process video and audio files, breaking them down into their essential parts. This is the first step in turning a simple recording into a valuable asset.
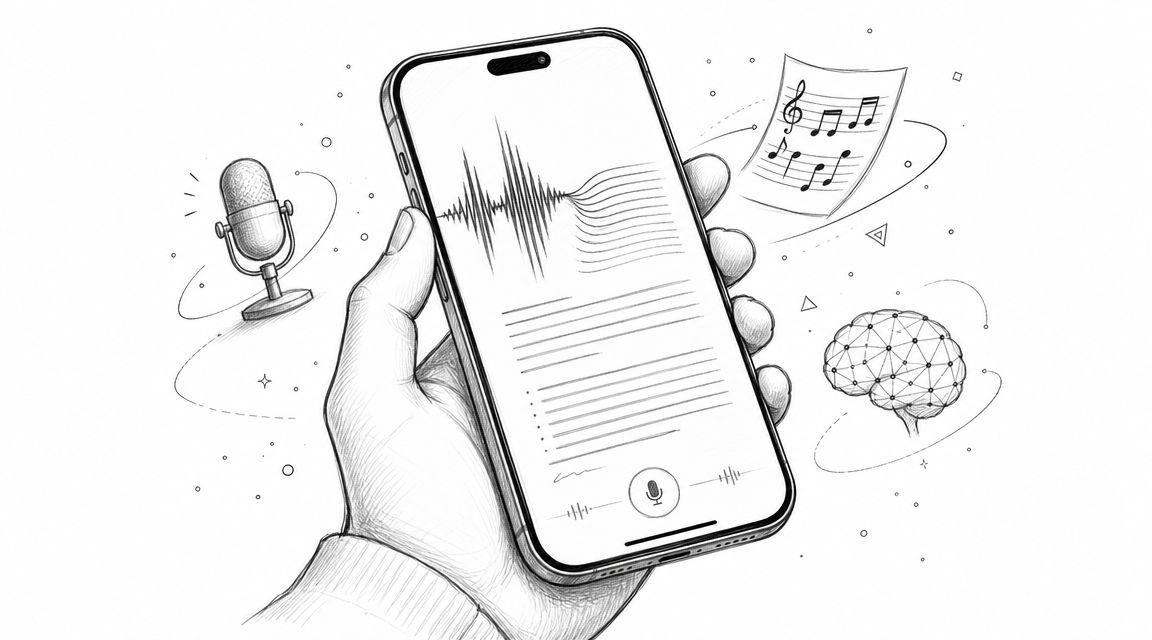
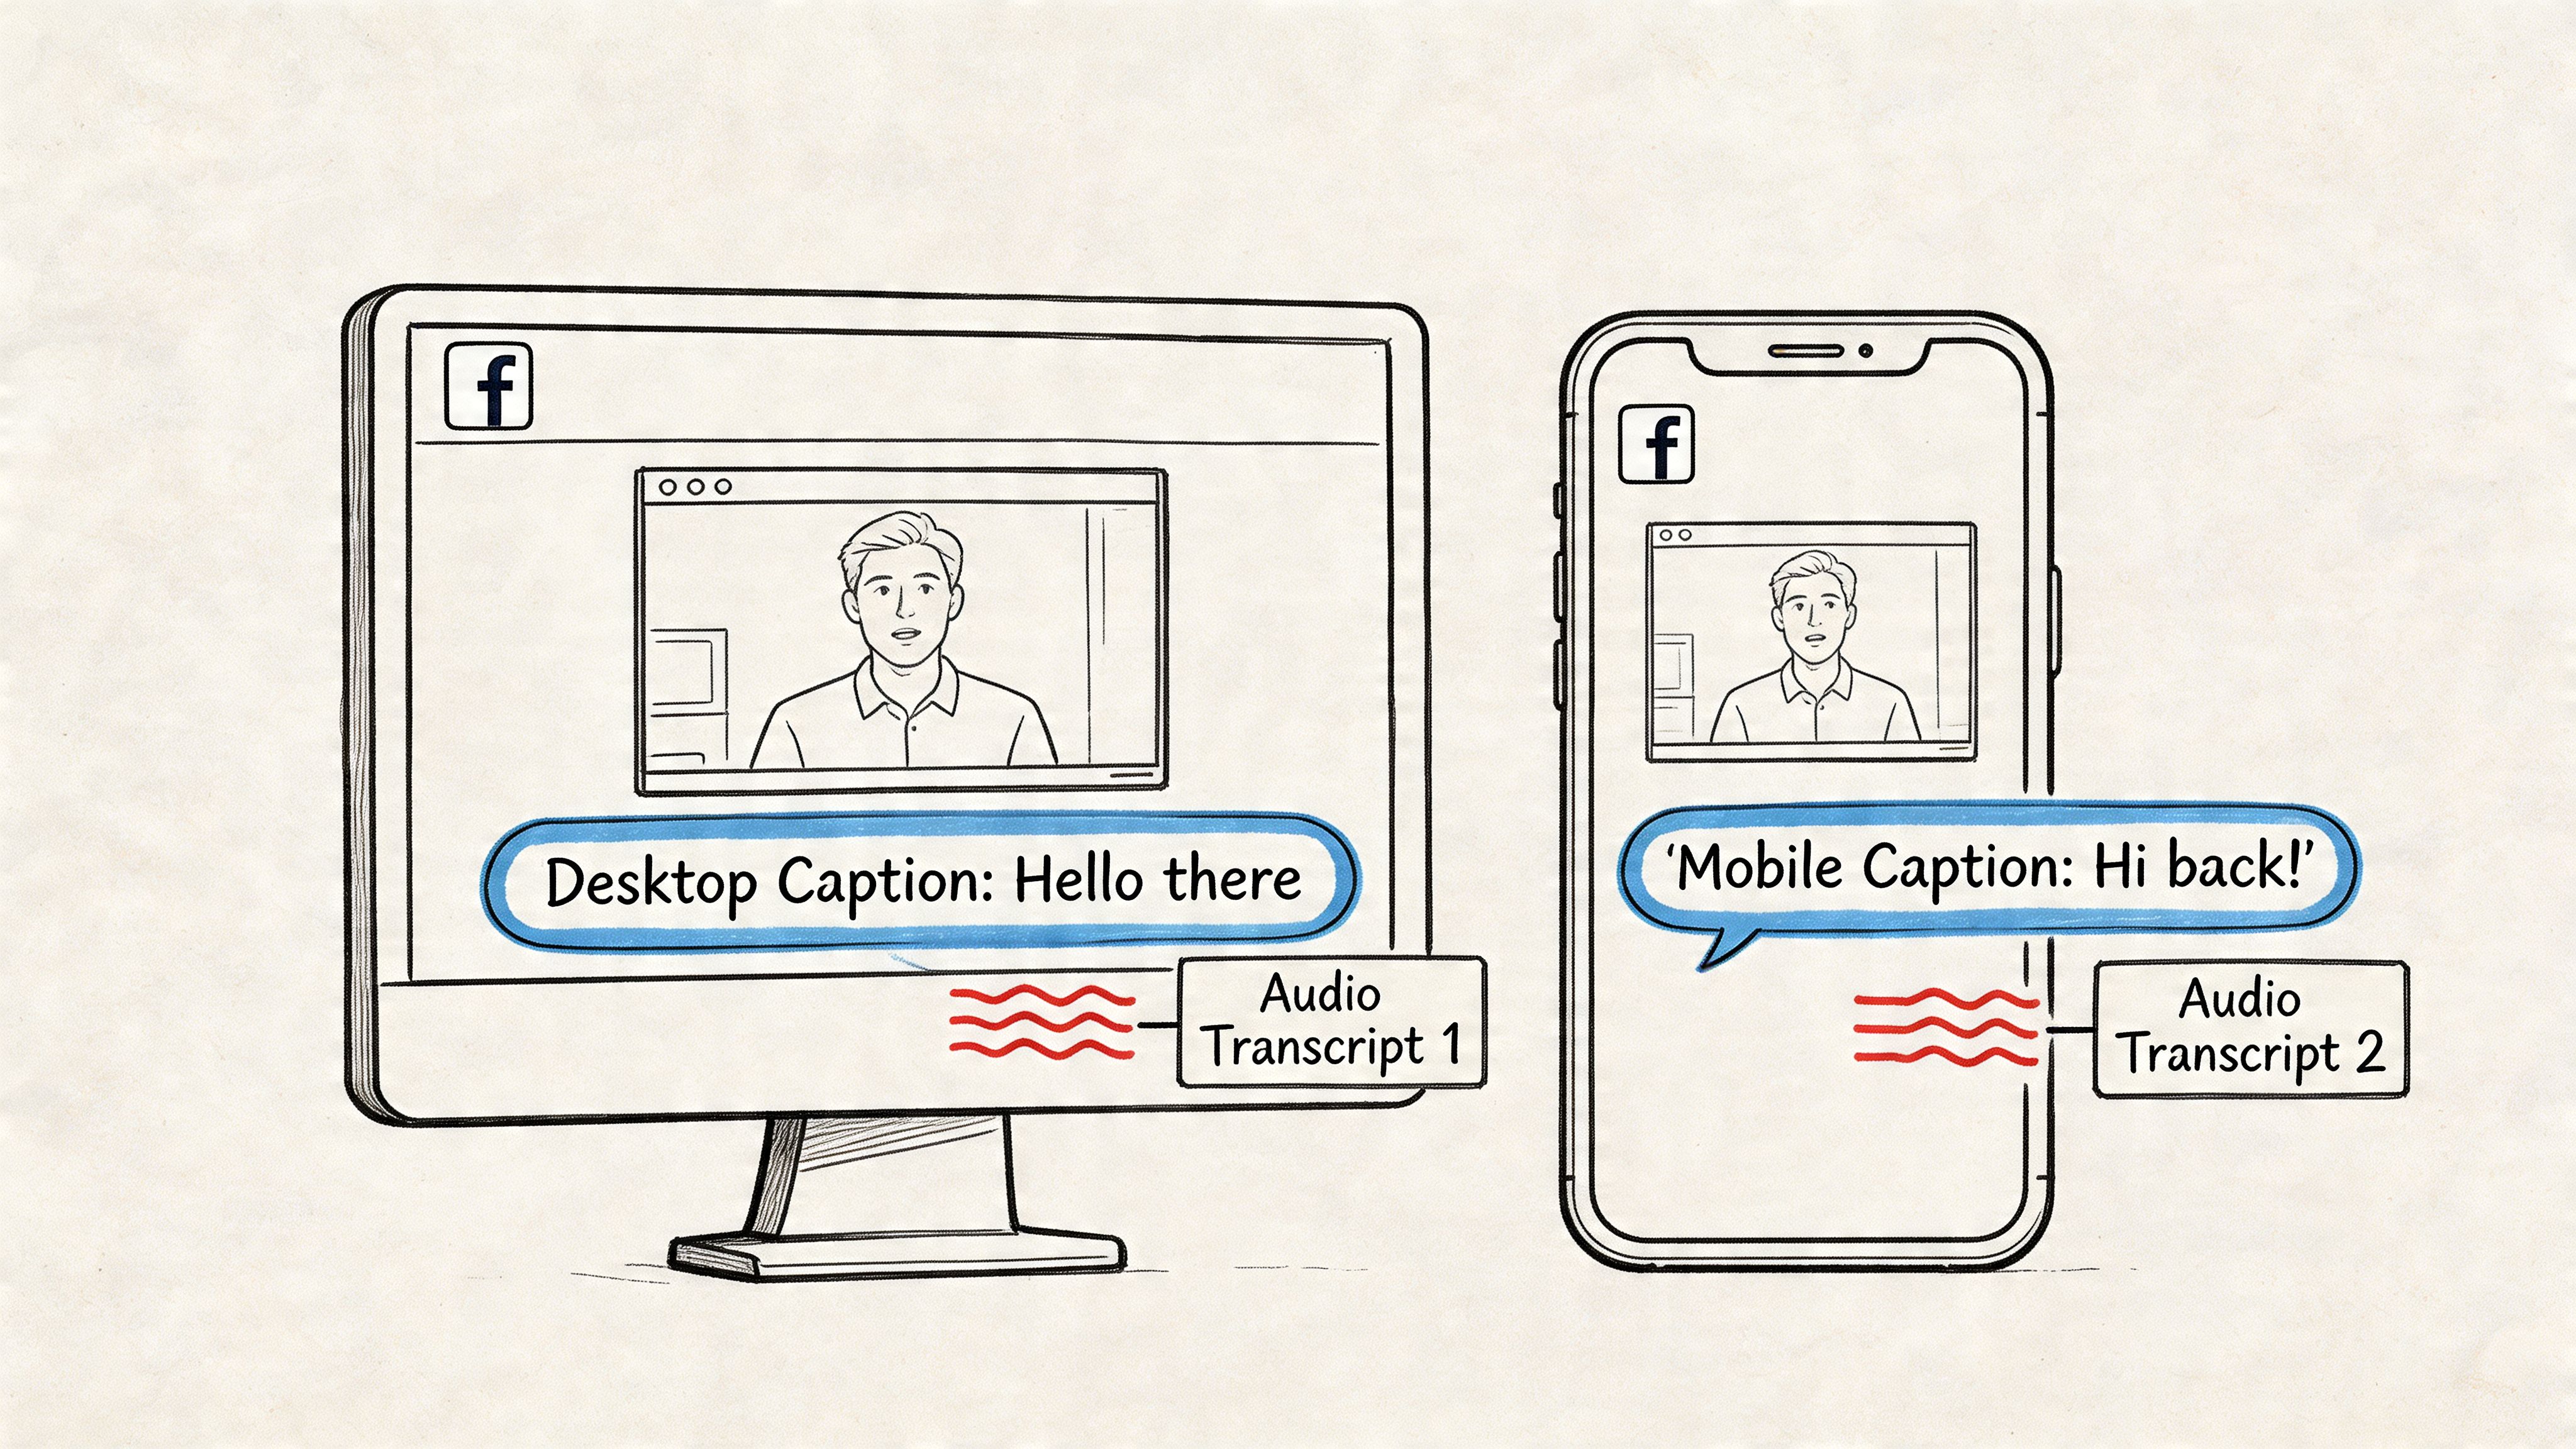
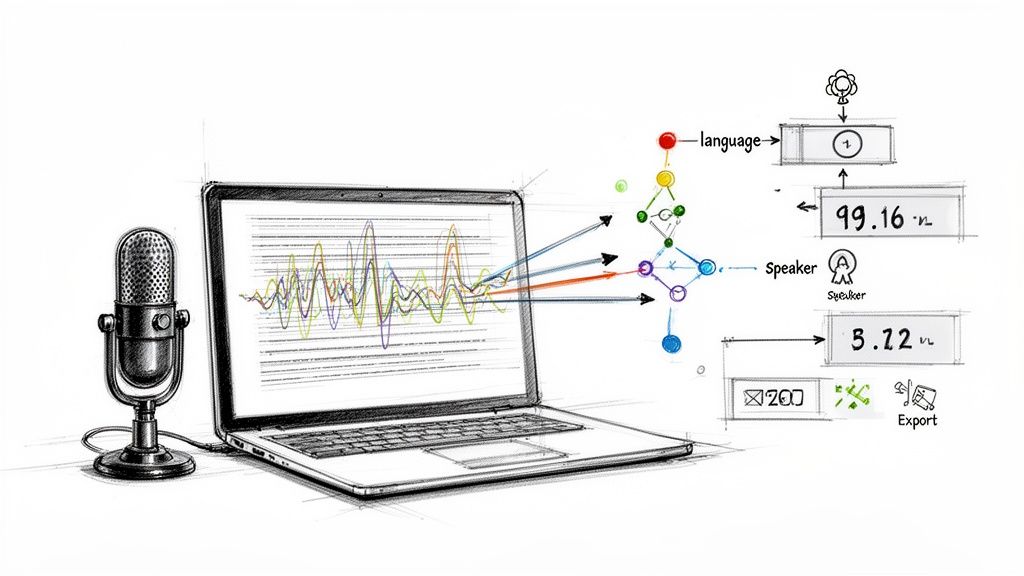
For example, a platform like Whisper AI can take your Webex MP4 and get to work immediately. Imagine finishing a client call and having a complete transcript ready just minutes later.
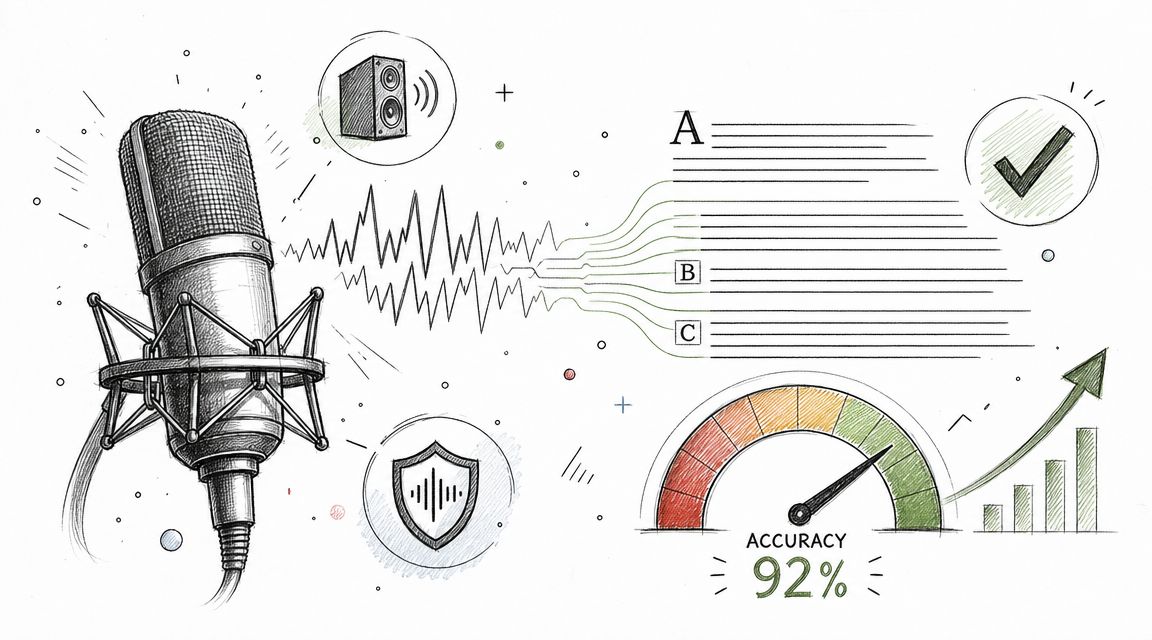
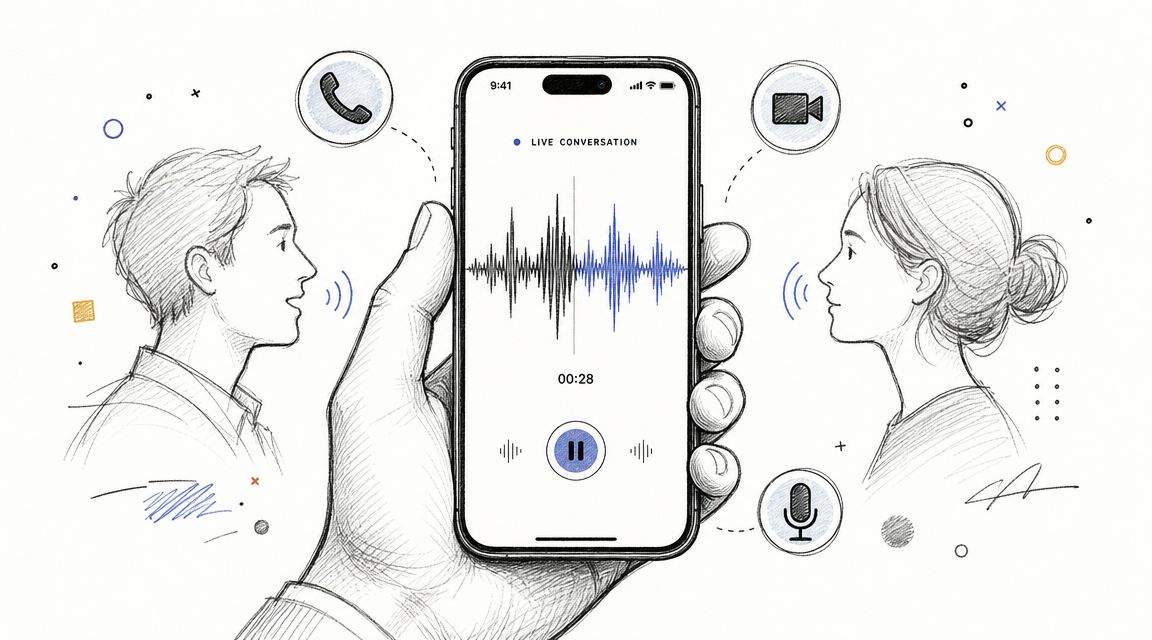
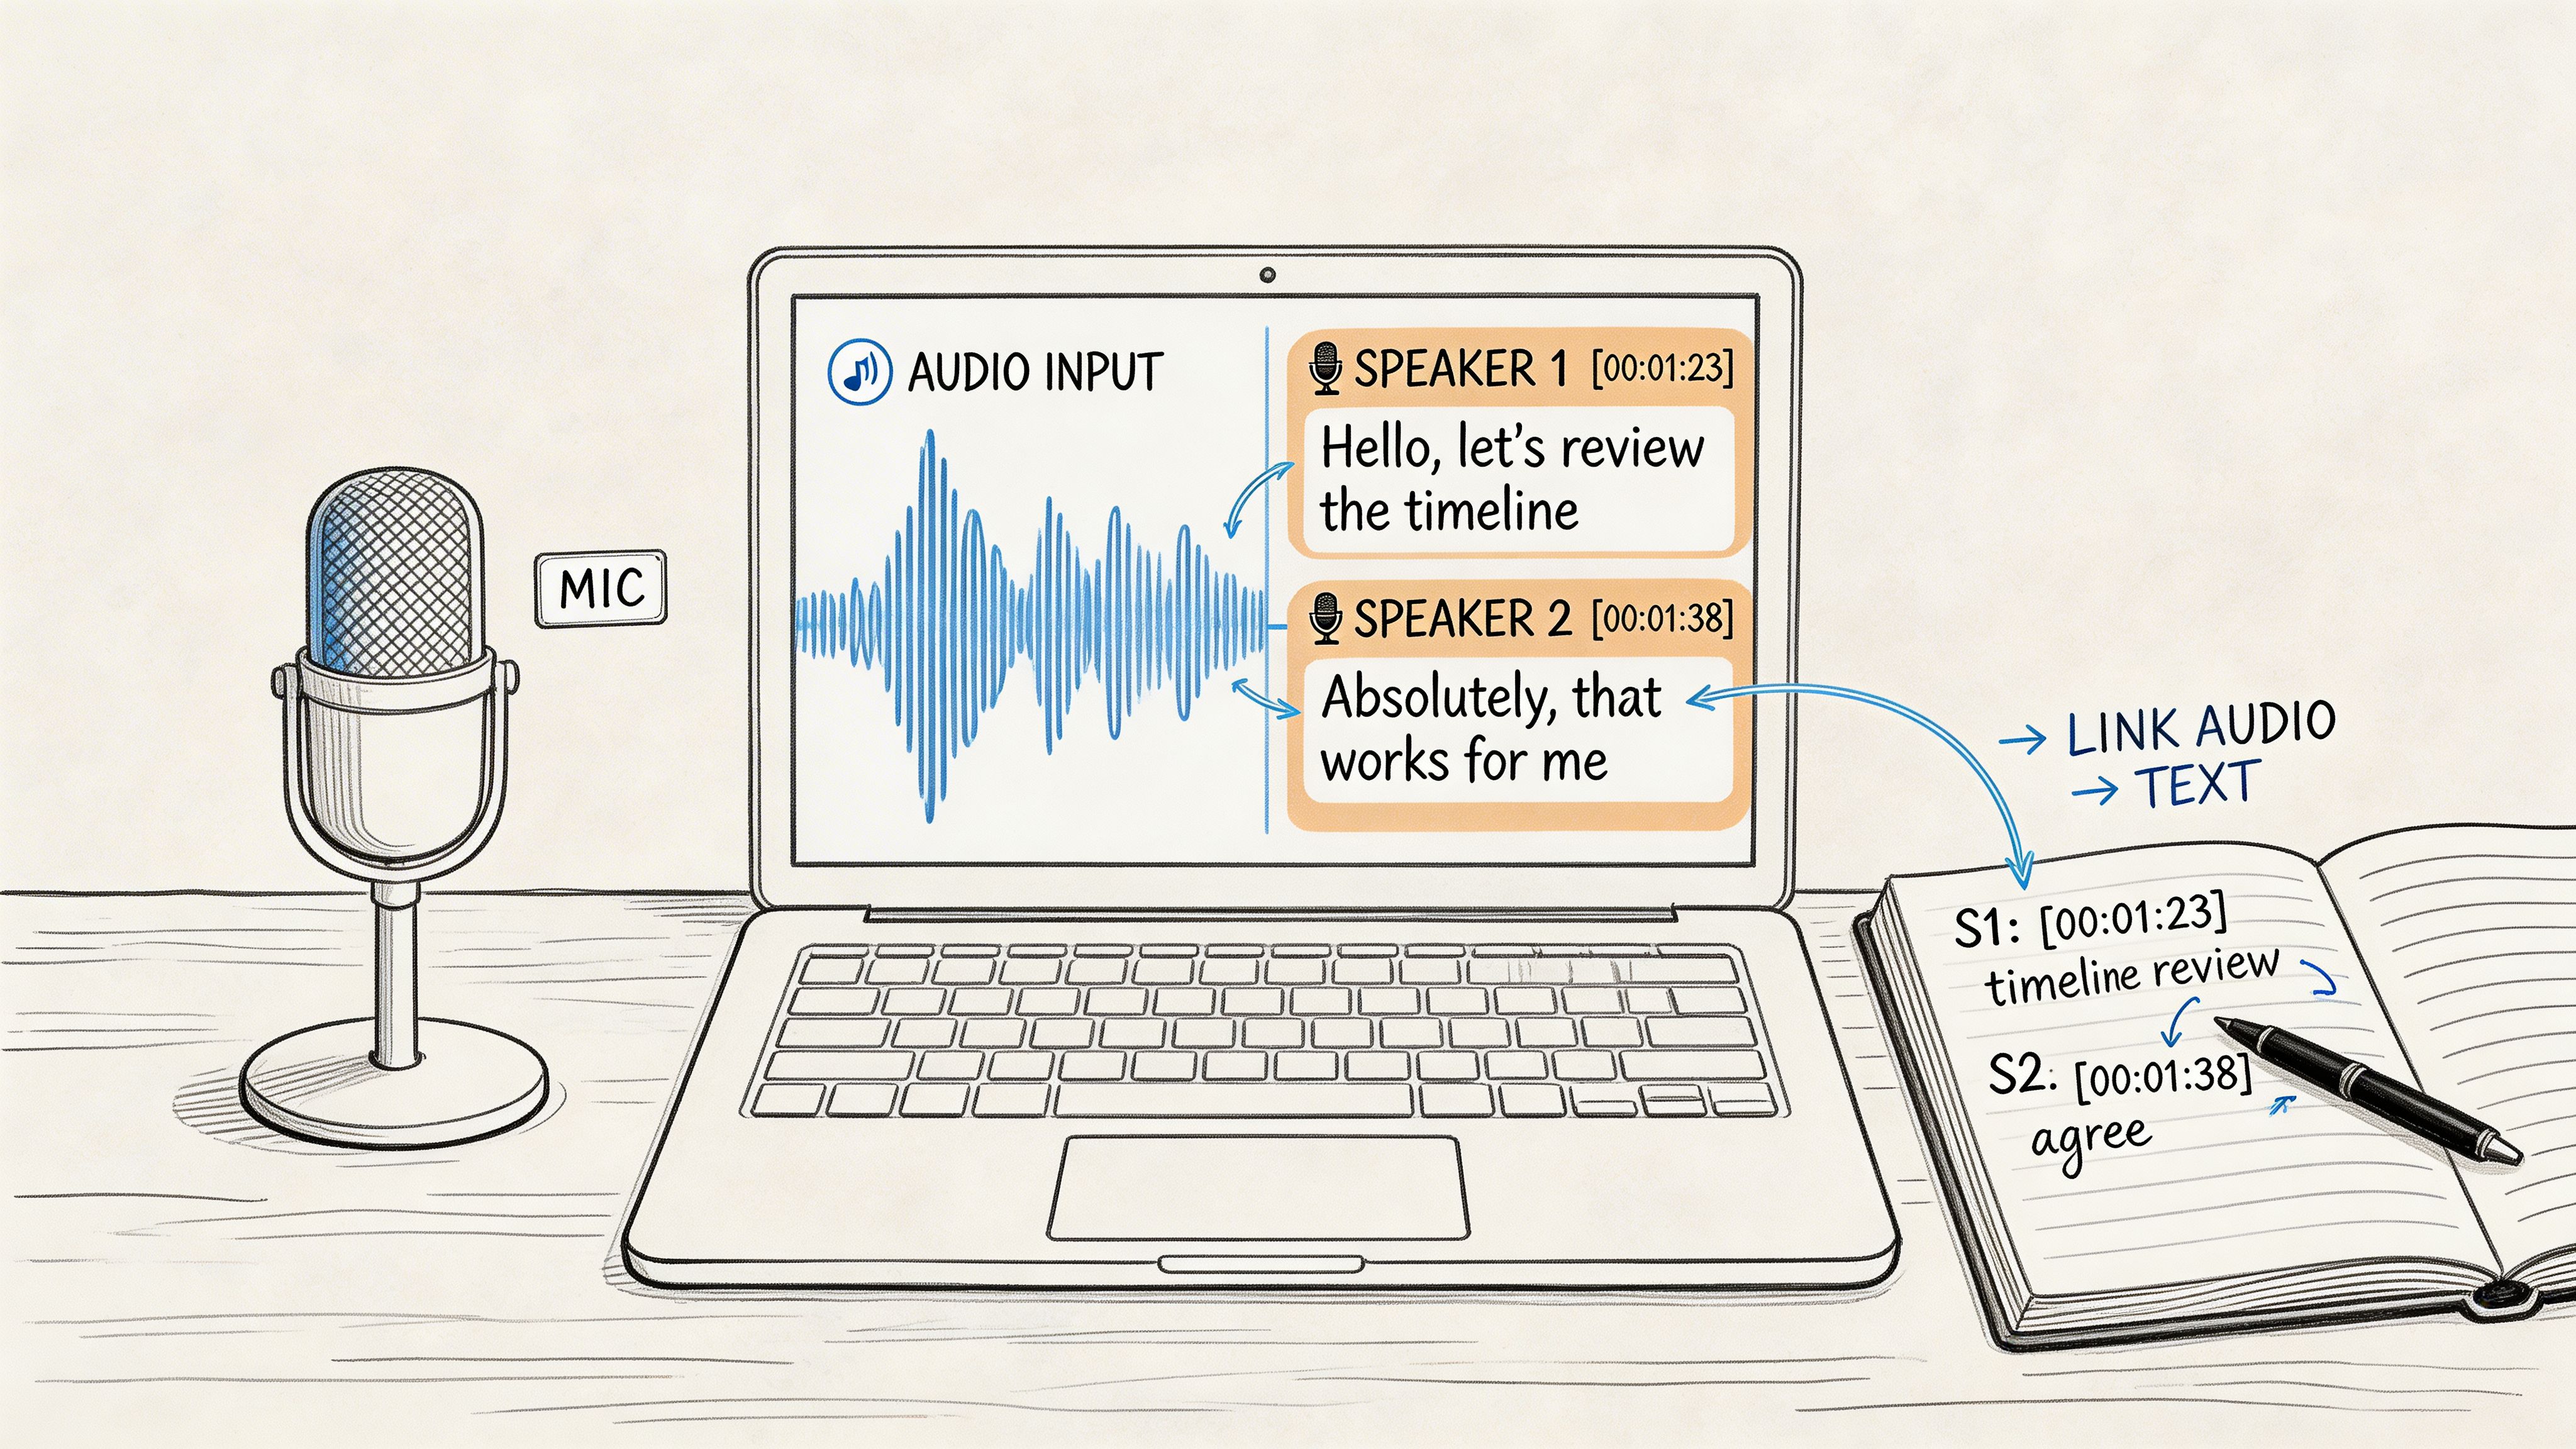
But it goes beyond just converting speech to text. The system can actually tell who was speaking and when. This feature, known as speaker diarization, is a game-changer because it adds context and eliminates the guesswork of figuring out who said what.
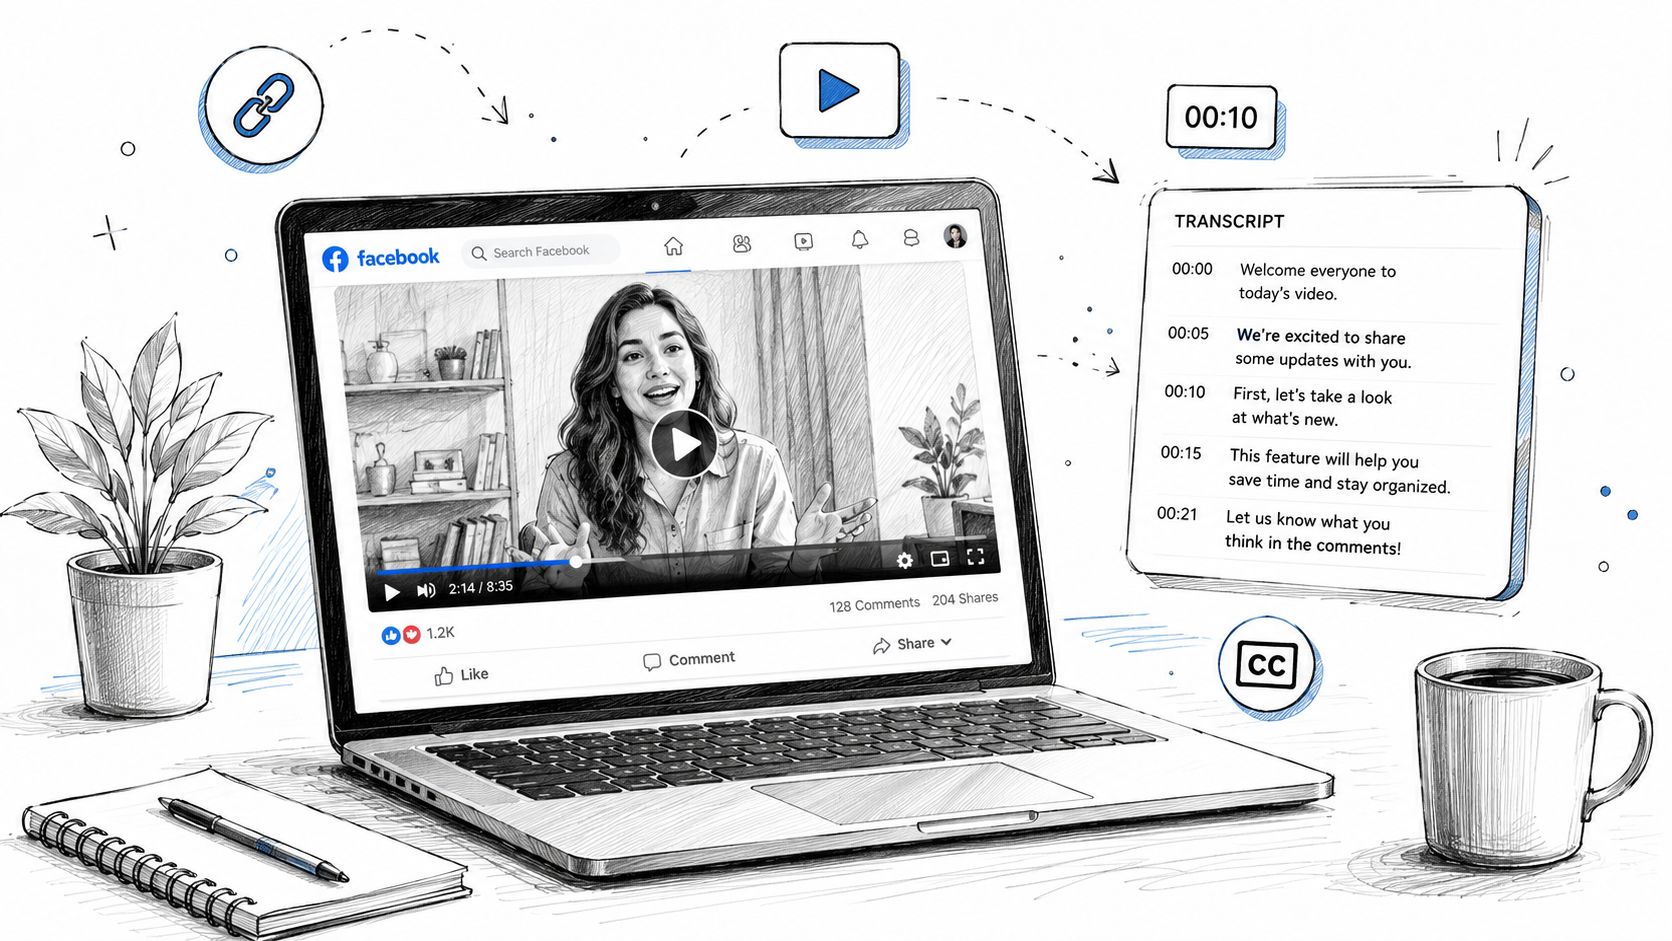
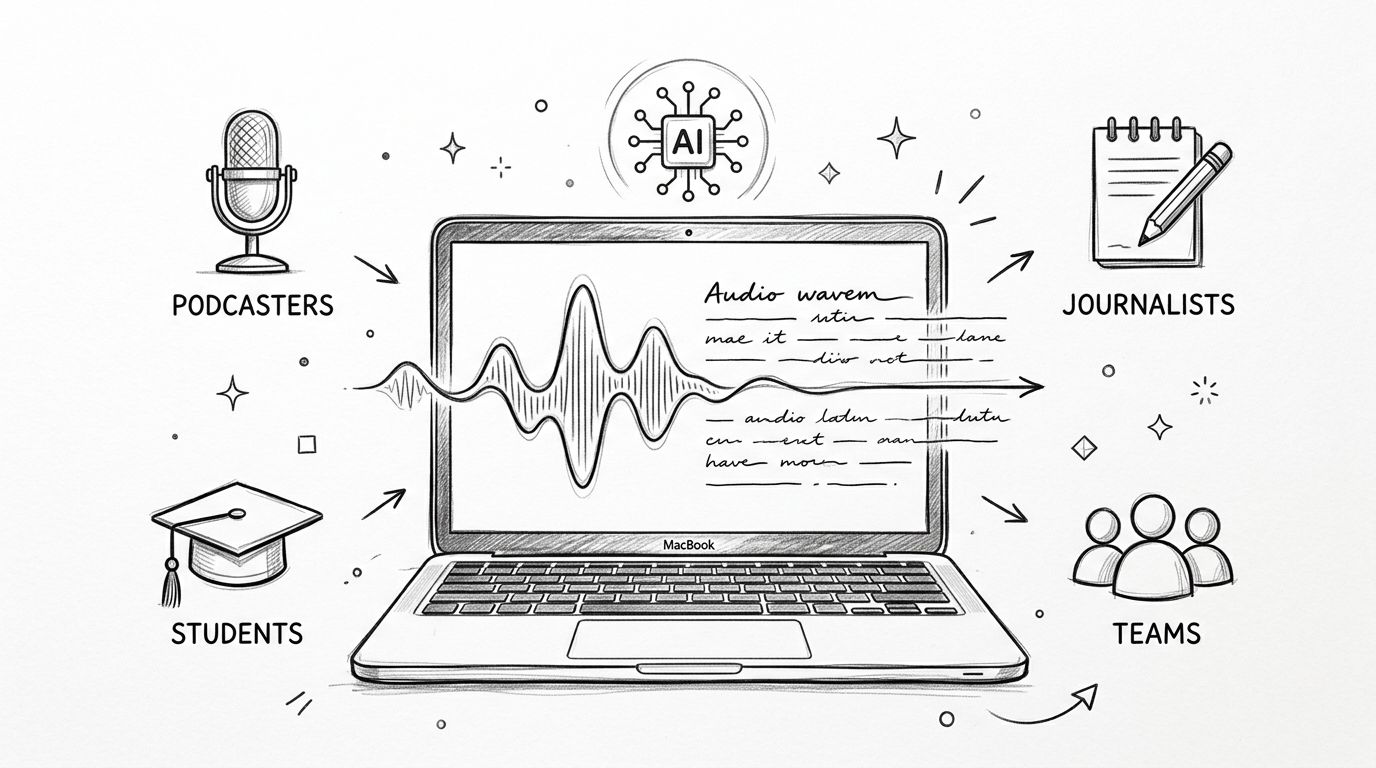
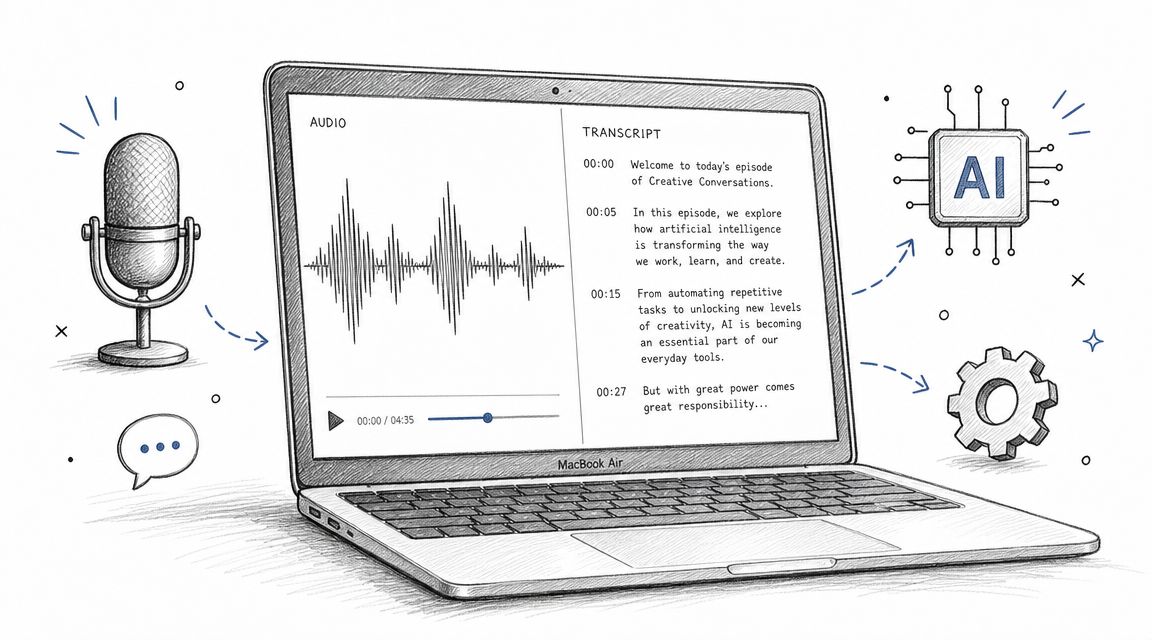
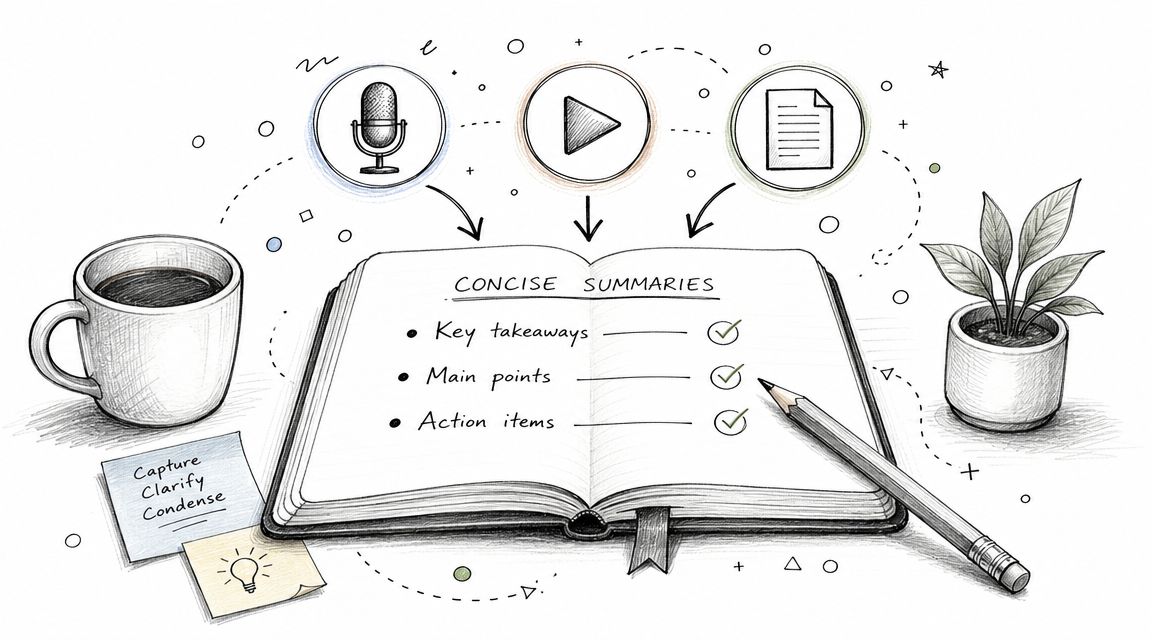
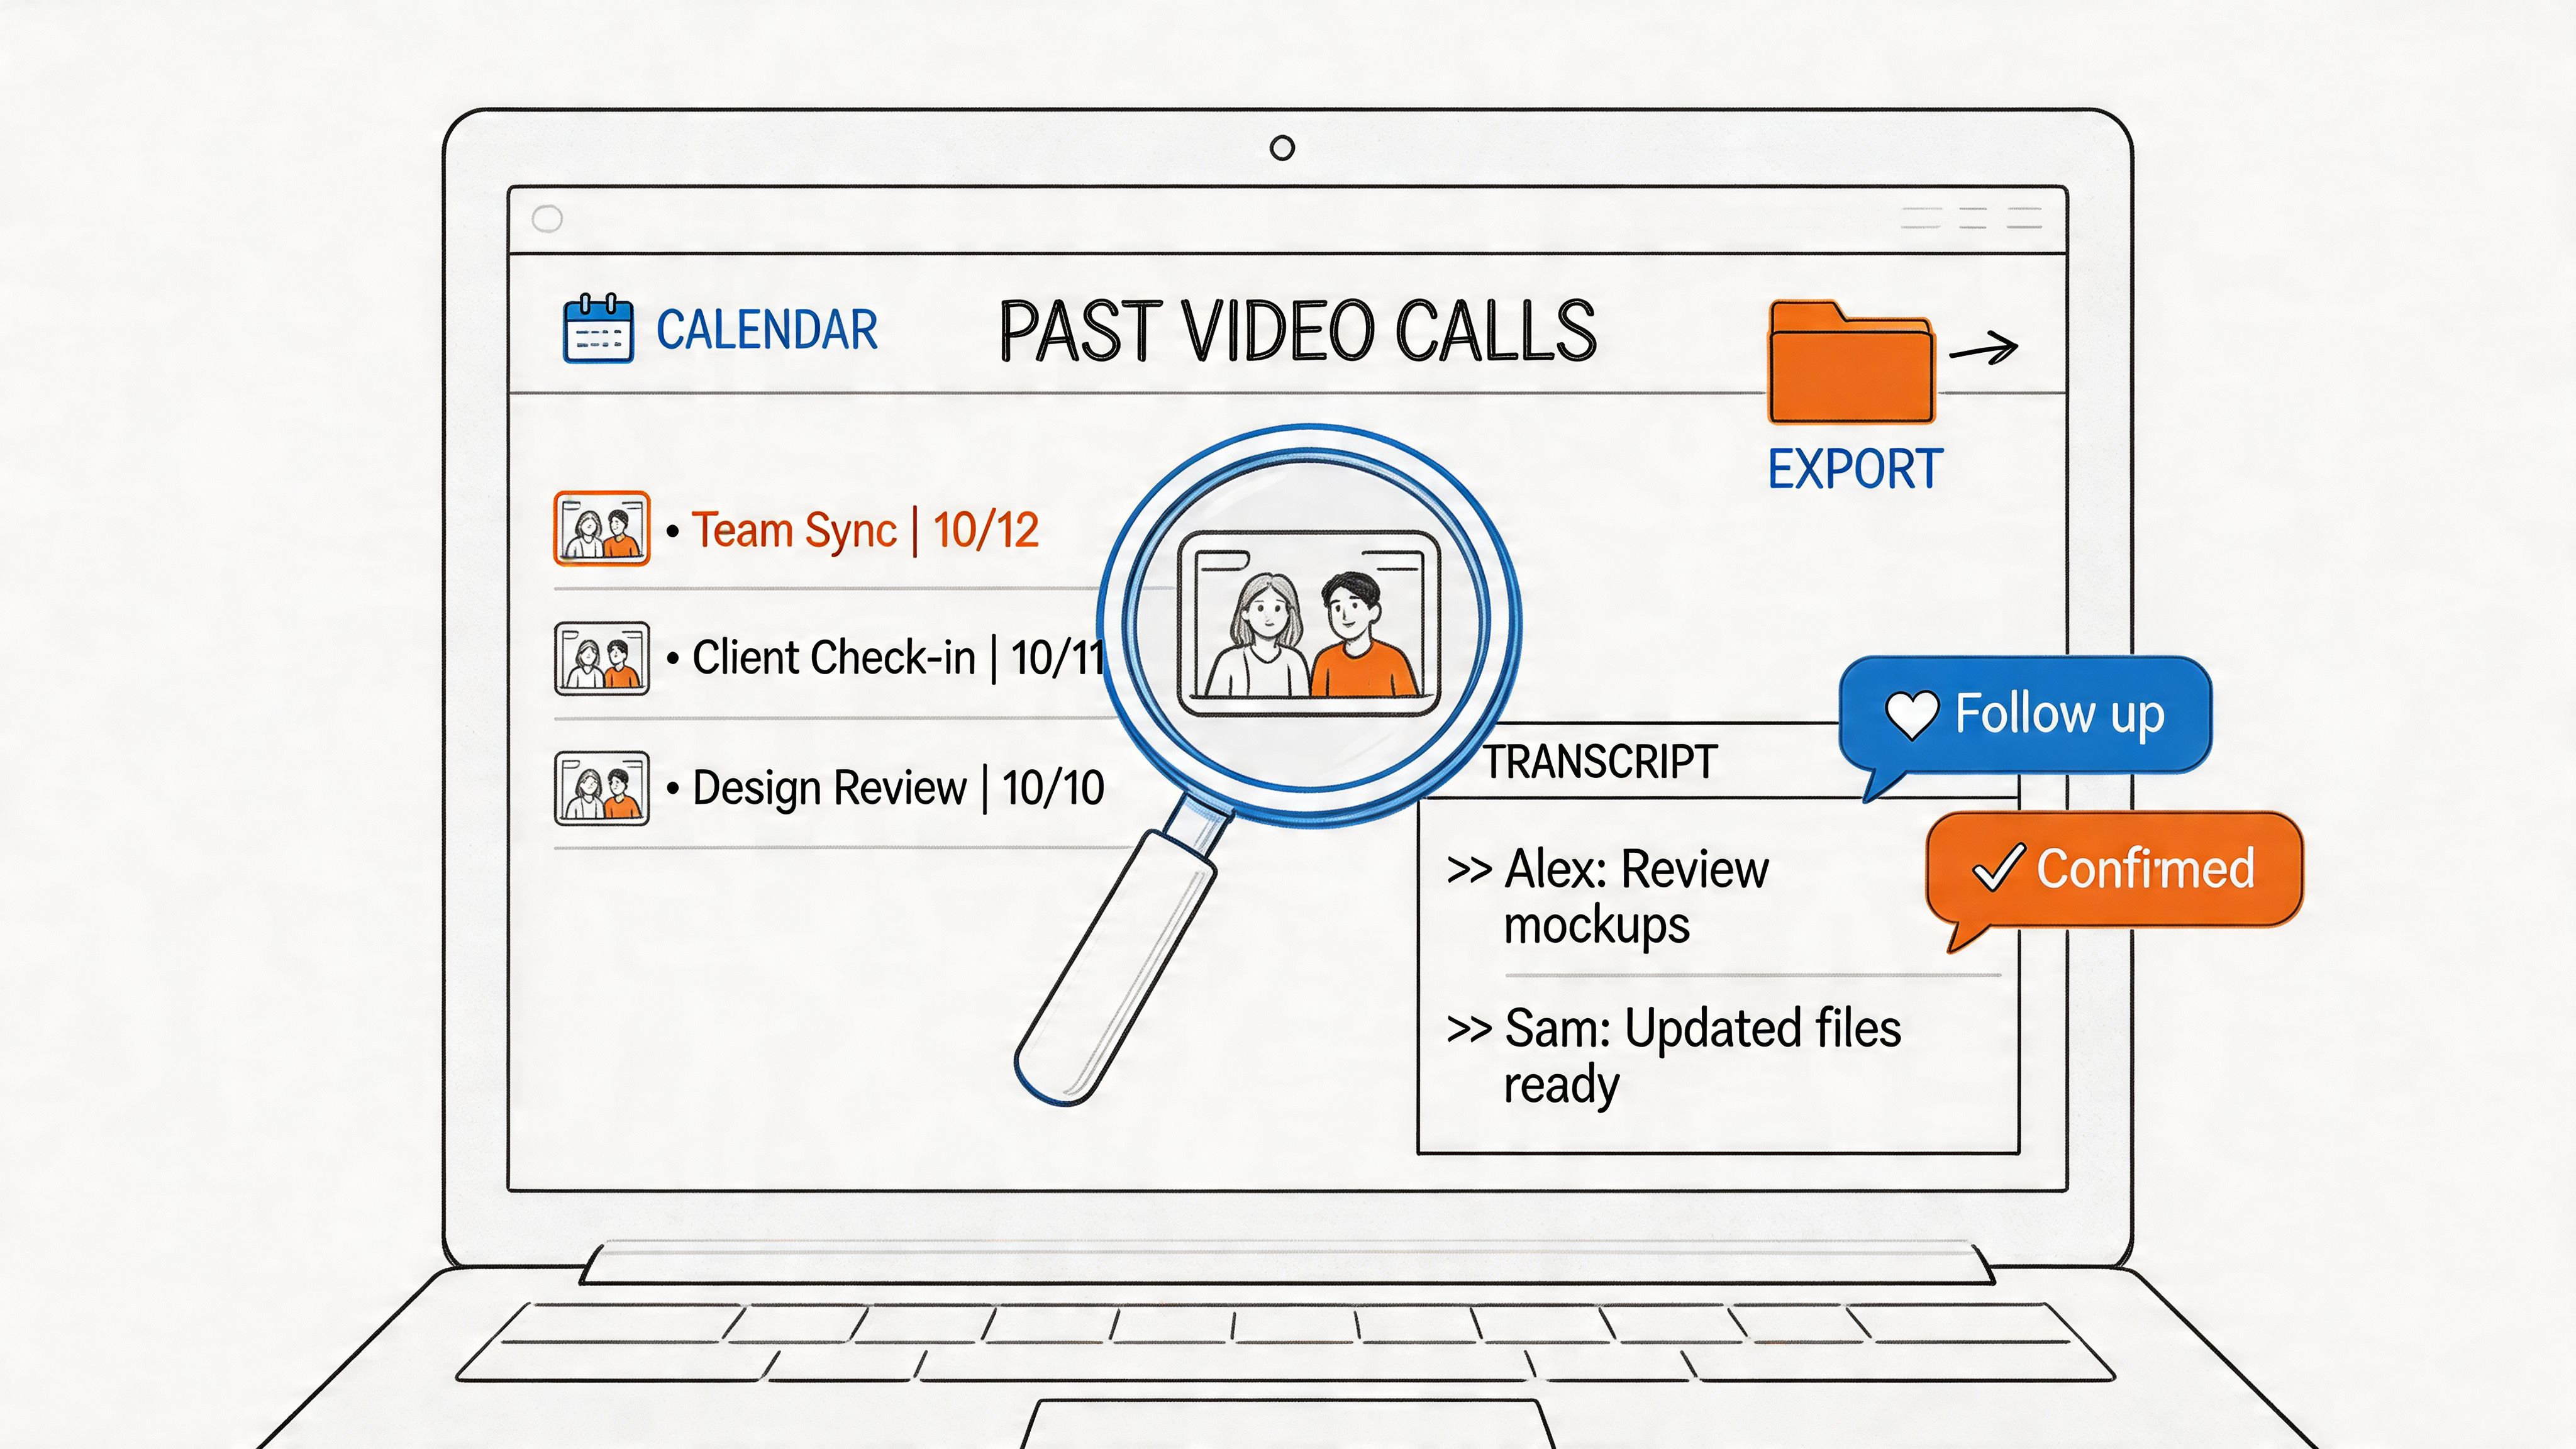
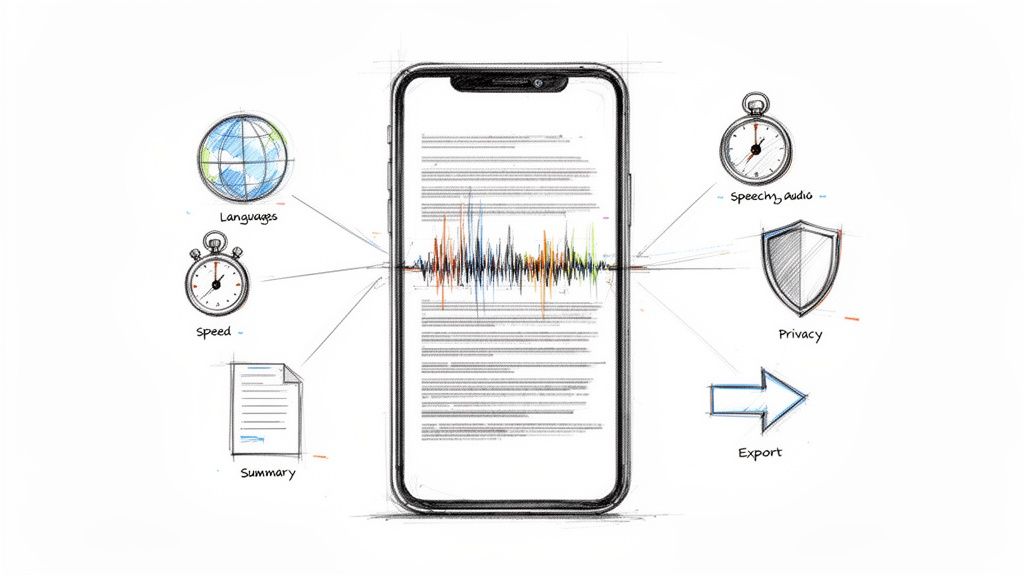
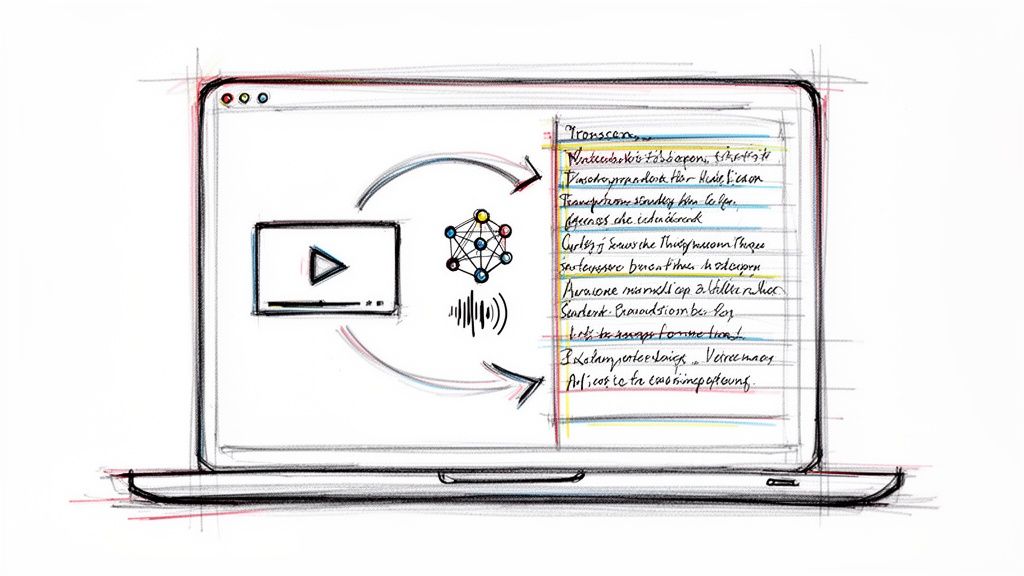
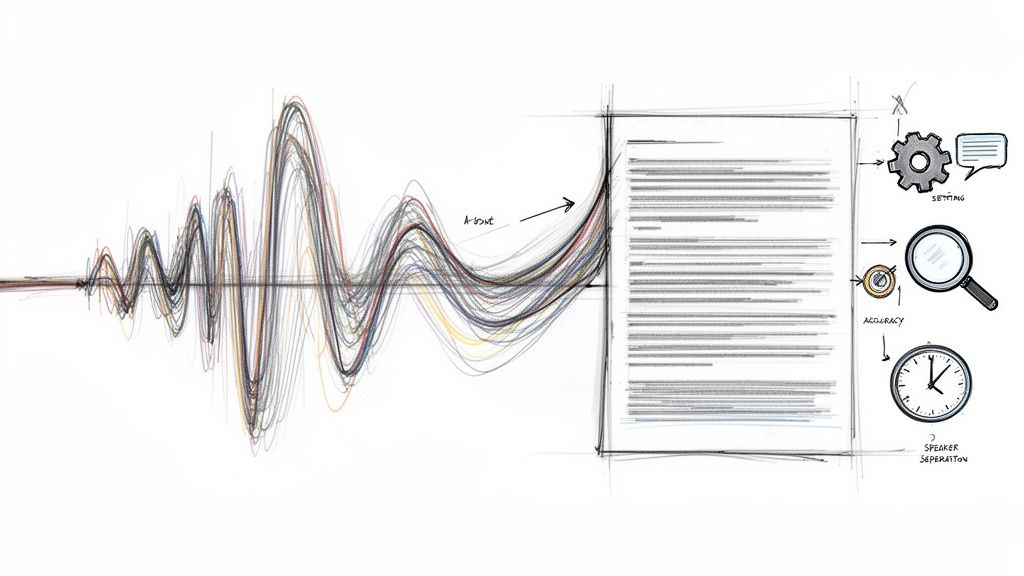
Here’s a look at how a clean interface can turn a dense recording into an easy-to-read, interactive document.
This kind of layout lets you jump straight to the important parts of a conversation, find key moments, and understand the context without needing to listen to the whole thing.
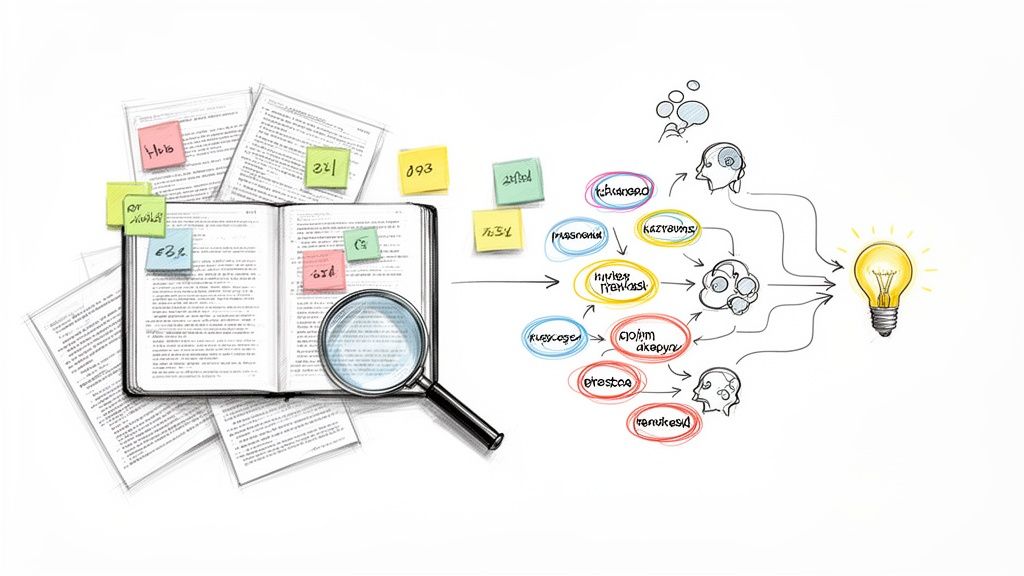
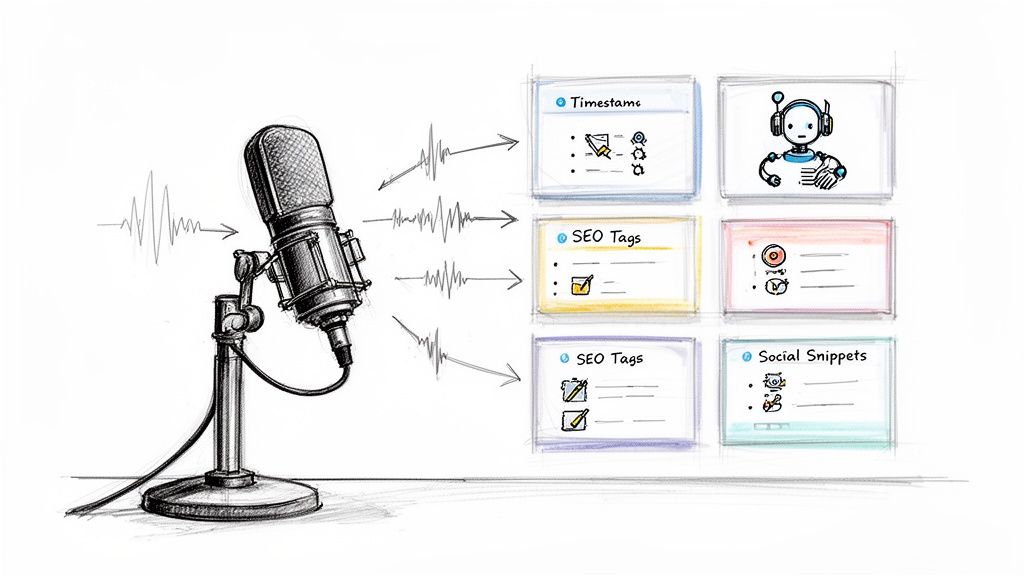
From Raw Text to Actionable Summaries
Once the transcript is ready, the next step is getting a summary. A good AI can analyze the entire conversation and pull out the most important points for you.
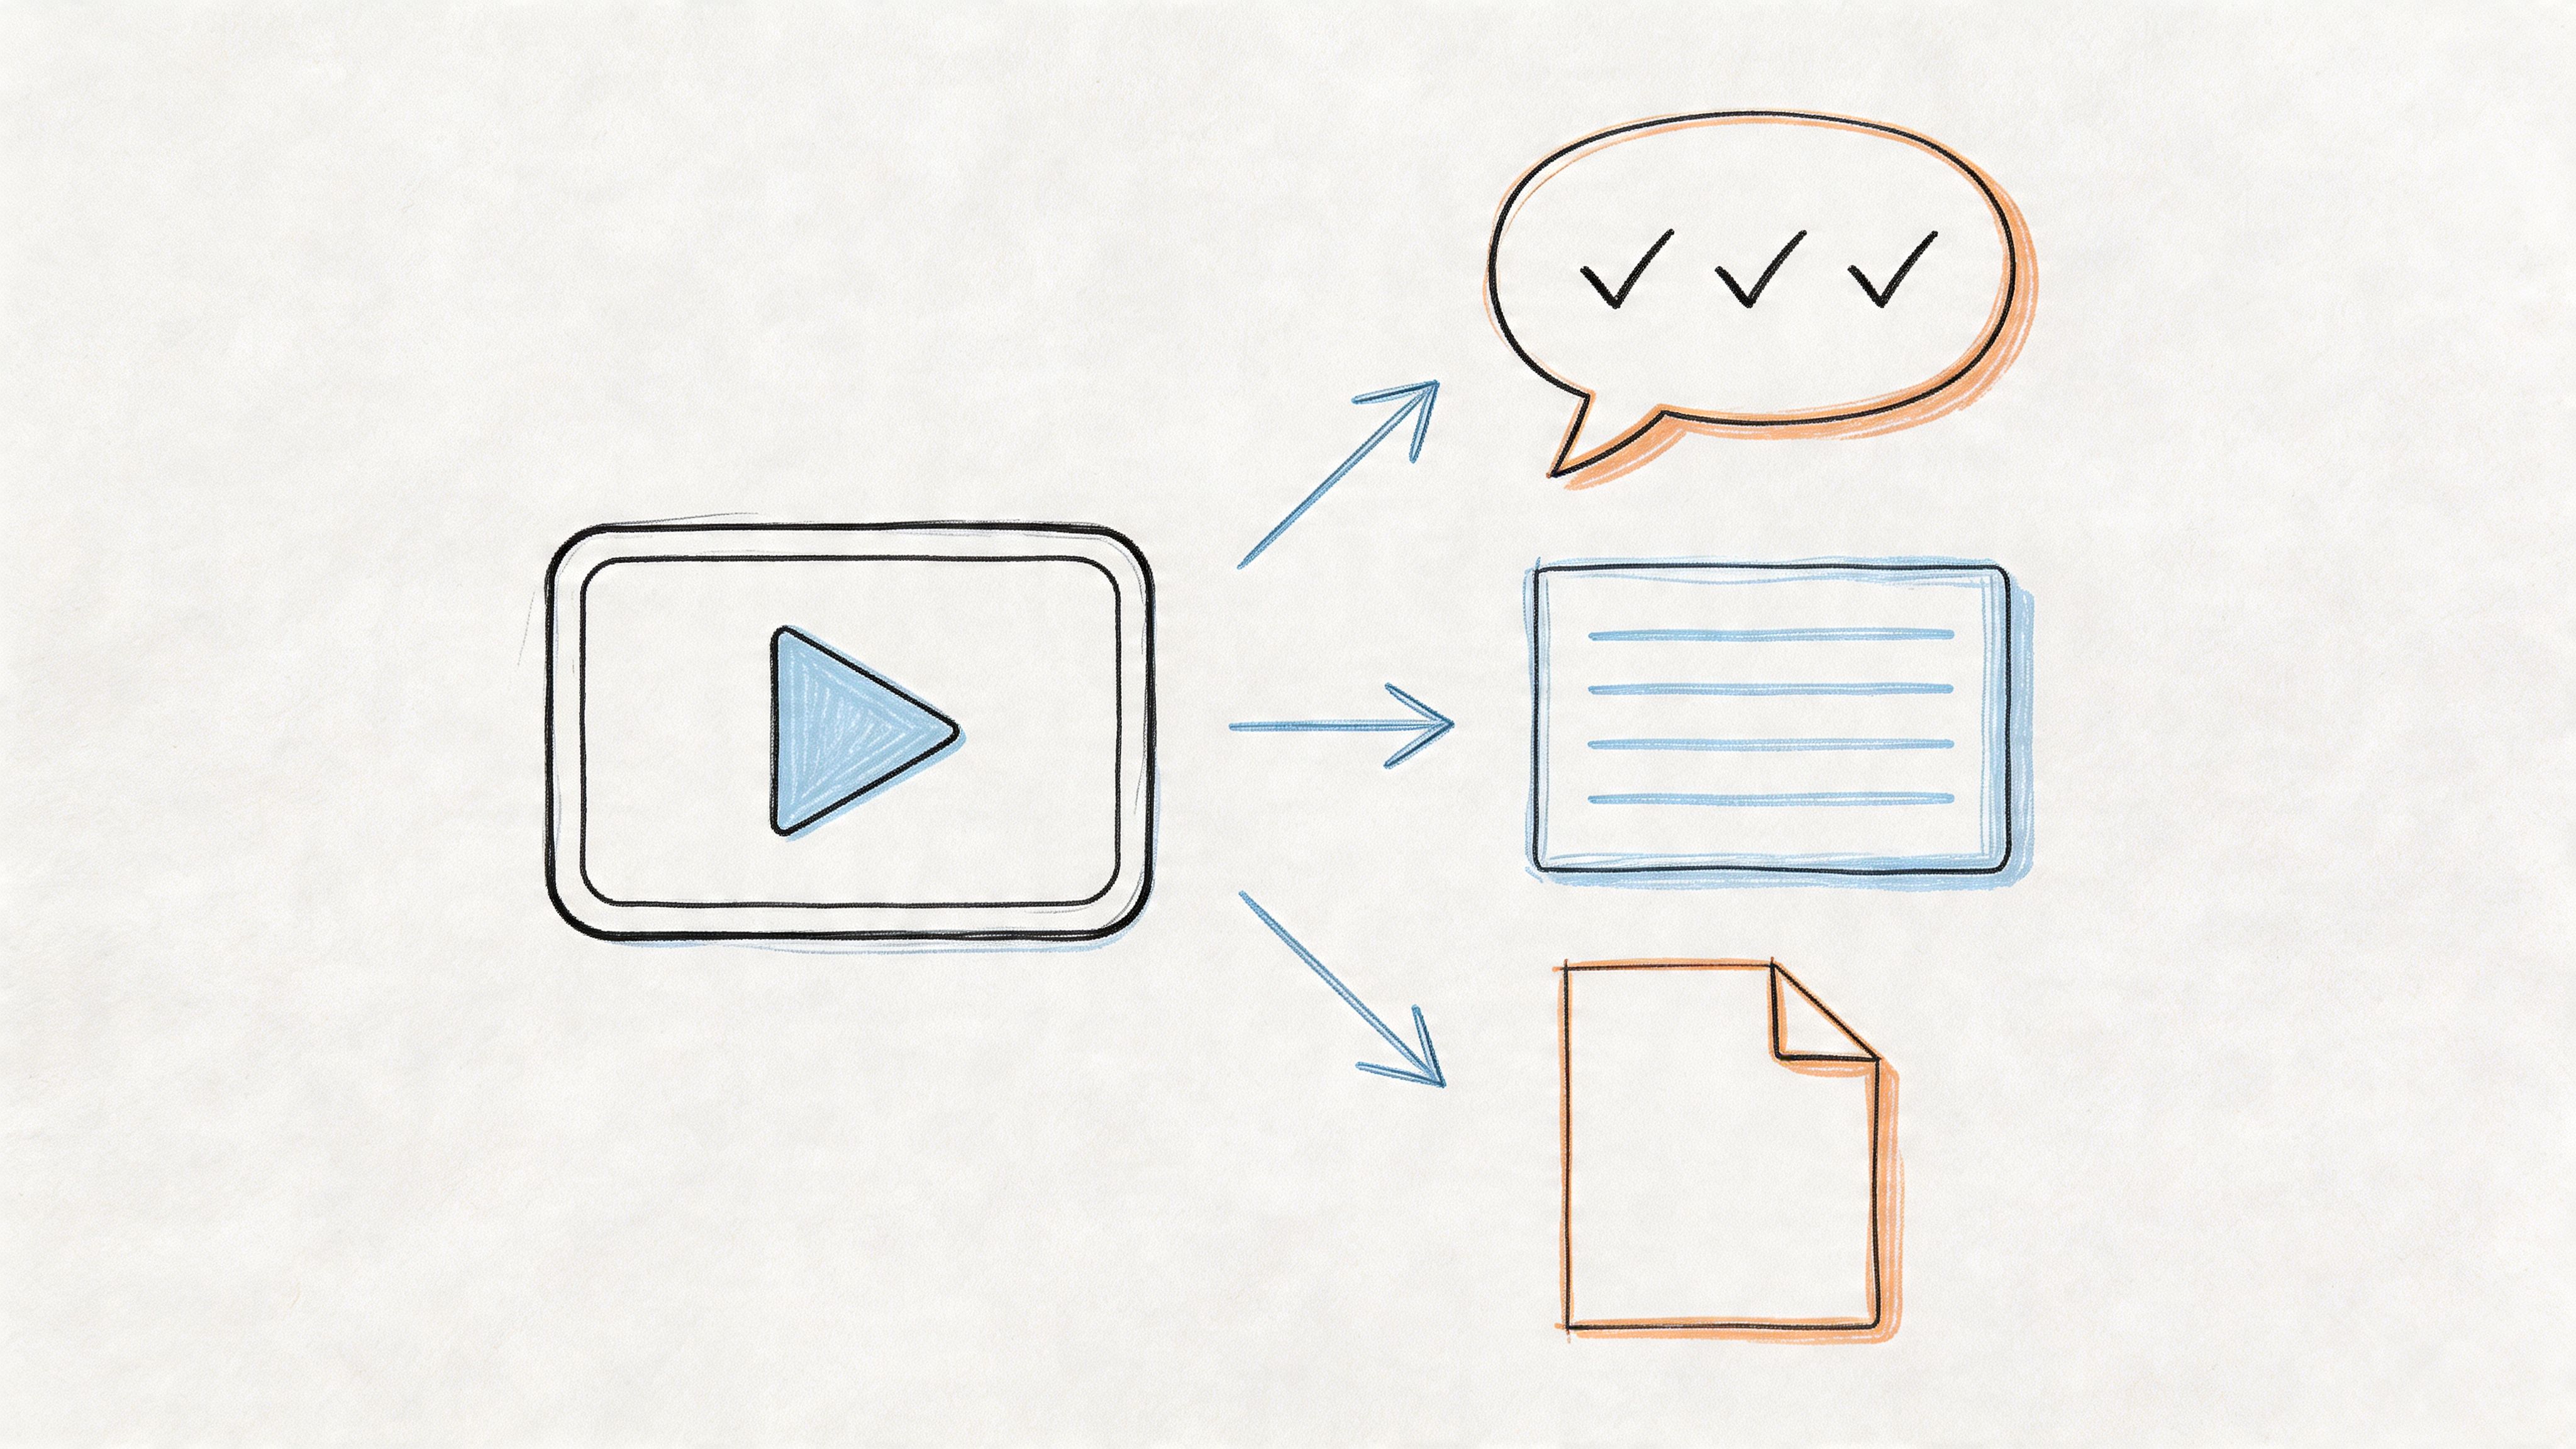
This usually results in a few different outputs, each useful in its own way:
- A concise paragraph summary for a quick, high-level overview.
- Bulleted key highlights that are perfect for dropping into an email or a Slack channel.
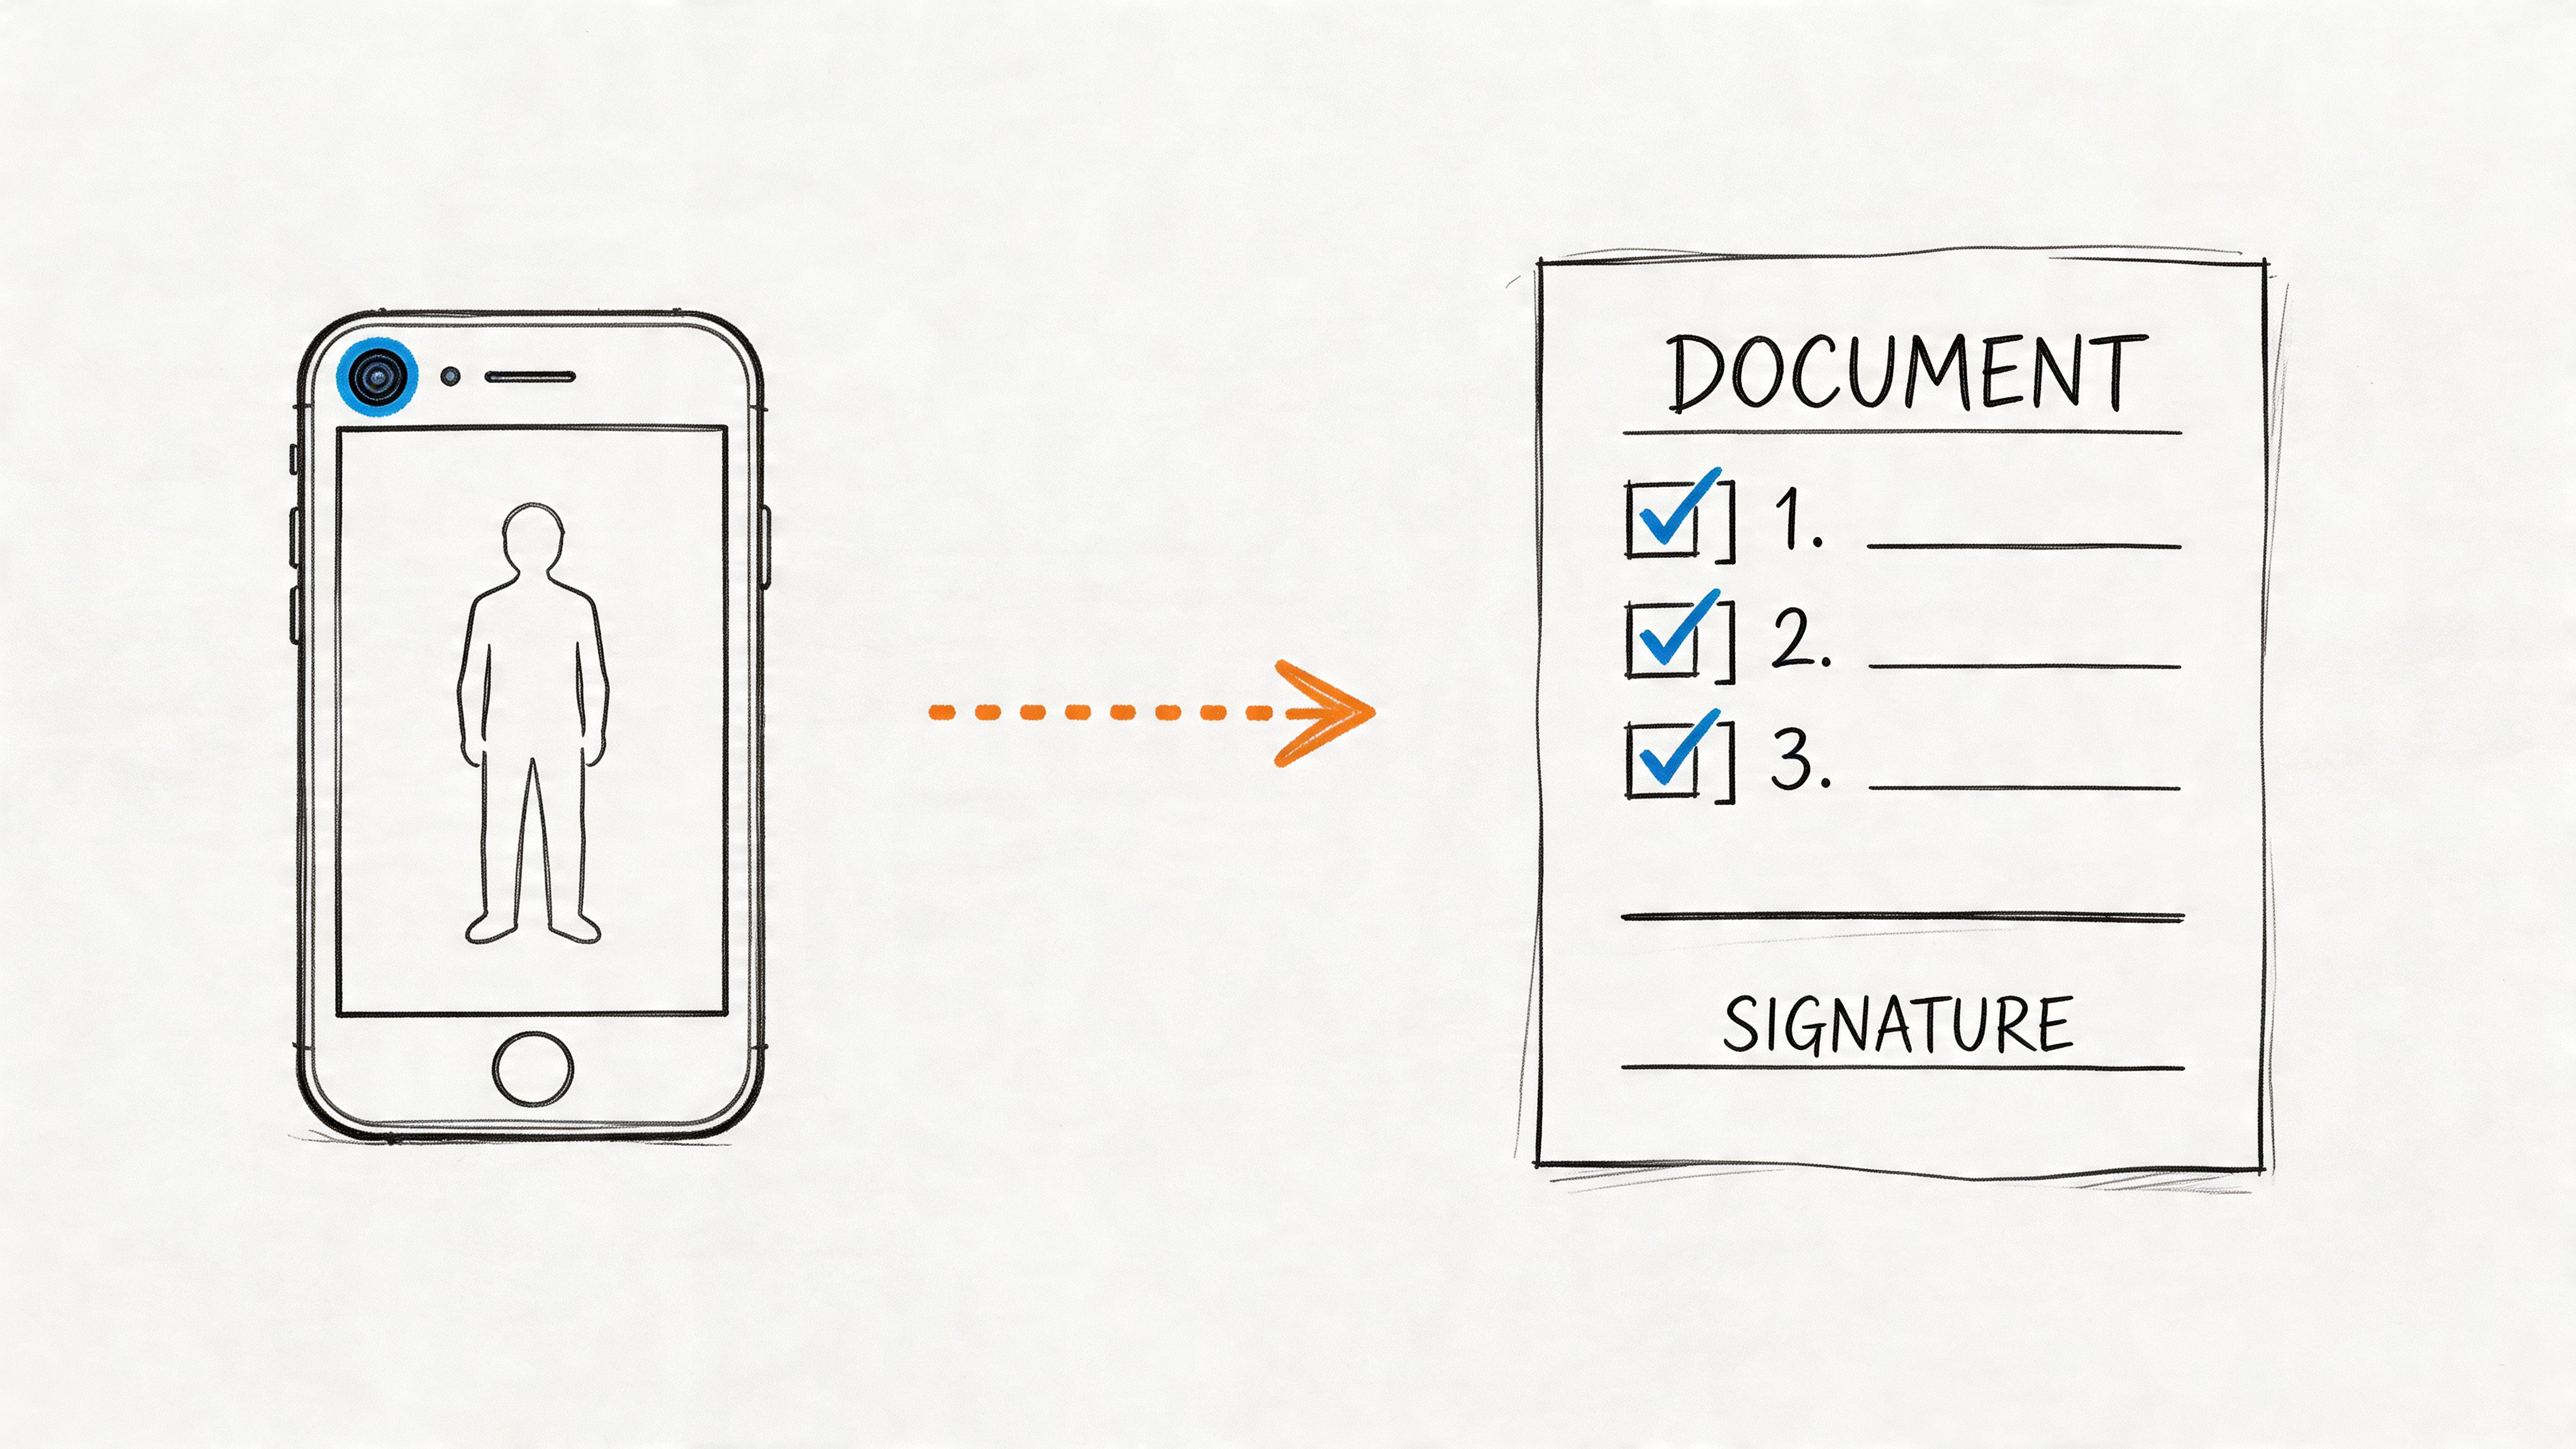
- A clear list of action items and decisions made during the call.
For the 3,000 paying customers using Whisper AI—many of whom are business teams drowning in meetings—this kind of automated analysis is a lifesaver. You can upload a Webex recording and let the platform handle the tedious tasks, including speaker diarization with over 95% accuracy and summaries that capture 80% of the key points in just a few minutes. If you want to dive deeper into Webex's native reporting features, the official Webex help center has some great resources.
By automating transcription and summarization, you're not just saving time—you're creating a searchable, actionable archive of your team's knowledge. This is how you ensure that valuable insights from a meeting don't disappear the moment everyone logs off.
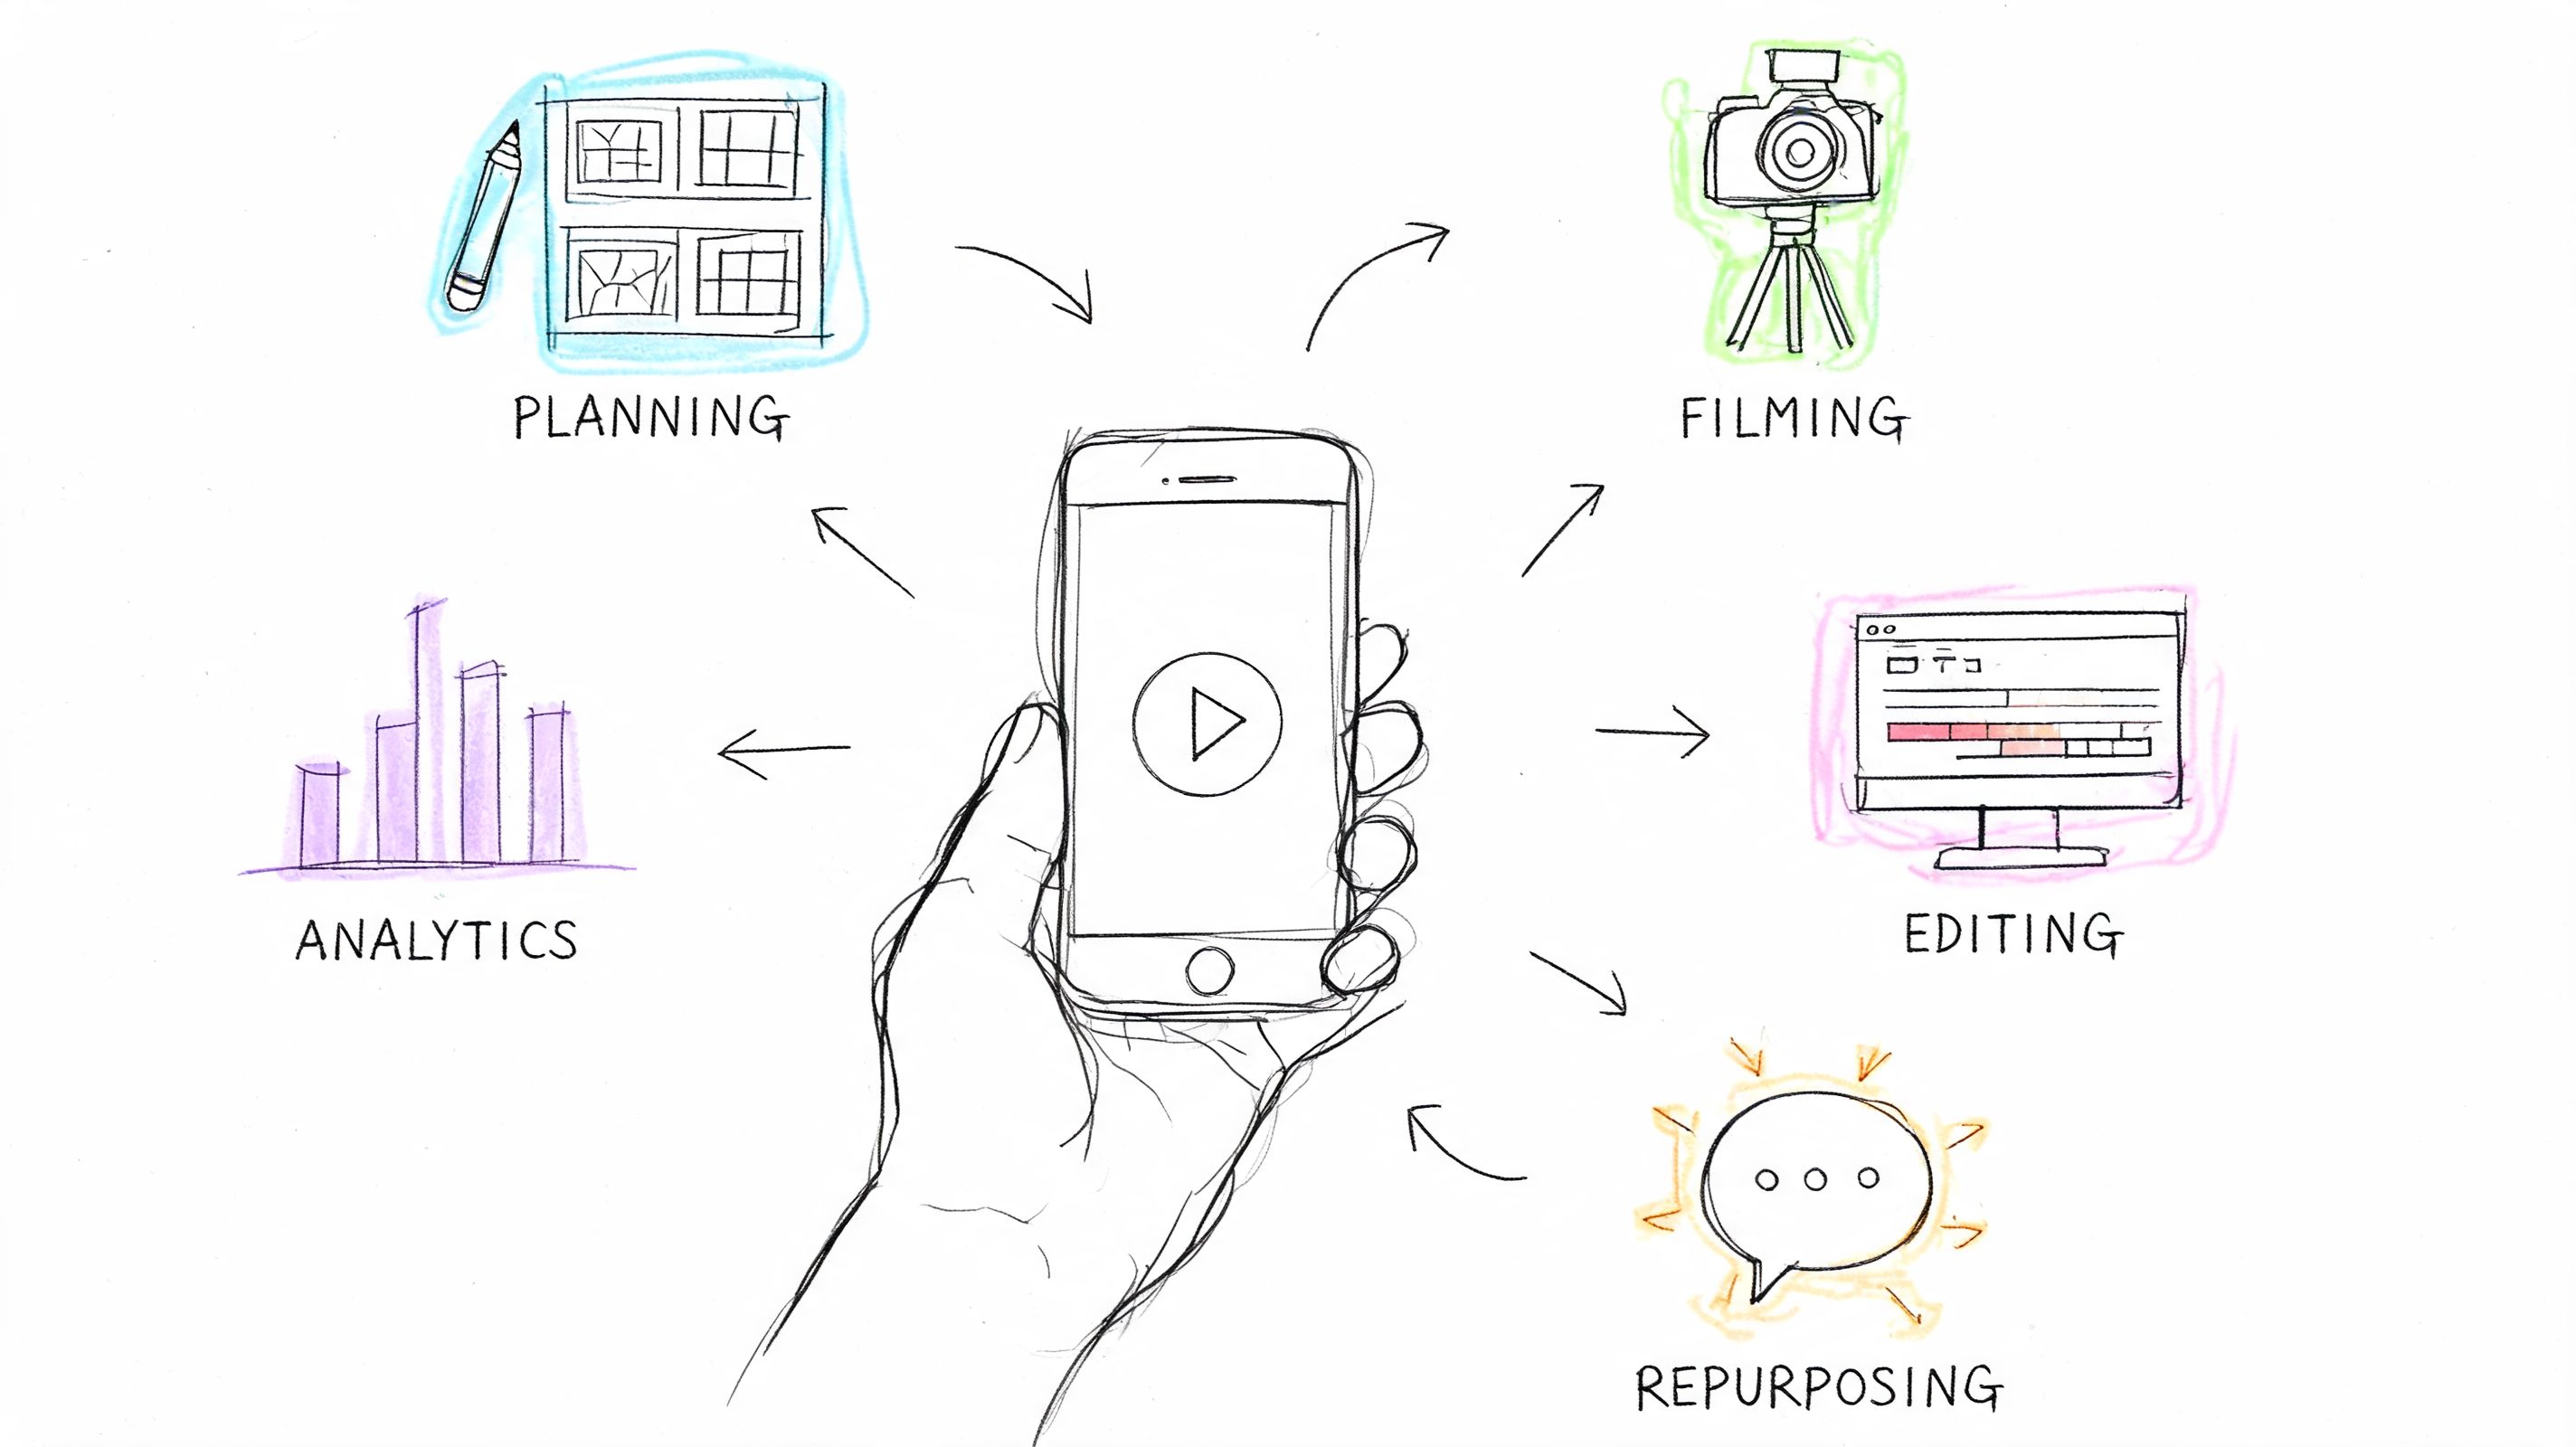
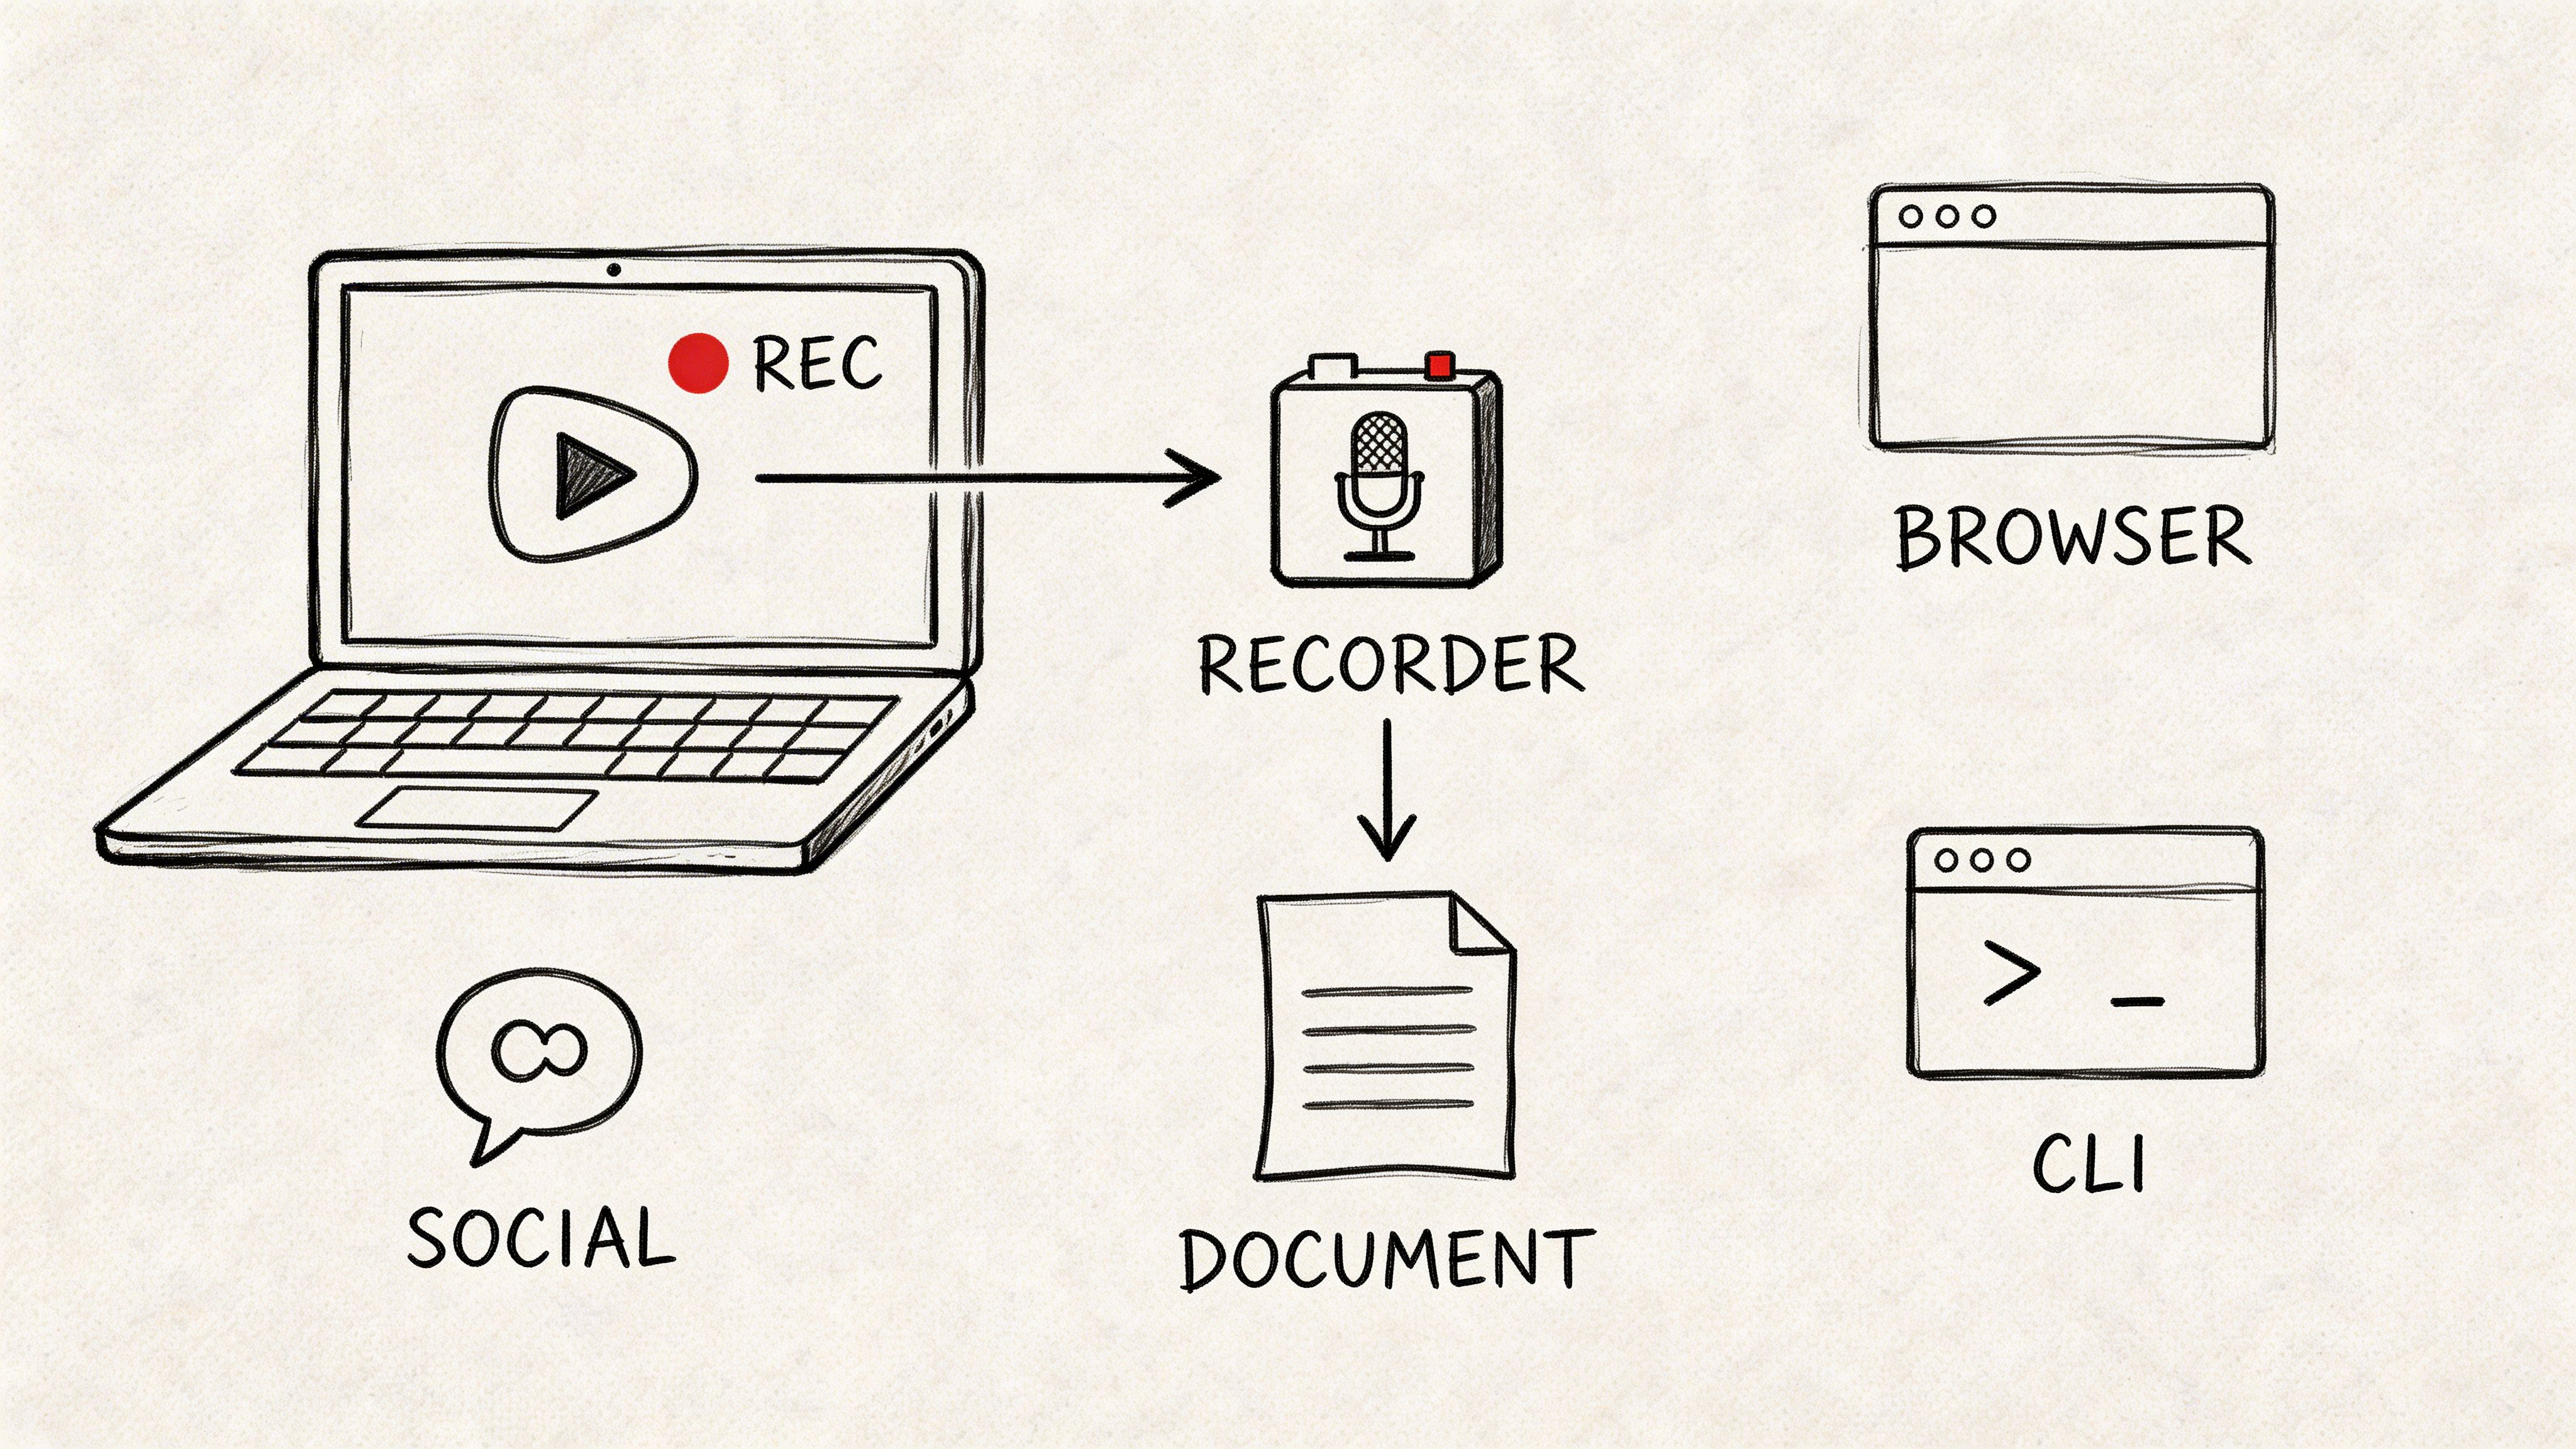
With a workflow like this, a single webinar can be repurposed into a dozen social media posts. A client debrief can have its action items pulled out in seconds. It’s a powerful way to maximize the return on every single meeting you decide to record.
If you’re interested in the details of this process, you can learn more about creating a transcript from a recording in our detailed guide.
Troubleshooting Common Webex Recording Issues
Even with the best preparation, things can go sideways. A recording that gets stuck processing or a file with choppy audio is a real headache, but thankfully, most of these problems have simple fixes. The key is knowing what to look for before you panic.
The most frequent issue I see is just plain bad audio or video quality. Before you even think about hitting that record button, it's smart to check your internet connection. Webex recordings are data-intensive, so a weak signal is a recipe for disaster.
A great, underused tool is Webex’s built-in Health Checker. You can use it to get a real-time look at your audio and video stats. Webex aims to keep latency under 150ms for a smooth experience, and its own data suggests that connection problems only impact about 10-15% of meetings. You can learn more about how to monitor your audio and video statistics. A quick check here can save you a lot of grief later.
Solving Common Recording Problems
Let's dive into a few of the classic recording glitches I've run into over the years and how to fix them.
Problem 1: The Recording Failed to Process
You finished a long meeting, and hours later, your recording is still stuck in limbo. This usually happens after a particularly long session or if your network had a hiccup during the meeting.
- The Fix: First, just wait. Seriously. Large recordings can sometimes take up to 24 hours to process and appear. If a full day has passed and it's still missing, the next logical step is to check your Webex site's storage quota. A full account is a common reason recordings fail to save.
Problem 2: My Recording Is Completely Missing
You know you hit record, you saw the little red light, but now the file is nowhere to be found.
- The Fix: Start by checking the "Recordings" tab on your Webex site. If a co-host was the one who actually started the recording, the file will end up in the original host's account, not theirs. For local recordings, you need to retrace your steps and find the save location you picked on your computer when you first started.
My Personal Go-To: When a cloud recording goes missing, the first place I look is my email inbox. Webex always sends a notification when a recording is ready. If I never got that email, it's a huge clue that something went wrong during processing, which usually sends me right back to checking my storage space.
Problem 3: The Recording Only Has Audio
This is an old-school problem that almost exclusively happens with local recordings. You have a perfect audio file, but all the video and screen sharing is gone.
- The Fix: This happens when you choose "Call in" or "Call me" for your audio connection instead of using your computer. When recording locally, Webex can only capture the audio coming directly through your machine's microphone and speakers. To prevent this, always select the "Computer audio" option. It's a simple mistake but one that can cost you the most important parts of your meeting.
Don't let valuable insights from your meetings stay locked away in video files. With a tool like Whisper AI, you can quickly turn any Webex recording into a powerful asset. It gives you accurate transcripts, identifies who said what, and even creates a summary for you. Turn your conversations into action. Explore Whisper AI now.