How to Extract Audio from Video
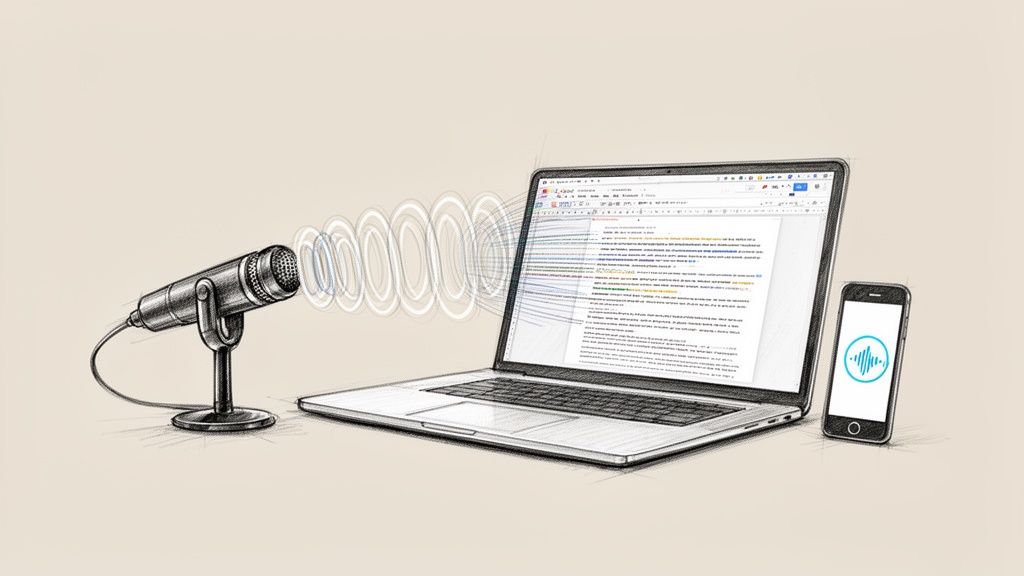
You finish recording a strong interview, webinar, lecture, or product walkthrough. The file lands on your desktop as MP4 or MOV, and the part you need right now is the voice track.
This situation often leads to searches for how to extract audio from video and a messy mix of advice. Some guides assume you want a polished podcast file. Others assume you're comfortable in Terminal. A lot of them skip the core question, which is simpler: what's the fastest reliable method for the job in front of you?
The answer depends on the workflow. If you're pulling one short clip, a browser tool may be enough. If you want to trim breaths, fix levels, or clean up noise, a desktop editor makes more sense. If you handle folders full of recordings, FFmpeg is hard to beat. And if your real goal is repurposing spoken content into transcripts, posts, captions, or notes, extraction is just the first move.
Why You Need to Pull Audio from Video
Users don't typically extract audio for technical reasons. They do it because the useful part of the recording is trapped inside a video file.
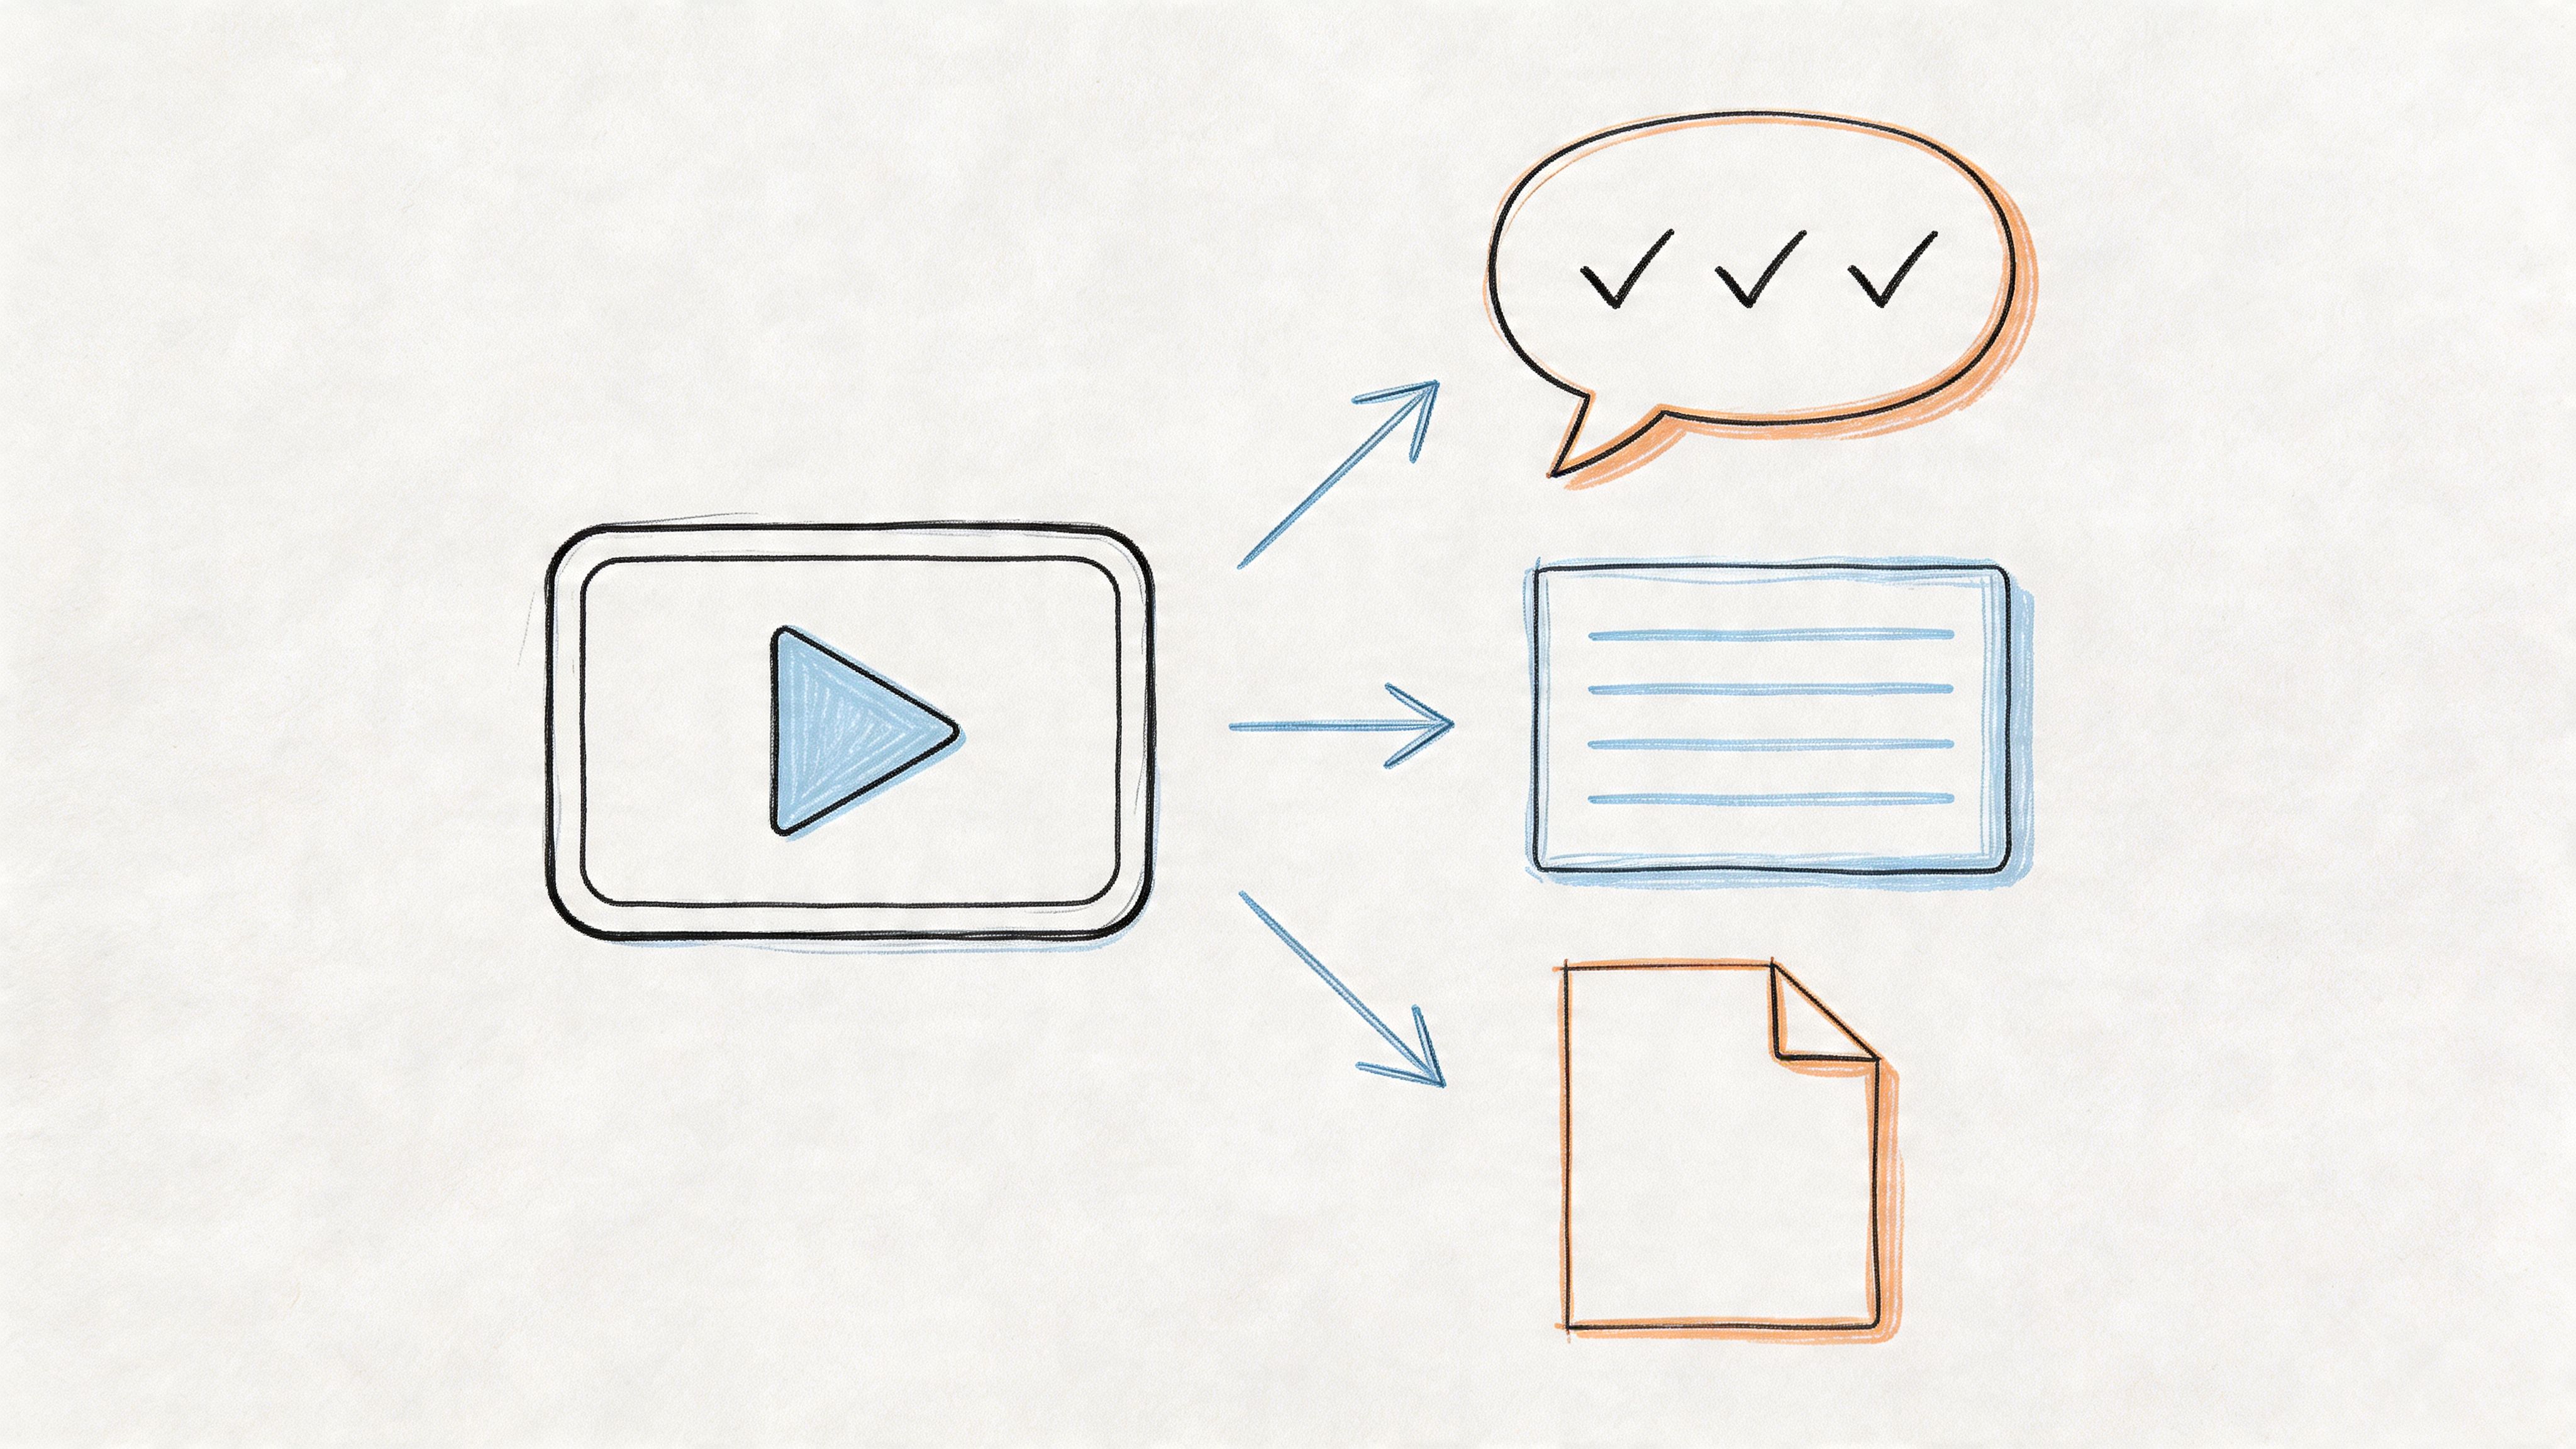
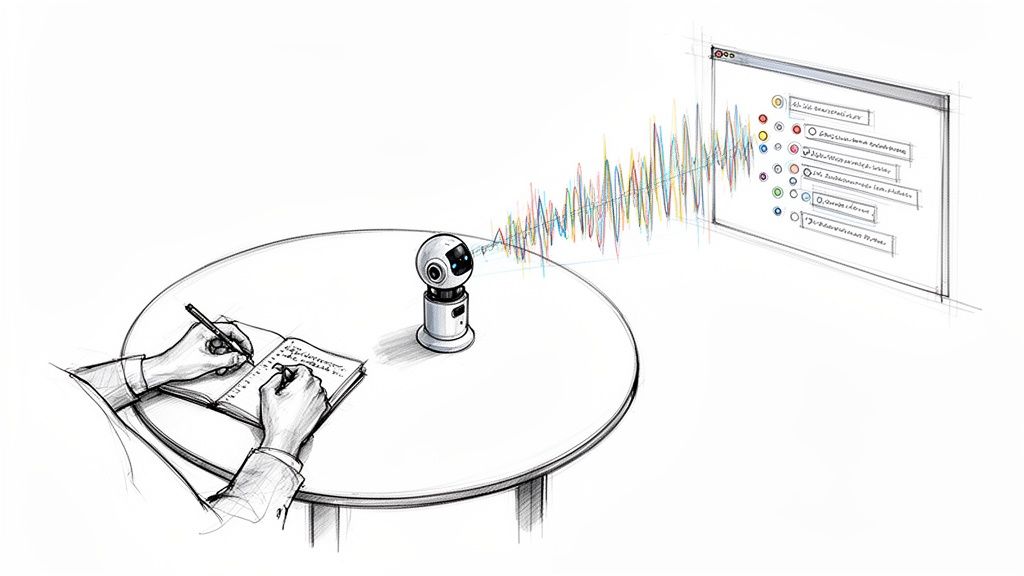
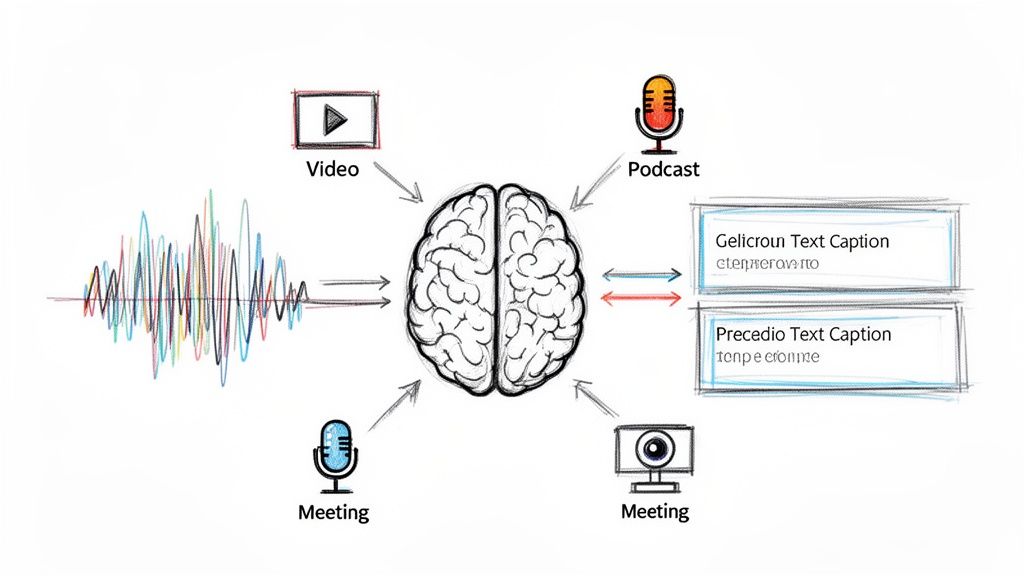
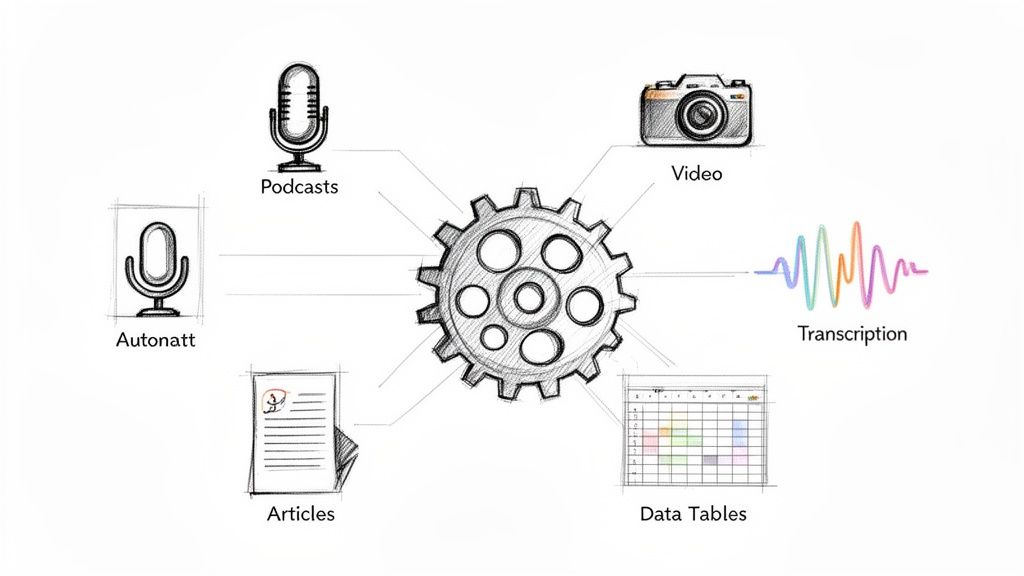
A recorded customer interview can become a podcast episode. A webinar can become an audio replay for teammates who won't watch the full video. A lecture can turn into a transcript, study notes, or a searchable archive. A product demo can yield short soundbites for social clips. The video stays valuable, but the audio often becomes the more reusable asset.
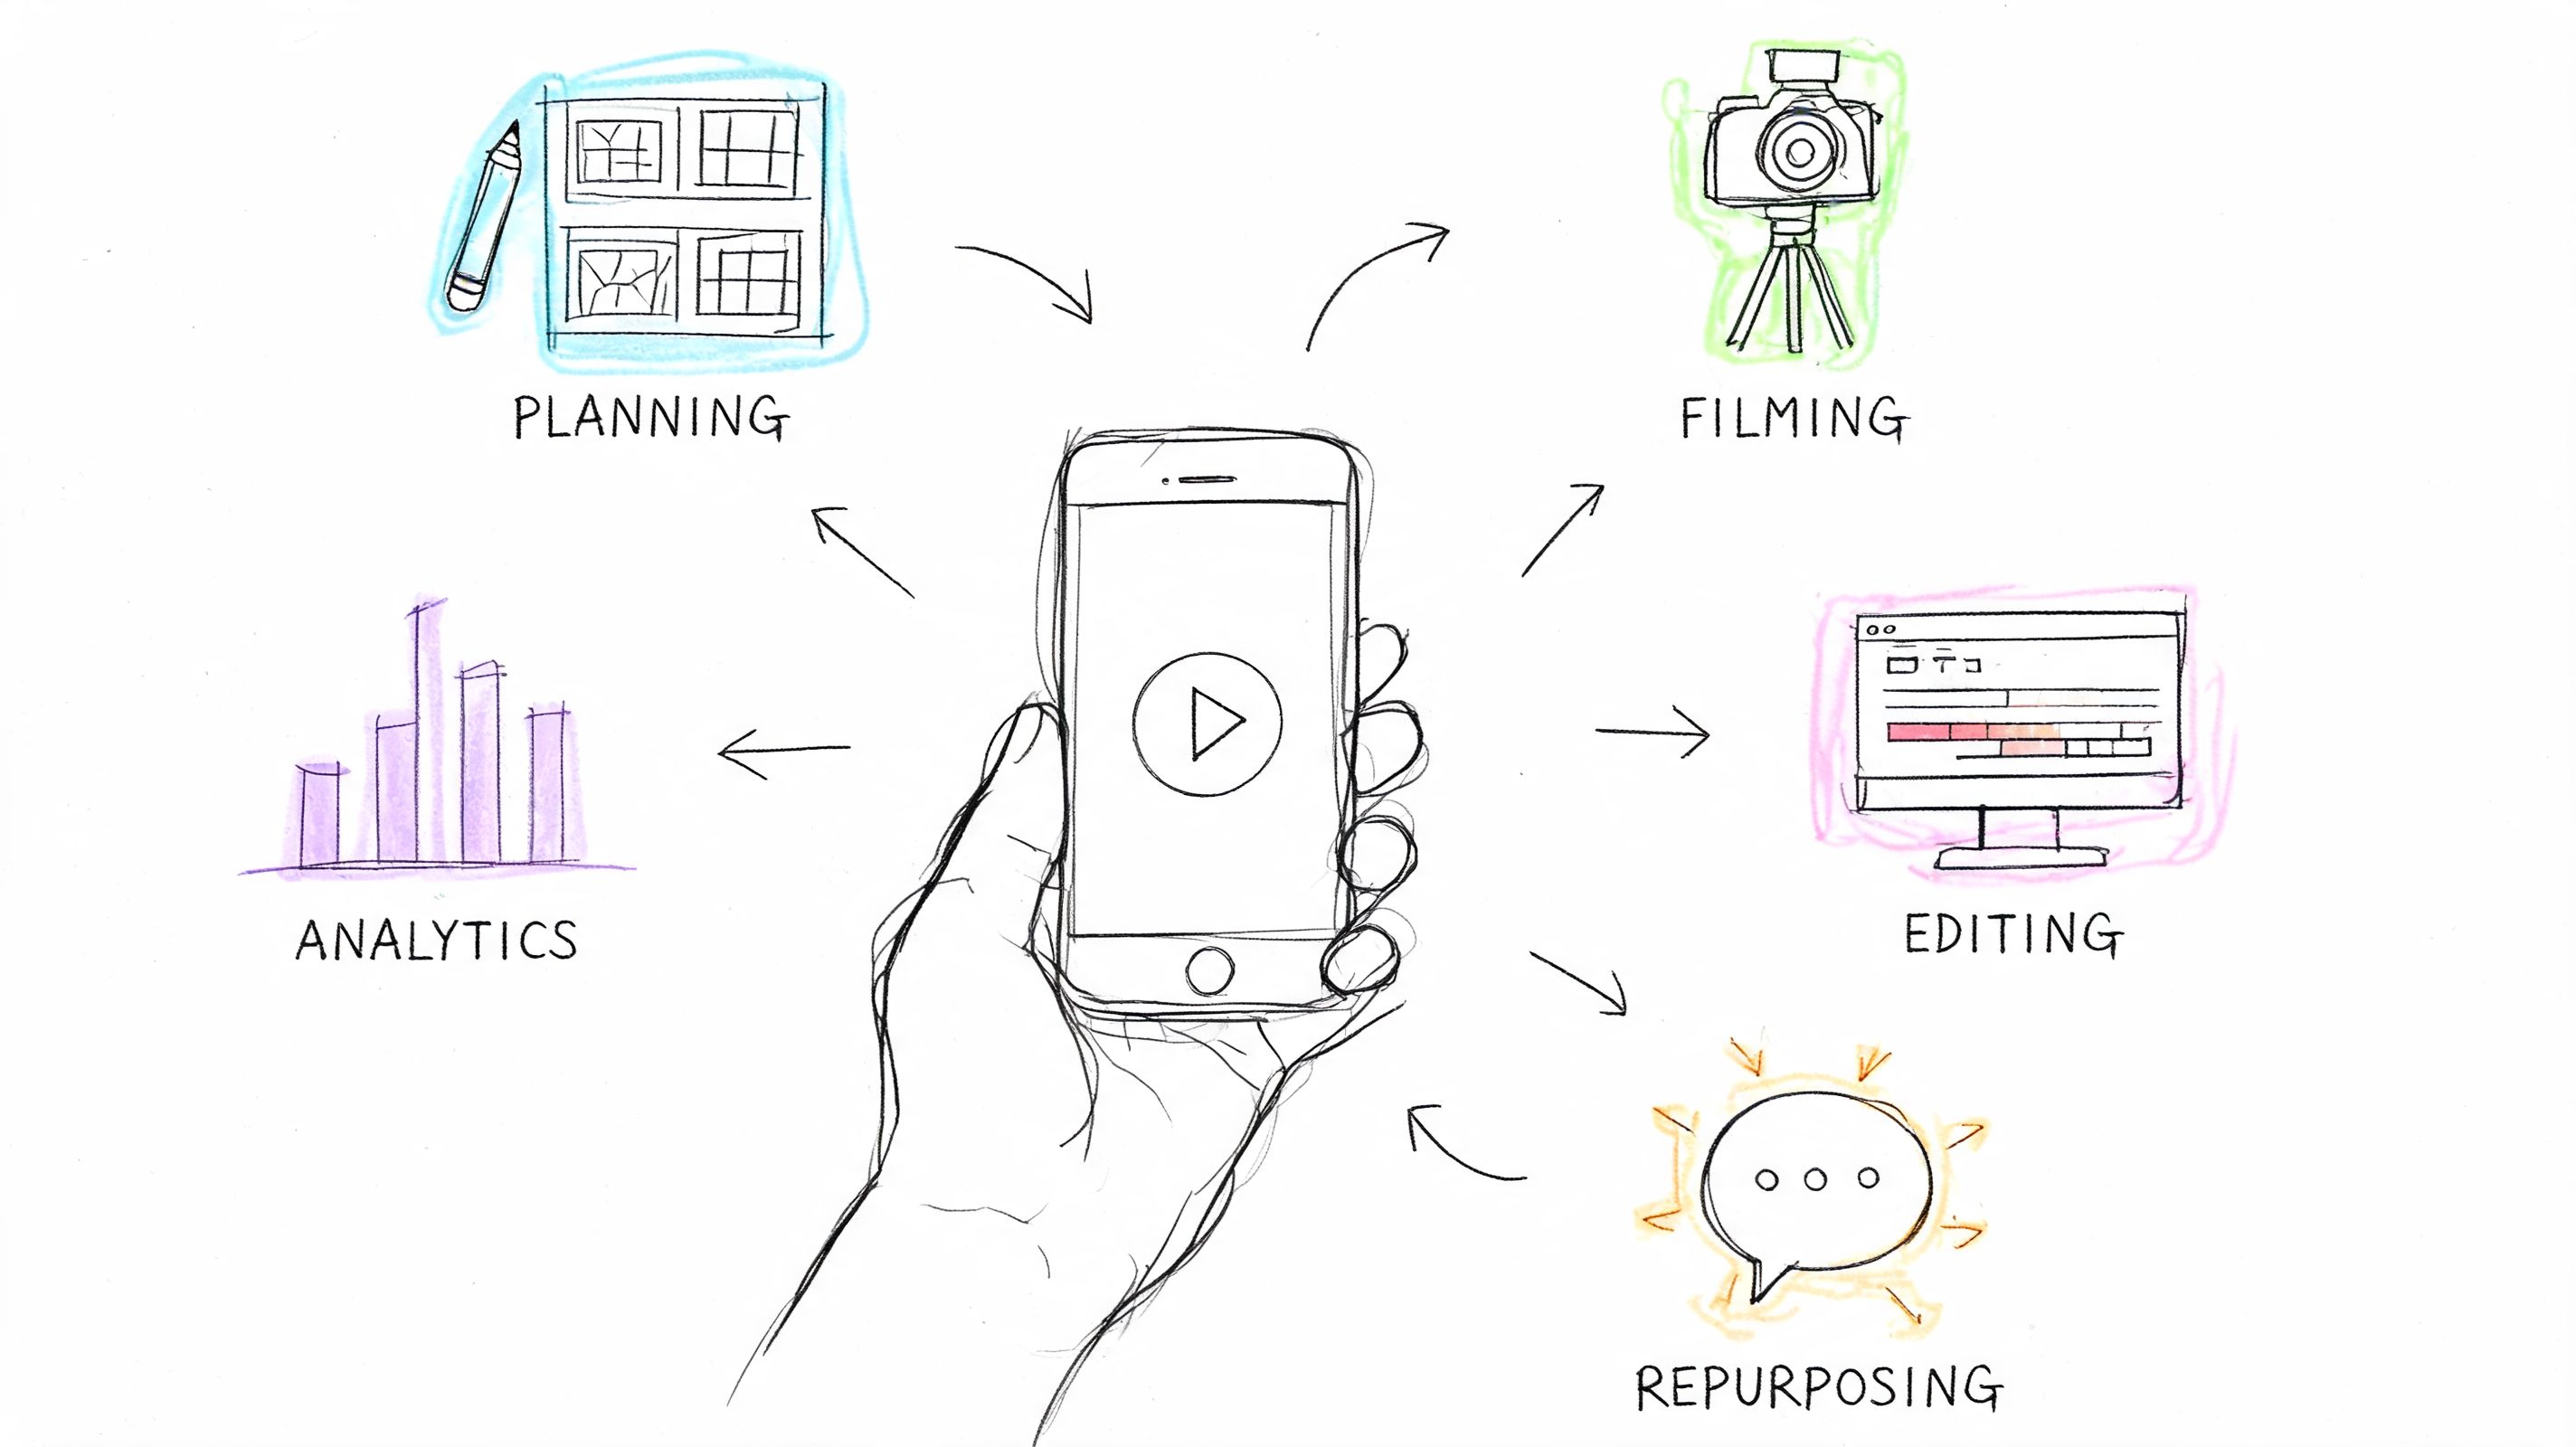
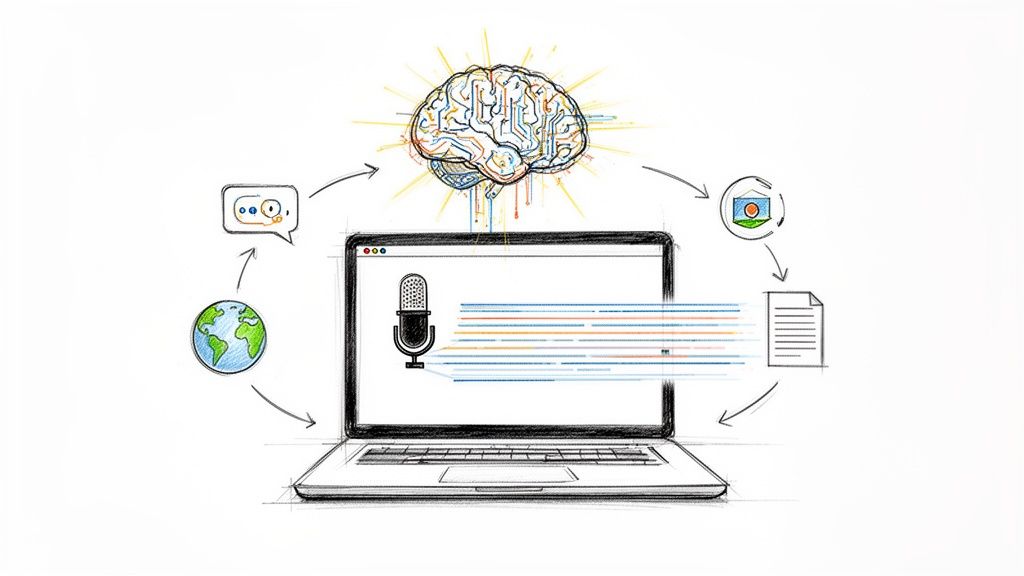
That's also why extraction sits so close to content repurposing workflows. Once the spoken track is separated, it's easier to edit, transcribe, quote, summarize, and publish in new formats.
Common reasons people extract audio
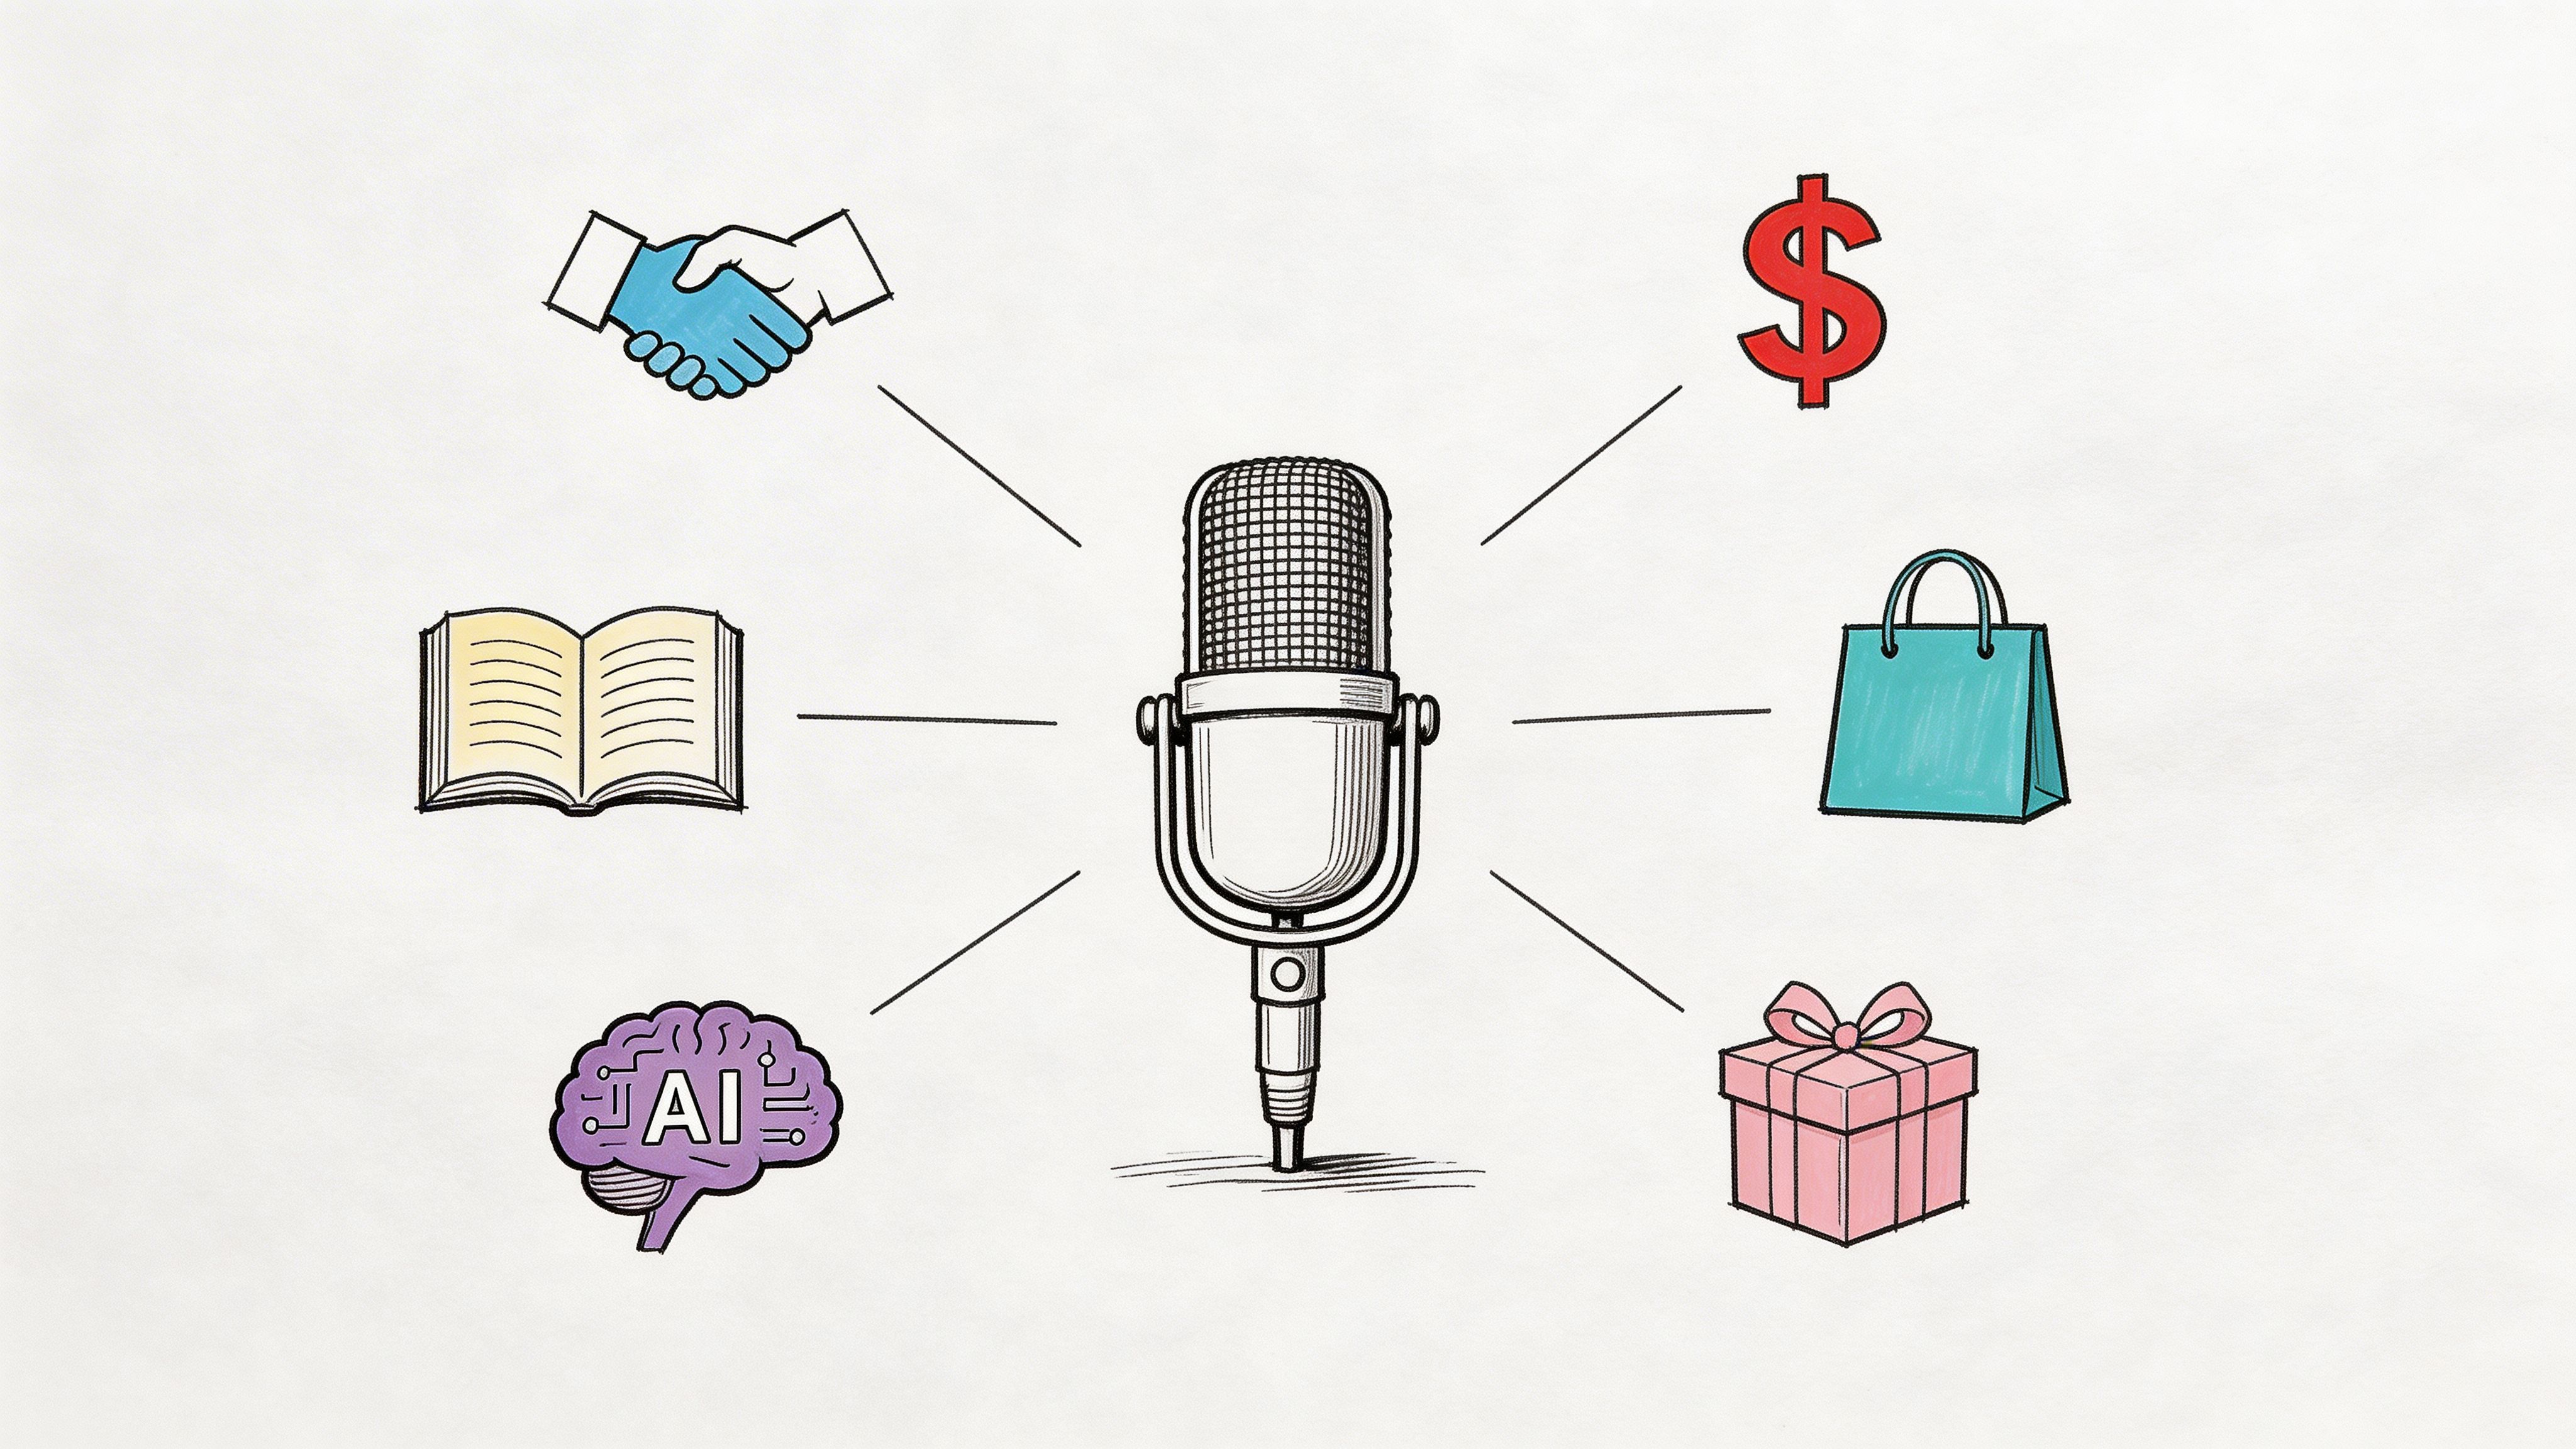
- Podcast reuse: Turn a filmed interview or livestream into an audio-first episode.
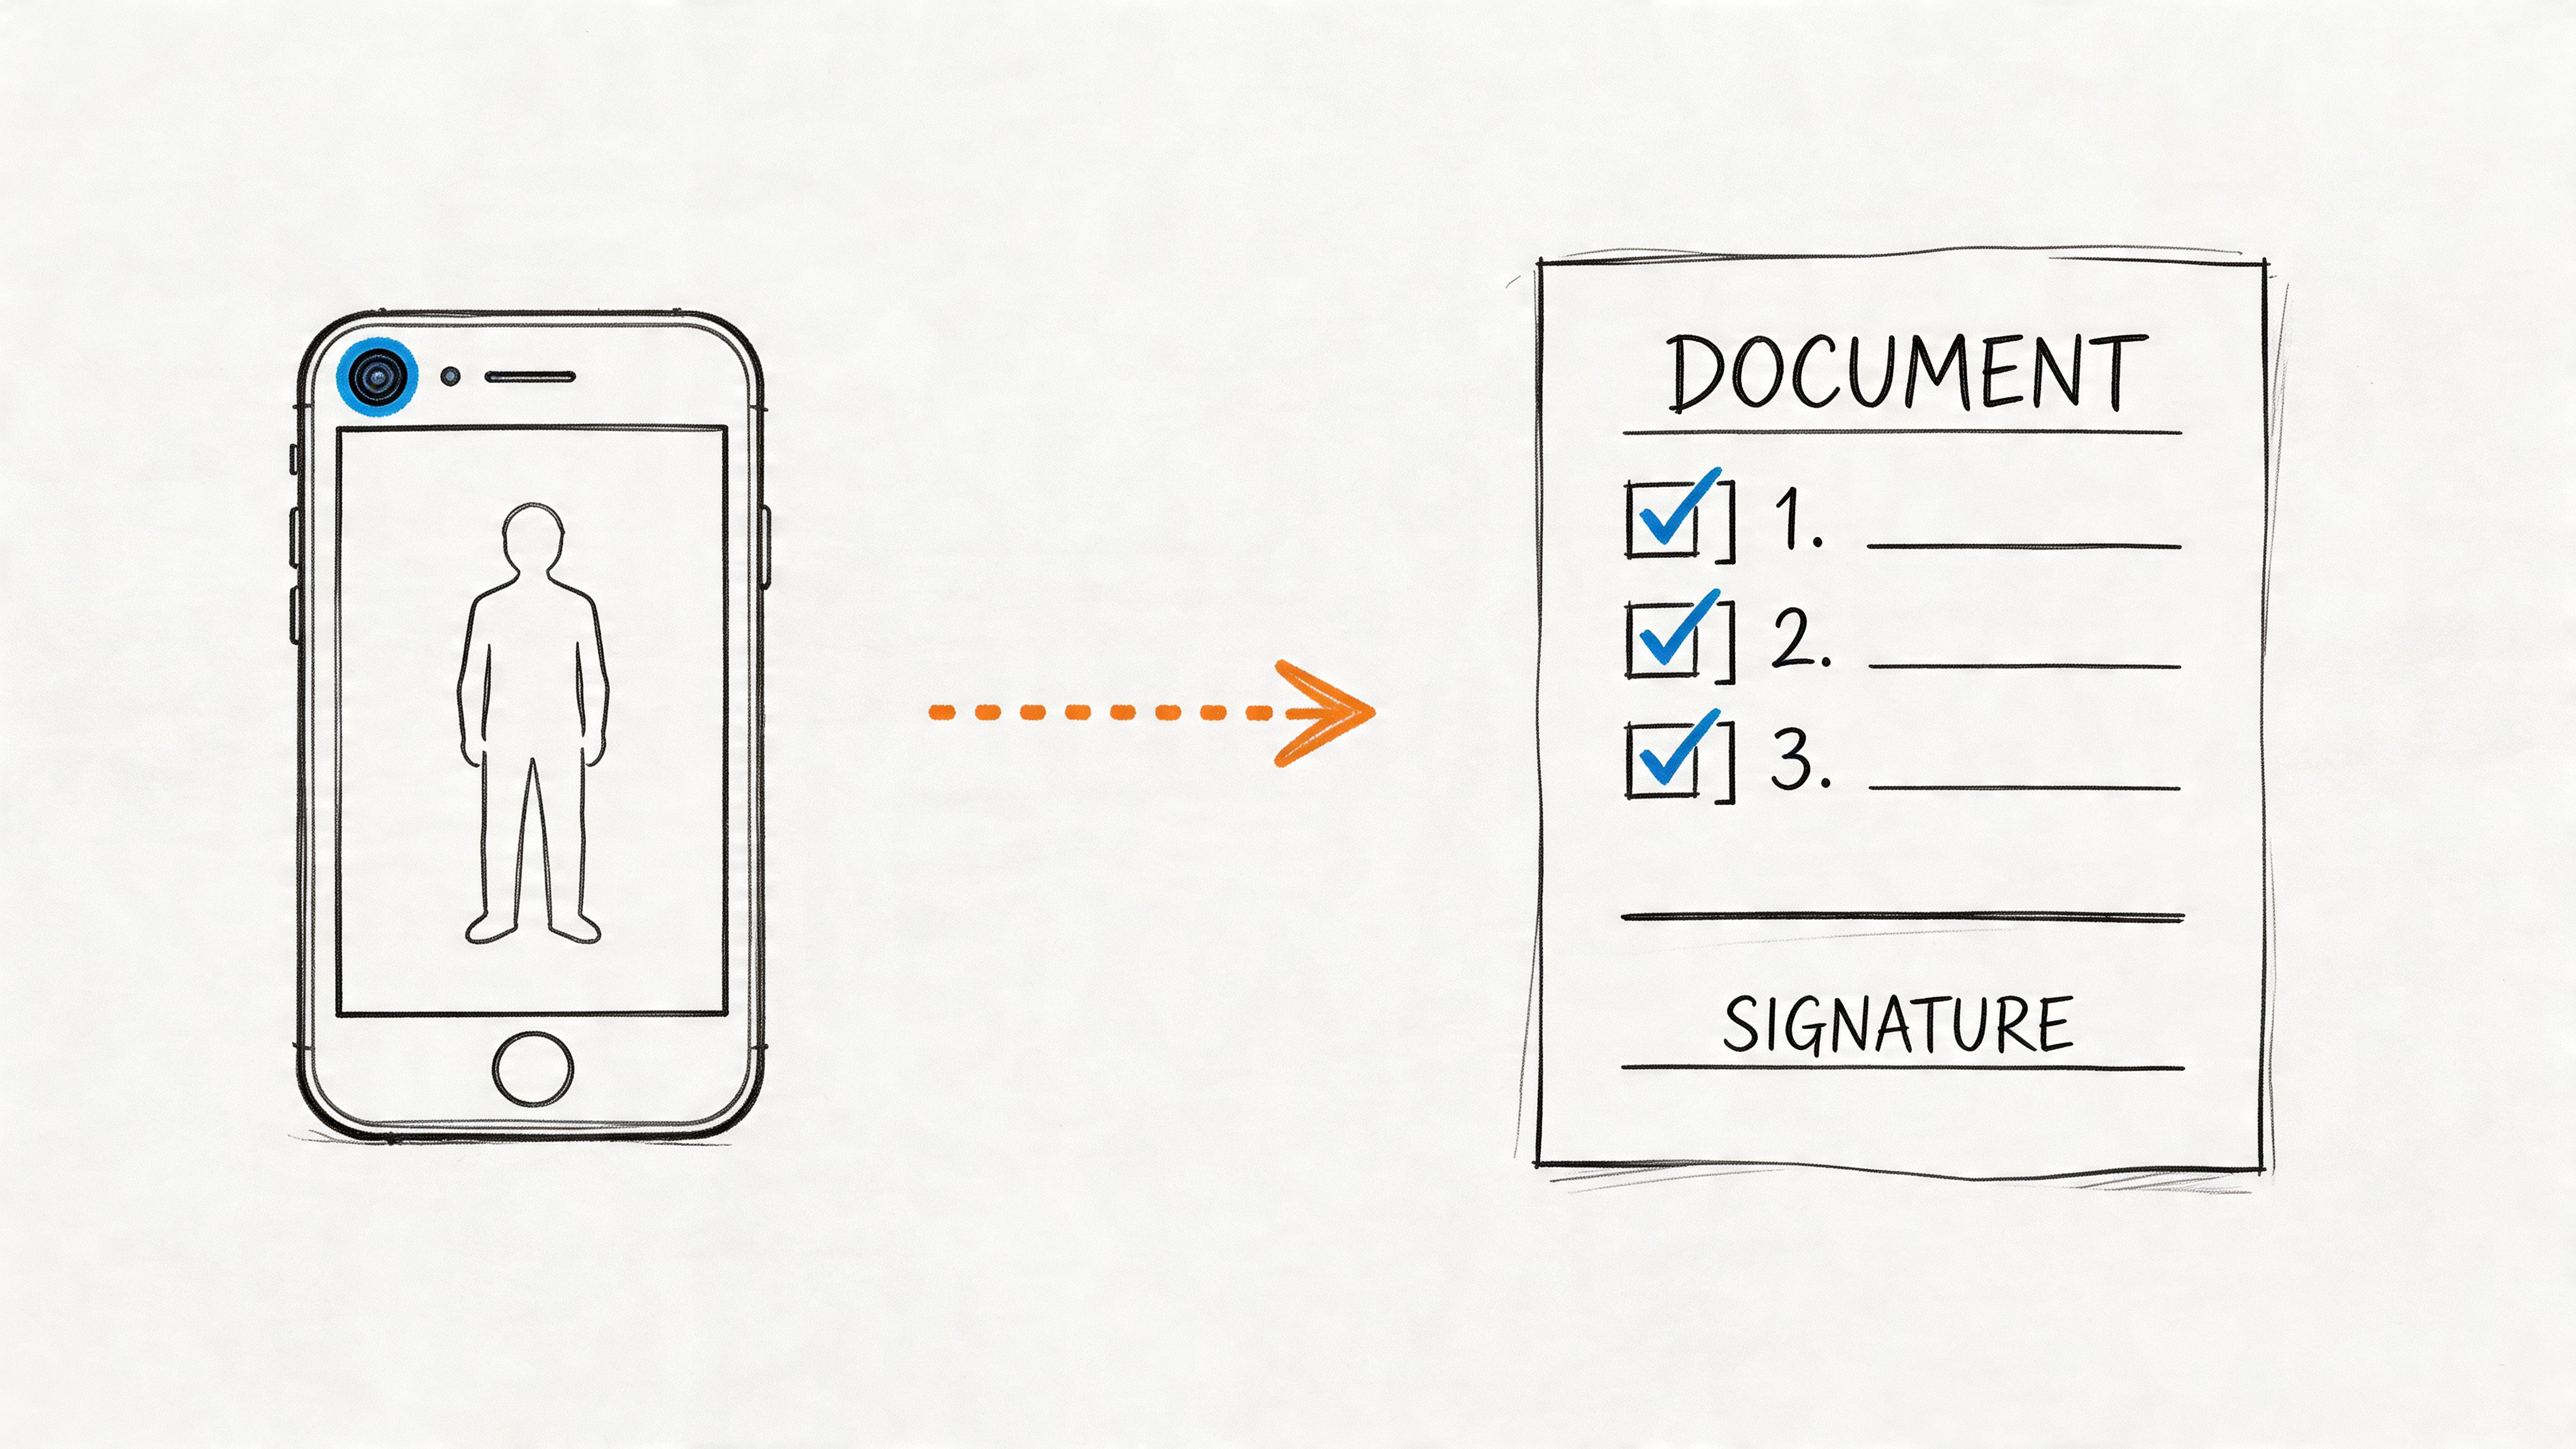
- Transcription: Feed clean speech into a transcript workflow for blogs, notes, or captions.
- Accessibility: Offer an audio-only version for people who prefer listening.
- Editing focus: Work on dialogue without scrubbing through full video timelines.
- Archiving: Keep a simpler master file for future search and reuse.
Practical rule: If the spoken word is the asset, pull the audio early. It makes every later step easier.
There's no single best tool for everyone. What works for a marketer clipping one testimonial doesn't match what works for a producer handling event recordings every week. The useful way to think about this is by comfort level and volume: free desktop tools, built-in OS options, quick web and mobile methods, then command-line automation.
Using Free Desktop Software Like VLC and Audacity
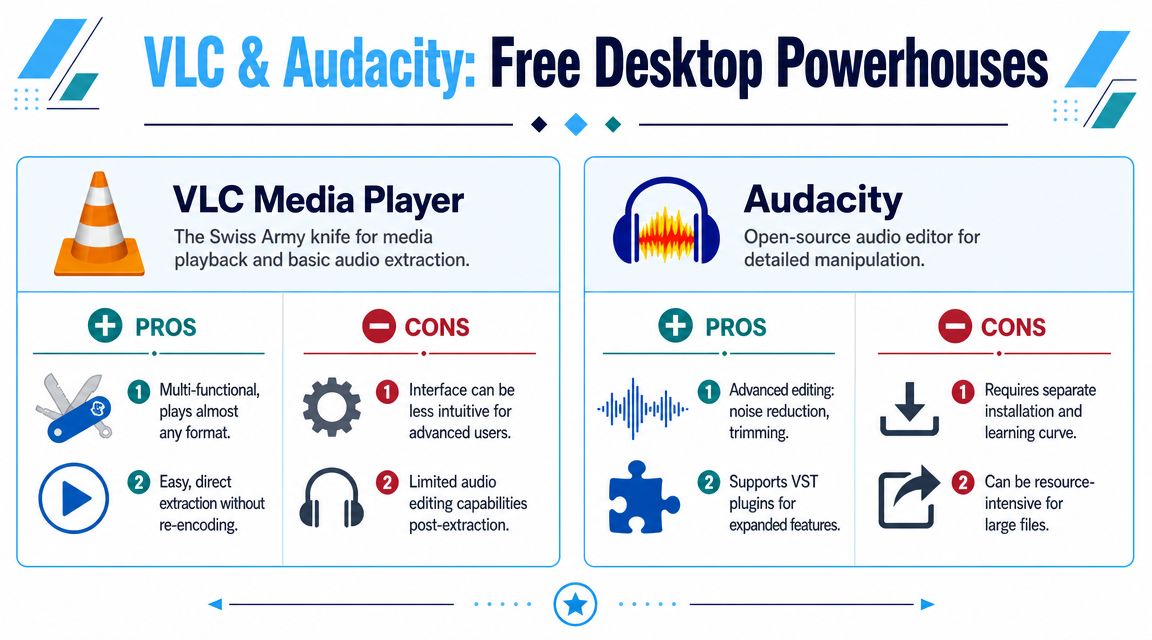
The safest long-term setup involves a pair of free desktop tools: VLC Media Player for fast extraction and Audacity for extraction plus editing. Both are dependable. They just solve different problems.
When VLC is the better pick
VLC is the tool I reach for when I need the audio out quickly and don't plan to do much cleanup. Open the file, go to Convert / Save, choose the video, select an audio profile, and export. That's usually enough for a lecture, interview backup, or simple reference track.
VLC feels like a utility knife. It plays almost anything, and it can detach audio without turning the job into a full edit session.
What I like about VLC:
- Fast for one-off tasks: Good when you just need an MP3 or similar output and want to move on.
- No editing overhead: You don't have to set up a project or think about tracks.
- Cross-platform: Useful if you move between Mac, Windows, and Linux.
What VLC doesn't do well is detailed audio work. If the clip needs trimming, noise treatment, level fixes, or inspection of pauses and mistakes, VLC isn't where I'd stay.
When Audacity makes more sense
Audacity is the better choice when you need to see the waveform and make decisions before export. It can import video audio through FFmpeg support, then let you trim dead space, normalize levels, and do light cleanup before saving the file.
A common desktop path is to import the source, isolate the audio, verify the waveform, then export only the audio track. Guidance commonly recommends MP3 at 320 kbps or WAV at 48 kHz for quality-conscious workflows, especially when the file is headed for editing or transcription, as explained in Mini Fridge Media's extraction guide.
WAV won't restore detail that was already lost in the original video compression, but it does give you a stable uncompressed master for later processing.
That distinction matters. People often assume exporting to WAV magically improves bad source audio. It doesn't. It just stops further loss once you begin working with the file.
Here's a walkthrough if you want a visual example before trying it yourself:
VLC versus Audacity in practice
| Tool | Best for | What works well | Main limitation |
|---|---|---|---|
| VLC | Quick extraction | Fast export, broad format support | Minimal editing control |
| Audacity | Cleanup and export | Waveform editing, trimming, light repair | More setup, especially with video import |
If you're also looking for companion tools around lightweight editing, this roundup of easy no-watermark video editors is a useful next stop.
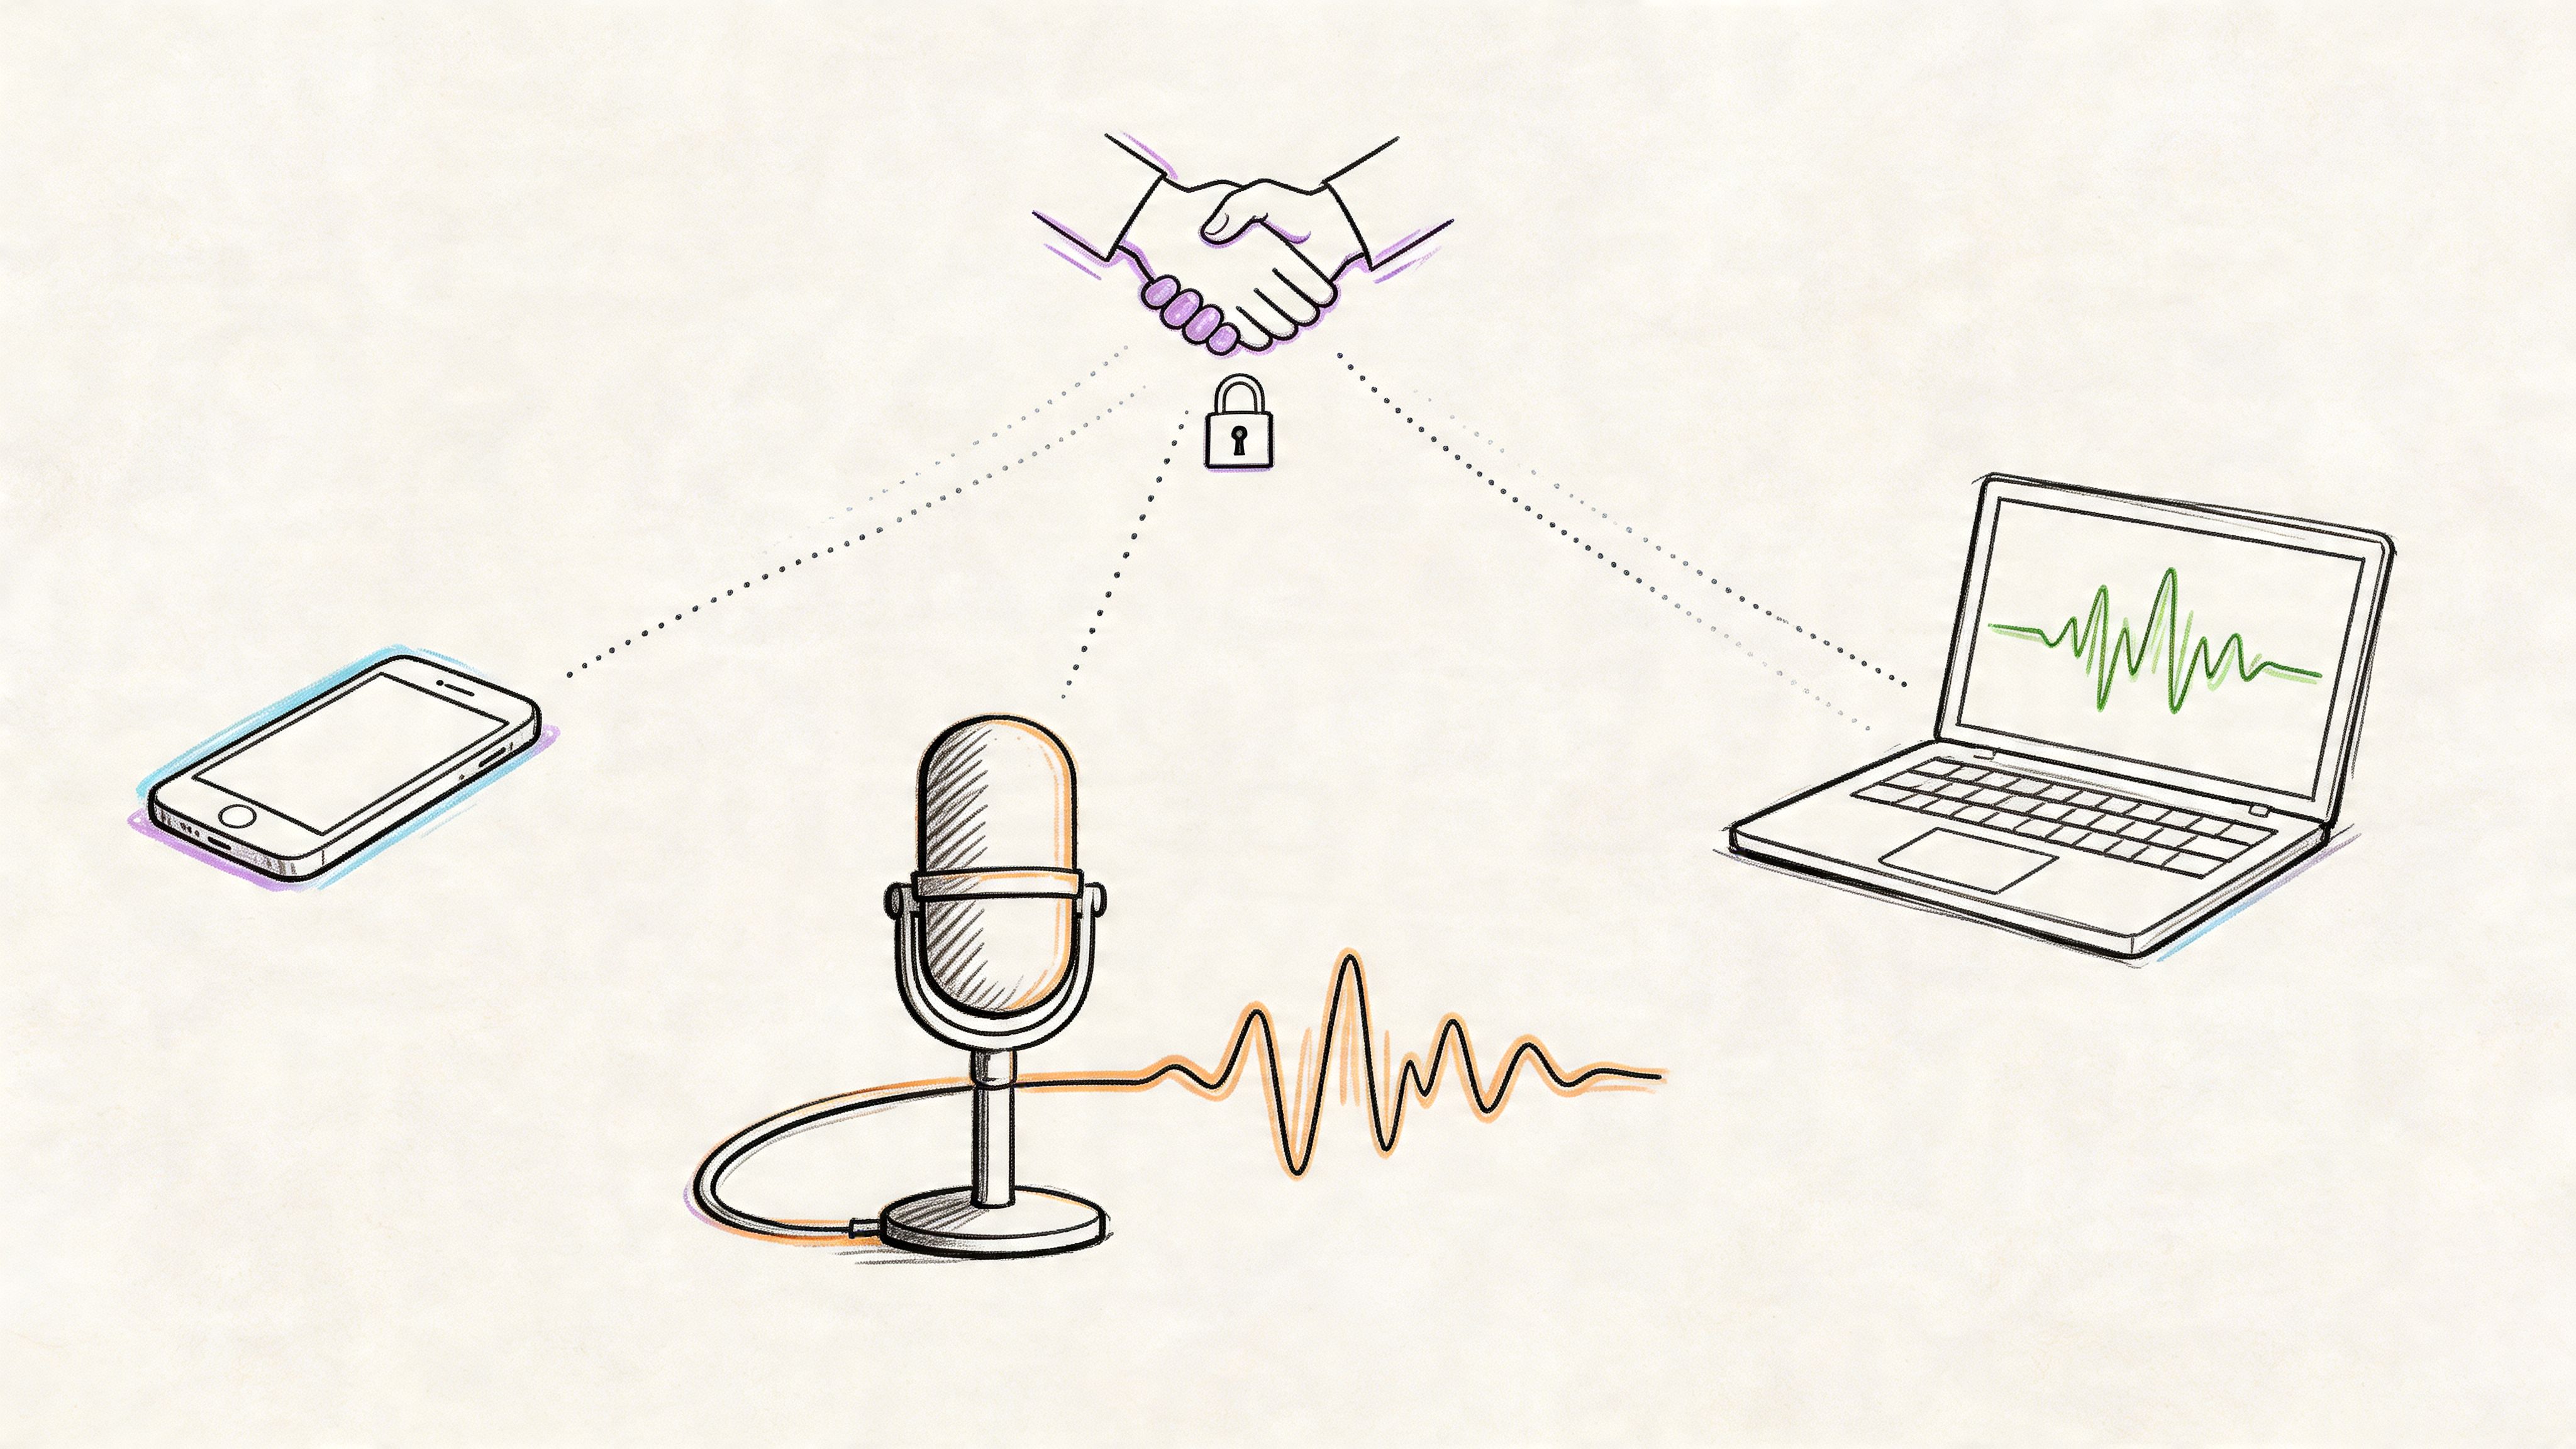
Beyond simple track splitting, researchers at MIT, Microsoft, and Adobe showed in 2014 that they could recover intelligible speech from silent video by analyzing tiny object vibrations, including a potato-chip bag filmed from 15 feet away, as described in MIT News on the visual microphone project. It's a reminder that audio and video are more connected than most workflows suggest.
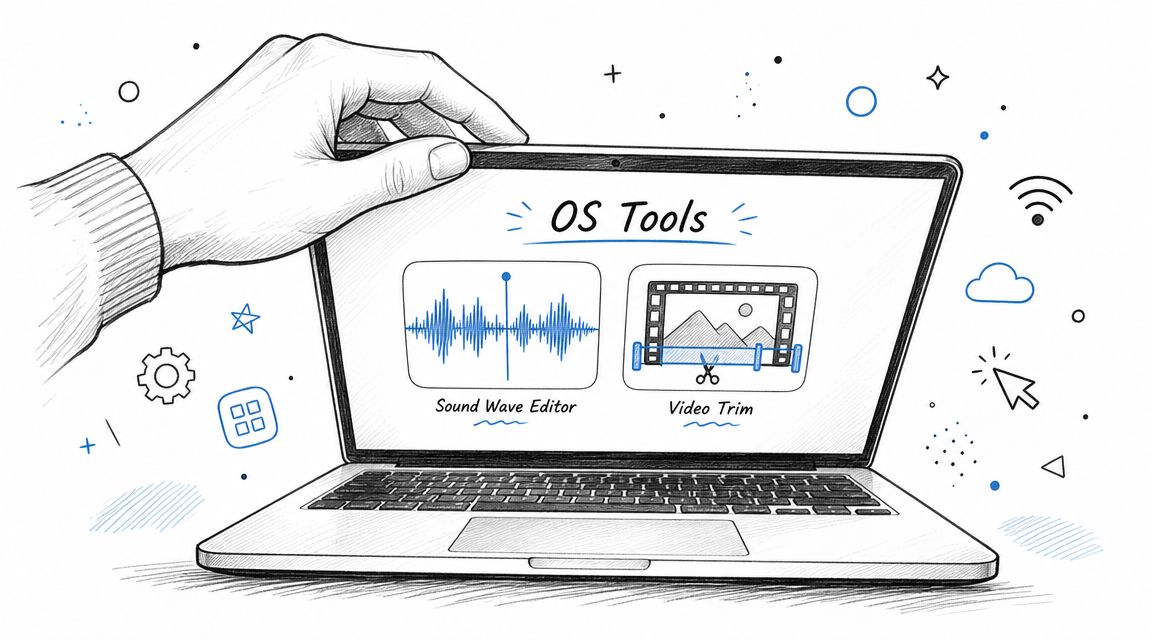
Quick Extraction with Built-in OS Tools
Sometimes the right answer is the tool already sitting on your computer. If you only need to pull audio from a single file, built-in apps are often good enough and save you a download.
On Mac with QuickTime Player
On macOS, QuickTime Player is the obvious first try. Open the video, then look for the export option that gives you audio only. For simple jobs, that's often the cleanest path.
Use it when:
- You have one file
- You don't need cleanup
- You want a native tool with no setup
QuickTime is especially handy for recordings that already sound fine and just need to become an audio file for sharing or note-taking.
On Windows with Clipchamp or built-in editing tools
Windows users usually get the simplest results through the built-in video editor path or Clipchamp, depending on the version of Windows they're using. The workflow is straightforward: create a project, import the video, place it on the timeline, then export or save an audio-only result if the tool supports it.
This route isn't the most elegant for batch work, but it's approachable. You don't need to learn codec settings, and you don't need command-line syntax.
Where built-in tools help and where they don't
Built-in apps are strongest when convenience matters more than control. They're not what I'd use for a large archive, multilingual recordings with several streams, or any job where I need to verify exact output settings.
Good enough is a real standard: if the file is short, non-sensitive, and doesn't need repair, the native app is often the fastest way to finish the task.
A simple decision filter works well here:
- Use OS tools for one clip, minimal fuss, no installation.
- Use desktop editors when you need trimming or cleanup.
- Use FFmpeg when you care about speed, repeatability, or bulk processing.
That last point matters more than people expect. Once you've had to repeat the same extraction on ten or twenty files, “easy” starts to mean “repeatable,” not just “clickable.”
The Fastest Method Online Converters and Mobile Apps
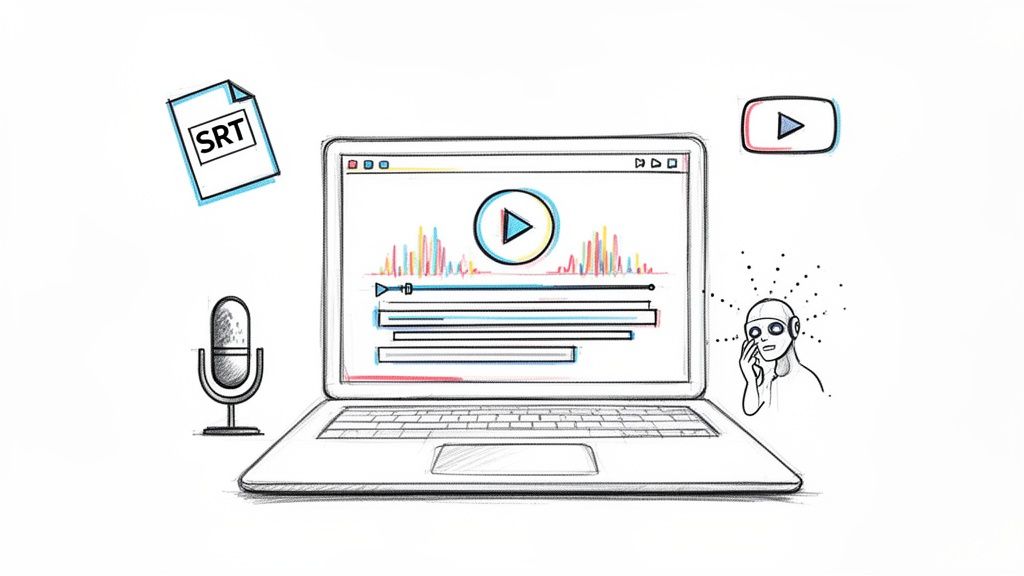
When you're on a borrowed laptop, a locked-down work machine, or your phone, browser tools and mobile apps become the practical option. Upload the clip, choose an output format, and download the audio. That's why these tools stay popular.
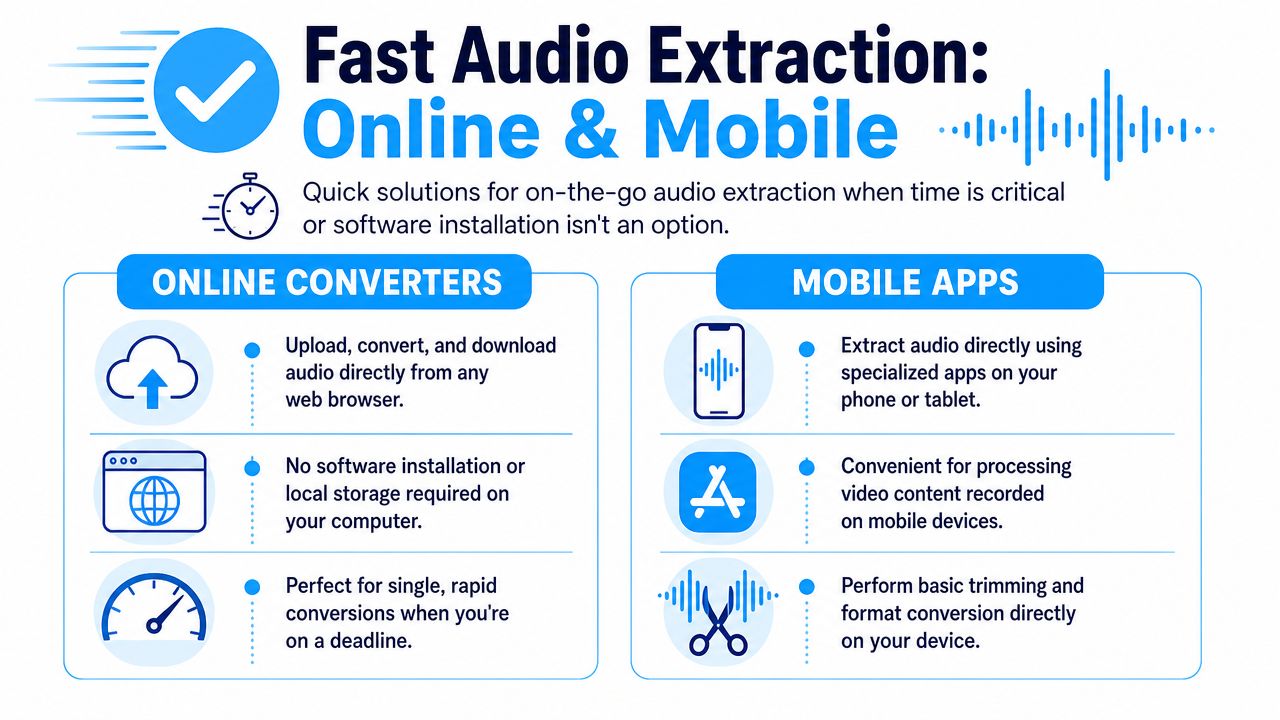
The appeal is obvious. You don't install anything. You don't learn a new interface. For a short file that isn't sensitive, the convenience is hard to argue with.
When browser tools are the right call
Use online converters when the job looks like this:
- Single clip: one file, one output, done.
- No admin access: you can't install VLC, Audacity, or FFmpeg.
- Phone-first workflow: the recording already lives on your mobile device.
- Urgent turnaround: you need a usable audio file fast.
That last use case is common for social teams. They often need to strip audio from a short clip, send it for transcription, or turn it into captions without opening a desktop editor. If that sounds familiar, this guide to converting videos from YouTube for free is a practical companion for platform-based workflows.
A broader shift is happening here too. The desktop-first mindset misses a lot of real users. A large share of video creation and consumption now happens on mobile, which is why in-browser and mobile-first extraction tools keep gaining attention, as noted in SolveigMM's guide to extracting audio from video.
A quick safety checklist
Convenience is real, but so are the trade-offs. Before uploading anything, check these:
- Privacy: Don't upload confidential interviews, internal meetings, or client calls unless you trust the service and its handling of files.
- Format choice: MP3 is fine for general sharing. WAV or FLAC make more sense for editing or archiving. AAC often fits Apple-heavy workflows.
- Upload friction: Large videos are slow in the browser even when the extraction itself is simple.
- Output sanity: Make sure the tool's chosen format matches what you need downstream.
If I'm working with a file that contains sensitive reporting, legal material, or unreleased content, I keep the entire extraction local.
Mobile apps follow the same logic. They're useful for clips already captured on your phone and for quick social edits. I wouldn't use them for large libraries or anything that needs precise repeatable settings. They're convenience tools, not production infrastructure.
The Power User Method FFmpeg for Speed and Automation
If you regularly extract audio, FFmpeg changes the game. It looks more technical than VLC or Audacity because it runs in the command line, but the core commands are short, direct, and easy to reuse.
The biggest advantage is that FFmpeg can either convert audio or copy the original audio stream out of the video. That second method is what makes it so valuable in professional workflows.
Use stream copy when you want the original track
The most efficient method is FFmpeg stream copy with options like -vn and -acodec copy, which disables video output and preserves the original audio without transcoding. Mux explains that this approach is effectively instantaneous because no re-encoding happens, and it also supports selecting a specific track with -map 0:a:1 and preserving metadata with -map_metadata 0 in their FFmpeg extraction walkthrough.
A basic example looks like this:
ffmpeg -i input_video.mp4 -vn -acodec copy output_audio.m4a
Use this when the source already contains an audio codec and container combination you want to keep. It's ideal for long recordings, multilingual files, and media libraries where you care about quality retention and speed.
Use conversion when you need a standard deliverable
Sometimes the original audio stream isn't the format you want to hand off. In that case, convert it.
A common FFmpeg command for high-quality MP3 extraction is:
ffmpeg -i input_video.mp4 -q:a 0 -map a output_audio.mp3
That command maps only the audio stream and applies a high-quality audio encode setting, as described in Swell AI's FFmpeg workflow notes.
This is what I use when I need a universal file someone can open anywhere, or when the next tool in the chain expects MP3 specifically.
Why FFmpeg wins at scale
GUI tools are fine until repetition becomes a major problem. FFmpeg is better when you want consistency across many files.
Examples:
- Batch folders: run the same extraction against a directory of recordings.
- Repeatable output: every file follows the same naming and format rules.
- Multiple streams: choose the exact audio track you want from a file with several tracks.
- Metadata handling: preserve useful file information during extraction.
Workflow tip: stream copy first when possible. Convert only when the destination format actually requires it.
FFmpeg also pairs well with the rest of your media pipeline. If you're trying to maintain video quality when compressing before or after extraction, it helps to think of the video and audio steps together instead of treating them as separate chores.
The only consistent pitfall is format mismatch. If you copy or encode into the wrong container or extension, the result may confuse downstream tools. Keep the file extension aligned with the codec you're producing.
Best Formats and Next Steps for Your Audio
You extract the audio, open the export menu, and suddenly the key decision shows up. The best format depends on what you plan to do with the file an hour from now, not just whether the extraction worked.
Pick the format based on the next job
For quick sharing, uploads, and simple handoff, MP3 is usually the right call. It opens almost anywhere, stays small enough to send without friction, and works well if the audio is headed to a client, collaborator, or publishing tool that values compatibility over perfect fidelity.
For production work, choose a format that matches the next tool in your chain. WAV is a good working file if you plan to clean up noise, trim sections, align clips, or send the audio into a transcription process where you want a predictable, edit-friendly source. AAC makes sense when the file will live mostly in Apple apps and devices. FLAC is useful for long-term storage when you want smaller files without throwing away data.
A practical cheat sheet:
- MP3: sharing, publishing, email handoff, lightweight storage
- WAV: editing, restoration, transcript prep, source masters
- AAC: playback and delivery in Apple-heavy workflows
- FLAC: archival storage with lossless compression
Format choice affects what happens after extraction. A small MP3 is convenient, but if you know you need to cut quotes, remove background noise, or run speech-to-text on important material, saving a higher-quality working file first usually avoids a second pass later.
Turn the file into something usable
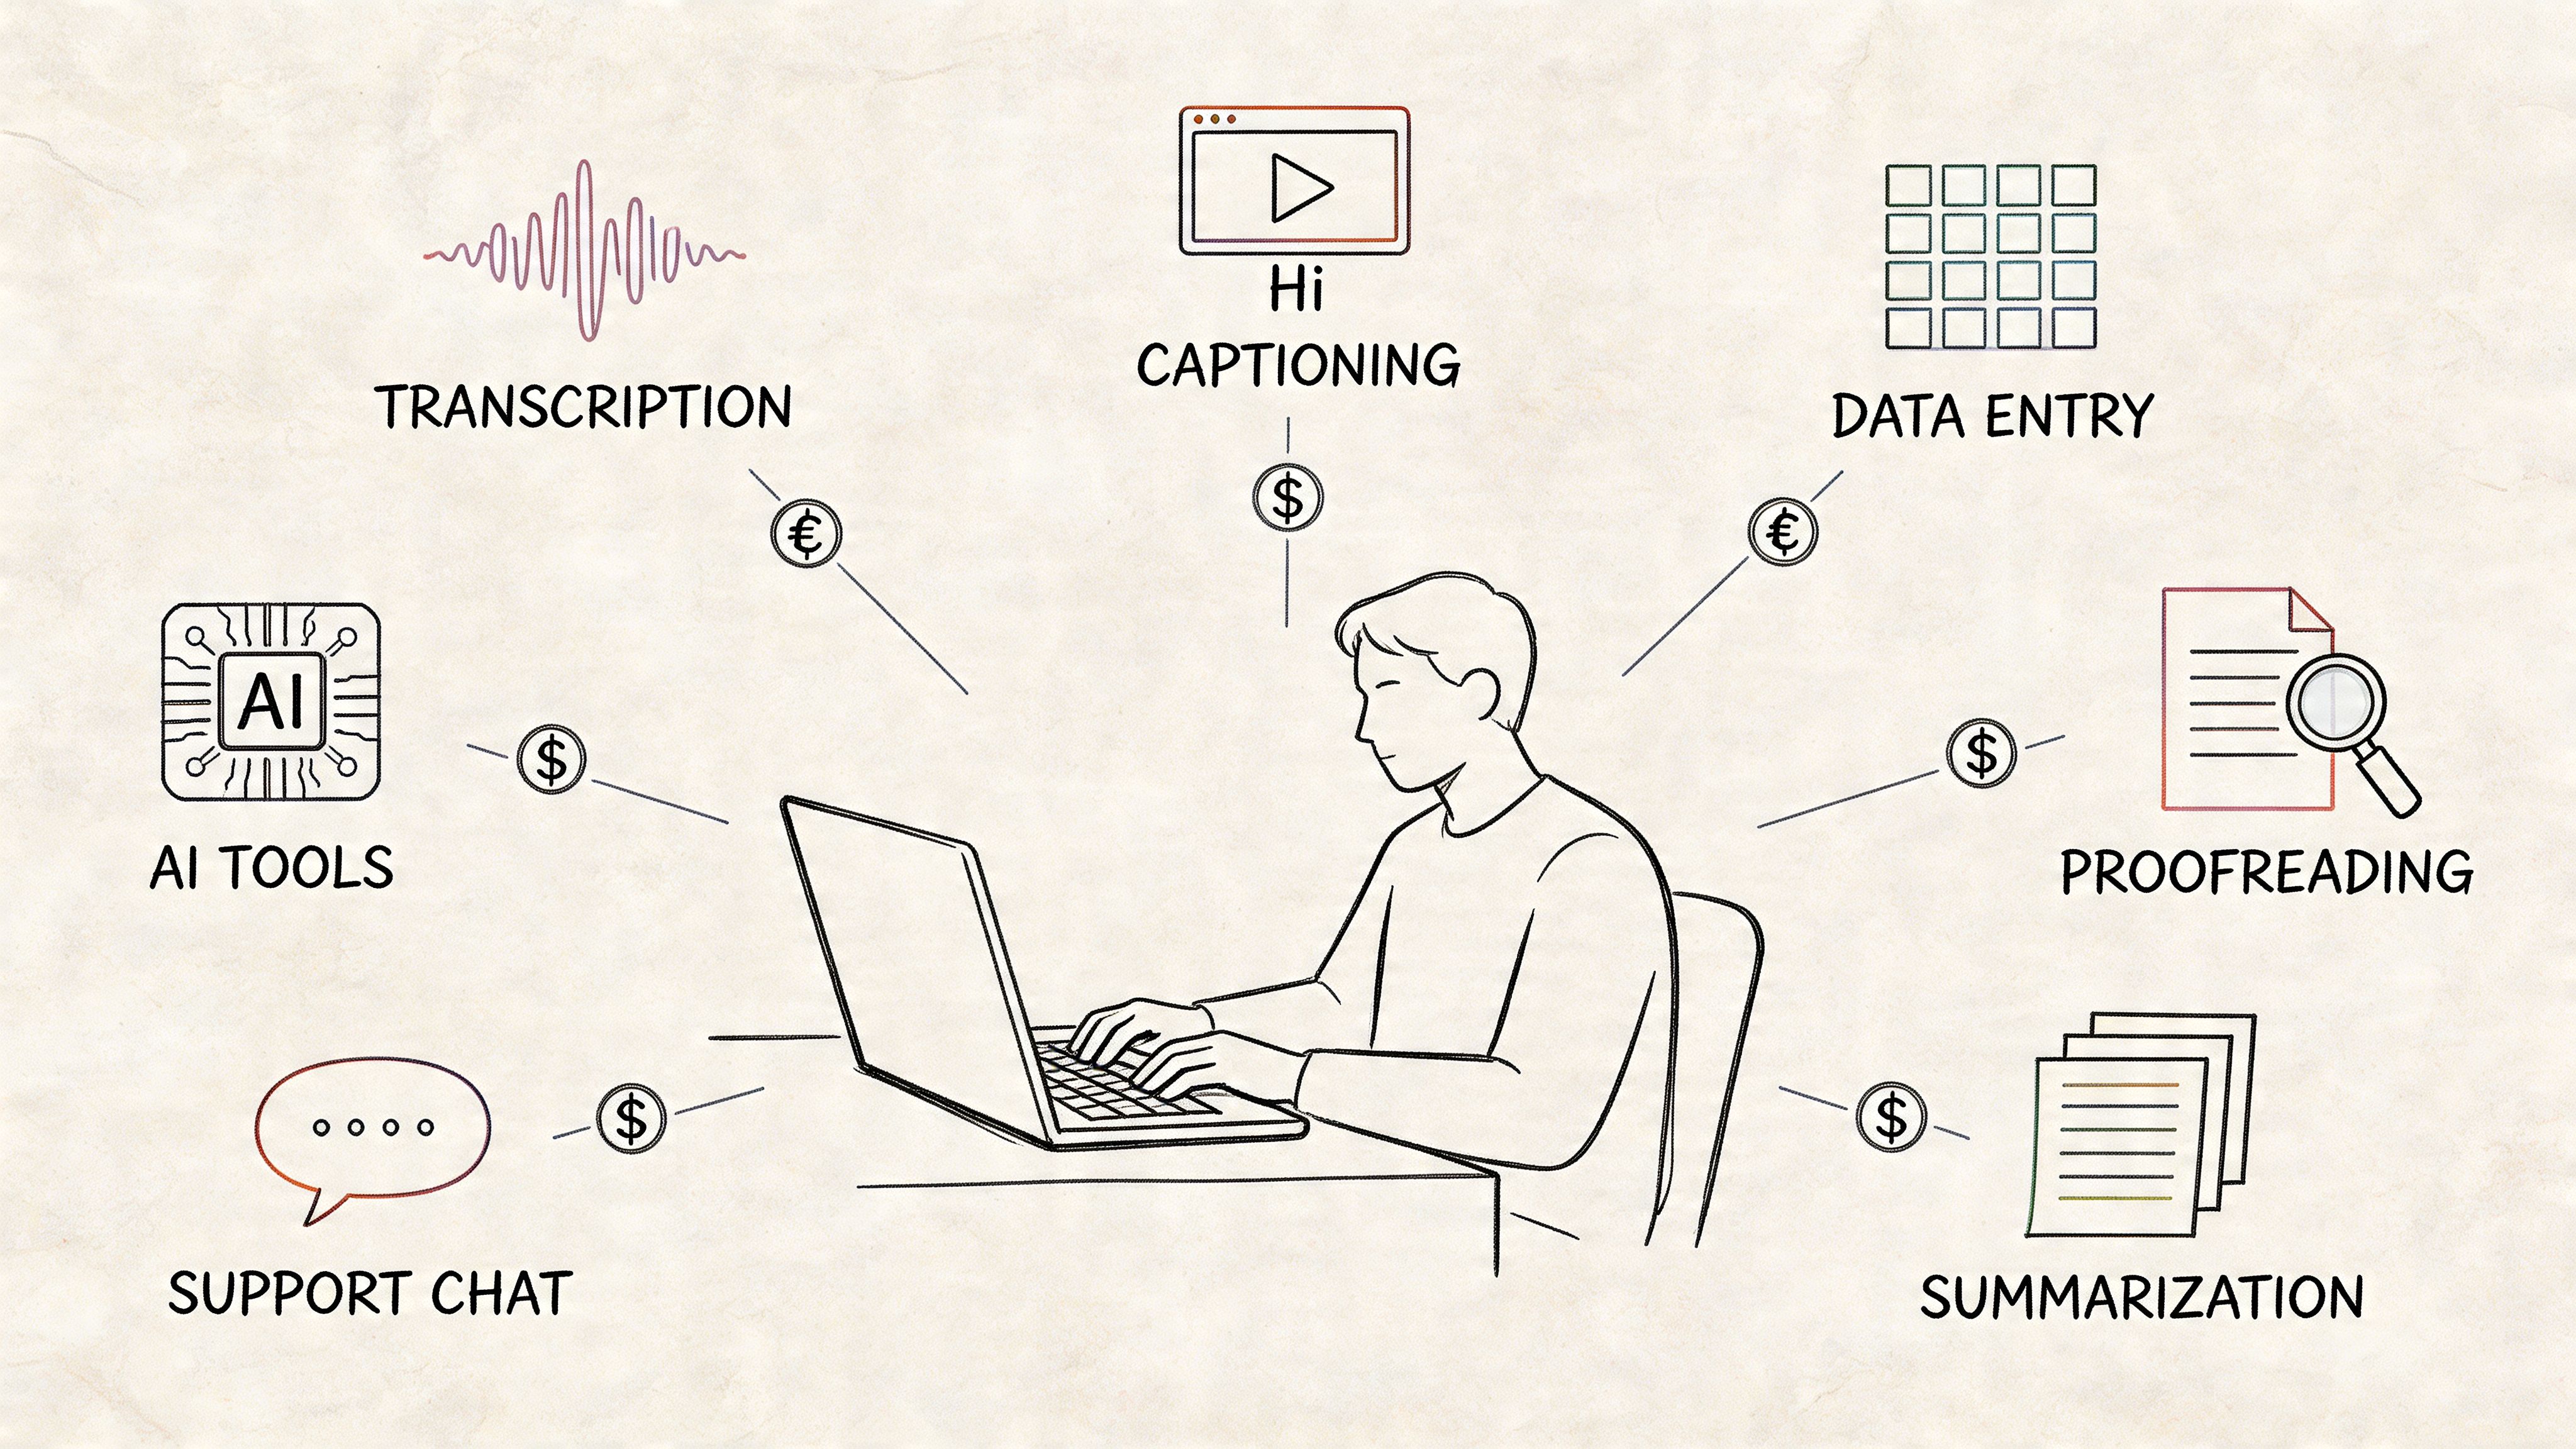
Pulling audio is usually the prep step. The value comes from what you do with it next: transcripts, captions, searchable notes, blog drafts, pull quotes, podcast summaries, or a clean archive of a webinar or interview.
If you want a broader process view, this master audio extraction workflow is a solid companion read.
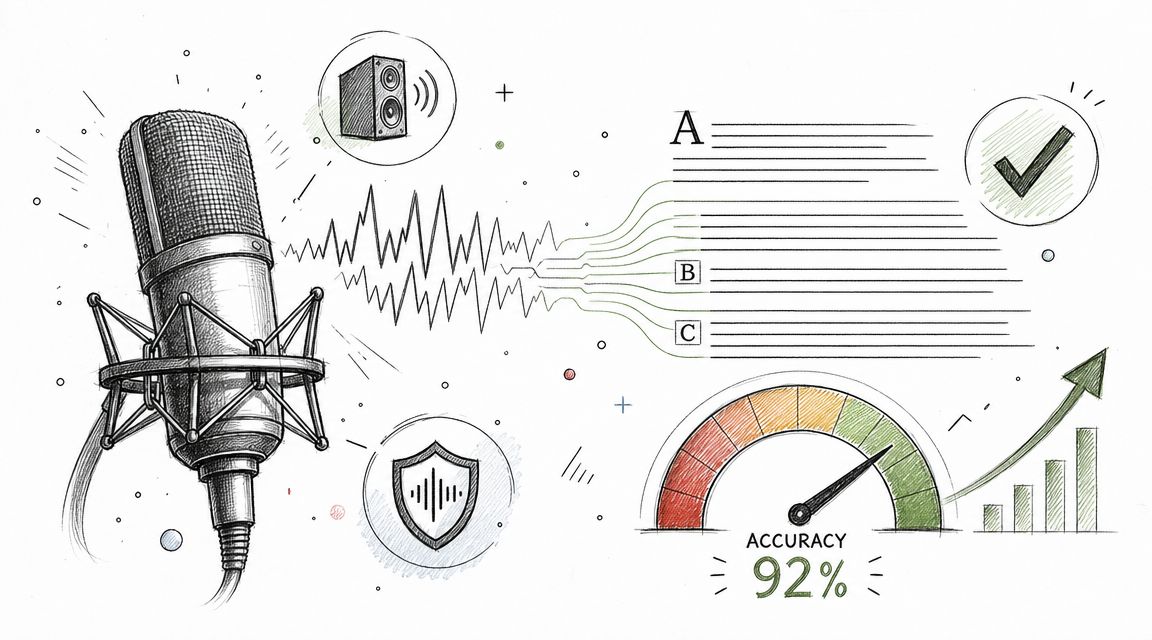
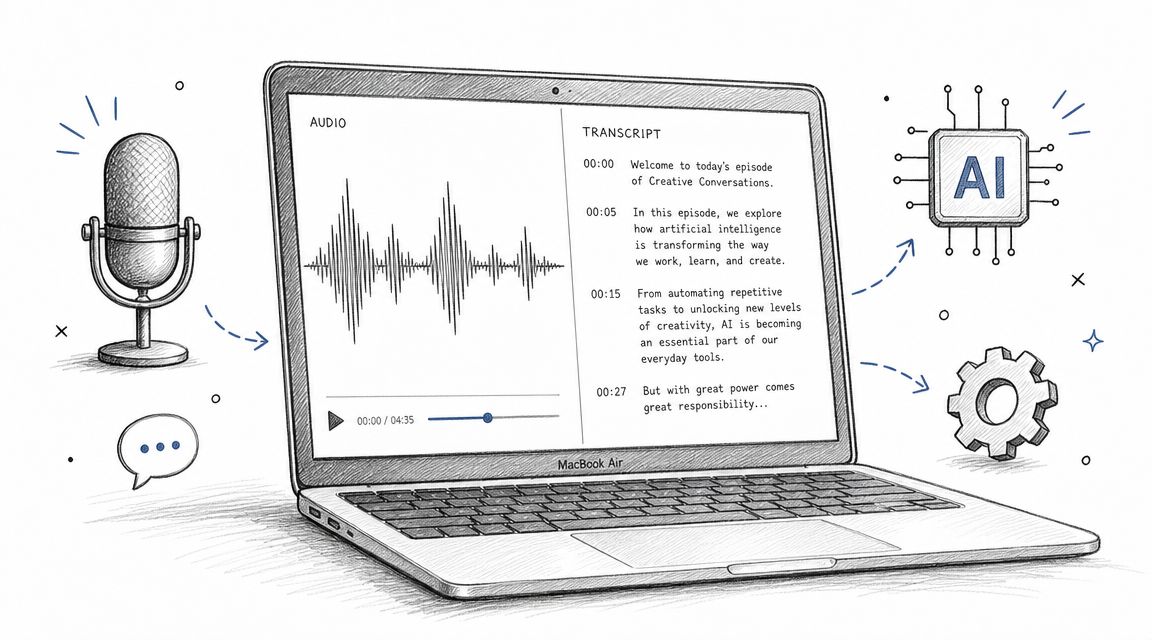
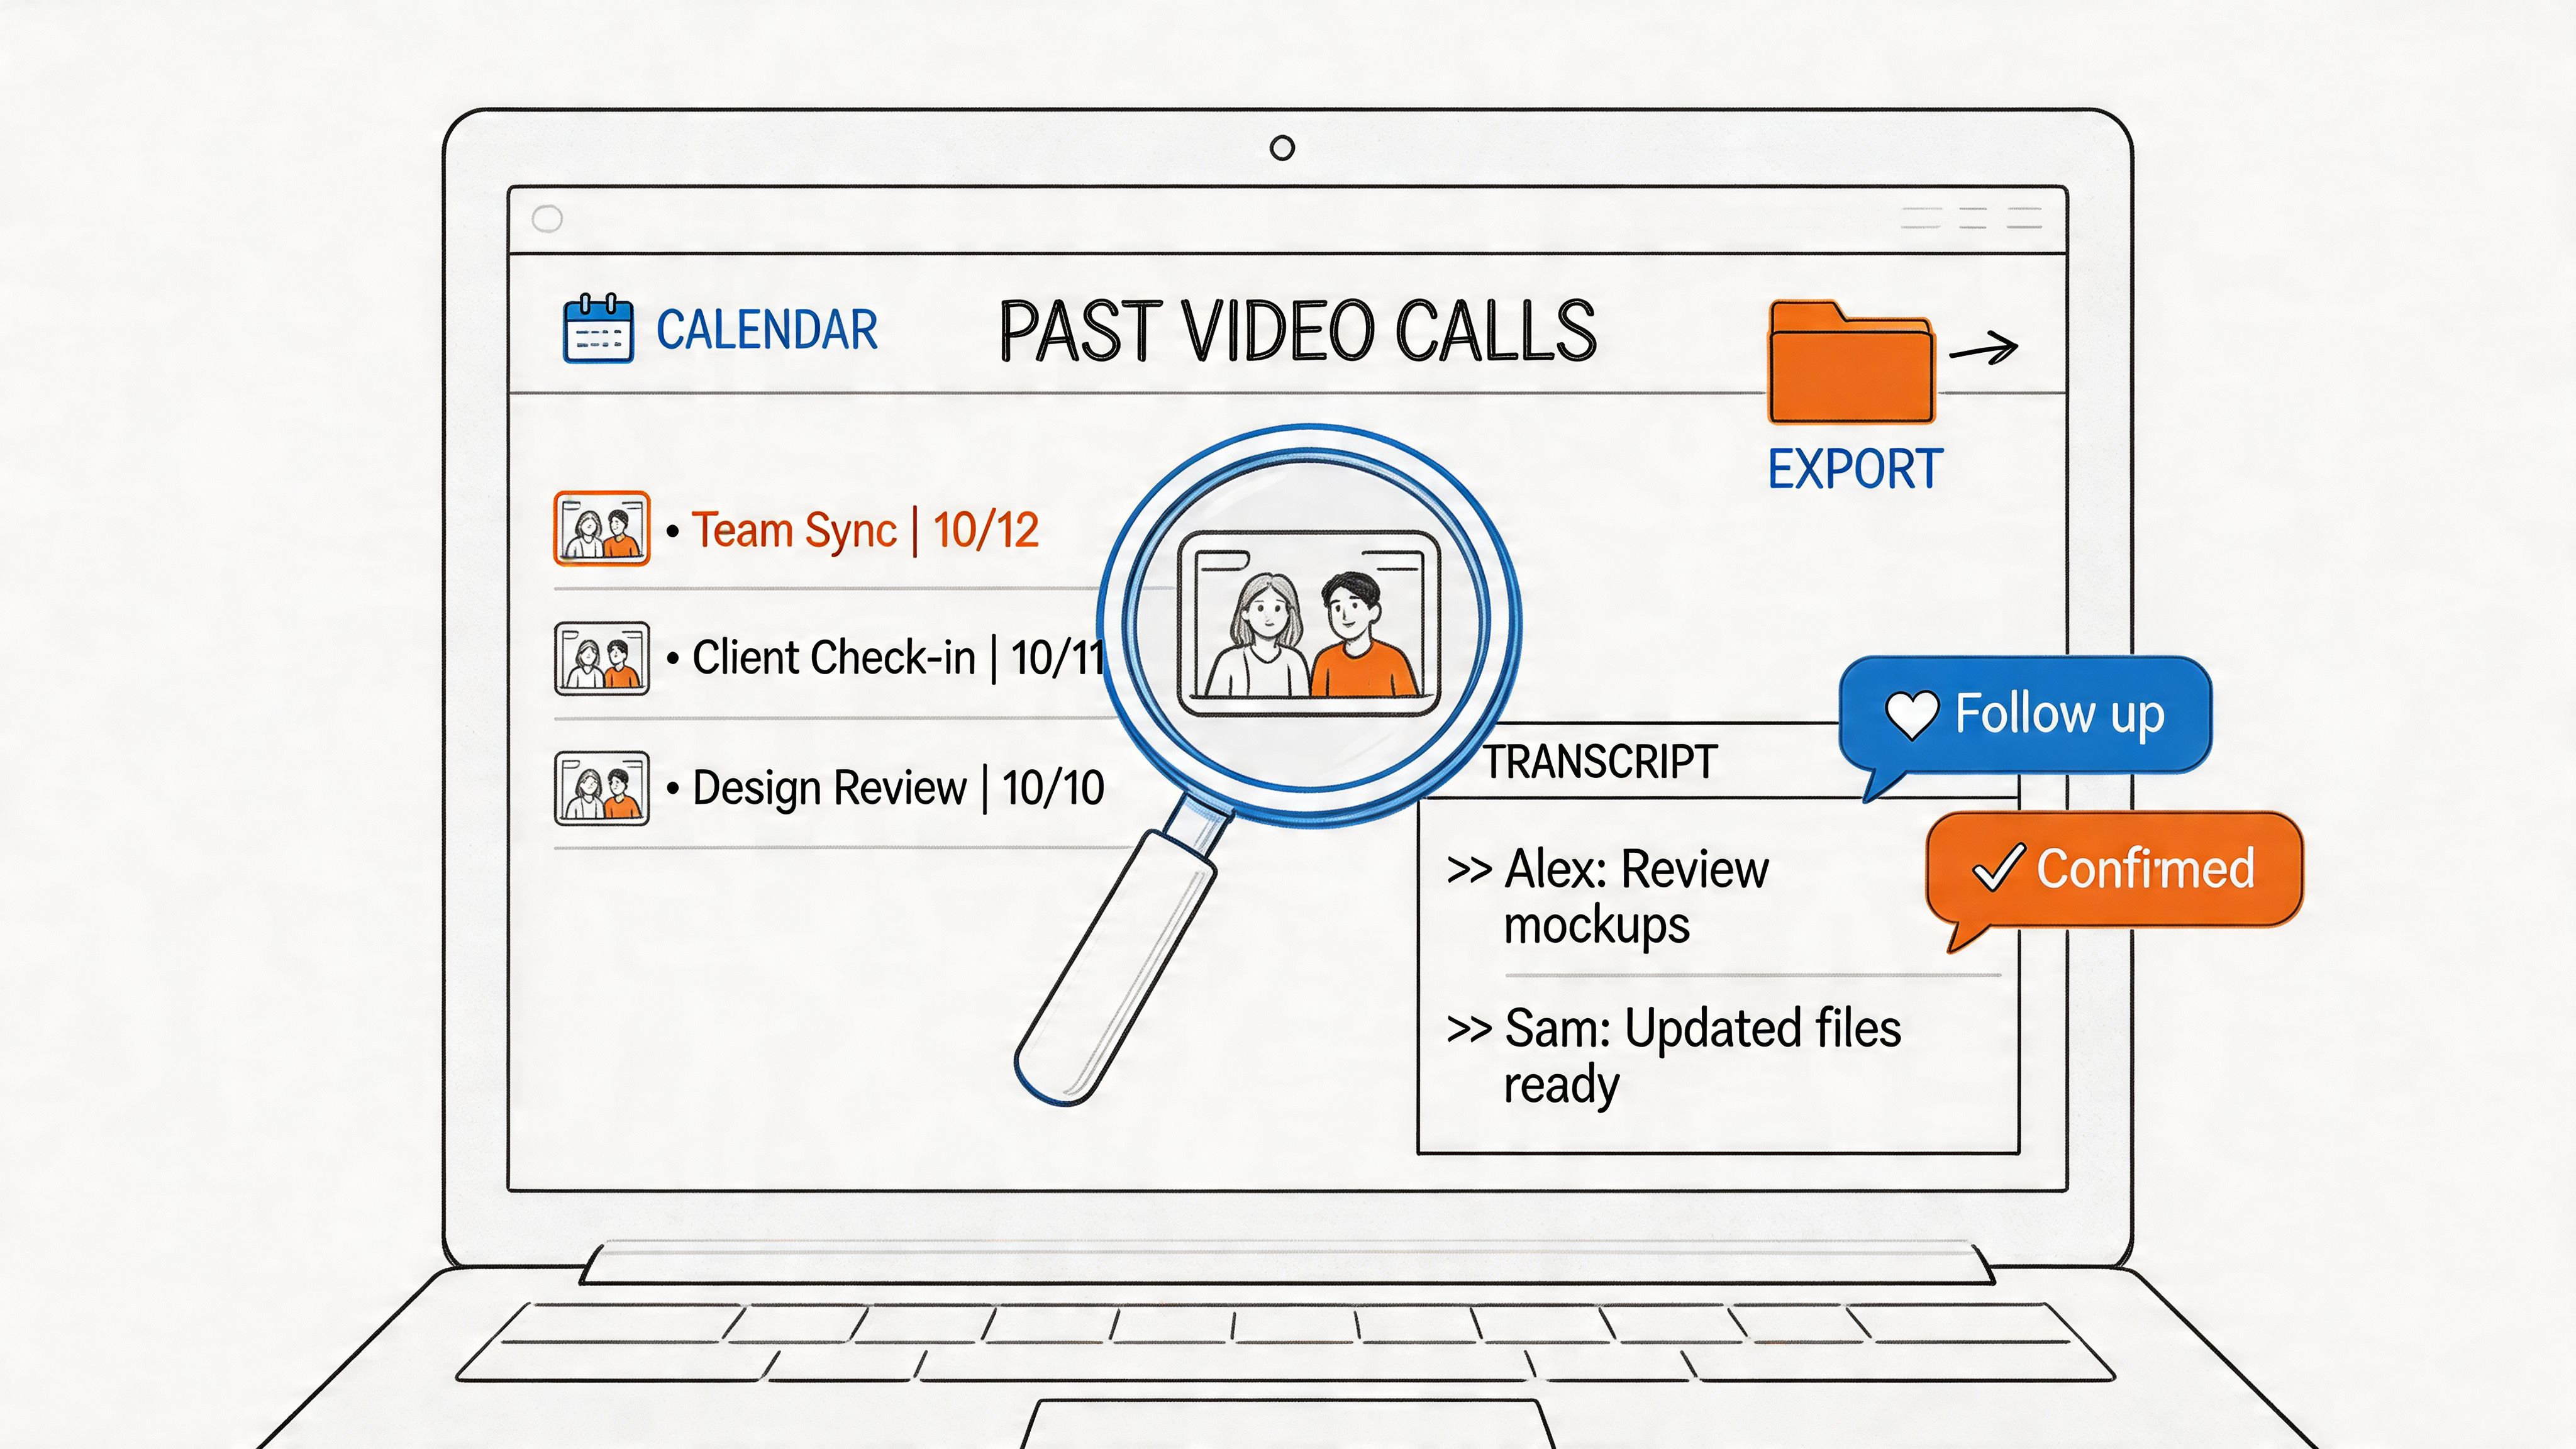
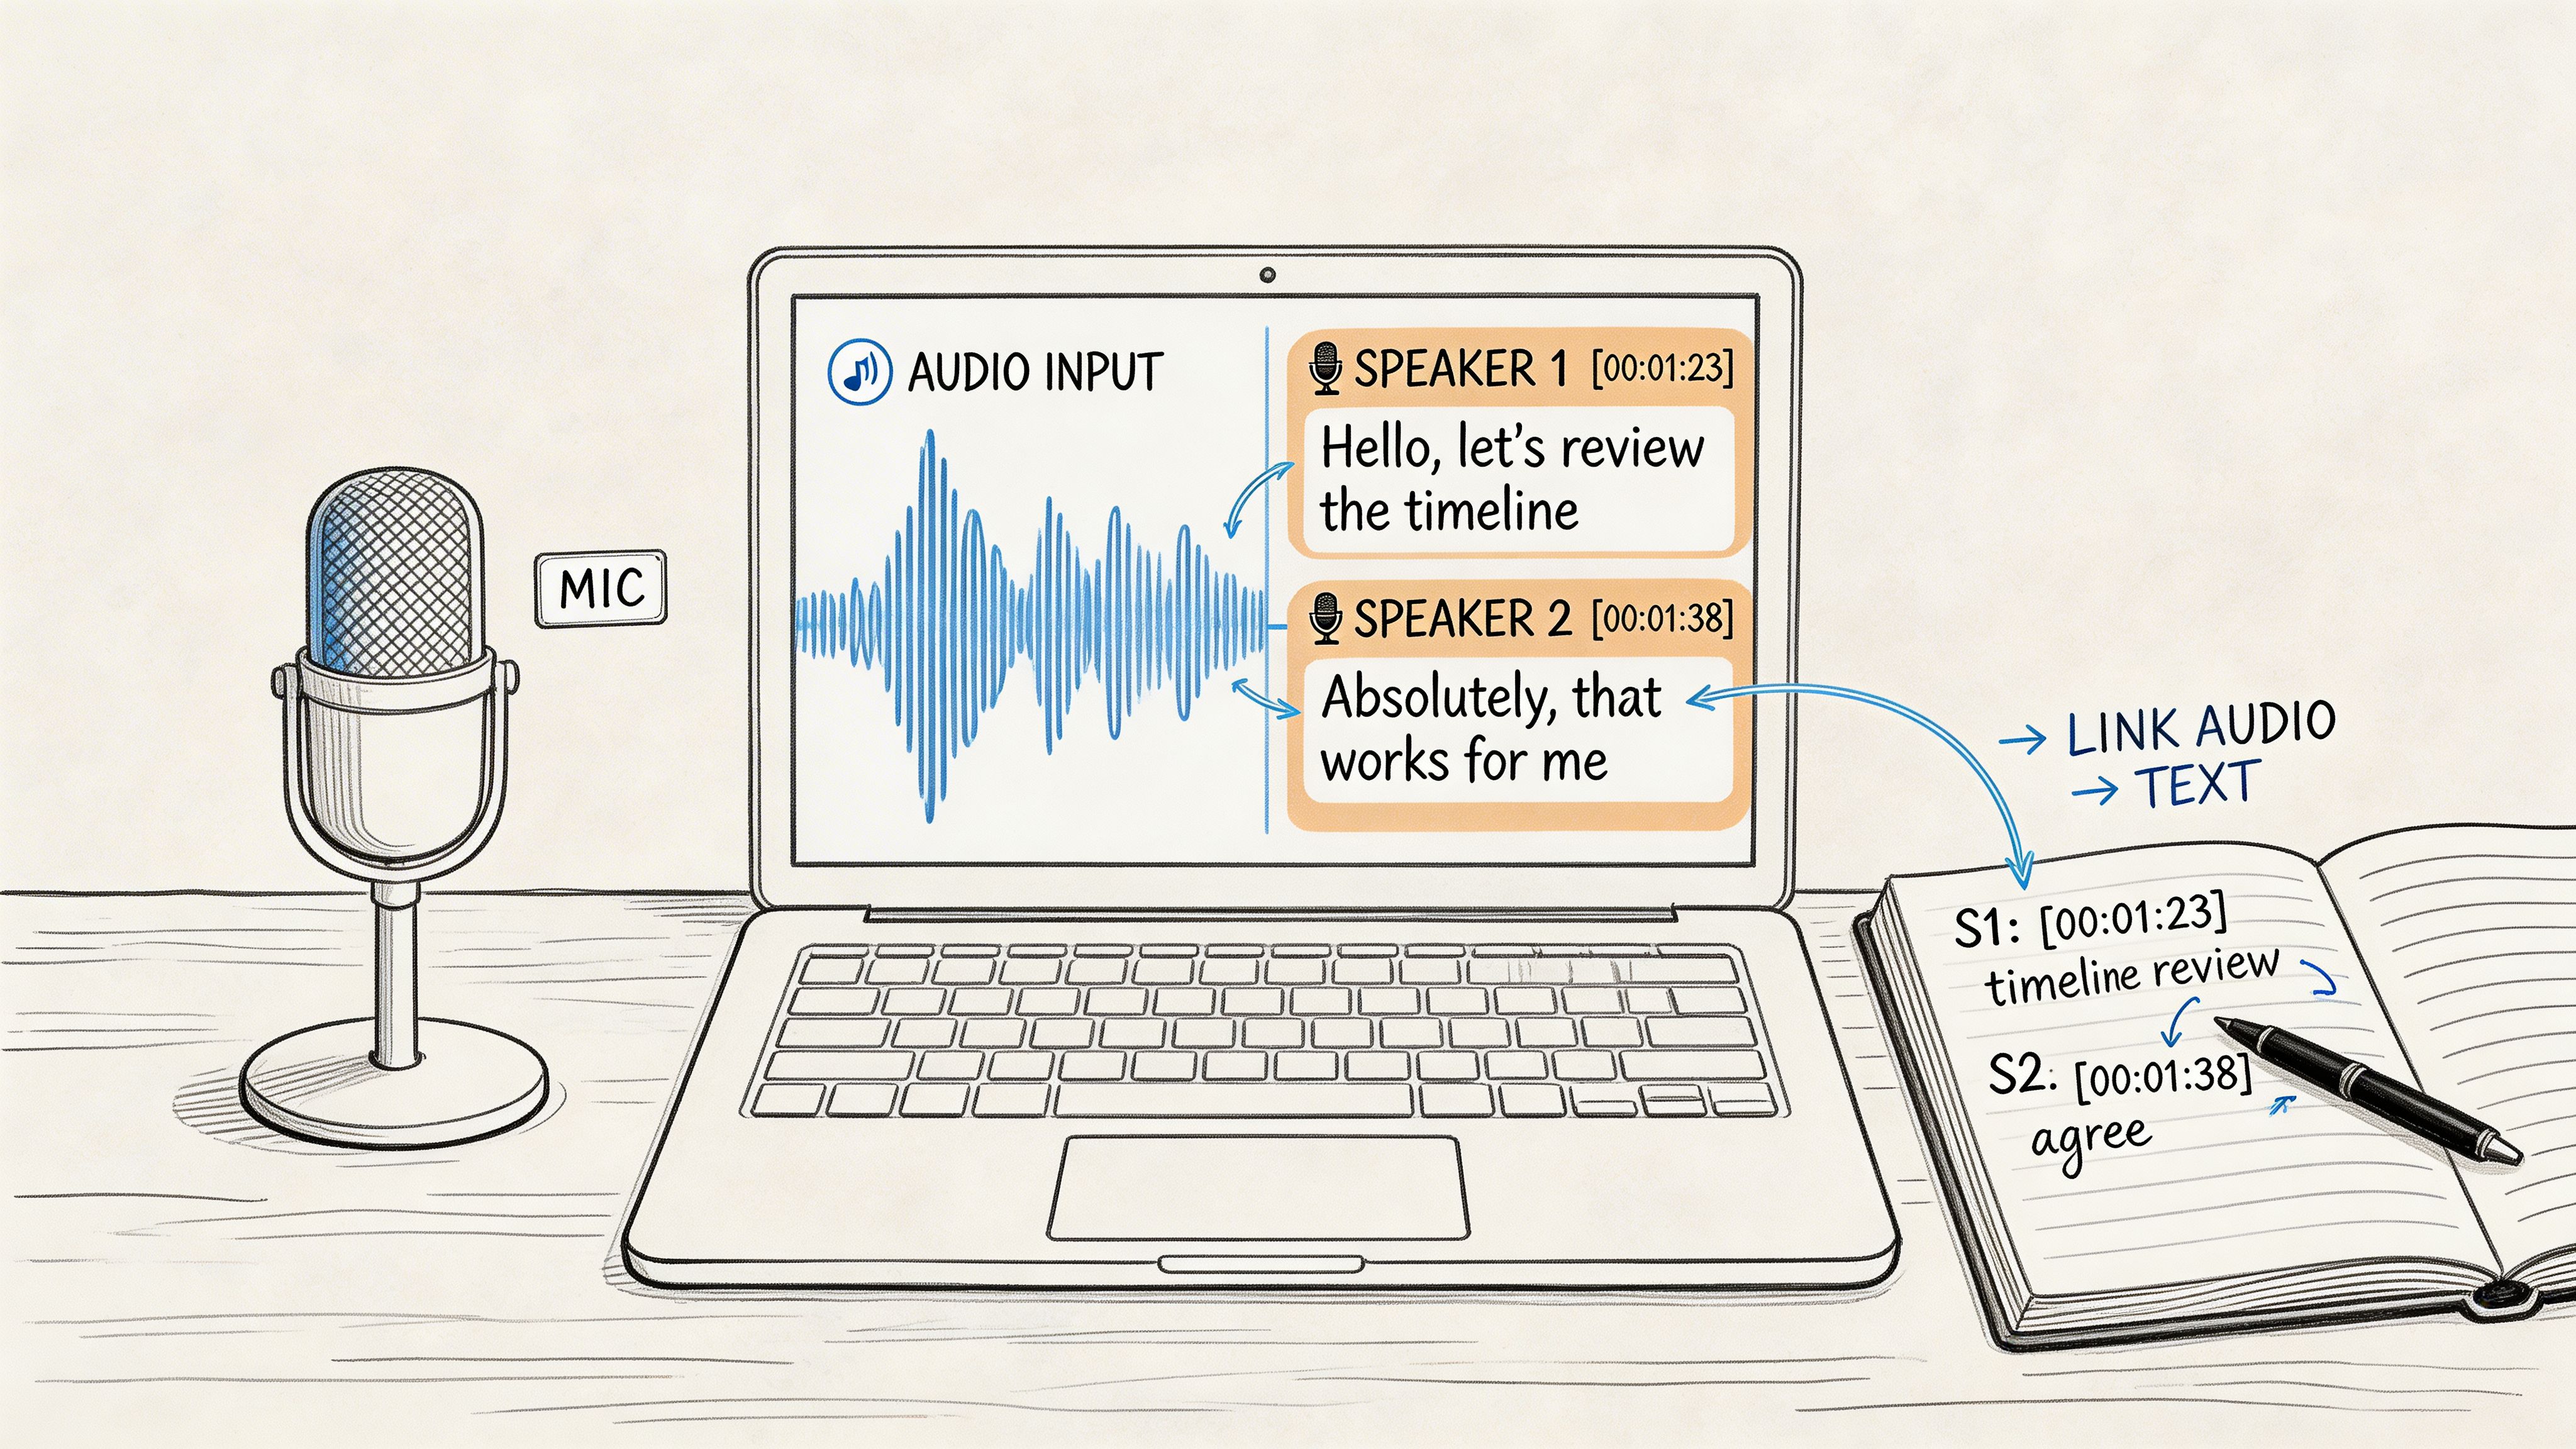
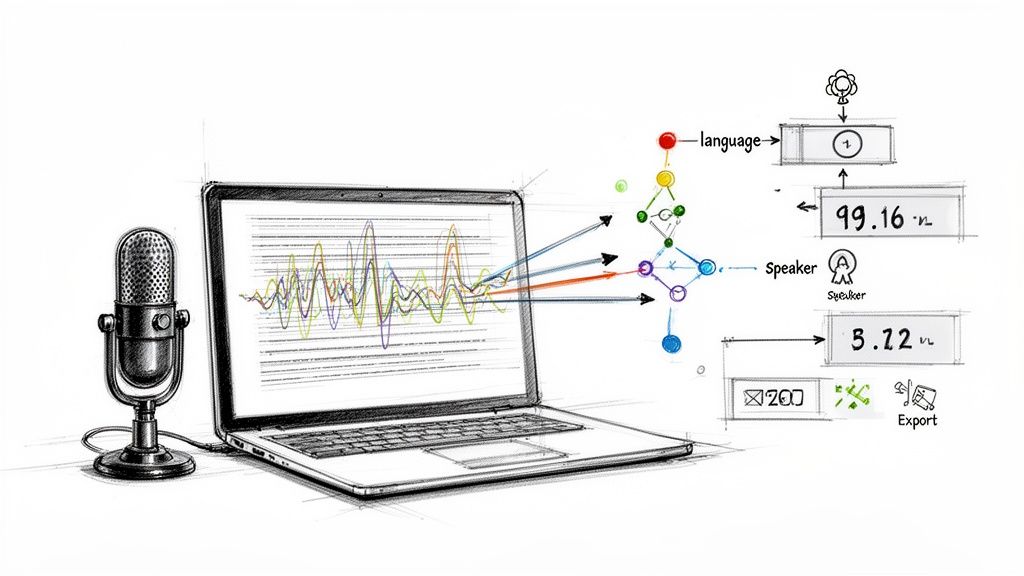
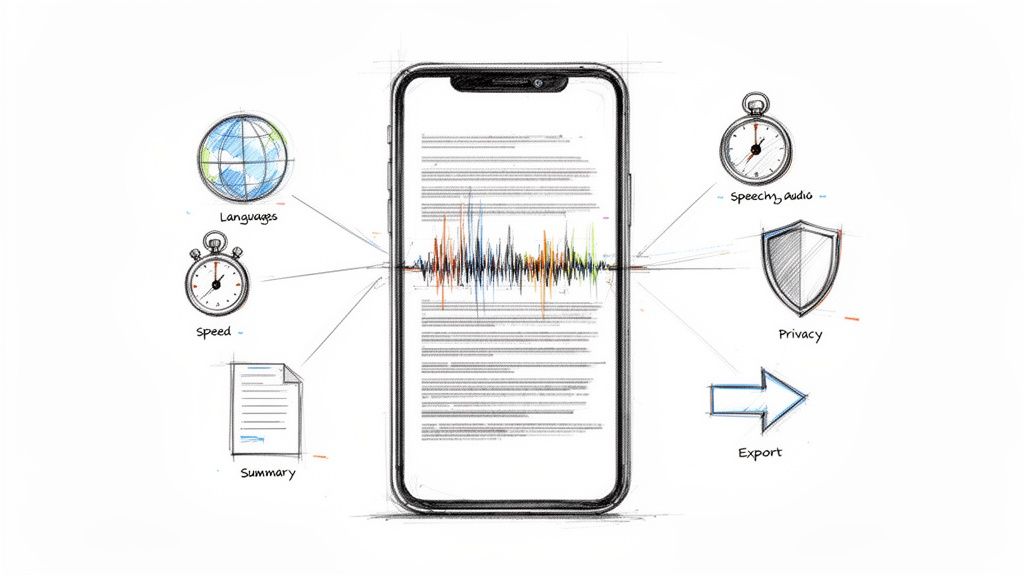
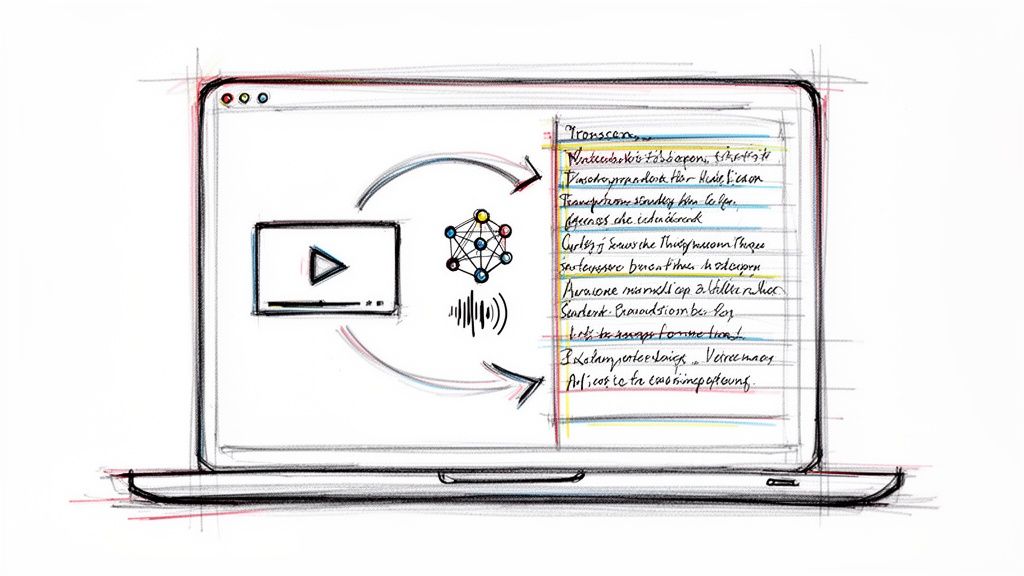
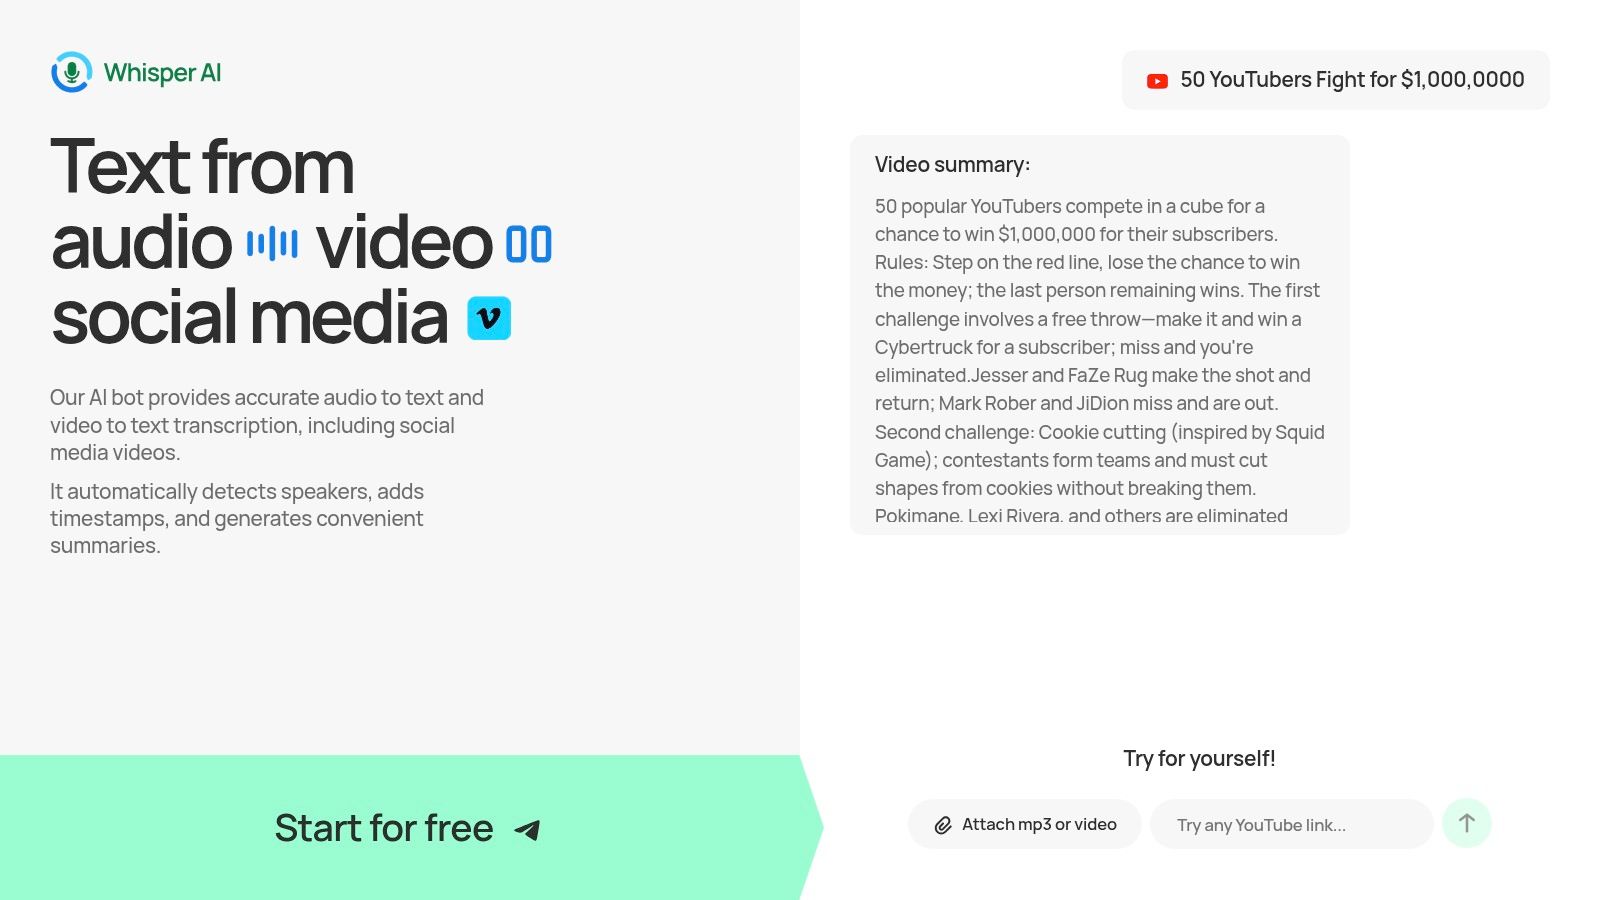
One of the most common next steps is transcription. Instead of replaying the file and typing by hand, you can upload the extracted audio to a tool that returns searchable text. Whisper AI supports audio and video uploads and returns transcripts with timestamps, speaker detection, summaries, and export options. That is where a clean extraction starts saving real time.
If you already have the file and want to go straight from audio to text, this guide on converting MP3 to text picks up from there.
Choose the lightest workflow that still fits the job. For a single clip, QuickTime or an online converter may be enough. For cleanup, Audacity gives you more control. For repeatable jobs across folders, FFmpeg is usually the tool I trust most. The point is not just separating sound from video. It is ending up with audio you can publish, search, edit, or reuse.