Record Conversation on iPhone: Your 2026 Ultimate Guide
You're probably here because you need a recording that holds up later. Maybe it's an interview, a client call, a family conversation you want to preserve, or a remote meeting where the details matter. On iPhone, recording is no longer just a matter of finding a random app and hoping for the best.
The primary challenge is bigger than tapping Record. You need to know whether recording is legal in your situation, which iPhone method fits the conversation you're having, how to avoid unusable audio, and what to do with the file once it's saved. That last part matters more than most guides admit. A raw audio file is easy to lose, hard to search, and painful to revisit.
If you want to record conversation on iPhone safely and get something useful at the end, the workflow matters from start to finish.
Before You Hit Record Understanding Legal and Consent Rules
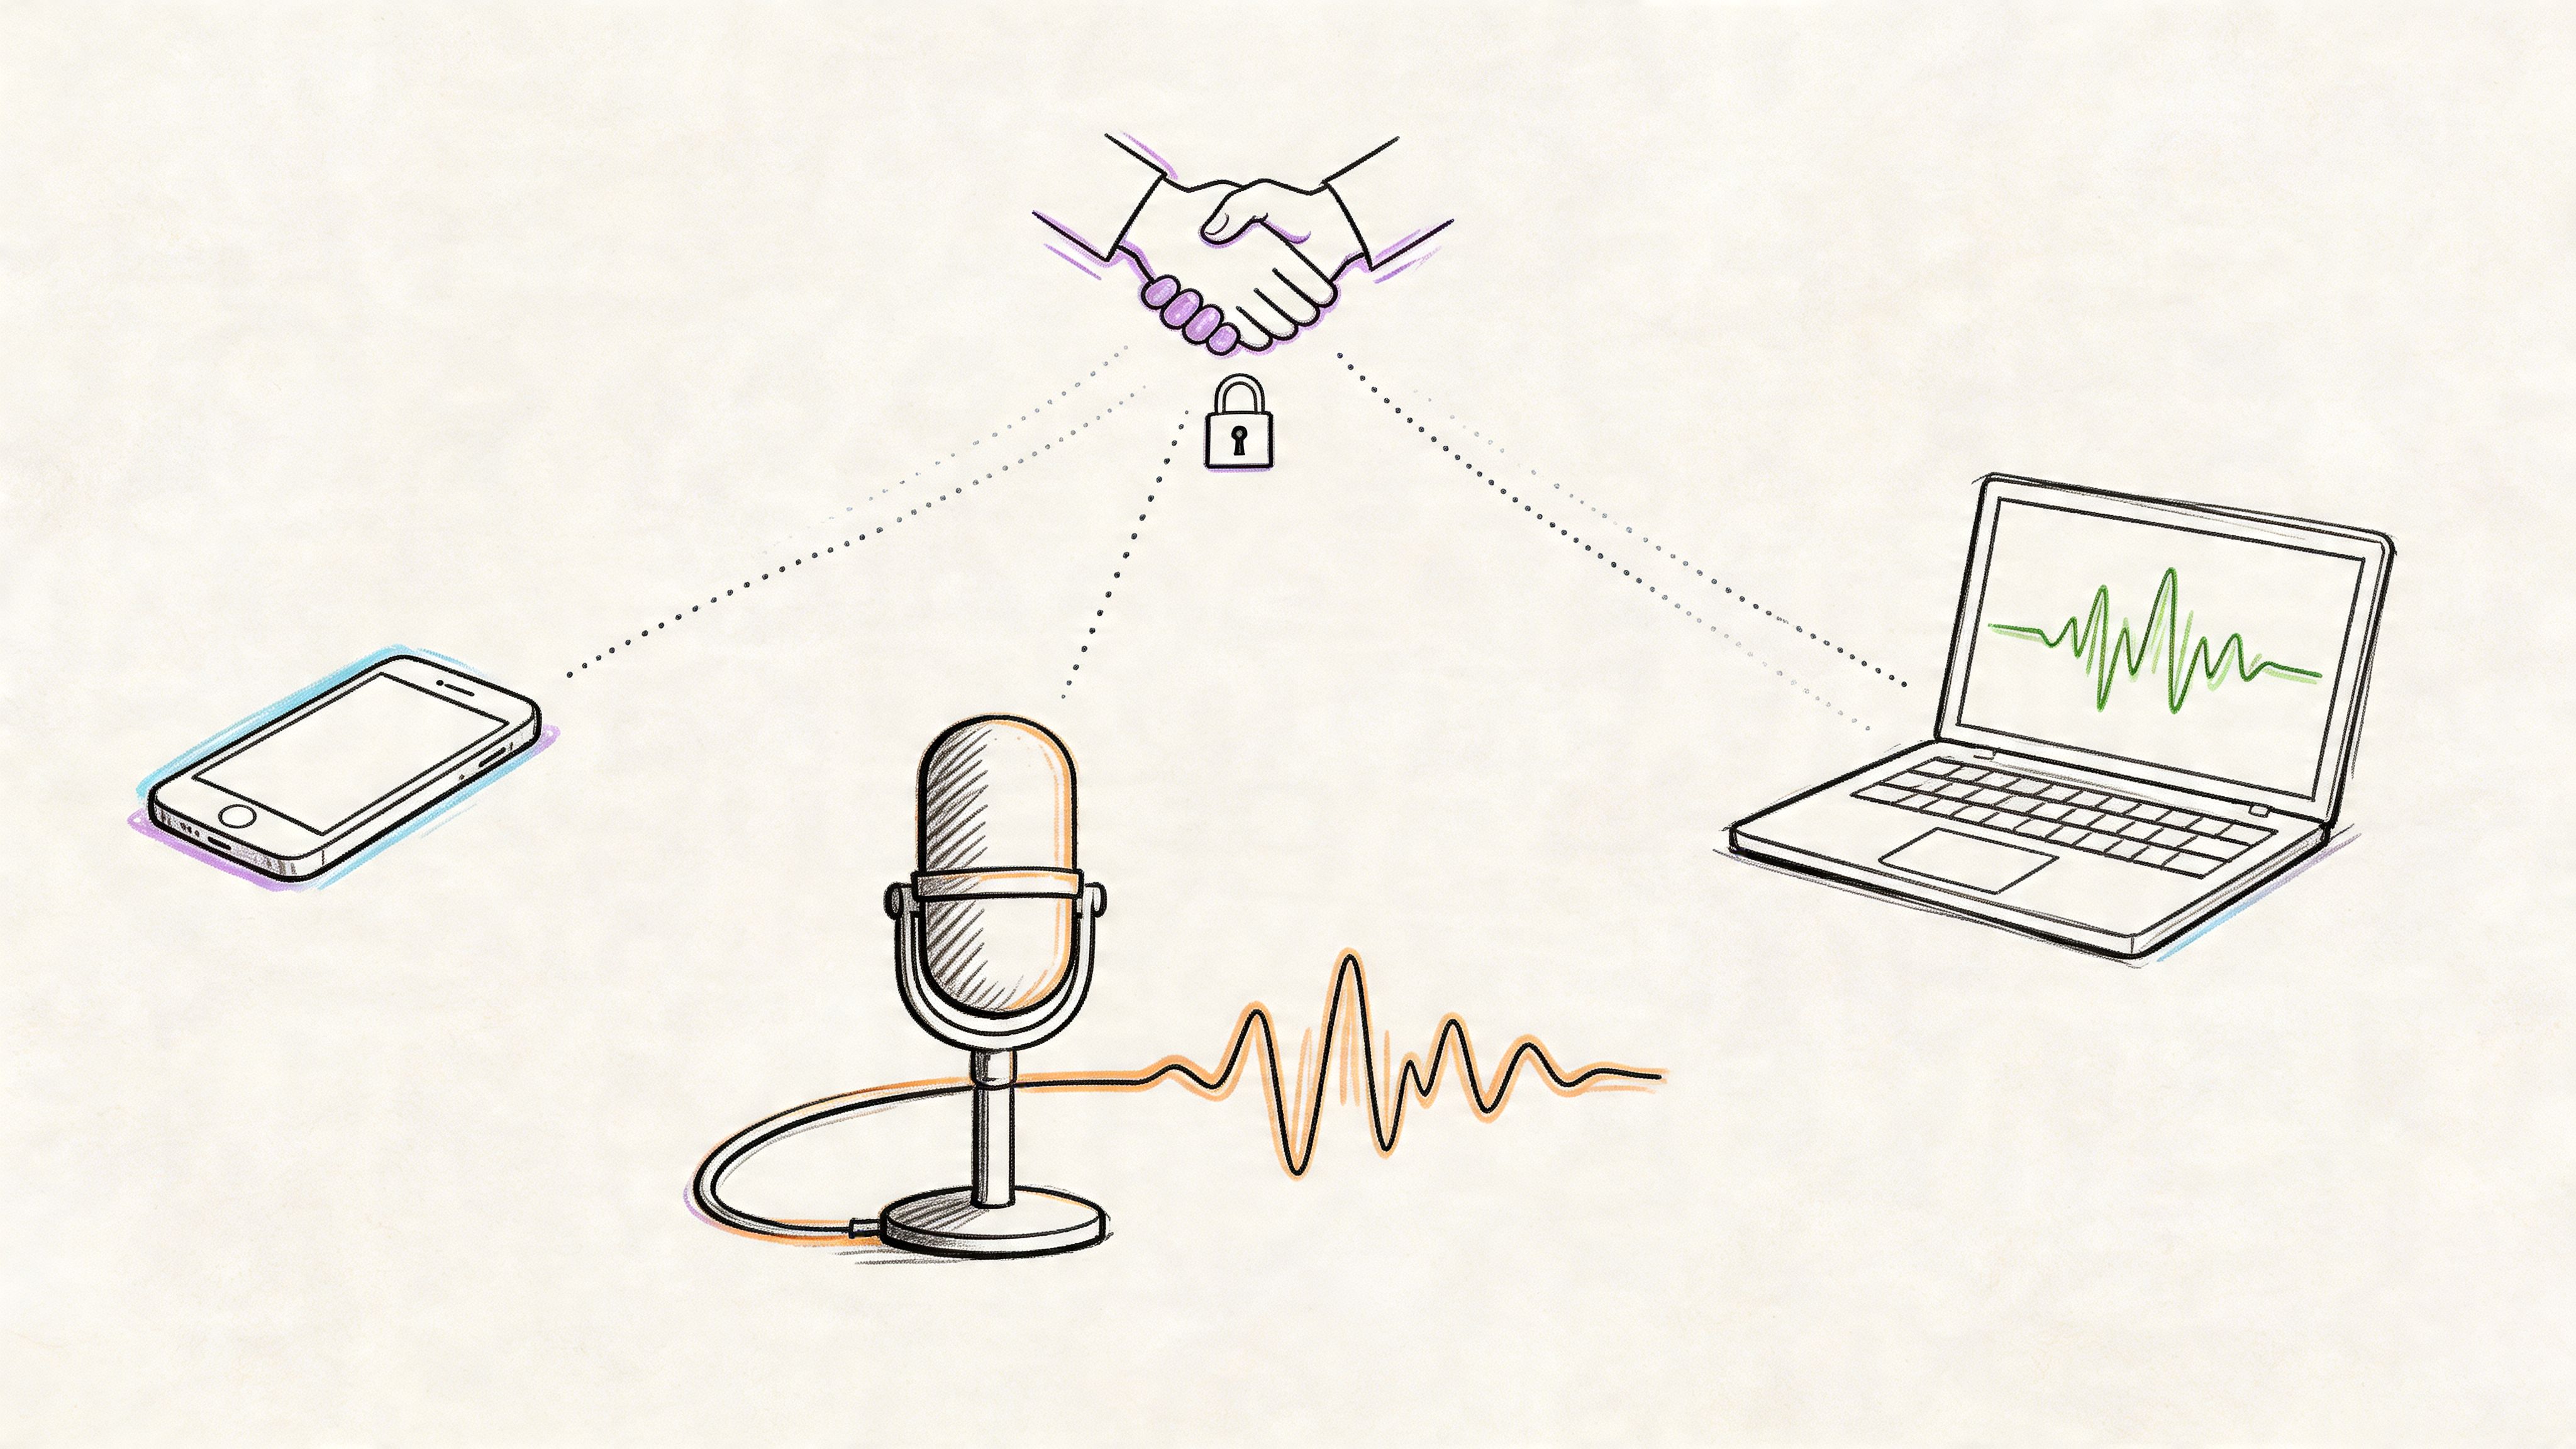
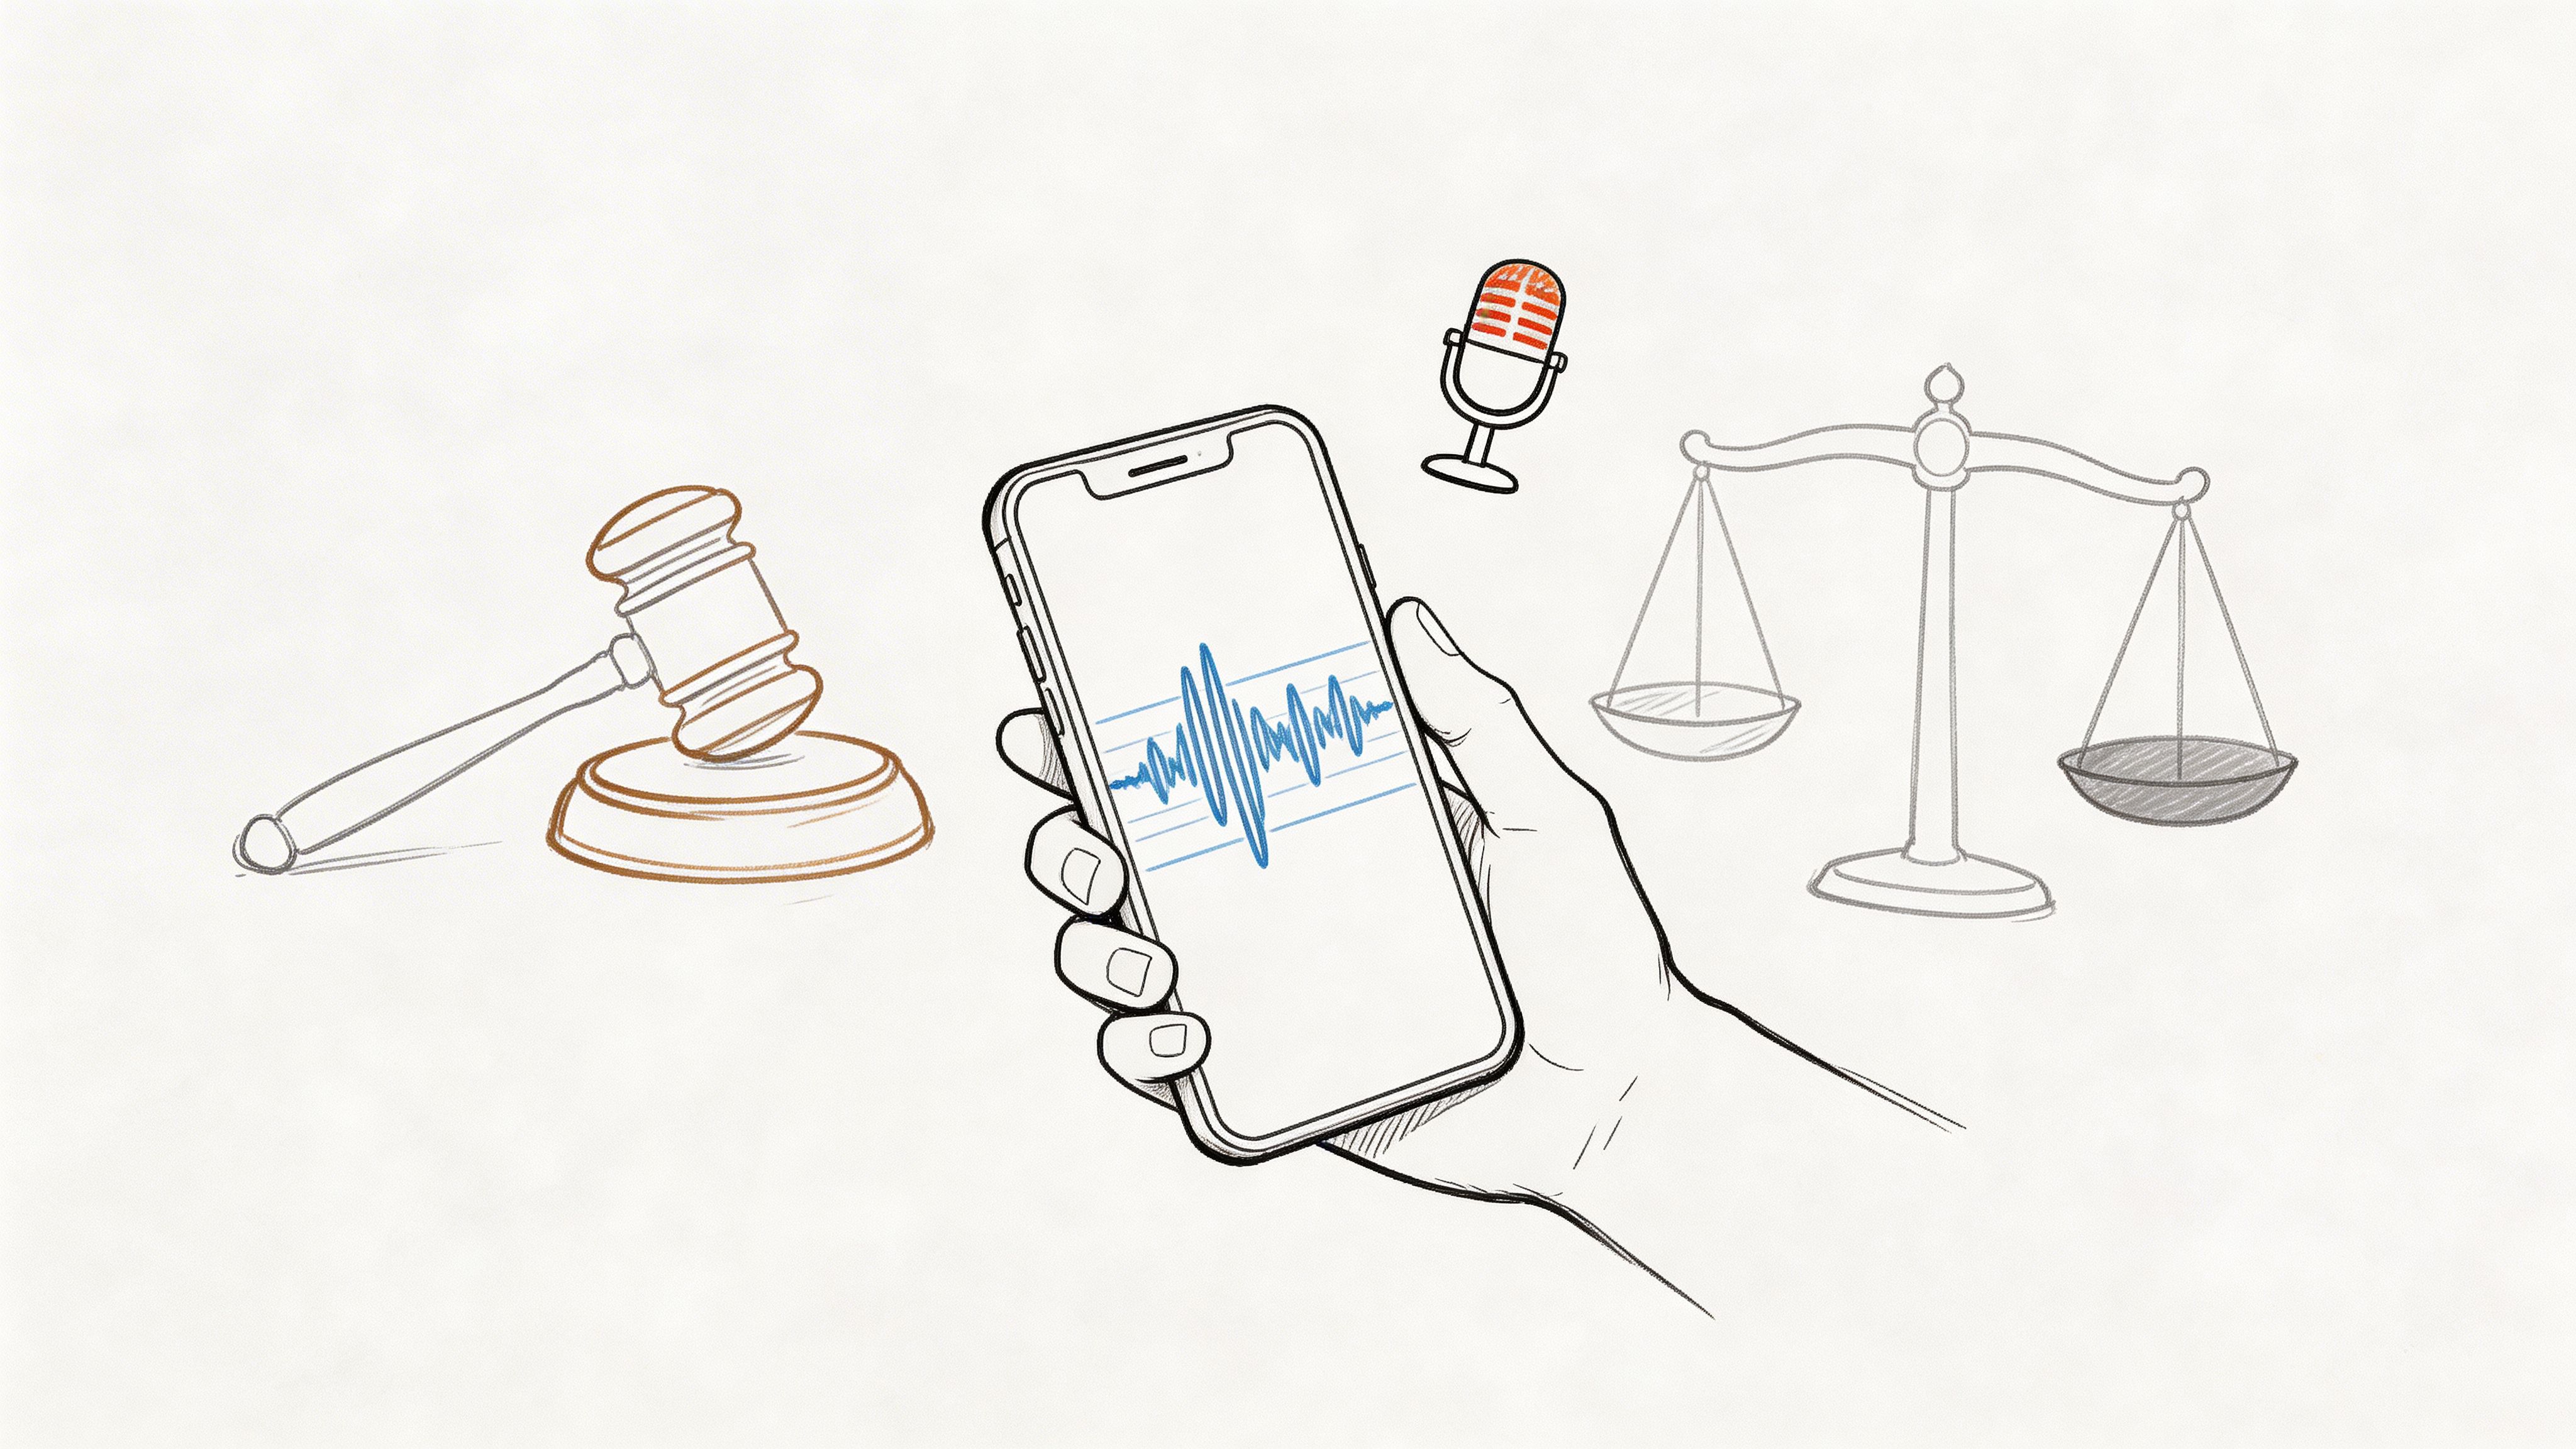
Recording law is the first filter, not a footnote. If you get this wrong, the recording may still exist on your iPhone, but that doesn't mean you can safely use it for publication, documentation, internal notes, or transcription.
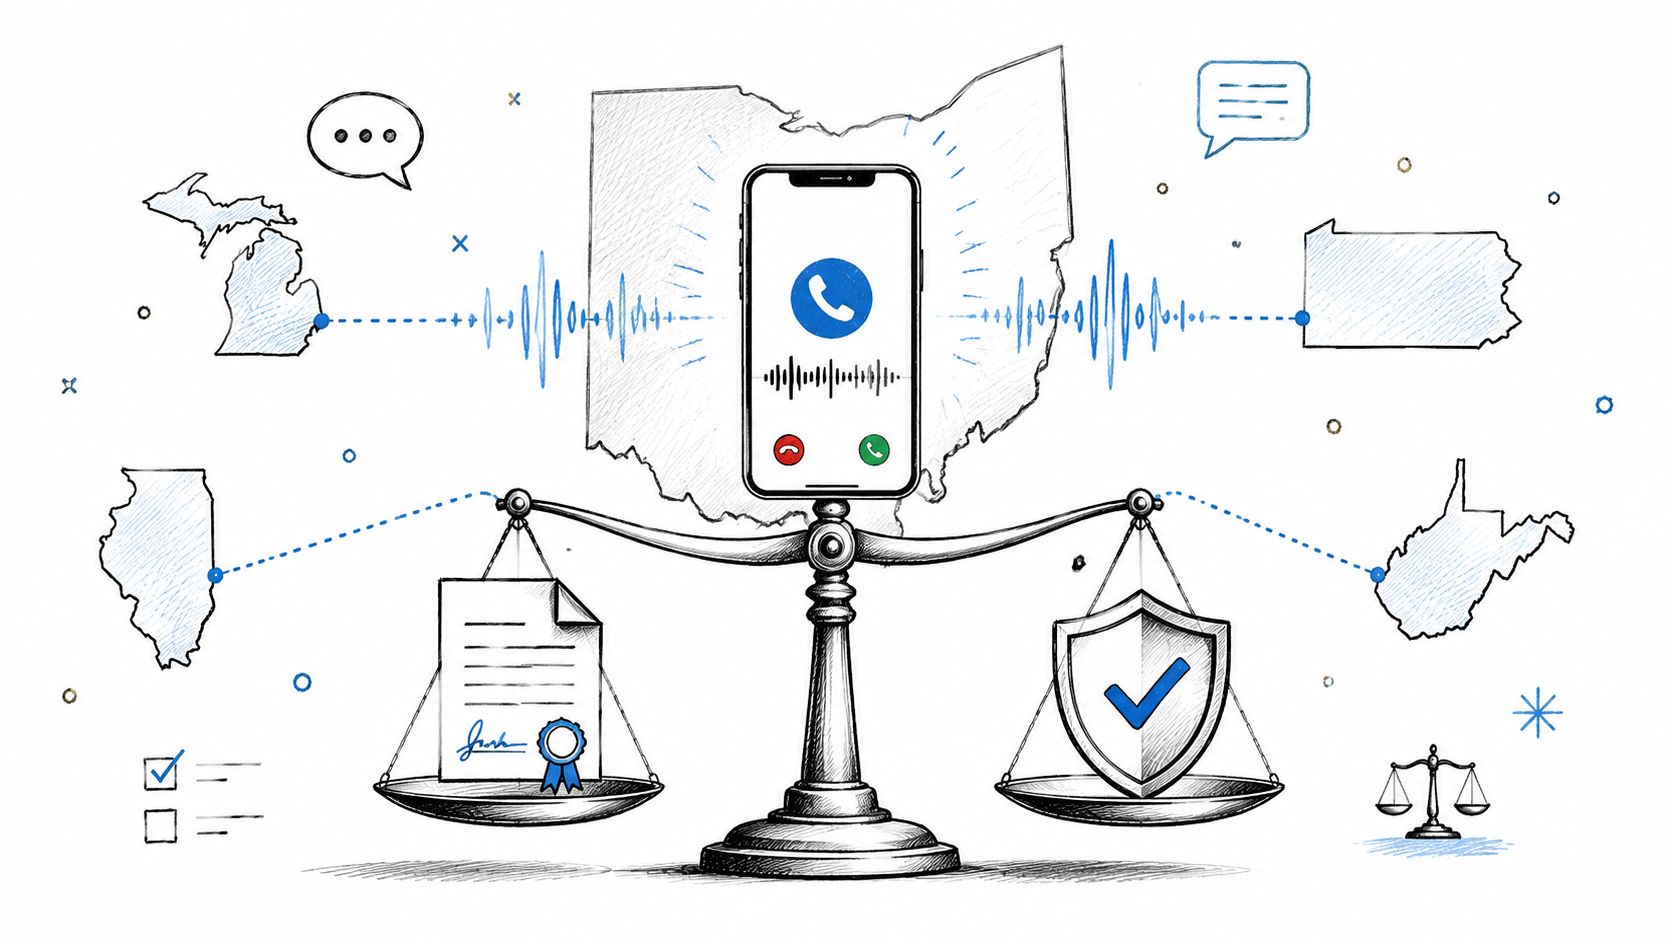
One of the biggest mistakes I see is treating consent like a generic courtesy warning. That's too loose. The legal reality is more fragmented. Recording laws vary by state and can depend on one-party consent versus all-party consent, and a recording may be technically possible yet still unusable if consent and retention rules aren't handled correctly, as noted in Fox News' overview of iPhone call recording law and consent.
Know the two basic consent models
One-party consent means one person in the conversation can consent to recording. If that one person is you, recording may be allowed.
All-party consent means every participant must agree before the recording starts.
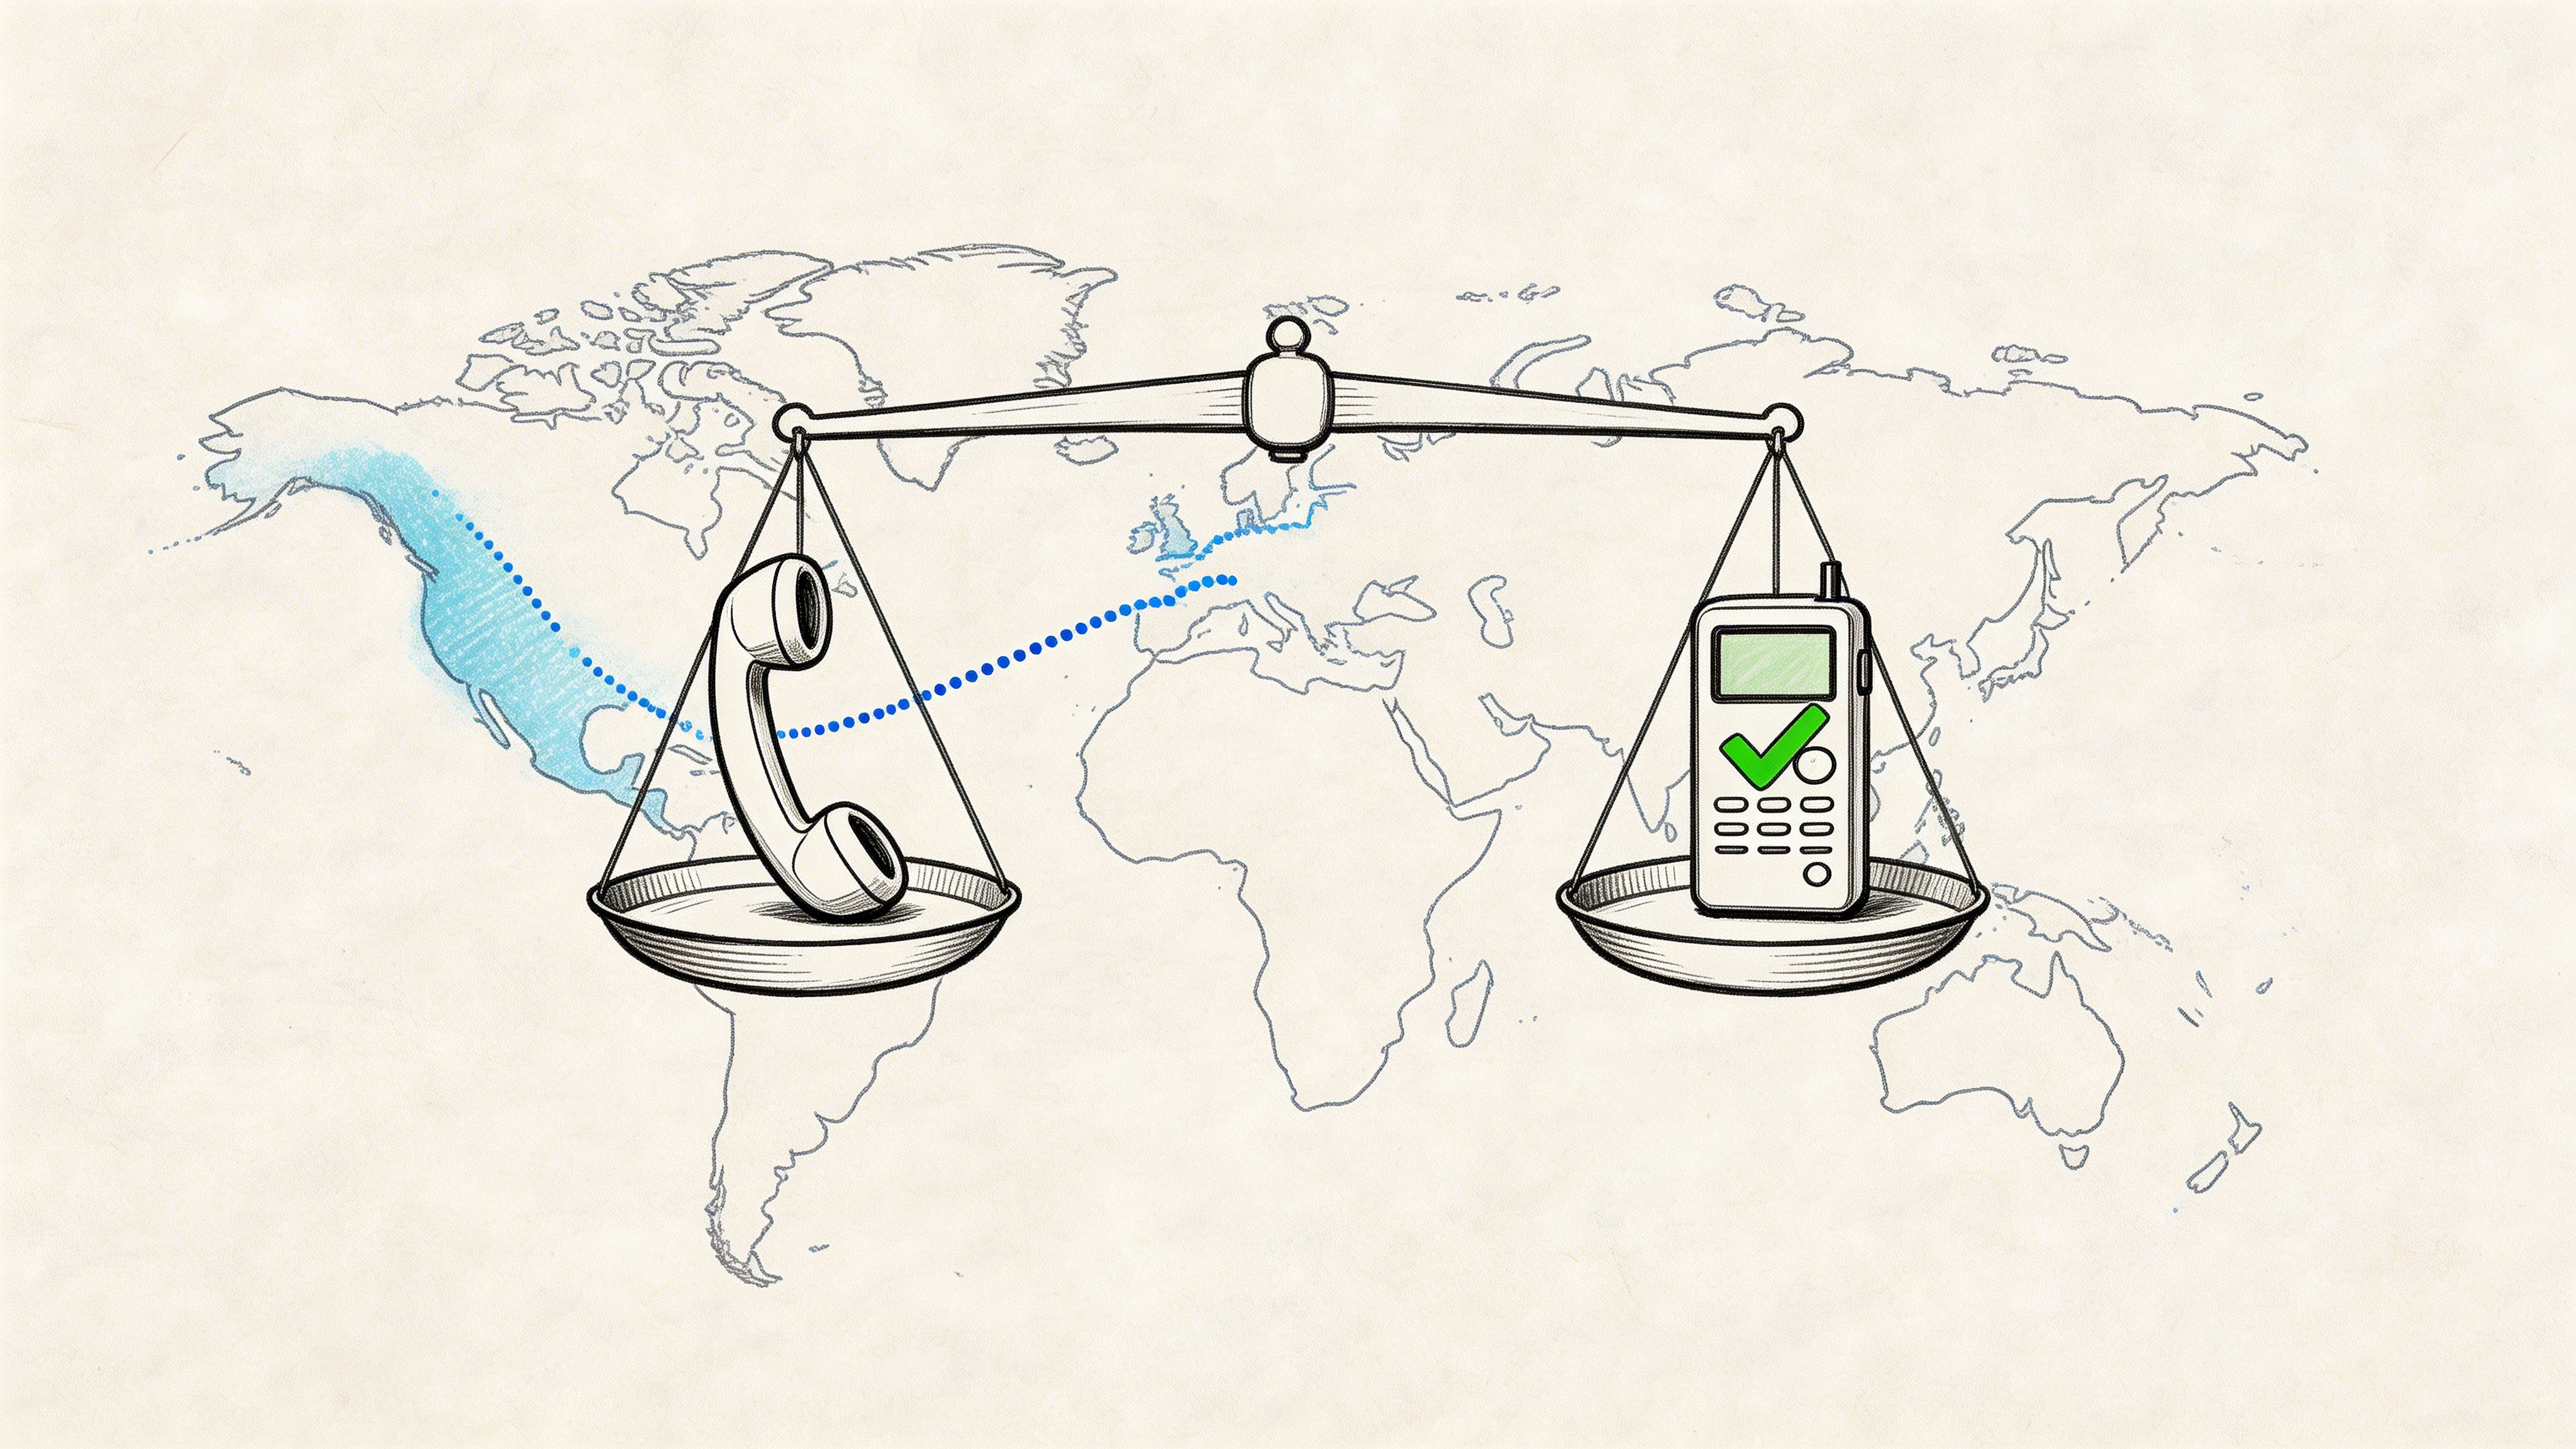
That sounds simple, but the practical problem is that calls often cross state or national borders. If you're speaking with someone in another state, another country, or a company with its own compliance rules, the strictest standard may be the safest one to follow.
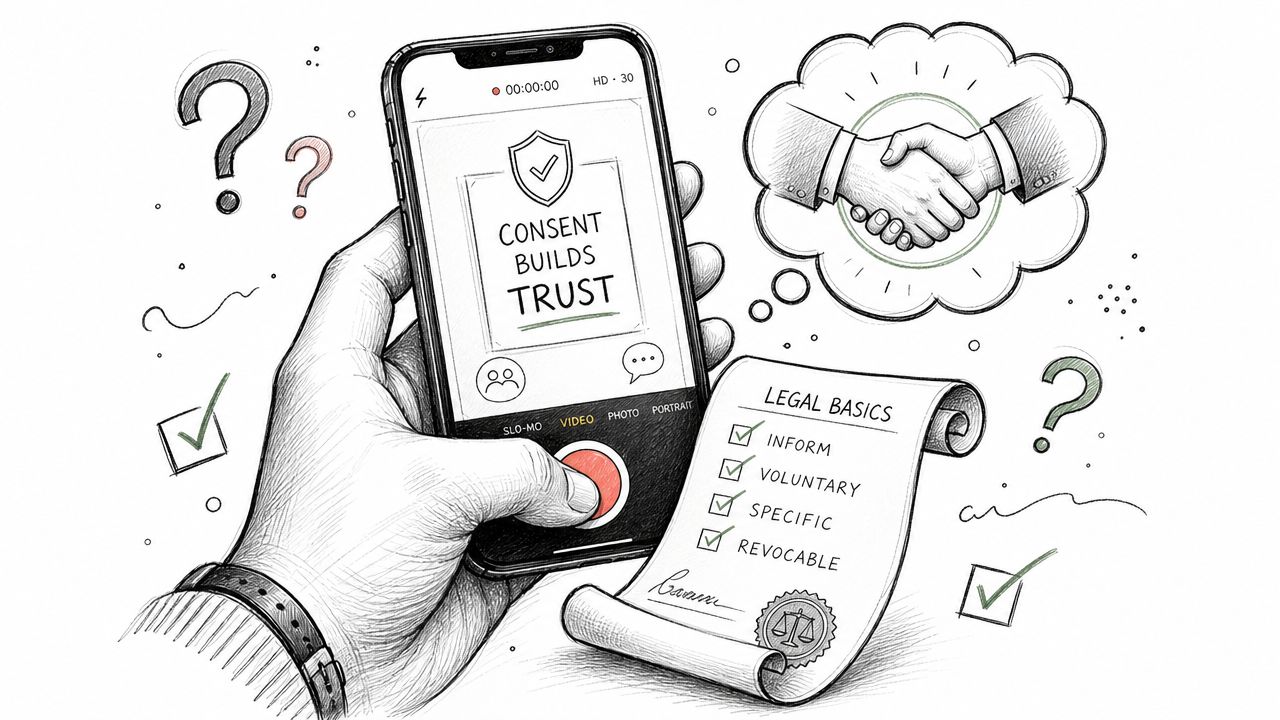
Practical rule: If there's any uncertainty, tell everyone the conversation is being recorded and get a clear verbal yes before you continue.
What consent should sound like
Don't overcomplicate it. Use a direct opening line:
- For interviews: “I'm recording this conversation on my iPhone for accuracy. Are you okay with that?”
- For work calls: “I'd like to record this so I can keep accurate notes. Do I have your consent?”
- For family or personal conversations: “I want to save this conversation. Are you comfortable with me recording?”
Then wait for the answer. Don't assume silence means yes.
Think beyond permission
Consent is only part of the issue. You should also decide:
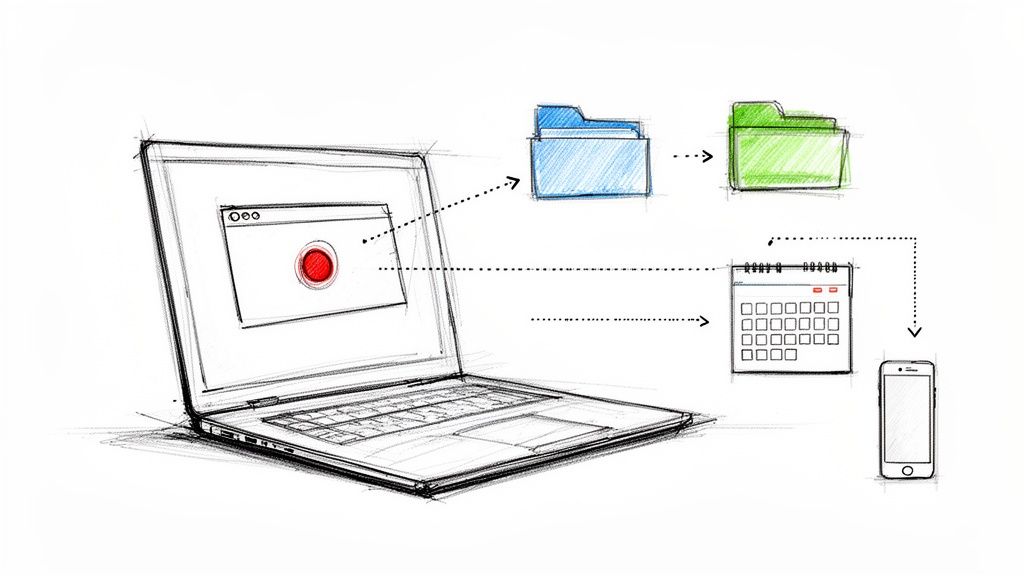
- Where the file will live: On your iPhone, in Notes, in Voice Memos, or exported elsewhere.
- Who will access it: Just you, or other people on a team.
- Whether it will be transcribed: Especially important for interviews, journalism, HR, and client work.
- How long you'll keep it: Retention is part of responsible handling.
If you want a deeper legal primer before you record, this call recording legality guide from Whisper AI is a useful companion read.
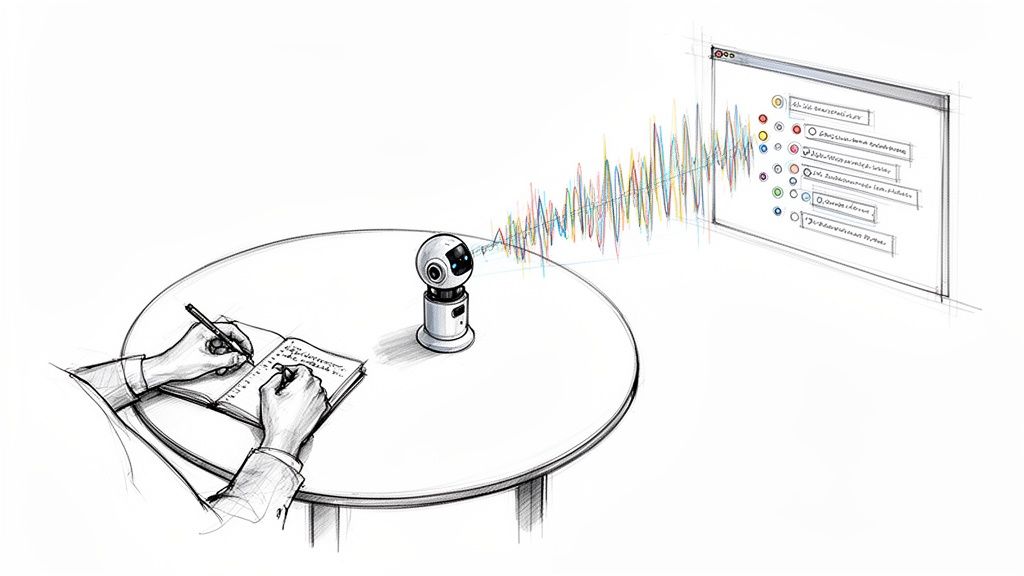
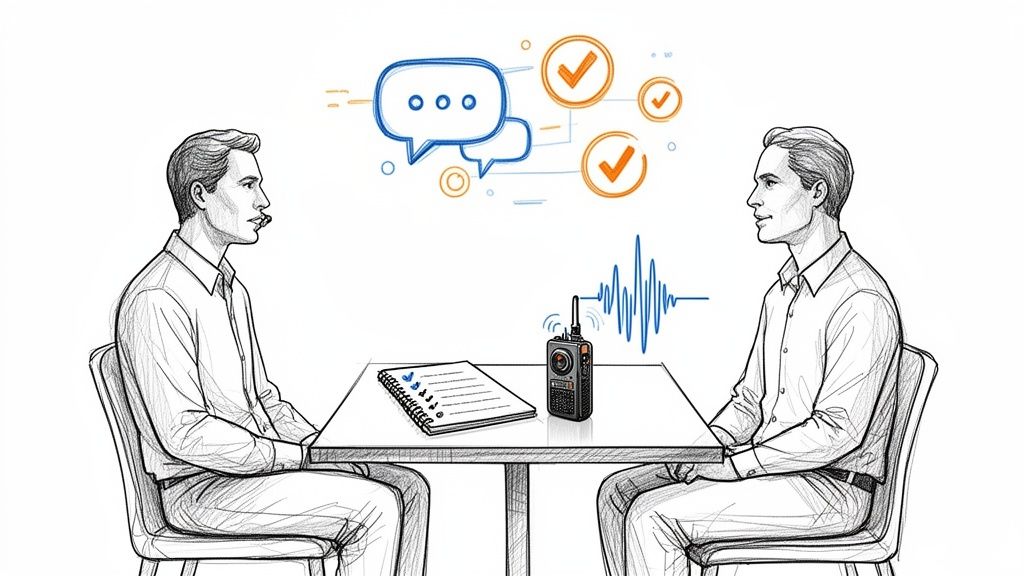
The Simplest Method Recording In-Person Conversations
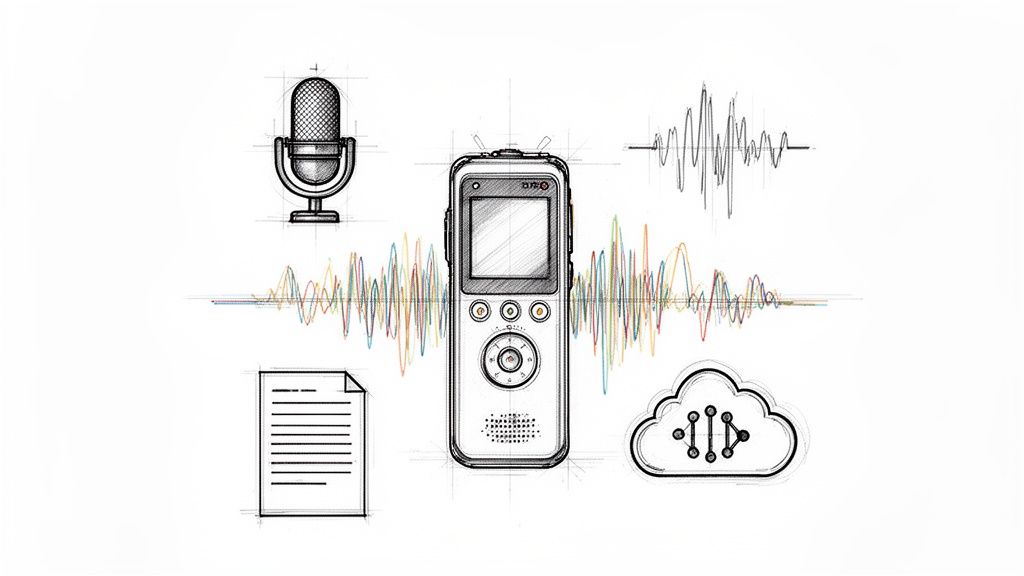
For in-person audio, the best starting point is usually Voice Memos. It's already on the iPhone, it's fast, and it avoids the weird behavior you get from many third-party apps.
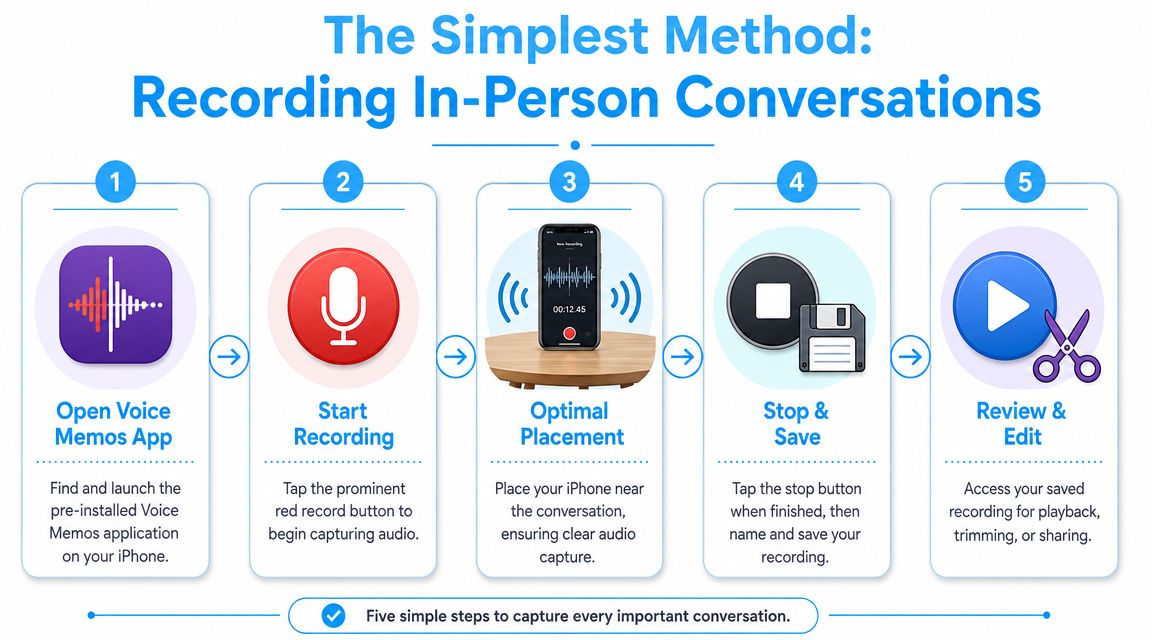
Apple's own workflow is straightforward in its Voice Memos recording guide. Open Voice Memos, tap Record, keep the microphone close to the source to raise the input level, then tap Stop and Done to save. Apple also supports Voice Isolation to reduce background noise, Wide Spectrum to preserve ambient sound, and a standard mode.
Use the right mode for the room
This choice affects the recording more than is commonly expected.
- Voice Isolation: Best for interviews in a café, office, or any place with HVAC noise, clatter, or nearby chatter.
- Wide Spectrum: Better when the environment itself matters, such as group discussions, music rehearsals, or room tone you want to preserve.
- Standard mode: Fine when the room is already quiet and uncomplicated.
If your goal is clear speech for later transcription, start with Voice Isolation.
Placement matters more than settings
Voice Memos can sound surprisingly good if the phone is close enough. It can also sound terrible if the phone is across the table next to a coffee cup.
Use this quick checklist:
- Put the iPhone near the primary speaker. Distance hurts clarity fast.
- Keep it still. Table bumps and hand rustle ruin otherwise good takes.
- Aim the mic toward the conversation. Don't bury the bottom edge against a bag or notebook.
- Tap Done before you leave. Apple notes that the recording isn't finished until you do.
If I'm recording an interview with no external gear, I'd rather have the iPhone placed well in a quiet spot than use a fancy app with bad mic placement.
Apple also supports external microphones and headsets in Voice Memos. If you record conversations regularly, that's worth considering. If you want ideas on dedicated hardware, this guide to choosing an audio recorder device is a practical next step.
Recording Phone Calls on iPhone Native vs App Workarounds
You finish an important call, open the Phone app, and realize there is no recording anywhere. That usually comes down to one of three things: your iPhone does not support Apple's built-in feature, your region does not allow it, or you needed a workaround from the start.
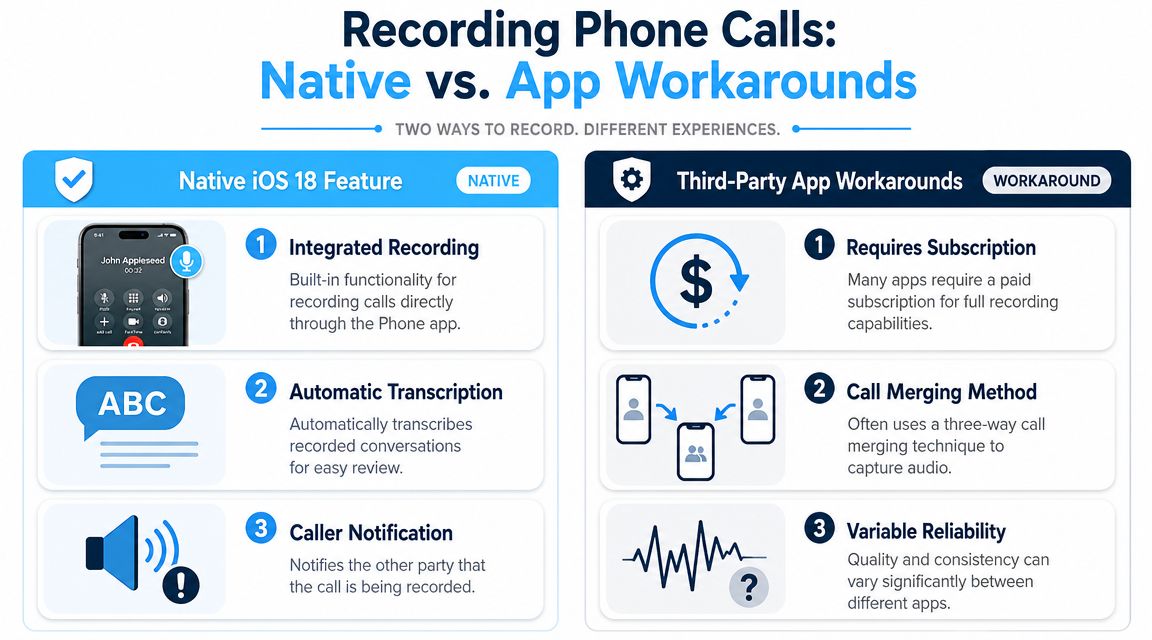
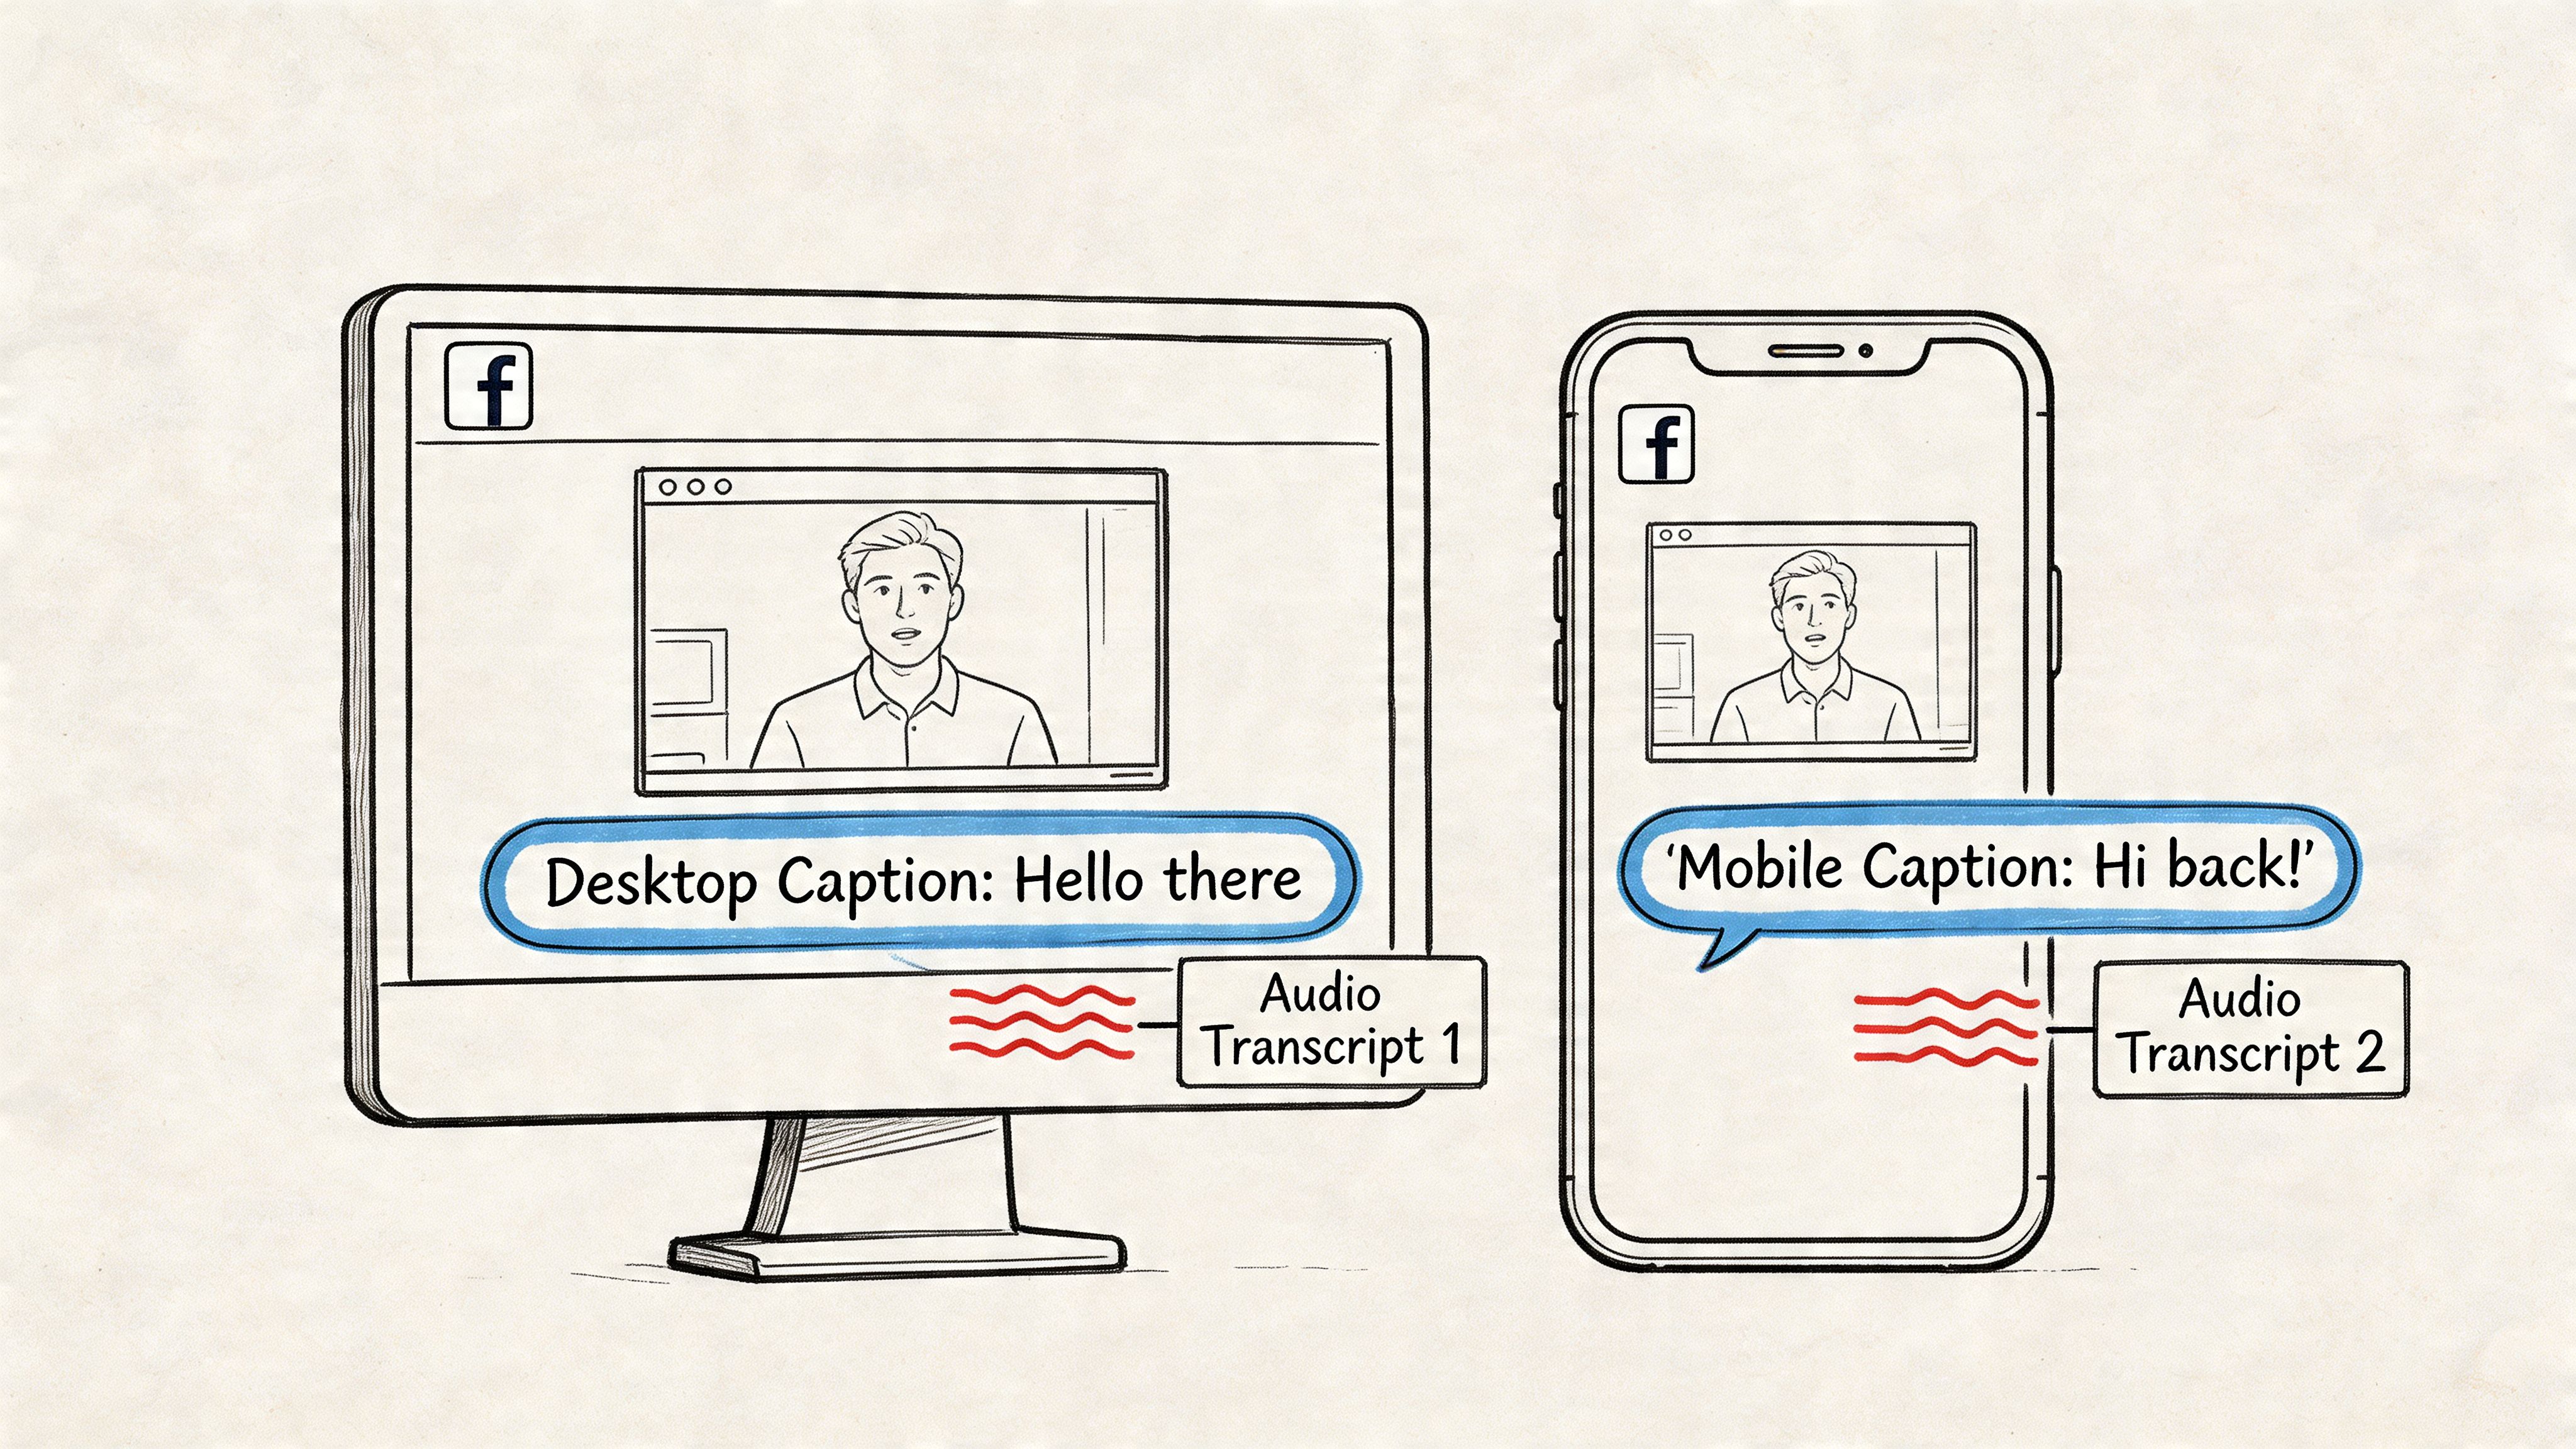
Apple now offers native call recording for some iPhones, which is a major improvement over the old patchwork of merge-call apps and speakerphone hacks. But it is not universal. Support depends on iOS version, region, and language, and the system plays an audio notice so everyone on the call knows recording has started. From a legal and consent standpoint, that notice is a feature, not a bug.
If your priority is low friction and clean file handling after the call, the native option is the best place to start. The recording is tied into Apple's own apps, which makes it easier to find, review, save, and pass into a transcription workflow later. If your priority is discretion, Apple's approach will not fit because participant notification is built in.
Here's the most useful video overview if you want to see the native workflow in action:
The limits that trip people up
The biggest mistake is assuming every iPhone can do this now.
Apple's built-in phone call recording is tied to newer software and limited availability. Apple also confirms that regional and language support varies in its call recording availability note. If you travel often, work across countries, or use a company-managed device with delayed updates, check compatibility before the call starts, not after it ends.
Older fallback methods still exist, but each one has a cost. Three-way call recording apps can work, yet setup is often awkward and reliability depends on the provider's recording line. External recording on speakerphone avoids software limitations, but audio quality drops fast in a noisy room and the other person's voice may sound thin or distant. A quick visual walkthrough of those trade-offs is in this walkthrough of iPhone call recording constraints and fallback options.
Native feature versus workarounds
Use this comparison to decide quickly:
| Method | Best for | Trade-offs |
|---|---|---|
| Native iPhone call recording | Supported iPhones where you want the cleanest workflow and easier post-call review | Limited by iOS version, region, and language. All participants hear a recording notice |
| Three-way call recording apps | Calls on unsupported iPhones or accounts that still allow merge-call recording | Extra setup, recurring fees, and another service handling your audio |
| Google Voice where available | Specific personal or small-business setups that already run through Google Voice | Narrow use case. It does not fit every carrier, country, or call flow |
| External device recording speakerphone audio | Last-resort capture when software options fail | Room noise, echo, and mic placement affect quality more than people expect |
My practical advice is simple. Use Apple's native tool if your phone supports it and the consent notice works for your situation. If it does not, choose the workaround based on what matters most: legal clarity, audio quality, or convenience.
If you want a broader set of fallback options, this guide to free iPhone call recorder methods is a good starting point. For readers in Australia who need jurisdiction-specific context, Trade.com.au's guide to recording calls is also worth reviewing before you record anything.
How to Capture FaceTime and Other Internet Calls
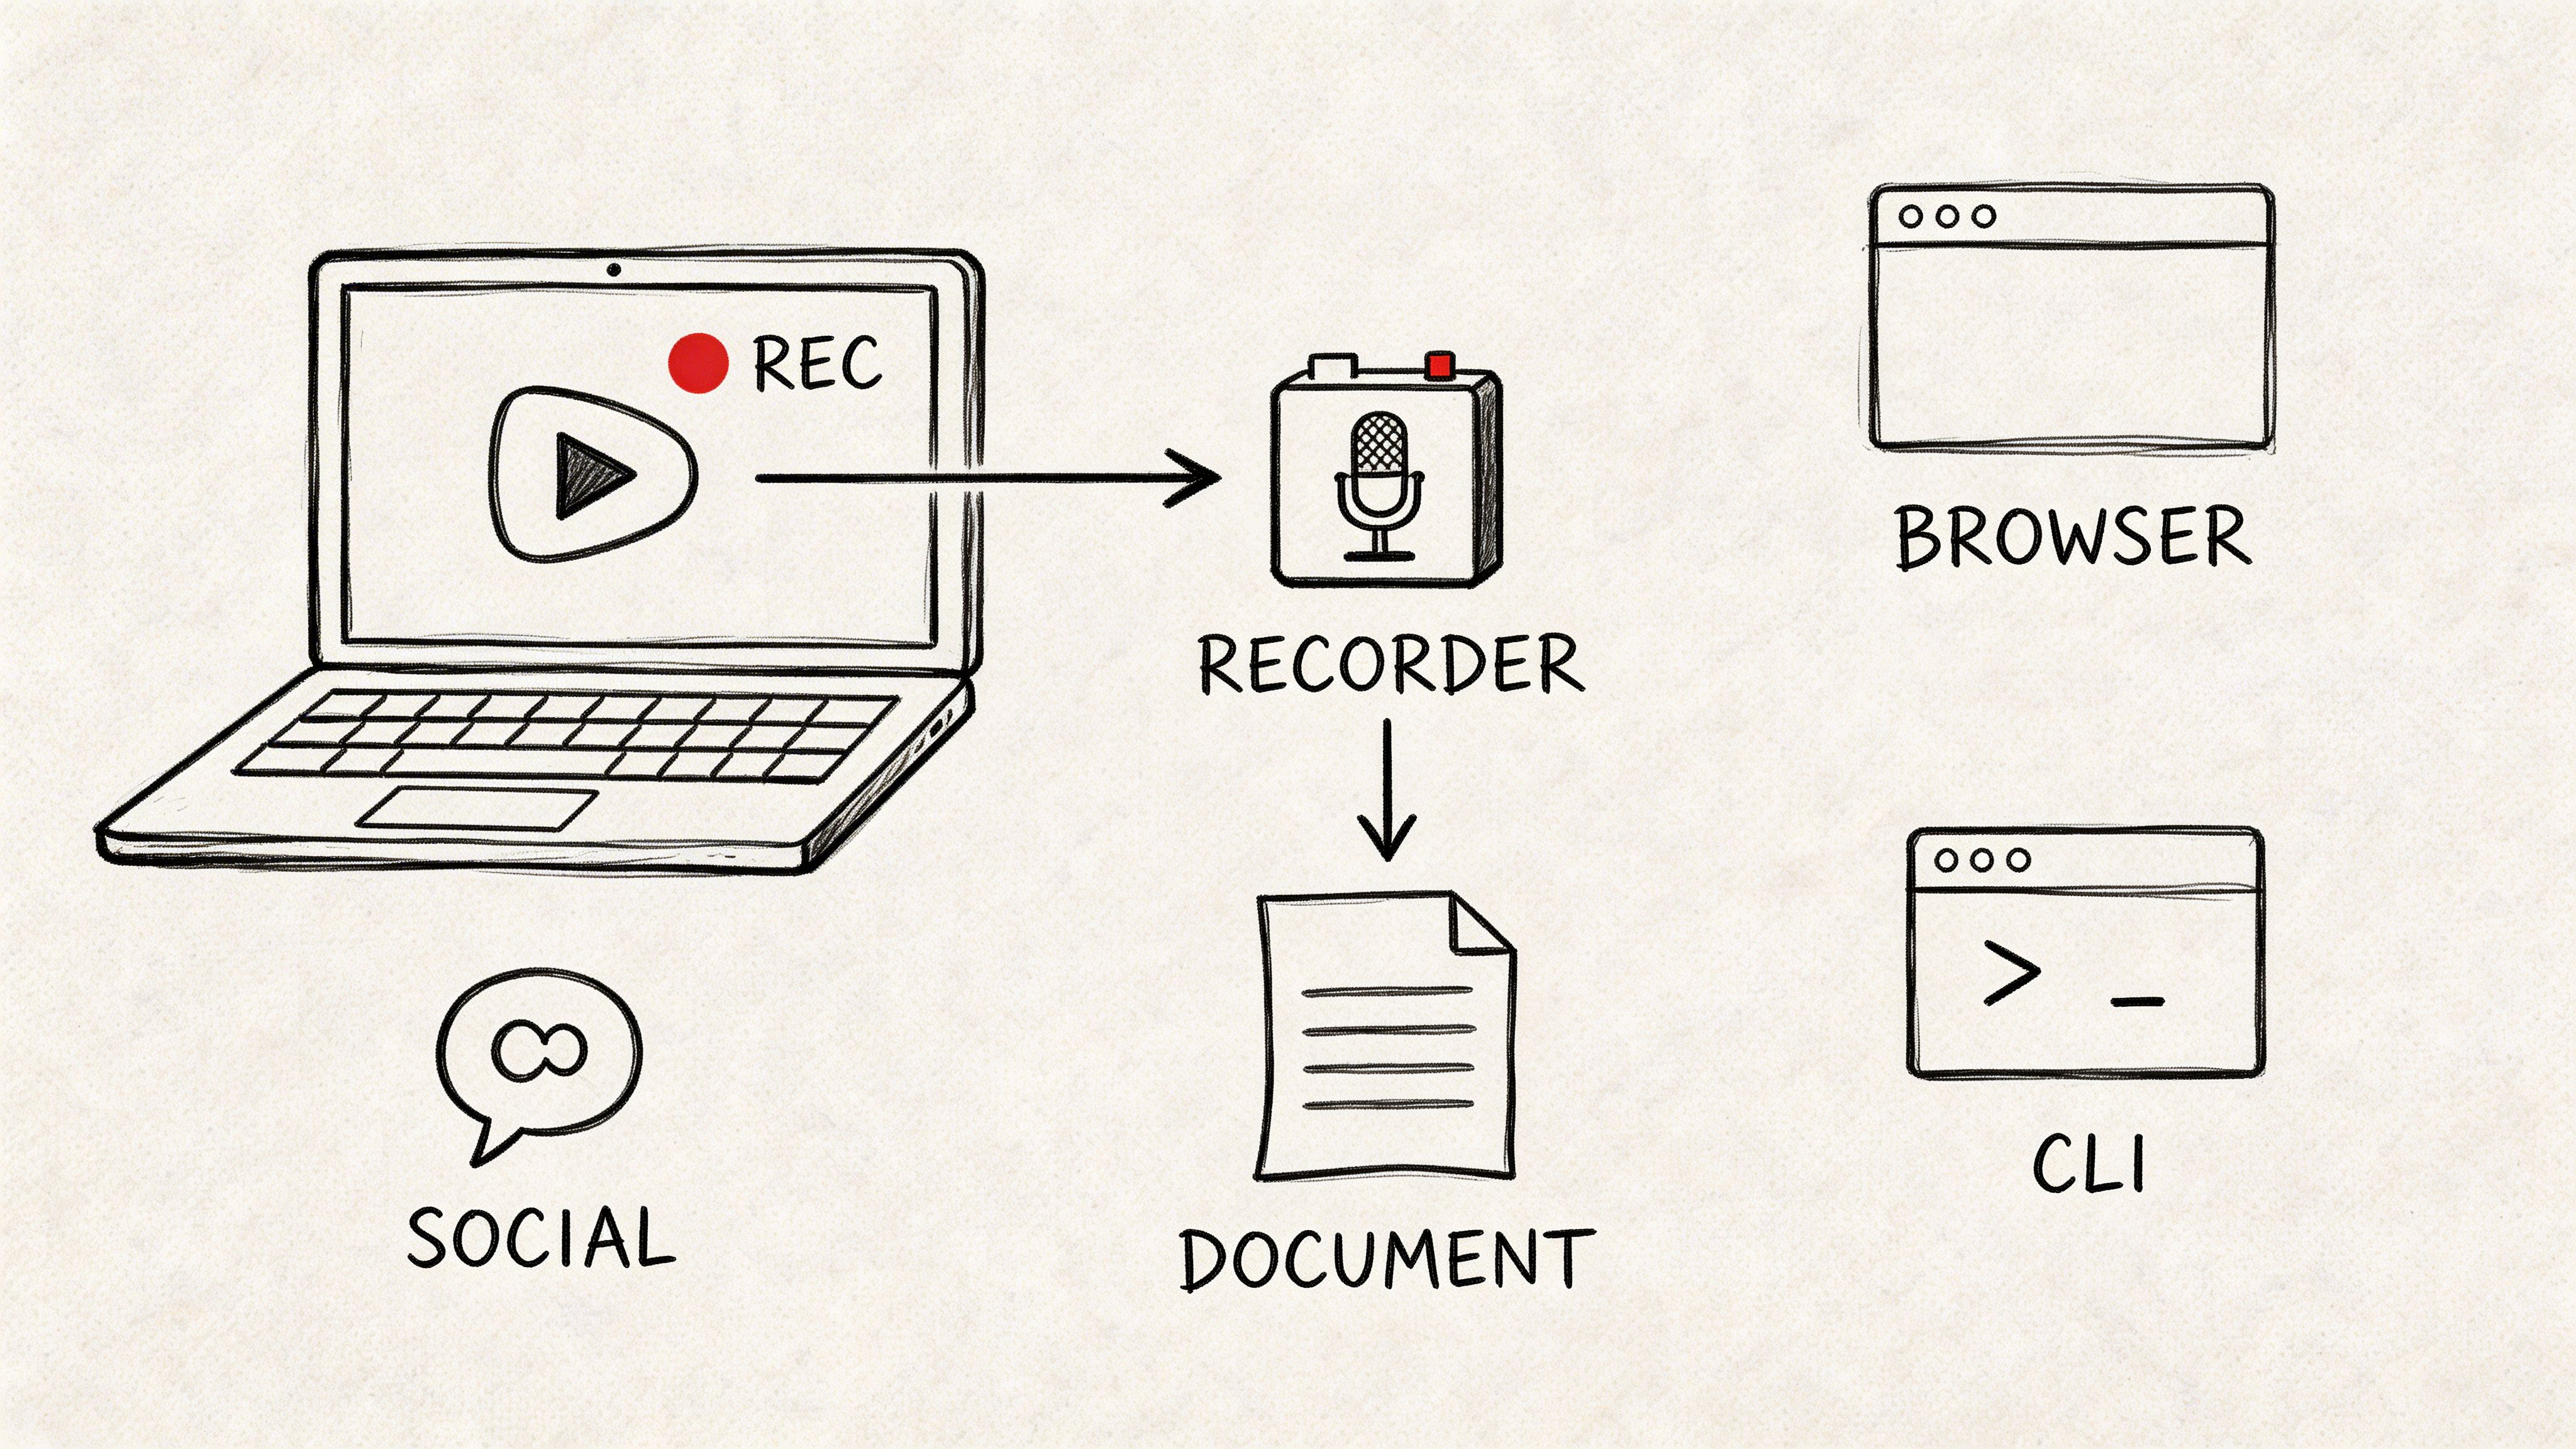
FaceTime, WhatsApp, Zoom, Skype, and similar internet calls sit in a different category. They aren't standard cellular calls, so the best method is often Screen Recording rather than a call-recording service.
The key point is simple: if you forget to enable the microphone, you can end up with a recording that looks fine and sounds incomplete.
Set up Screen Recording correctly
On iPhone, first add Screen Recording to Control Center if it isn't already there. Then:
- Open Control Center.
- Press and hold the Screen Recording control.
- Check whether the Microphone is turned on.
- Start the recording.
- Begin or continue your FaceTime or app-based call.
That microphone toggle is the step people miss. Without it, your recording may not capture the audio the way you expect.
When this method makes sense
Screen recording is useful for:
- FaceTime conversations where you need both the on-screen context and audio
- Zoom or meeting apps when you're participating from iPhone
- App-based interviews where standard phone-call tools don't apply
- Remote family calls you want to preserve privately and with consent
It's less ideal if you only need clean audio and don't want the overhead of a video file. In that case, recording on the platform itself or using a dedicated remote recording workflow may be better.
Turn on Do Not Disturb before you start. Notifications appearing on a recorded screen are an avoidable own goal.
If you deal with Skype-style calling specifically, Trade.com.au's guide to recording calls is worth reading because it lays out practical options for internet-call capture when the built-in iPhone methods don't match the app you're using.
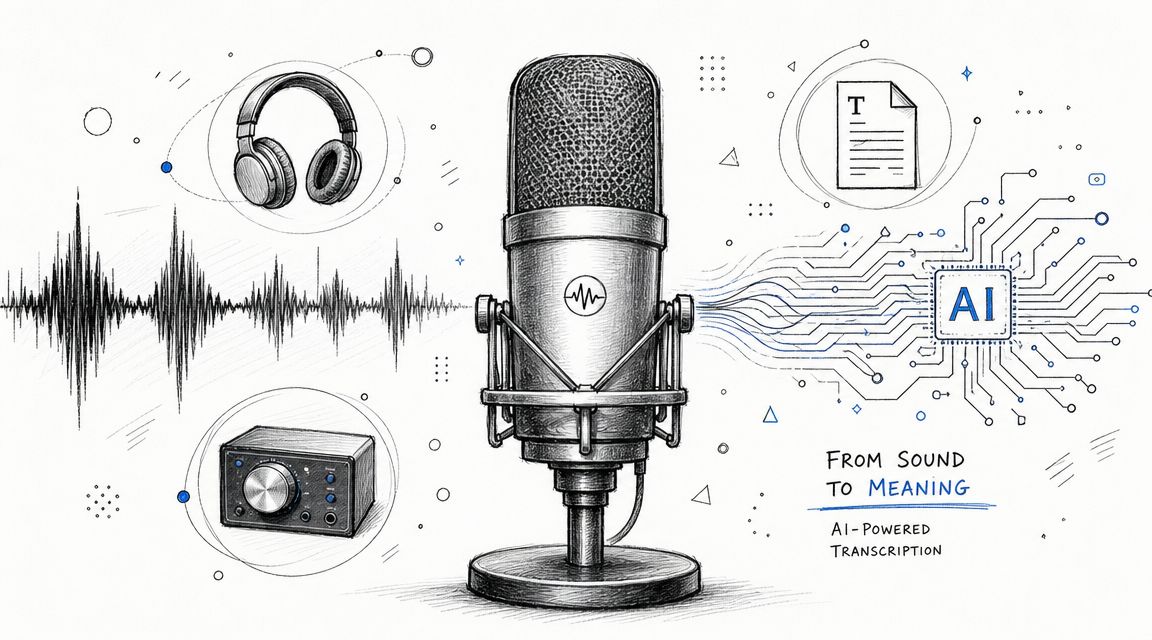
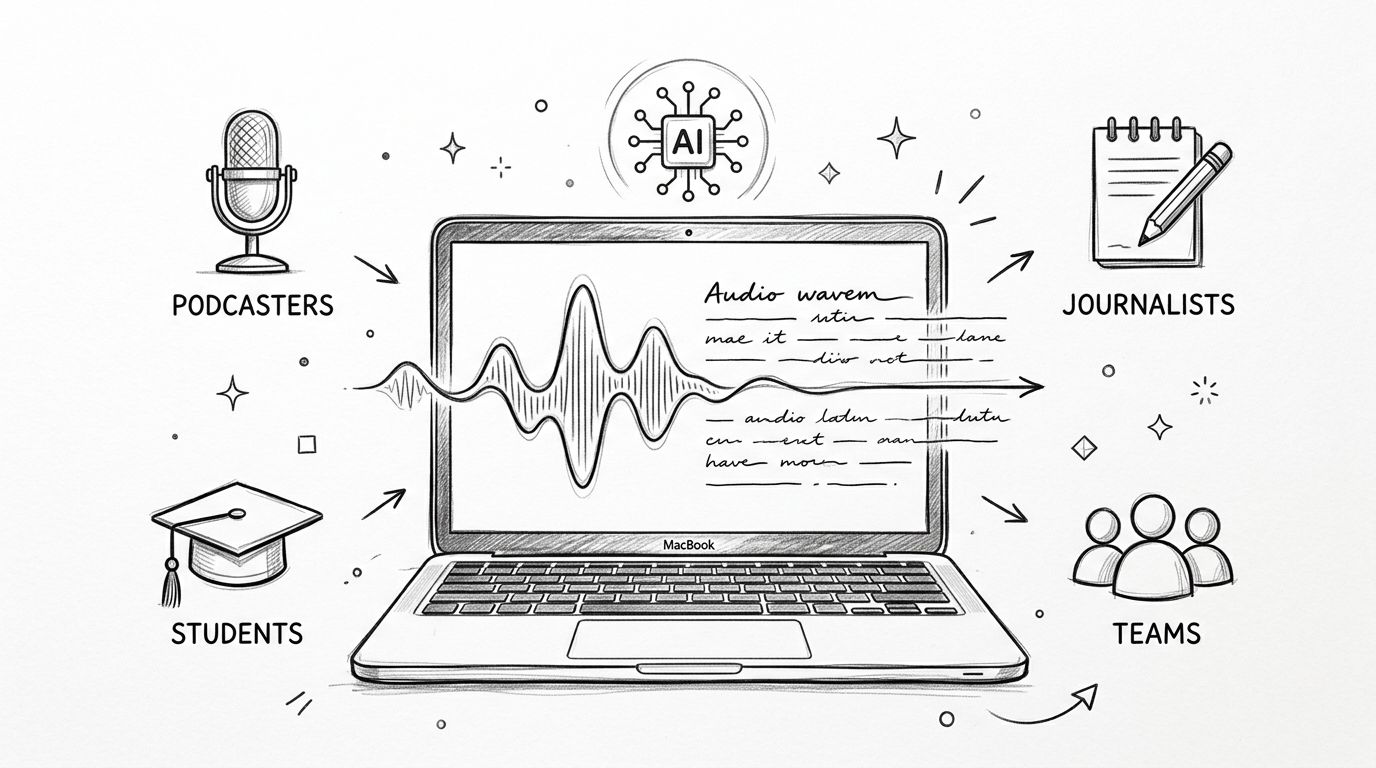
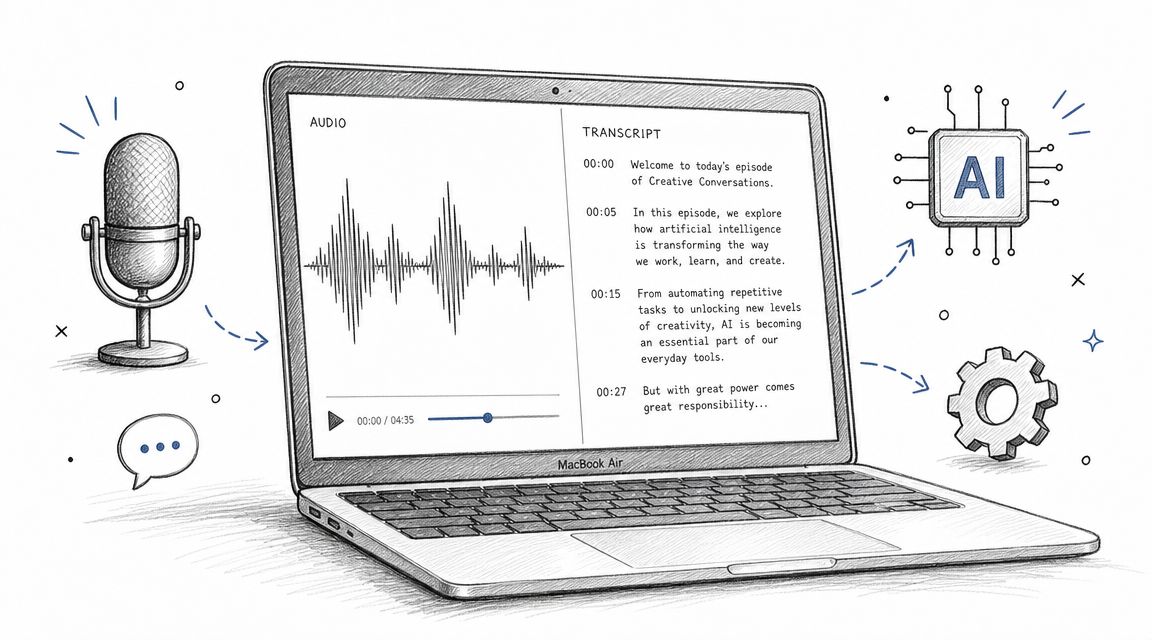
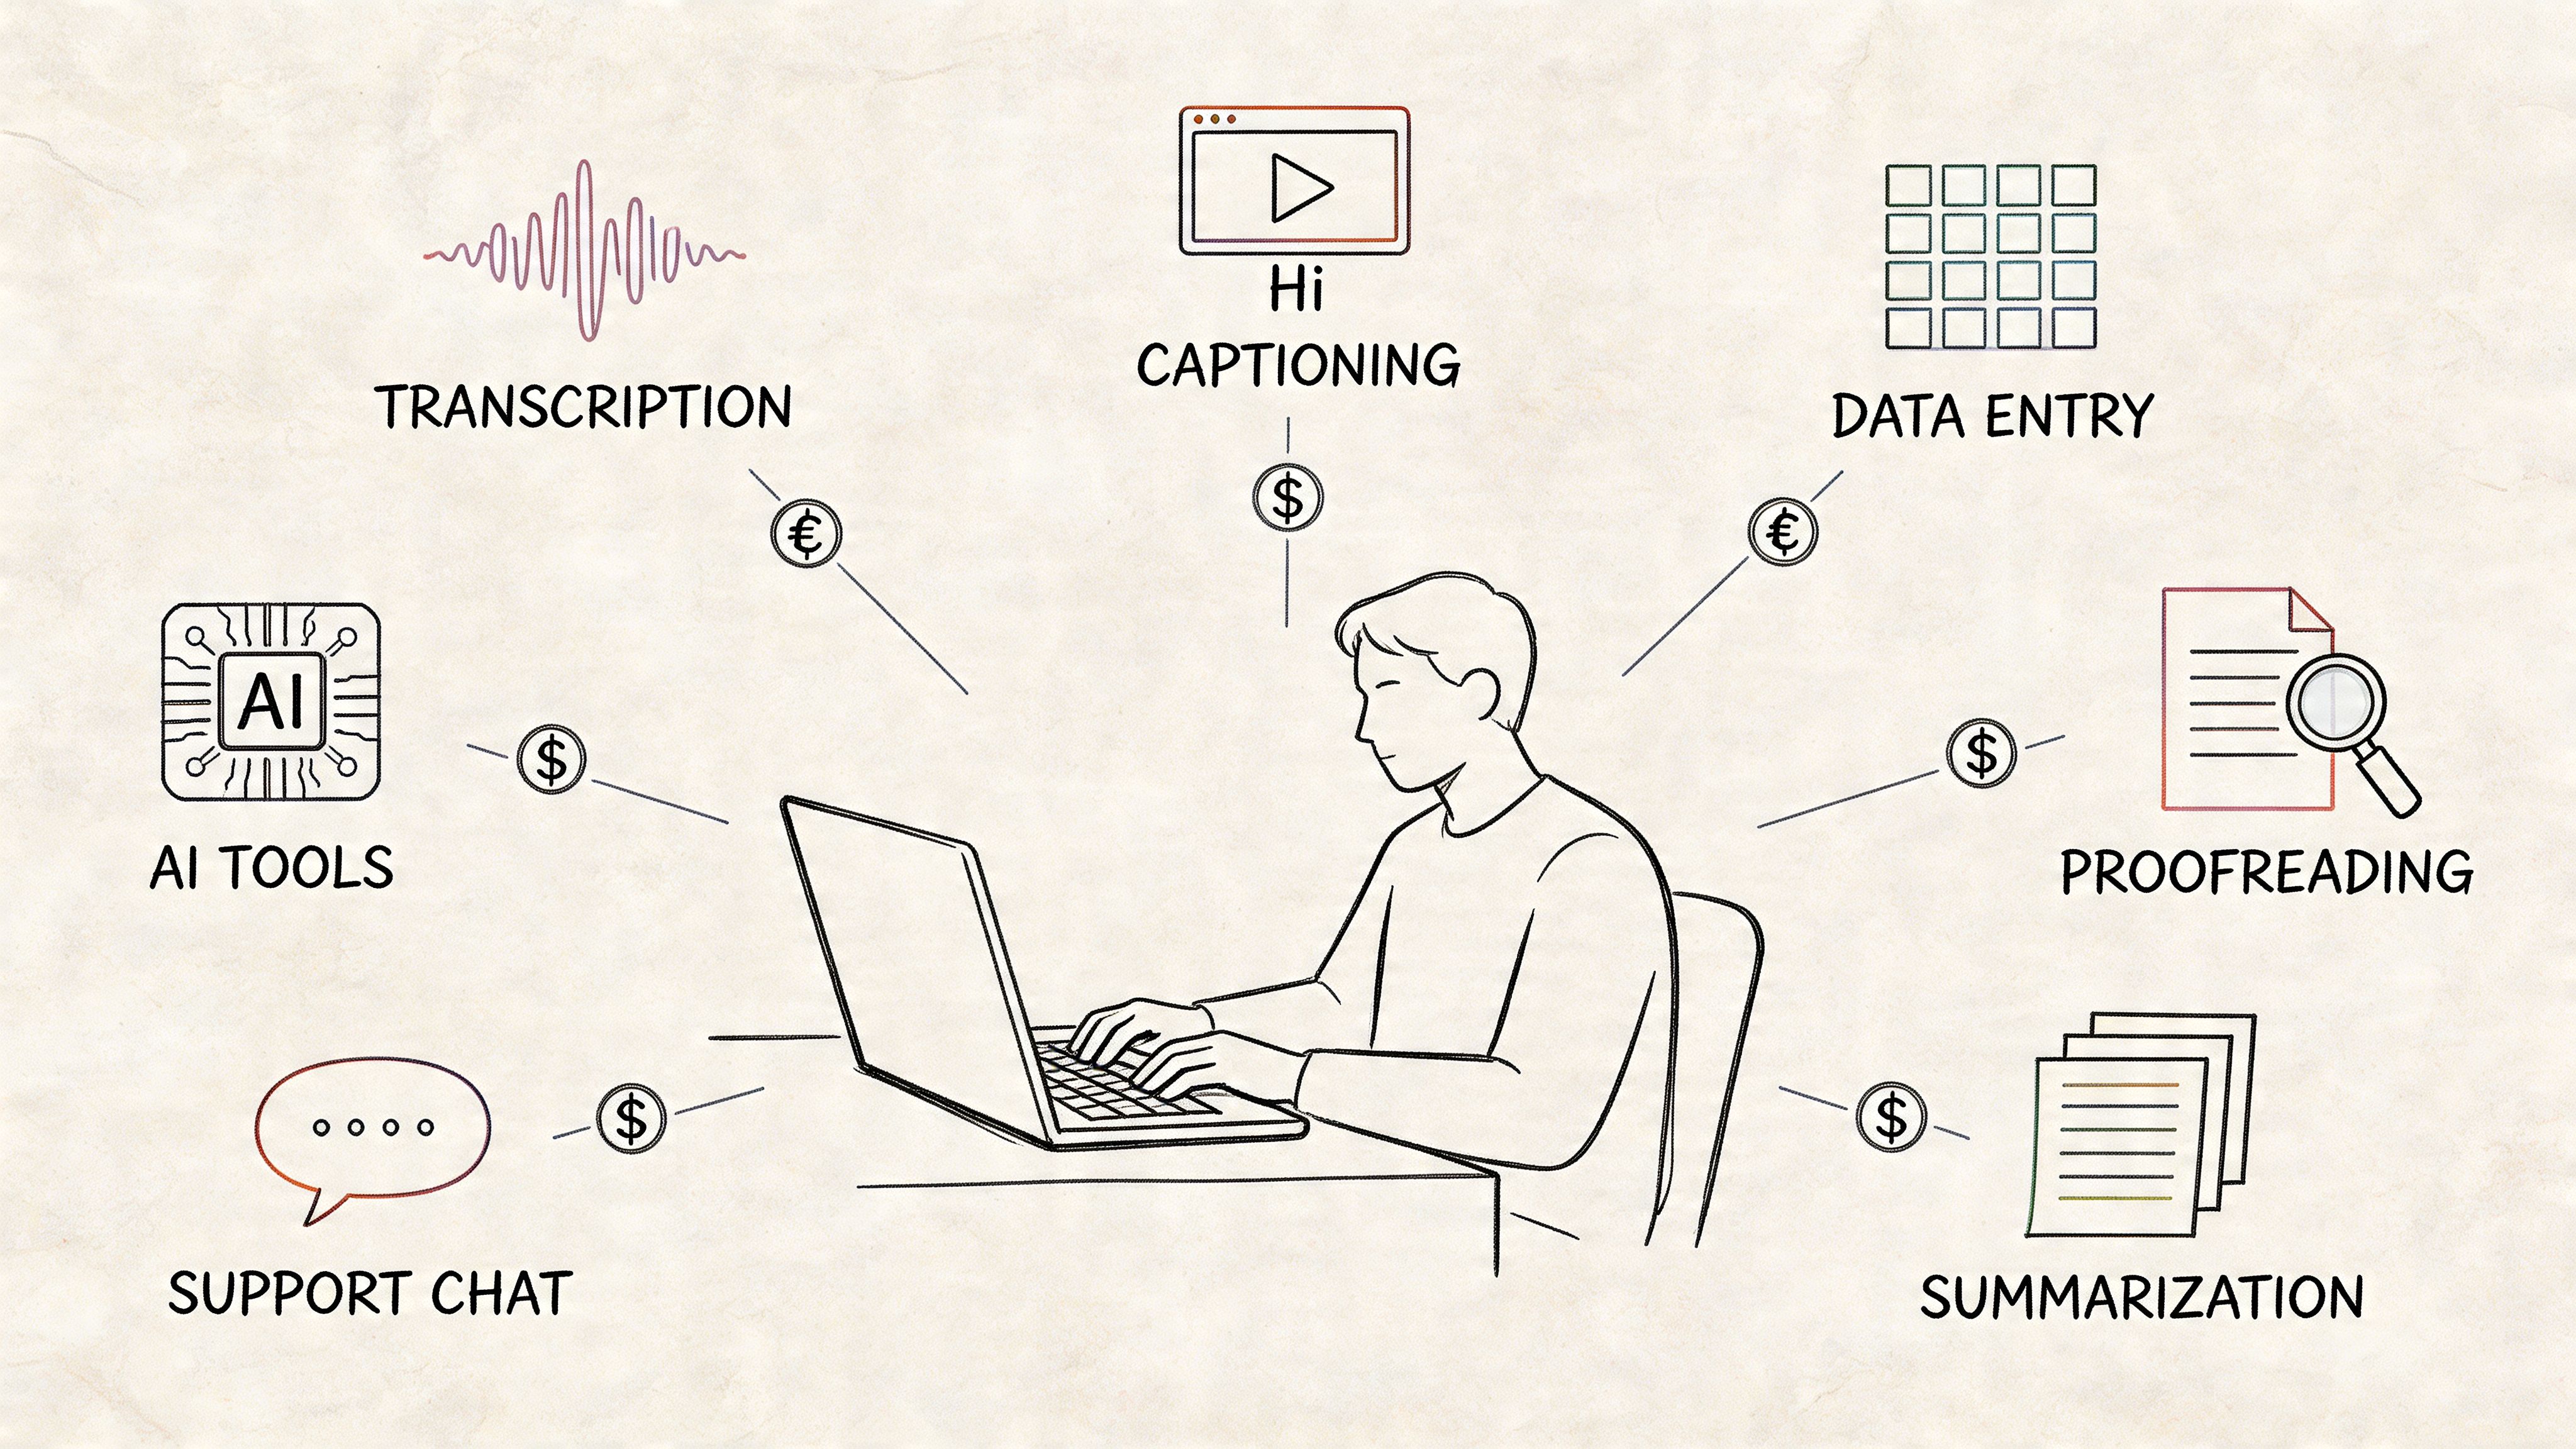
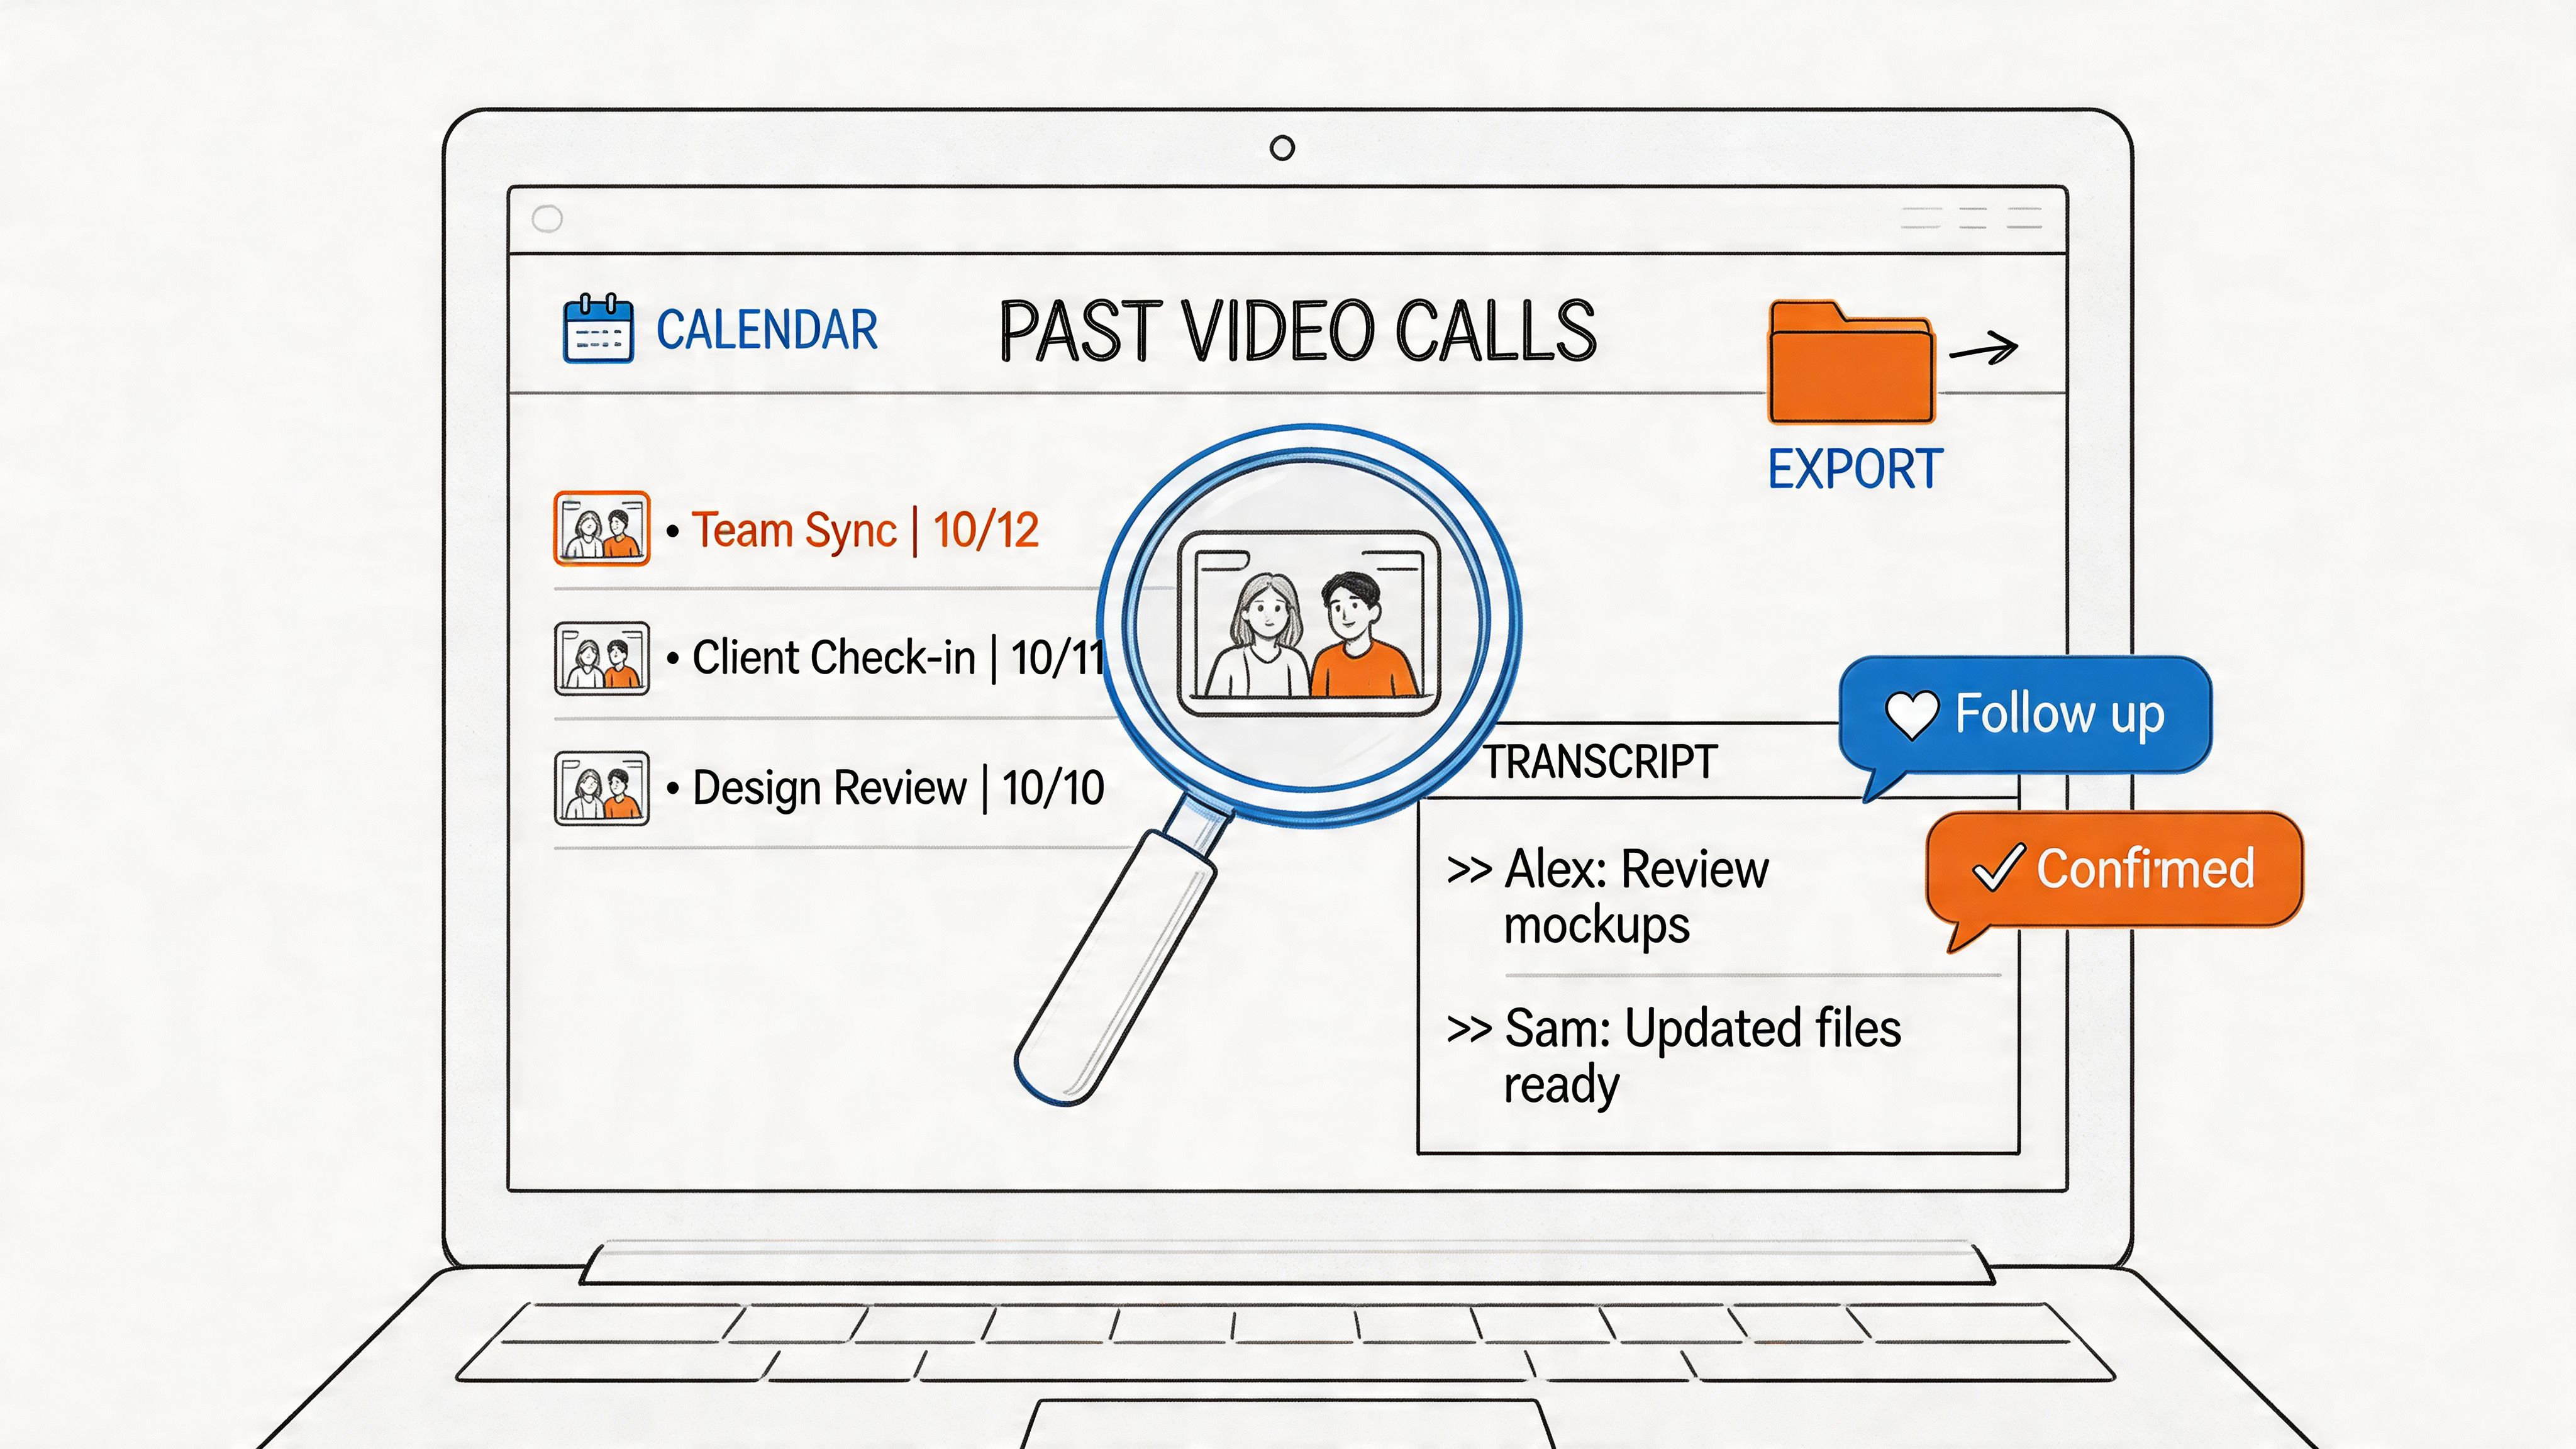
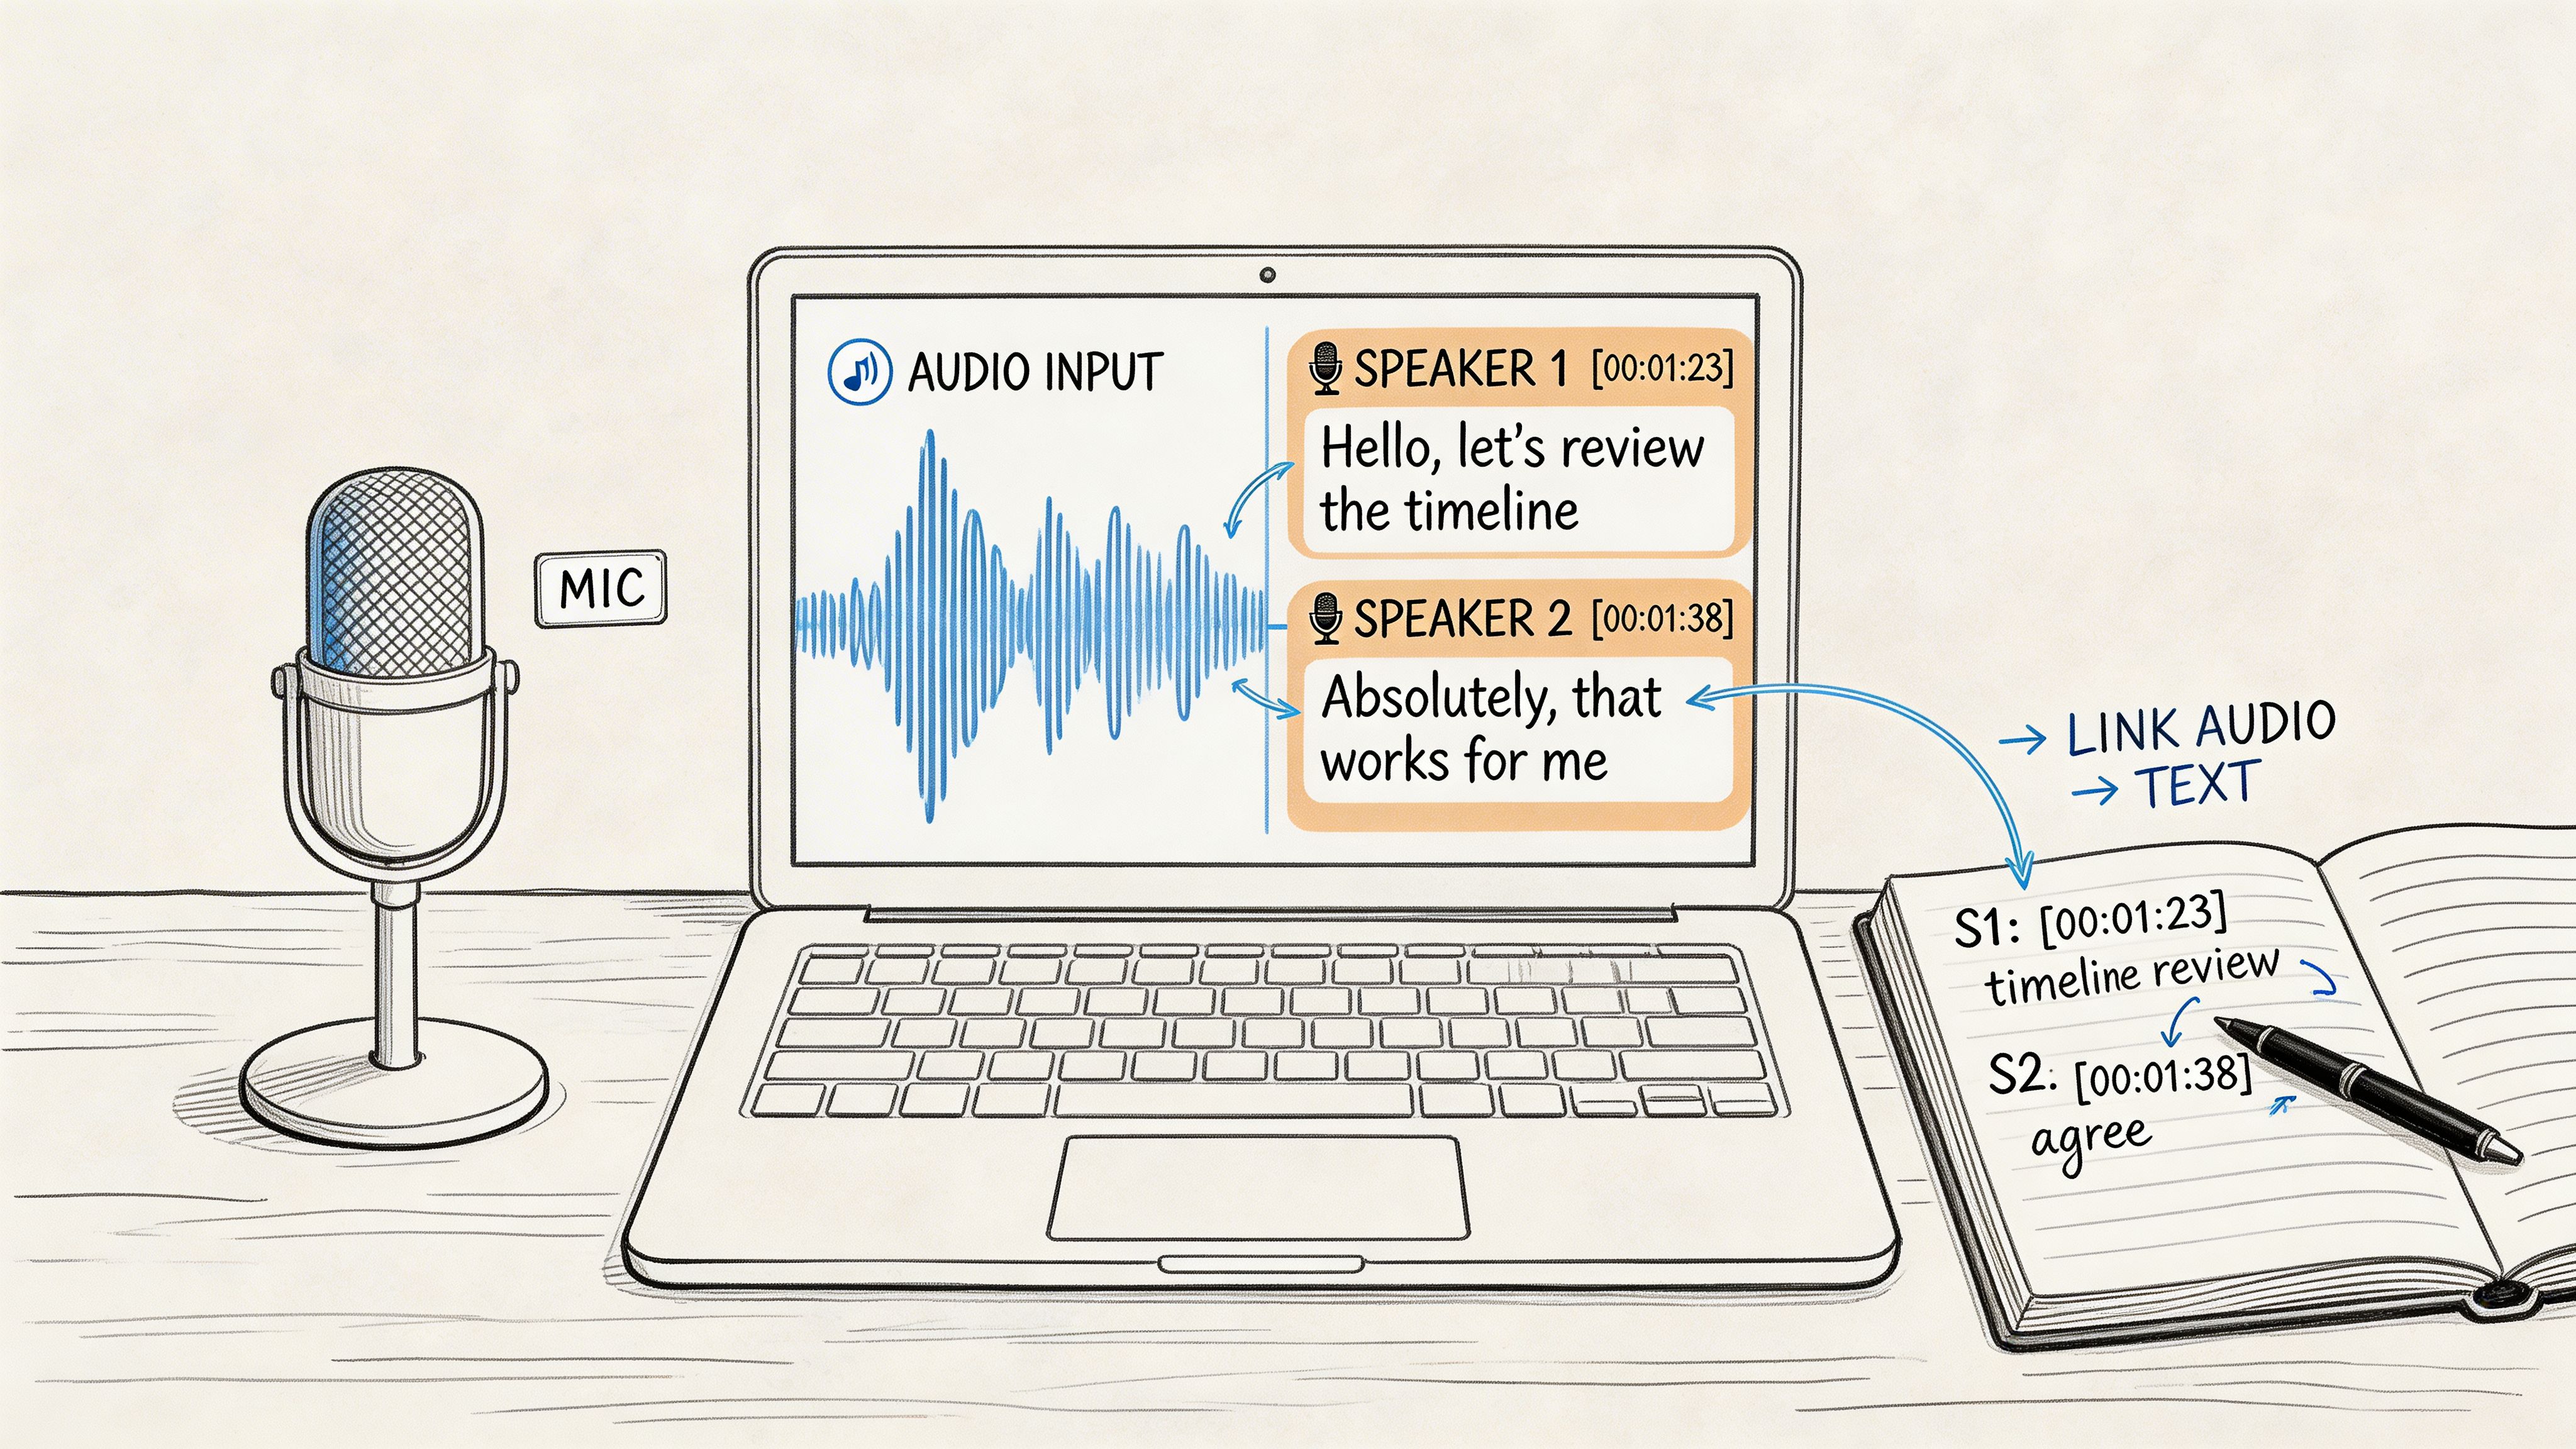
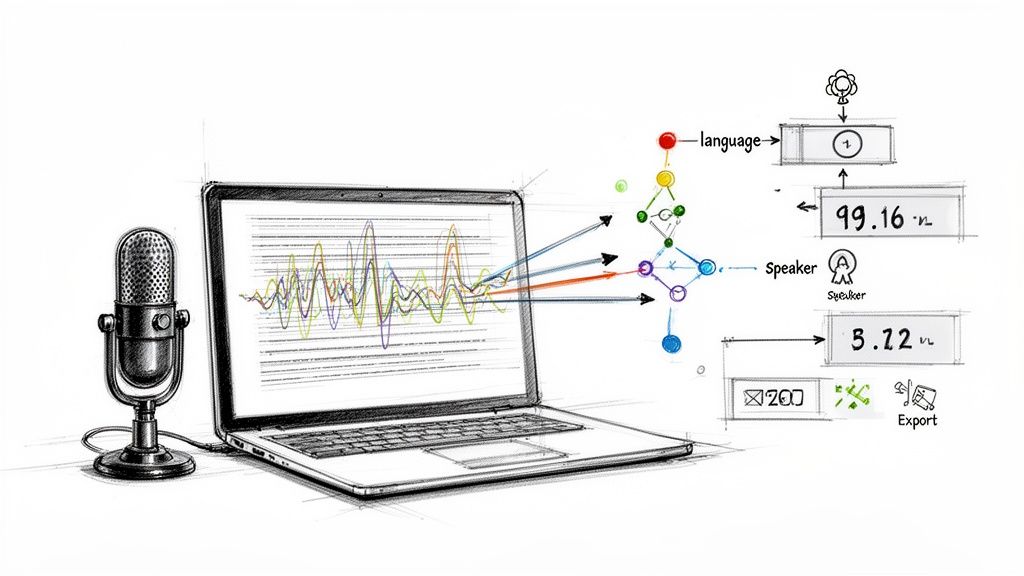
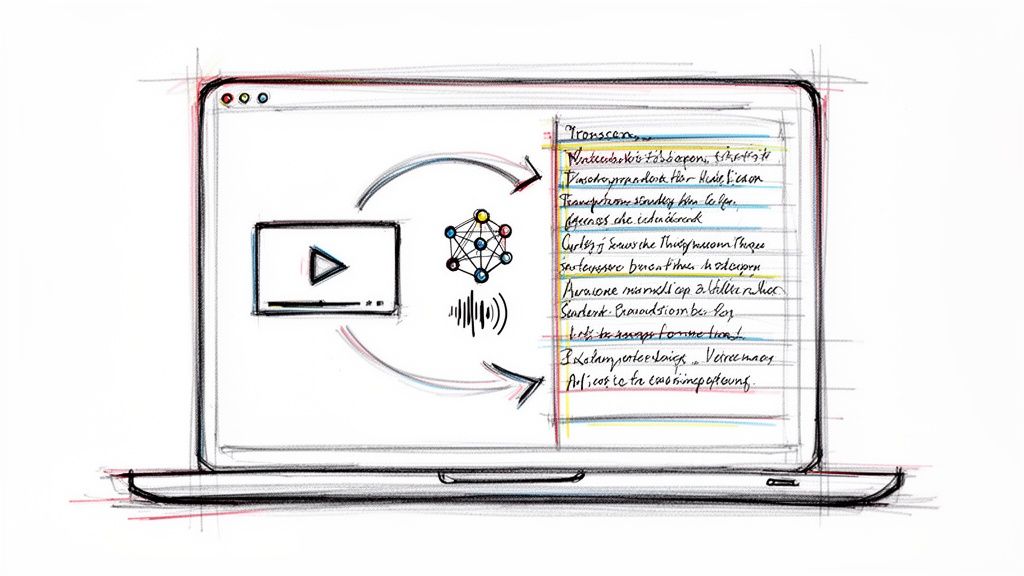
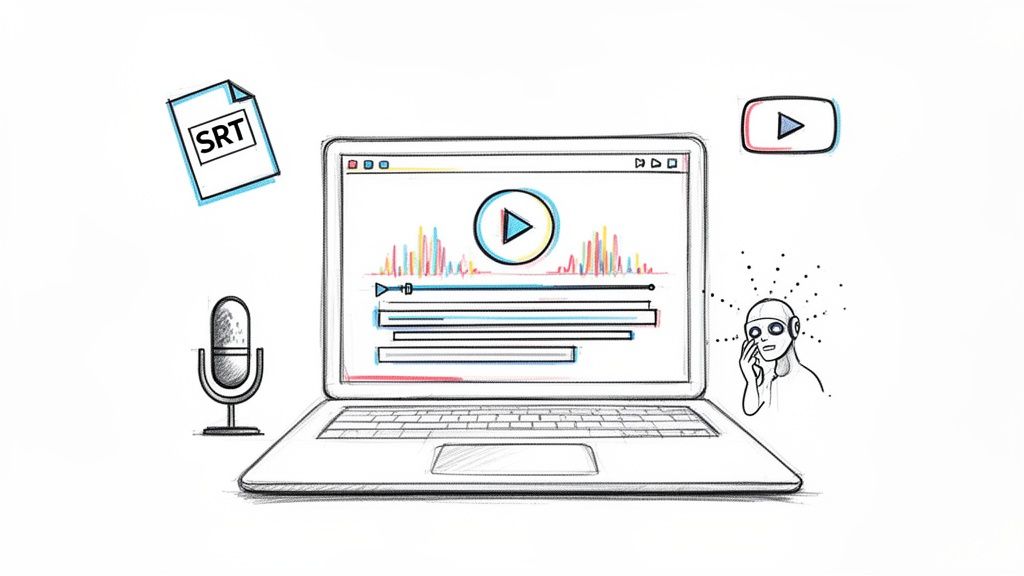
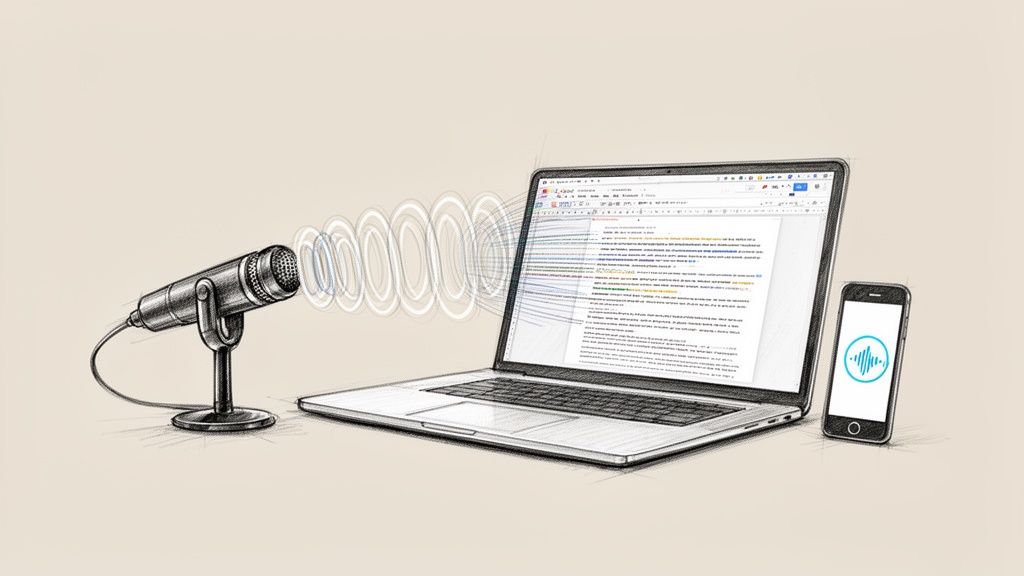
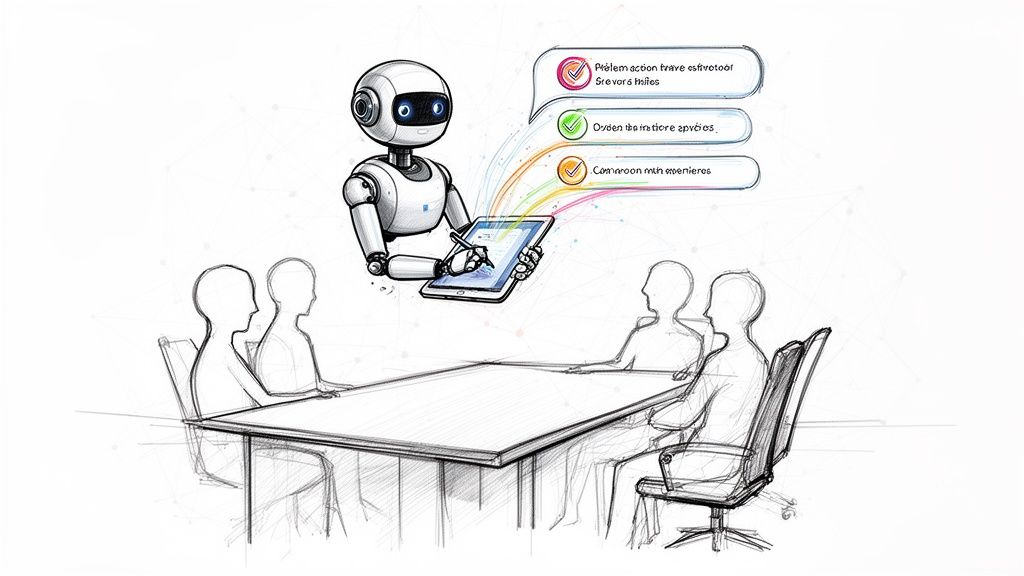
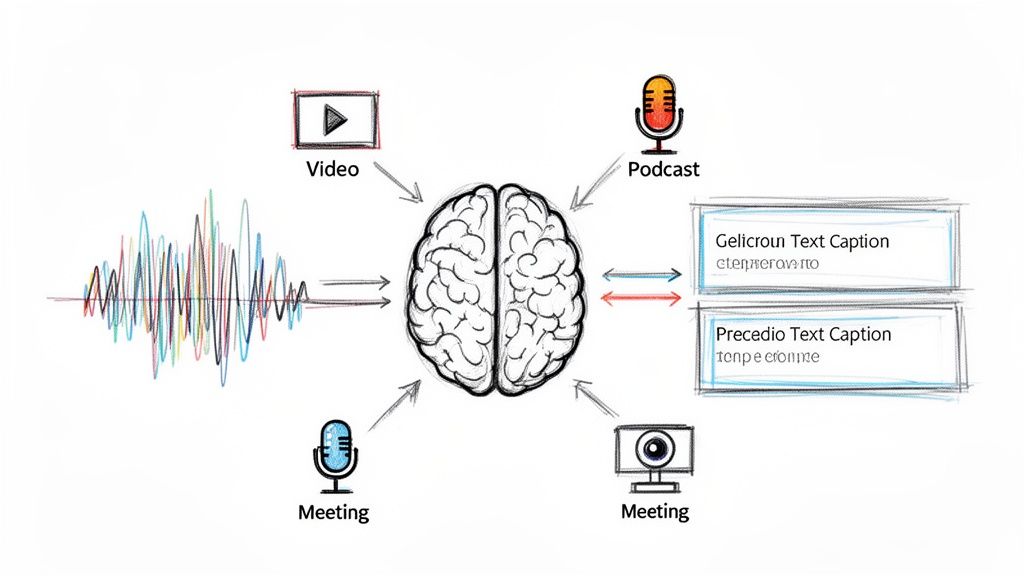
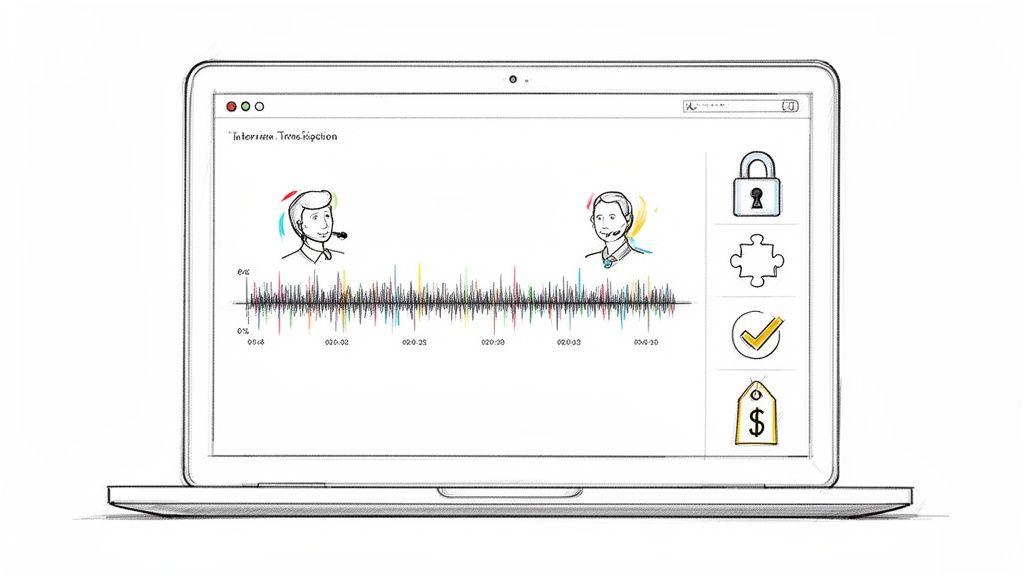
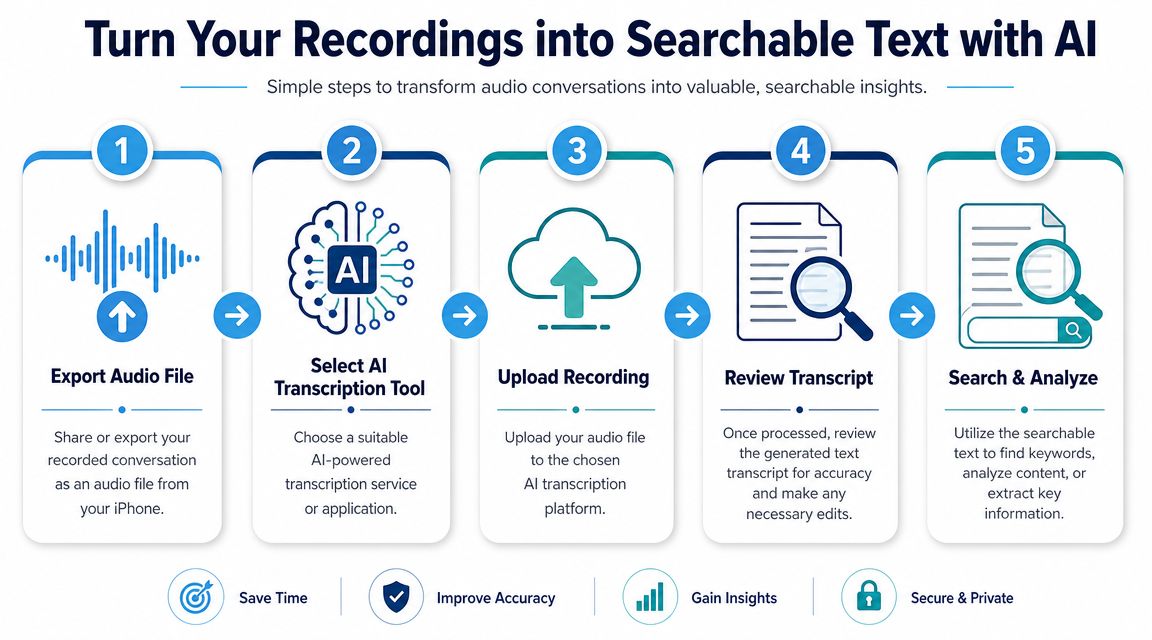
Turn Your Recordings into Searchable Text with AI
You record a call because you need a record. Ten minutes later, what you need is the one sentence where someone approved the budget, changed the deadline, or promised to send a document.
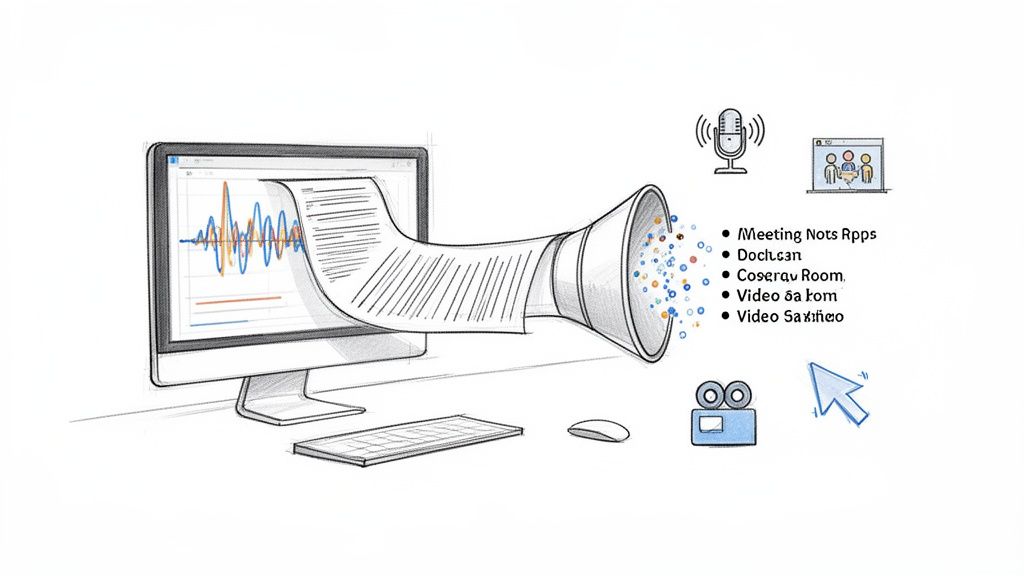
That is why transcription matters. Audio preserves the conversation. Text makes it usable.
On newer iPhones, Apple can turn some recorded calls into transcripts inside Notes in supported regions, as noted earlier. That is convenient for quick reference. It is not always the best endpoint if you need reliable exports, speaker separation, or a transcript you can clean up and share outside Apple's apps.
Raw audio creates friction fast. You cannot skim it. You cannot search it properly. You cannot hand a teammate a 40-minute file and expect them to find the two useful minutes without doing the same work you were trying to avoid.
A good transcript fixes that. It also gives you a safer workflow after the recording is done. You can review what was said, confirm wording before quoting anyone, and pull out action items without replaying the whole conversation three times.
A practical workflow that holds up
Use a simple process:
- Save the original audio first. Keep the untouched file in case you need to verify wording later.
- Export a copy from Voice Memos, Notes, or the app that captured the call.
- Upload the copy to your transcription tool of choice.
- Review the transcript the same day while names, context, and unclear phrases are still fresh.
- Correct speaker names, brand terms, and jargon before you share it with anyone else.
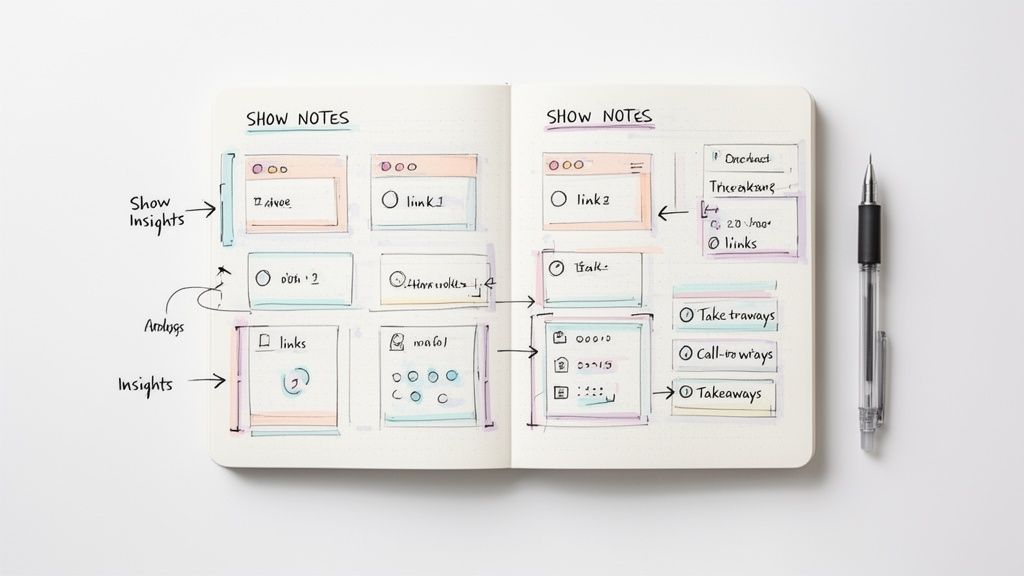
- Create a clean output such as a summary, meeting notes, article quotes, or a task list.
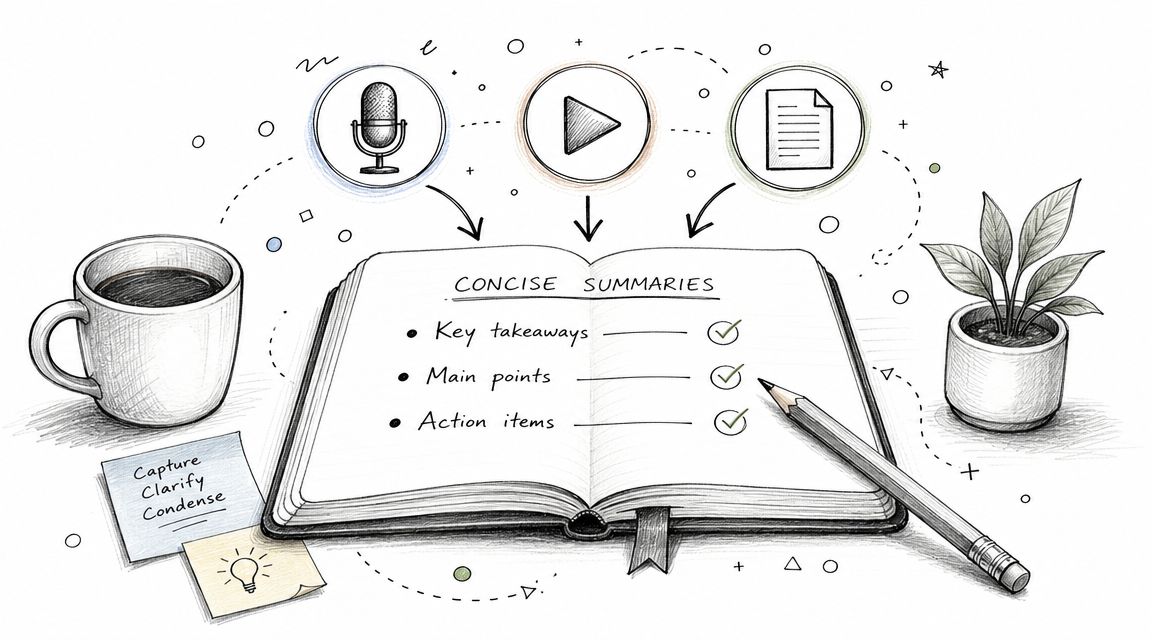
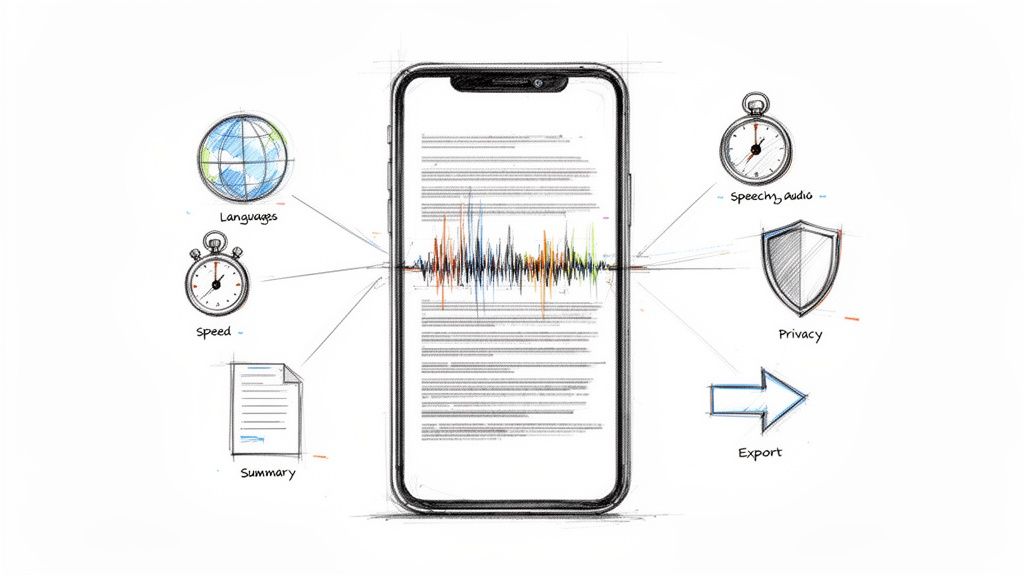
That last step is where AI tools earn their keep. A transcript is useful on its own. A summarized transcript with decisions, deadlines, and open questions is what people return to.
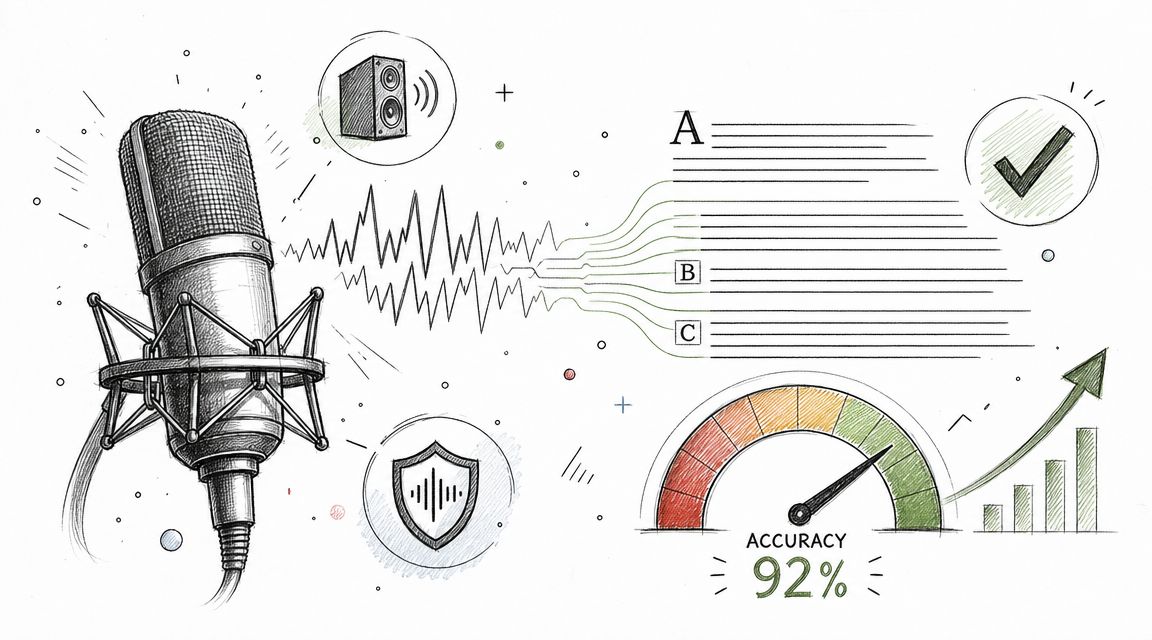
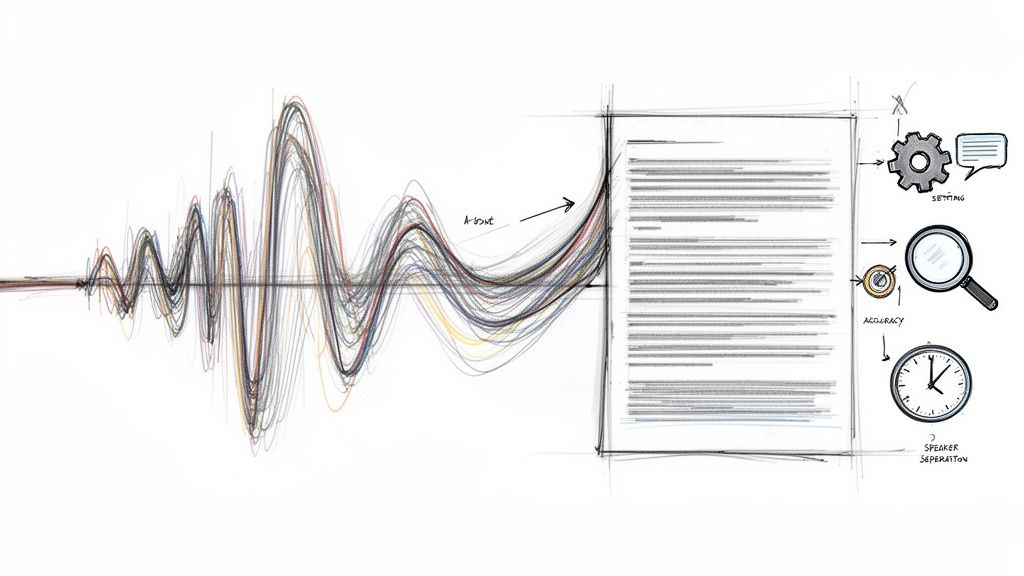
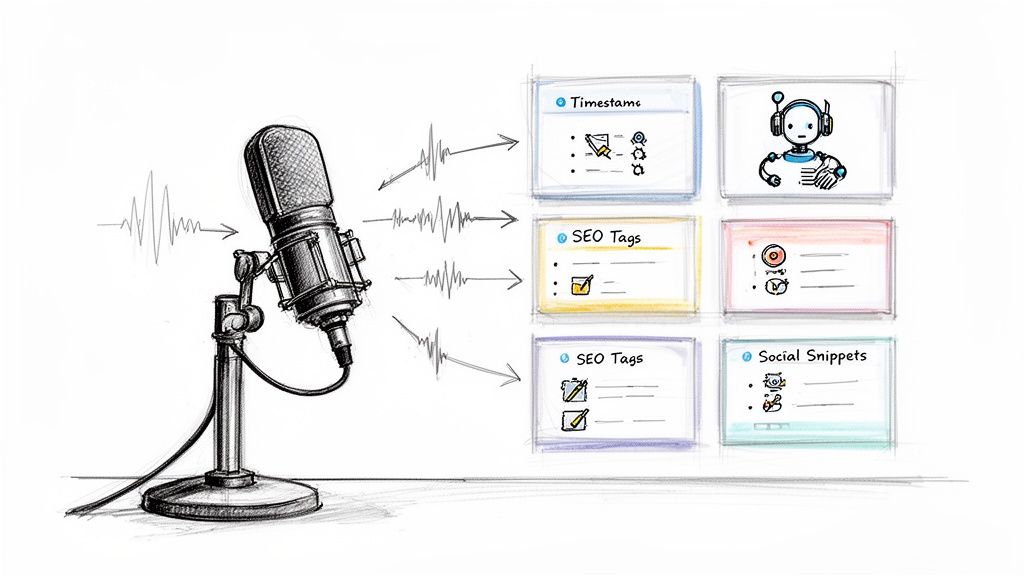
What separates a useful transcript tool from a frustrating one
I would check five things before trusting any transcription app or service with regular work:
- Speaker labels so the conversation does not turn into a wall of text
- Timestamps so you can verify a quote against the recording
- Editable text for fixing names, acronyms, and technical language
- Export formats that fit how you work, such as plain text, Word, or PDF
- Reasonable handling of long files so you are not forced into awkward manual splitting
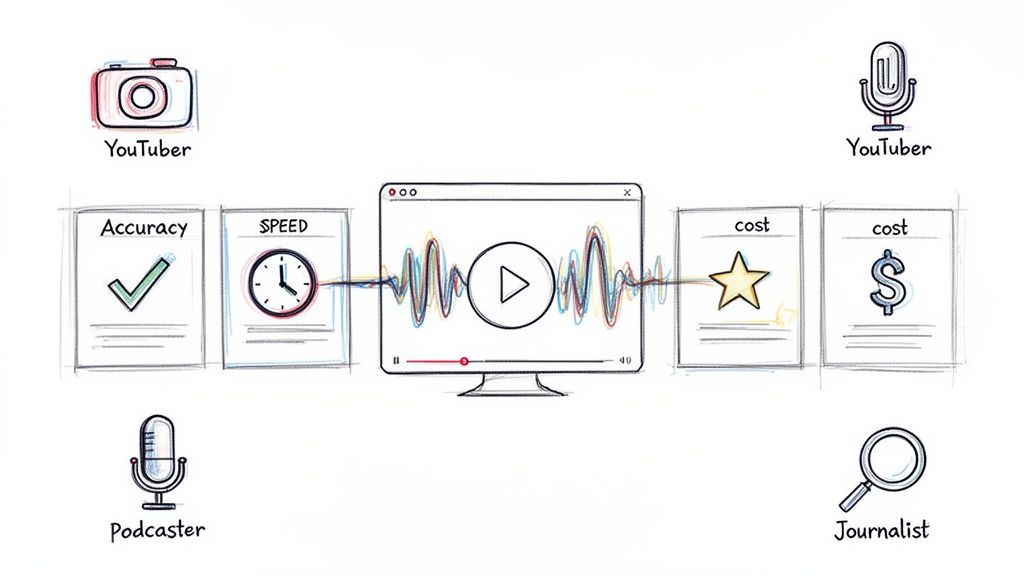
Accuracy still matters, but workflow matters just as much. A transcript that is slightly imperfect but easy to search, edit, and export is often more useful than one that looks polished and traps your file in a closed app.
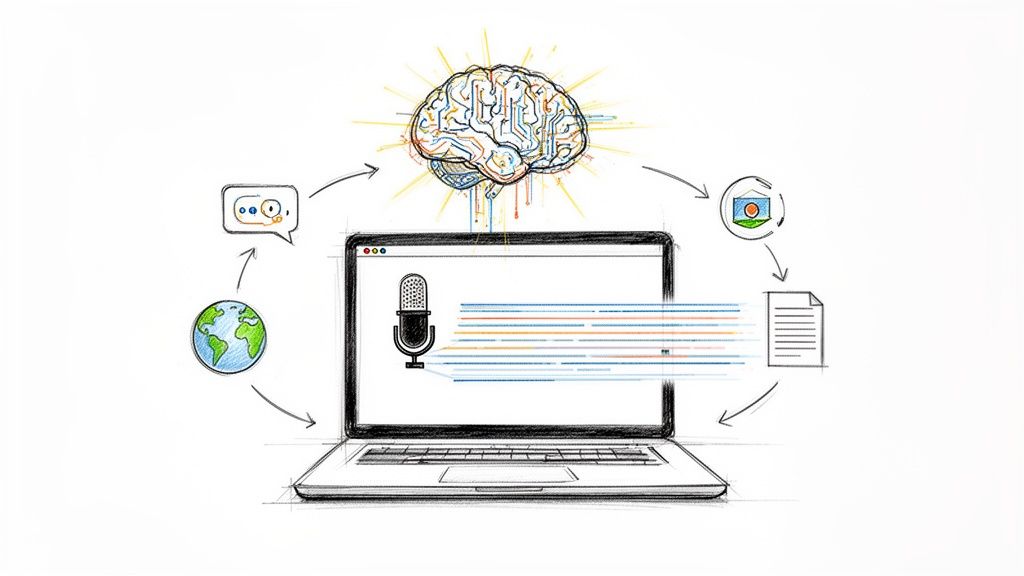
Use AI for the part after transcription
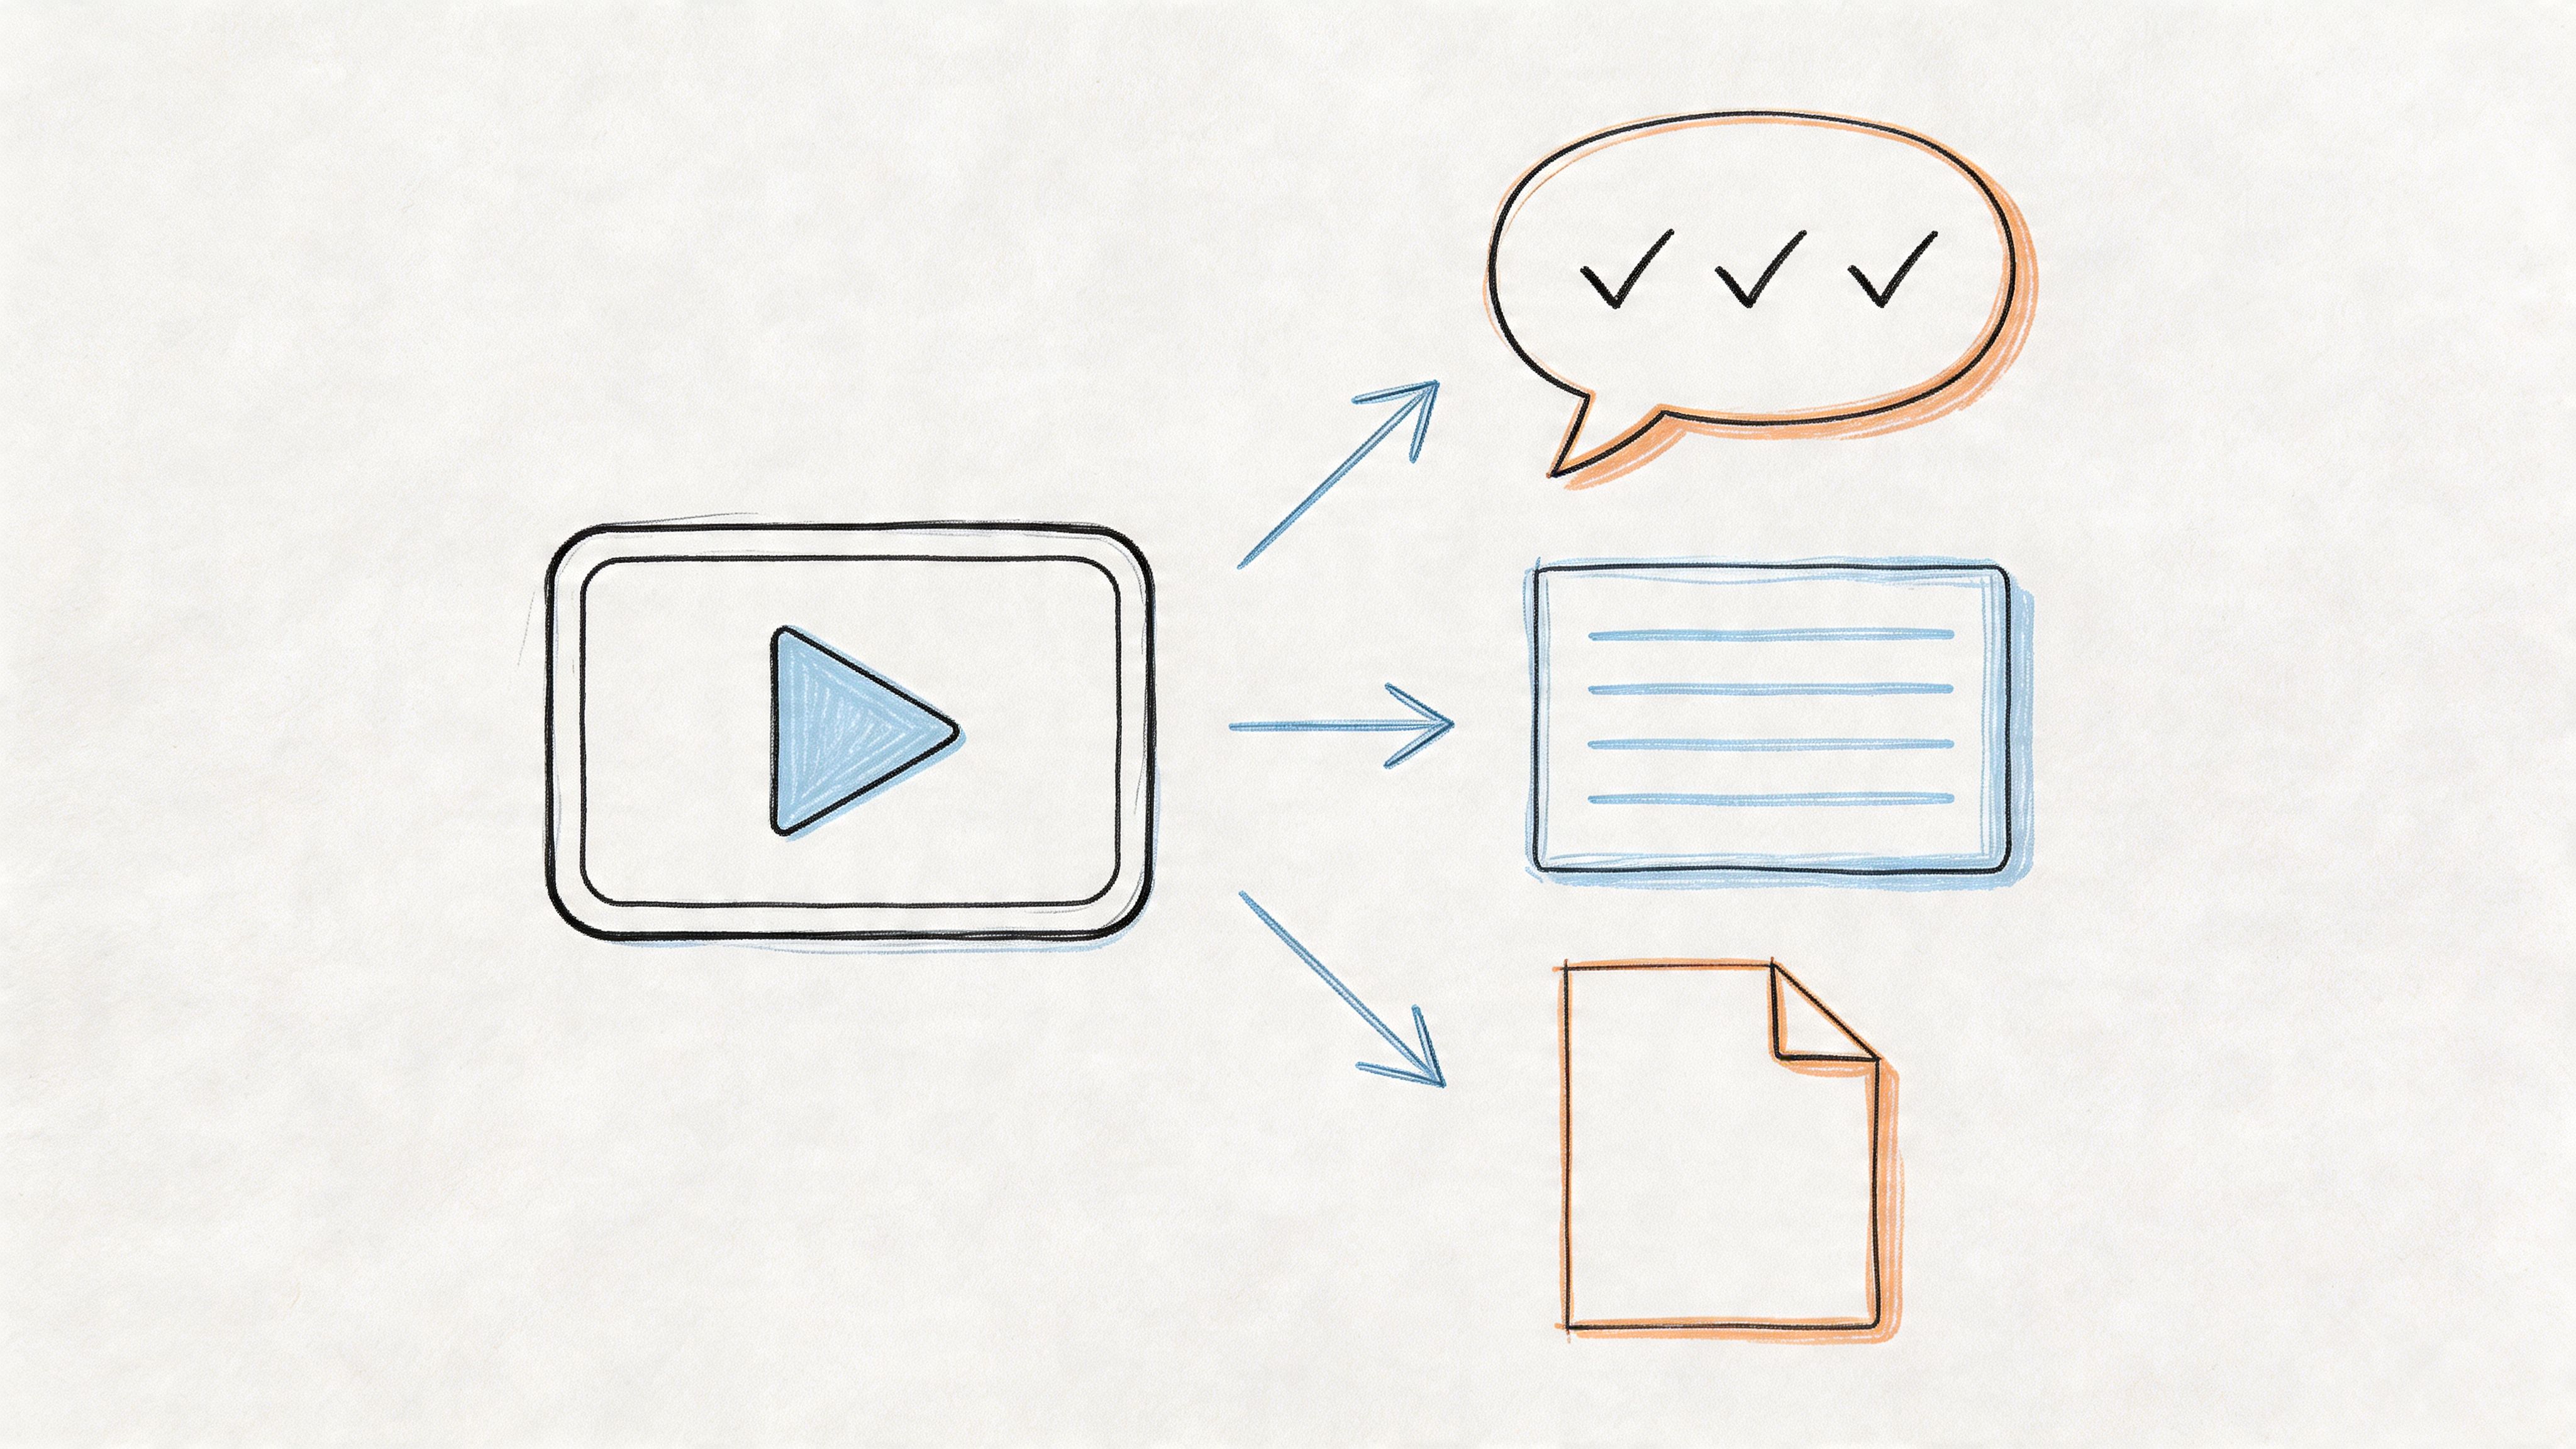
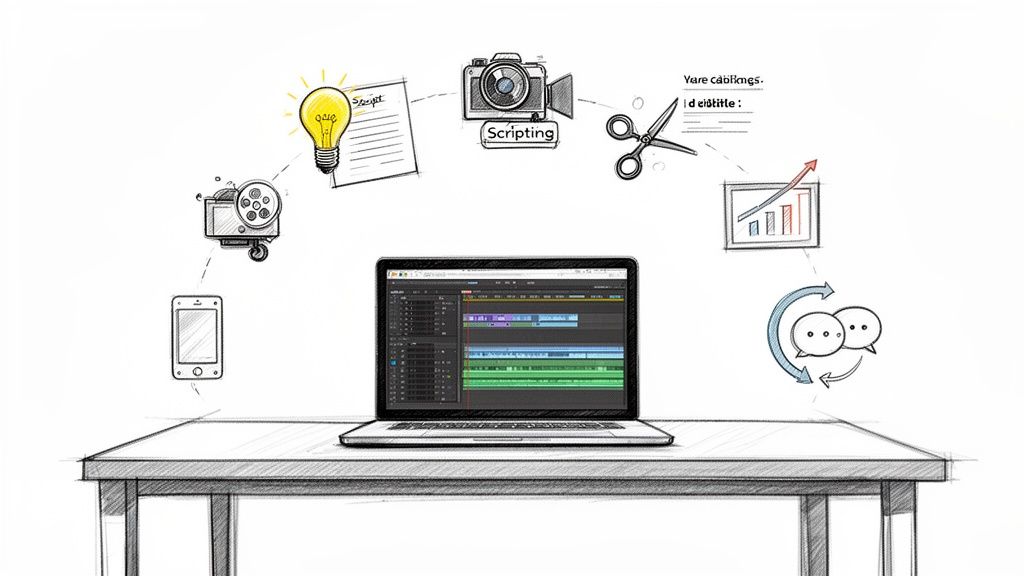
The strongest use of AI is not just turning speech into text. It is helping you process the recording after that.
For example, a long interview can become:
- a short summary for your notes
- a list of action items for a team
- key quotes with timestamps for publication
- a searchable archive you can revisit months later
That full lifecycle matters if you record conversations often. The recording captures the moment. The transcript preserves the substance. The summary makes it practical to use.
If the conversation includes sensitive personal, legal, medical, or business information, be careful where you upload it. Check the service's privacy terms, retention policy, and whether files are used to train models. In some cases, the safer choice is to keep the transcript process on-device or use a tool approved by your company.
A recording stored in an app is easy to forget. A reviewed transcript with a clear filename, a short summary, and the original audio attached is much easier to search, share, and trust later.
Tips for Crystal-Clear Audio and Easy File Sharing
Good recordings usually come down to a few small habits. Bad recordings do too.
Get better audio before you hit Record
Most quality problems start with distance. The farther the iPhone is from the speaker, the thinner and noisier the result gets.
Use these habits:
- Move the phone closer: A near phone with a basic mic usually beats a far phone with perfect settings.
- Choose the quiet side of the room: Hard walls, kitchen noise, and air conditioners do more damage than people expect.
- Keep the phone stable: Table vibrations and handling noise are hard to clean up later.
- Use external mics when the conversation matters: Apple supports external microphones and headsets in Voice Memos, which can help in interviews and noisy spaces, as noted earlier from Apple's recording guide.
If you're recording a speakerphone call with another device, place the iPhone so the bottom microphone has a direct path to the sound, and avoid putting it flat against reflective surfaces if the room is already echoey.
Clean up the file right after recording
The best time to organize a recording is immediately after you stop.
Do this while the context is fresh:
- Rename the file clearly: Use names like “Client call April Notes version” or “Interview with Jane draft.”
- Trim dead air: Voice Memos makes quick cleanup easier when the beginning or end is just fumbling and silence.
- Add context somewhere else: Put date, consent status, and topic notes in your notes app or project folder.
That extra minute saves frustration later.
Share without making a mess
Audio files get awkward once they're long. Instead of forcing them through the wrong channel, match the method to the file.
- AirDrop: Best when both devices are nearby and inside the Apple ecosystem.
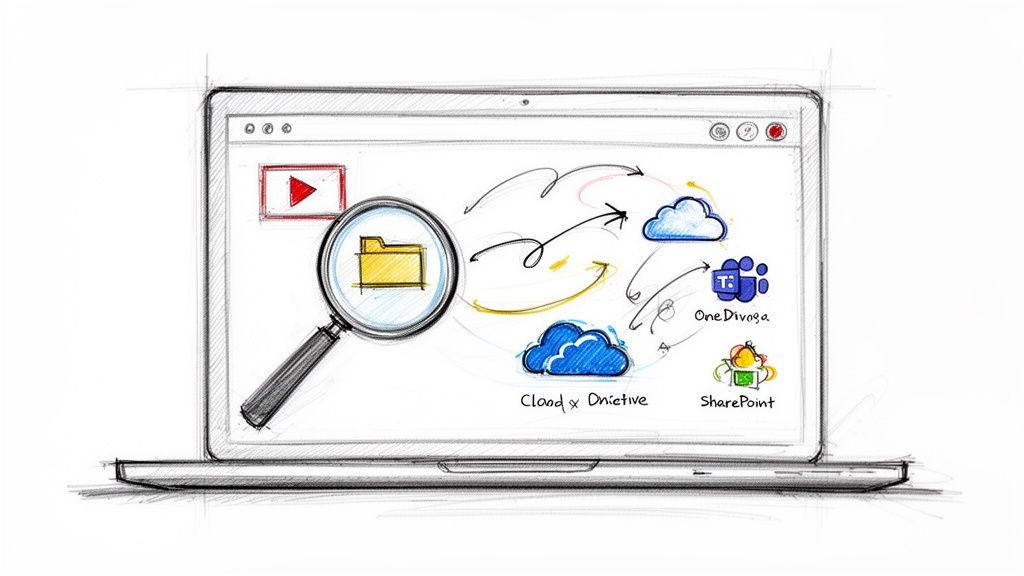
- iCloud sharing: Useful when the file is too large for casual messaging.
- Direct upload to a transcription workflow: Often the cleanest option if the end goal is text, not just storage.
- Notes and Voice Memos export: Good for quick handoff, but check what metadata or titles the recipient will see.
The simplest rule is this: save clearly, export once, and avoid making duplicate mystery files with names like “New Recording 27.”
If you record interviews, calls, classes, meetings, or content sessions on iPhone, the next bottleneck usually isn't capture. It's turning audio into something searchable and useful. Whisper AI helps with that by converting recordings into transcripts, summaries, speaker-labeled notes, and export-ready text so you can find quotes, action items, and key moments without replaying the whole file.