Audio to Text Mac: A Complete Guide for 2026
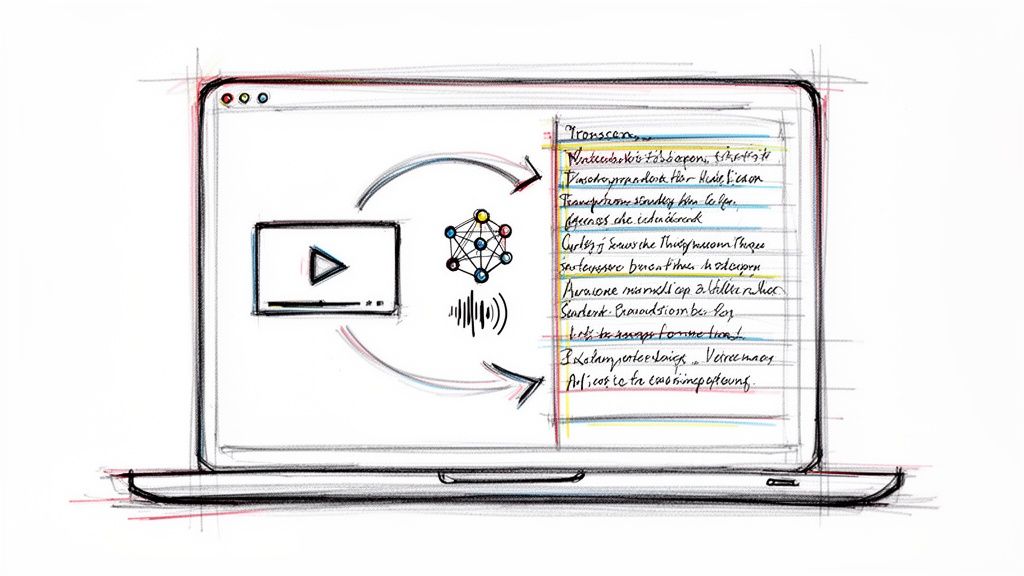
You finish recording an interview, class lecture, or podcast episode, drop the file onto your Mac, and then hit the annoying part. The audio is done, but the useful version of it, the searchable, editable text, still doesn't exist.
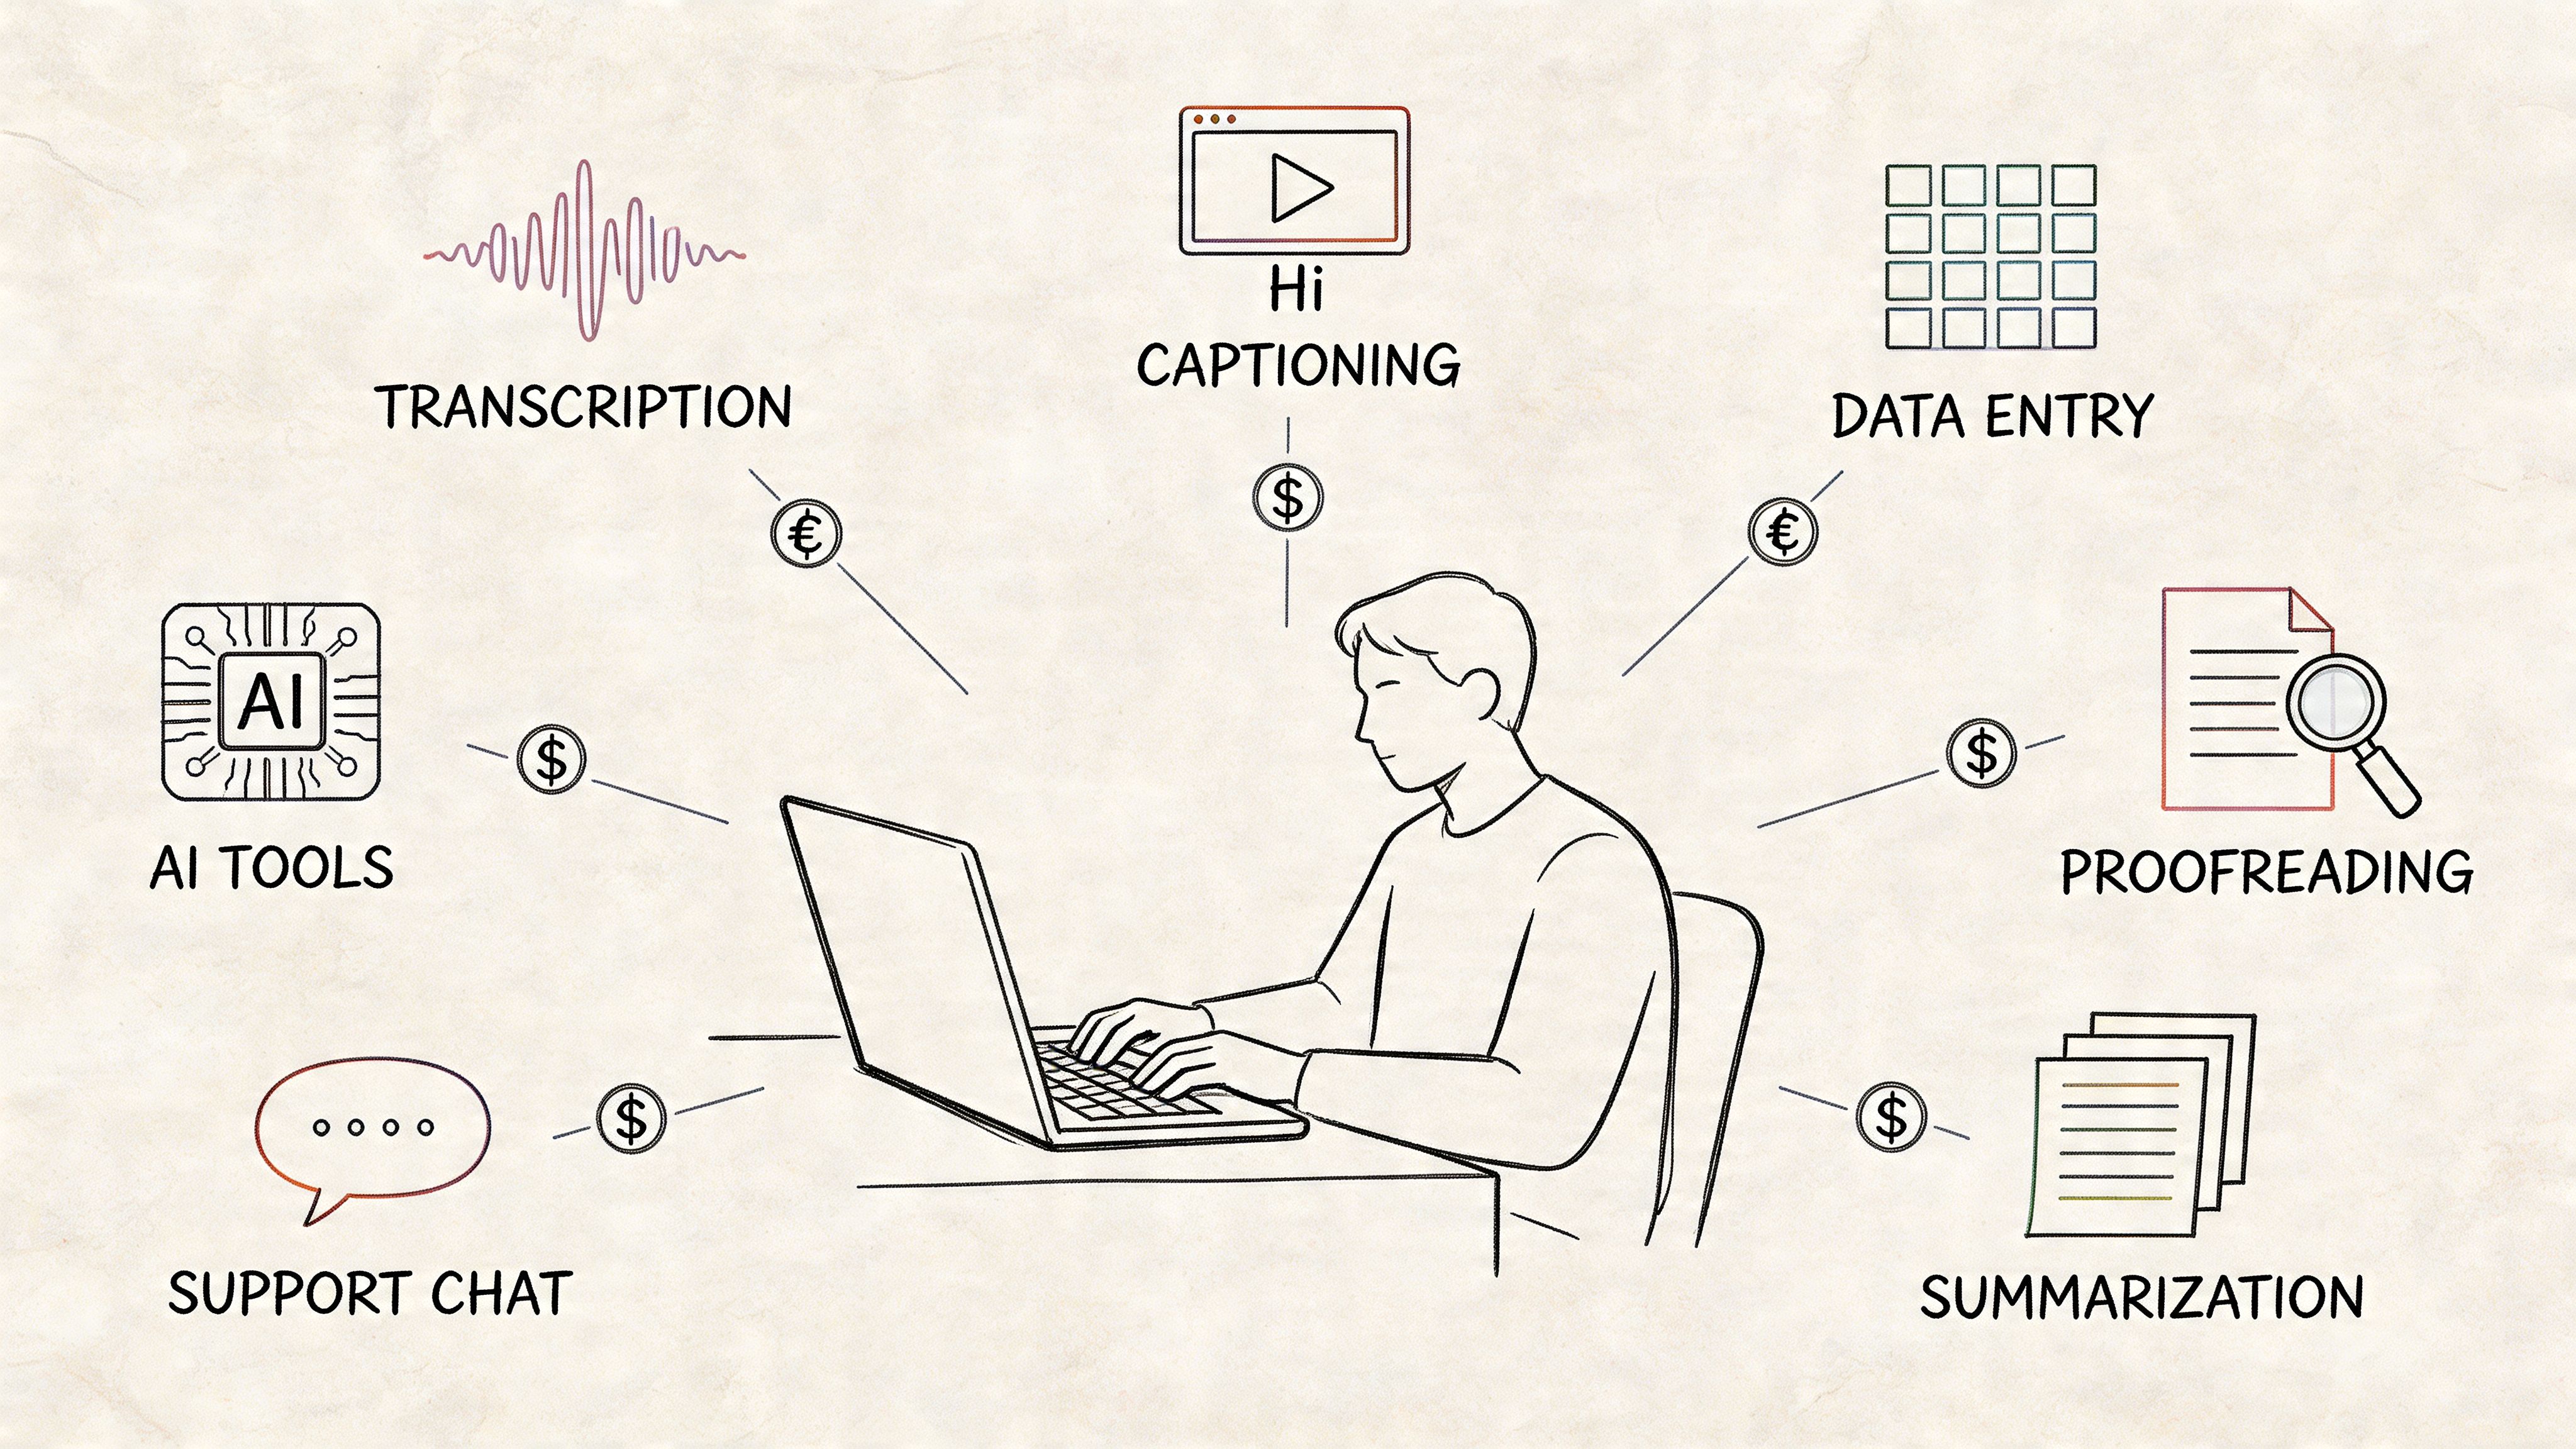
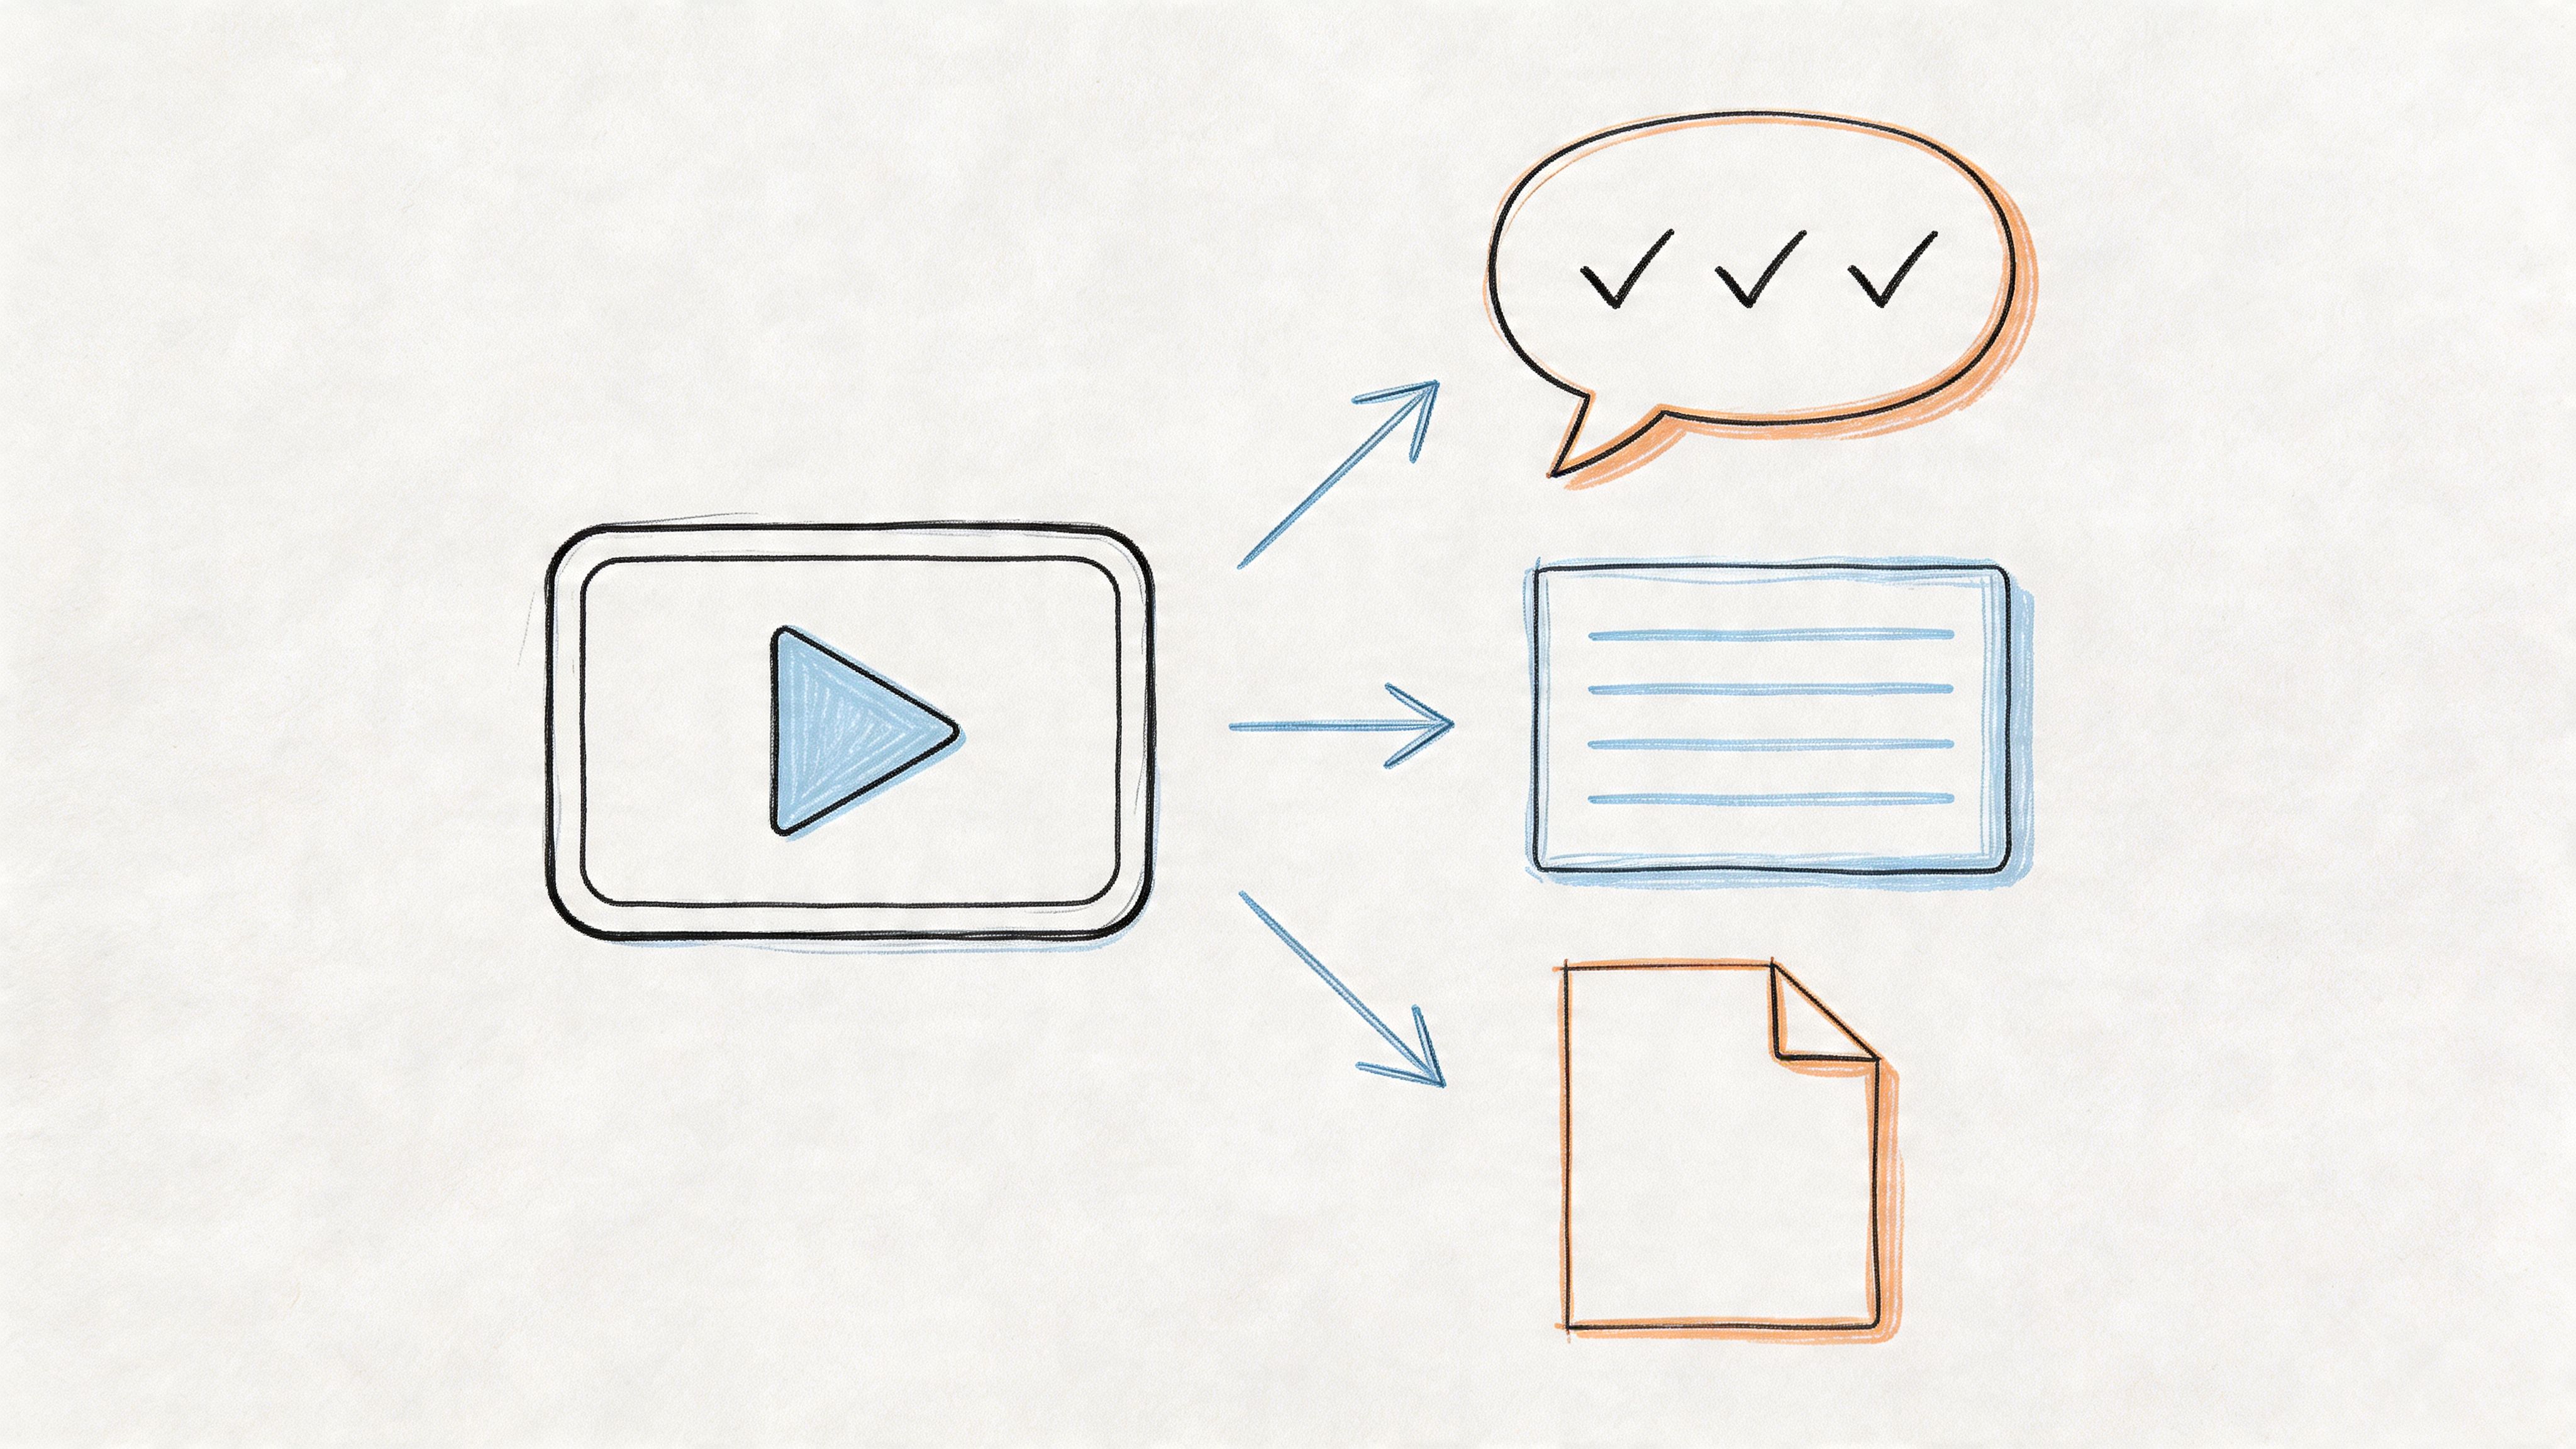
That's a common sticking point with audio to text on Mac. Not because the Mac can't do it, but because there are several ways to do it and they solve different problems. A quick dictated note, a saved voice memo, and a multi-speaker interview shouldn't go through the same workflow.
I've found that the right question isn't “Can my Mac transcribe this?” It's “What level of transcript do I need?” Sometimes Apple's built-in tools are enough. Sometimes they save you only the first draft. And sometimes a dedicated AI workflow is the only option that won't waste your editing time.
Choosing the Right Transcription Method for Your Mac
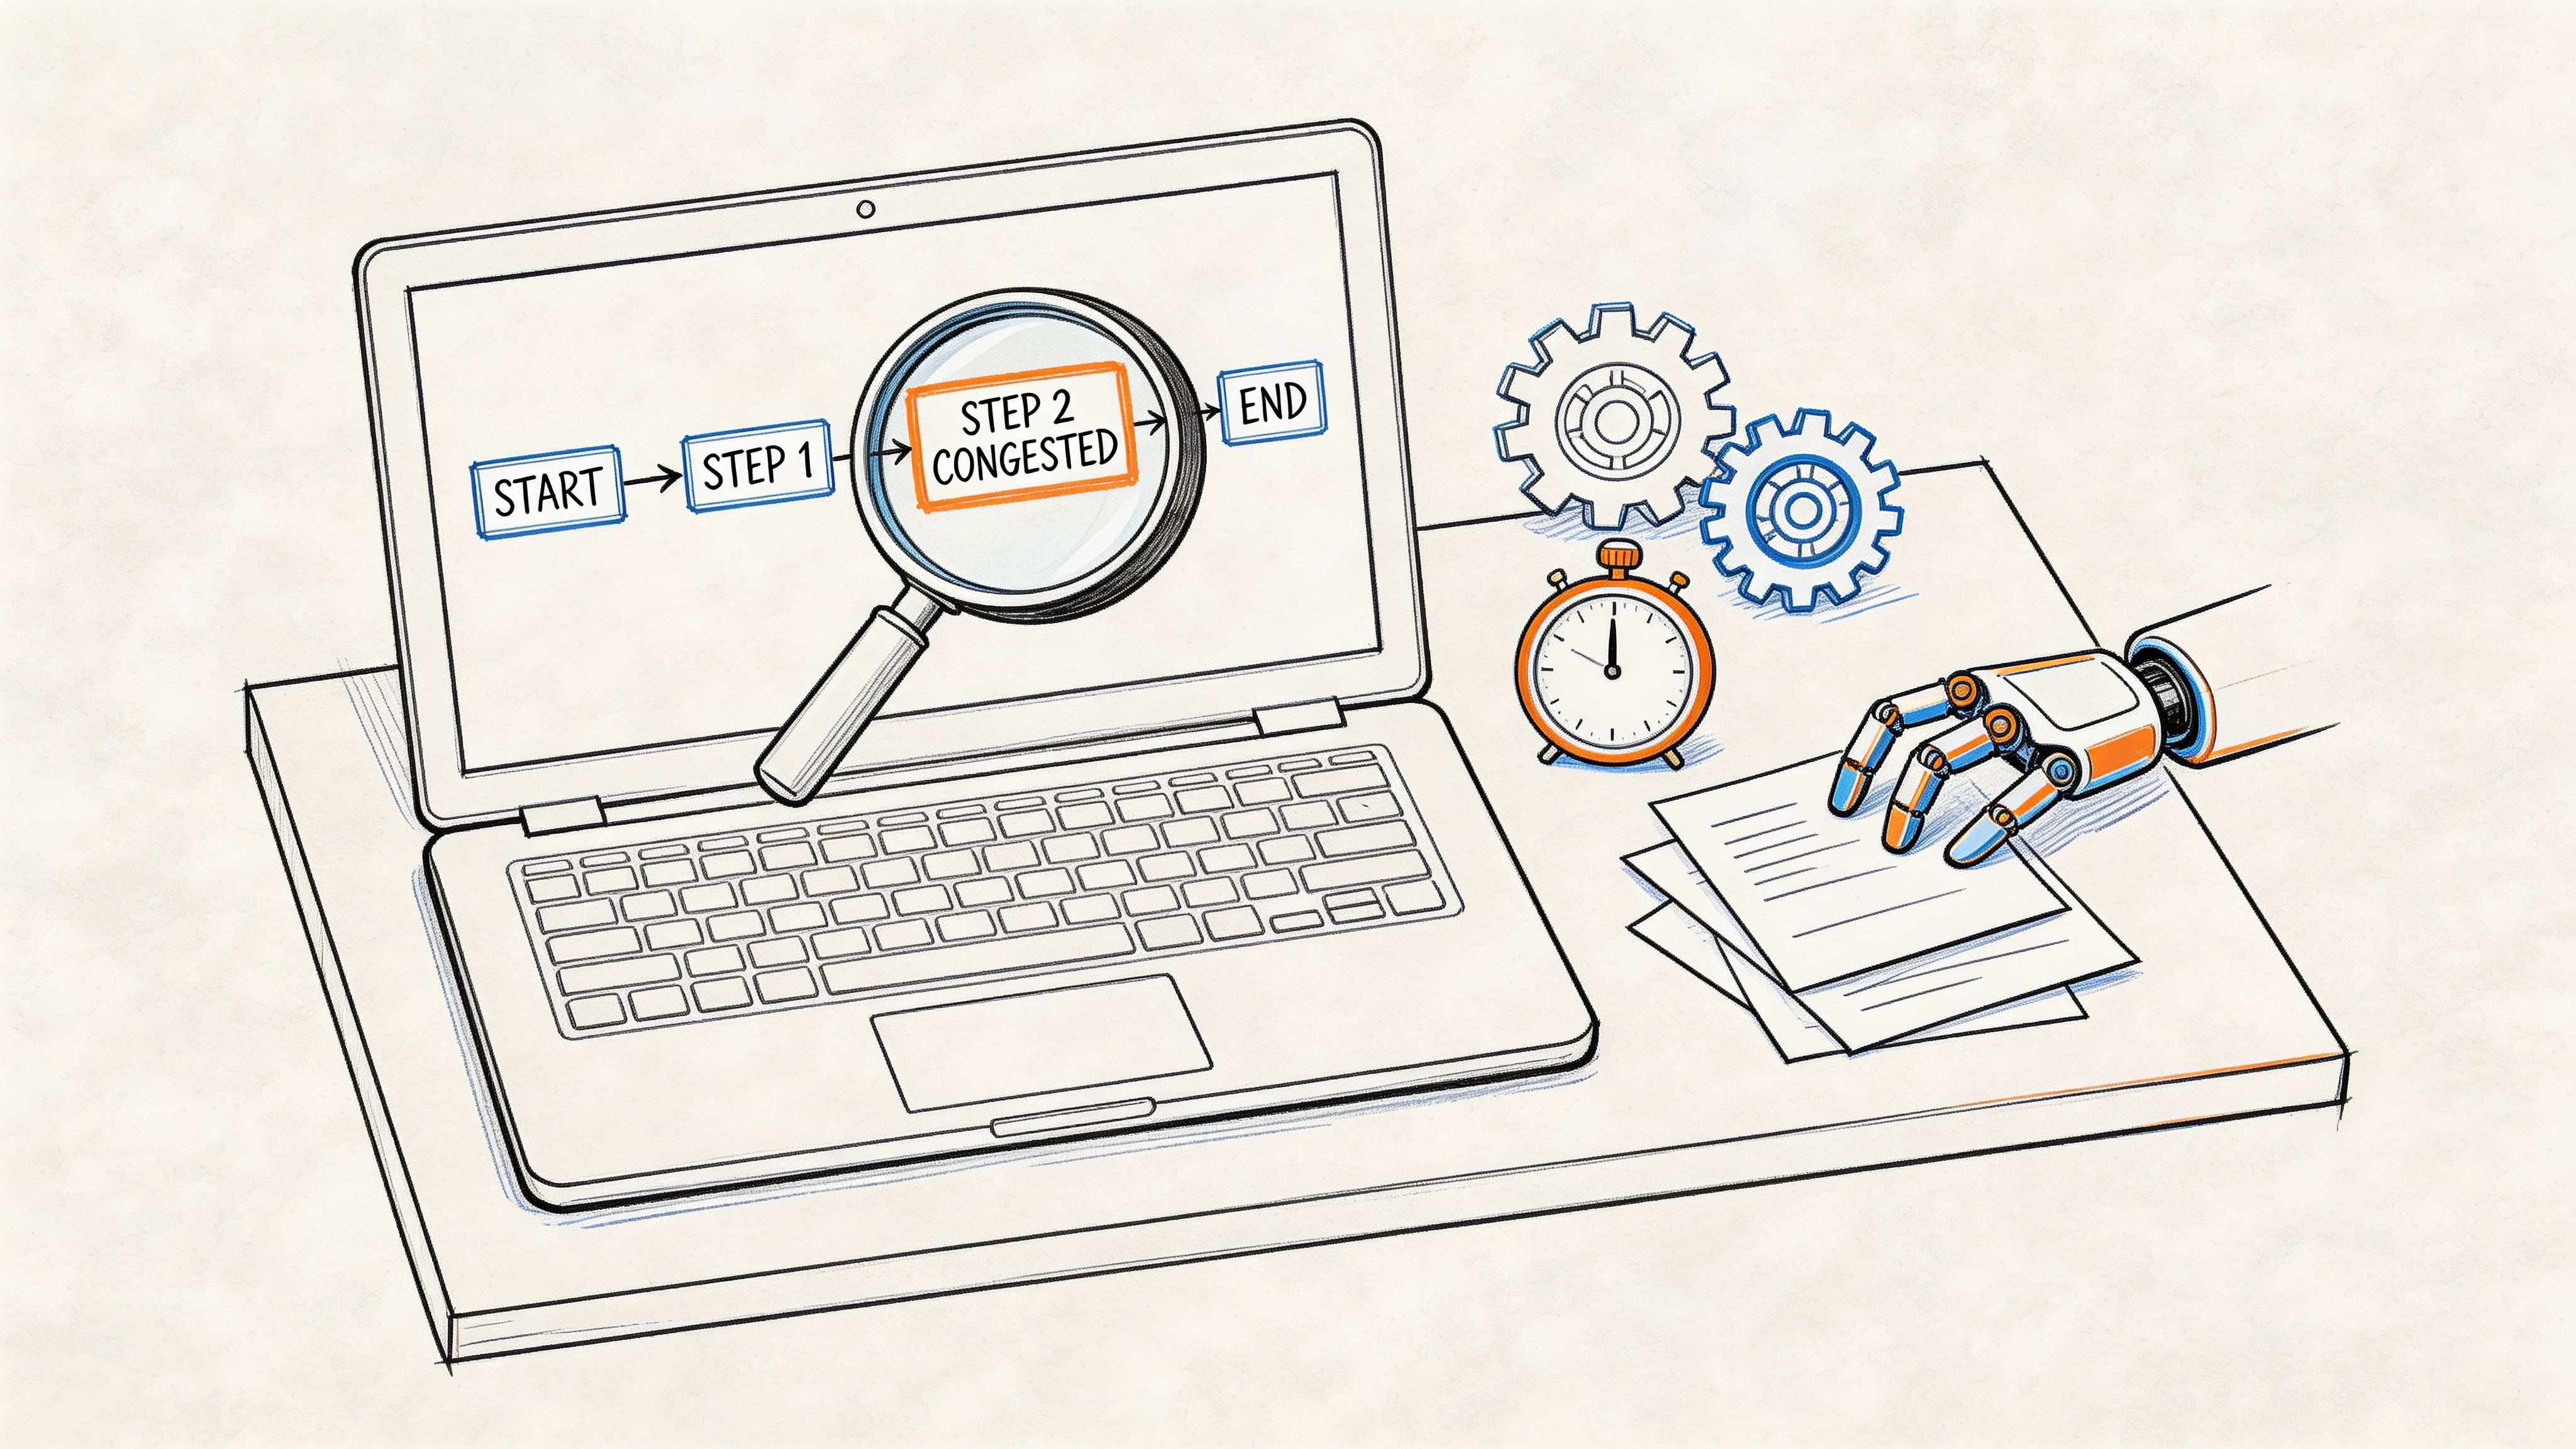
A common scenario looks like this. You have one hour of audio and two deadlines. One deadline is immediate, because you need to pull quotes, notes, or action items. The other is hidden, because every transcription shortcut that saves a few minutes upfront can cost much longer later if the text comes back messy.
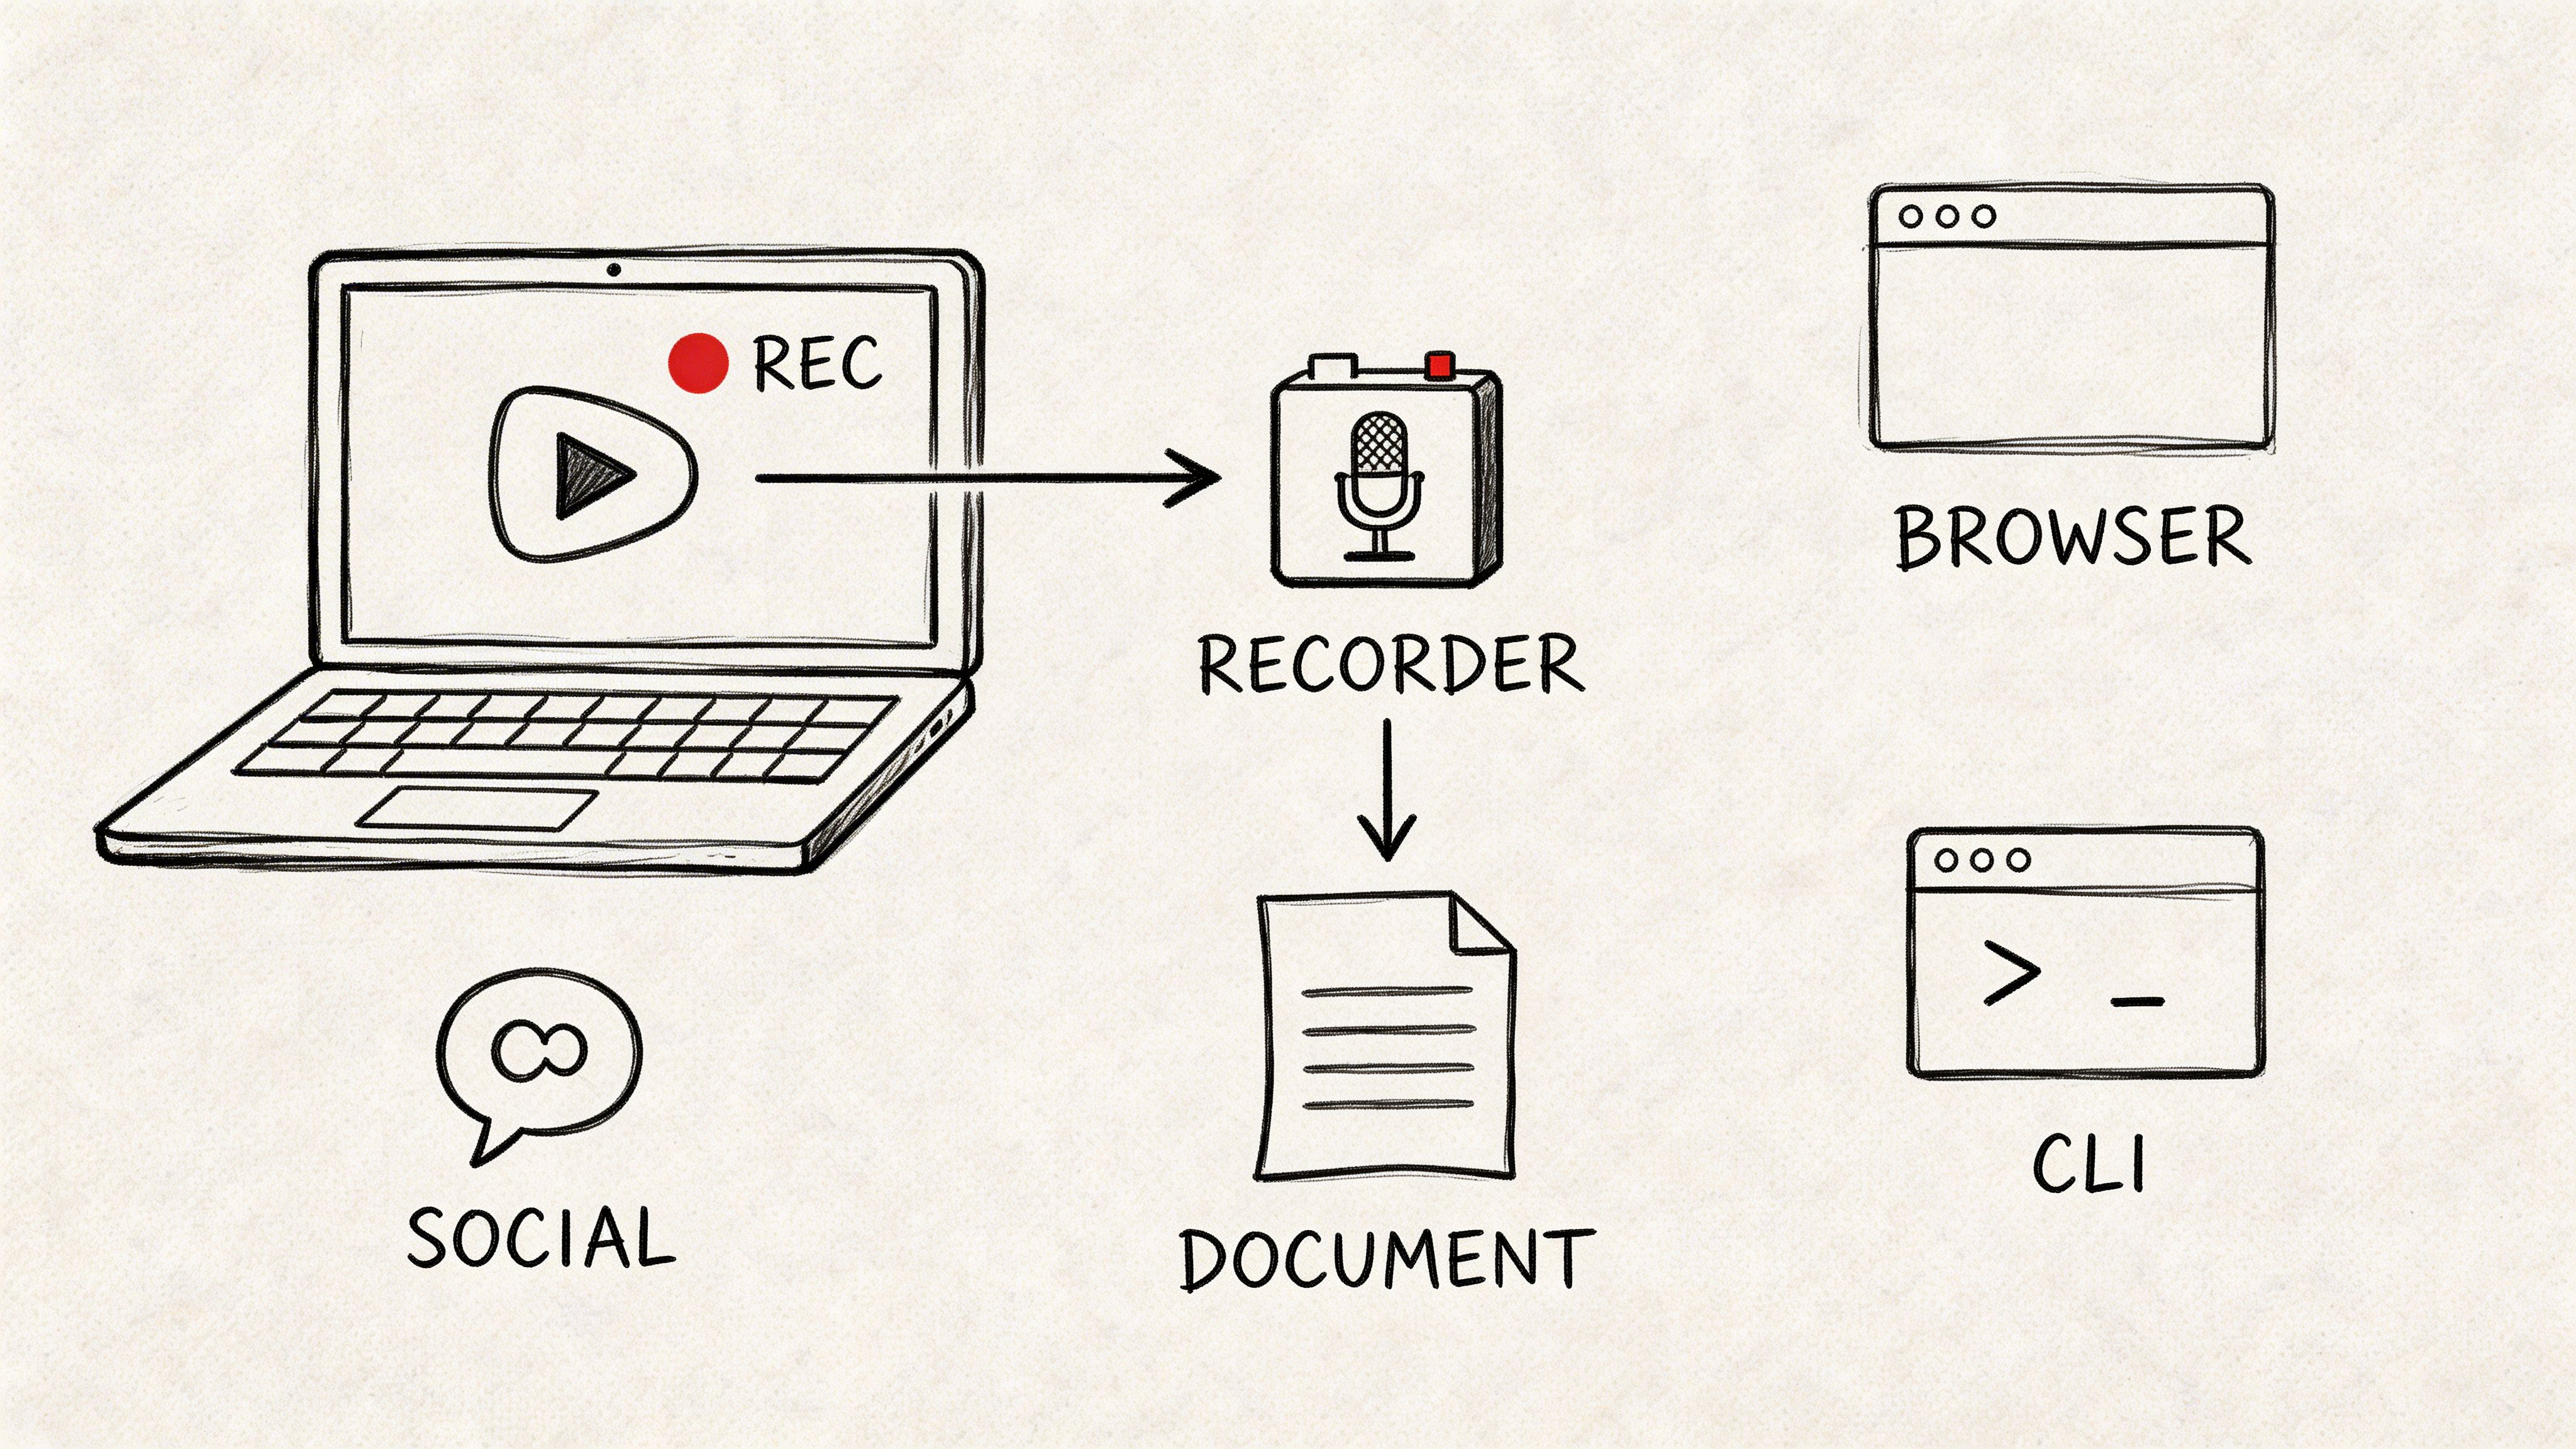
For most Mac users, there are three practical paths.
Live dictation for words you're speaking now
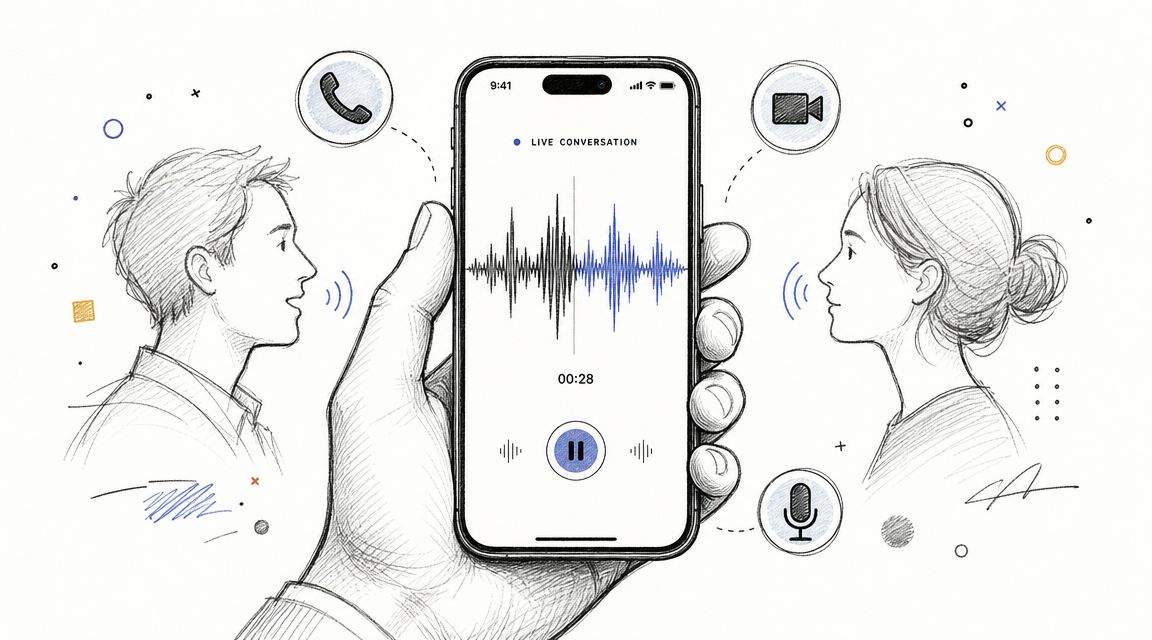
This is the fastest route when you're composing rather than transcribing. You open Notes, Pages, Mail, or even Numbers, trigger Dictation, and speak. Apple treats Dictation as a system feature, not a niche add-on, so it works across common apps and supports long-form spoken input rather than tiny snippets.
This works well for:
- Short notes
- Email drafts
- Brain dumps
- Hands-free writing
It's much less useful for a finished interview recording sitting on your desktop.
Built-in file transcription for recordings you already have
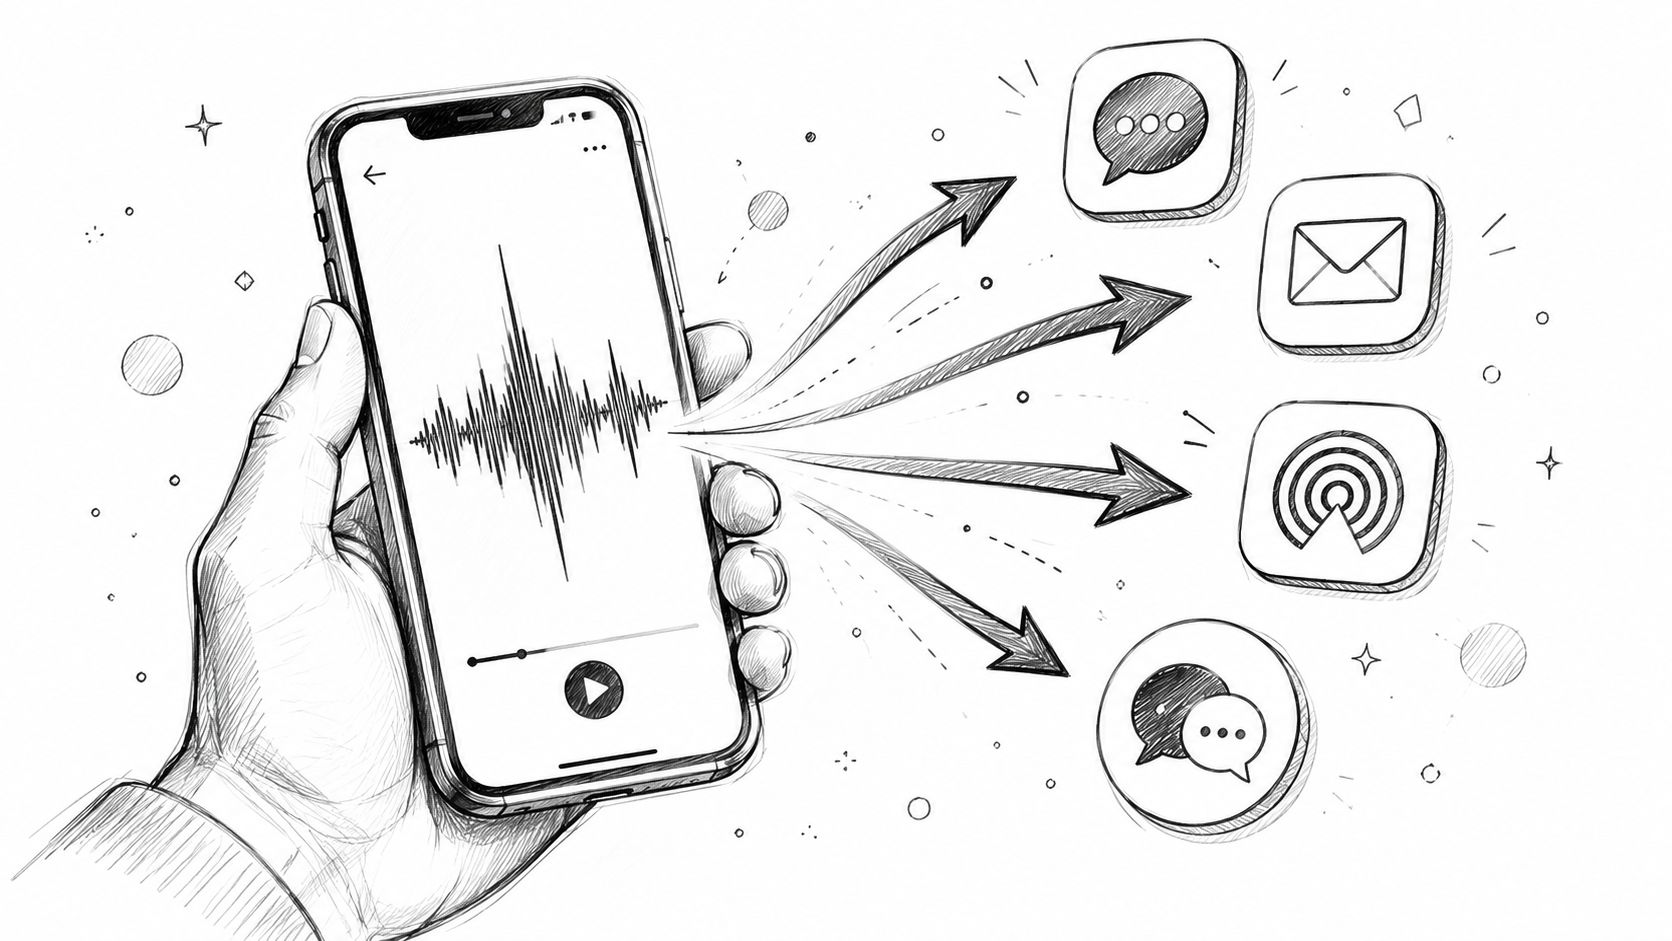
Recent macOS versions made the built-in route more useful for actual recorded media. If your audio already exists as a file, Apple now gives you a cleaner path through Notes and Voice Memos for transcript generation. That's a meaningful shift for students, reporters, and creators who need text from lectures, meetings, or spoken recordings after the fact.
Practical rule: If the recording is simple, the stakes are low, and you mainly need searchable text, start with the tools already on your Mac.
Dedicated AI transcription for serious editing work
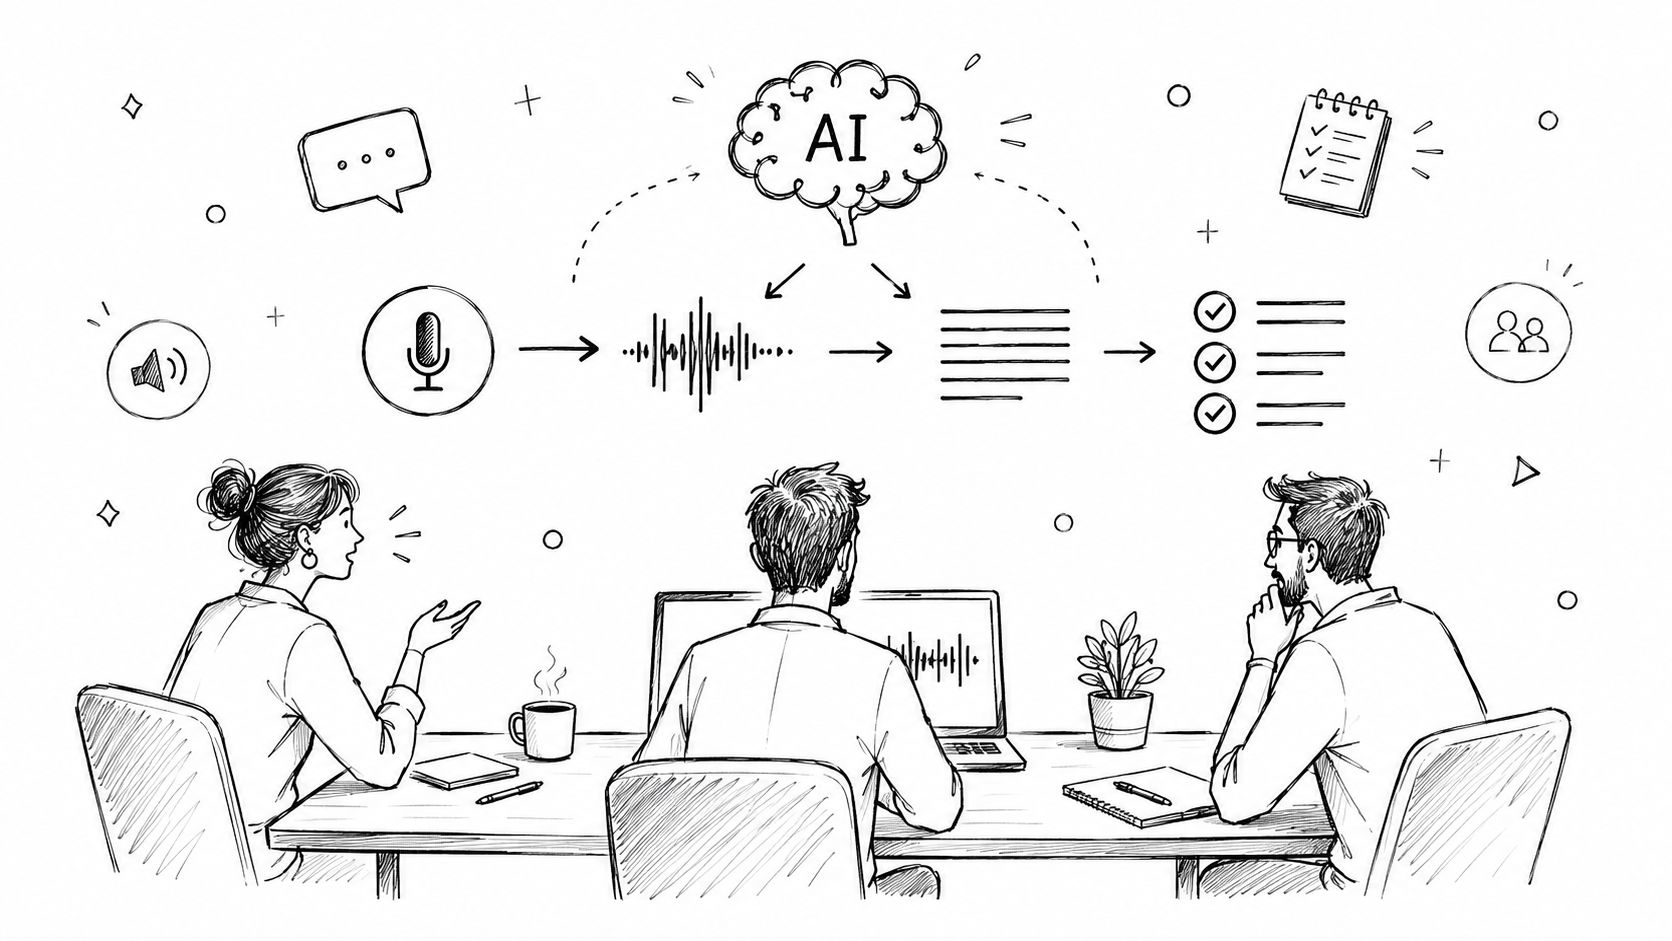
If the file has multiple speakers, overlapping speech, rough room audio, or a lot of names and terminology, the workflow changes, and the built-in route often becomes an editing project. A dedicated transcription service starts paying for itself when it gives you speaker labels, timestamps, and a review process that lets you fix only the broken parts.
The primary decision isn't about being “pro” or “basic.” It's about whether your transcript is just a reference document or something you'll publish, share, quote, subtitle, or turn into content.
Using Your Mac's Built-in Transcription Tools
Apple gives you two native ways to handle audio to text on Mac. One is live Dictation for speech you're producing right now. The other is file-based transcription for recordings you already captured.
Turn on Dictation and use it anywhere
Apple's Dictation can be started from the Microphone key, a keyboard shortcut, or Edit > Start Dictation, and Apple says you can dictate text of any length without a timeout. It stops automatically only after 30 seconds of no speech, according to Apple's Mac Dictation guide.
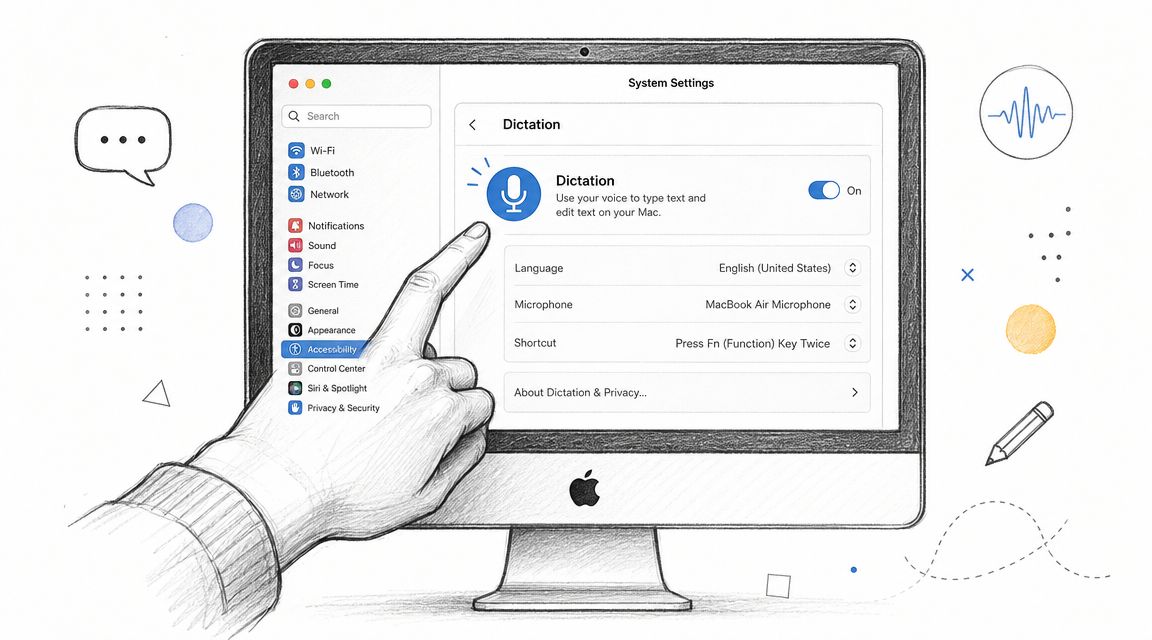
To use it:
- Open System Settings.
- Go to Keyboard.
- Enable Dictation.
- Pick your shortcut or use the Microphone key.
- Open the app where you want text to appear, then start speaking.
This is a strong option when you want to write by voice in:
- Notes for rough capture
- Mail for fast replies
- Pages for drafting
- Numbers for spoken cell entry and punctuation commands
Mac users can also dictate punctuation by saying words like “comma” or “apostrophe,” and Dictation works directly in Apple apps such as Numbers, as described in the MacMost guide to transcribing audio on a Mac.
Use Notes or Voice Memos for recorded files
If you already have an audio file, Dictation isn't the right tool. On macOS Sequoia and later, MacMost notes that you can import audio into Voice Memos or Notes and view a transcript from the recording. That's the built-in path that matters most for lectures, interview clips, and saved meeting audio.
The practical workflow is simple:
- Import the recording into Notes or Voice Memos
- Open the recording entry
- View the transcript
- Read, copy, and reuse the text where needed
This approach is much better than trying to “play audio into Dictation” because it treats the file as a file, not as live speech.
For a lot of everyday work, Apple's built-in option is enough when your goal is review, search, or note extraction rather than polished publication.
What built-in tools do well
Built-in macOS transcription is strongest when the job is straightforward.
A few examples:
- Student use: turn a lecture recording into searchable notes
- Journalist use: get a rough transcript to pull likely quotes
- Business use: review a meeting recording without replaying the full file
- Personal use: convert voice memos into text you can skim later
What it doesn't do as gracefully is the heavier cleanup work. Once your recording gets longer, messier, or more collaborative, editing convenience matters as much as first-pass accuracy.
When to Upgrade to a Dedicated Transcription Service
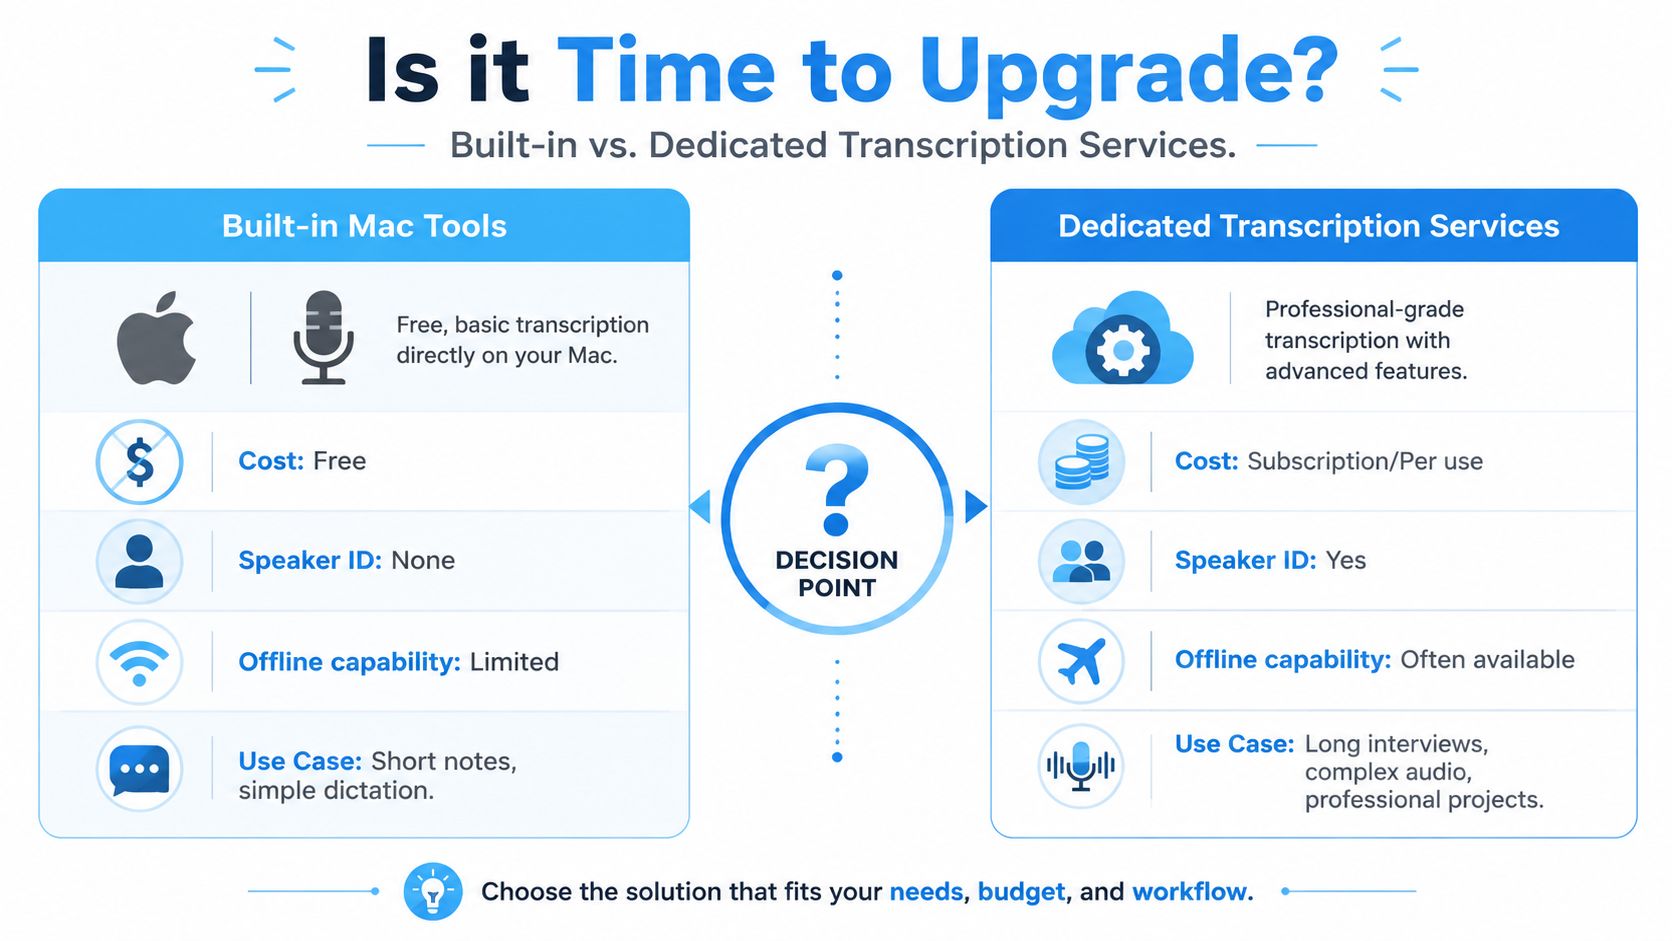
Apple's tools are convenient because they're already there. That convenience can hide its true cost. If you spend too much time correcting names, separating speakers, or hunting through garbled passages, the “free” option starts charging you in attention.
The point where a user should upgrade is easy to recognize. You stop asking “Can I get text from this?” and start asking “Can I trust this transcript enough to work from it?”
Signs the built-in route isn't enough
A dedicated service makes more sense when your recording has one or more of these problems:
- Multiple speakers: interviews, roundtables, and meetings become hard to review without clear speaker separation.
- Long recordings: the longer the file, the more painful manual cleanup becomes.
- Rough audio: fan noise, room echo, and interruptions create more correction work.
- Production needs: captions, blog repurposing, summaries, and quote extraction all benefit from cleaner structure.
A good overview of what these tools add appears in this guide to AI-powered transcription services.
What you gain by upgrading
The biggest upgrade isn't just “better transcription.” It's a better editing surface.
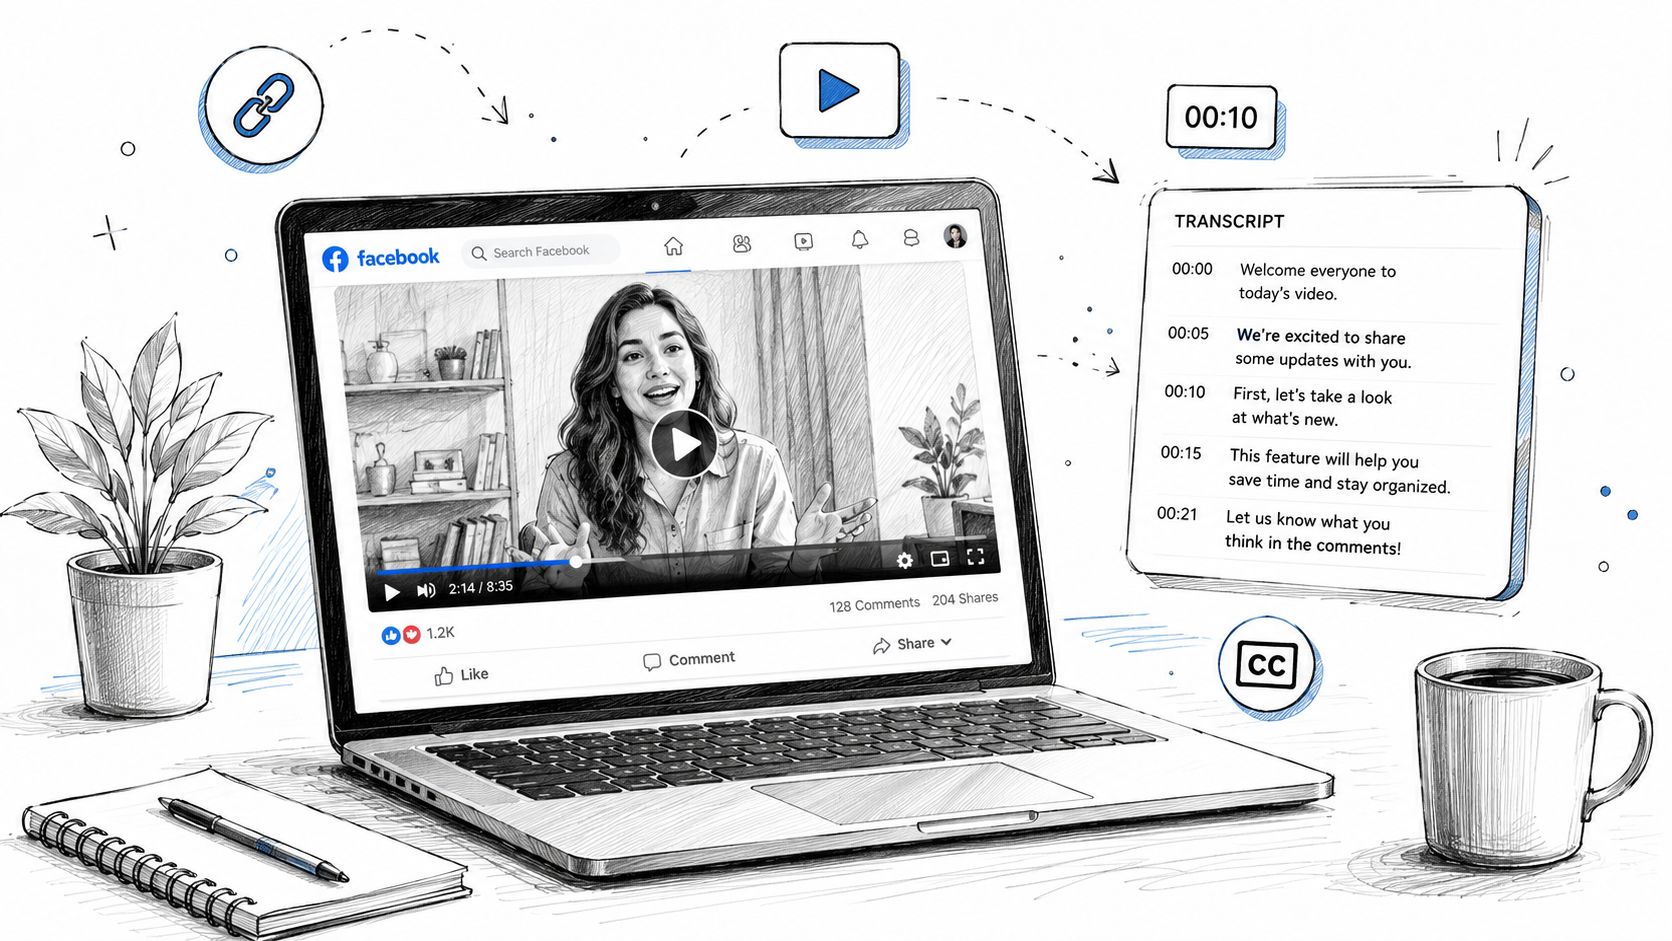
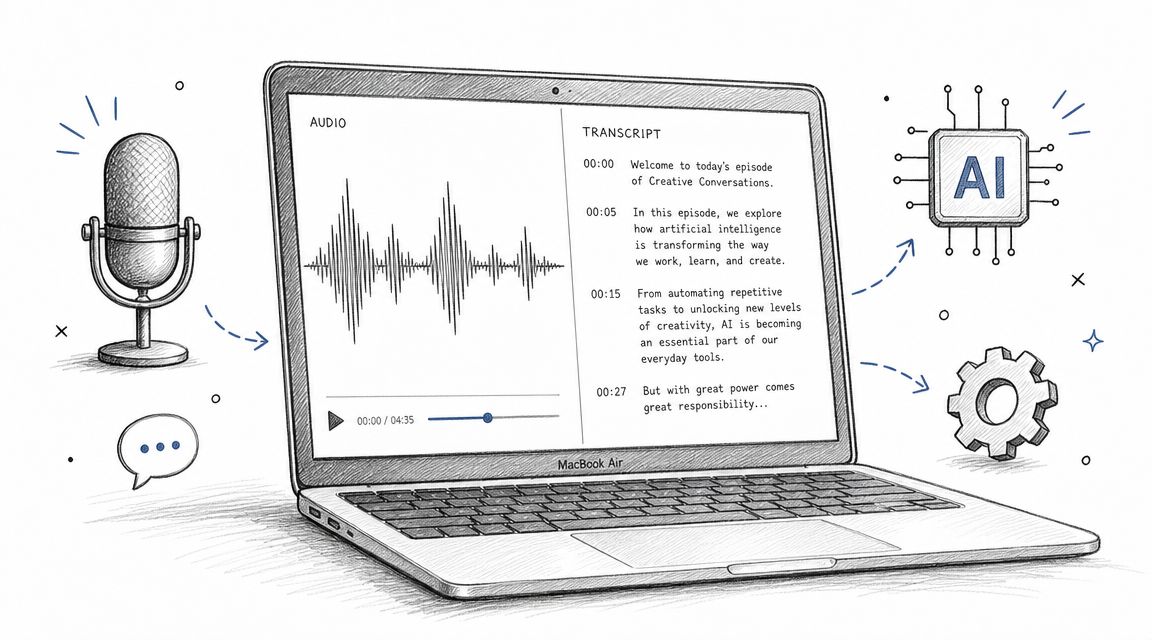
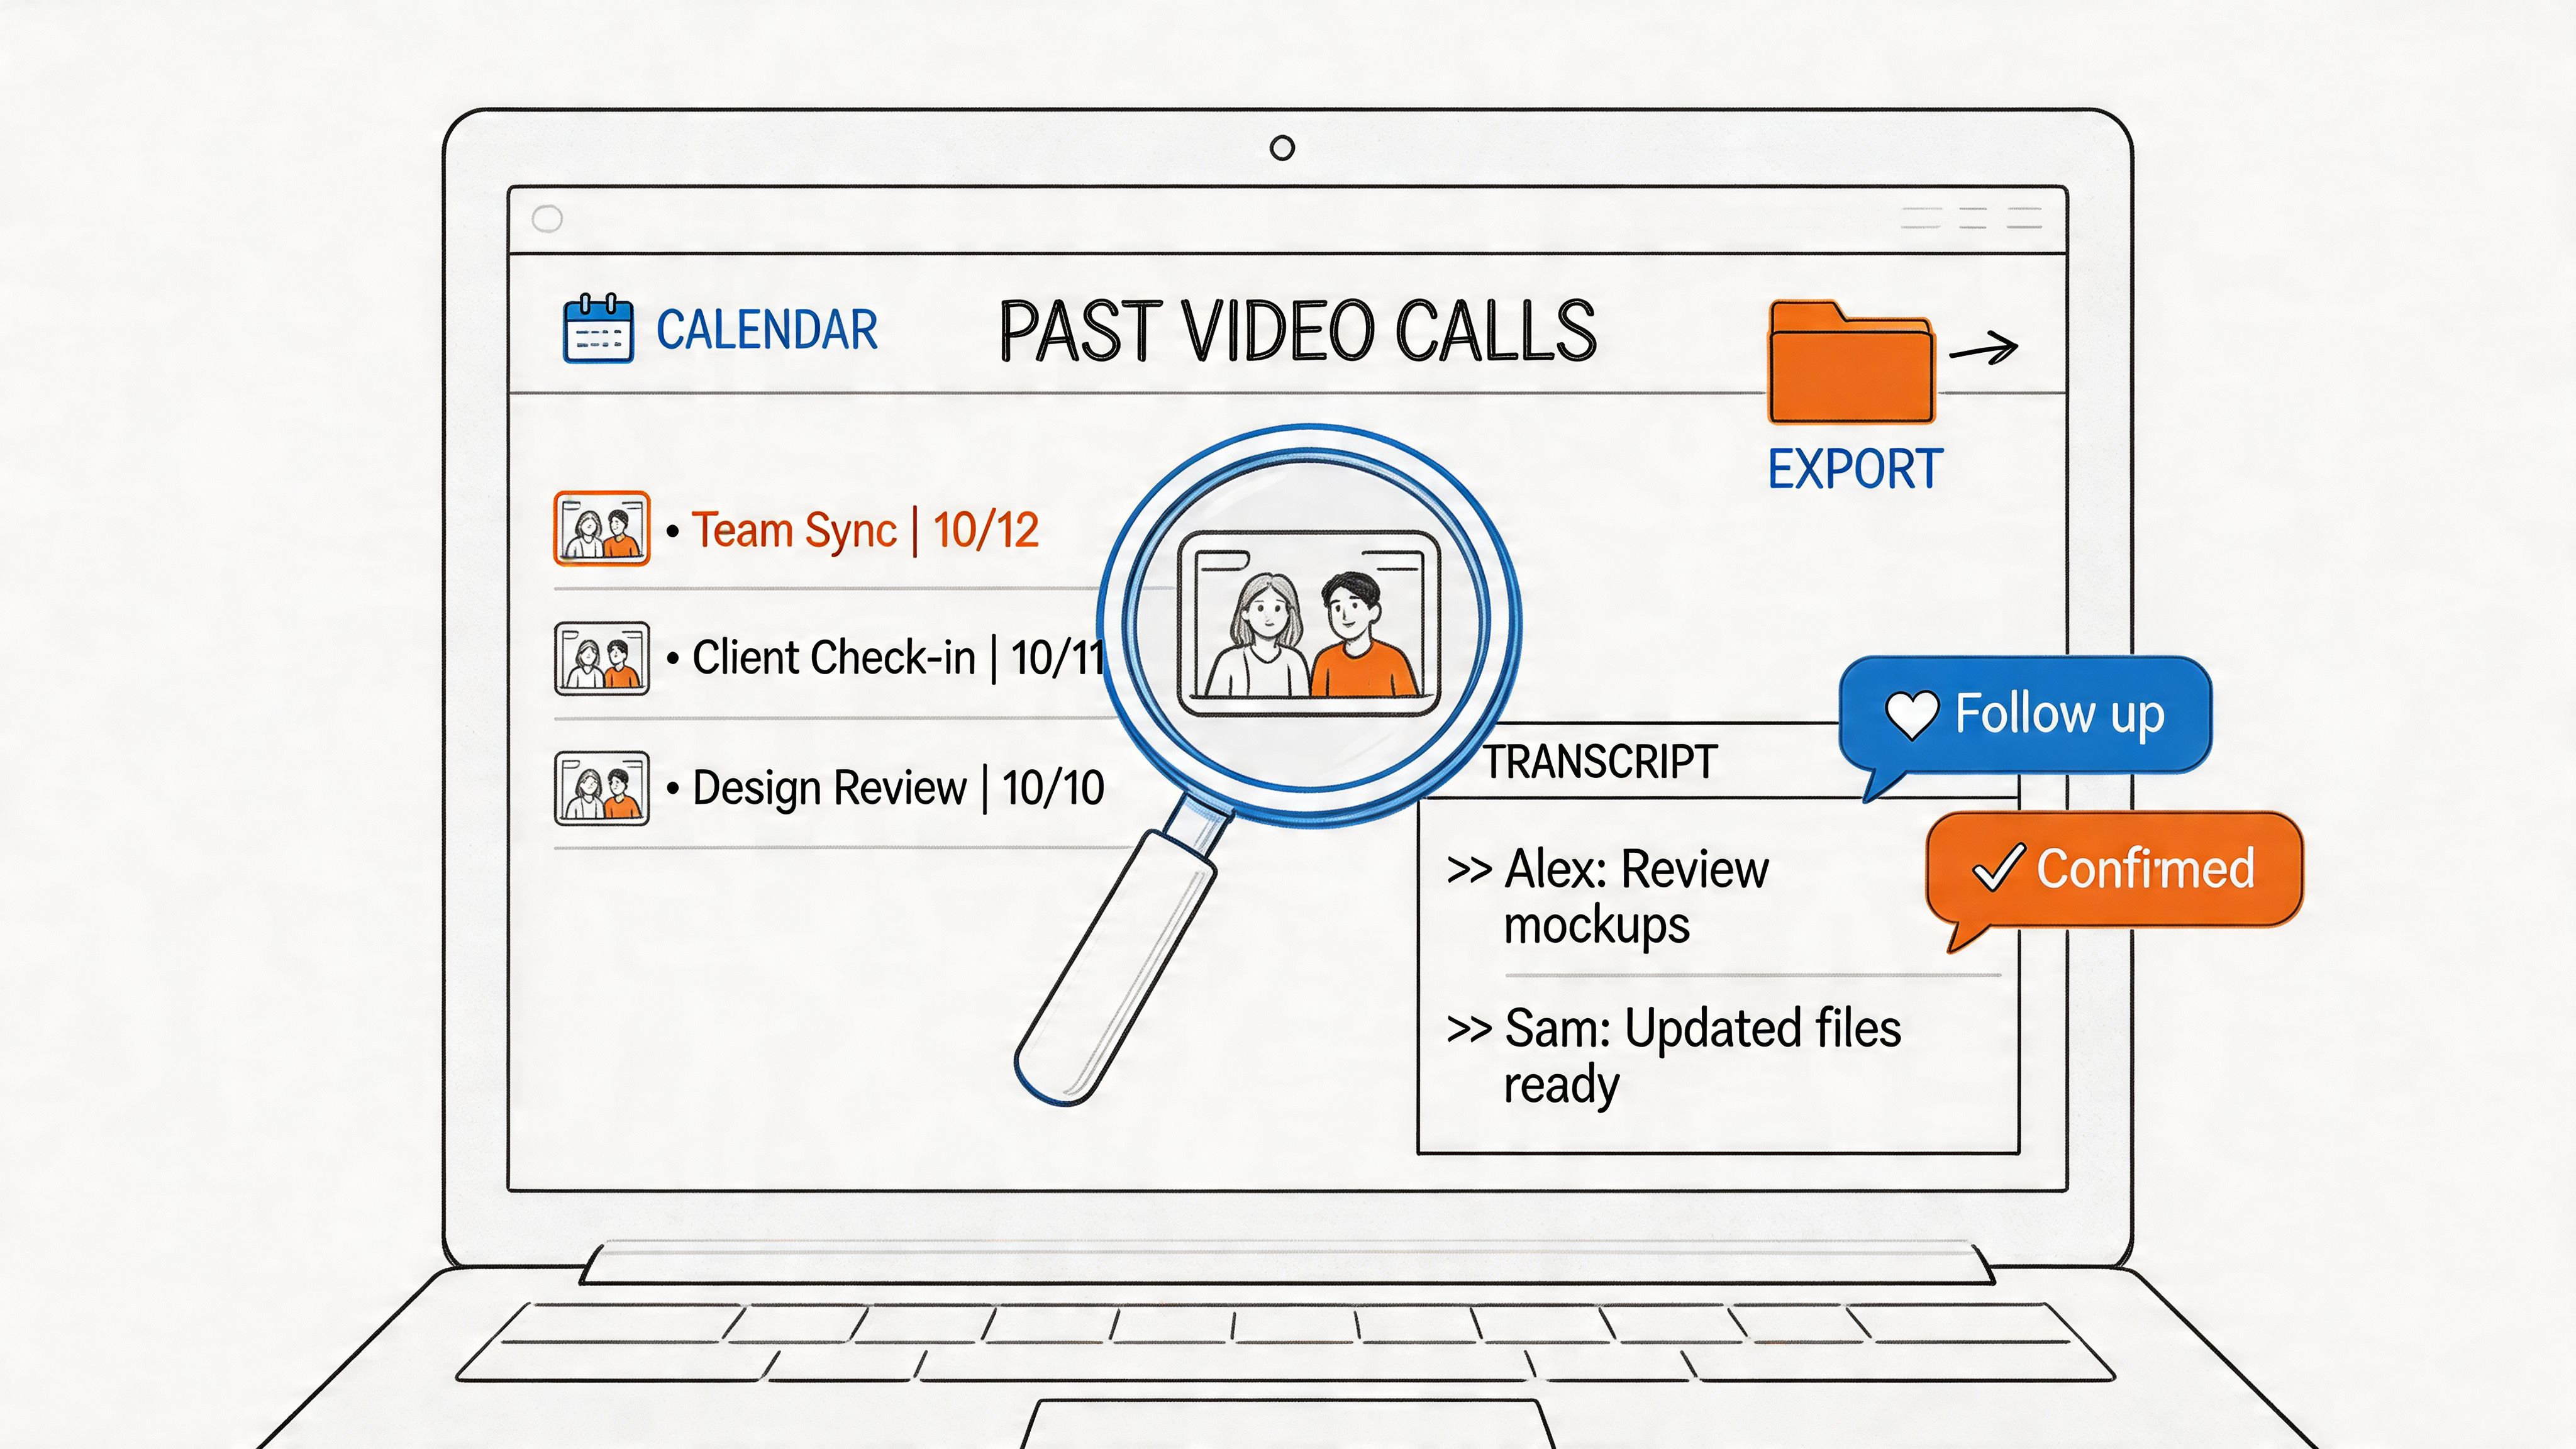
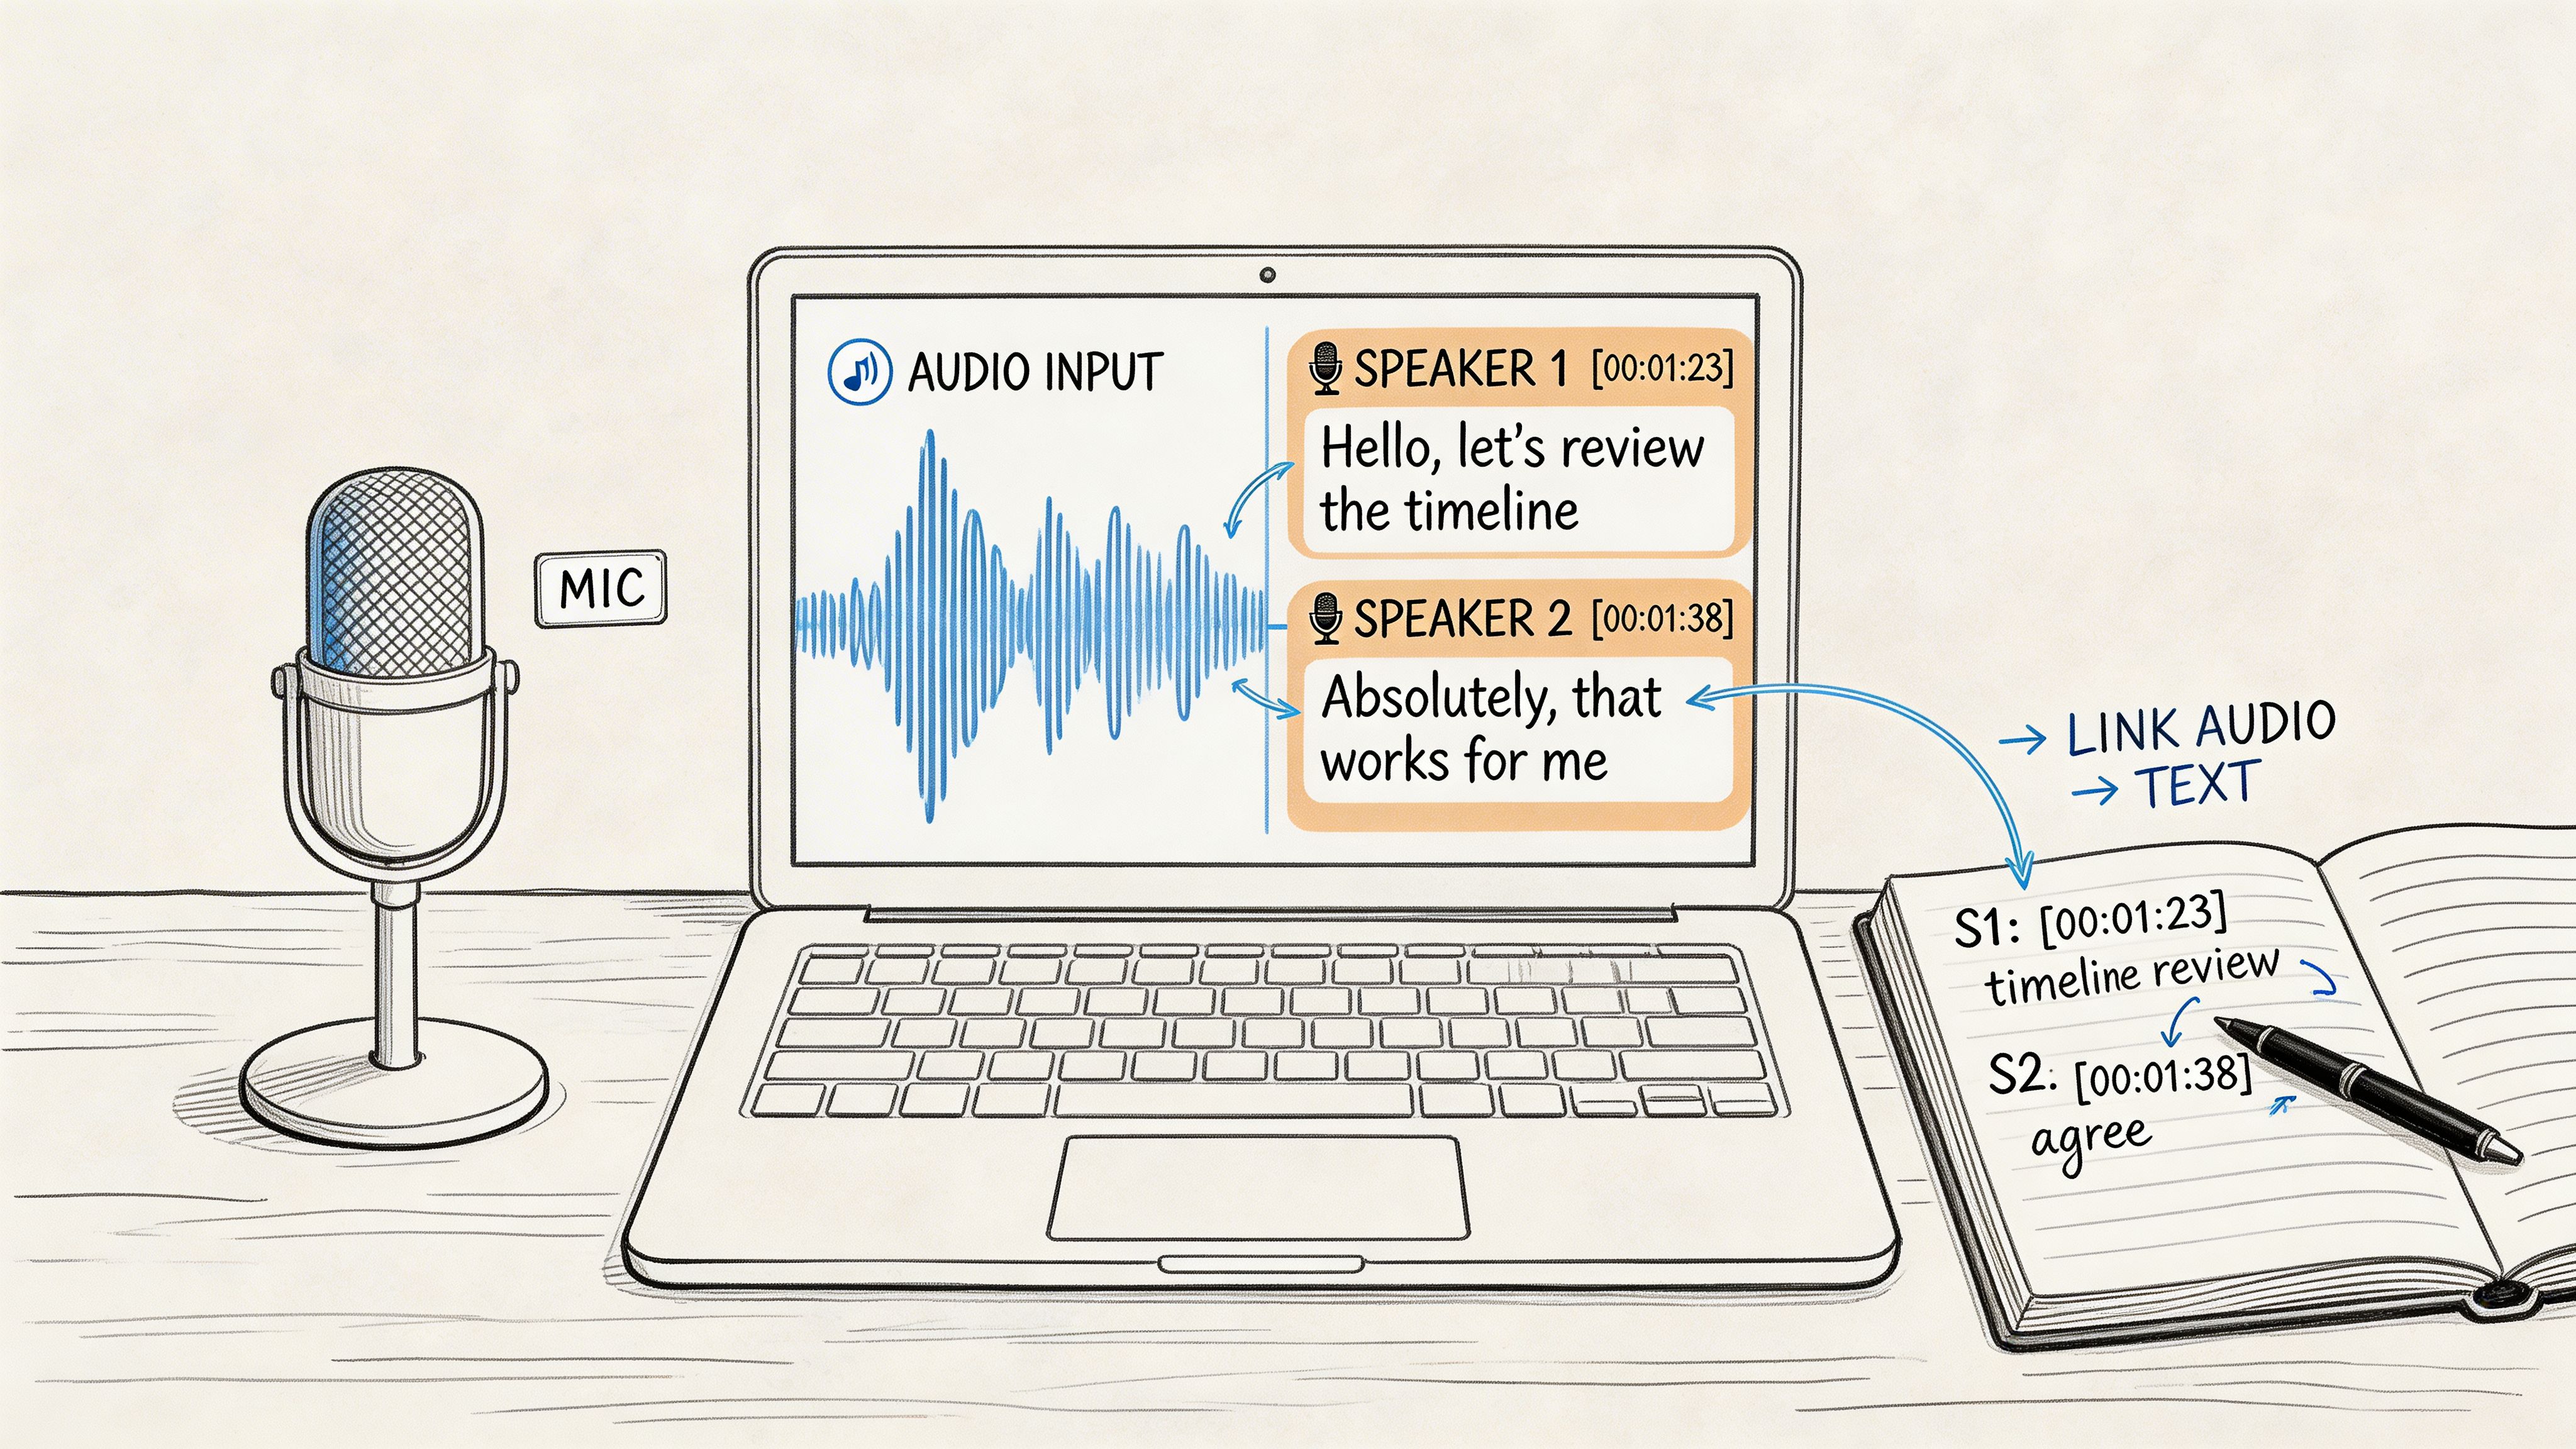
If you can click a timestamp, jump to the exact bad line, identify who said what, and export into the format your team already uses, the transcript becomes usable much faster. That matters far more than novelty features.
Here's the practical comparison:
| Feature | macOS Dictation | macOS Notes/Memos | Whisper AI |
|---|---|---|---|
| Primary job | Live voice input | File-based transcript for recent macOS | Professional transcription workflow |
| Best use | Drafting text by speaking | Simple recorded audio review | Longer, more complex audio projects |
| Speaker identification | Limited for this use case | Better for simple review than complex separation | Designed for speaker-based review workflows |
| Editing workflow | In the destination app | In Apple's recording workflow | Better suited to transcript-first editing |
| Output needs | Basic text entry | Reference transcript | Search, review, export, and reuse |
If the transcript is something other people will rely on, not just something you'll glance at, it's usually time to move beyond the built-in tools.
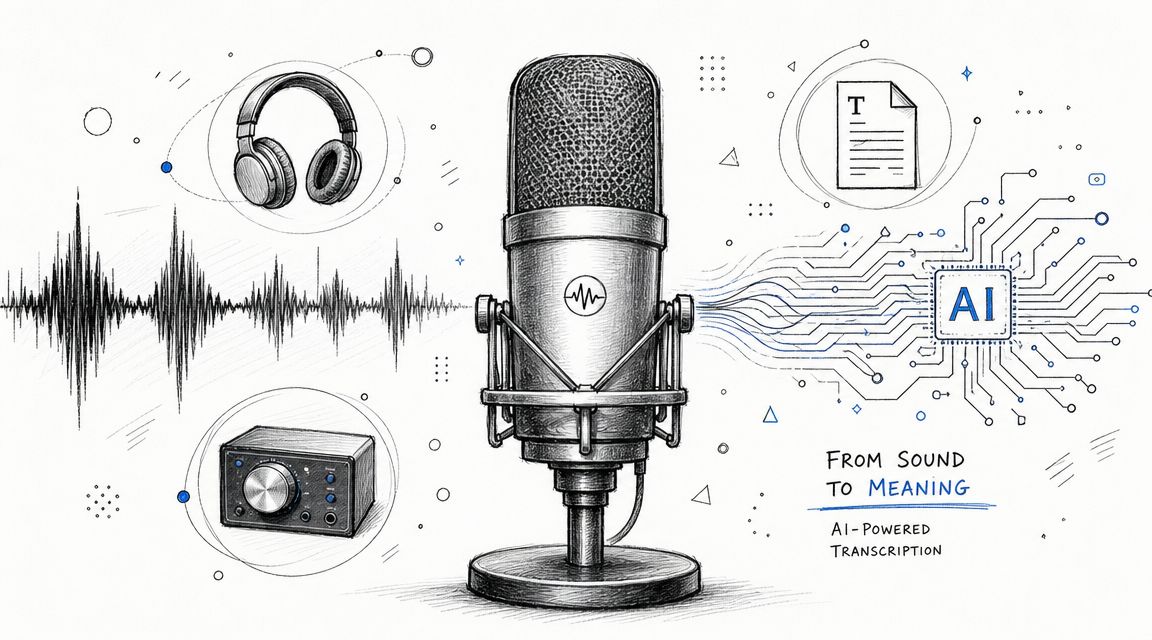
A Professional Workflow with Whisper AI
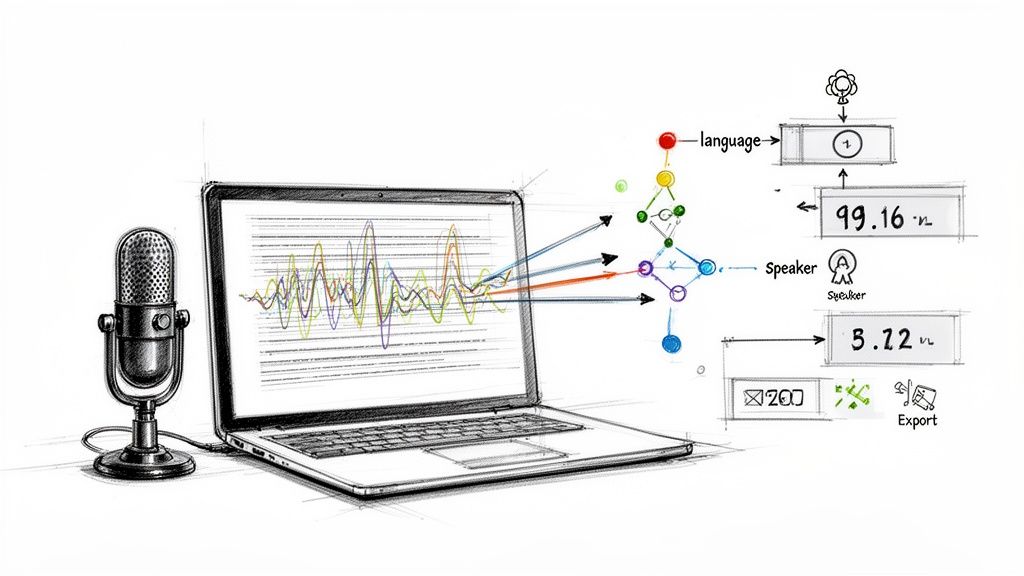
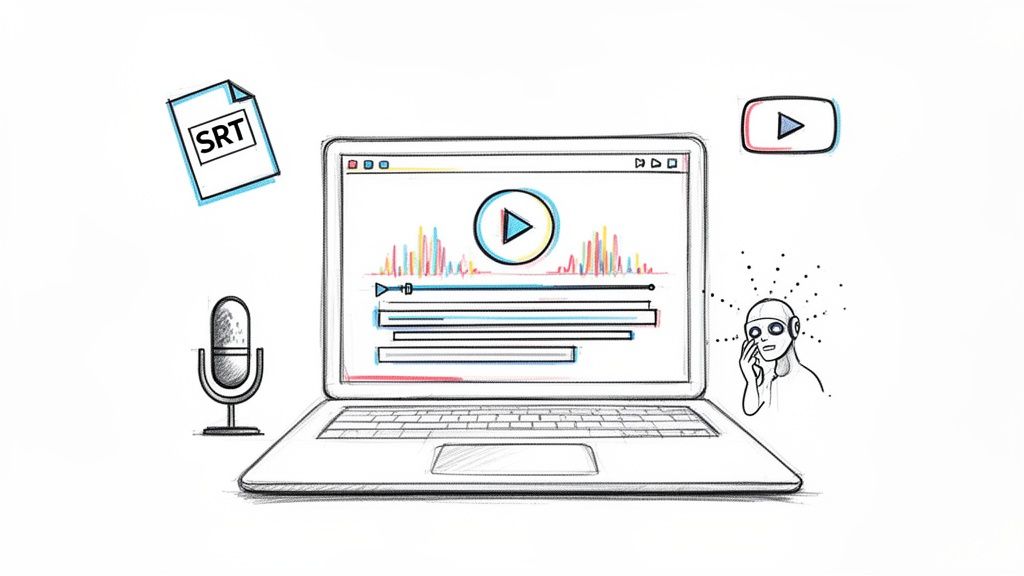
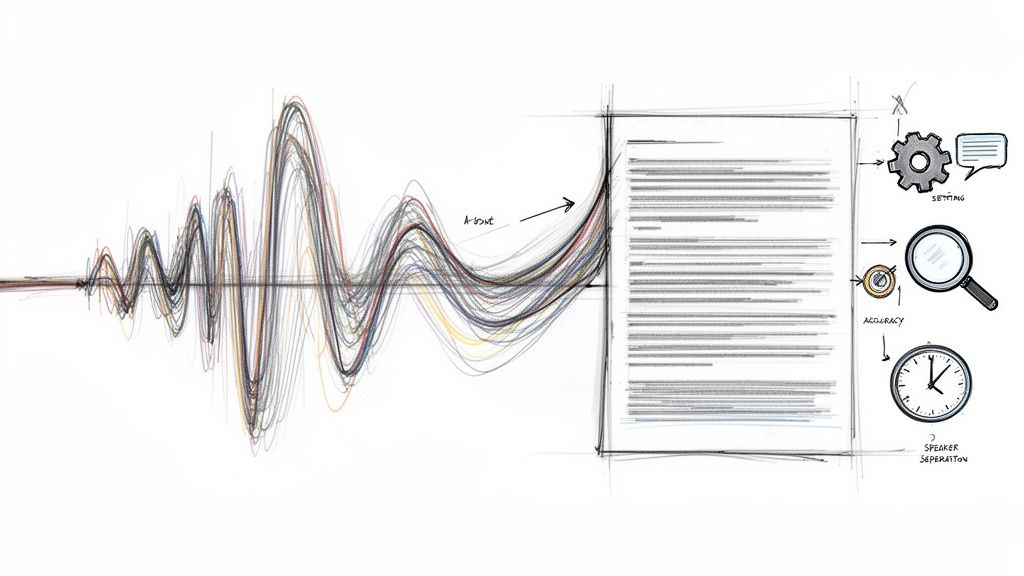
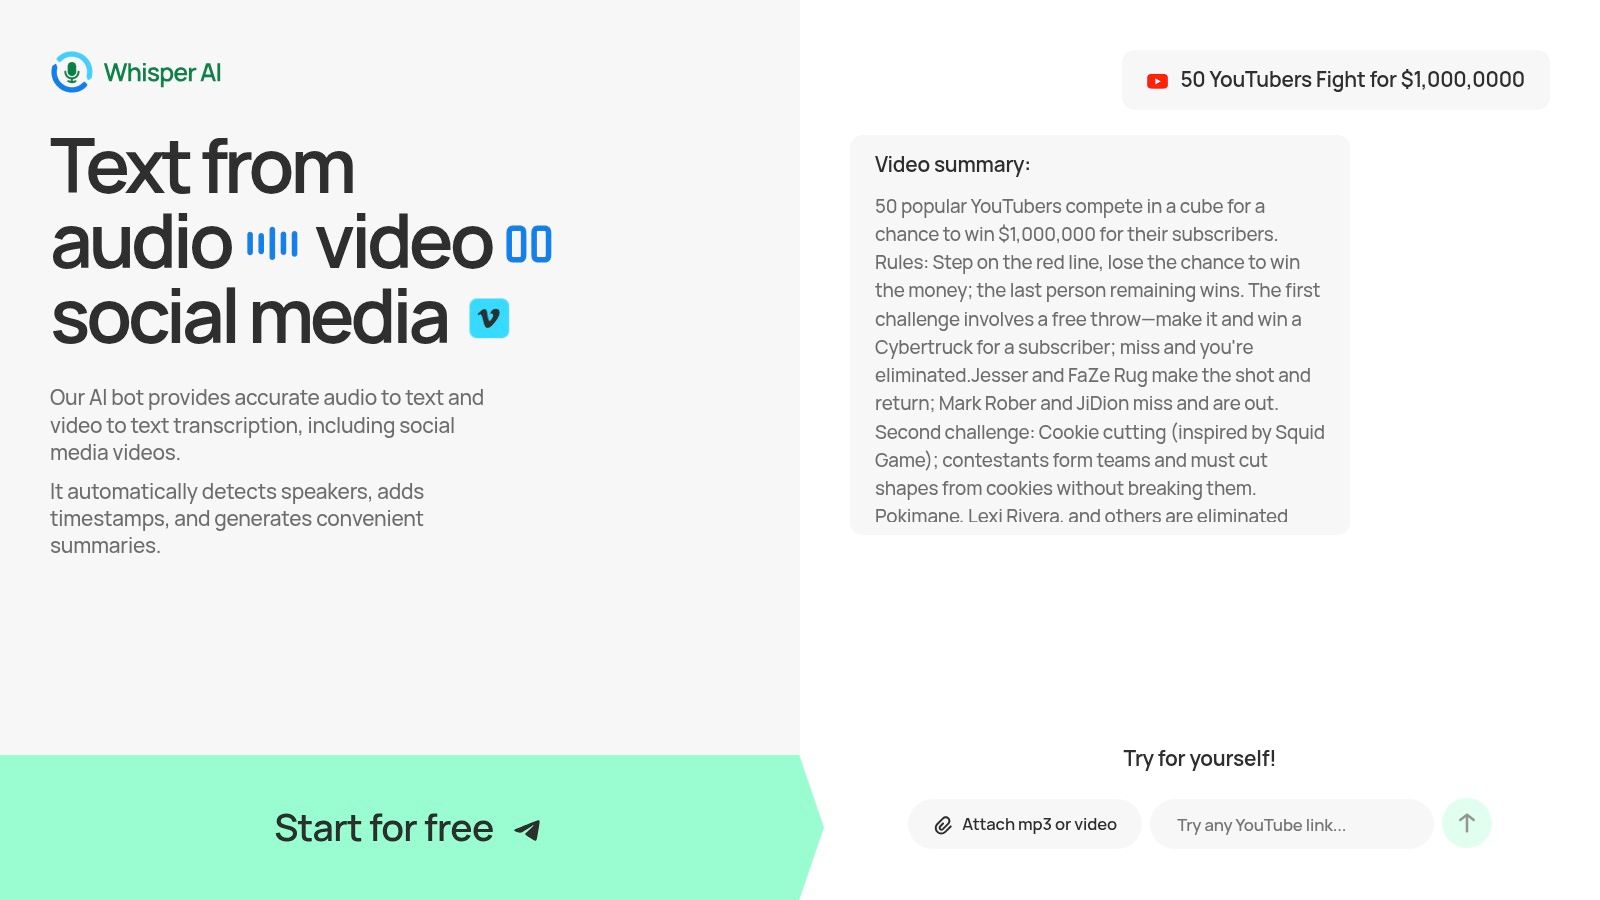
For heavier jobs, the process that works best on a modern Mac is straightforward. Import the file, choose the correct language, enable speaker detection when more than one person is talking, then review the transcript with timestamps so you can fix only the broken sections. That workflow reduces cleanup time because wrong language context and poor speaker separation are common failure points, as noted in this guide to audio transcription on Mac.
Start with the original file, not a workaround
A lot of wasted time comes from feeding the wrong input into the system. Don't re-record audio through your speakers. Don't play a file into a microphone unless you have no other option. Upload the original recording whenever possible.
For a podcast interview, panel discussion, or client call, the clean workflow looks like this:
Upload the source file
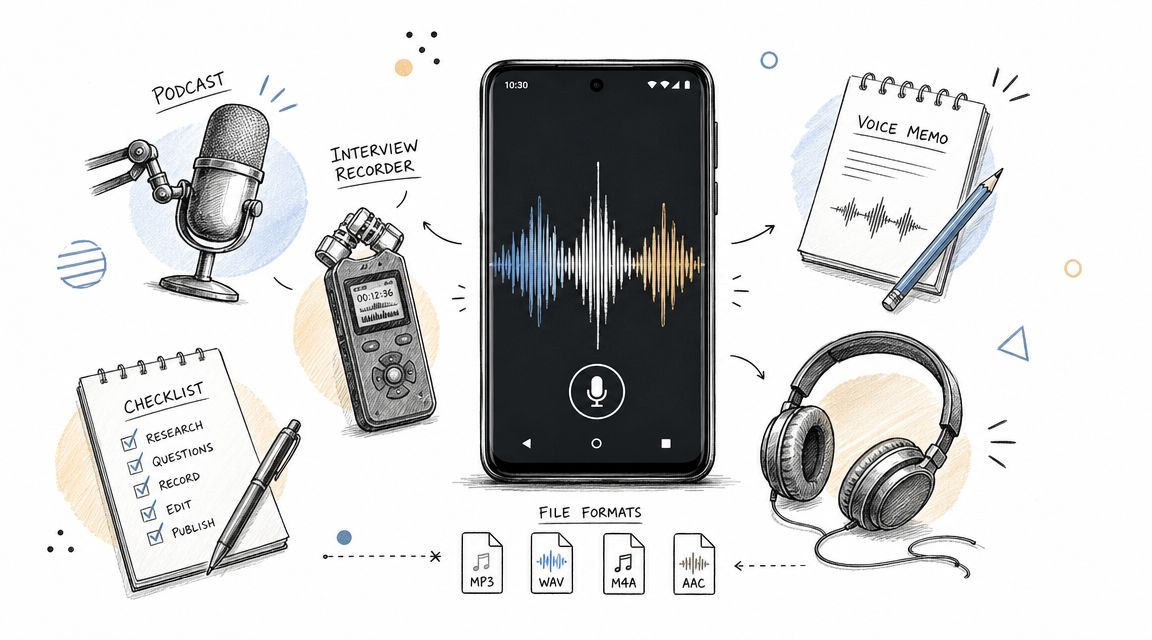
Use the original MP3, WAV, MP4, or recorded export rather than a screen-captured copy.Set the language correctly
This sounds minor, but it changes how the model interprets vocabulary and cadence.Turn on speaker detection
If two or more people are speaking, this is one of the biggest time savers.Generate the transcript
Let the tool produce the first pass before you start editing anything.
One useful reference for this kind of process is this walkthrough on how to use Whisper AI.
Review by timestamps, not from top to bottom
Many edit transcripts the slow way. They start at line one and read the whole thing as if they were proofing an essay. That's usually unnecessary.
A more efficient review pattern is:
- Scan for obvious trouble spots
- Jump using timestamps
- Fix speaker labels first
- Correct names, terms, and unclear lines after that
That order matters. Once speaker attribution is wrong, every paragraph below it feels less trustworthy. Fixing labels early makes the rest of the review easier.
Clean up the structure before you clean up the wording.
For creators, this is the point where a transcript becomes more than text. It becomes a production asset. You can pull clip moments, isolate quotes, summarize sections, and turn spoken material into blog drafts, captions, show notes, or internal documentation.
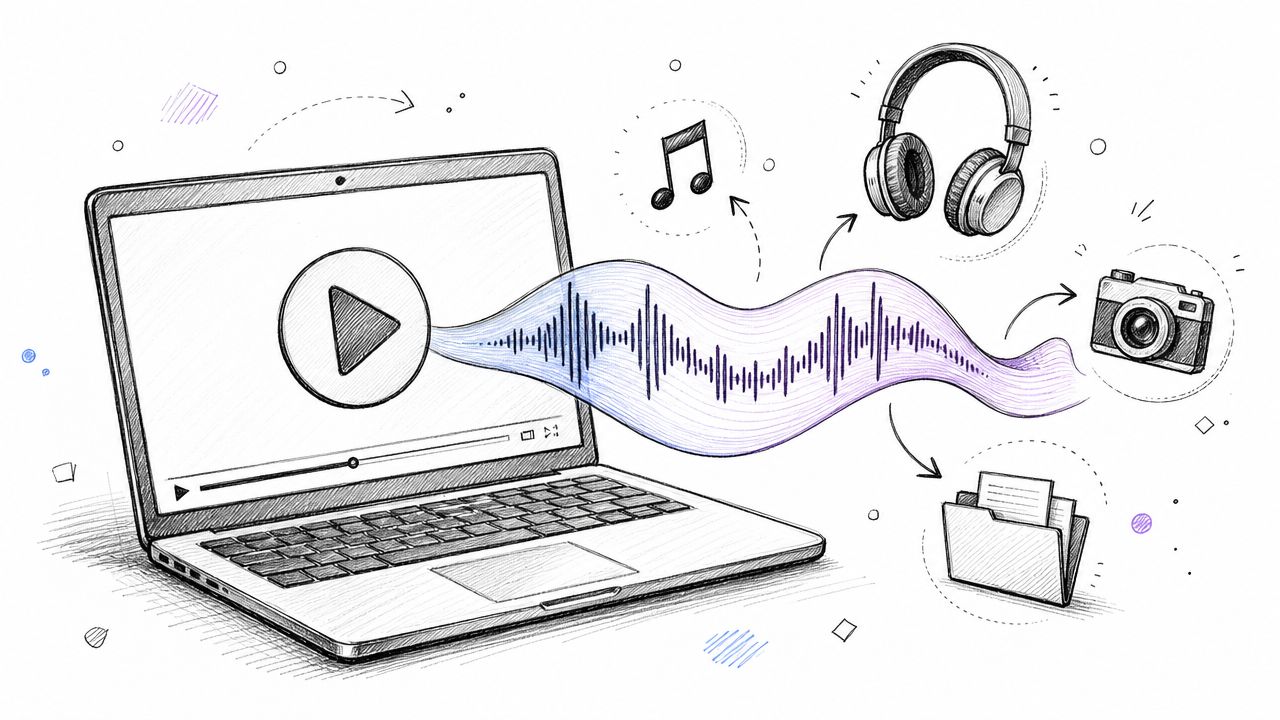
Here's a quick visual walkthrough of the kind of process many users prefer for long-form media:
Where a dedicated workflow pays off
The return shows up in three places.
First, navigation. Timestamps let you jump instead of scrub.
Second, structure. Speaker labels make interviews and meetings readable.
Third, reuse. Once the transcript is stable, you can export it into the next step instead of rebuilding it manually.
This is why dedicated tools are a better fit for podcast episodes, recorded interviews, webinars, team meetings, and research sessions. Not because Apple's tools fail at every part of the job, but because serious transcription work is mostly about review speed after the first pass.
Tips for Improving Transcription Accuracy
Even the right software can't rescue bad source audio. The biggest gains usually happen before you click transcribe.
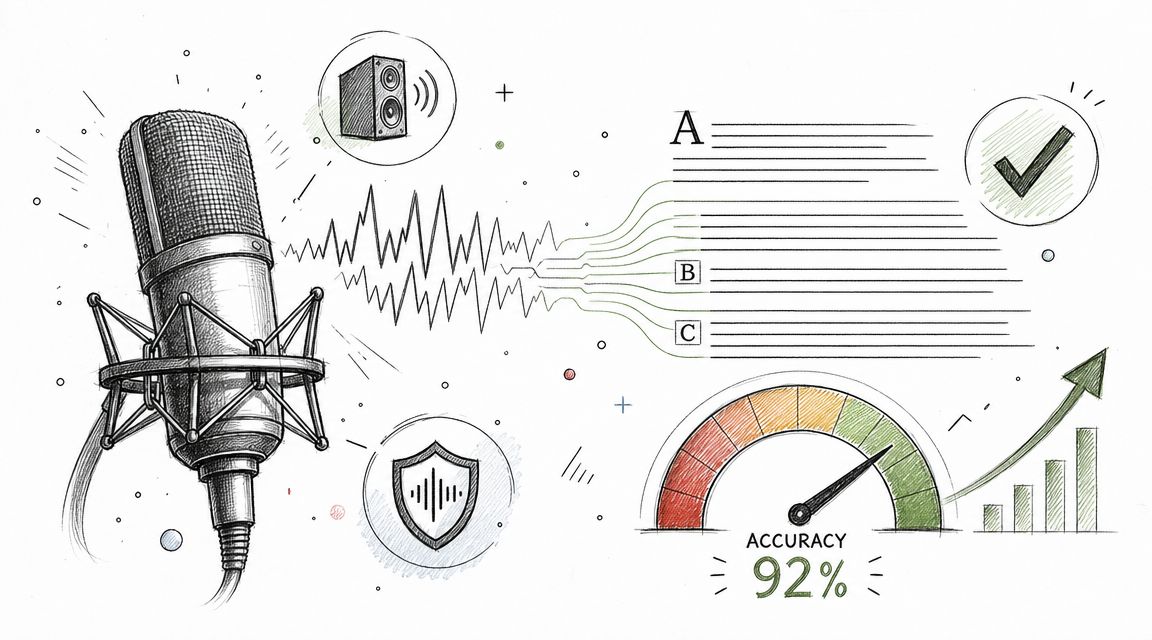
Independent testing described one Mac dictation workflow as about 98–99% accurate in controlled conditions, but that level depends heavily on audio quality. The same write-up recommends an external microphone, less background noise, and keeping the mic close to the speaker to avoid room echo and fan noise, as documented by Jeff Geerling's Mac transcription notes.
Before you record
The cleanest transcript starts with the cleanest signal.
- Use an external microphone: Even a modest dedicated mic usually beats a distant built-in mic in a reflective room.
- Reduce background noise: Turn off fans, close windows, and avoid hard echoey spaces when possible.
- Keep speakers close to the mic: Distance hurts clarity fast, especially in group conversations.
- Avoid recording on the wrong side of the room: A strong speaker at the table can still sound weak if the device is too far away.
While people are speaking
Many transcripts commonly break down at this point, particularly in interviews and meetings.
- Ask people not to talk over each other: Crosstalk is hard for any system to separate cleanly.
- Have speakers identify themselves when needed: This helps later if speaker labeling needs correction.
- Pronounce names and terms clearly: Product names, surnames, and industry jargon are common error zones.
- Pause between topics: Small gaps make segmentation easier and improve readability.
A deeper breakdown of error patterns and cleanup habits is covered in this guide to speech-to-text accuracy.
After the transcript is generated
Editing gets faster when you don't treat every line equally.
Try this:
- Fix recurring terms with find and replace: Company names, guest names, or repeated jargon can often be corrected in batches.
- Check the first few paragraphs carefully: Early errors often reveal whether speaker labels or vocabulary assumptions are off.
- Review uncertain sections against audio: Don't over-edit clean passages just because a few lines need work.
Better transcripts come from better recordings first, smarter editing second.
Privacy and Exporting Your Final Transcript
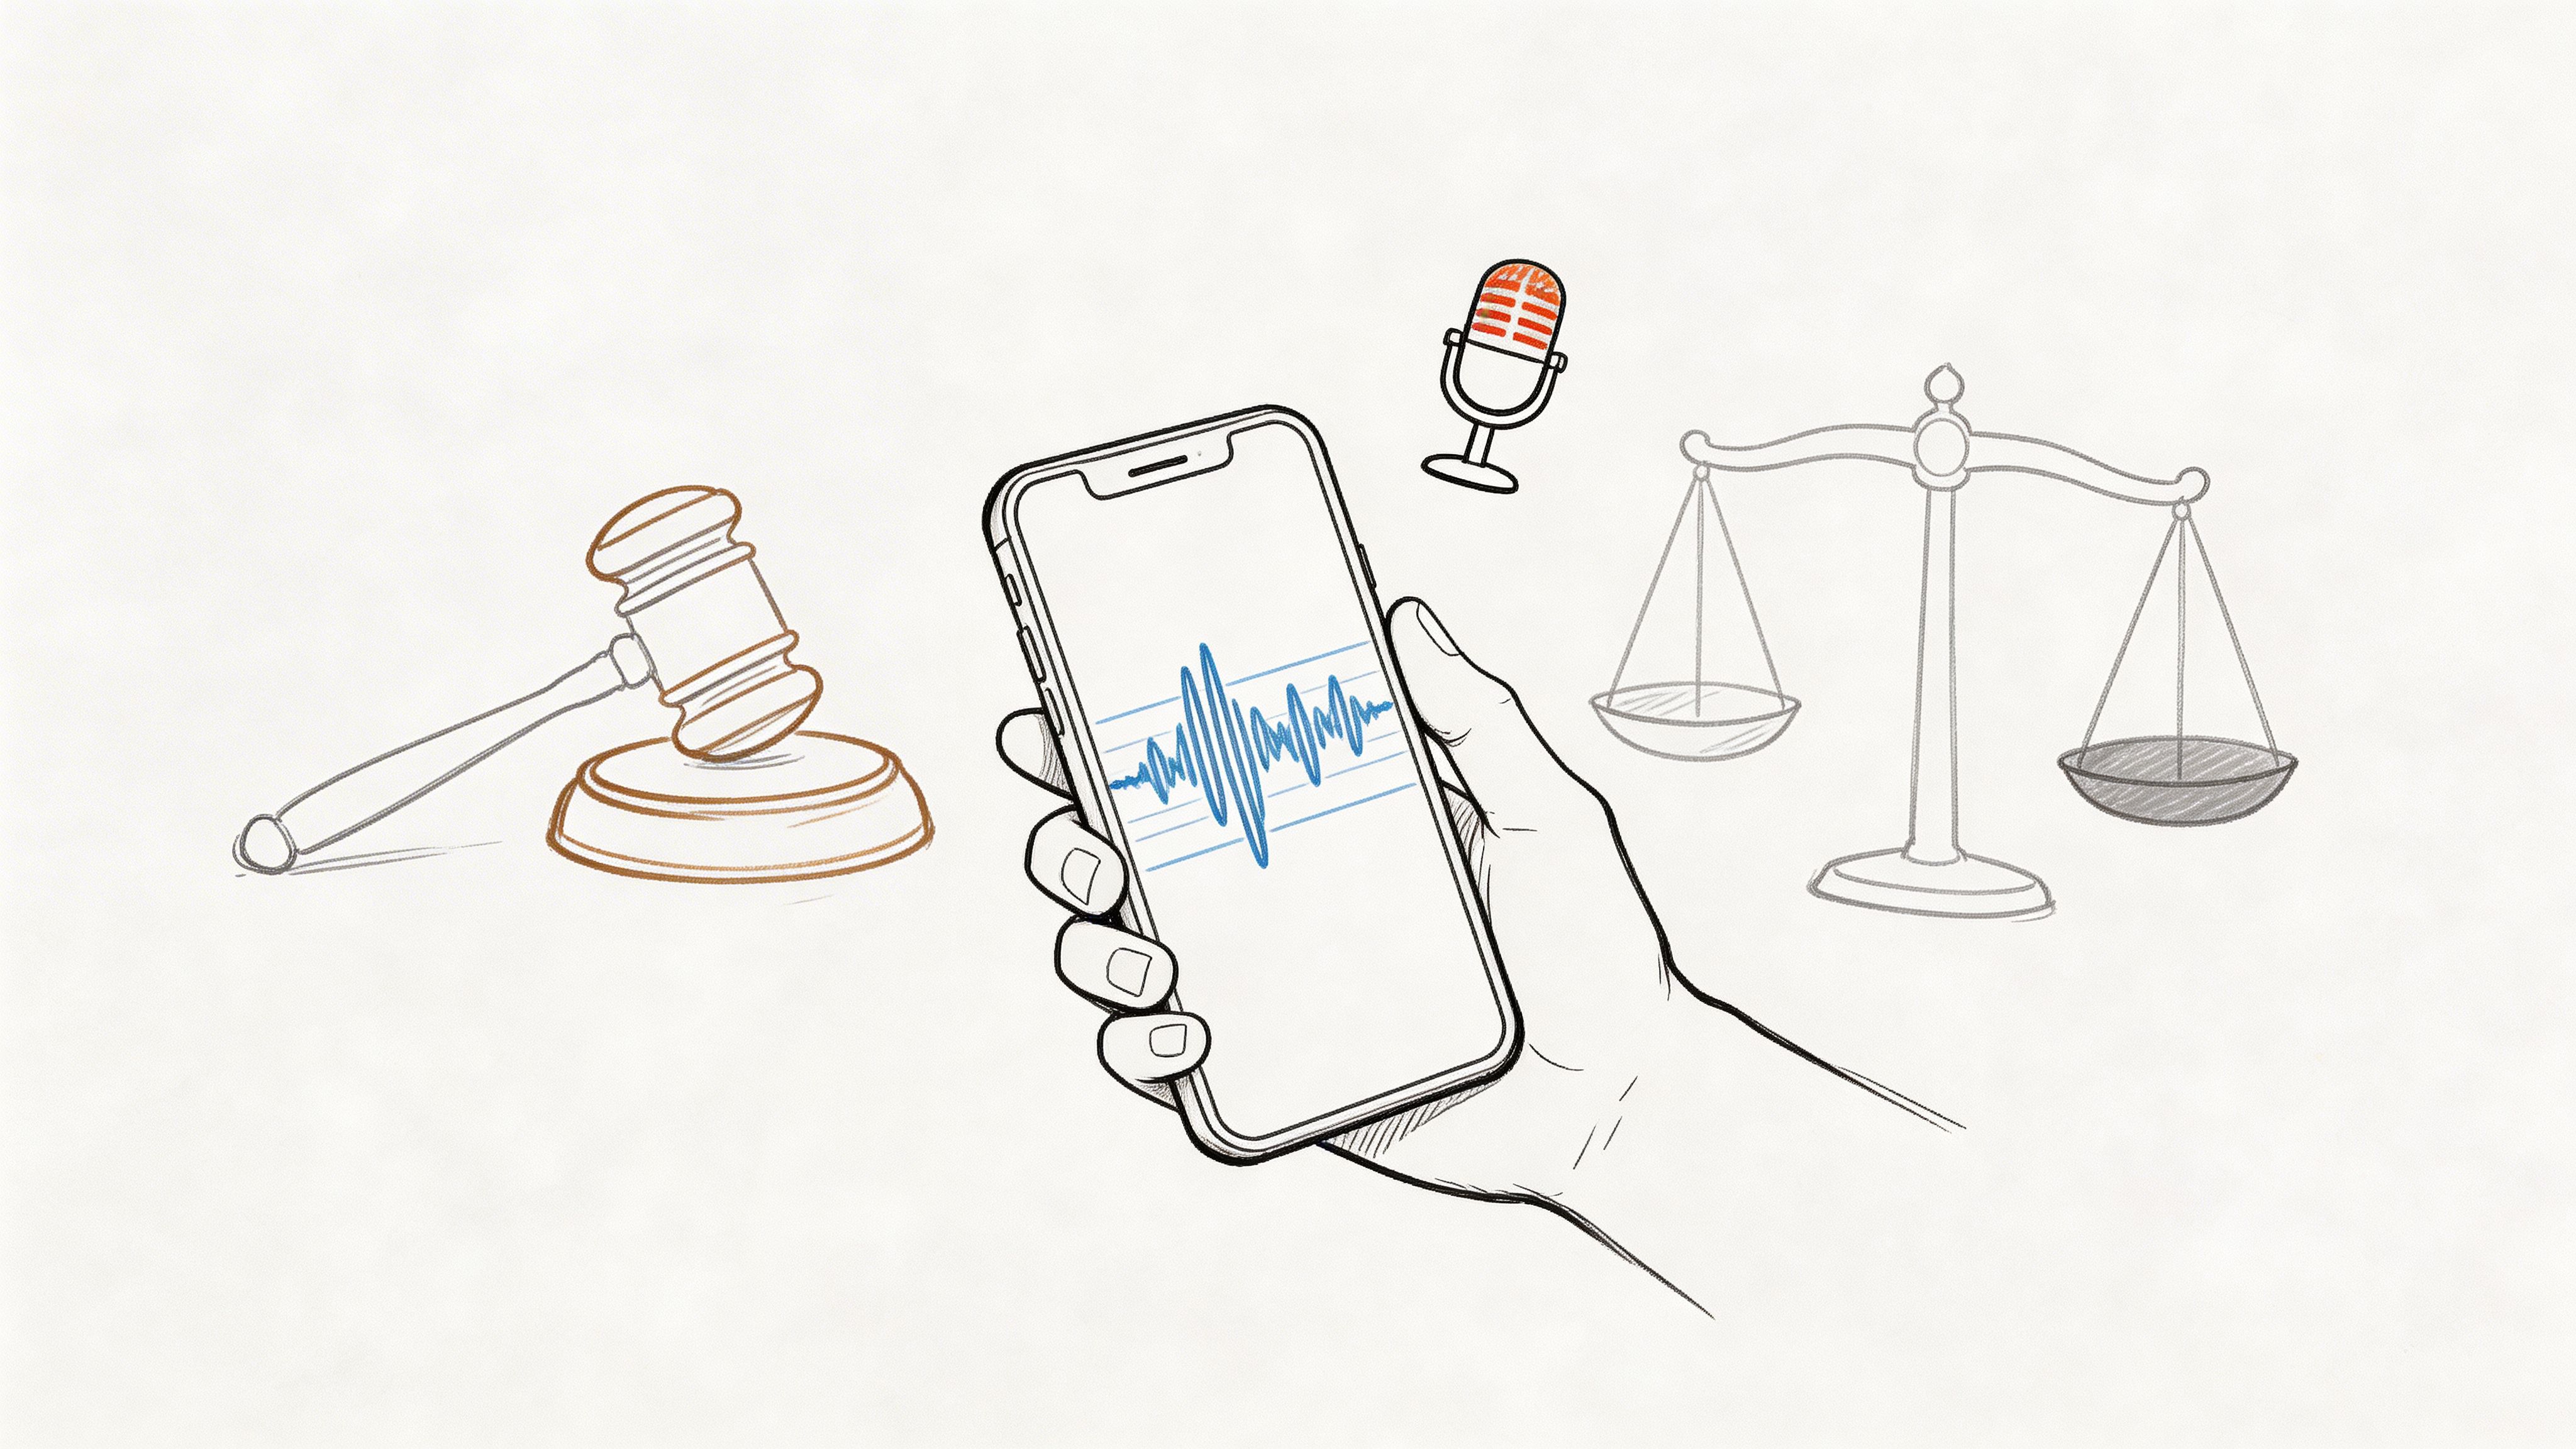
If your recording includes interviews, internal meetings, research sessions, or anything confidential, privacy shouldn't be an afterthought. It should shape your tool choice from the start.
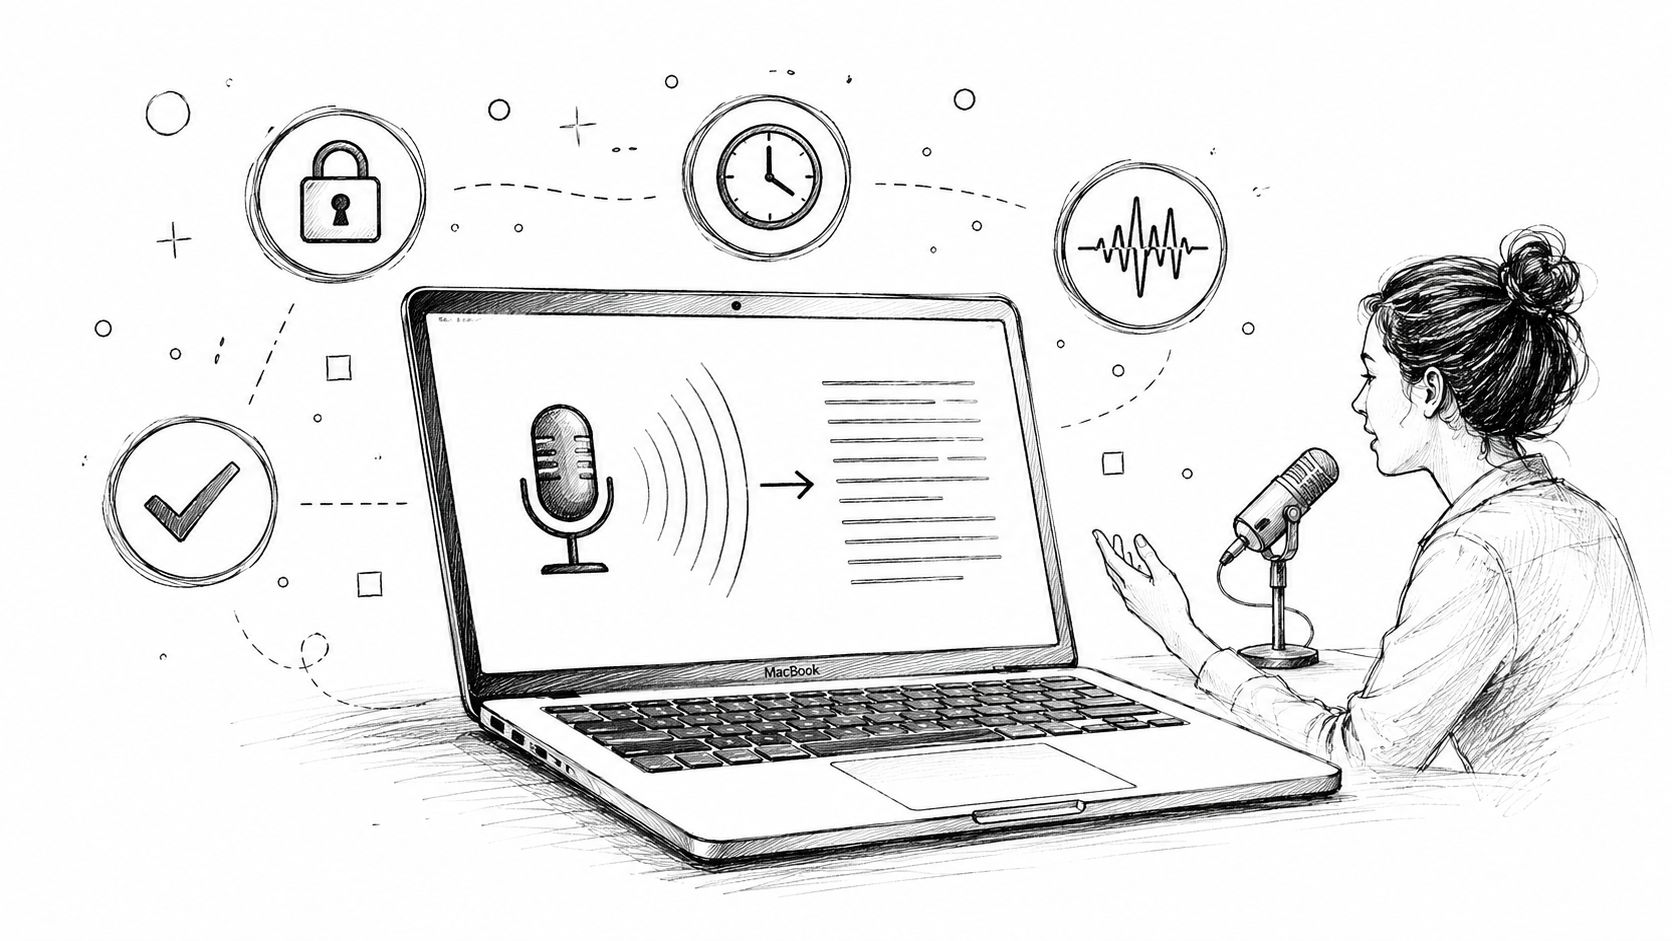
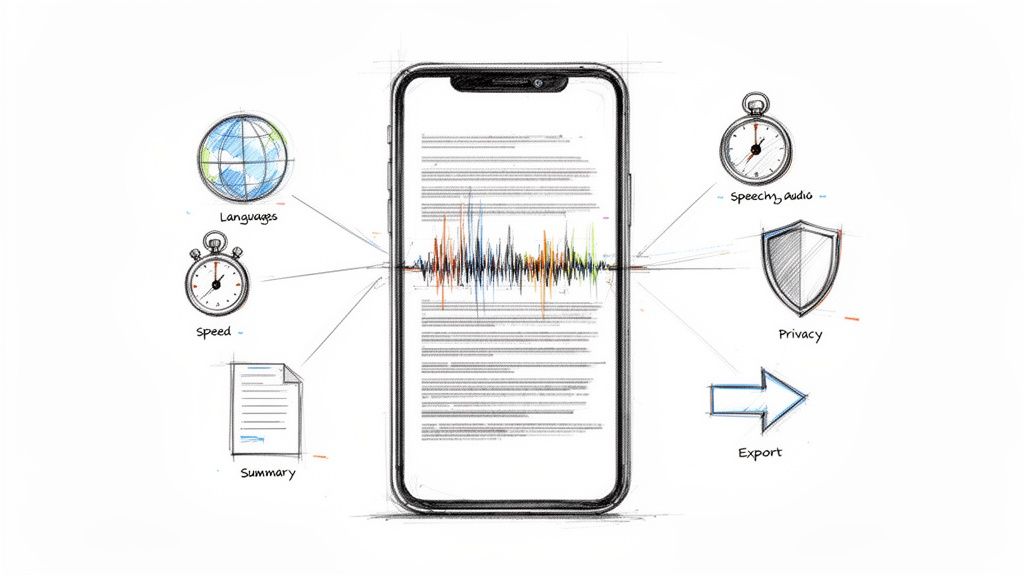
Apple's Notes transcription can work on-device, and that matters for sensitive material. Apple's Notes documentation also highlights recorded audio transcription on Mac, while privacy-focused workflows may favor third-party tools that run locally on the machine so the data never leaves it, which is a key consideration for confidentiality according to Apple's record and transcribe audio in Notes documentation.
Choose the privacy model that fits the recording
There isn't one right answer for every job.
For practical decisions, think in these buckets:
- Personal notes and low-risk recordings: Built-in Apple tools are often enough, especially if convenience matters most.
- Sensitive interviews or research audio: On-device or local-first workflows make more sense when access control matters.
- Team documentation and content production: A cloud workflow can still fit, but only if the service's handling of files matches your requirements.
The trade-off is usually simple. More convenience can mean less direct control. More privacy can mean a more deliberate setup.
Export based on what happens next
A transcript only becomes useful when it leaves the transcription app in the right format.
Different outputs fit different jobs:
- Word document: best when someone needs to edit or annotate the transcript
- PDF: useful for sharing a stable version
- TXT: good for archives and lightweight search
- Markdown: handy for publishing and content workflows
- Google Docs: useful when a team wants to collaborate immediately
The right export choice depends on whether the transcript is headed to editorial review, legal review, content repurposing, or simple storage. Pick the format based on the next person touching the file, not on habit.
If you've reached the point where built-in Mac tools are giving you a draft but not a usable final transcript, Whisper AI is one option to consider for handling longer recordings, speaker-labeled transcripts, summaries, and export-ready output without rebuilding the workflow by hand.