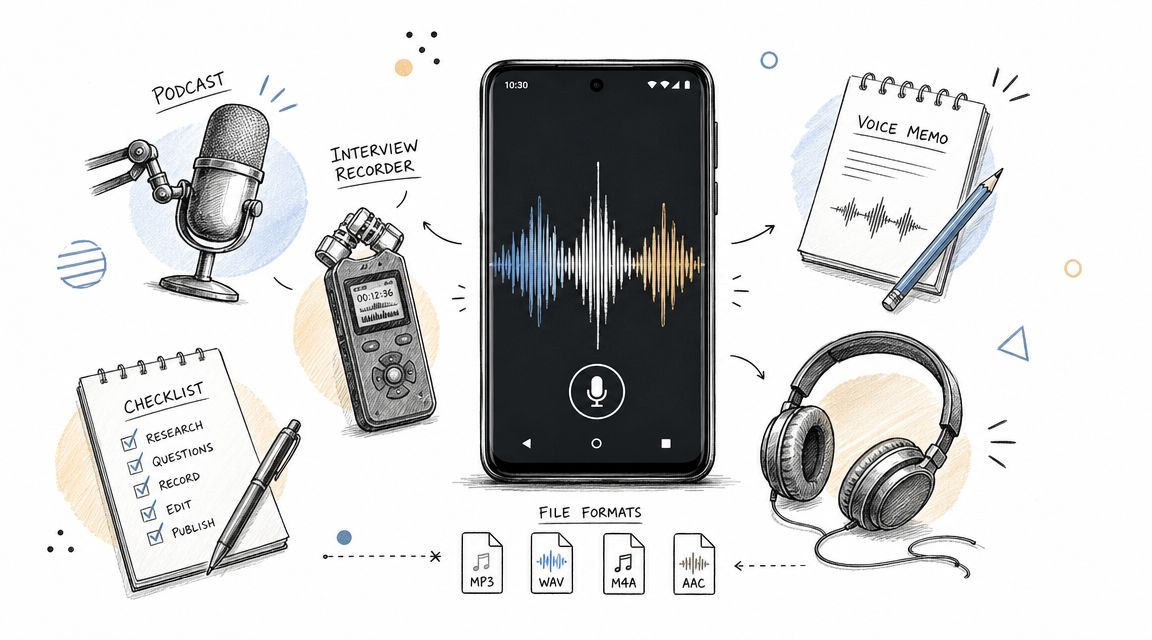
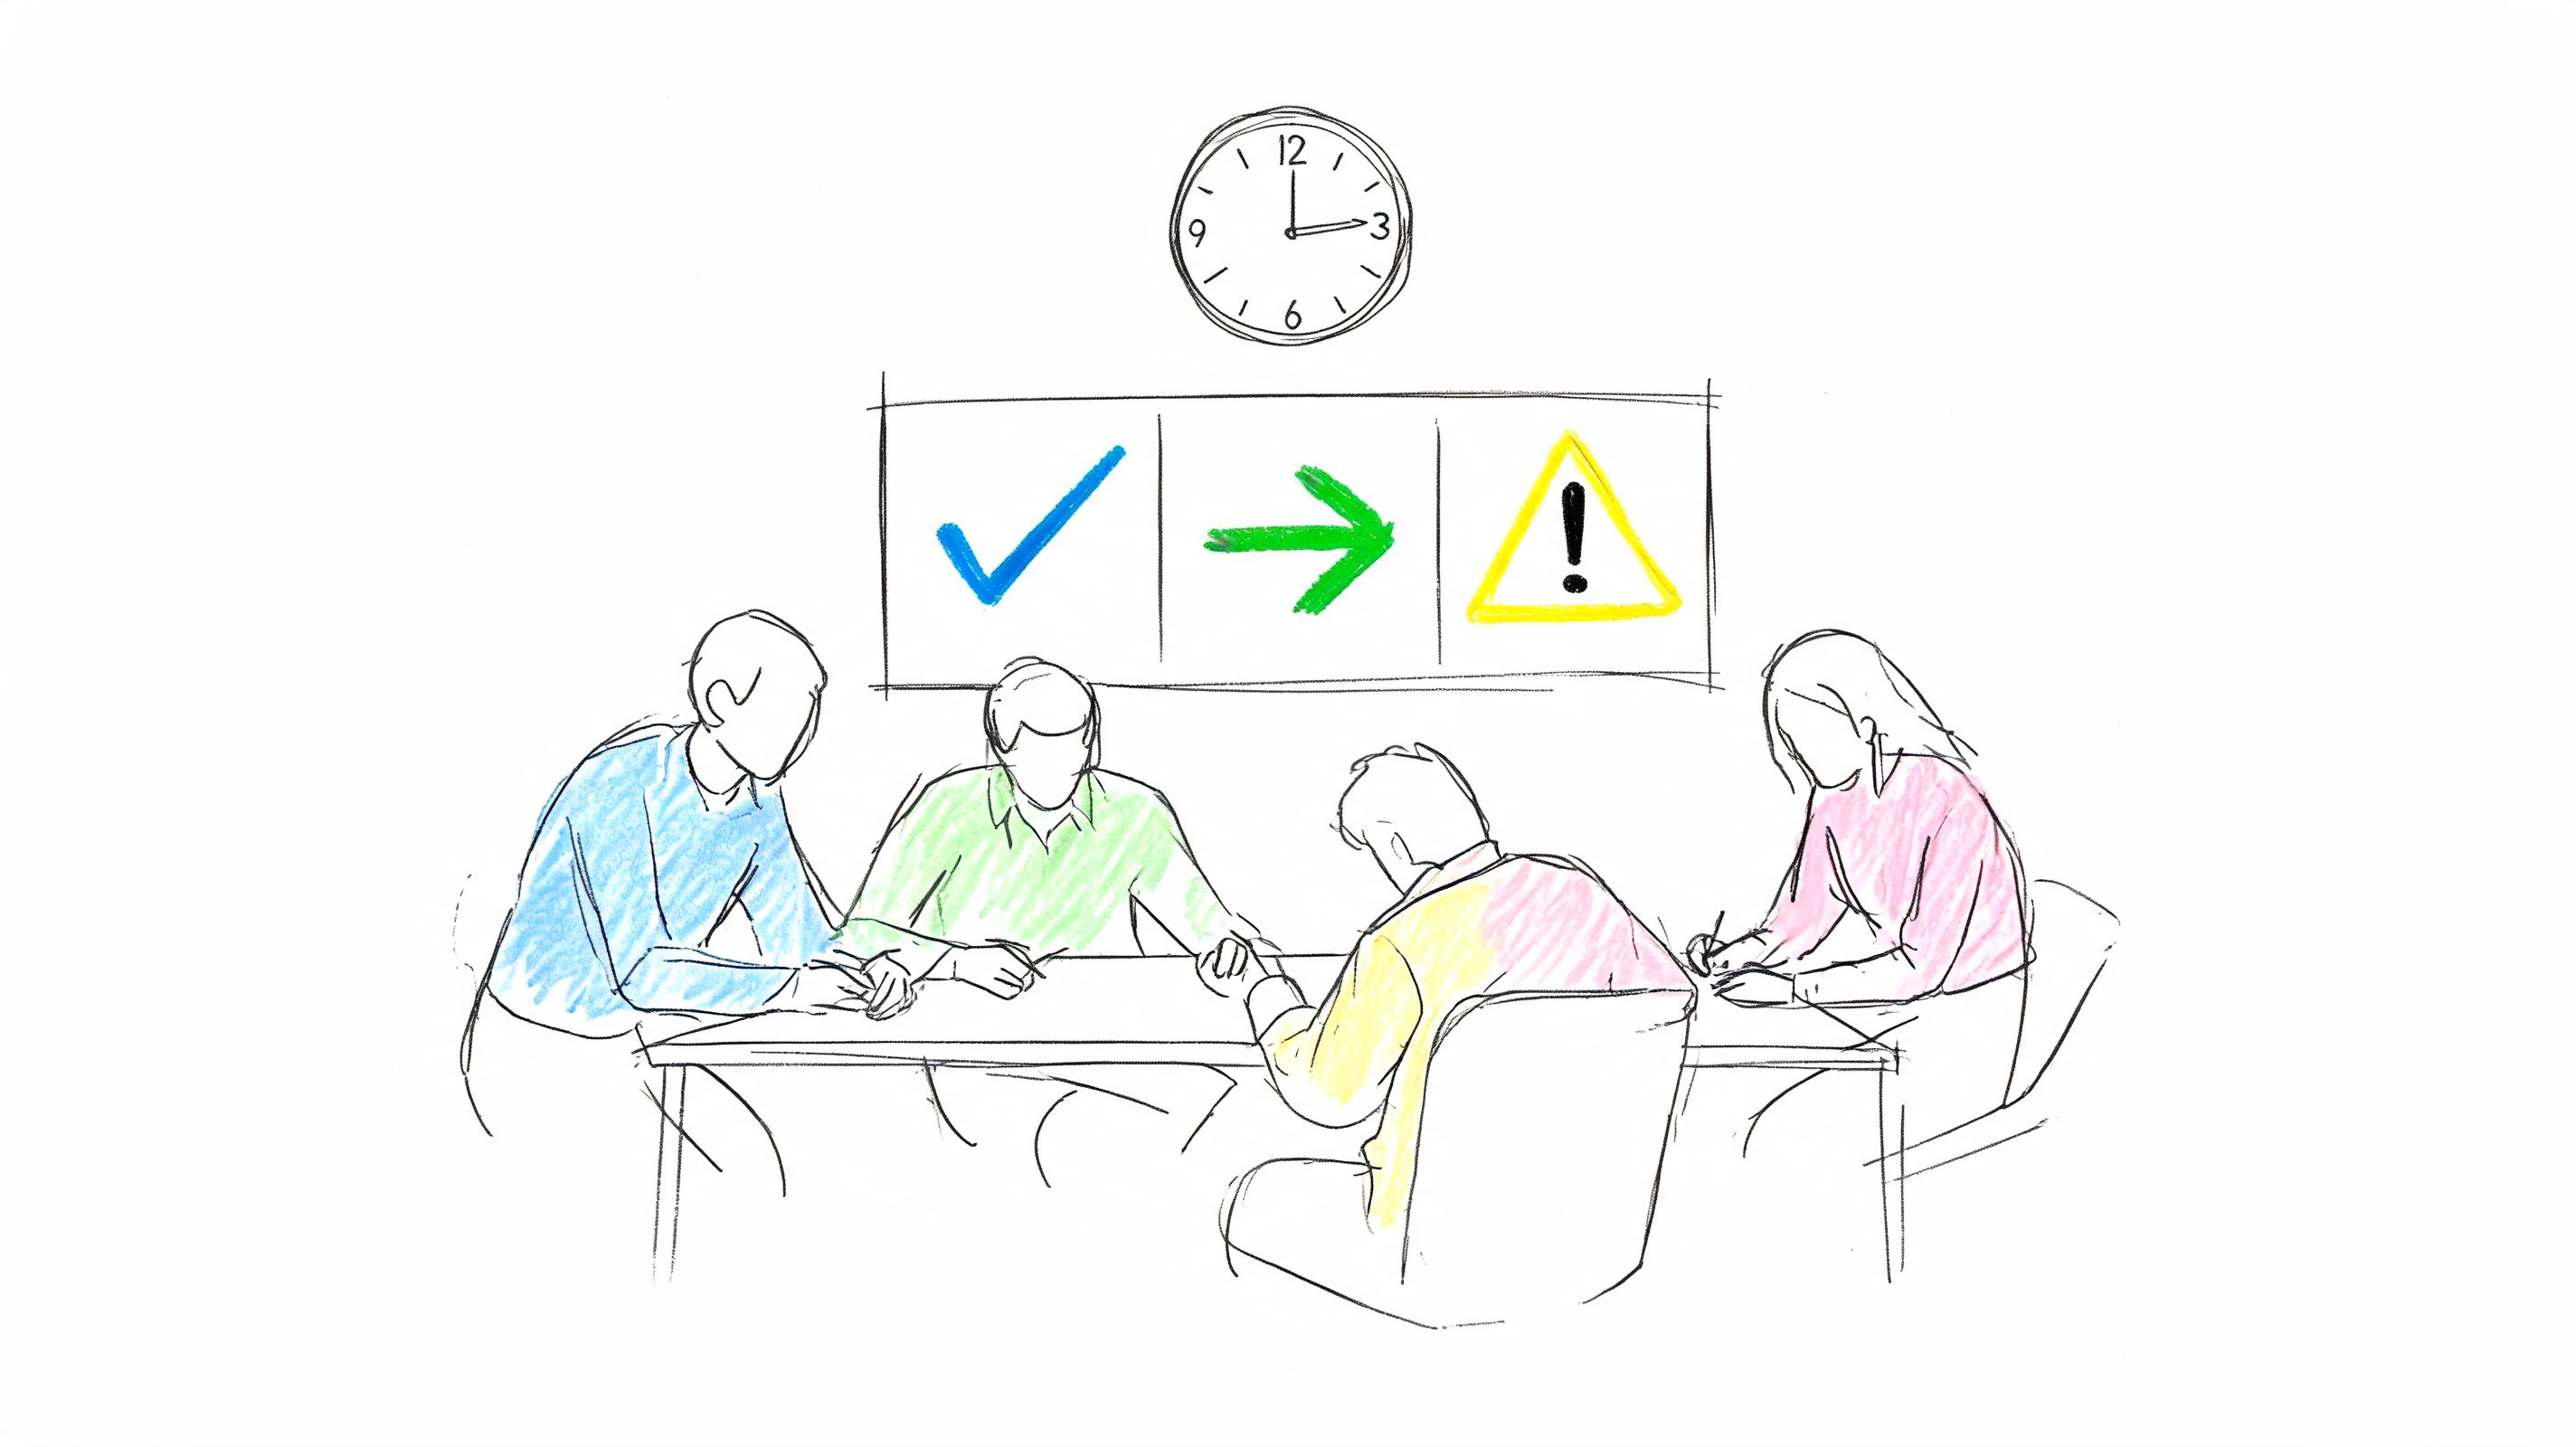
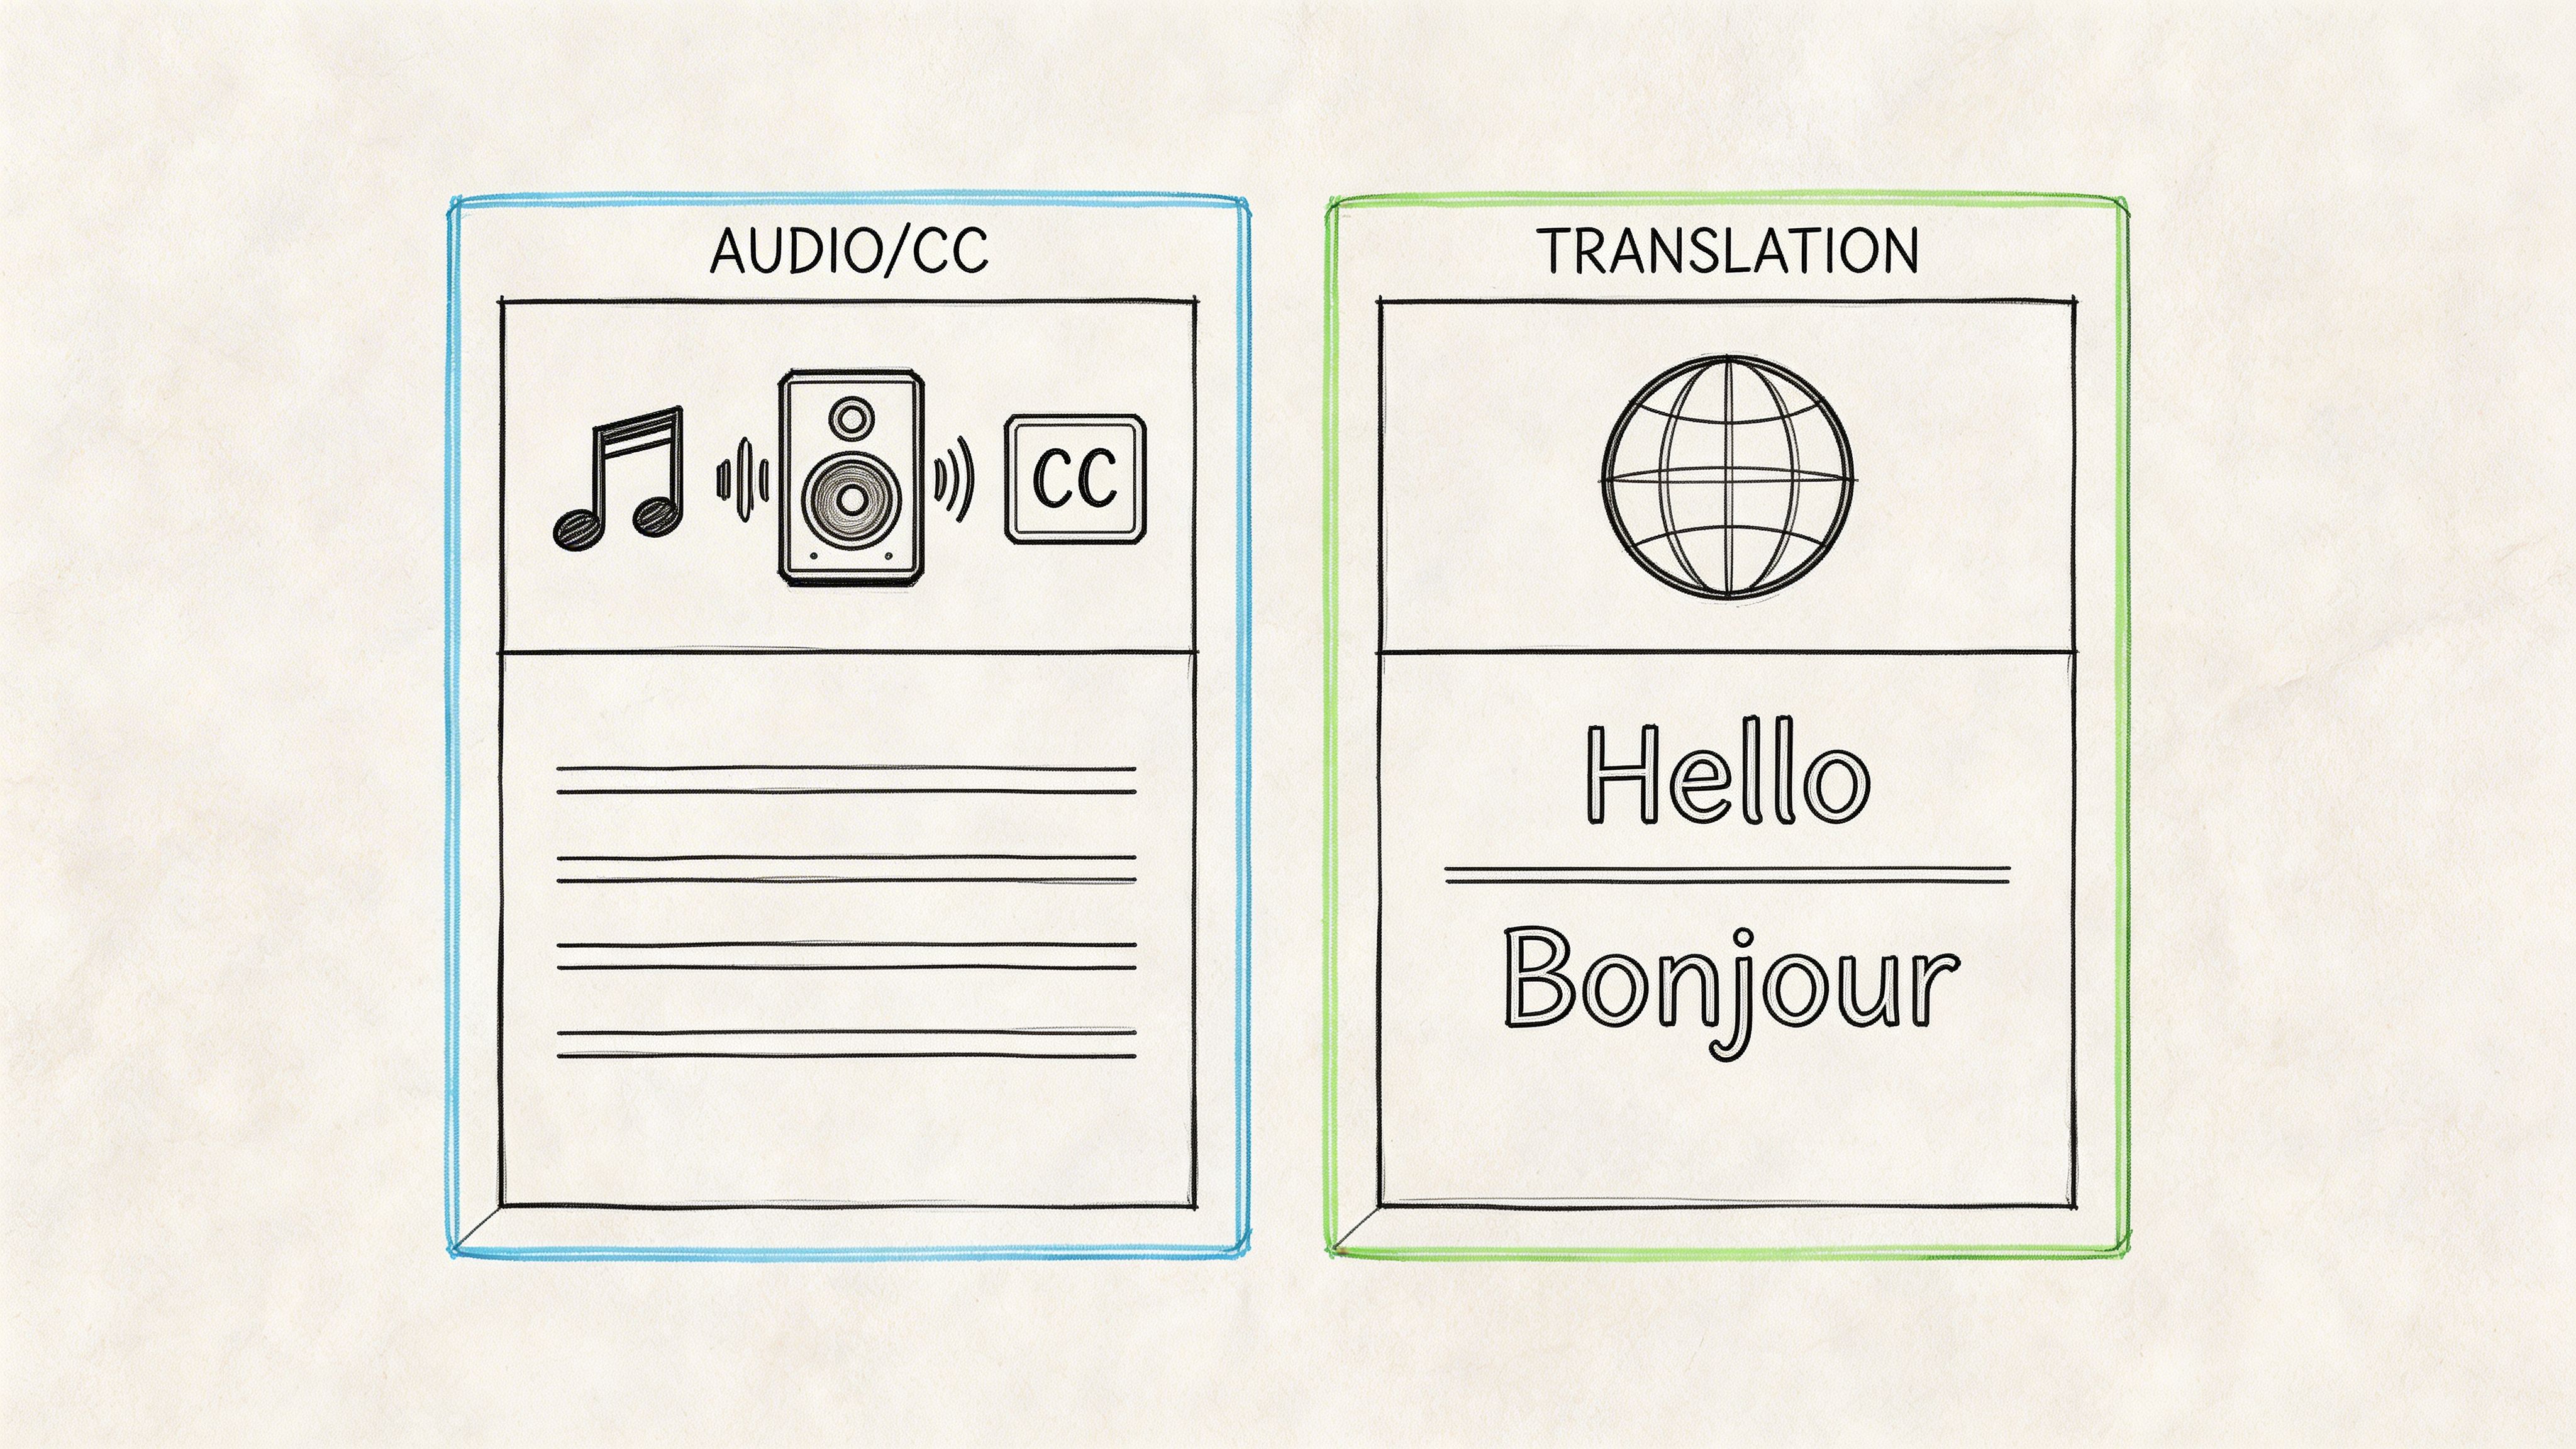
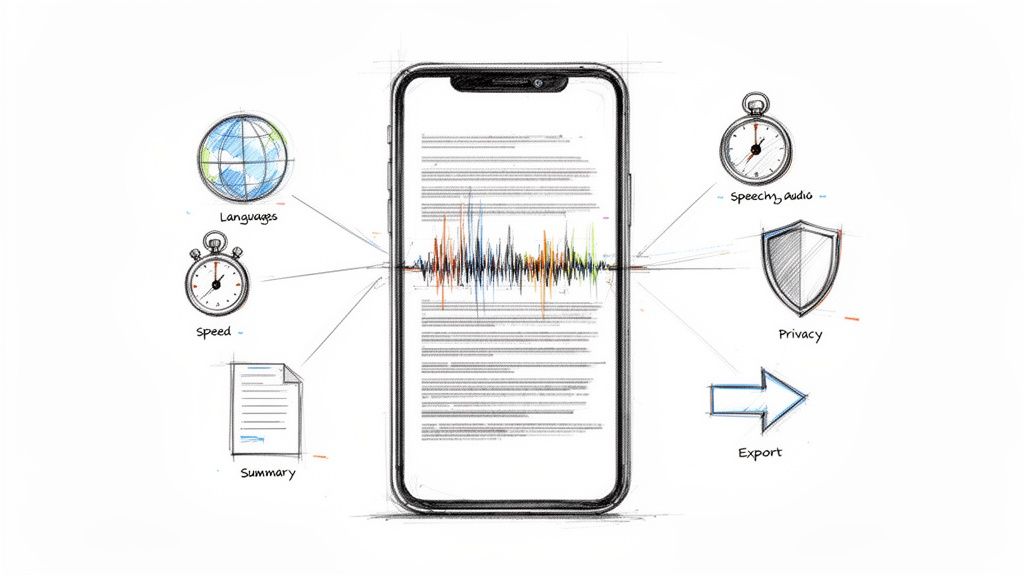
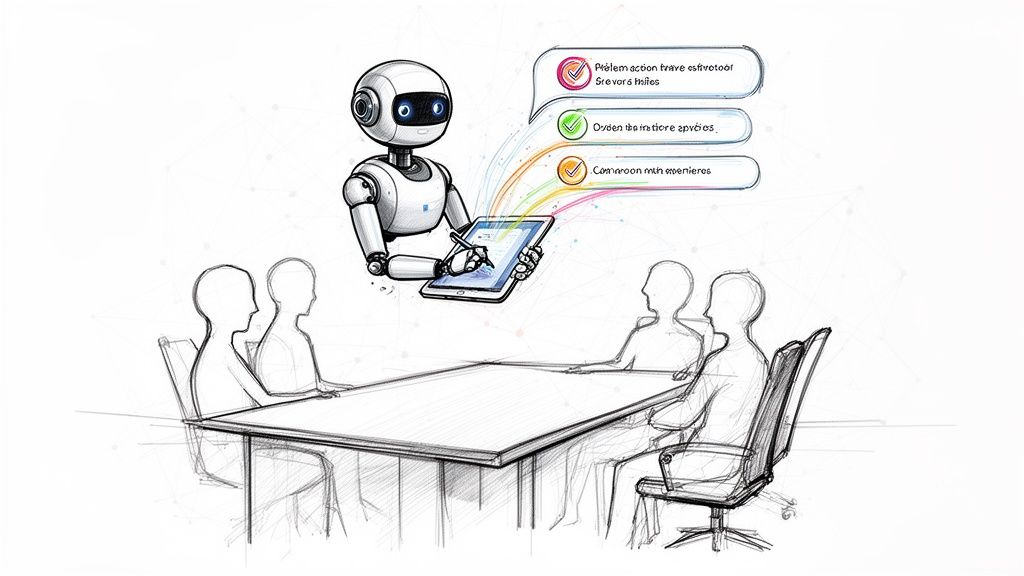
How to Transcribe Voice Memo on Iphone
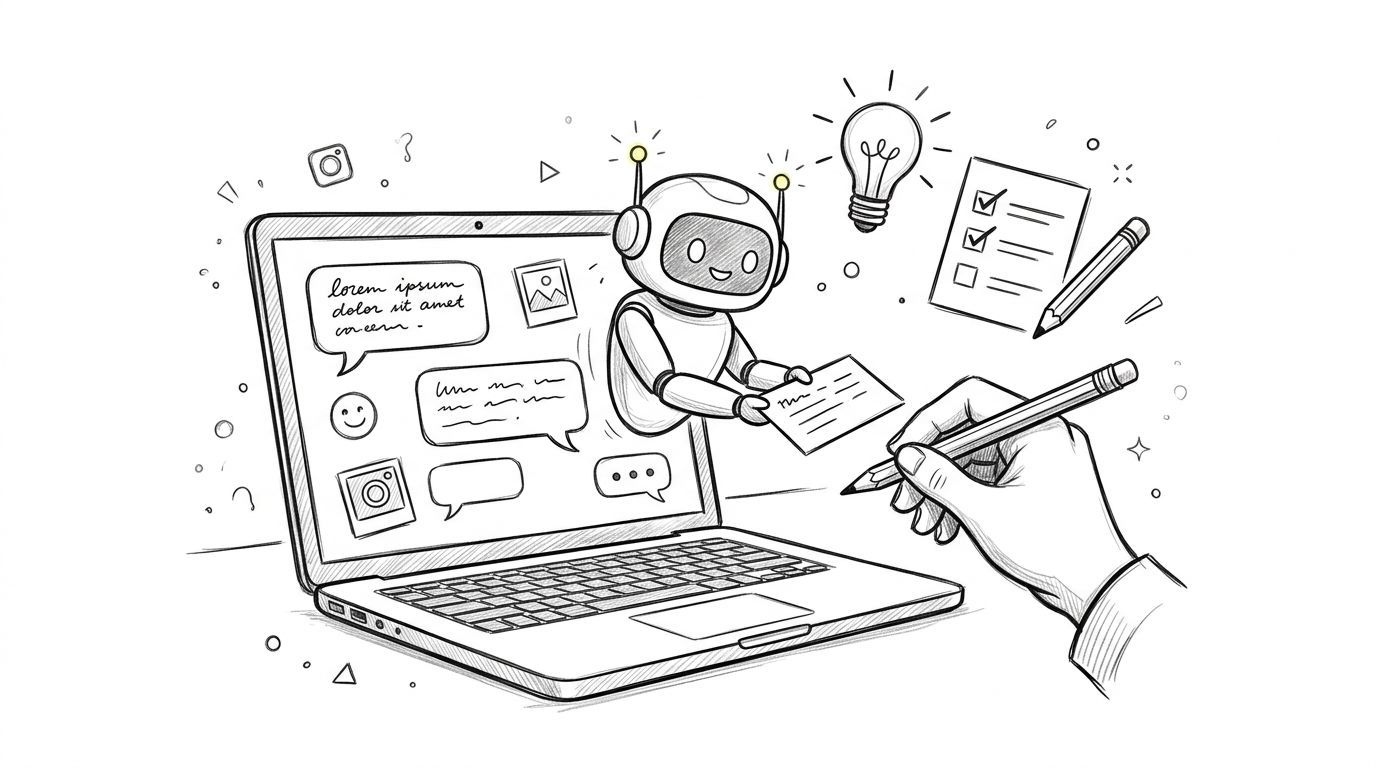
You've got a voice memo sitting on your iPhone, and the audio itself isn't the problem. The problem is what comes next. You need text you can skim, search, paste into an email, turn into notes, or clean up for something more serious.
That used to be awkward on iPhone. People bounced between Siri, Notes, exported files, and whatever app might handle the recording better. Now there's a much simpler path for everyday use, plus a more reliable one when the transcript is critical.
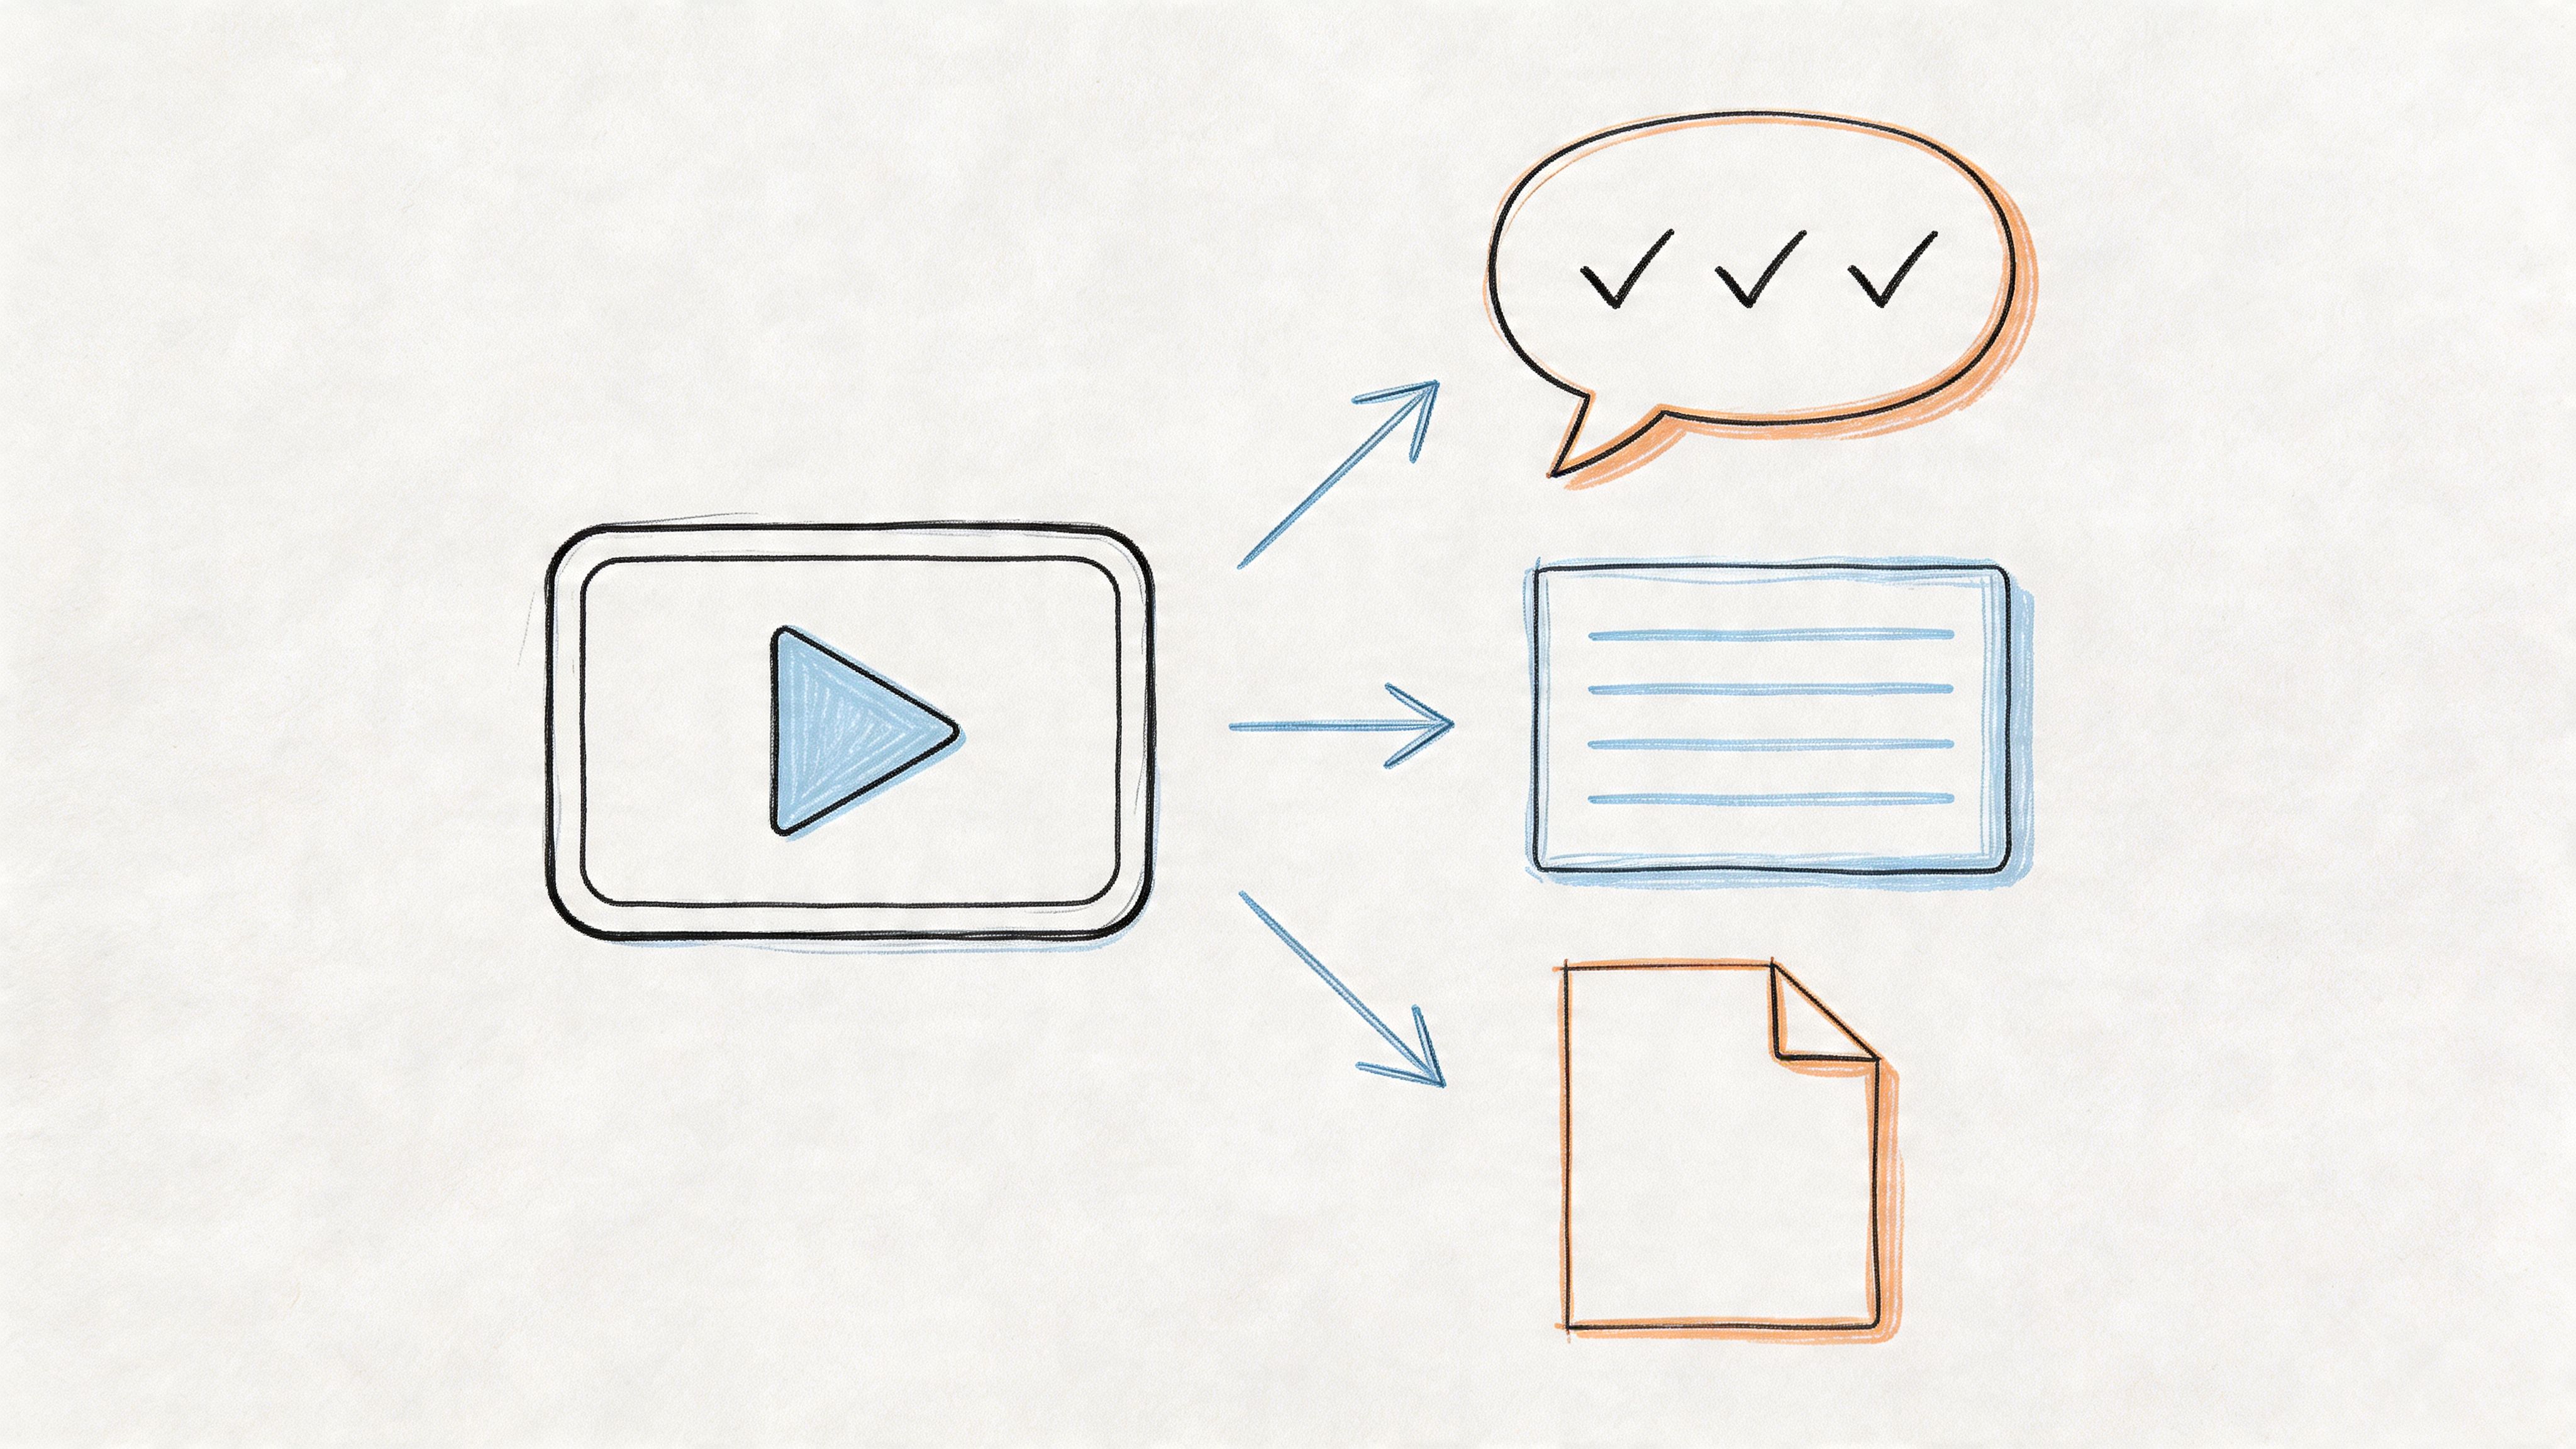
From Audio to Text on Your iPhone
A lot of people search for how to transcribe voice memo on iPhone right after recording something they can't afford to lose. It might be a meeting recap while walking back to your desk, a late-night idea you know you'll forget by morning, or an interview you need to quote from later.
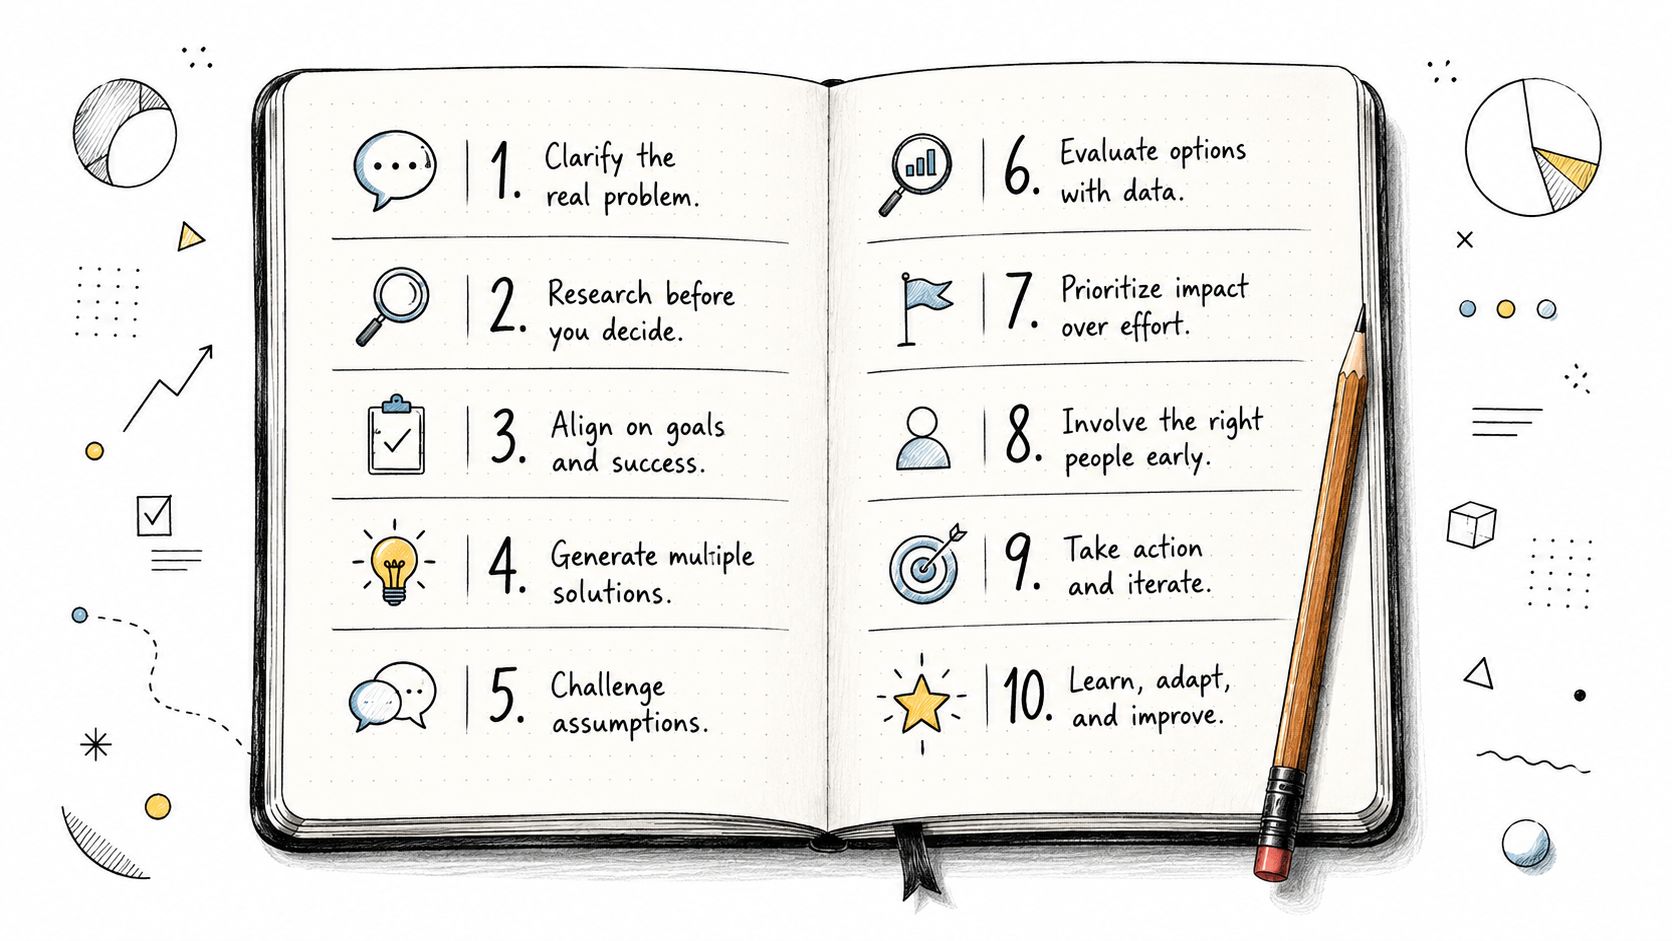
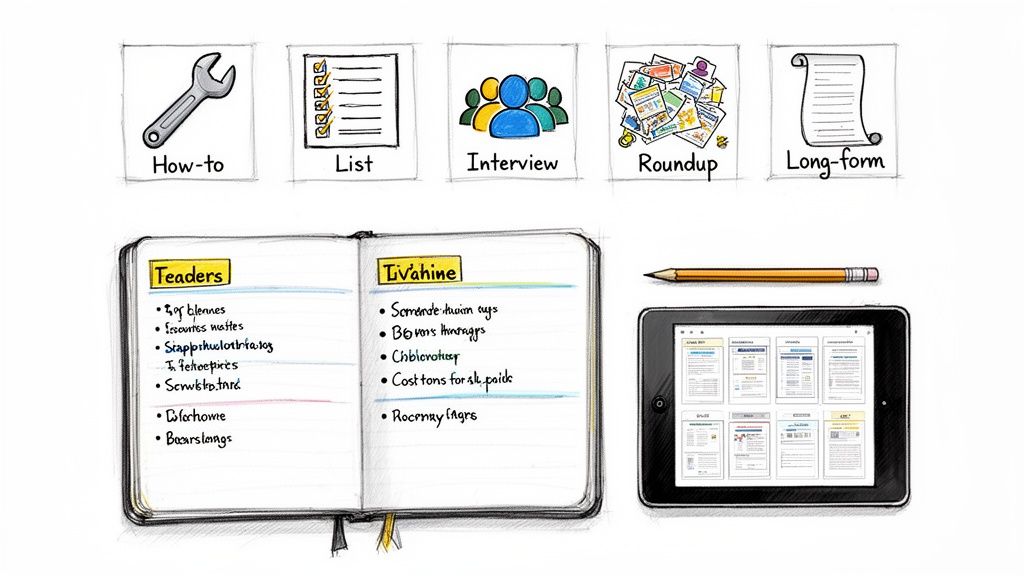
The good news is that there isn't just one answer anymore. There are three practical levels of transcription on iPhone, and each one makes sense in a different situation.
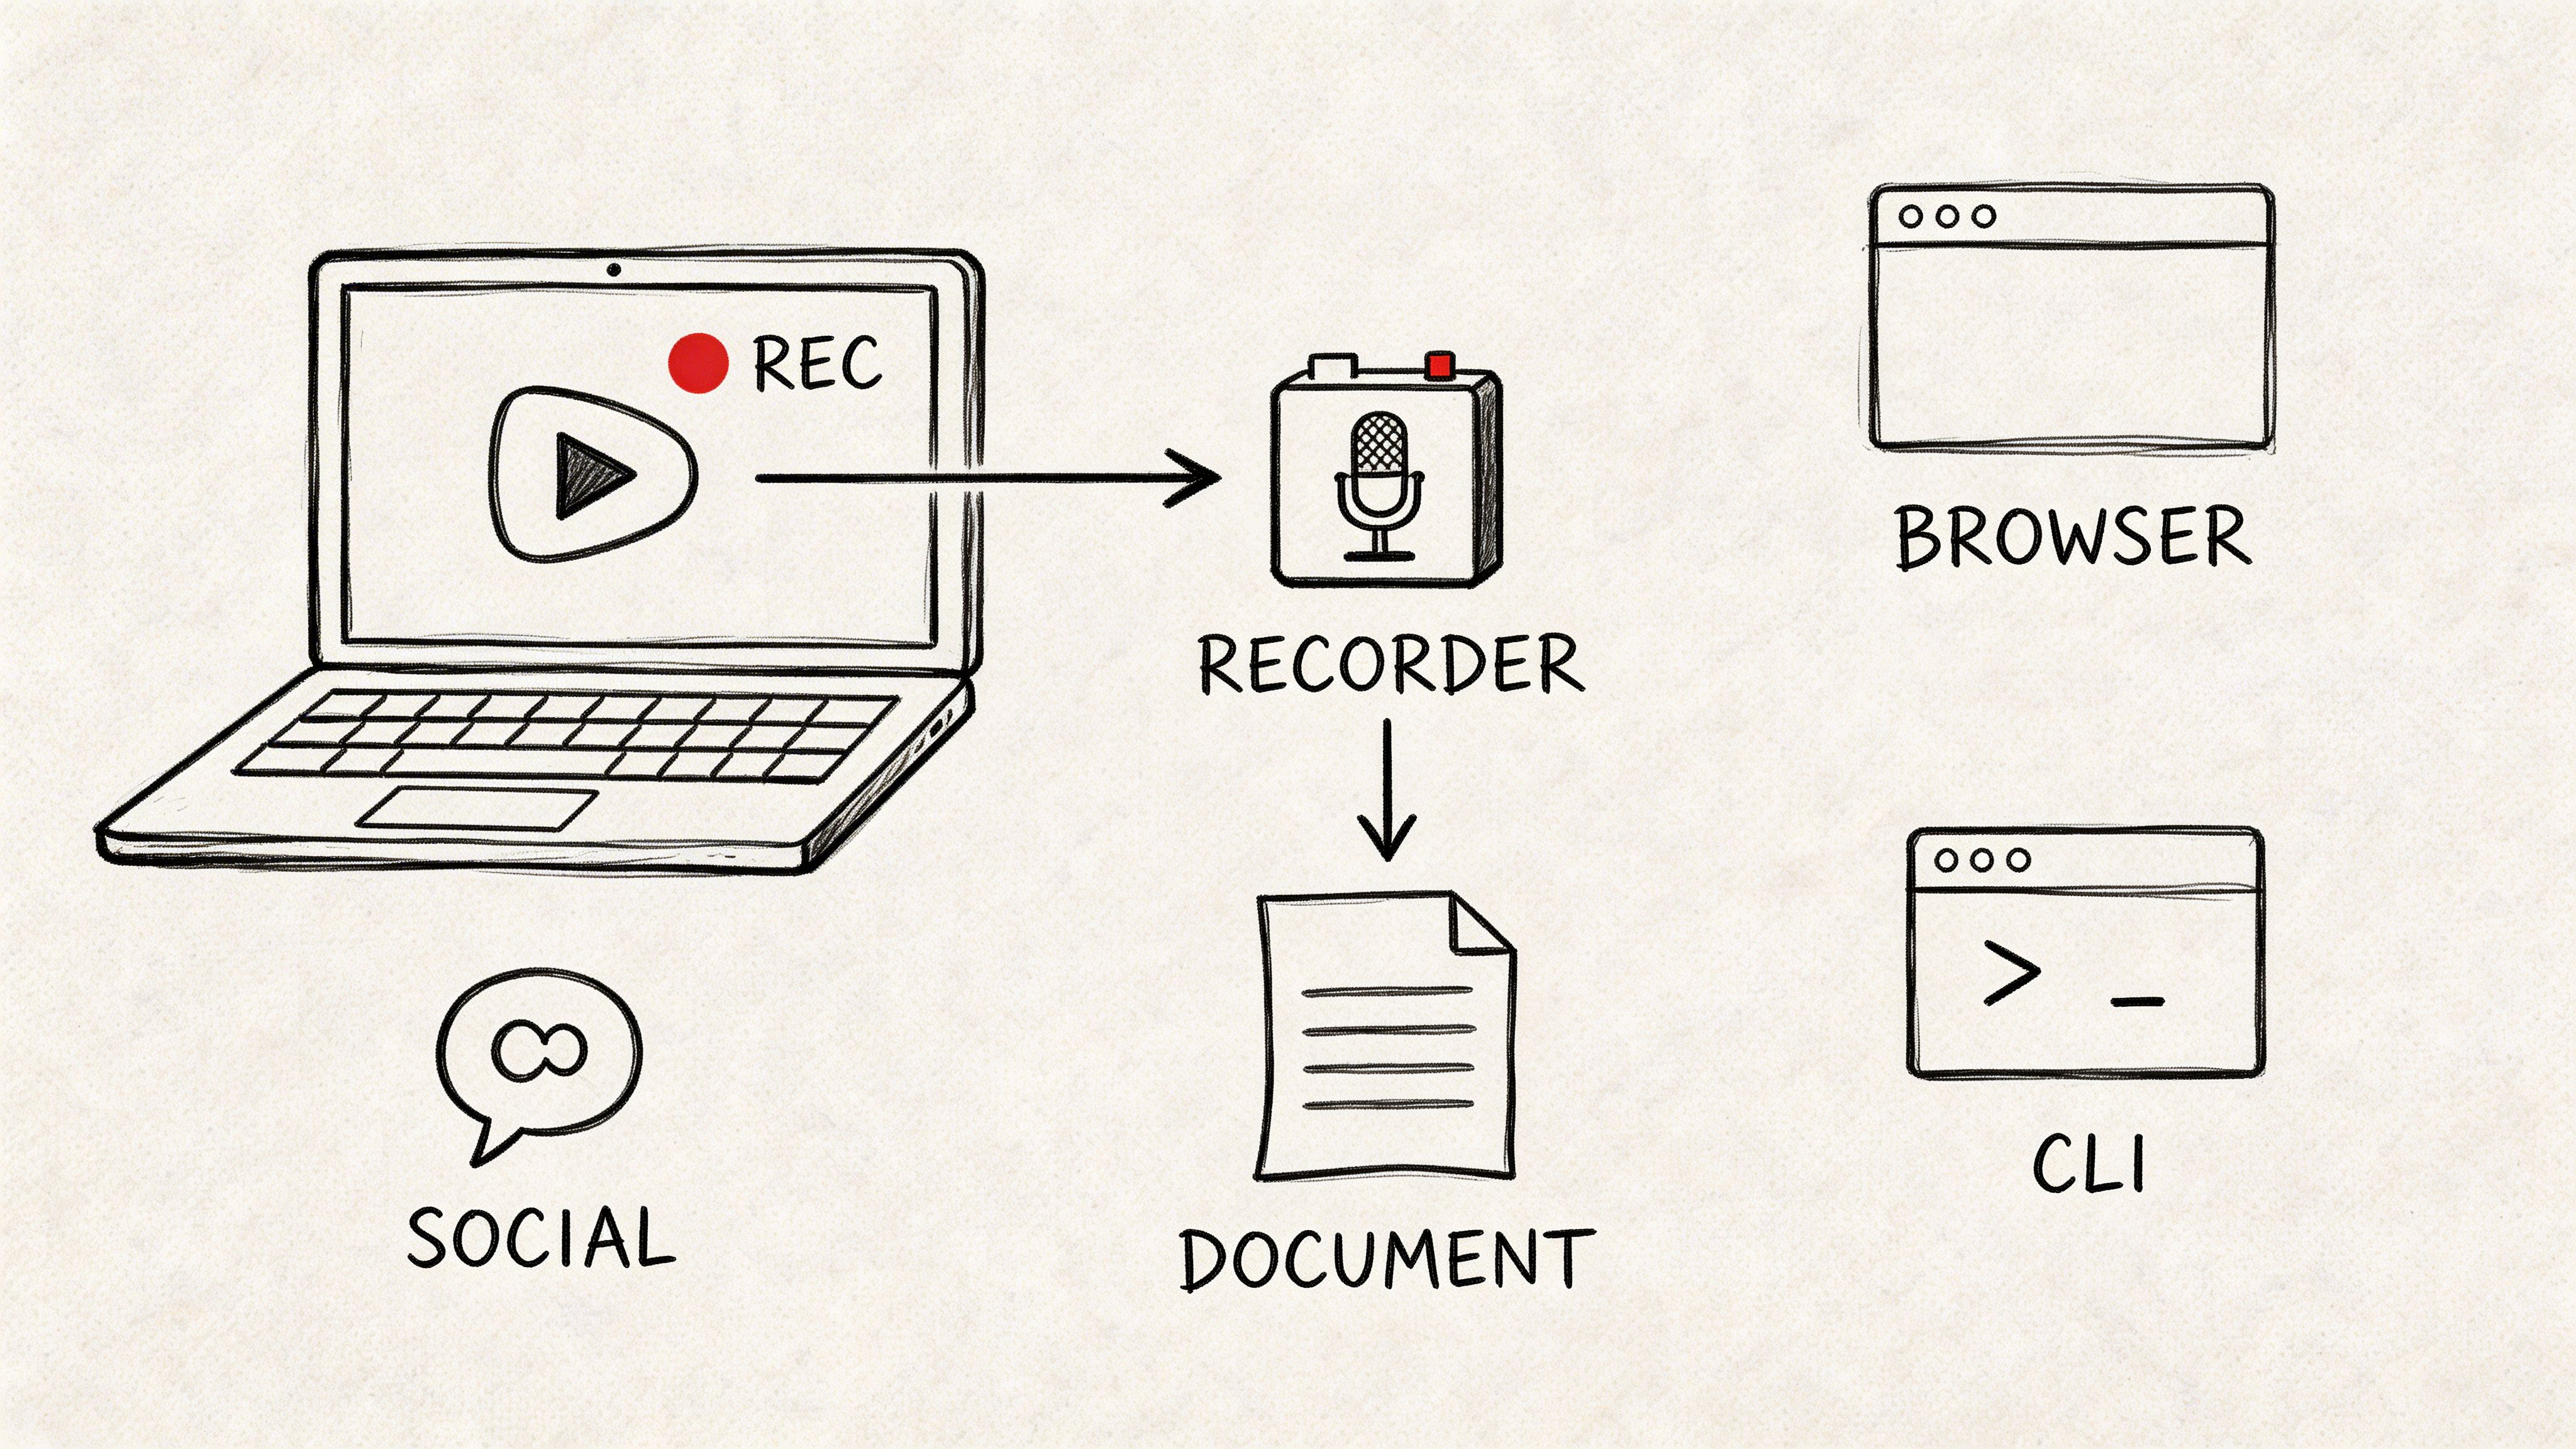
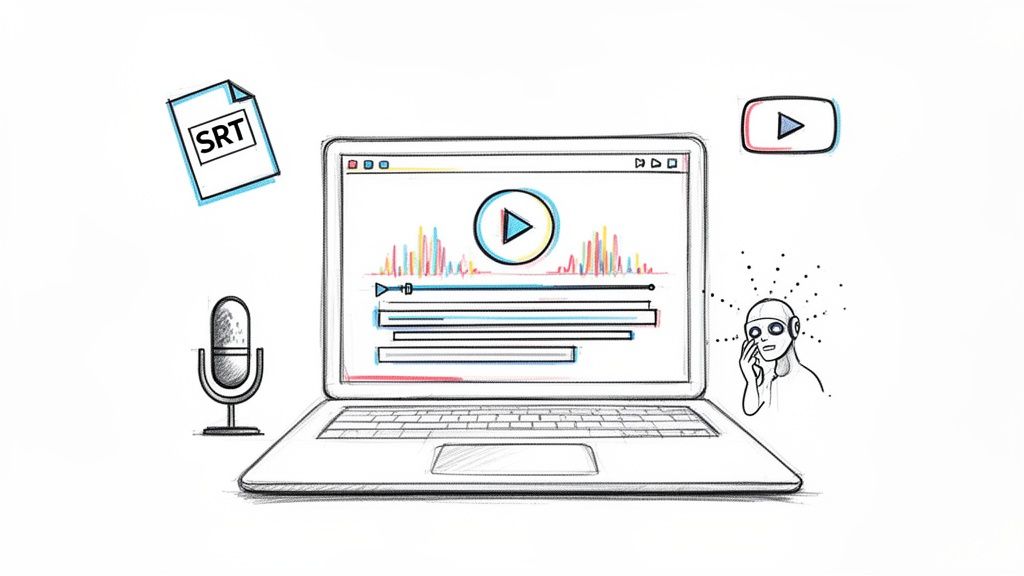
For fast, free, no-setup transcription, start with Apple's built-in Voice Memos transcript view. That's the easiest option when the recording is short, the speech is clear, and you mainly want usable text without leaving the app.
There's also an older workaround that still helps in certain cases. If your iPhone's main transcription flow isn't available or isn't behaving, sending the recording into Notes can still produce a rough draft. It's not elegant, but it can rescue a simple memo.
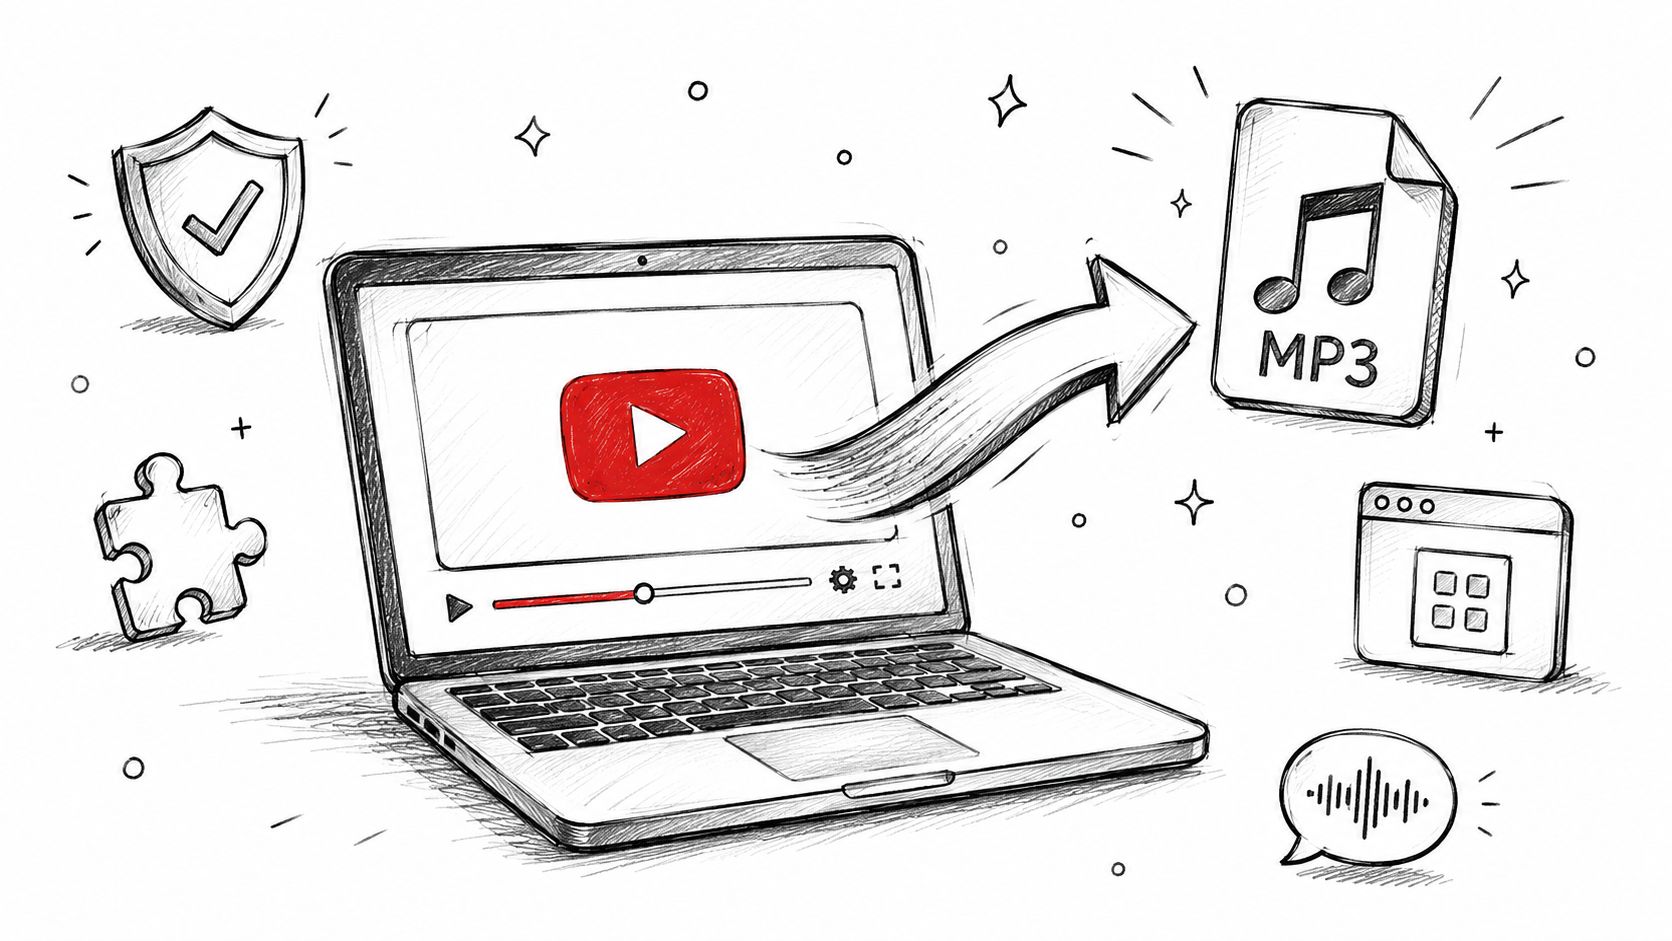
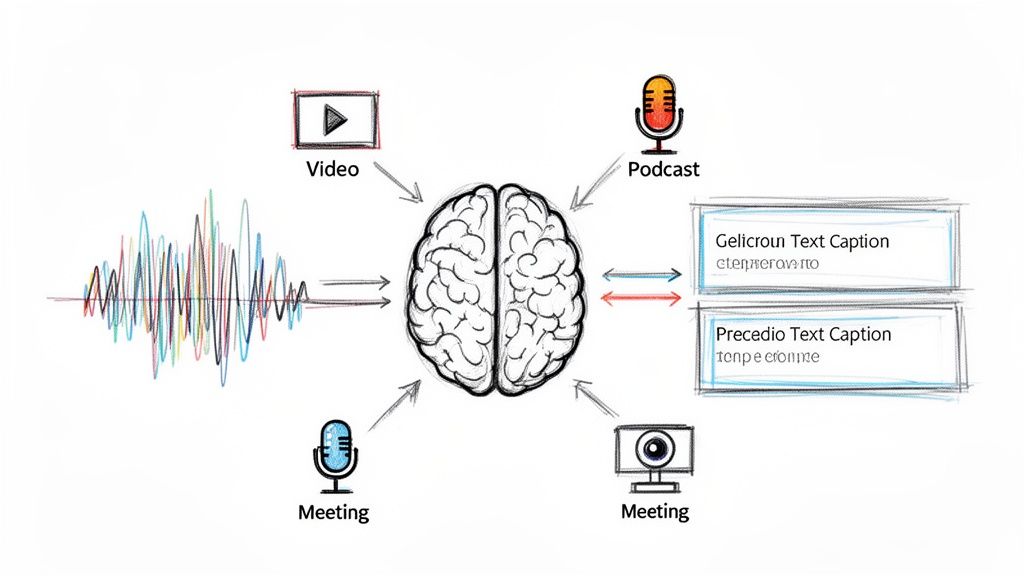
When the audio is long, messy, or important, export the file and use a dedicated transcription workflow instead. That's the route to take for interviews, podcasts, meetings with multiple people, or anything you'll publish or share. If you want another practical walkthrough before you choose a method, AIDictation's iPhone transcription tips are worth reading because they frame the problem the same way it is typically experienced on the phone itself.
For a broader view of what happens after transcription, especially if you also turn recordings into summaries or notes, this guide to audio-to-text workflows is also useful.
Practical rule: Use the simplest method that matches the importance of the recording. Convenience matters, but cleanup time matters too.
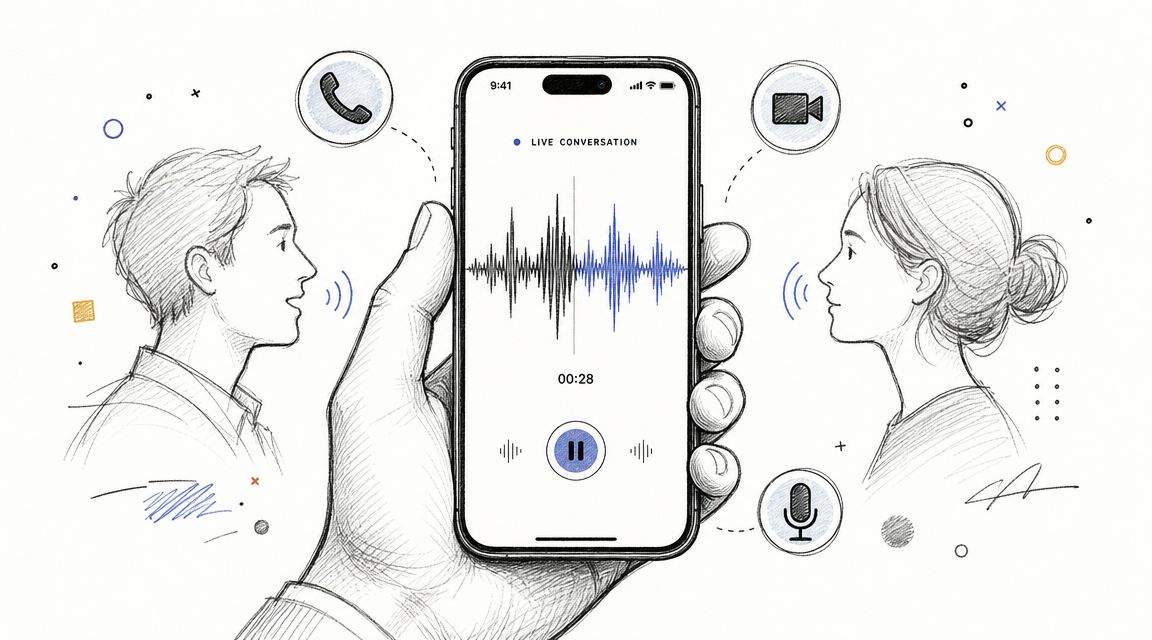
Using the Built-In iOS Transcription Feature
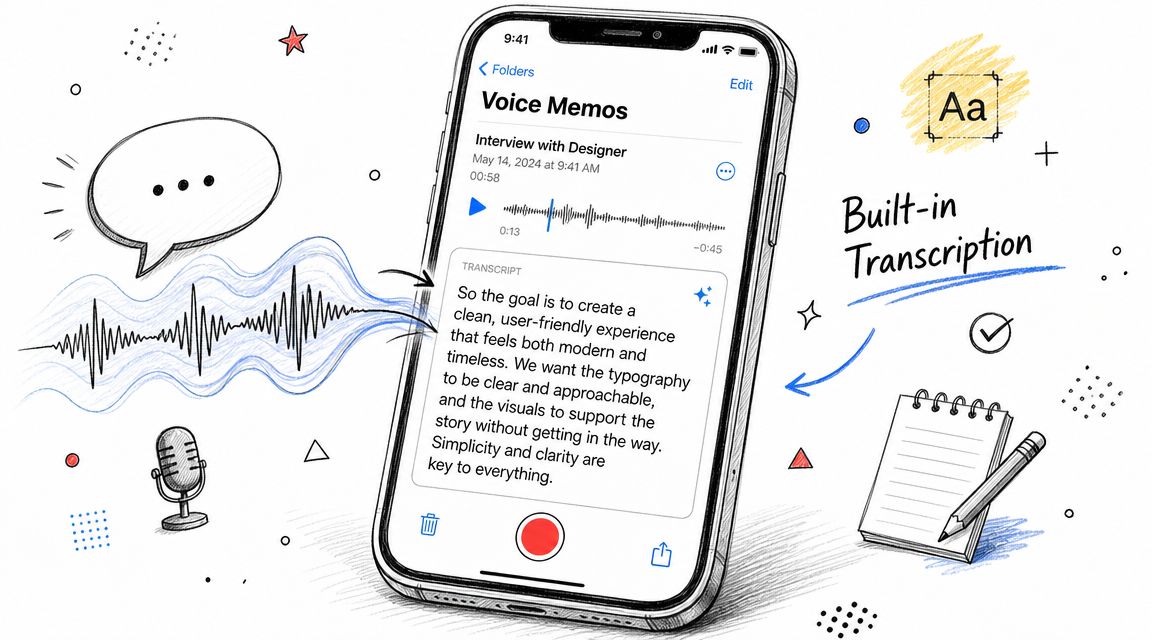
Apple finally integrated transcription into the standard Voice Memos workflow, shifting the usual starting point. If your recording is personal, short, and reasonably clean, it is the recommended starting point.
How it works while you record
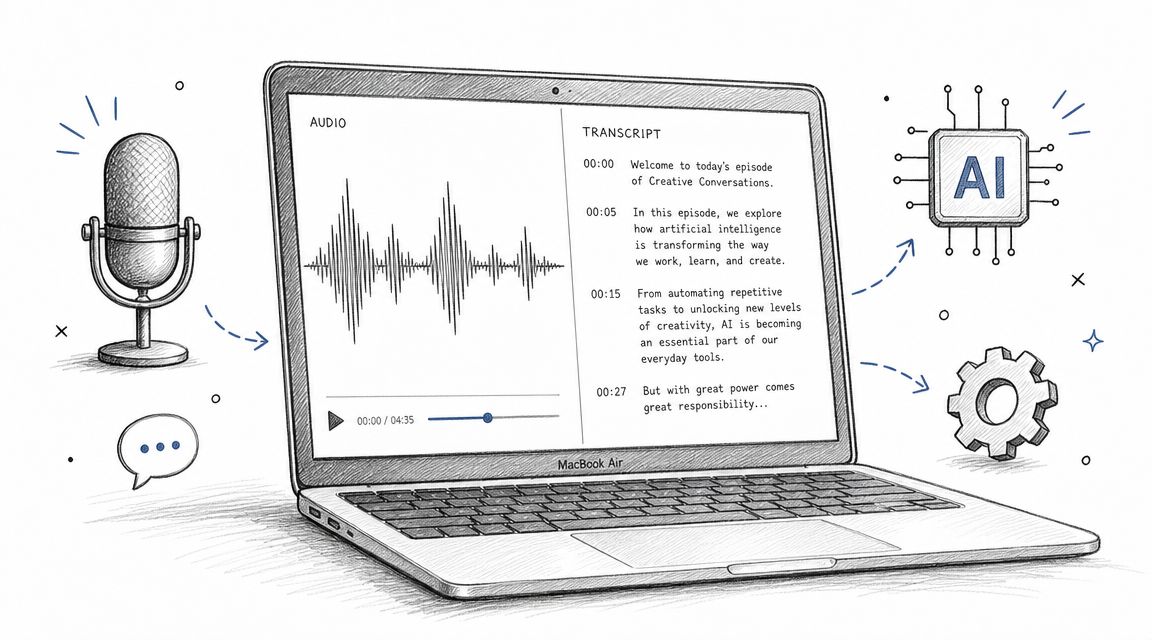
Apple's support documentation says you can start recording in Voice Memos, swipe up from the waveform, and watch the transcription live, and for saved recordings you can open the transcript and copy part or all of the text through the app's native controls, according to Apple's iPhone transcription support page.
That matters because it removes the old friction. You don't need to play audio into another app just to get words on screen.
Try it like this:
- Open Voice Memos.
- Start a new recording.
- Swipe up from the waveform during recording.
- Watch the transcript appear as you speak.
- Stop the recording when you're done.
This method works best for voice notes, quick reminders, and simple one-person recordings. If you're dictating your own thoughts in a quiet room, it's usually the fastest path from speech to text.
How to open text from an existing memo
If the memo is already saved, you can still work from inside Voice Memos.
A simple flow is:
- Open the recording you want to review.
- Find the transcript view for that memo.
- Select text if you only need a quote or excerpt.
- Copy the full transcript if you want to paste it into Notes, Mail, or a document.
That “copy text” step is a significant productivity win. Once the words are in your clipboard, the voice memo stops being trapped as audio.
A quick demo helps if the controls feel hidden at first:
When this method is enough
Built-in transcription is the right choice when:
- You need speed: Open the memo, grab the text, move on.
- The speaker is clear: One voice is easier than a group conversation.
- You don't need formatting: A plain transcript is enough for your next step.
Where it starts to break down
Native transcription is about convenience, not control.
It can get shaky when:
- Background noise competes with speech
- Several people talk over each other
- Names, acronyms, and jargon matter
- You need timestamps or speaker separation
Clean audio gives you a usable draft. Messy audio gives you an editing project.
If your memo is a grocery list, idea capture, or solo reminder, Apple's built-in feature is the obvious first try. If it's an interview or meeting record, you'll probably want more than the phone's quick transcript.
The Notes App Workaround for Quick Tasks
Before Apple made Voice Memos transcription feel native, people found ways around the gap. One of the more practical ones was pushing audio into Notes and letting other parts of iPhone audio processing do the heavy lifting.
Historically, that workaround existed for a reason. Older iPhone workflows often didn't offer a clean way to transcribe a saved Voice Memos file directly. A summary of that older limitation appears in this explanation of Siri and saved Voice Memos, which notes that people often resorted to workarounds like playing a memo aloud for Siri or saving audio into Notes.
Why this still helps sometimes
This method is still useful if:
- Your iPhone is on an older setup
- Voice Memos transcript view isn't available
- You only need a rough draft
- The recording is short and mostly one speaker
It's not the cleanest workflow, but it can turn “I have audio” into “I have something editable.”
A practical way to try it
Use this when you want quick-and-dirty text, not a polished transcript.
- Open Voice Memos.
- Choose the recording.
- Tap the share options.
- Send or save the audio into Notes.
- Open the note and check whether iPhone processing gives you a usable text version or a better place to work from.
Depending on your device and setup, the exact behavior can vary. That inconsistency is the biggest reason this method is now a fallback instead of a default.
What you gain and what you give up
The upside is convenience if the main route fails. Notes is already on the phone, easy to search, and fine for simple text cleanup.
The downside is what it doesn't give you:
| What you need | Notes workaround |
|---|---|
| Rough text for a personal memo | Good enough |
| Clean transcript for an interview | Weak fit |
| Speaker labels | No |
| Timestamps | No |
| Reliable structure for long audio | No |
If you're using Notes for transcription, think of it as a scratchpad, not a final document.
That's why this workaround shines for a quick spoken reminder or a short monologue. It doesn't shine when the transcript needs to stand up on its own.
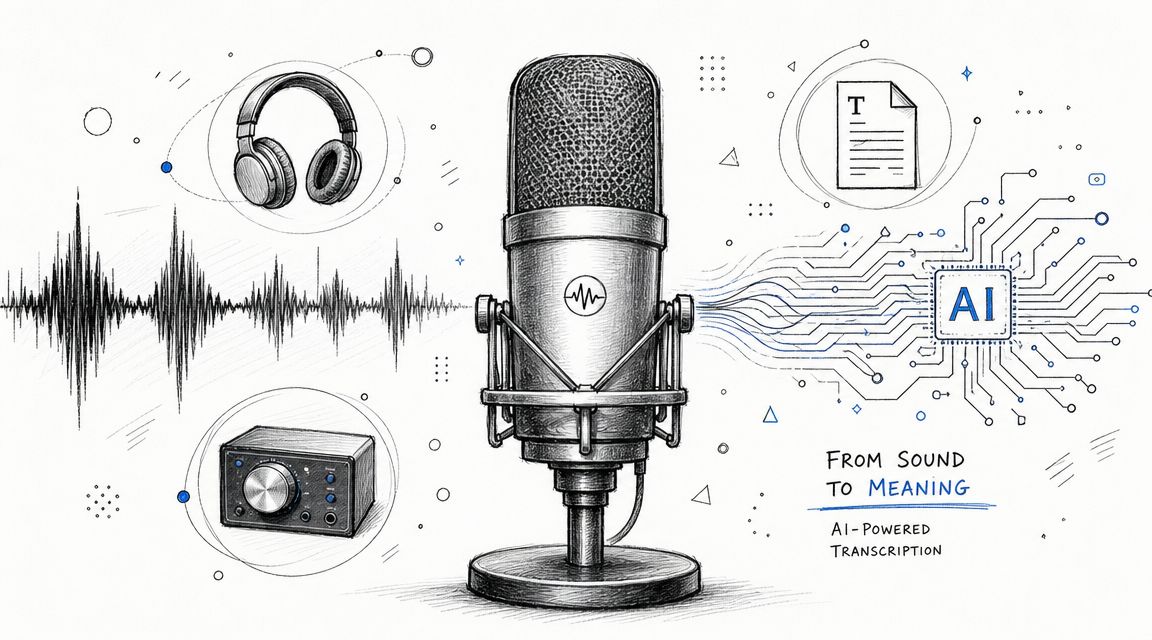
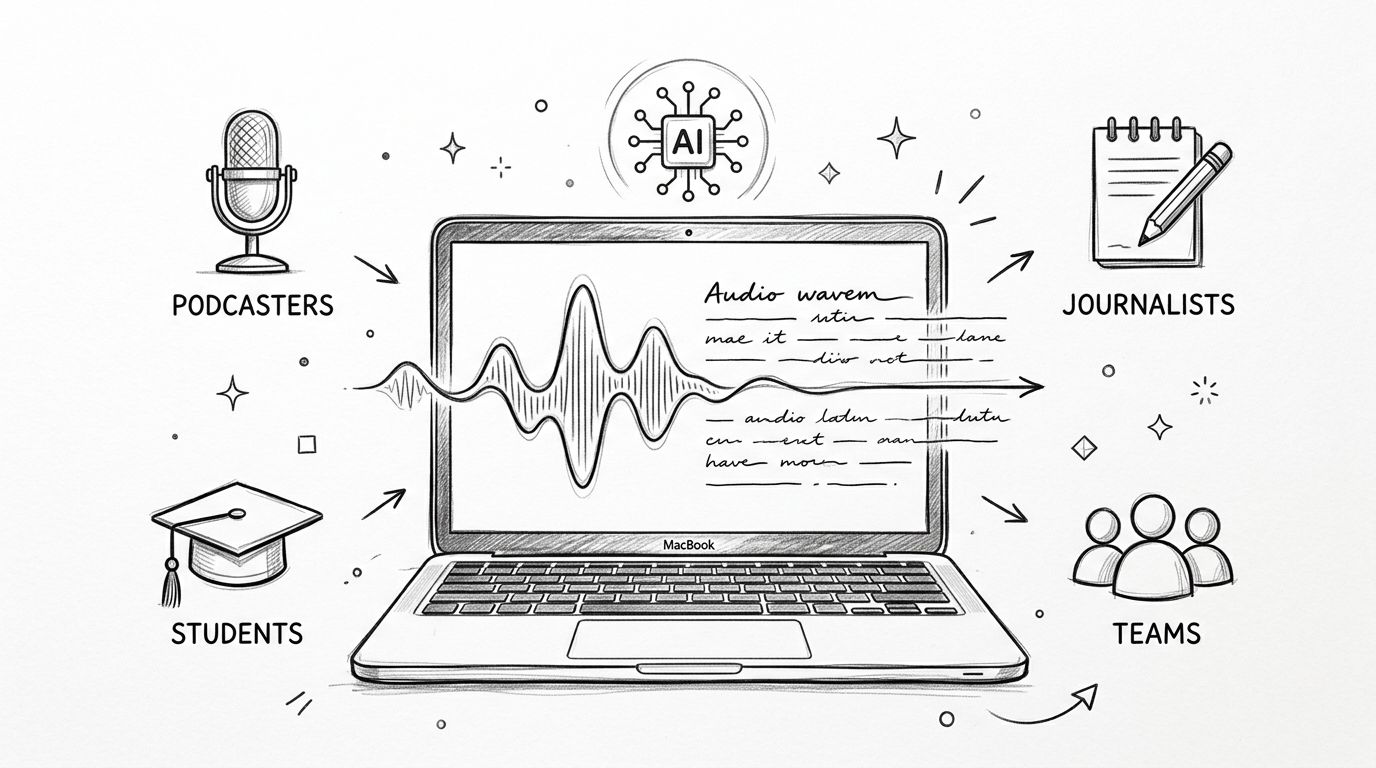
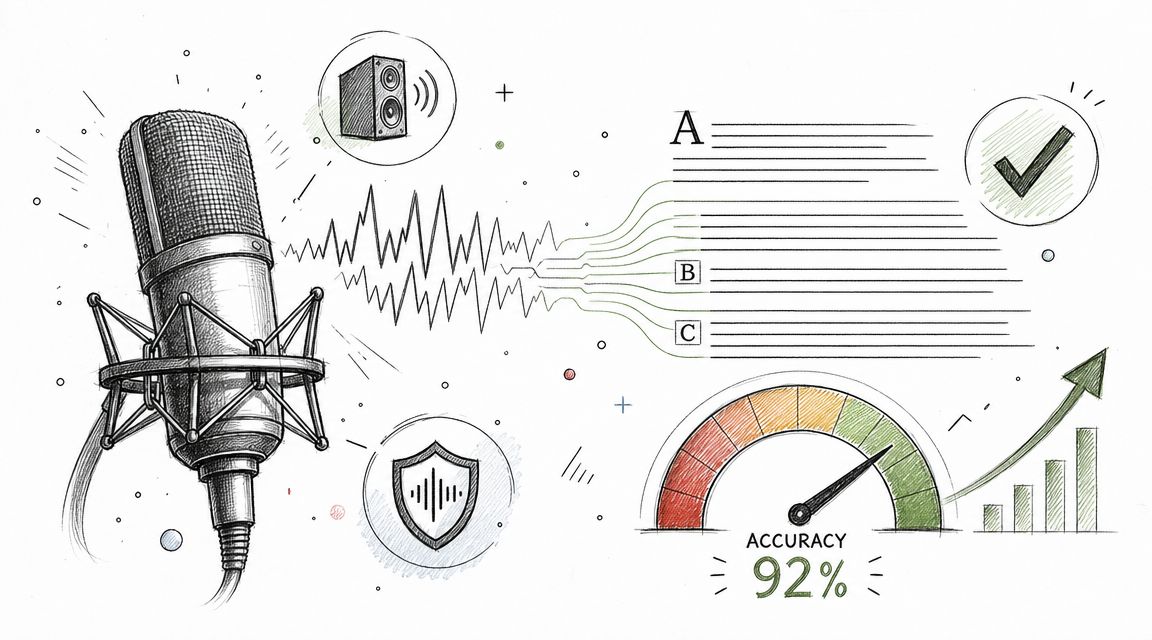
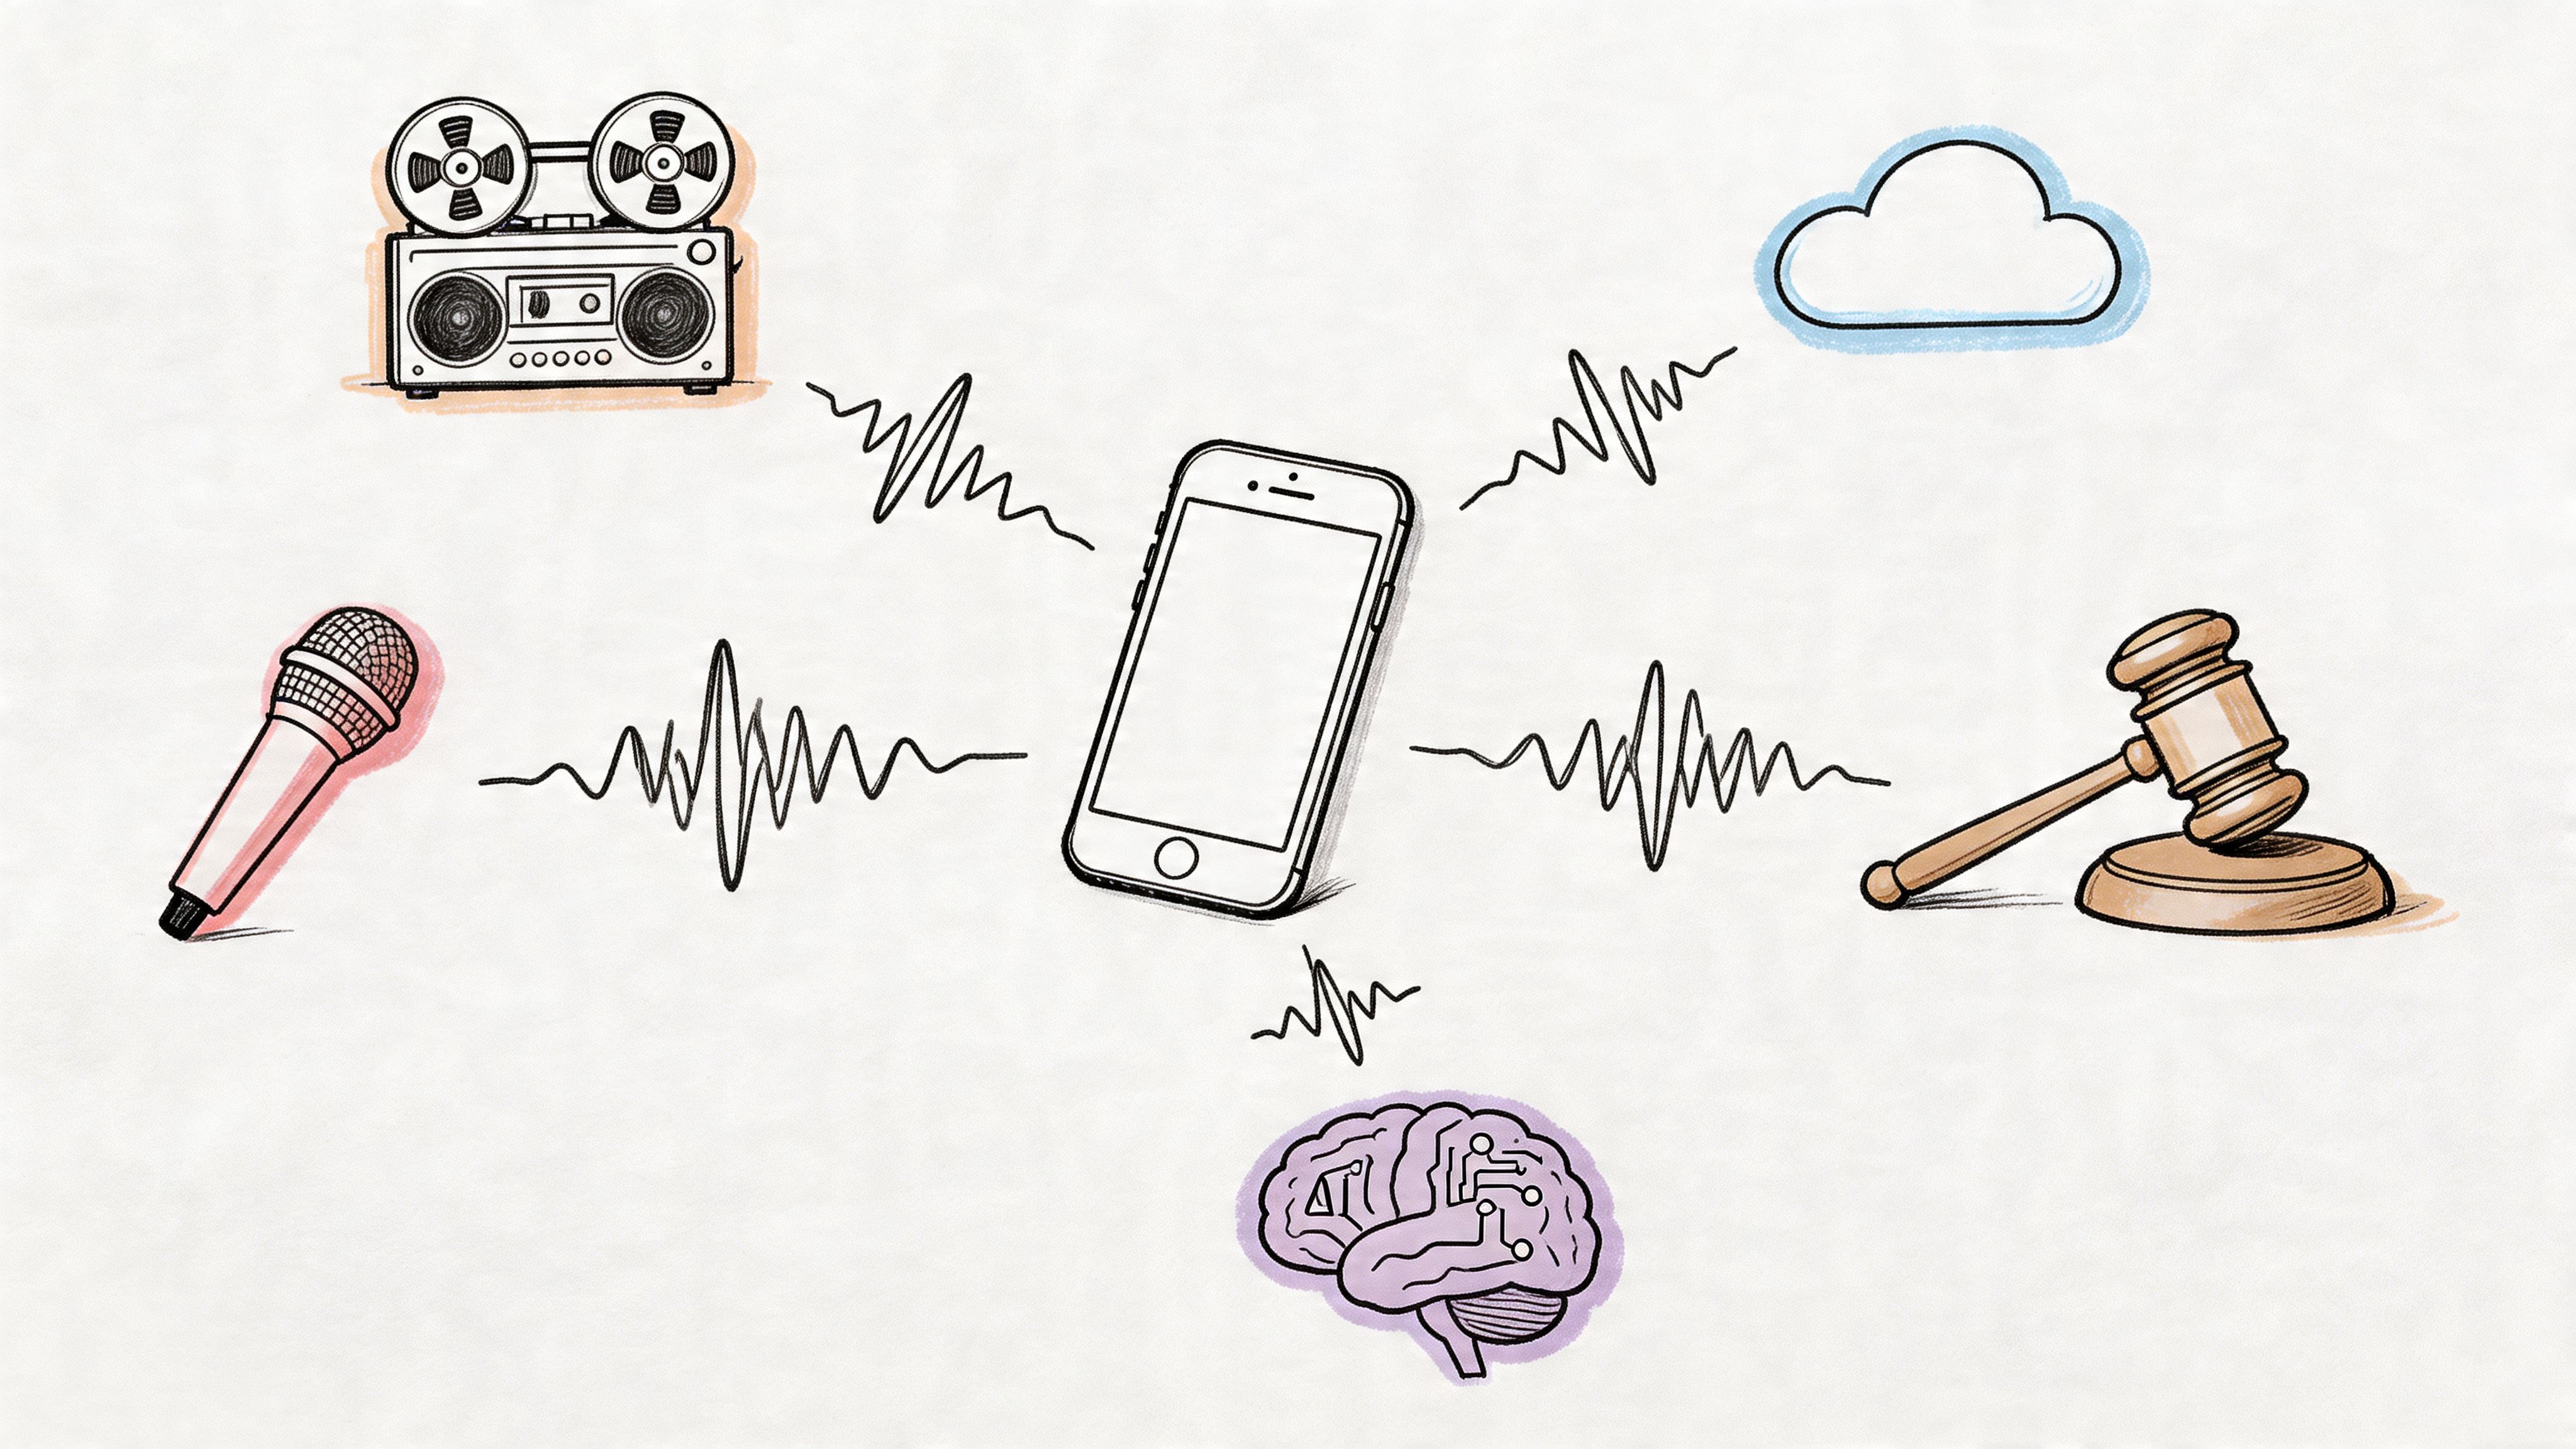
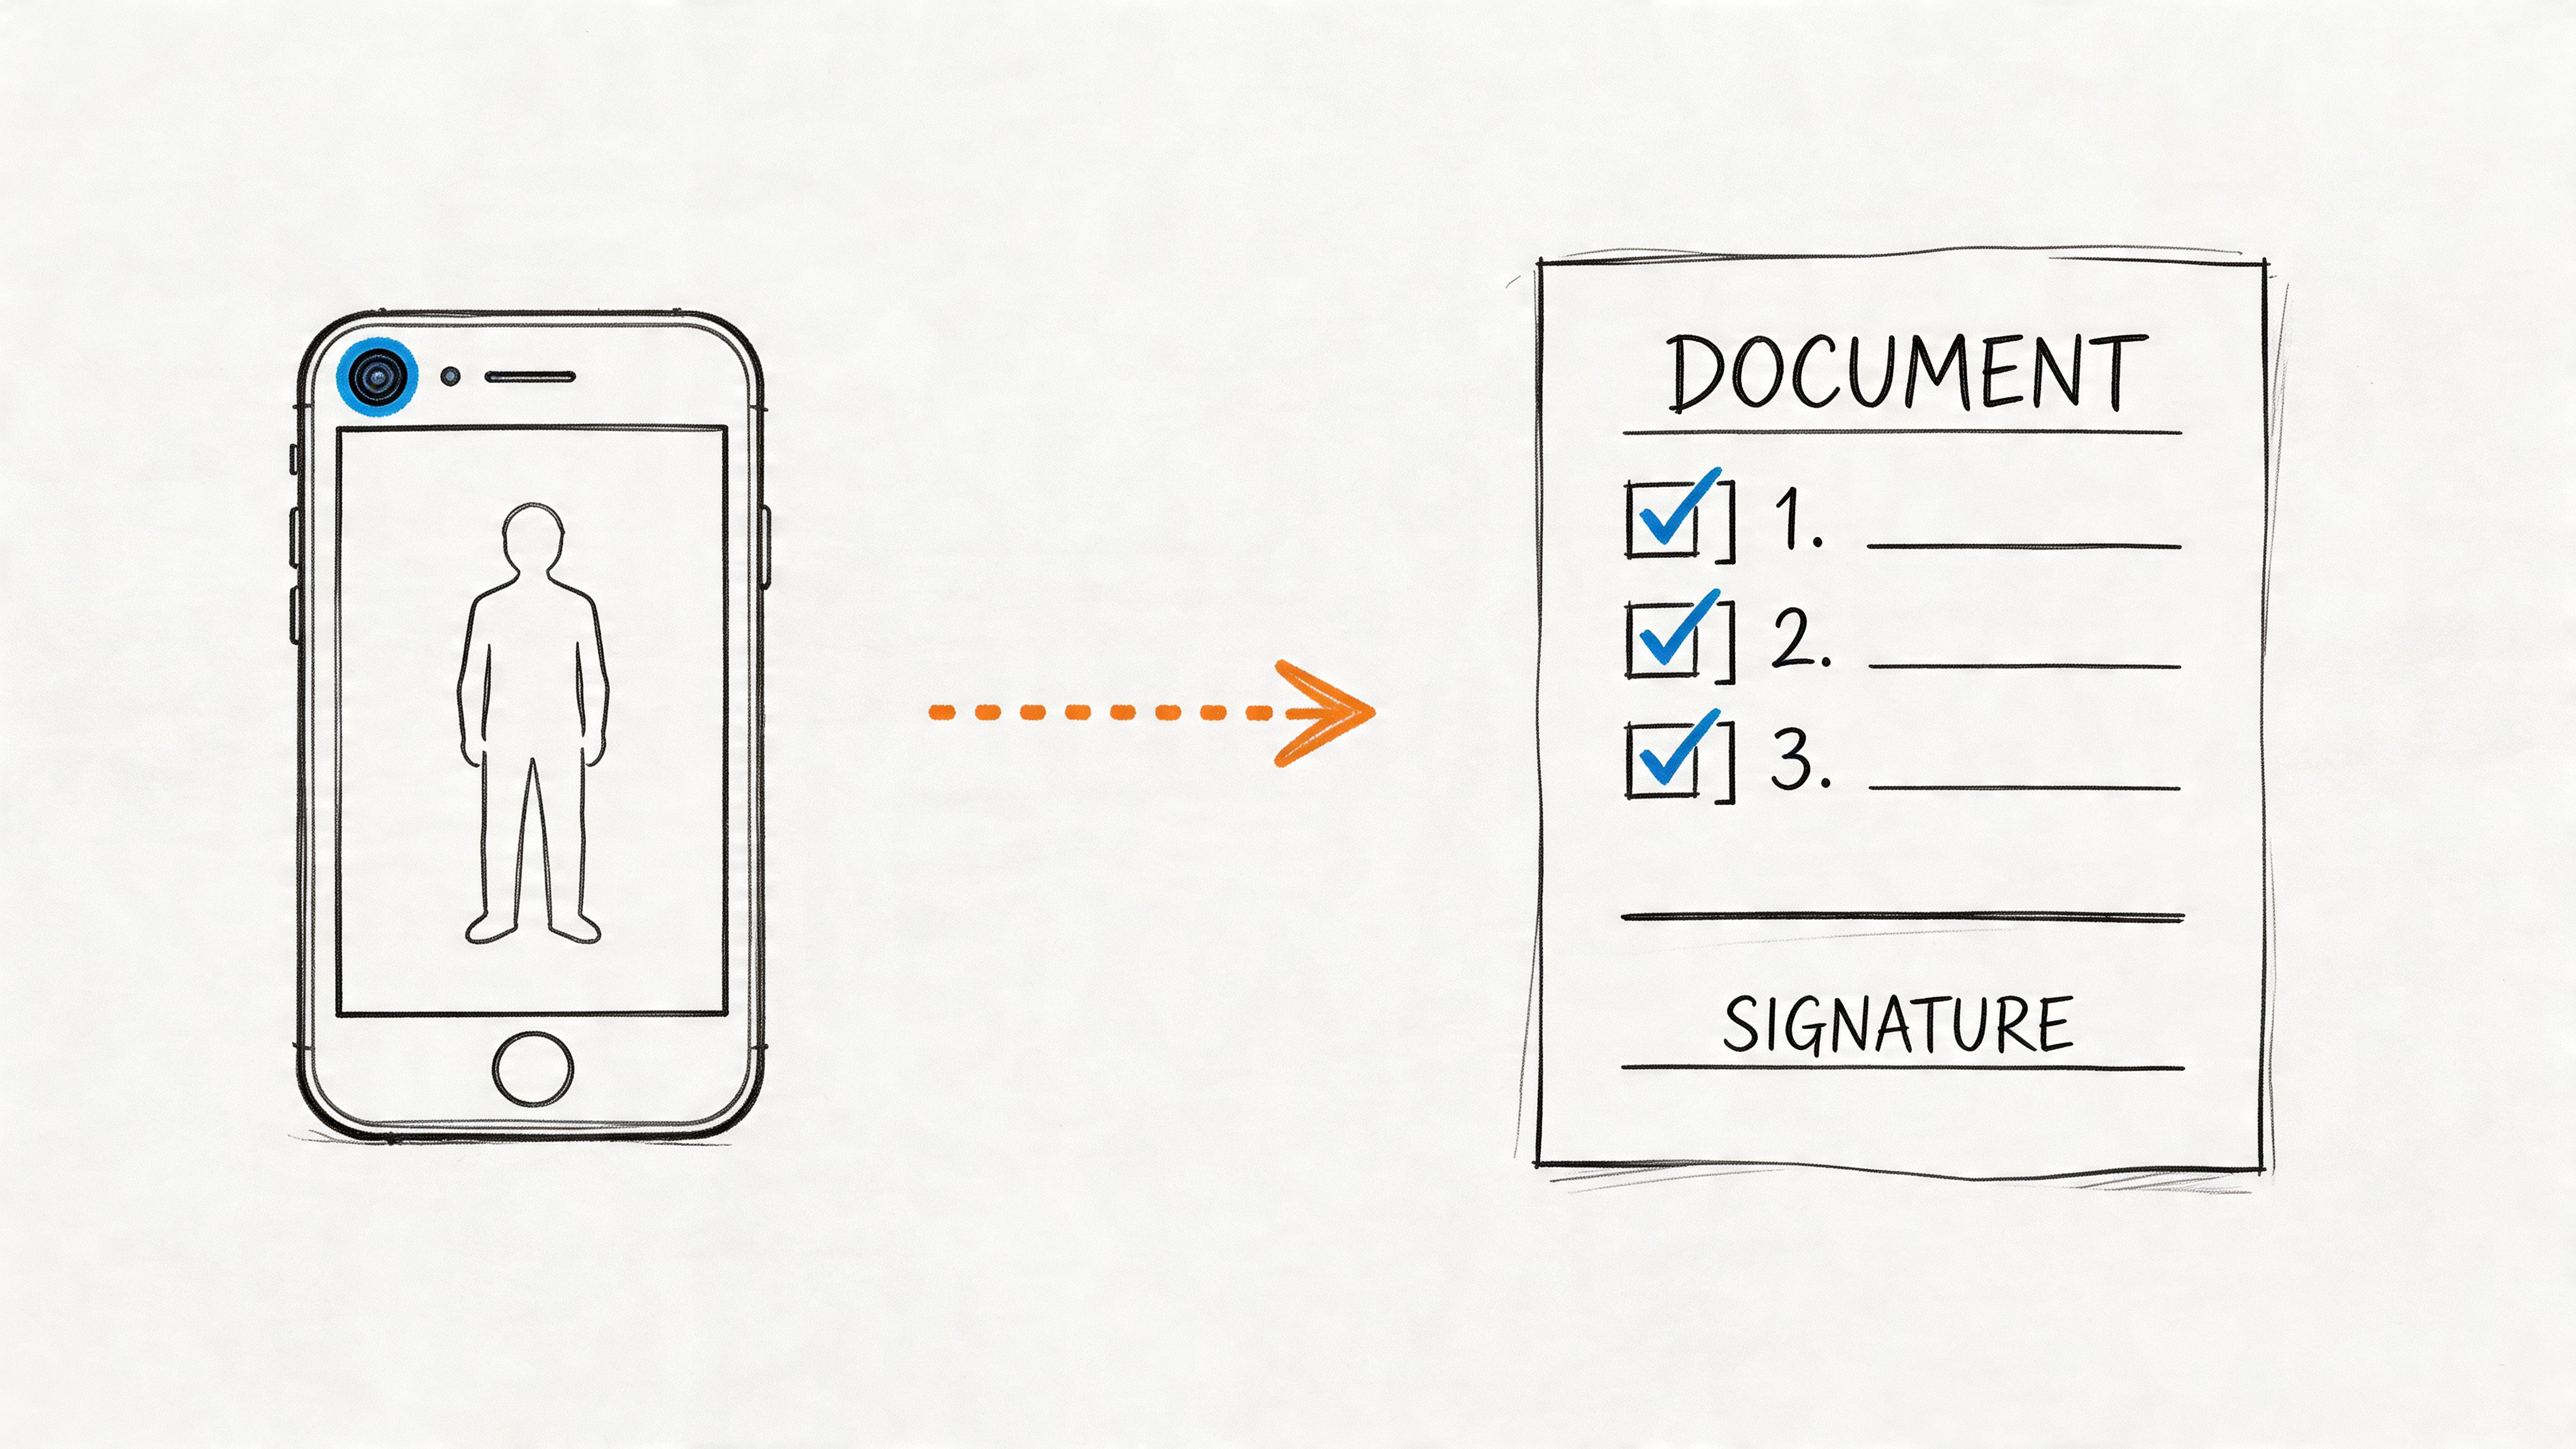
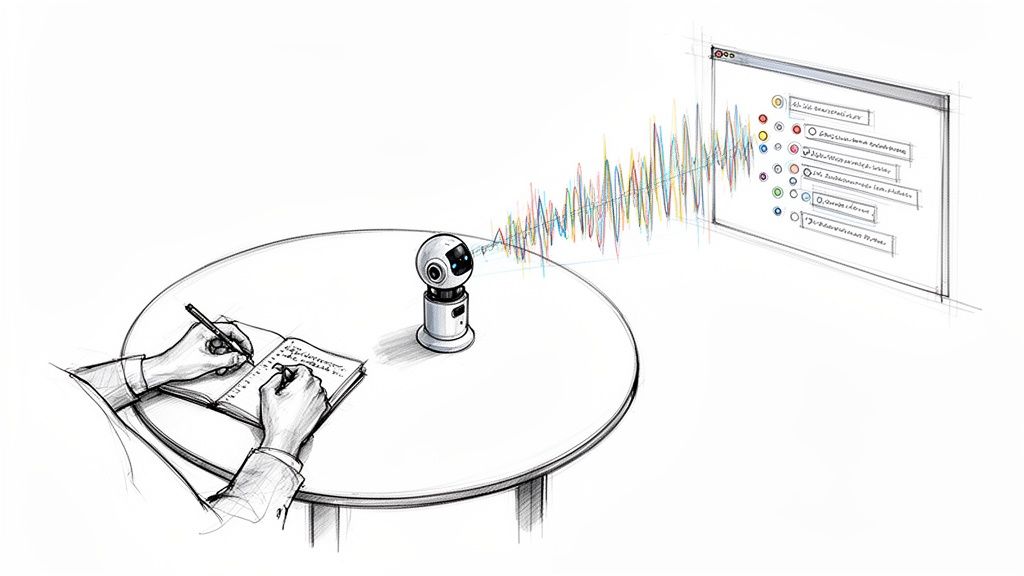
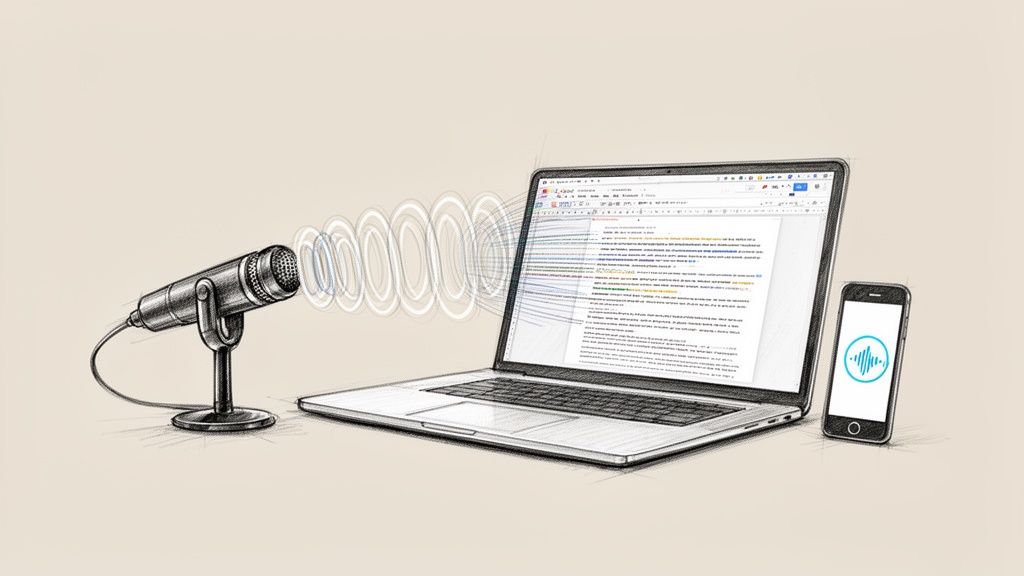
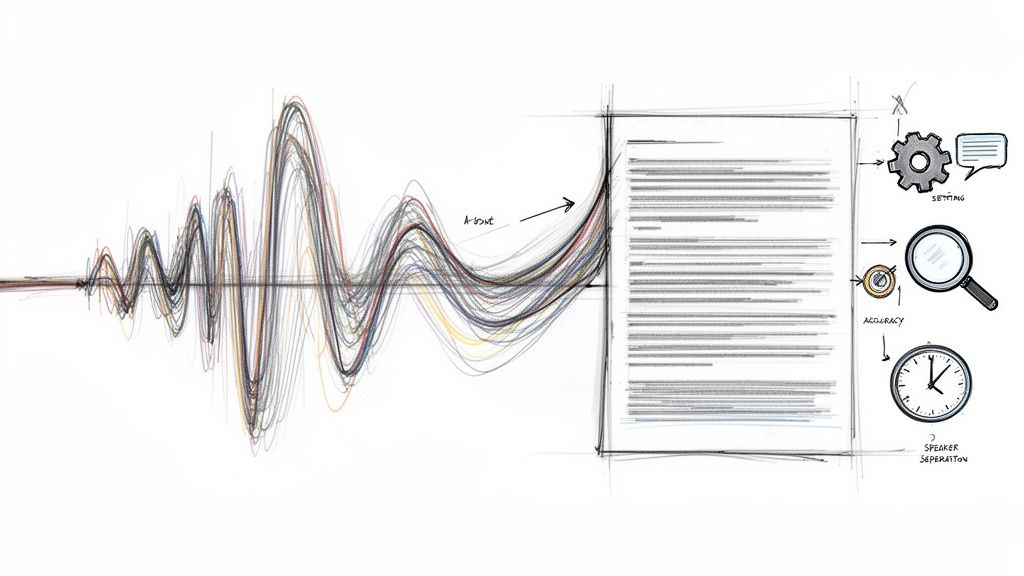
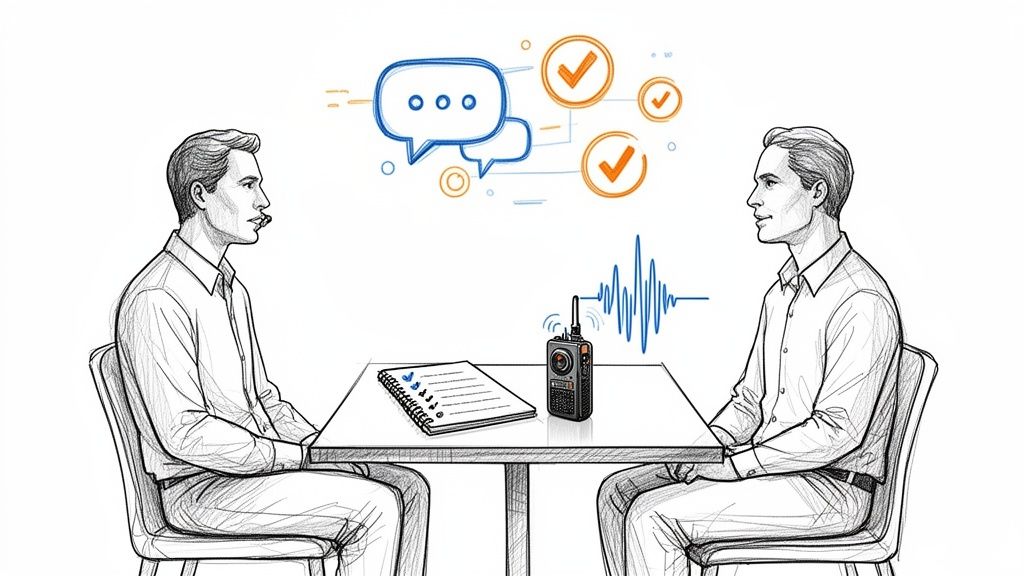
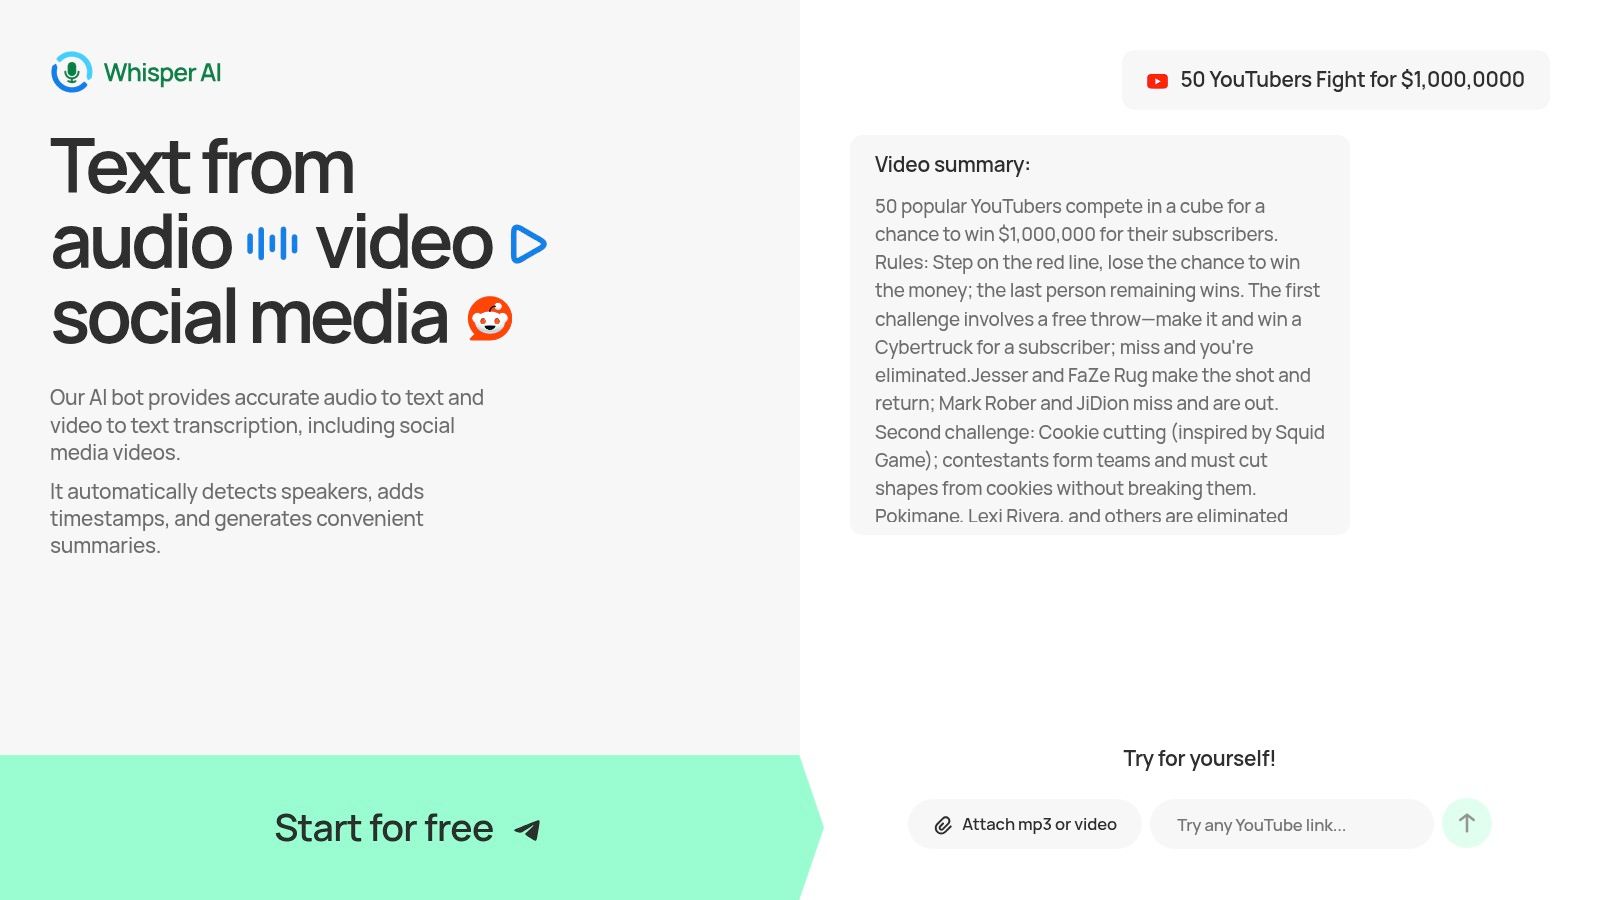
For Professional Accuracy Use a Dedicated AI Service
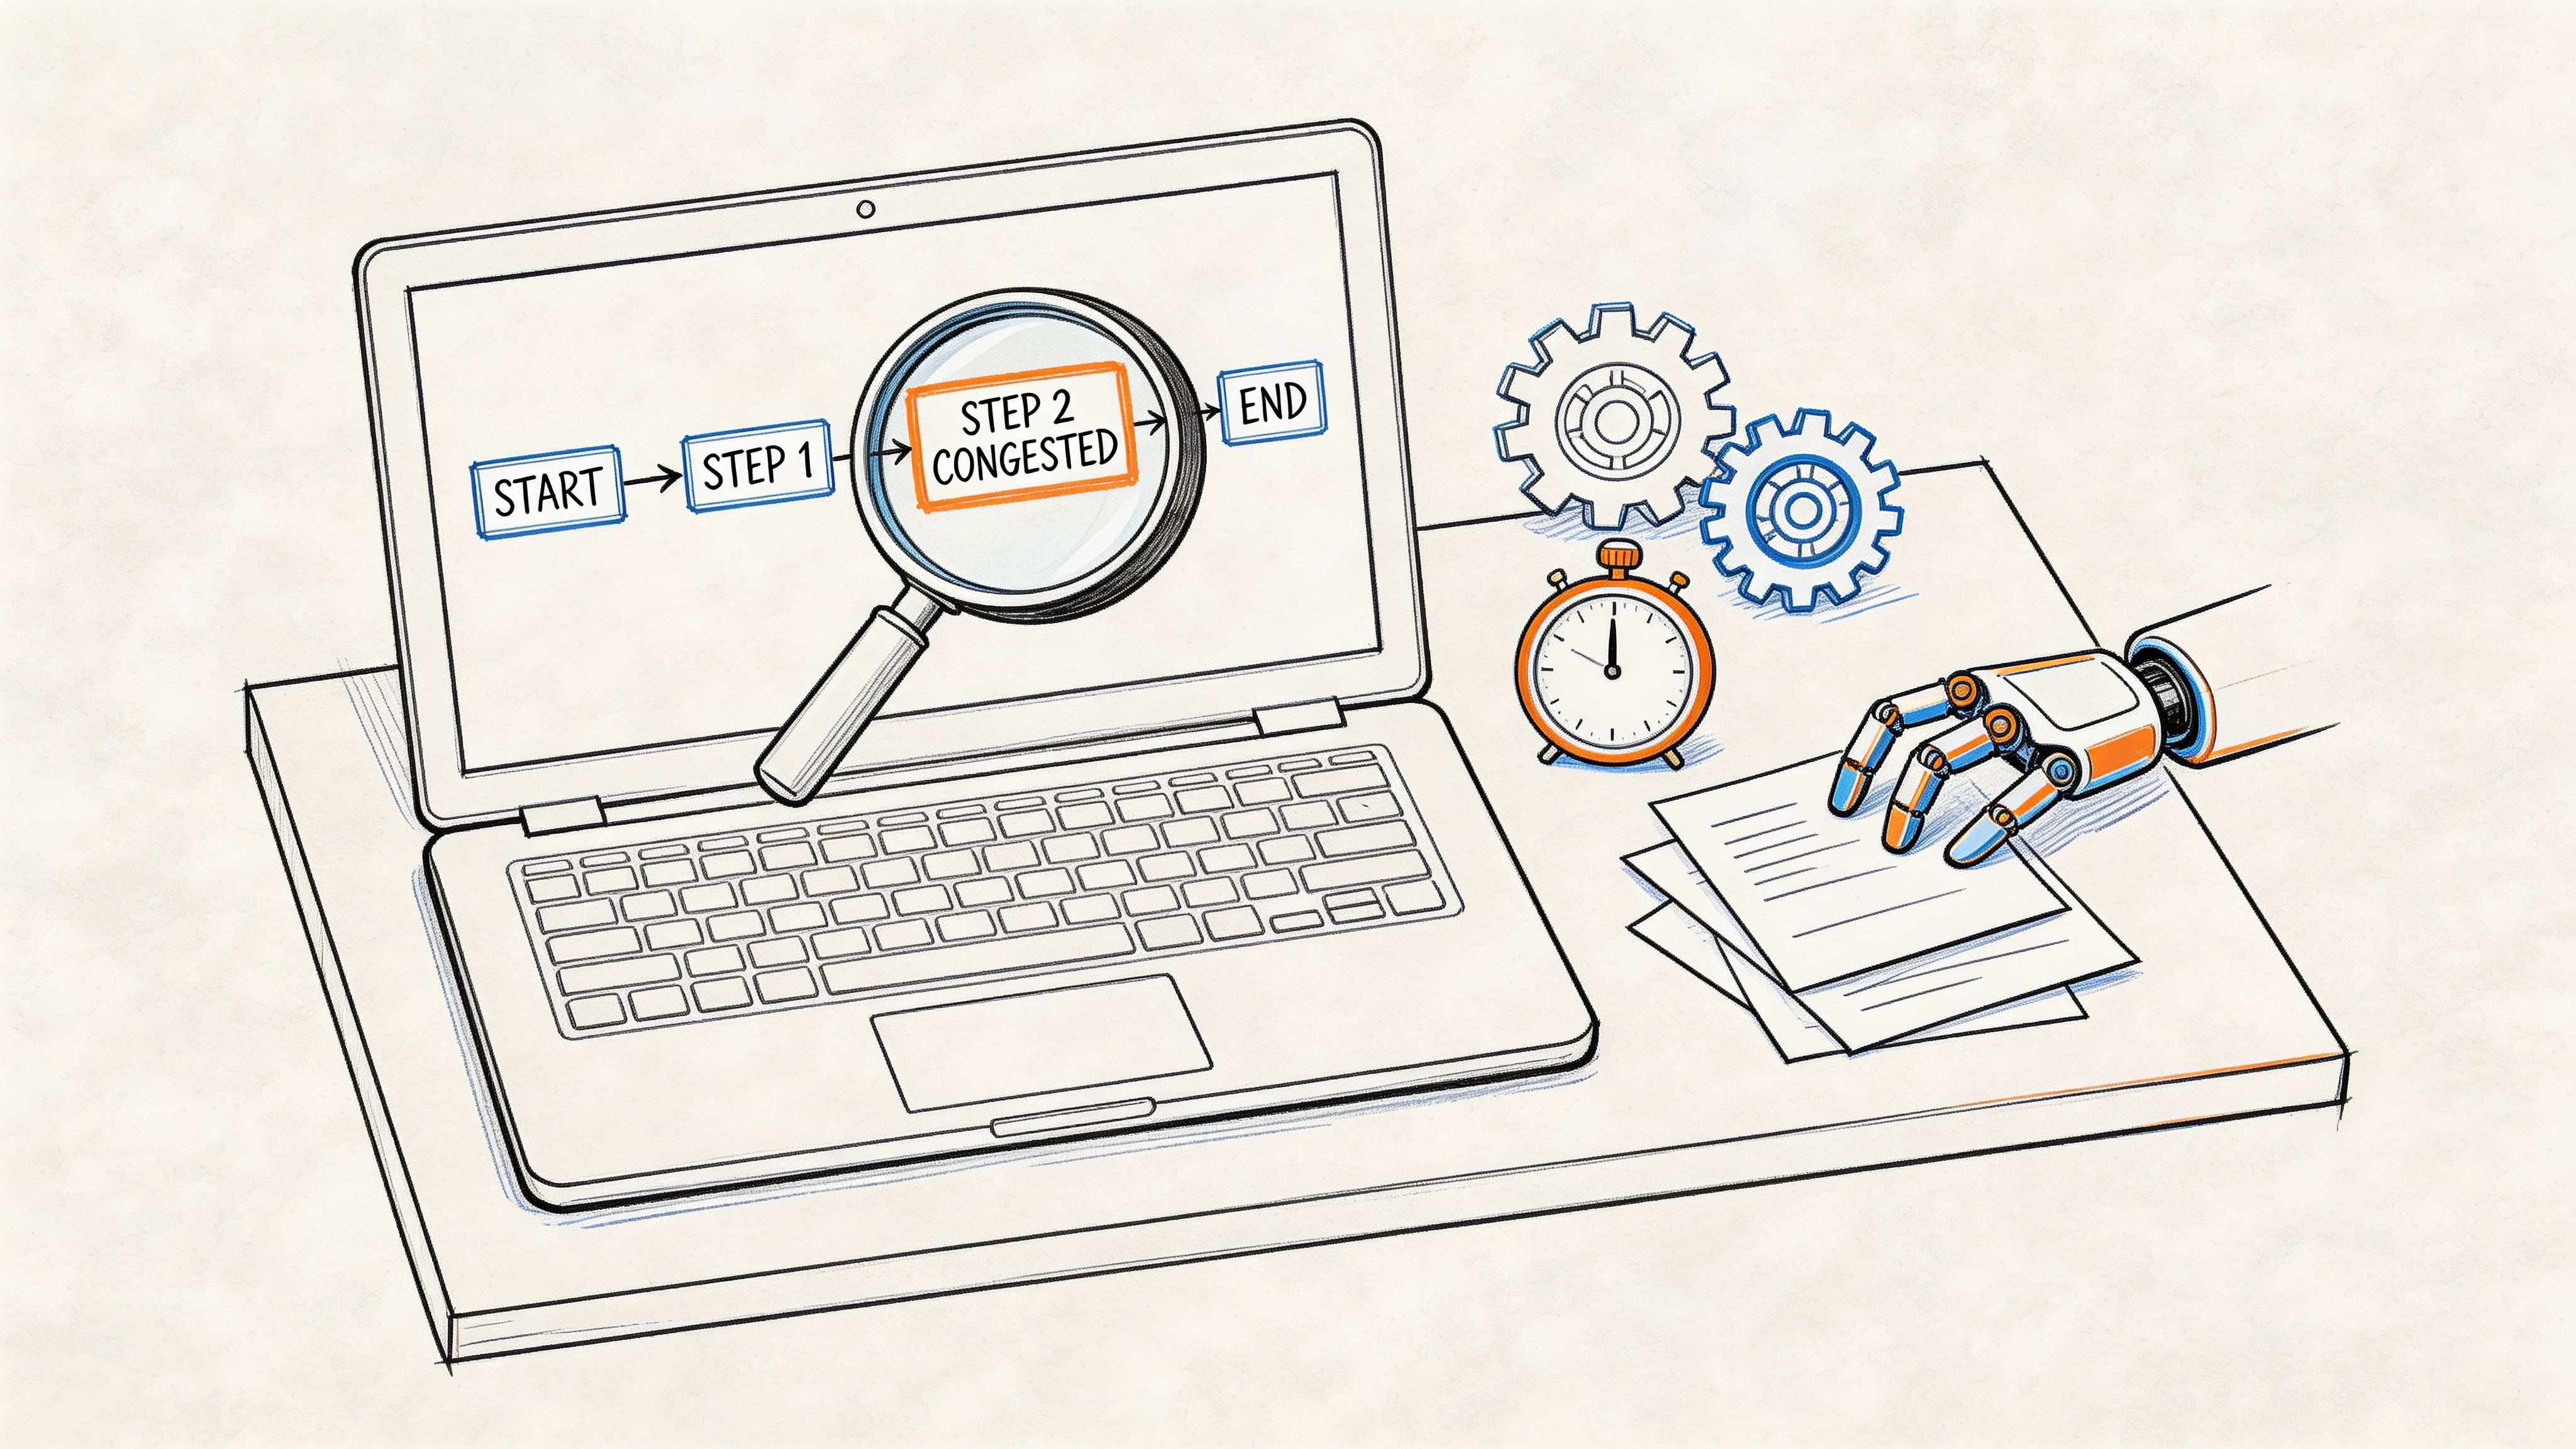
Once the recording moves from “helpful note” to “important record,” the workflow changes. You stop optimizing for convenience and start optimizing for accuracy, editability, and structure.
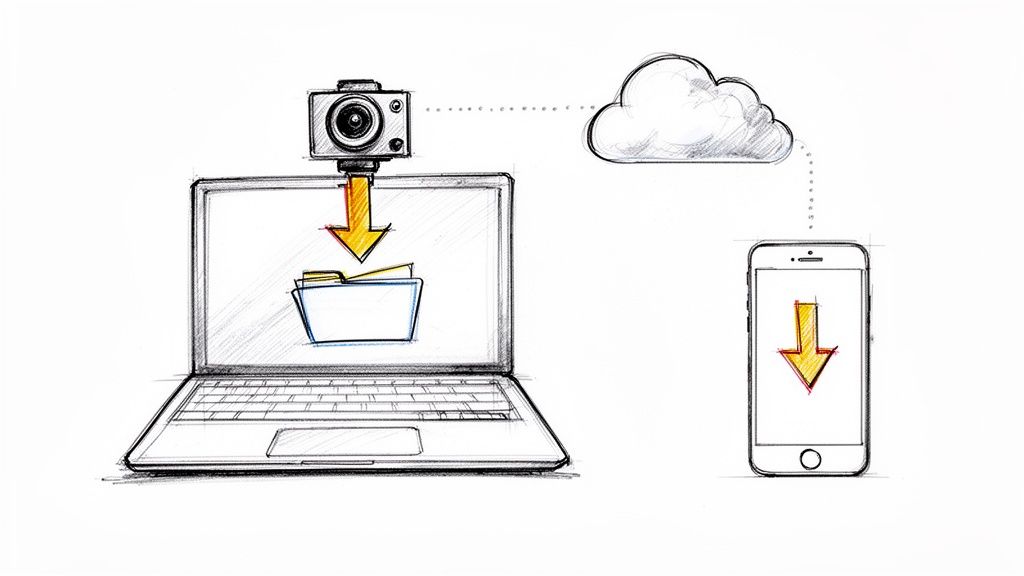
That usually means exporting the voice memo and running it through a dedicated transcription service. Practical iPhone transcription guides recommend that route for long files, noisy audio, and recordings with multiple speakers, and this iPhone transcription workflow guide specifically advises exporting the memo, choosing the right language or model, and doing a cleanup pass for names, acronyms, and punctuation.
Why exporting the file is worth it
People often resist this step because it feels slower. In practice, it's usually faster than fixing a weak transcript by hand.
A dedicated workflow makes more sense when your memo includes:
- Multiple speakers, like interviews or meetings
- Background noise, such as cafés, events, or street audio
- Long recordings, where manual cleanup becomes painful
- Important wording, where proper nouns and phrasing matter
The big difference is that dedicated tools are built for transcription first. Phone-native features are built for convenience first.
The professional workflow on iPhone
The process is straightforward:
- Open the memo in Voice Memos.
- Export or share it to Files.
- Upload it to a transcription service.
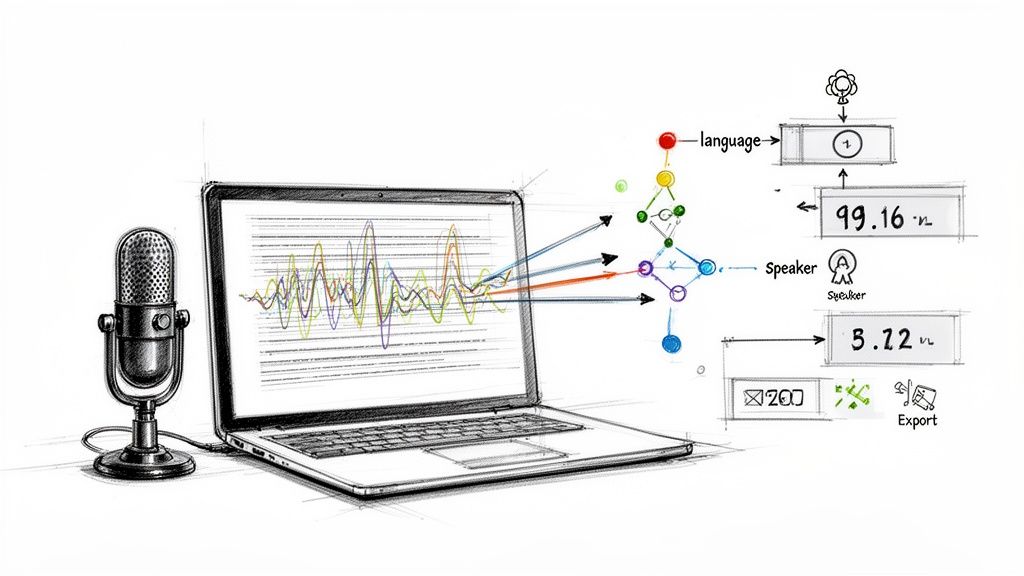
- Choose the correct language or model if the tool offers options.
- Review the output and fix names, acronyms, and punctuation.
That last step matters no matter how good the system is. Proper nouns still deserve a human pass.
Features you don't get from the basic phone methods
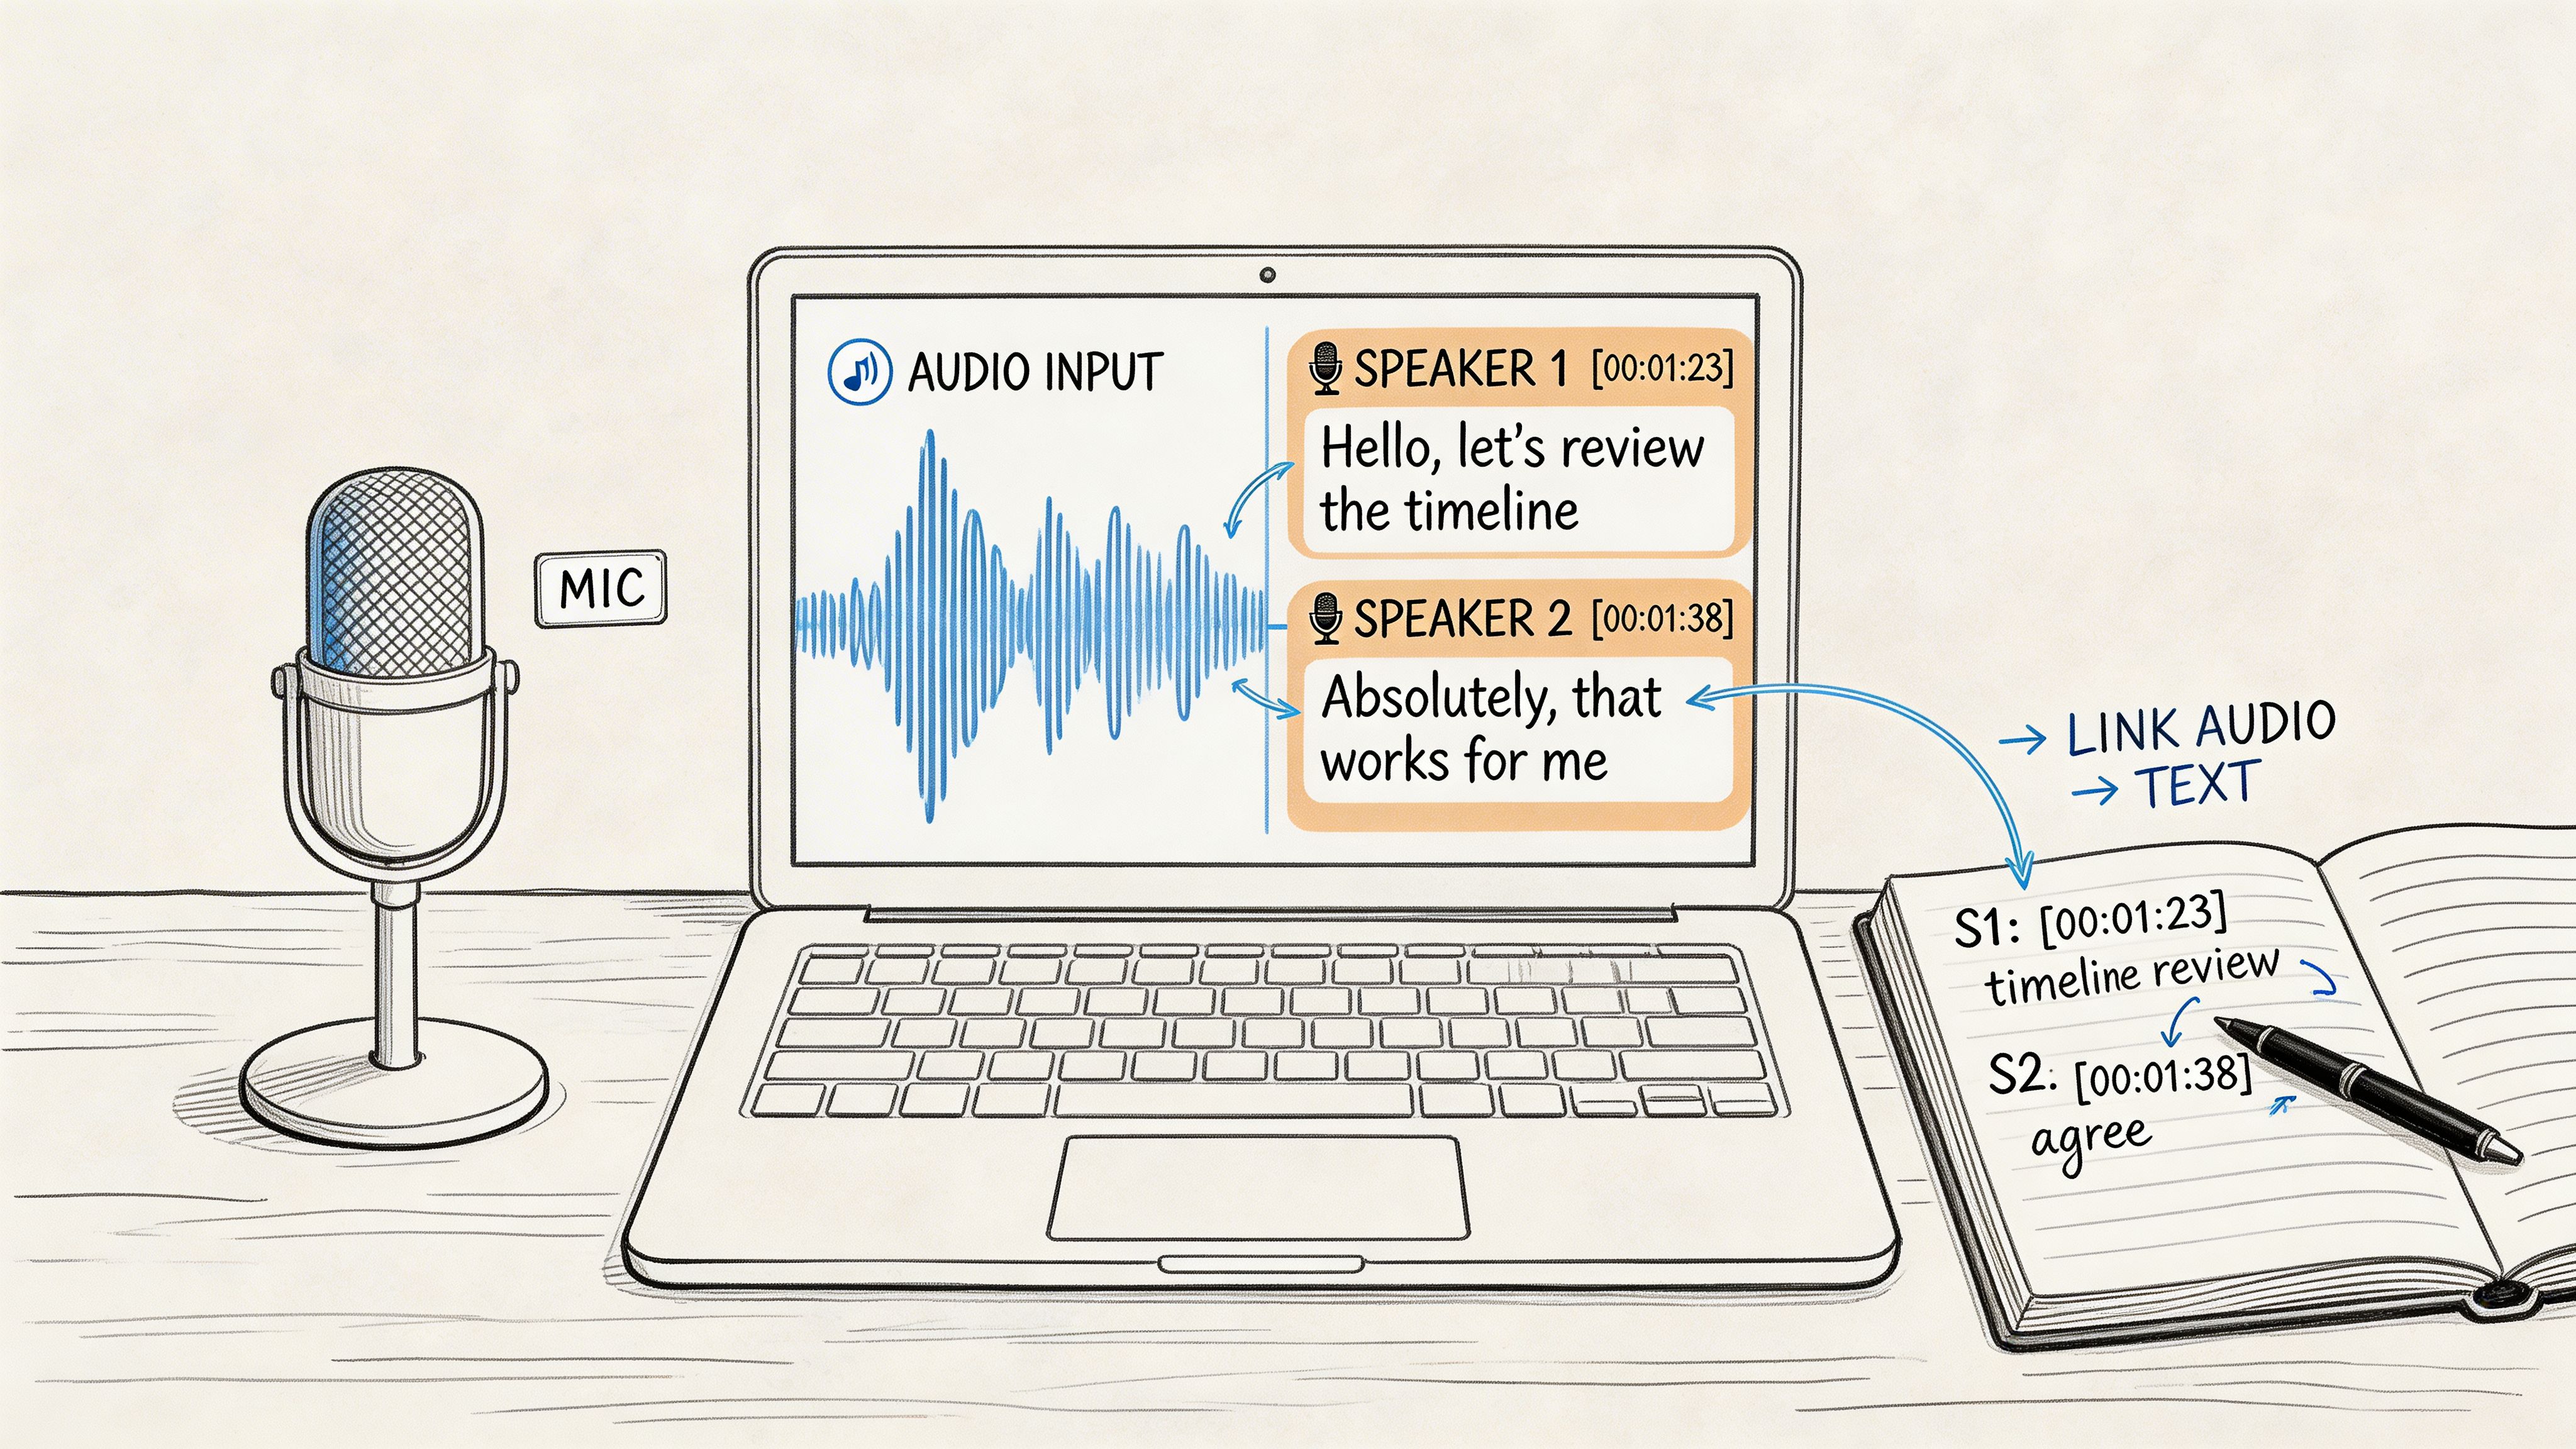
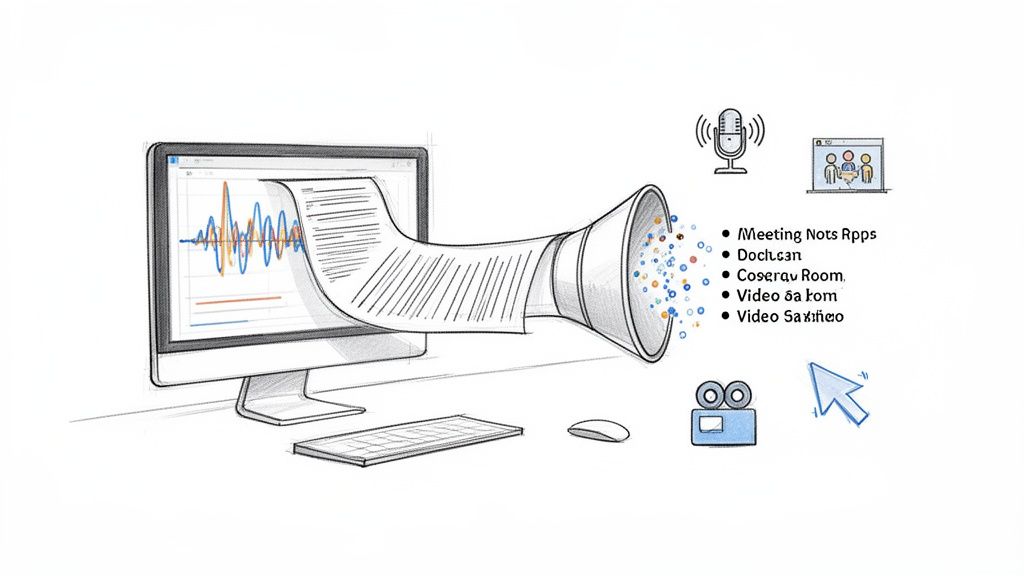
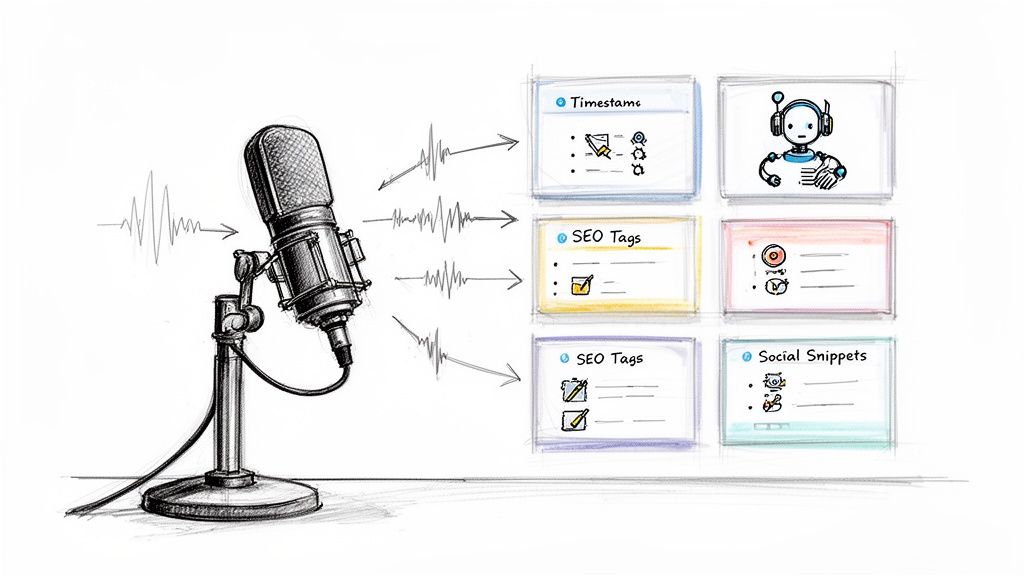
This is the point where dedicated tools pull ahead. Depending on the service, you can get things like:
- Speaker labeling for back-and-forth conversations
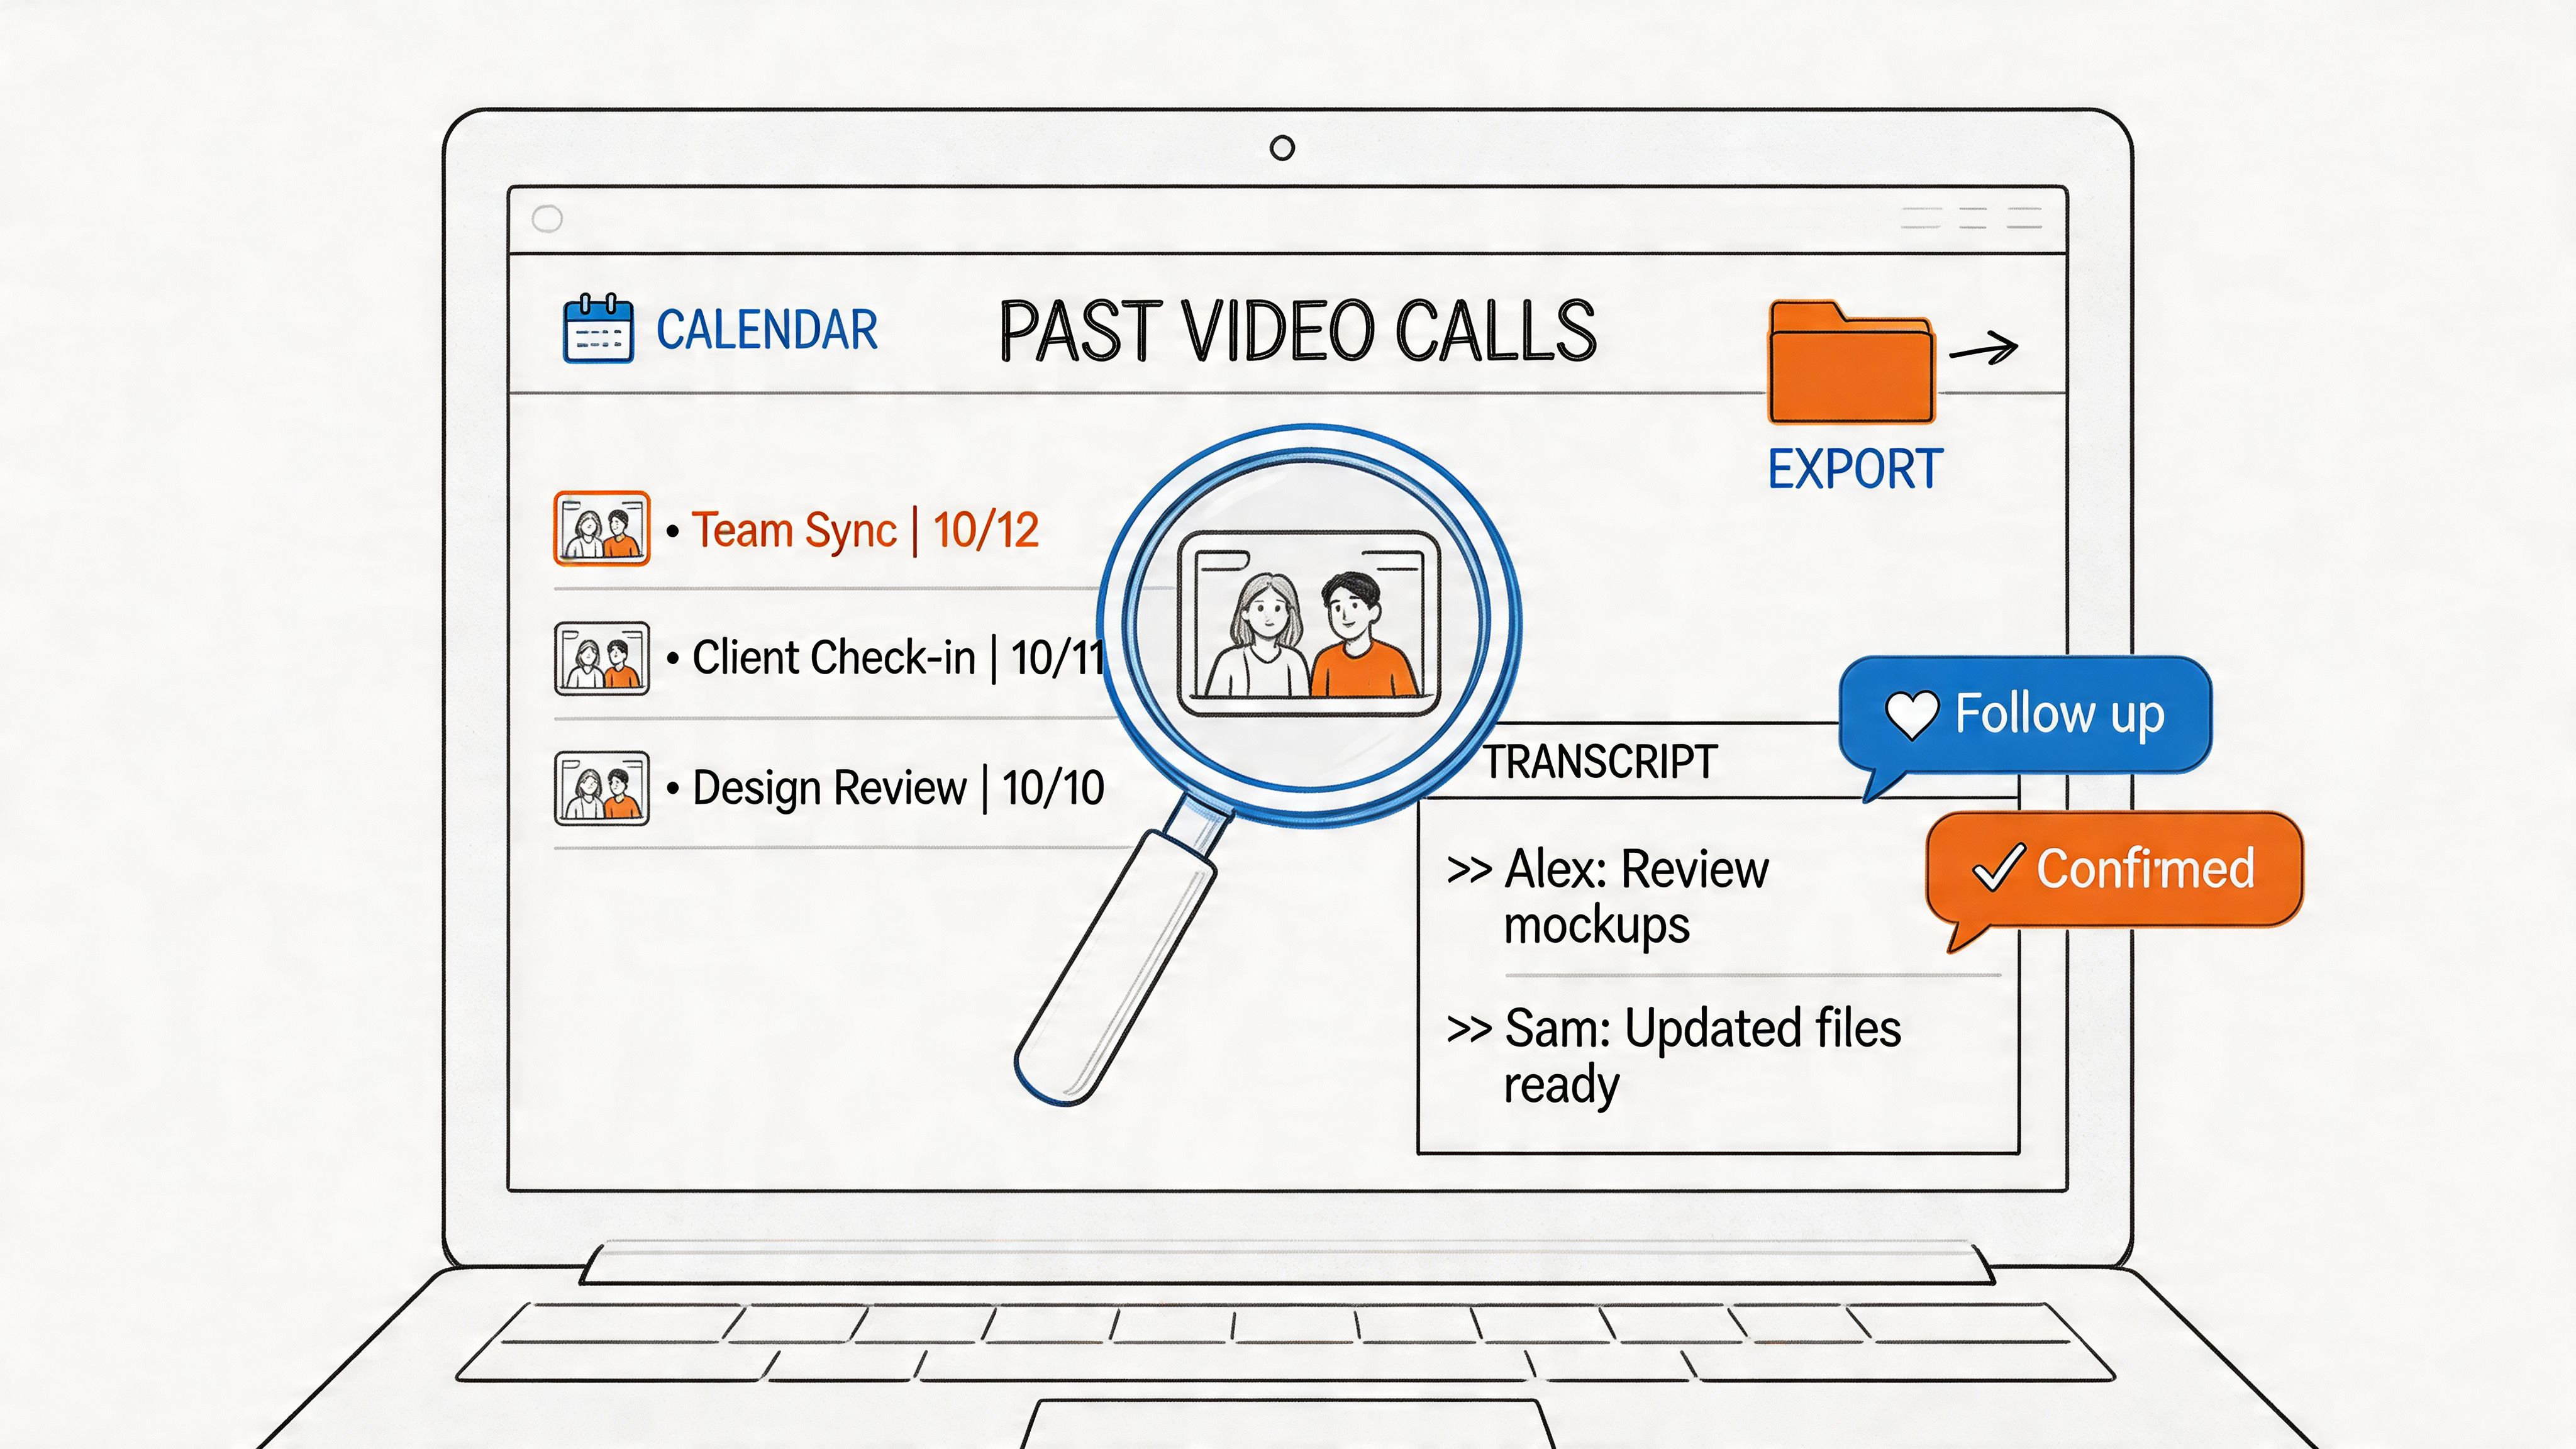
- Timestamps so you can jump back to the exact moment in audio
- Searchable transcripts that are easier to audit
- Export formats for editors, teams, and clients
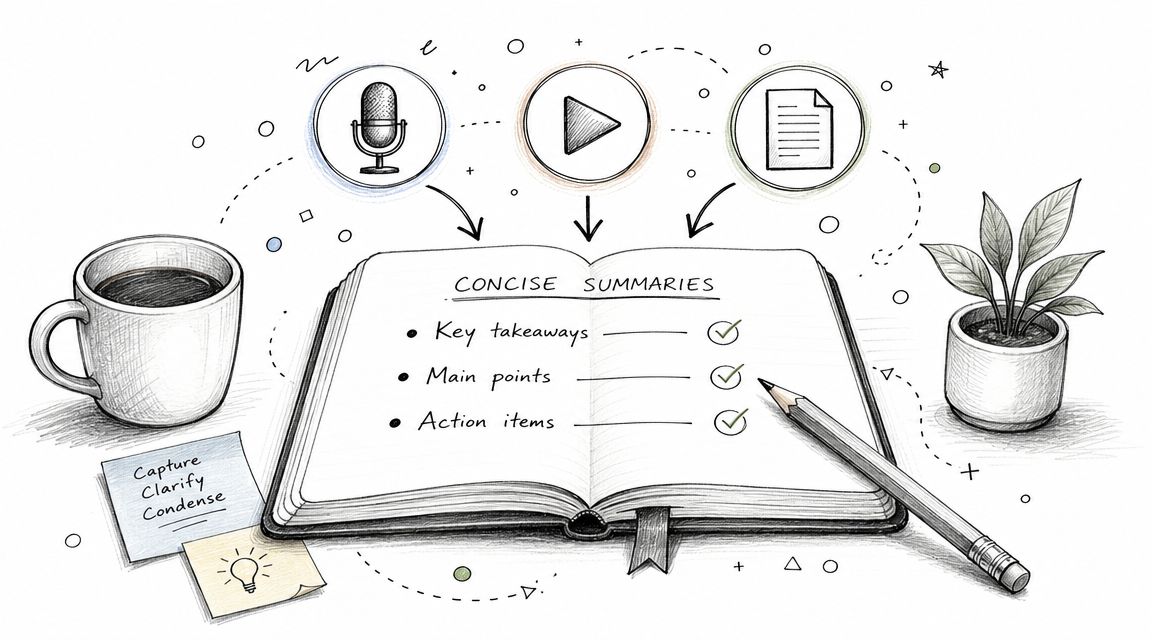
- Summaries and highlights if you need more than verbatim text
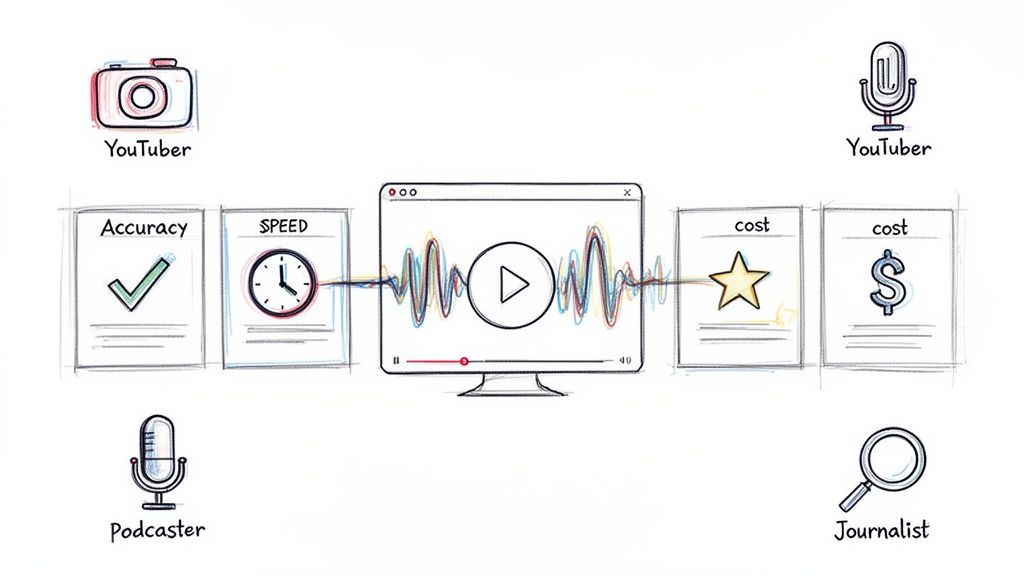
If you also work with recorded clips beyond Voice Memos, this breakdown of AI video transcription methods is helpful because the same trade-offs apply across audio and video. Short personal clips are forgiving. Production material isn't.
One example in this category is an AI transcription tool workflow that handles uploaded media, timestamps, and speaker-aware output. That kind of setup fits journalists, creators, researchers, and anyone who needs text they can use without rebuilding it from scratch.
The more valuable the recording is, the less sense it makes to rely on a rough transcript.
The real trade-off
You do give up one thing when you leave the built-in Apple workflow. You have to export the file.
That extra step is minor compared with the gain in control. If you're dealing with a founder interview, a podcast draft, a lecture, or meeting documentation, the extra minute upfront usually saves much more time in corrections later.
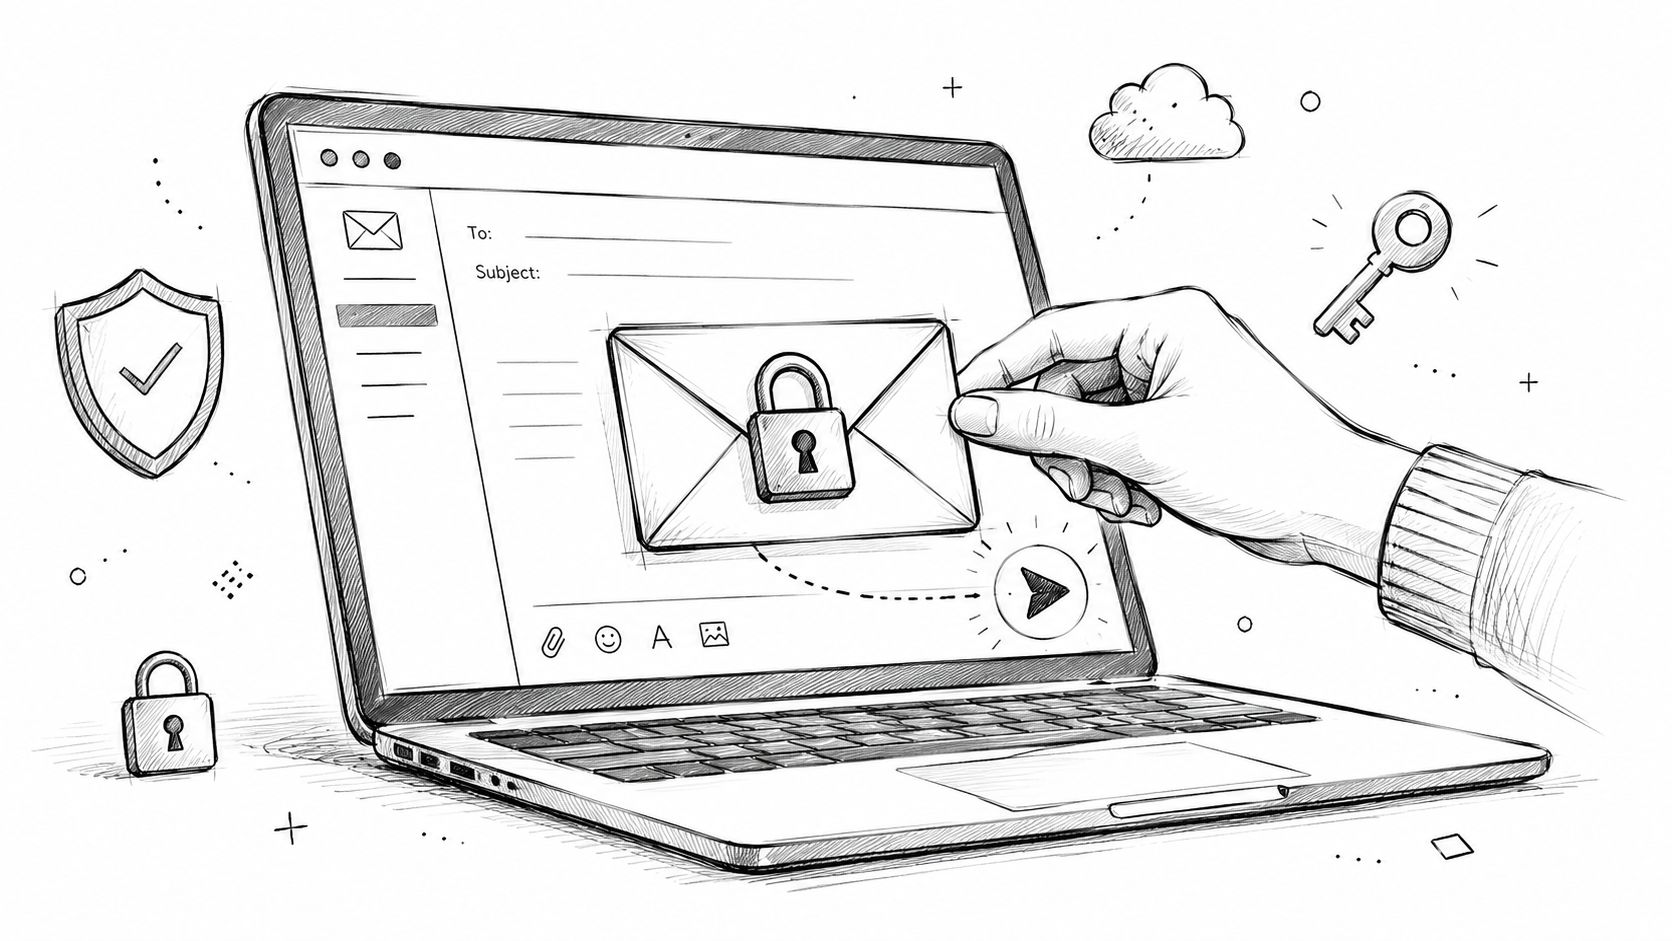
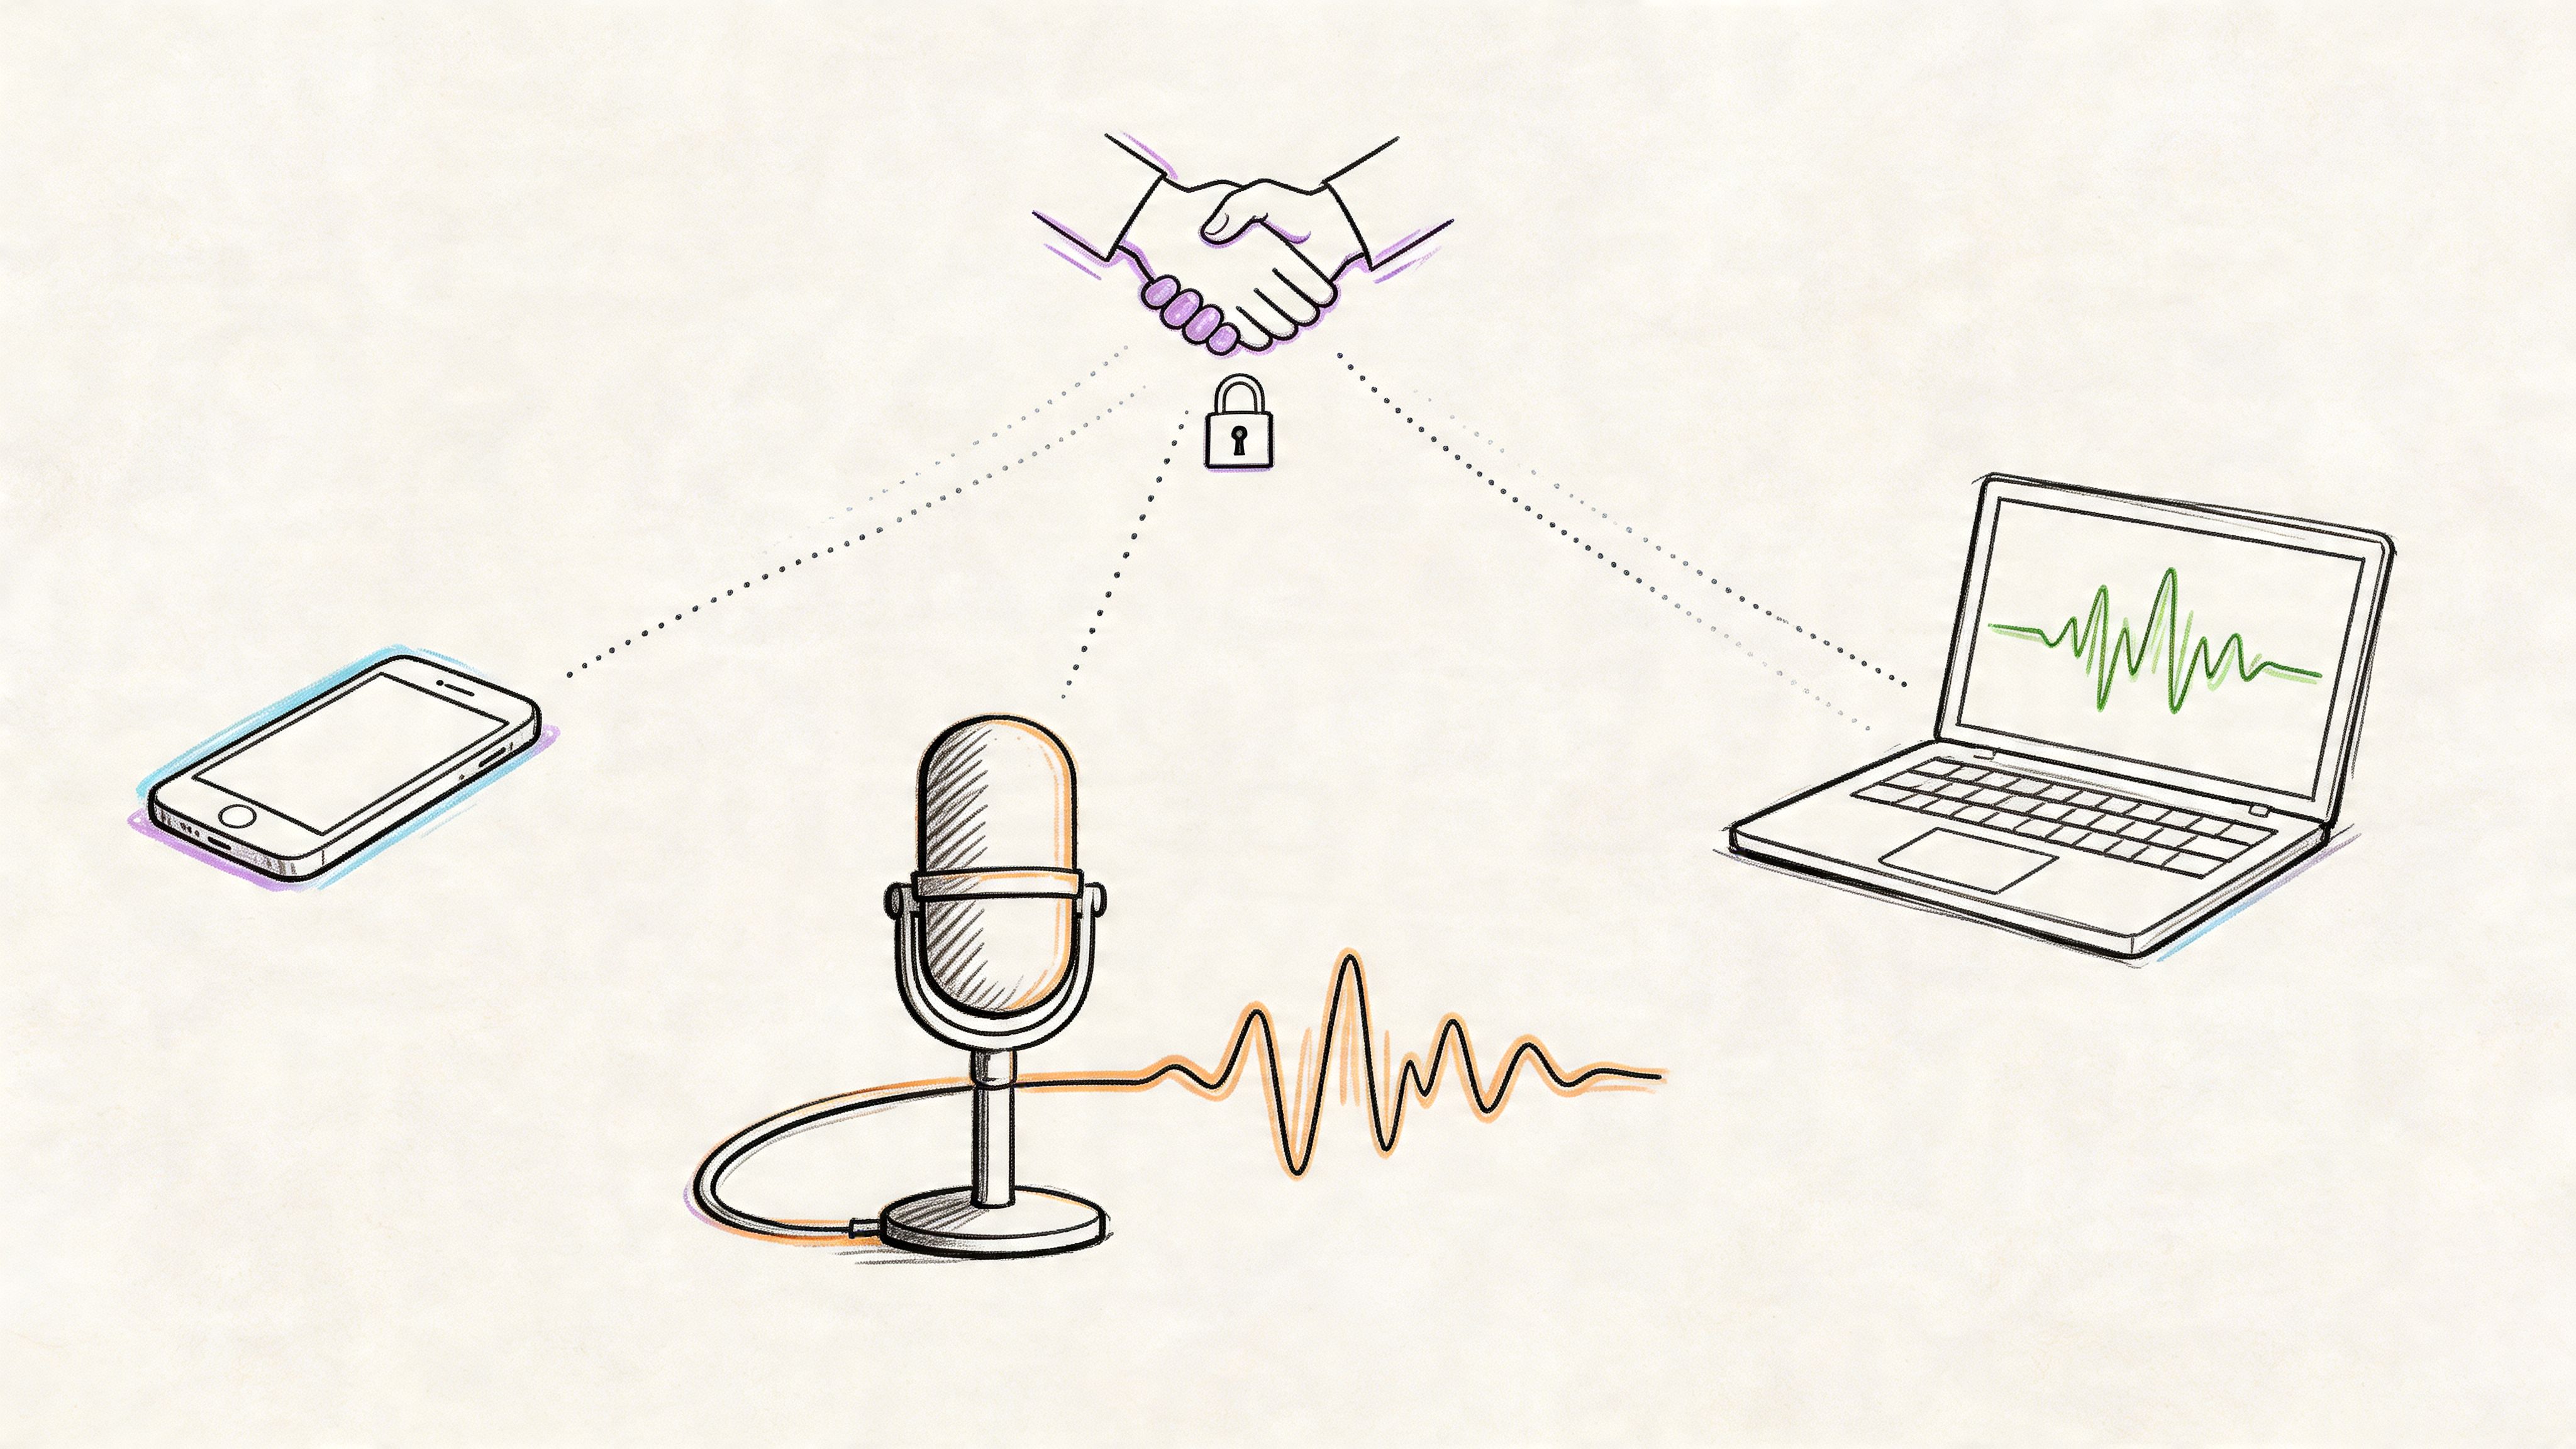
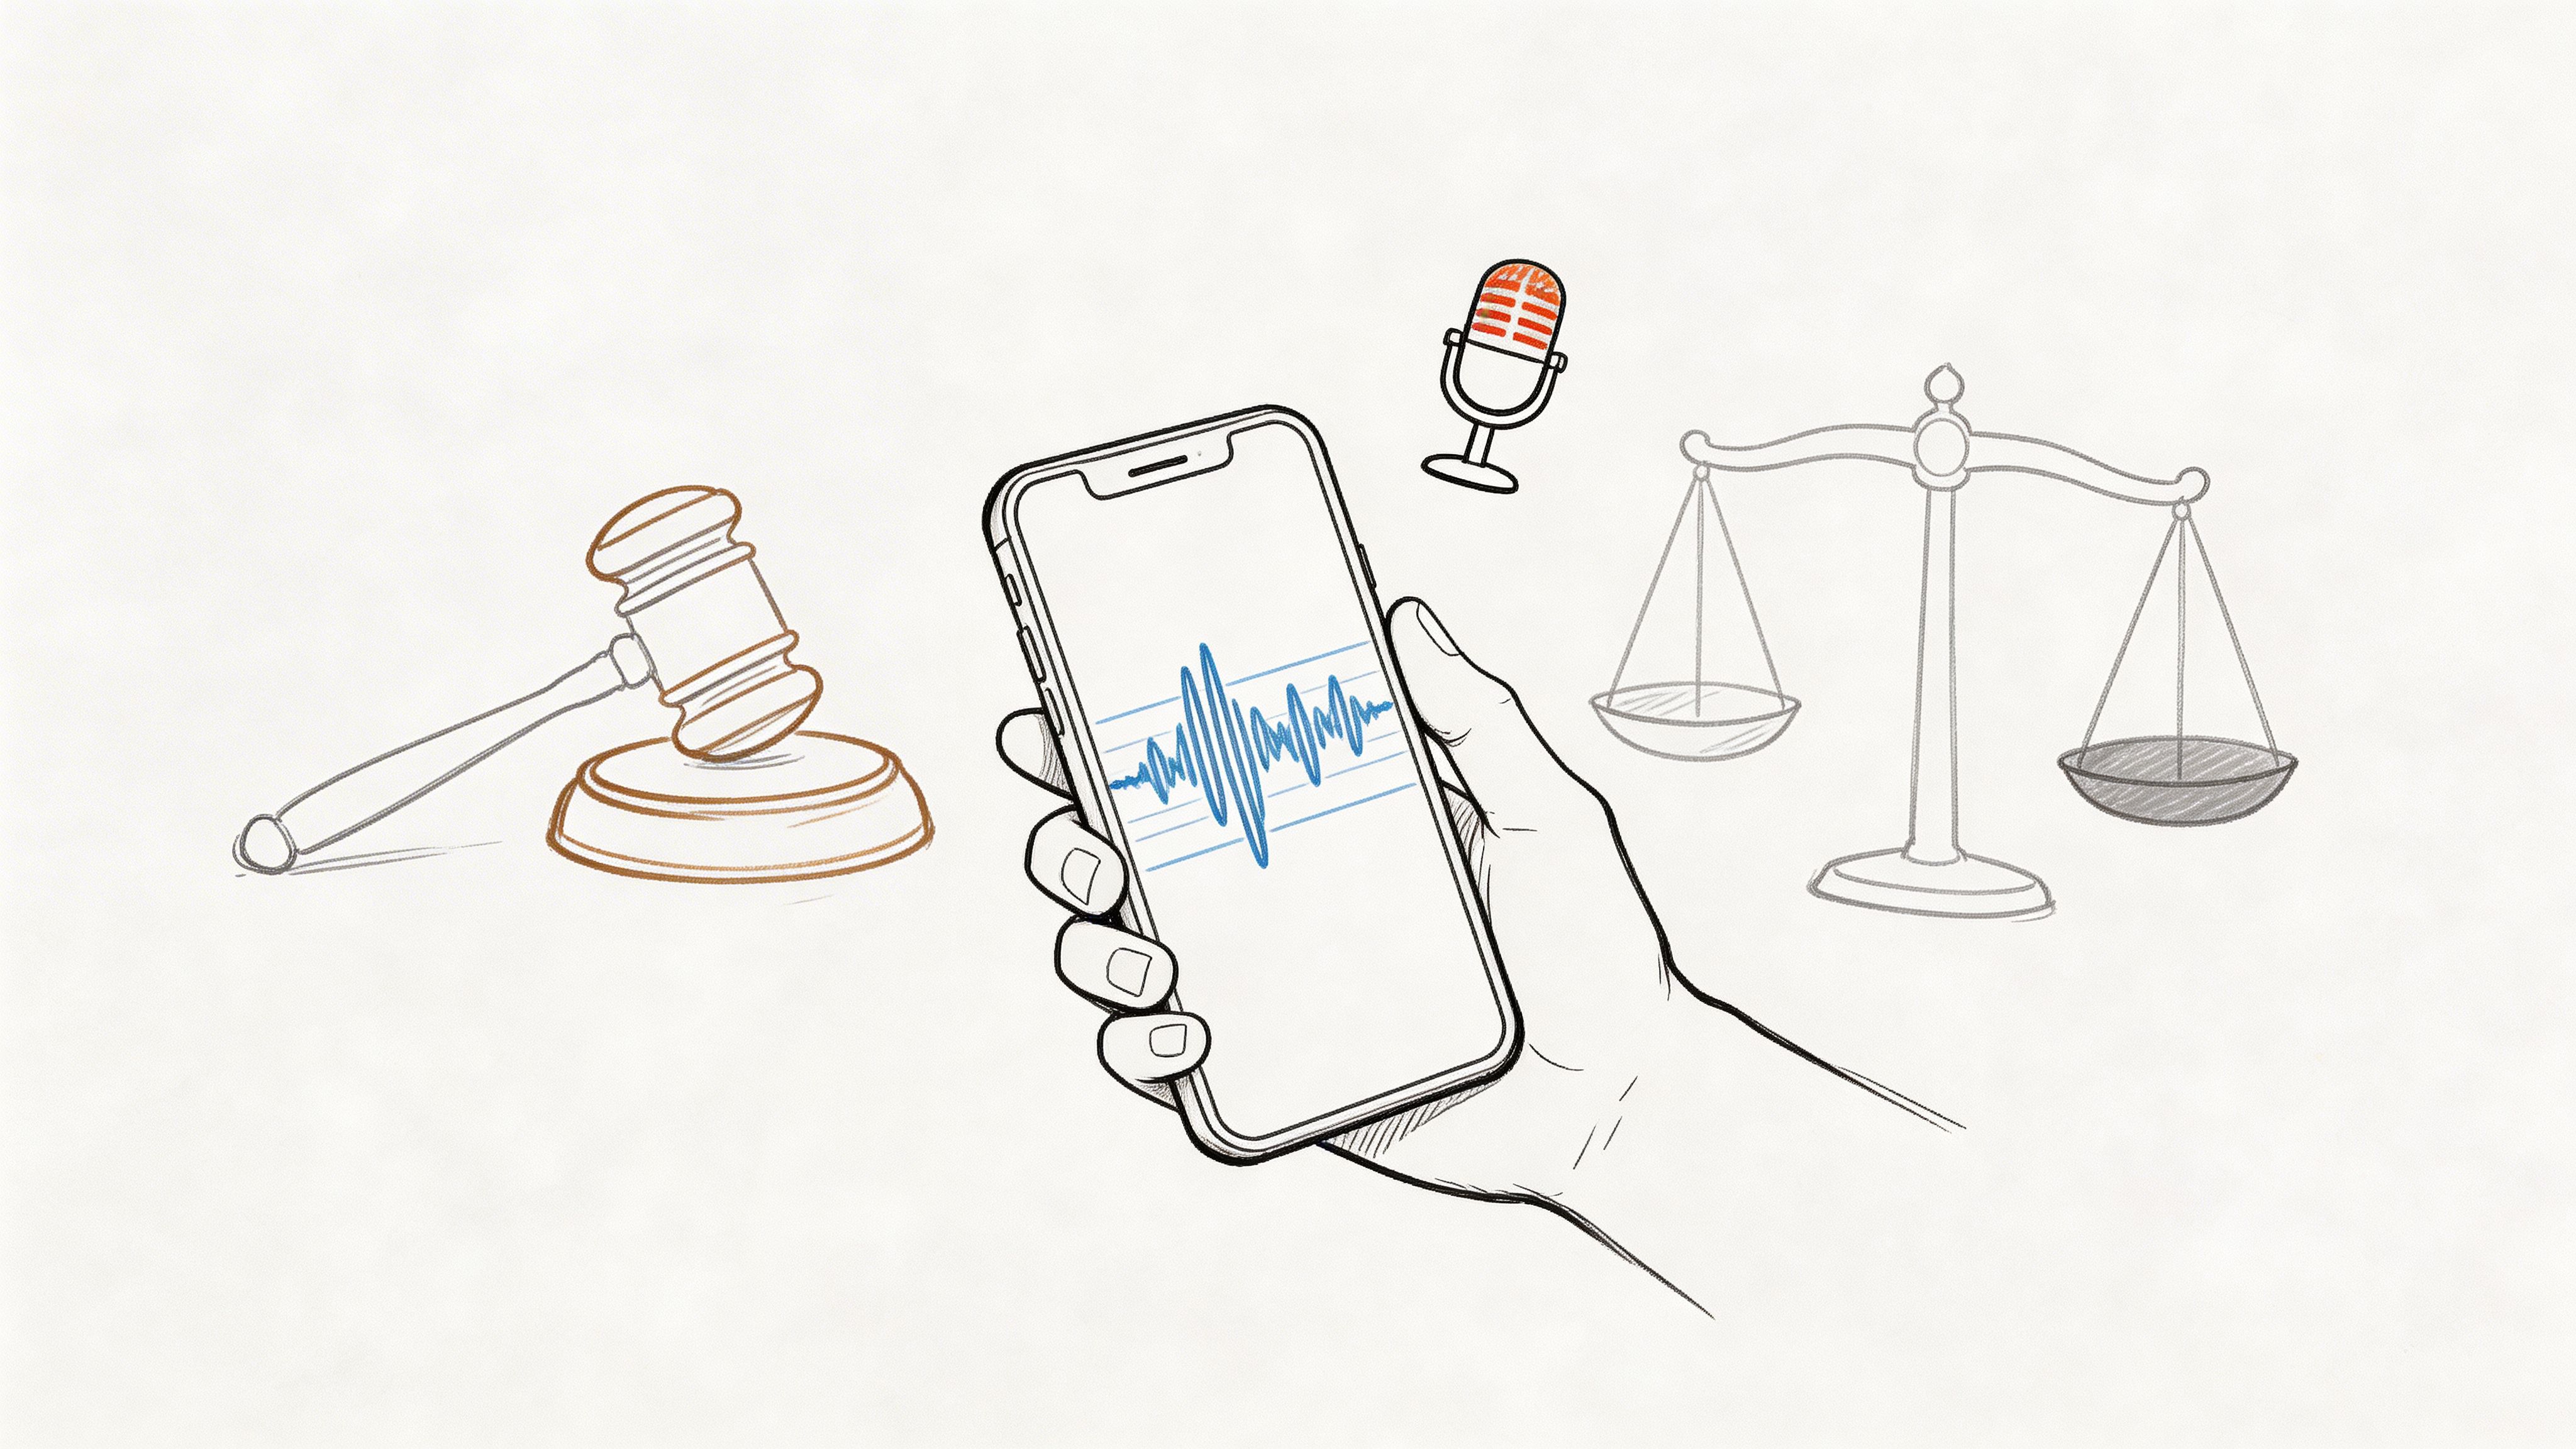
Privacy also matters here. If the memo contains sensitive material, check how the service handles uploaded files before you use it. For confidential recordings, that's not a footnote. It's part of the buying decision.
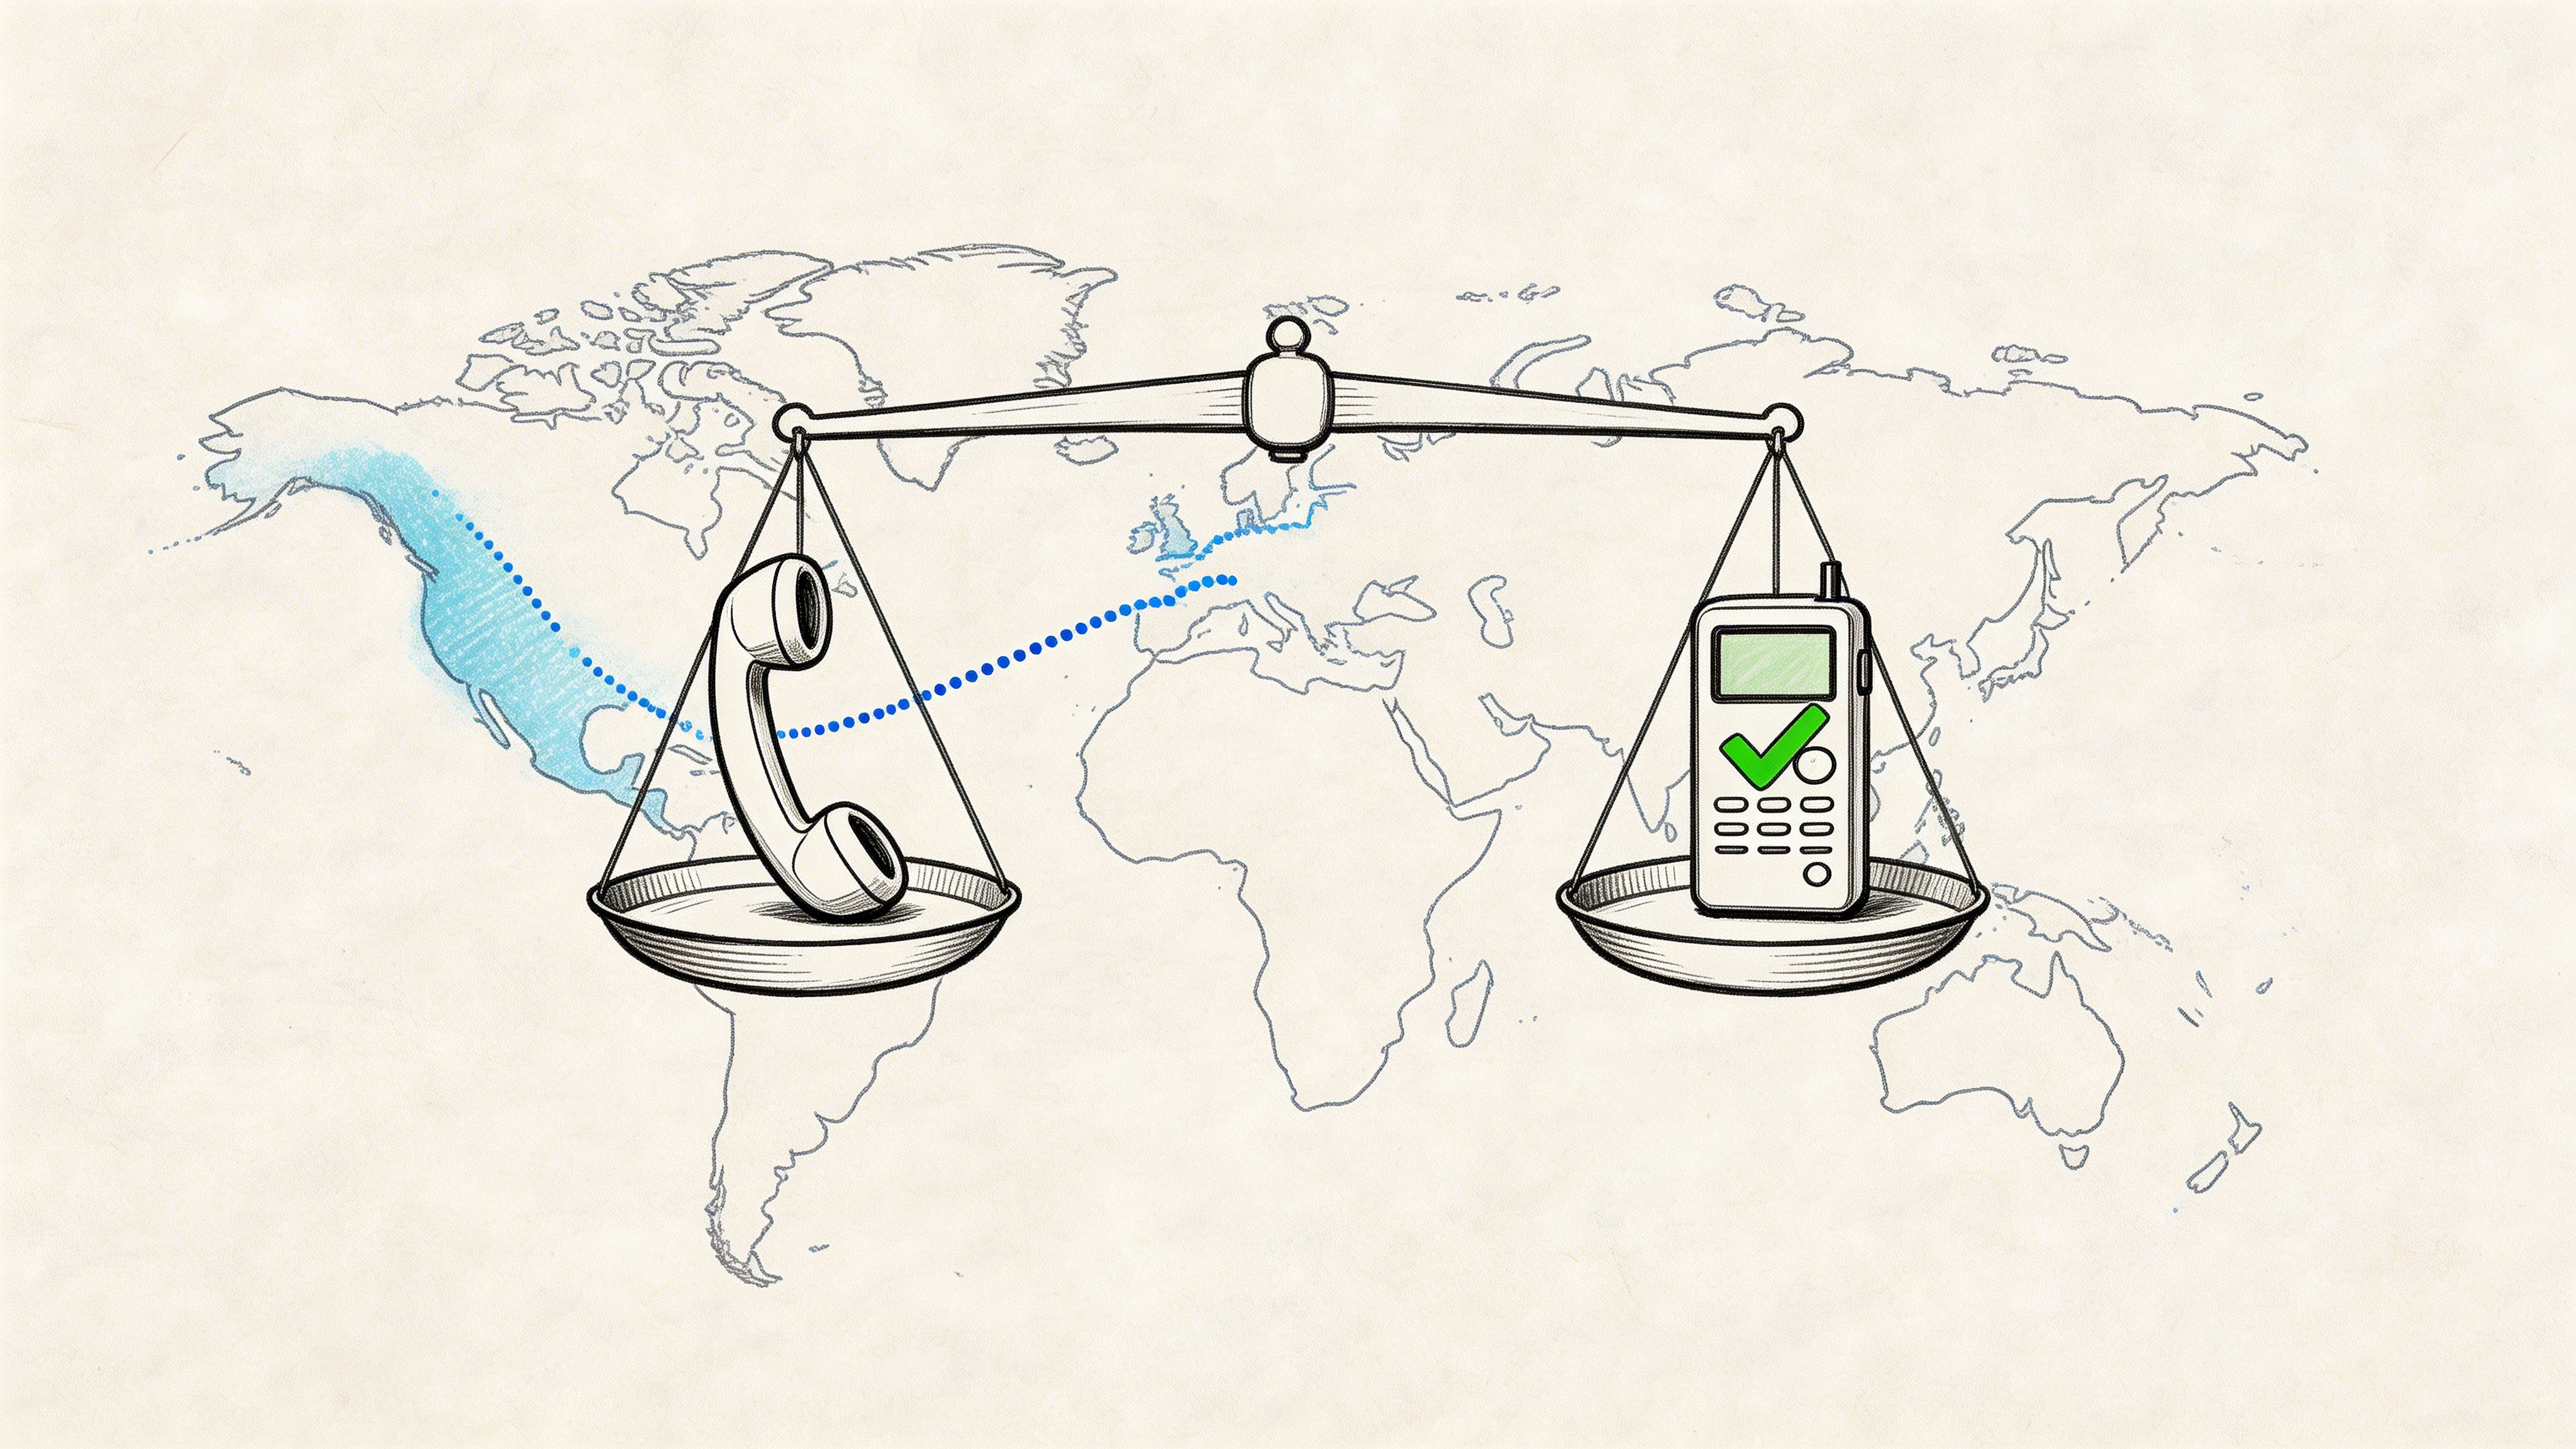
Comparing Your iPhone Transcription Options
The easiest way to choose a method is to match it to the job. Not every recording deserves the same workflow.
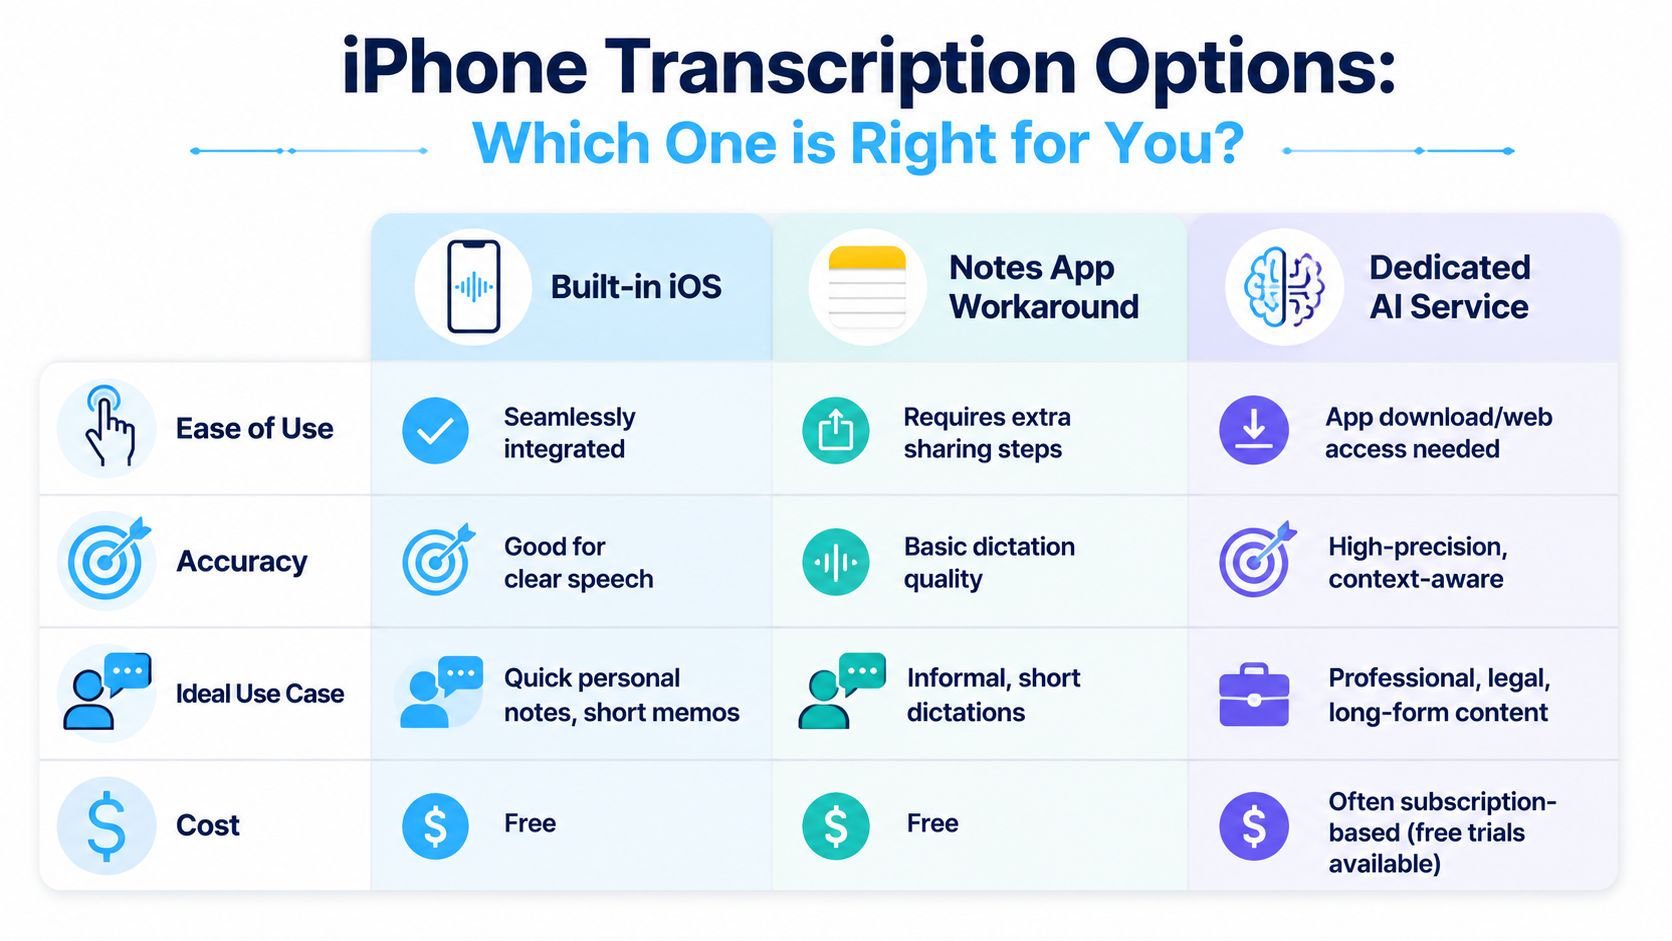
Which one fits your recording
| Option | Best for | Main strength | Main limitation |
|---|---|---|---|
| Built-in iOS transcription | Personal notes, short solo recordings | Fast and free inside Voice Memos | Less dependable with noise or complex audio |
| Notes app workaround | Older workflows, backup option, rough drafts | Useful when native flow isn't available | Inconsistent and basic |
| Dedicated AI service | Interviews, meetings, podcasts, longer files | Better handling of difficult audio and richer output | Requires export and upload |
A simple way to decide
If you're still unsure, use this rule of thumb:
- Choose built-in iOS when the memo is short, clear, and disposable enough that minor errors won't hurt anything.
- Choose the Notes workaround when you need a fallback and don't want to leave Apple's built-in apps.
- Choose a dedicated AI service when the transcript will be reused, quoted, edited, archived, or shared.
A common mistake is using the free method for a job that really needs a production workflow. That feels cheaper at first, then costs time in cleanup.
Best Practices for Crystal Clear Transcriptions
Transcription quality starts before you ever tap “record.” Even the smartest workflow can't fully rescue muddy audio.
If you want better results from any method, the recording itself has to help the software. That means less noise, better mic placement, and clearer speech.
Record in a way the transcript can survive
A few habits make a real difference:
- Get closer to the speaker: Don't record from across the room if the words matter.
- Reduce background noise: Turn off fans, move away from traffic, and avoid clattering spaces when possible.
- Speak naturally but clearly: You don't need to sound robotic. You do need to avoid mumbling.
- Pause between ideas: Short pauses help both human readers and transcription systems.
- Let the file finish saving before you export it: Uploading half-saved or unstable files is asking for trouble.
Clean up the parts AI commonly misses
Even a good transcript usually needs a short review.
Check these first:
- Names and brands
- Acronyms and technical terms
- Punctuation around long sentences
- Any section with overlapping speakers
That cleanup pass is usually quick, but it's where the transcript becomes trustworthy.
Good transcription starts with good capture. Cleanup should refine the text, not rescue it.
Think about setup and privacy
If you regularly record from a desk or computer setup, better microphone placement helps more than people expect. For that side of the workflow, Smooth Capture's 2026 guide is useful because it focuses on getting cleaner source audio before transcription even starts.
And if you're recording conversations with the intention of transcribing them later, this guide on how to record conversations is a solid companion read.
Privacy deserves one last note. Personal reminders are one thing. Client calls, interviews, and internal meetings are another. Before you upload audio anywhere, make sure you're comfortable with how that service handles processing and file retention.
If you want a cleaner transcript than the built-in iPhone tools usually provide, Whisper AI is a practical next step for uploaded voice memos, especially when you need searchable text, timestamps, speaker-aware output, and a transcript you can work with afterward.