How to Get Mp4 from Youtube Video: A 2026 Guide
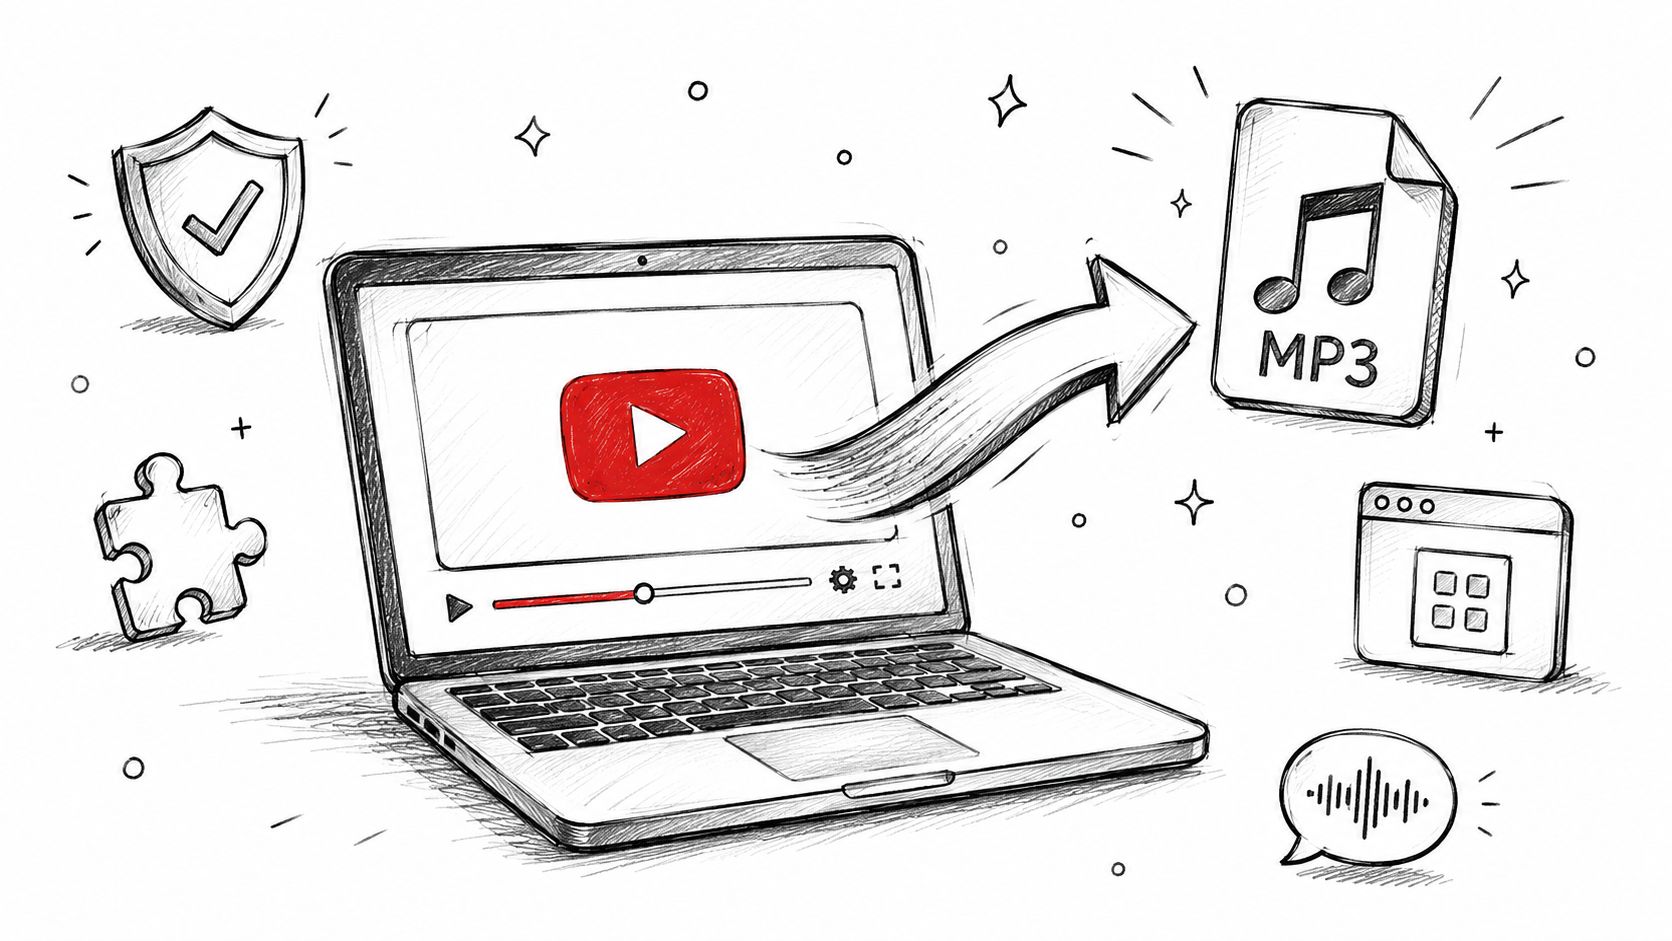
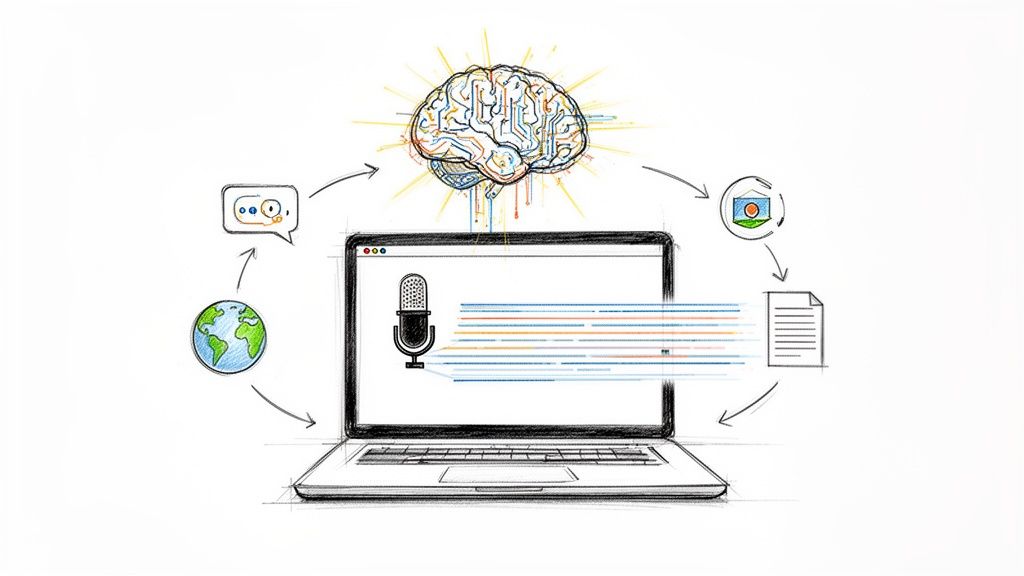
You've got a YouTube link and a practical job to do. Maybe it's your own webinar that needs clipping, maybe it's an interview you need to quote accurately, or maybe it's a lecture you want to archive and transcribe before it disappears. In every version of that situation, the request sounds simple: get an MP4 from a YouTube video.
The hard part isn't finding a button that says “download.” The hard part is choosing a method that doesn't leave you with a blurry file, broken audio, malware risk, or a rights problem you should've thought about earlier. That matters even more when the MP4 is headed into editing, subtitle generation, research notes, or AI transcription.
That need is common because YouTube operates at huge scale. It has more than 2.5 billion monthly active users and over 500 hours of video uploaded every minute, or roughly 720,000 hours per day, according to Cross River Therapy's roundup of YouTube statistics. When that much material lives on one platform, people naturally want to turn video into searchable text, summaries, clips, and archives.
Why You Need an MP4 and How to Get It Right
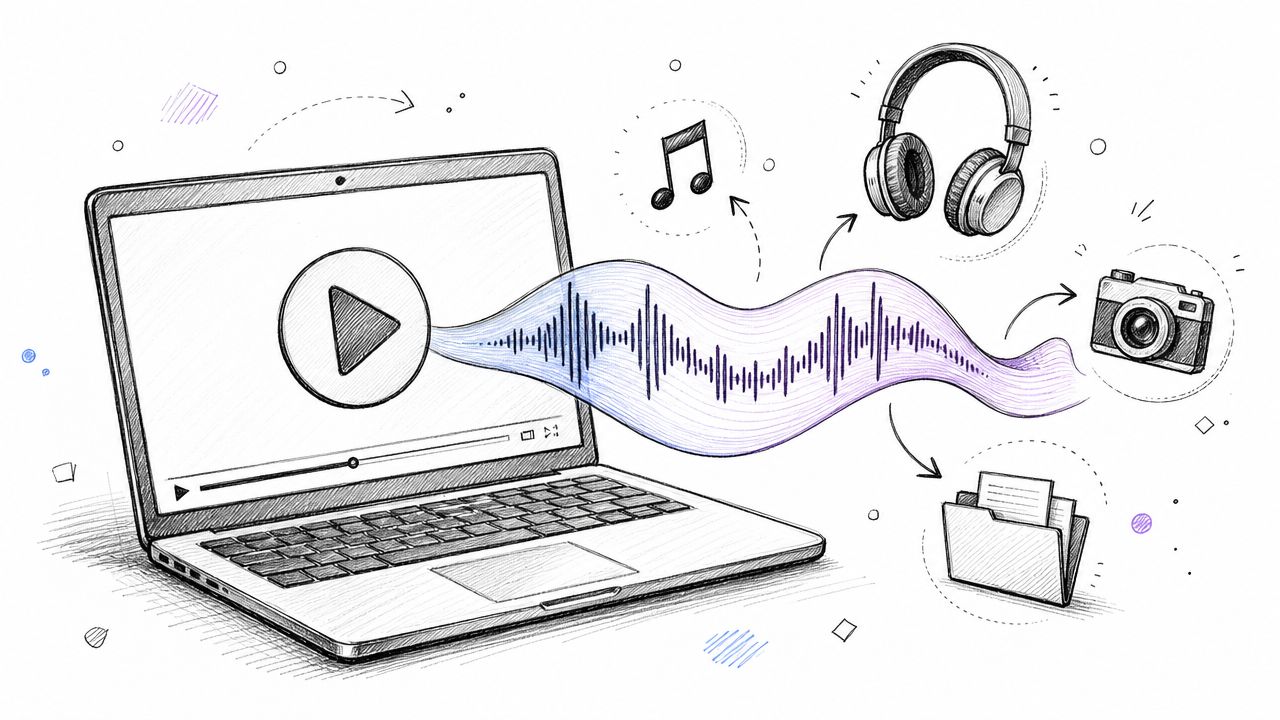
An MP4 is usually the most useful landing format because it works almost everywhere. Editors open it. Transcription tools accept it. Team members can preview it without asking what player they need. If your real goal is analysis, clipping, captioning, or internal review, getting the file cleanly matters more than getting it fast.
A lot of people grab the first online converter they see and hope for the best. That works sometimes. It also creates avoidable problems. Browser tools often strip quality, mishandle audio, or bury the actual download behind fake buttons. If the file is headed into speech-to-text, those shortcuts show up immediately as worse transcripts, harder speaker separation, and more manual cleanup.
Start with the end use
The right method depends on what happens after download.
- If it's your own video, use YouTube Studio. That's usually the safest path and the least ambiguous one.
- If you need a quick reference copy, a careful converter or editor may be enough, but you still need to verify audio and resolution.
- If you need an editable file, choose the highest usable quality and avoid methods that re-record the screen.
- If transcription is the goal, protect the audio first. A visually acceptable file can still have weak spoken clarity.
- If you're archiving or researching, think about rights before convenience.
Practical rule: Don't choose a download method by speed alone. Choose it by the quality and compliance your next step requires.
What usually goes wrong
The biggest mistakes are predictable.
- People confuse “MP4” with “high quality.” It only tells you the file container, not whether the video or audio inside is good.
- They accept default settings blindly. That's how you end up with low resolution, missing sound, or a frame rate mismatch.
- They ignore ownership and permission. That's fine until the clip gets reused publicly.
- They use screen recording when a direct file would be cleaner. That's one of the fastest ways to bake in extra compression.
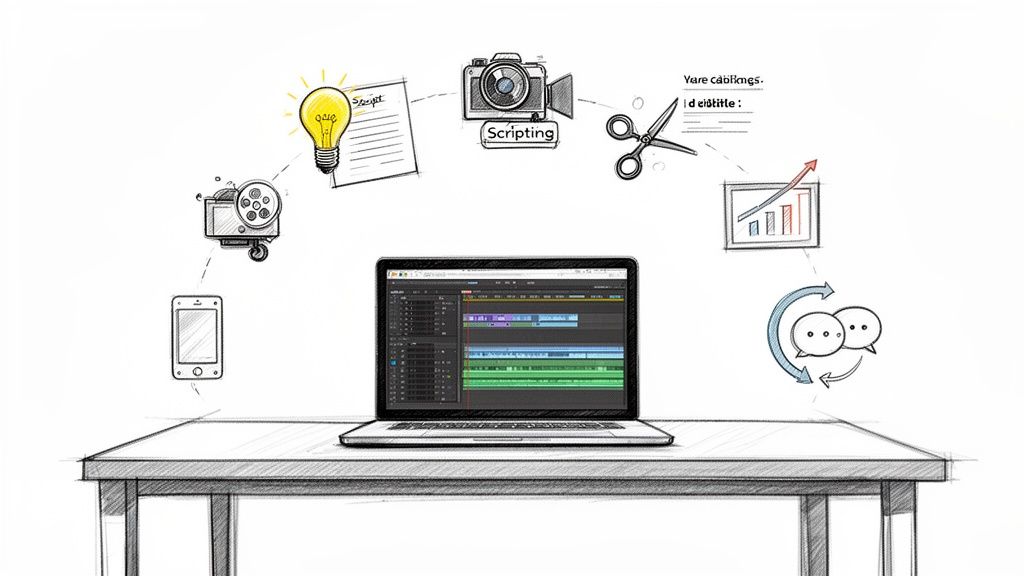
If you need an MP4 from a YouTube video, think less like a downloader and more like an editor. The file is not the finish line. It's the source material for whatever comes next.
The Official Way Download Your Own Videos from YouTube Studio
If the video is yours, skip the converter sites. Go straight to YouTube Studio.
That route is cleaner, safer, and far less annoying than any third-party downloader. You're not dealing with ad traps, fake virus warnings, mystery file names, or weird quality caps. You're retrieving your own content from the platform that hosts it.
How to download your own upload
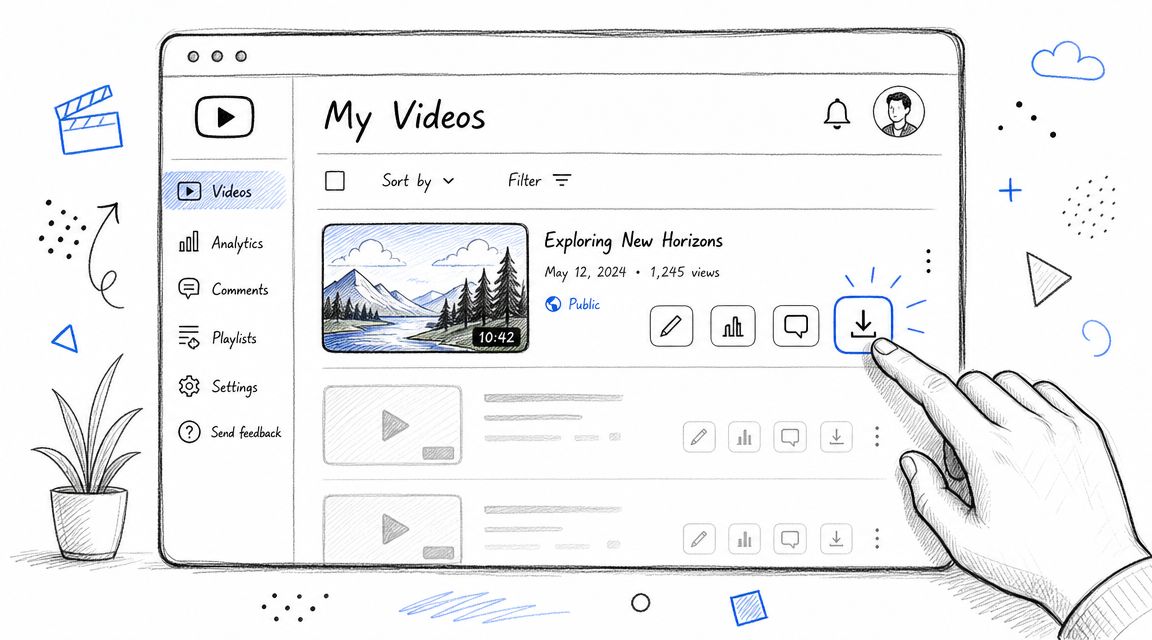
The workflow is straightforward:
- Sign in to your YouTube account.
- Open YouTube Studio.
- Go to your content list.
- Find the video you want.
- Open the options menu for that video.
- Choose the download option if it's available.
- Save the file locally and check playback before you do anything else with it.
That's the baseline creator workflow I trust most for repurposing. If I'm going to trim a segment, hand the clip to an editor, or send it for transcription, I want the platform-native file first.
Why this is the best first choice
This method removes most of the normal risks.
- No legal ambiguity about ownership because you're downloading your own upload.
- No sketchy browser behavior because you're not giving a random site access to your session or device.
- No fake quality promises from pages that claim “original 4K” without telling you the quality they deliver.
- No hidden watermarks or forced recompression from third-party services trying to upsell a premium tier.
That matters more than people think. Once a file has been recompressed badly, you can't restore lost detail later. If your next task is captioning or quote verification, poor source quality becomes a workflow tax.
What to check after download
Don't assume the file is perfect just because it came from YouTube Studio. Open it and verify the basics.
- Play the full first minute: Make sure speech is present and in sync.
- Check the resolution: Confirm it matches what you need for editing or archive use.
- Scrub through transitions: Fast motion reveals sync and compression issues quickly.
- Rename it clearly: Use a filename that includes title and date so it doesn't disappear into a downloads folder.
If the file is your own content, there's rarely a good reason to use a third-party converter first.
If the download option isn't available
Sometimes the practical answer is to go back to your original local master file, not chase an alternate YouTube extraction method. If you still have the file you uploaded, that's often the best source for editing, clipping, and transcription because it avoids another round of platform processing.
If you don't have the original anymore, then you move into the third-party world carefully. At that point, the choice becomes less about convenience and more about risk control.
Choosing a Safe Online Converter or Desktop App
You find a clip you need for a transcript, paste the URL into the first converter that shows up, and ten minutes later you have an MP4 with missing audio, a fake 1080p label, or a browser full of pop-ups. That is the critical decision here. You are not just choosing a way to save a file. You are choosing how much risk, quality loss, and cleanup work you want later.
When the video is not your own, online converters and desktop apps can both get you an MP4 from a YouTube video. They serve different jobs. For a disposable reference copy, a browser tool may be enough. For editing, archiving, or transcription, the safer choice is usually a vetted desktop app because it gives you more control over the file you receive.

Start with the end use, not the tool
The mistake I see most often is picking a converter first and only checking quality after the download fails some later task.
If your goal is a quick social clip or rough internal review, speed matters more than perfect output. If your goal is speech-to-text, quote checking, or edit prep, clean audio matters more than convenience. A bad MP4 slows everything down after the download. Speech recognition drops words, timestamps drift, and editors waste time replacing a file that looked fine at first glance.
That is why the basic checks matter every time. Confirm the file contains audio. Check the resolution and frame rate. Scrub through motion-heavy sections to catch sync issues. If you need another option beyond direct download methods, this guide on how to capture streaming video covers the trade-offs of recording versus saving a source file.
Online converters are for low-stakes jobs
Browser-based converters are useful when the job is simple and the file does not need to hold up in editing or transcription. They are fast to test and require no install. That convenience comes with more risk.
Common warning signs are easy to spot:
- Pop-ups or forced redirects before the actual download begins
- Multiple fake download buttons
- Installer prompts or extension requests for a task that should stay in the browser
- No visible format or quality options
- No file details such as duration, resolution, or audio track
- A finished file size that looks suspiciously small for the stated quality
I leave any site that does two of these. In practice, a deceptive interface is often a clue that the output will be just as unreliable.
Desktop apps are better for quality-sensitive work
Desktop software takes more effort up front, but the payoff is consistency. The app handles the download and muxing locally, which reduces the odds of ending up with silent audio, broken sync, or a lower-quality stream than the site promised.
That matters for three common goals:
- Transcription: clear, intact audio improves recognition accuracy
- Editing: stable frame rate and proper sync prevent timeline issues
- Archival: local files with predictable settings are easier to catalog and reuse later
Desktop tools also make repeat work less chaotic. If you download clips regularly for research, content production, or internal libraries, repeating the same settings is a real advantage.
Choose based on the job
| Method | Ease of Use | Output Control | Safety Risk | Best Fit |
|---|---|---|---|---|
| Online converter | Easy | Low to inconsistent | Higher | One-off reference copies |
| Desktop app | Moderate | Better | Lower if the app is vetted | Editing, clipping, transcription |
| Command-line tool | Hardest at first | Highest | Low if used correctly | Batch downloads, archives, repeat workflows |
The table is simple on purpose. The right method depends less on what feels convenient in the moment and more on what you need the MP4 to do afterward.
A few options that create more problems than they solve
Some shortcuts look harmless and usually produce worse files.
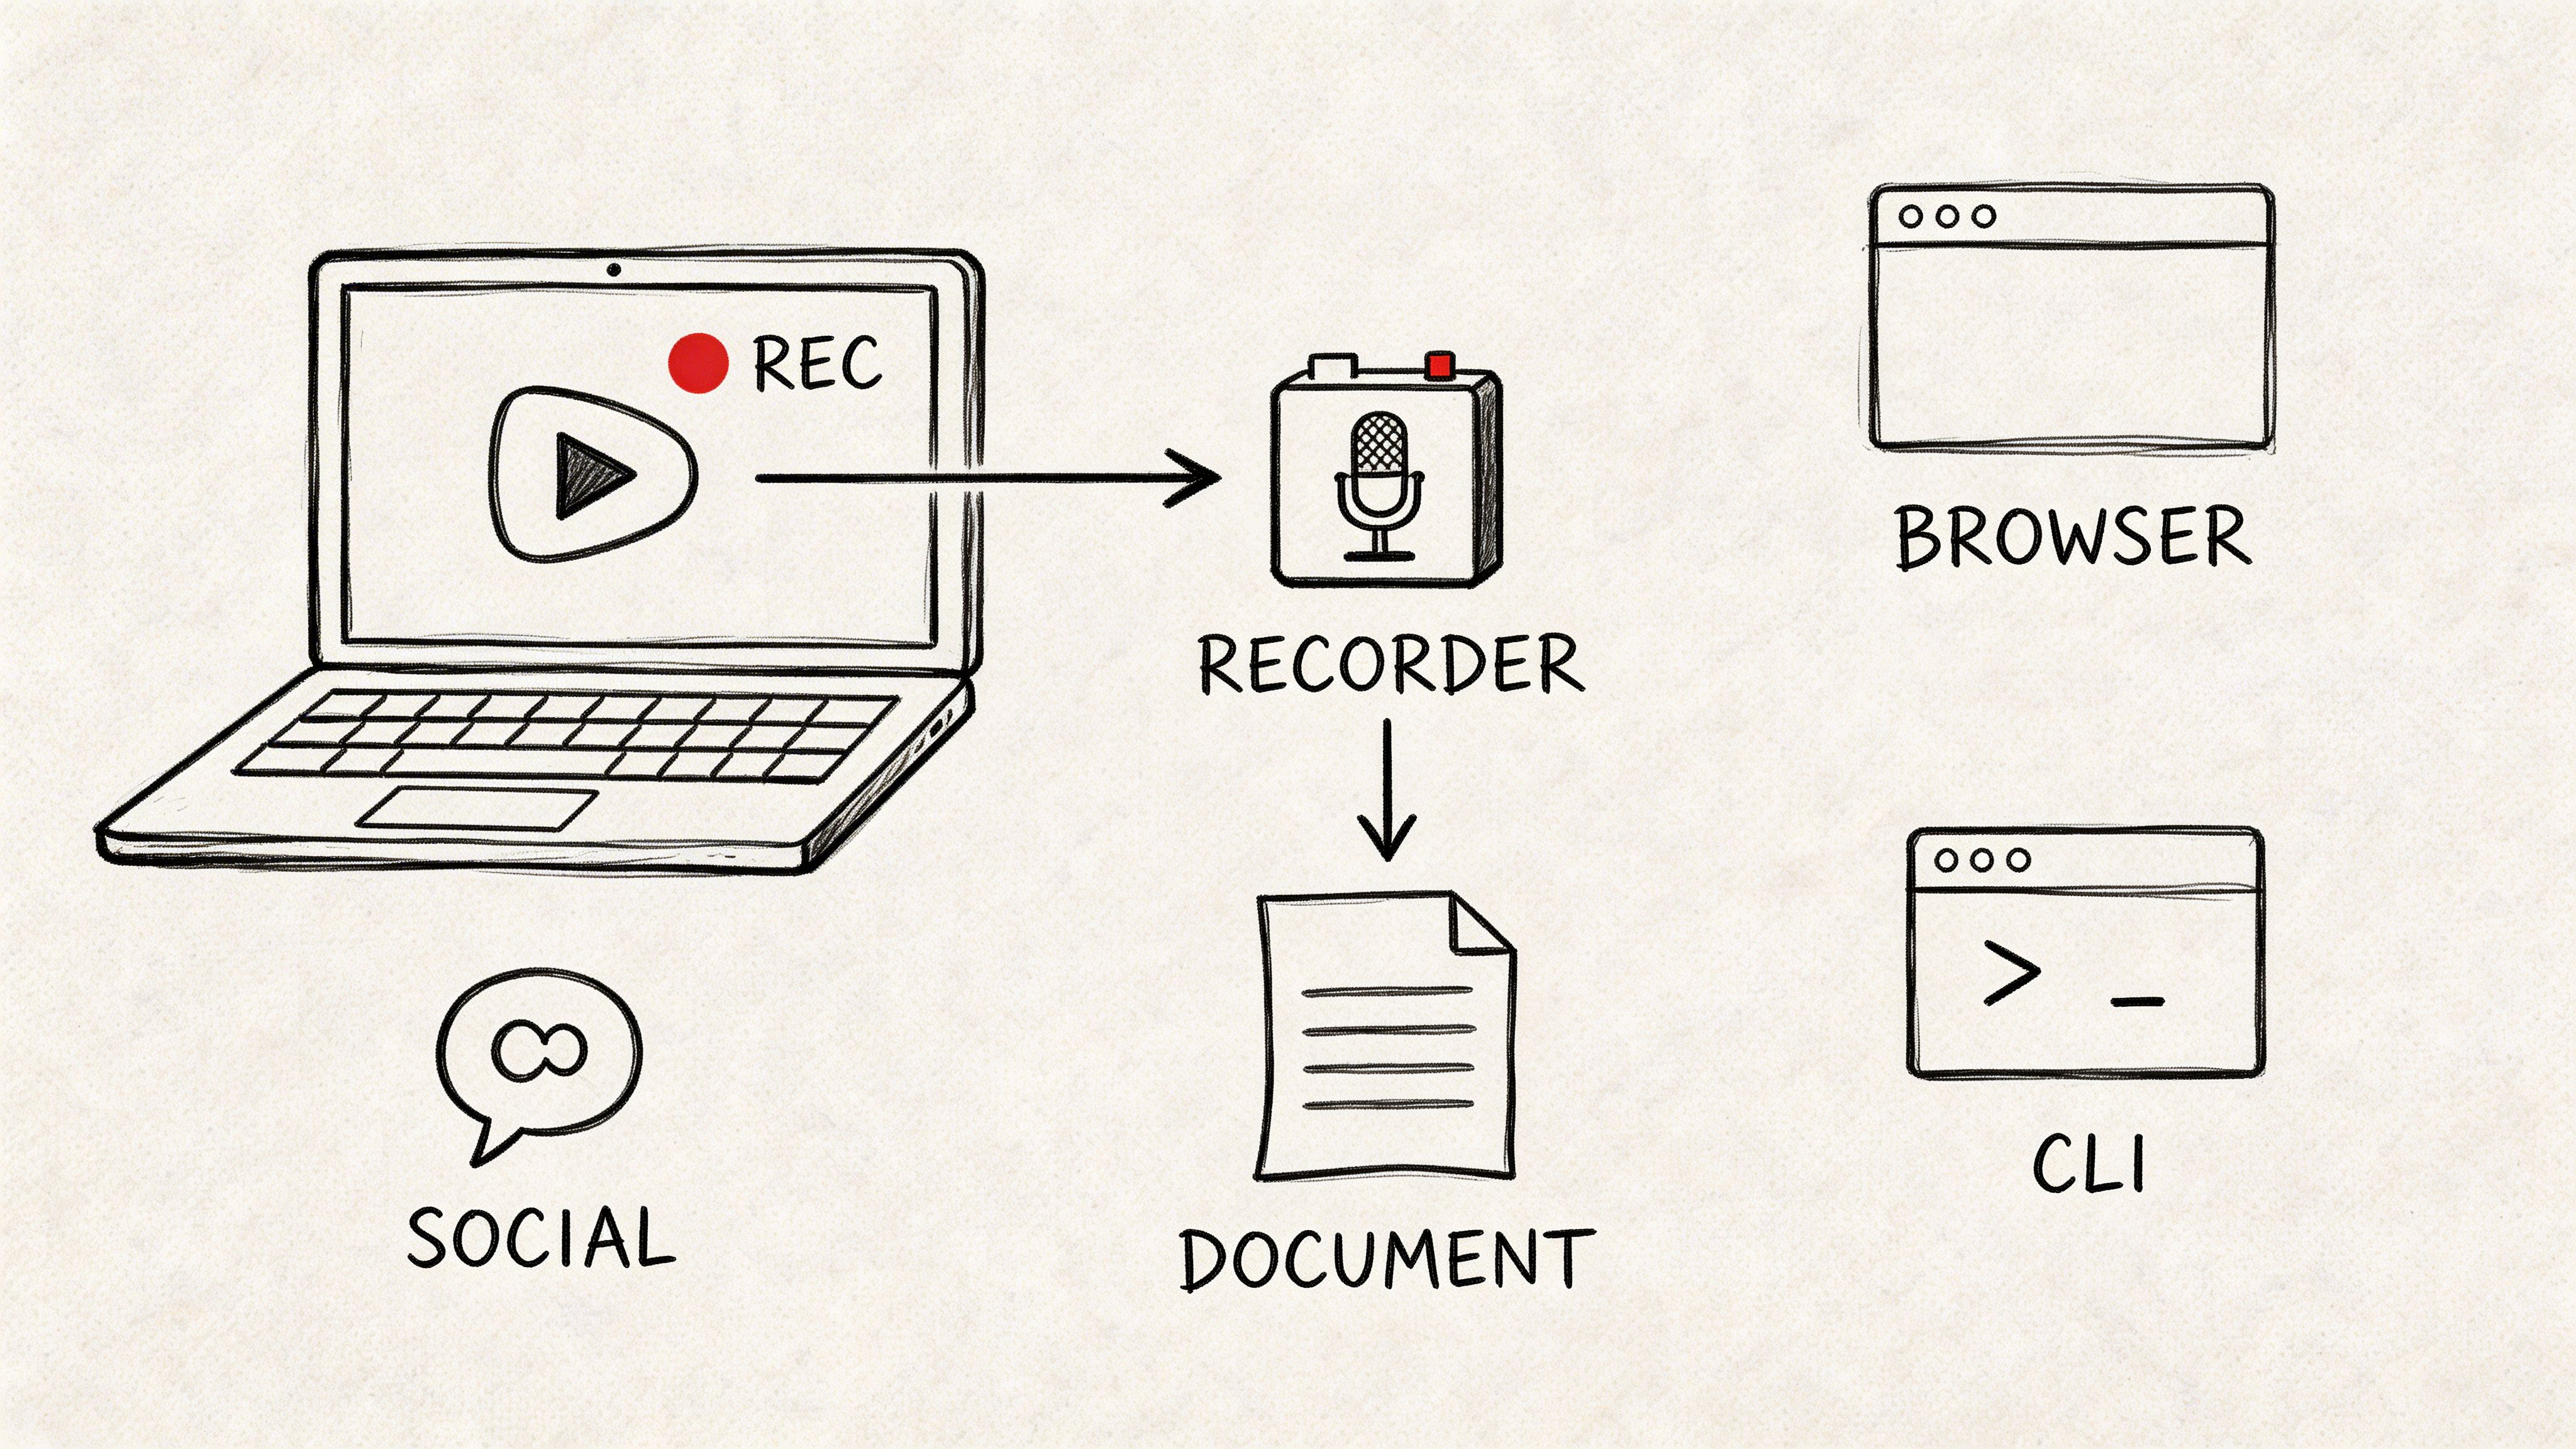
- Screen recording the player: useful only when no direct method works. It often captures player controls, dropped frames, and weaker audio.
- Downloading a pre-trimmed web clip: fast, but many of these tools recompress aggressively.
- Always choosing the highest resolution: larger files are not automatically better if the source was lower quality to begin with.
Use the lightest method that still protects the quality you need. For rough review, an online converter may be enough. For anything you plan to edit, transcribe, or keep, a vetted desktop app is usually the safer middle ground.
The Power User's Choice Using Command-Line Tools
You need ten clips from one channel, all in a consistent format, and you need them before an edit review or transcript pass starts. That is the point where browser converters usually fall apart. They change defaults, throttle downloads, inject ads, or hand you files that look fine until you open them and find missing audio, odd frame rates, or soft recompression.
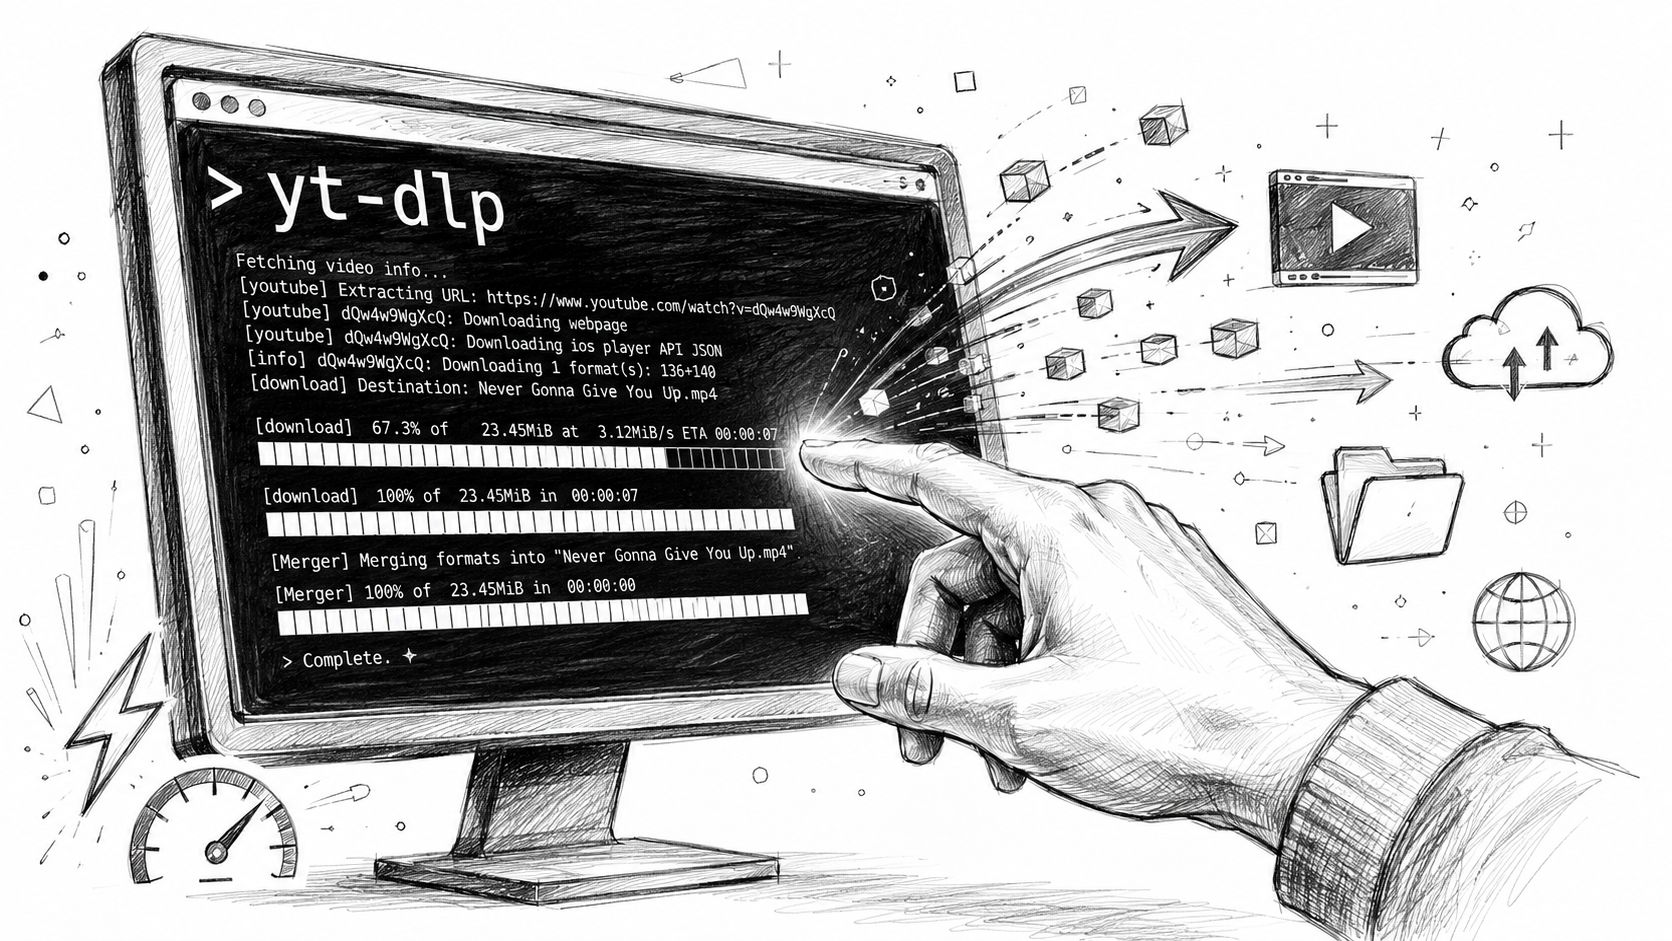
The command-line route exists for people who care about repeatable output. yt-dlp is the tool many power users settle on because it gives direct control over what gets downloaded and how it gets packaged.
Why experienced users prefer it
The main benefit is consistency.
With a command-line tool, you can request the exact format you want, run the same command tomorrow, and expect the same kind of result. That matters if your end goal is an editing bin, an archive, or a transcript workflow where audio quality and sync problems create cleanup work later.
A good command-line setup also avoids a common failure point in web tools. Many online converters hide what they are doing to the file. yt-dlp is far more explicit. You can inspect available formats, choose what to download, and keep a simple record of the command you used.
A practical starting command
A solid starter pattern looks like this:
yt-dlp -f "bv*+ba/b" --merge-output-format mp4 "YOUTUBE_URL"This tells yt-dlp to grab the best available video and audio streams, then merge them into an MP4 file. Replace YOUTUBE_URL with the actual video link.
That command is enough for many jobs, but its primary advantage shows up over time. If you always need MP4 output for review copies, social selects, or transcript prep, you can reuse the same command instead of trusting a different website every time.
What to watch for
High control cuts both ways. You get better results, but you also take responsibility for checking them.
Open the file after download. Listen to the speech, not just the first second of audio. Scrub through fast motion and scene changes. If the MP4 is headed for transcription, audio clarity matters more than whether the video looks slightly sharper at full screen. As mentioned earlier regarding YouTube's formatting guidance, MP4 is only the container. What matters is whether the underlying video and audio were preserved cleanly, without unnecessary conversion choices that hurt sync or clarity.
When command-line is the right tool
Use this route if your goal is one of these:
- Batch work: playlists, channel pulls, repeat research jobs
- Archival copies: you want predictable output and a record of how it was created
- Transcript prep: you care about clean audio and fewer avoidable processing mistakes
- Edit intake: you need files that behave consistently across projects
It is also the better fit when you are working beyond a standard YouTube page. If your workflow includes streams or harder-to-capture sources, this guide on capturing streaming video from different source types covers the cases where the retrieval method changes.
A quick visual walkthrough helps if you want to see the process before using the terminal yourself.
The trade-off
The downside is setup friction. The first run feels less friendly than a desktop app, especially if you rarely use the terminal.
Still, for anyone downloading often, the learning curve pays back fast. You get fewer surprises, cleaner repeat work, and more confidence that the MP4 you saved will hold up for the job you need it to do.
Preparing Your MP4 for Flawless Transcription
A lot of MP4 files look fine until you try to transcribe them.
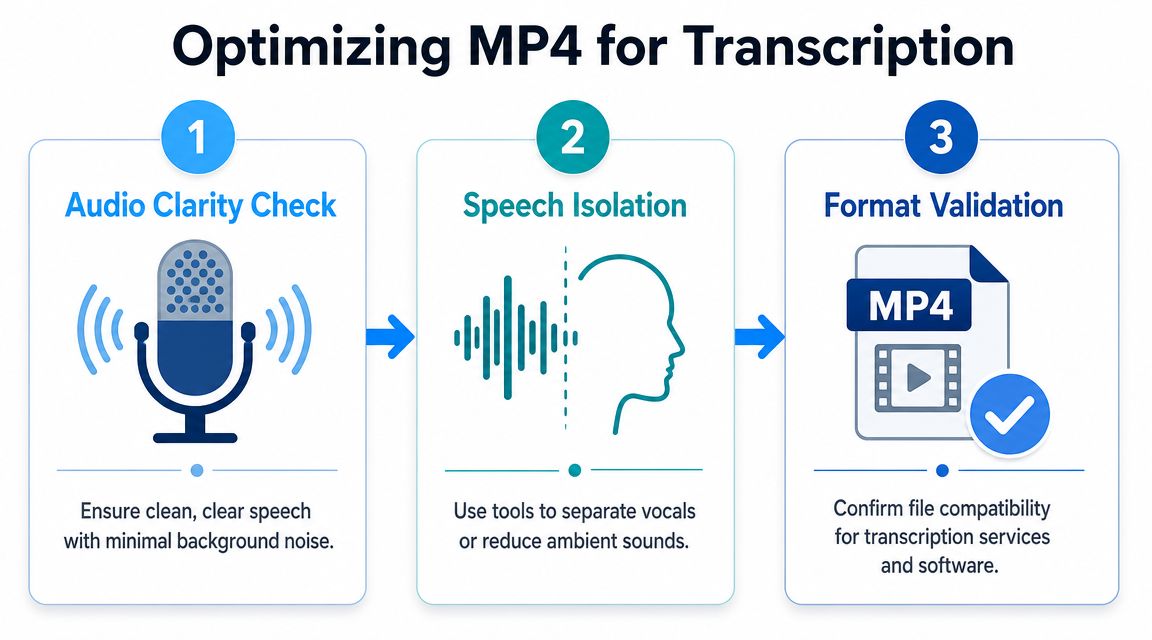
You upload the file, expect a clean transcript, and end up correcting names, fixing timestamps, and replaying muddy sentences. In practice, transcription quality is usually decided before the upload starts. It comes from the download choice, the audio track that survived it, and whether anyone re-encoded the file one too many times.
MP4 is only the container
For transcript work, the audio matters more than the file extension.
MP4 usually carries H.264 video with AAC audio, but that tells you less than many people assume. Two files can both be called MP4 and still behave very differently in transcription. One may preserve clear speech and stable sync. The other may have low-bitrate audio, clipping, or bad muxing that causes drift over longer recordings.
Frame rate still matters, especially for timestamped transcripts and subtitle alignment. Keep the native frame rate if you can. Unnecessary conversion creates avoidable sync problems, and those show up later when you try to match words to the picture.
What I check before sending an MP4 to transcription
A quick review saves a lot of cleanup:
- Play the file all the way through the first minute: confirm speech is present and in sync
- Listen on headphones: echo, hiss, and buried dialogue are easier to catch there
- Avoid extra exports: each re-encode can blur consonants and reduce speaker separation
- Keep resolution high enough for on-screen text: useful if the transcript also needs slide titles, captions, or lower thirds
- Use clear file names: speaker names, episode numbers, or dates help once files start stacking up
- Prefer cleaner audio over a smaller file: storage is cheap. Transcript cleanup is not
For spoken-word content, I also check that the audio was not crushed during conversion. A modest file size is fine. Thin, swishy audio is not. If the voices sound smeared or brittle, the transcript will usually reflect it.
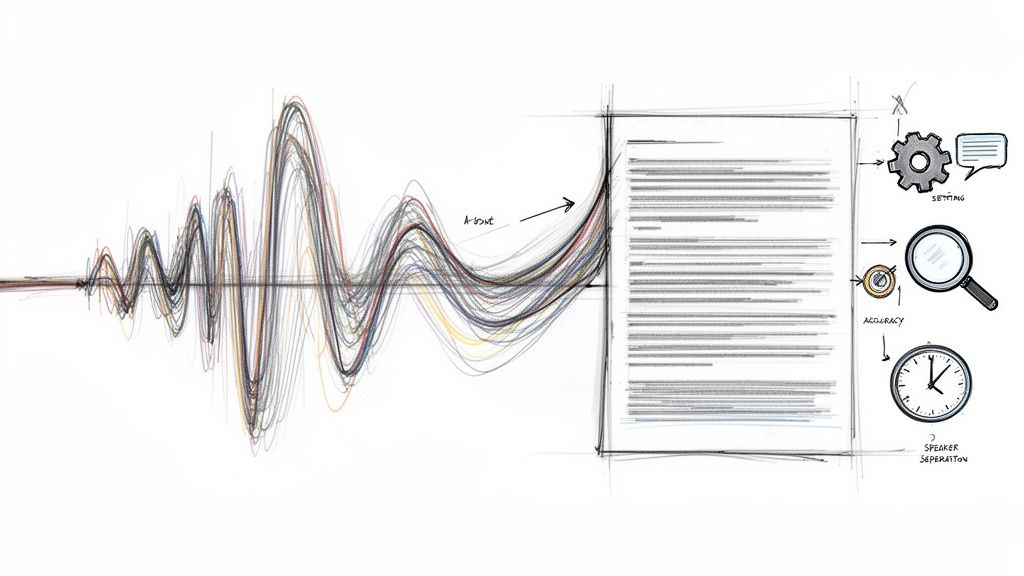
What actually hurts transcript accuracy
These are the problems I see most often:
| Problem | What it causes |
|---|---|
| Low-bitrate or overcompressed audio | Slurred words, weak punctuation, and more manual fixes |
| Missing or broken audio muxing | A file that opens normally but fails in transcription tools |
| Sync drift | Timestamps stop matching the spoken words |
| Screen-recorded playback instead of direct download | Added system noise, lower fidelity, and occasional dropped audio |
| Heavy background music or room echo | Poor speaker separation and more misheard phrases |
One rule holds up across tools. Clean speech beats pretty video.
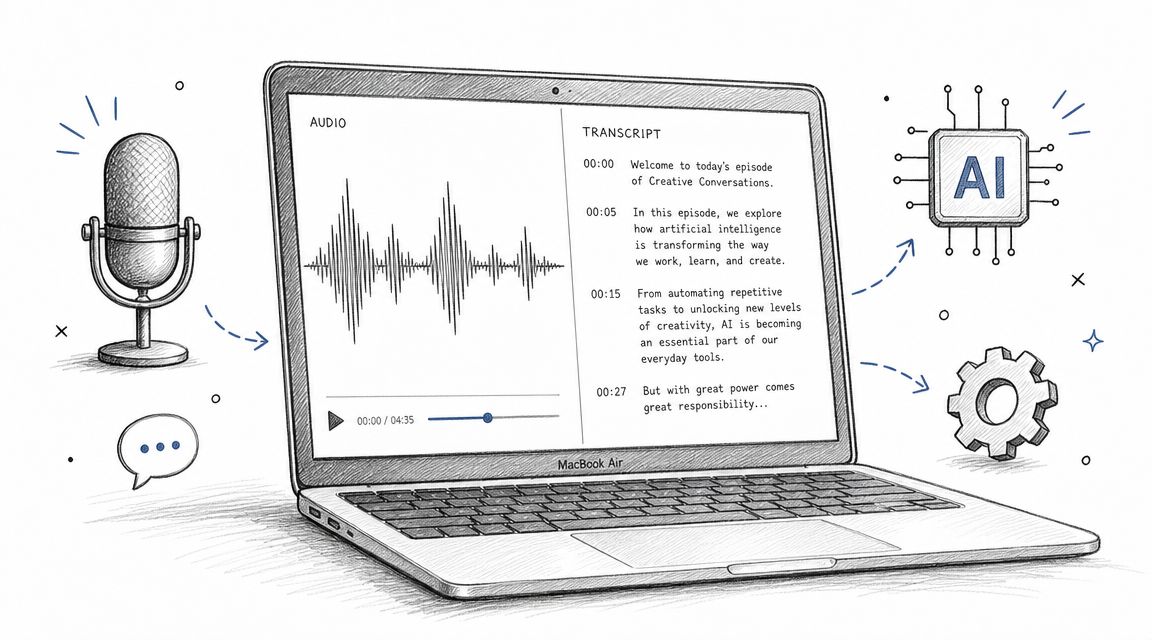
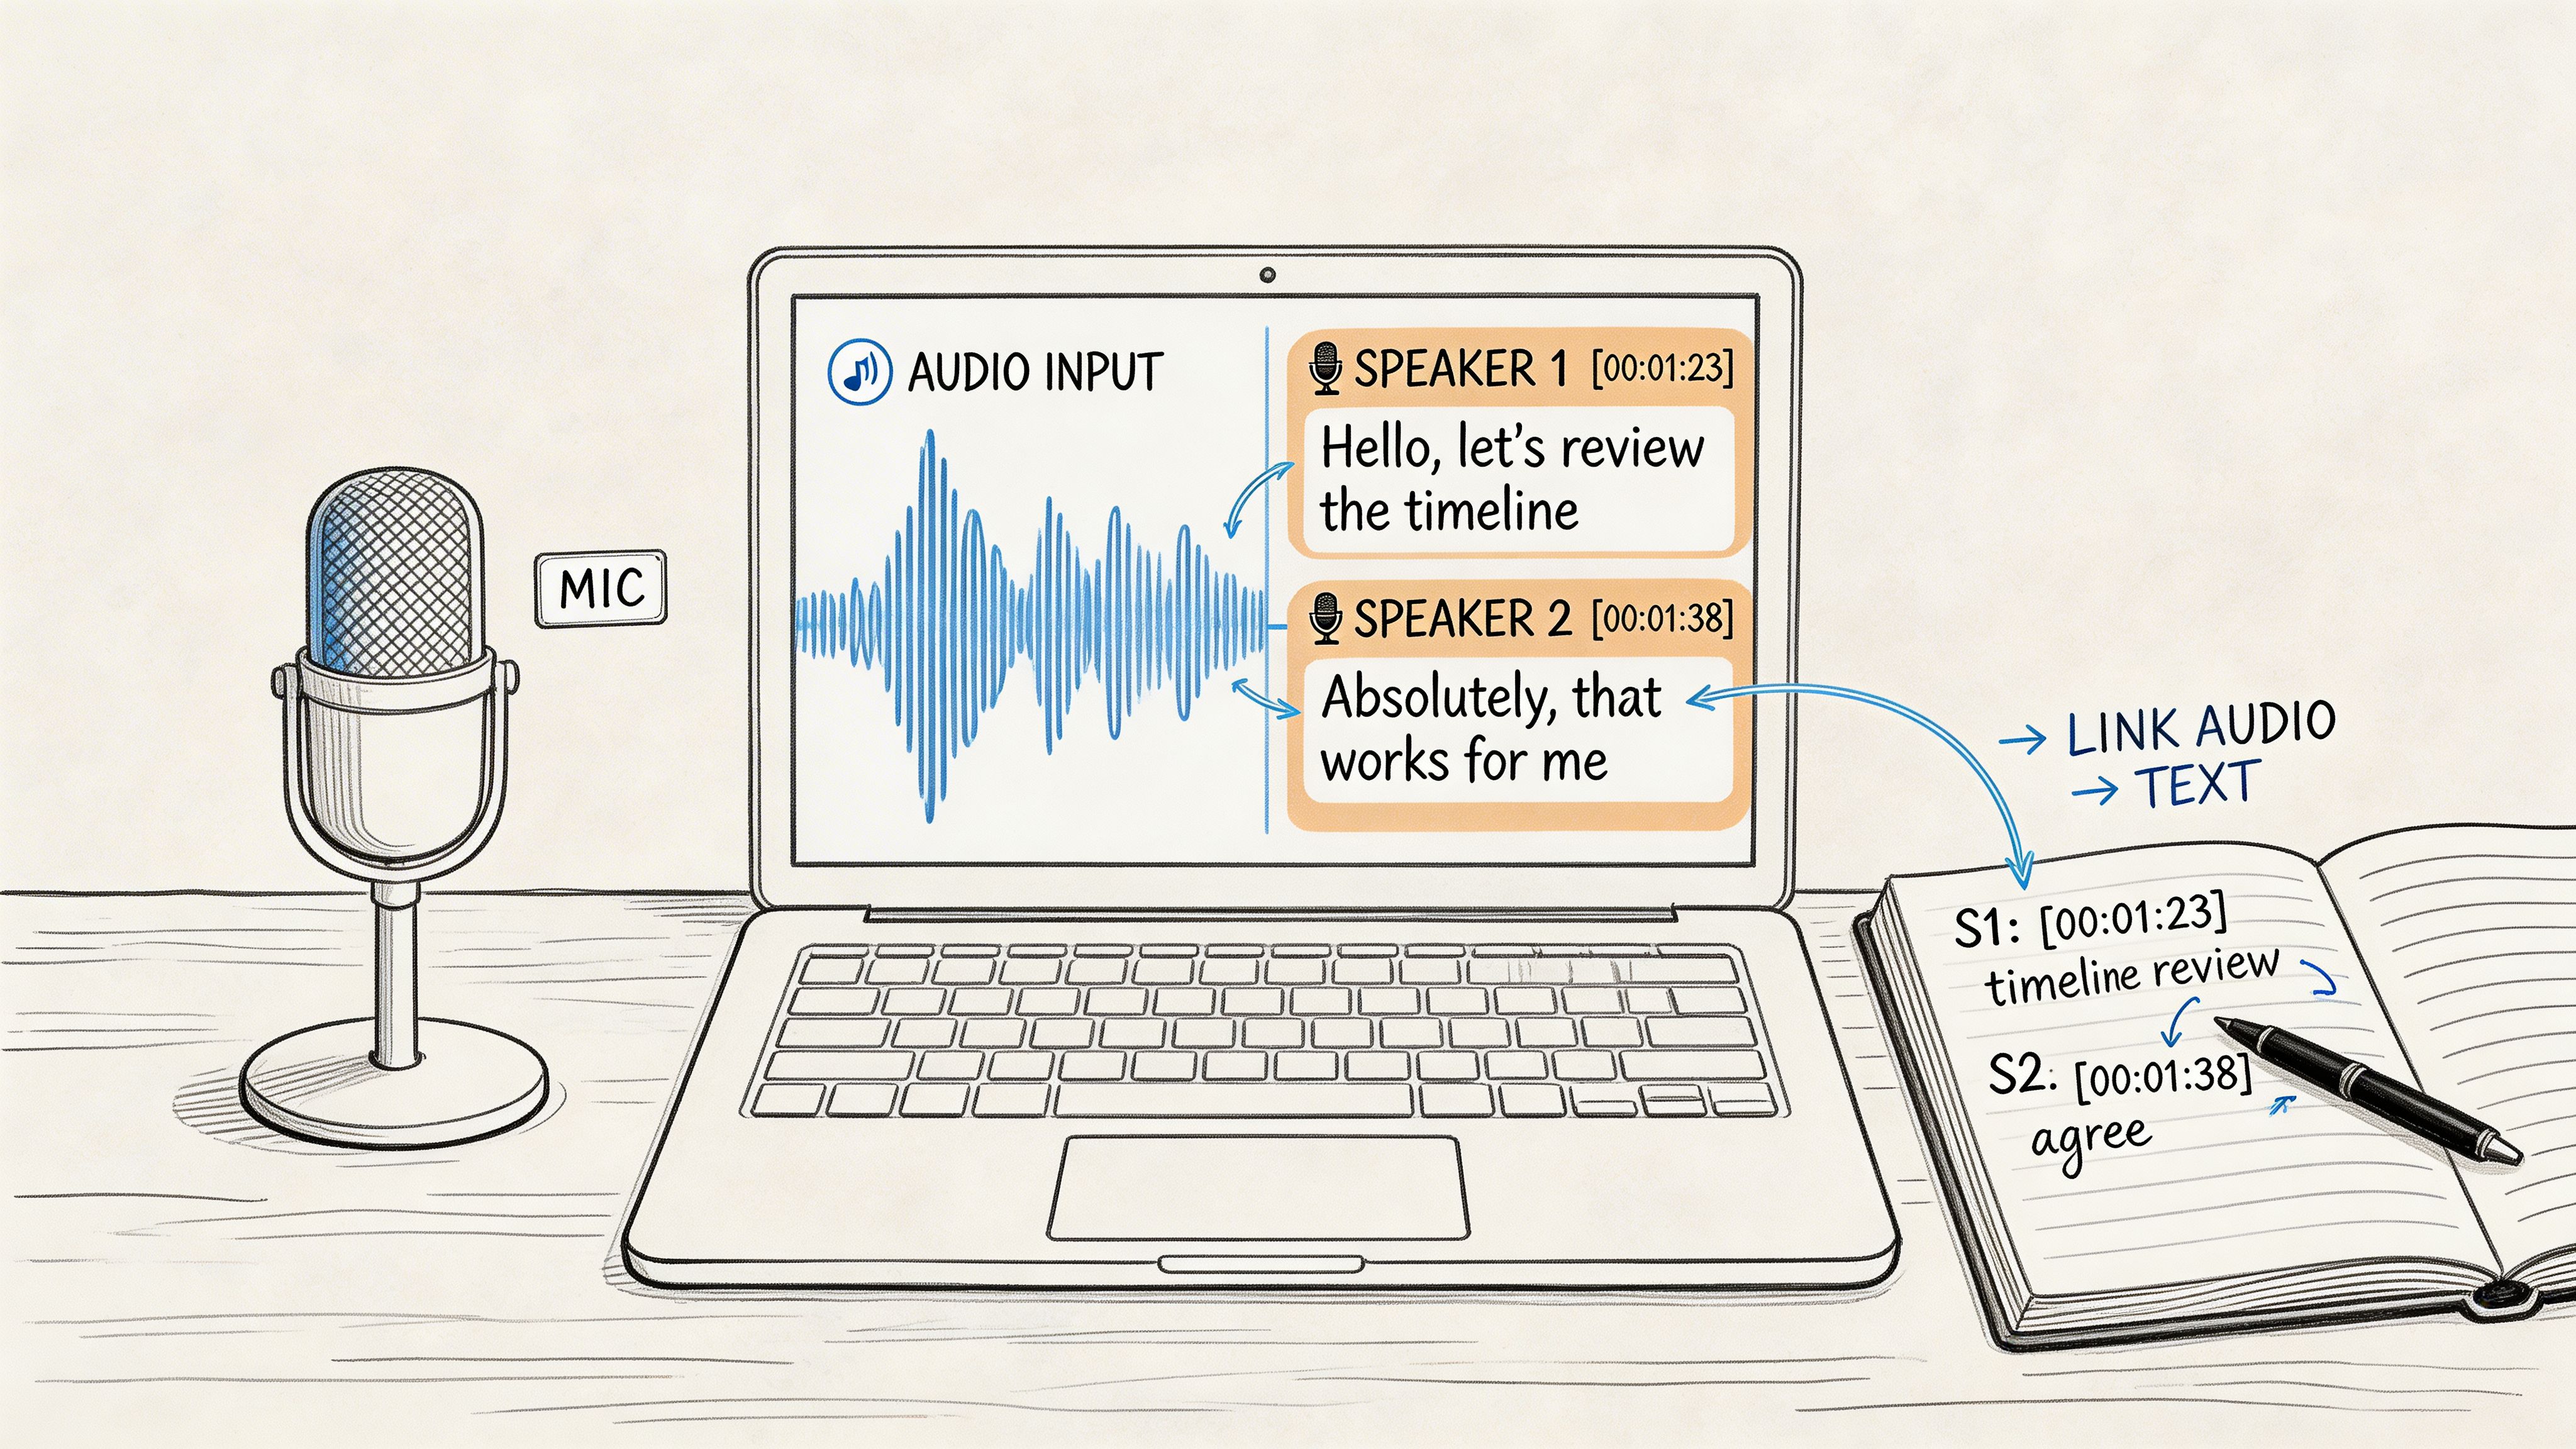
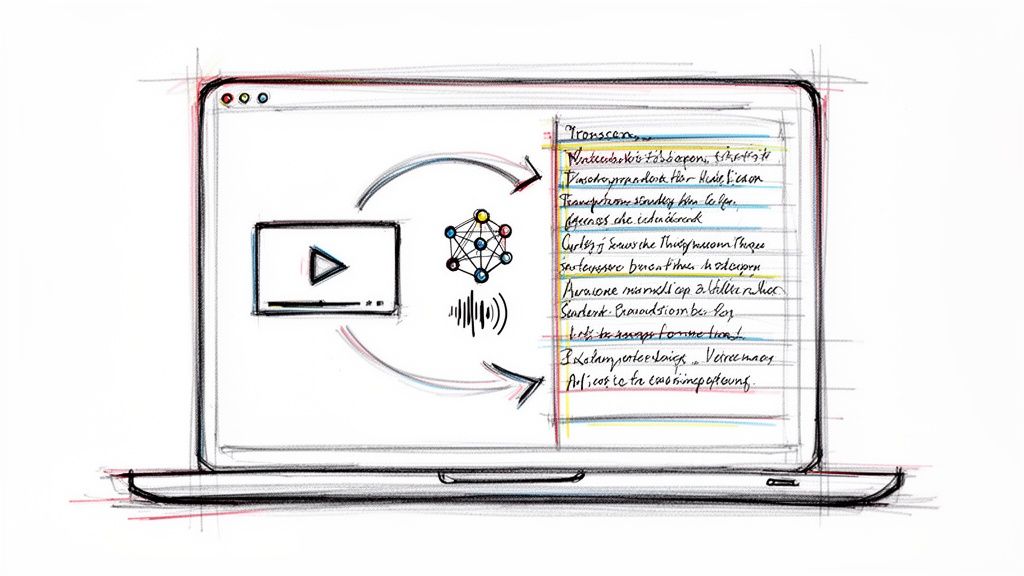
If your actual goal is text output, subtitle timing, or searchable notes, the next step is a solid MP4 to text transcription workflow. Whisper AI is one option in that category. It accepts MP4 uploads and can generate transcripts, summaries, timestamps, and speaker-labeled output from the media file.
Best practice for edit and transcript workflows
Choose the version that best serves the job.
For a quick social clip, you can tolerate more compression if the spoken audio is still clear. For an archive, keep the highest-quality master you can reasonably store. For transcription, optimize for intelligibility first. That means preserving the original audio track, avoiding needless conversion, and trimming locally after download instead of exporting multiple lossy versions.
Interviews, lectures, podcasts, and commentary videos are where this matters most. Once speech detail is lost in conversion, no transcription tool fully restores it.
Legal and Ethical Best Practices
The most misleading thing about this topic is how many pages treat downloading as purely technical. It isn't. The first question often shouldn't be “which converter works,” but “am I allowed to do this with this video?”
That gap is common. Many converter pages focus on speed or quality while skipping permission altogether. A useful summary of that problem appears in iTranscribe's discussion of YouTube to MP4 legality and rights management, which notes that YouTube's own help materials tie offline viewing to YouTube products and availability rules, not a blanket right to extract copyrighted files.
A practical standard to follow
If the video is yours, the path is straightforward. If it isn't yours, slow down and sort the rights question first.
Use this decision frame:
- Your own uploads: Generally the clearest case for downloading and repurposing.
- Public domain or clearly licensed material: Still verify the exact license terms before reuse.
- Third-party copyrighted videos: Don't assume private access equals permission to extract, edit, publish, or redistribute.
- Team or client workflows: Get documented permission, especially when clips will be reused in marketing, training, or public-facing content.
Ethics matter even when risk feels low
A lot of people download first because it feels harmless if the clip is “just for research” or “just internal.” Sometimes that may be a low-conflict use. It still doesn't erase the creator's rights or the platform's rules.
If people appear in the footage, permissions matter there too. For teams producing interviews or testimonial-style media, a video recording release form guide is worth reviewing so rights and consent are handled before reuse becomes a problem.
Respecting creators isn't separate from workflow quality. It's part of doing the work properly.
The cleanest approach is simple. Use official download paths for your own videos. Use careful tools when you have a legitimate reason to create an MP4 from a YouTube video. Keep the file quality high enough for the job. And don't treat access as permission.
If you've already got the file and need usable output from it, Whisper AI can turn MP4s and other media into searchable transcripts, summaries, timestamps, and speaker-labeled text so you can move from downloaded video to notes, captions, and repurposed content without doing the transcription manually.