How to Record a Google Meet Call: A Practical Guide
Trying to record a Google Meet call often feels like a last-minute scramble. The most straightforward way is to use Google's own built-in recording feature, but there’s a catch—it’s not available to everyone.
Your ability to hit that 'Record' button depends on two things: your Google Workspace subscription and your role in the meeting. If you’re the host or co-host and your company is on a plan like Business Standard or higher, you’re all set. The recording is high-quality and saves right to your Google Drive. It’s seamless.
But what if you don't see the option? You’re not alone. A huge number of people using free personal accounts or even some paid business plans find the feature is locked. It's a premium offering, and ironically, even the Google Workspace Business Starter plan, which costs $7 per user per month, doesn't include it.
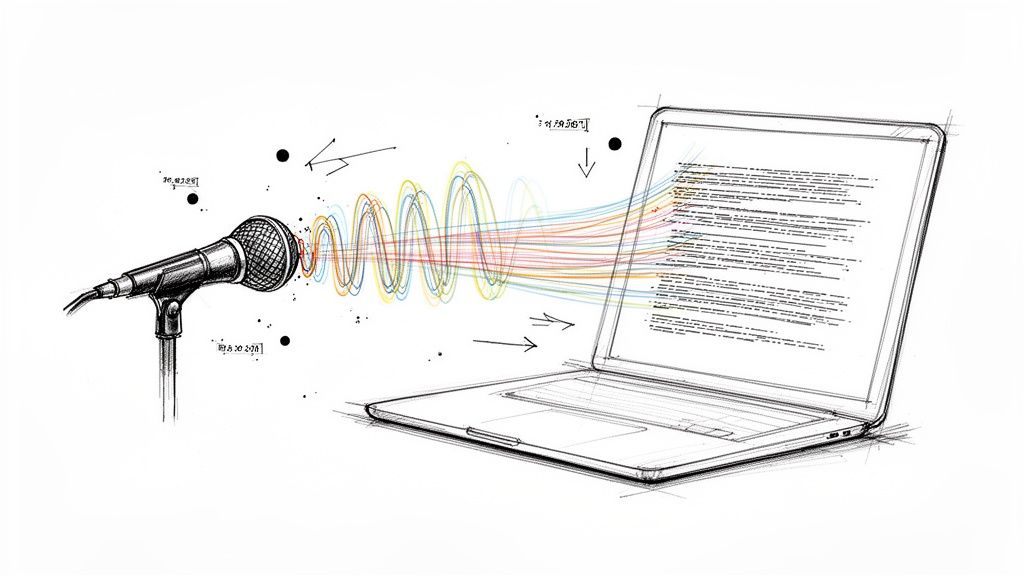
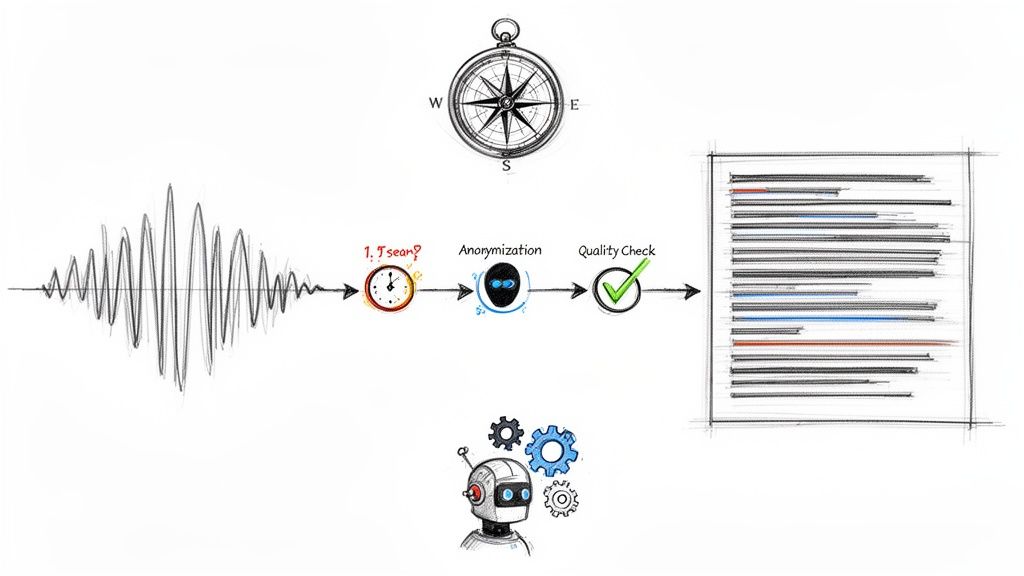
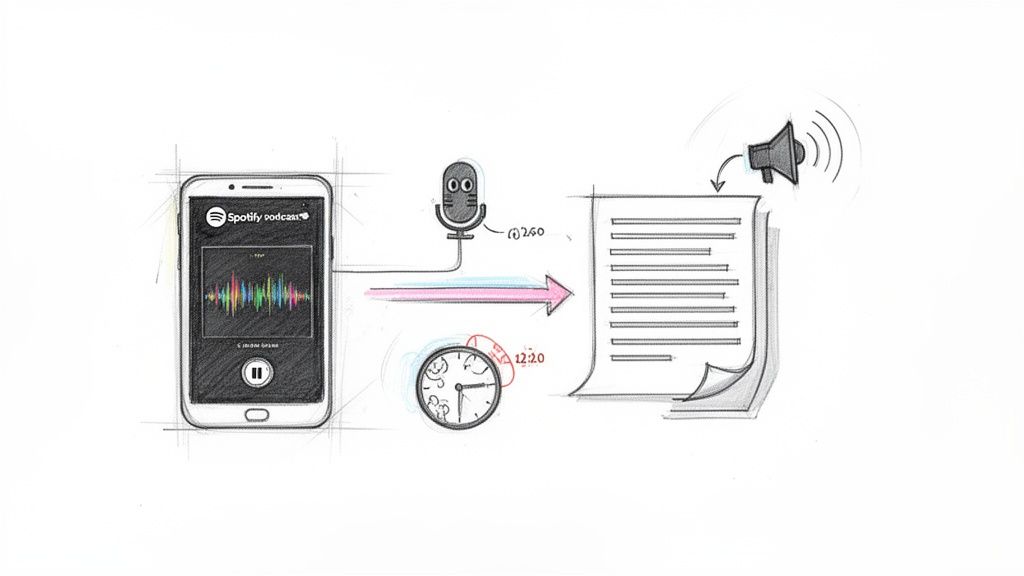
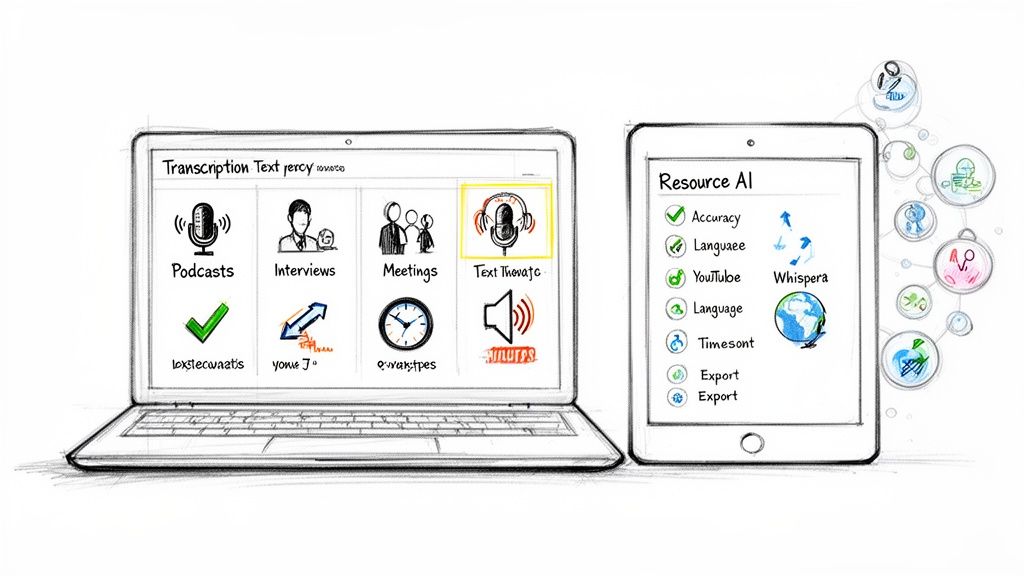
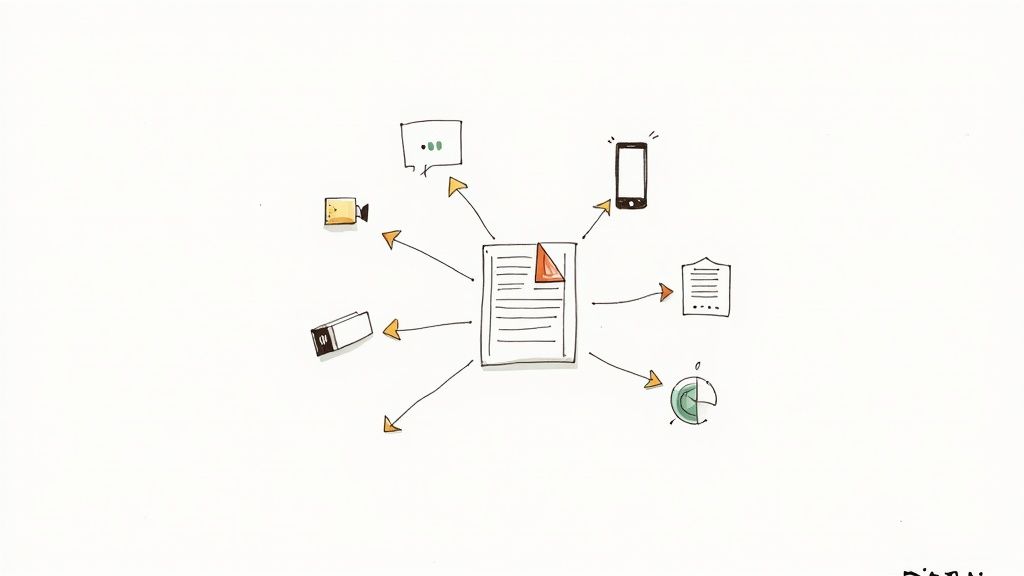
This is where you have to get a little creative with other tools. For instance, if you just need a transcript and summary, you can use a service like Whisper AI. It can process the audio to create notes without even needing to join your call as a bot, a method already used for over 500,000 files.
Google Meet Recording Options At a Glance
To make it clearer, here’s a quick comparison of the different ways you can record your Google Meet calls.
This table shows that while the built-in option is the most integrated, there's a solid workaround available for just about every other scenario.
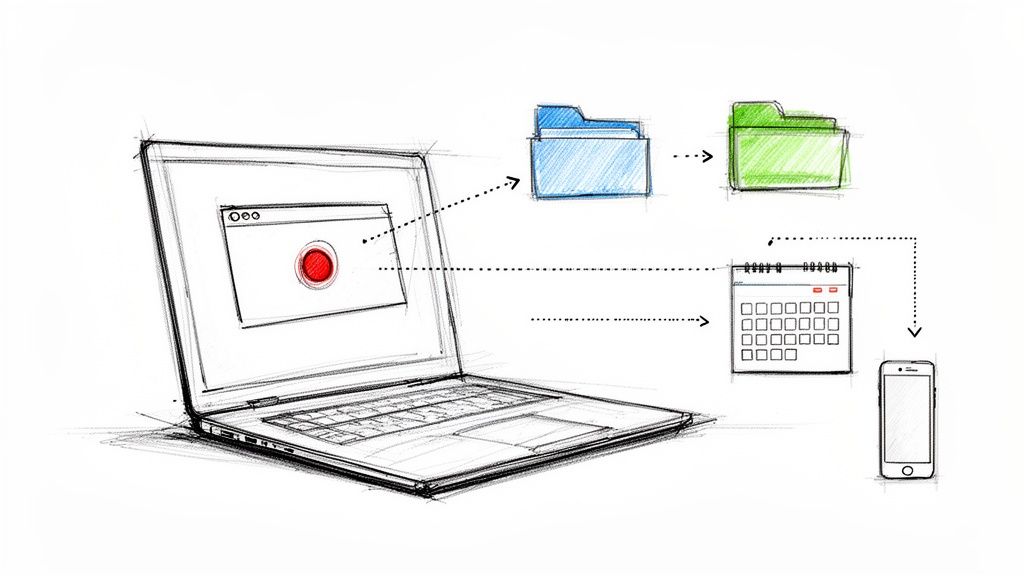
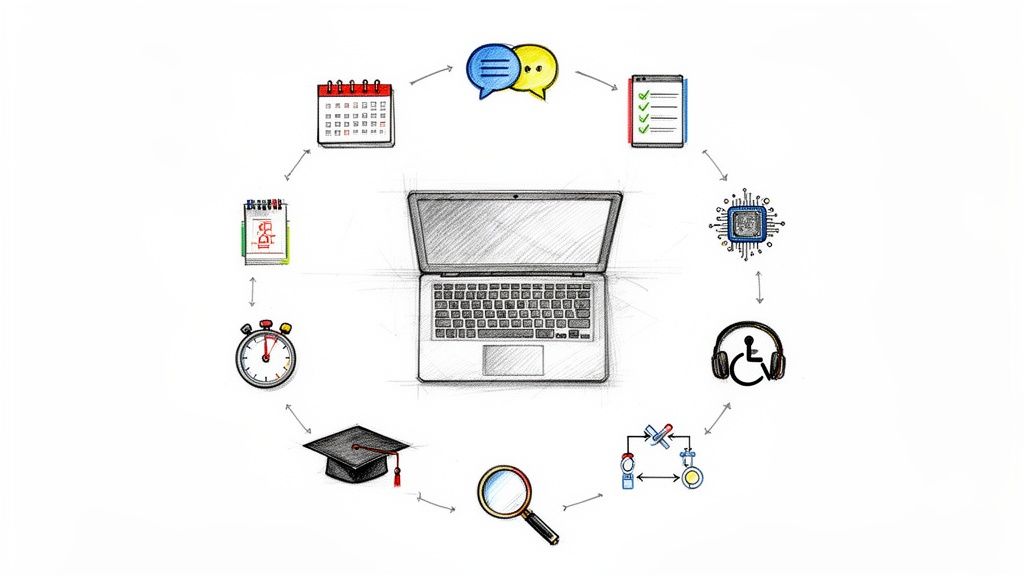
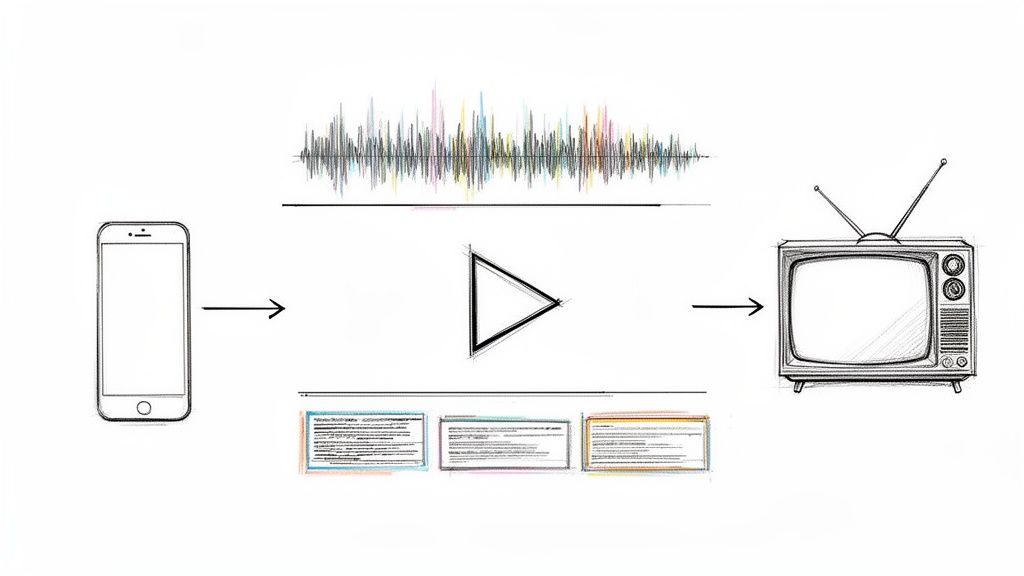
Your Recording Path
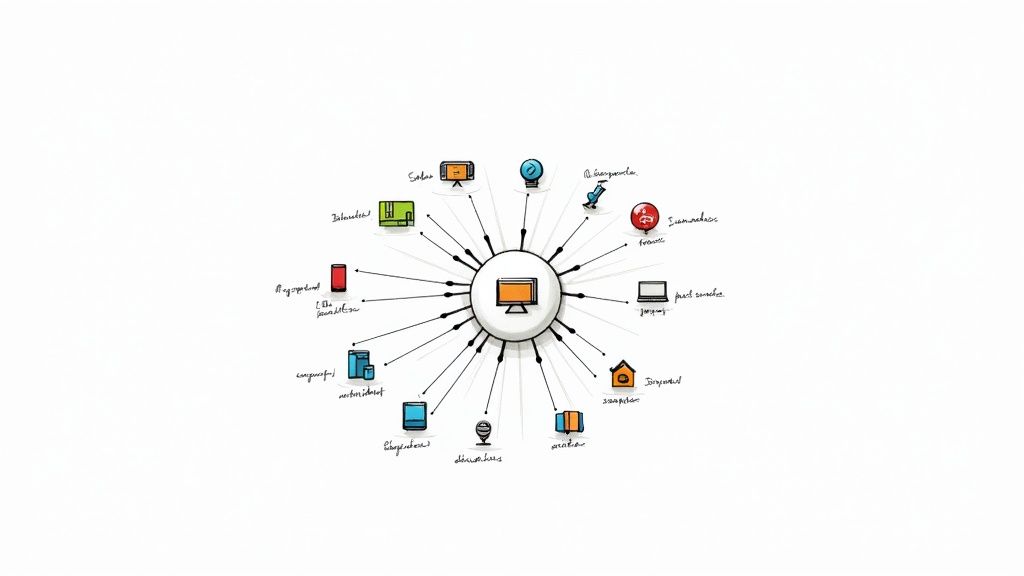
This flowchart breaks down the decision process. It all comes down to your account type and what you need to capture.
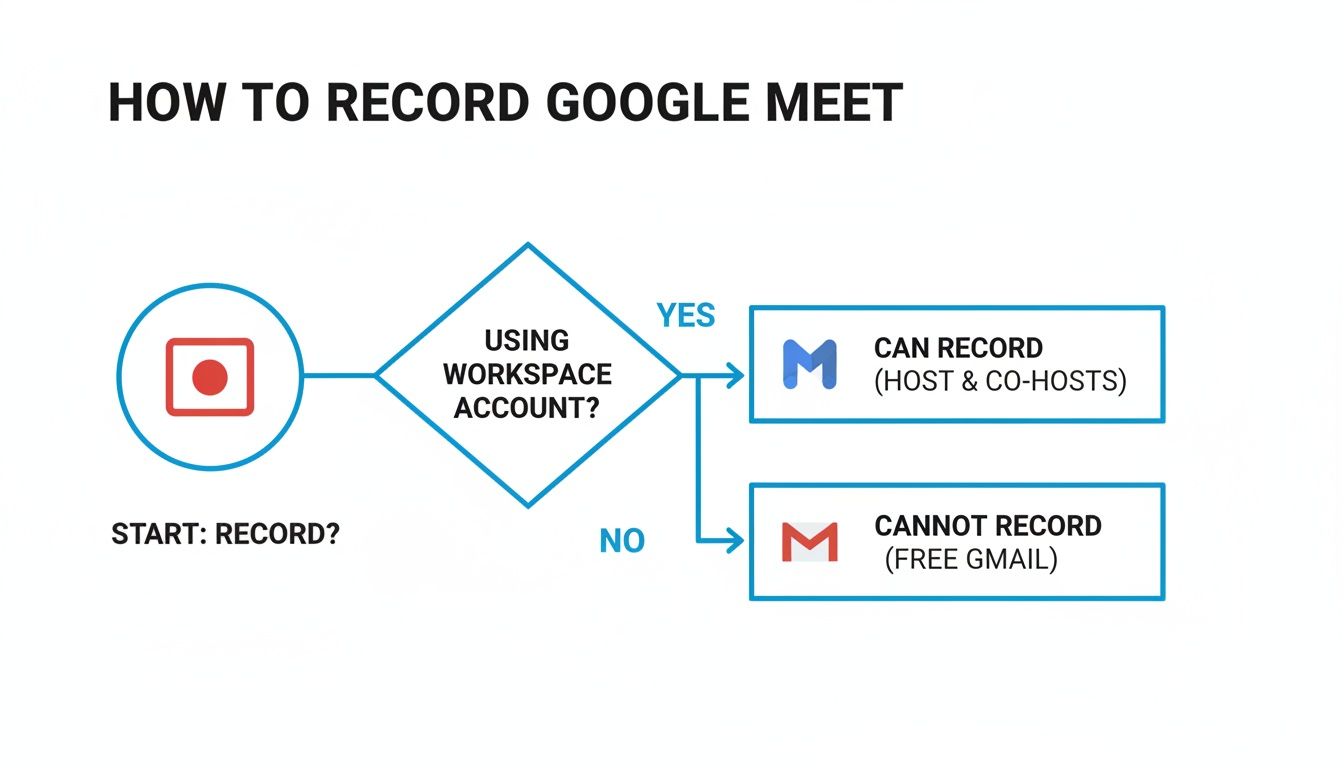
The main takeaway here is simple: paid Workspace users with the right plan get a native recording feature, while everyone else needs a different strategy.
Knowing these options before a call starts saves you from a world of stress. For some broader best practices, it's worth reading a practical guide on the general etiquette of recording a meeting. And if you're leaning toward an automated solution for capturing notes, you might find our guide on using a Google Meet note taker especially helpful. We’ll start with the official Google method first, then dive into the other techniques.
How to Use Google Meet’s Built-In Recording Feature
If your Google Workspace plan allows it, using Meet's own recording feature is almost always the best way to go. It’s the "official" method, built right into the platform, so you don't have to fuss with third-party apps. Everything is designed to work together seamlessly.
When you hit that record button, Google Meet automatically gives everyone a heads-up with both a sound and a pop-up notice. While that covers the basics, I always make a point to verbally announce, "Okay, I'm starting the recording now," just before I click. It’s a small courtesy that goes a long way in making people feel comfortable.
What Gets Captured in Your Recording
It's helpful to know exactly what the final video will—and won't—include. The built-in recorder is pretty thorough, but it keeps things clean by focusing only on the meeting itself.
Here's what you can expect in the final file:
- The active speaker and anything being screen-shared. The video feed intelligently follows the main action.
- Audio from all participants.
- In-meeting chat messages. This is a fantastic feature. The chat log is saved as a separate
.SBVfile, so you can easily pull out any links or important notes shared during the call.
What you won't see are things private to your screen, like notifications from other apps or any other browser tabs you have open. The recording also excludes any live captions you might have turned on for personal use.
Expert Tip: Set up attendance tracking ahead of time. You can do this in the Google Calendar event options before the meeting starts. After it's over, you'll get a report detailing who attended and for how long—invaluable for keeping official records.
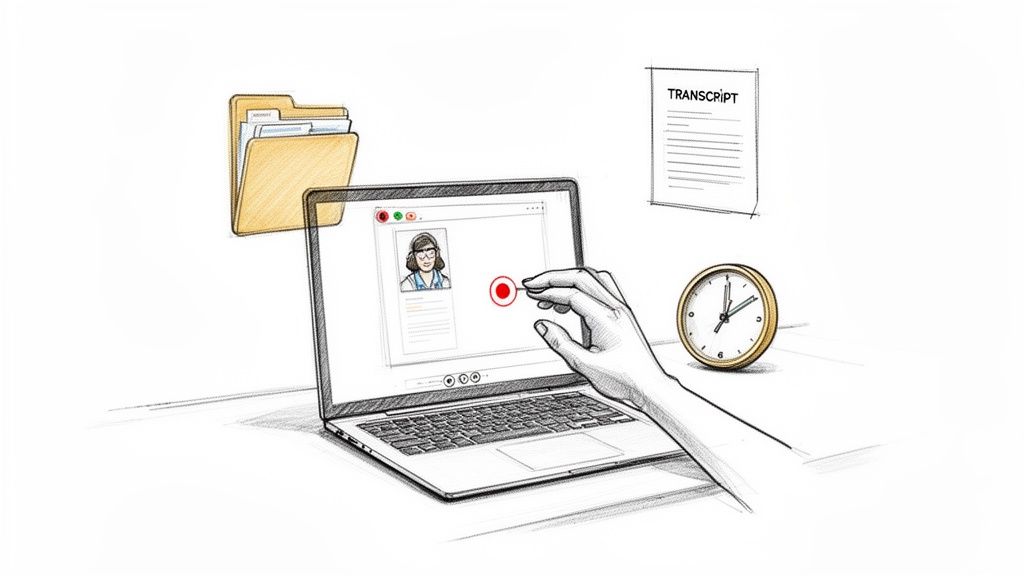
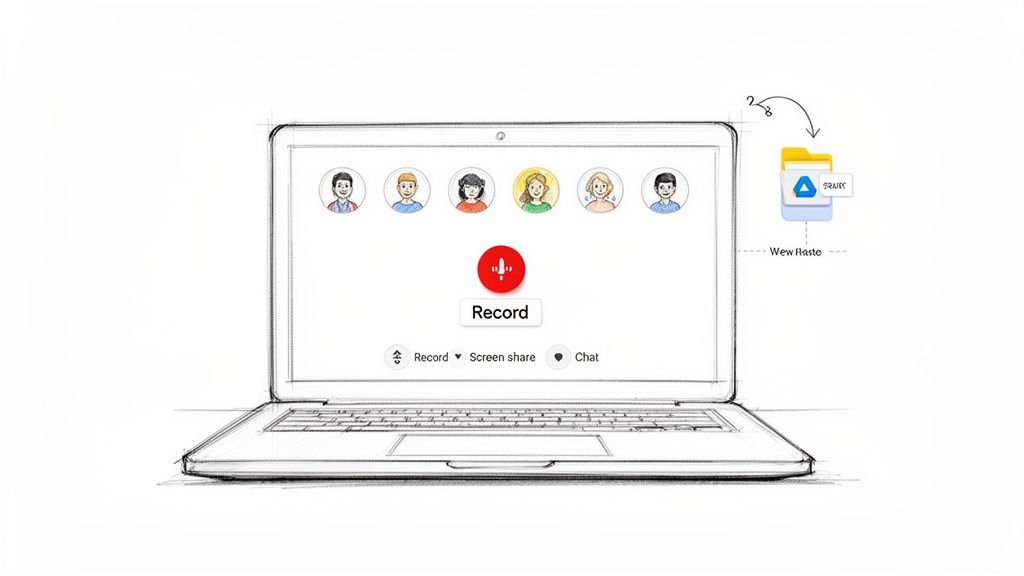
How to Start and Stop a Recording
Ready to record? In your meeting, look for the Activities icon (it’s the one with a triangle, square, and circle). Click it, then select Recording. A quick pop-up will appear to make sure you have everyone's consent; once you hit Start, you're live.
When you're ready to wrap up, just head back to the same menu and click Stop recording. The recording also stops on its own as soon as the last person has left the meeting.
After the call, Google needs some time to process the video. This can be quick for a short meeting or take a bit longer for multi-hour sessions. Once it’s ready, the video file lands directly in a folder named "Meet Recordings" within the meeting organizer's Google Drive. The organizer also gets an email with a link to the recording. Honestly, not having to manually upload and manage huge video files is one of the biggest perks of this native feature.
How to Record a Meeting When You’re Not the Host
So, you’re in a Google Meet, and it’s a big one—tons of important details being discussed—but you're not the host. This happens all the time. Maybe your company restricts recording permissions, or you're just an attendee on a personal account. What do you do?
The simplest and most professional route is always to just ask. Seriously. A quick message in the chat like, "Hey, would you mind if I recorded this for my notes?" usually does the trick. If you can, sending a polite email to the host beforehand is even better. It shows you're thinking ahead and respects their control over the meeting. They might just make you a co-host or enable the recording feature for everyone.

Use a Screen Recorder as the Go-To Workaround
If asking isn't practical or the host says no, your next move is to use a screen recorder. These tools simply capture what’s happening on your screen, creating a video of the meeting from your point of view.
You probably already have a tool that can do this. Both Windows and macOS have built-in recorders that are perfect for a quick and dirty capture.
- On Windows: The Xbox Game Bar is your friend. Just press the Windows Key + G to bring it up. The record button is right there on the capture panel.
- On macOS: The shortcut is Command + Shift + 5. This opens a versatile toolbar that lets you record your entire screen or just a specific section.
These native tools are fantastic in a pinch, but for more control over your recording, you'll want to look at dedicated software.
For High-Quality Recordings, Use OBS
When I need a really clean, high-quality recording, my go-to is Open Broadcaster Software (OBS). It's completely free, incredibly powerful, and gives you granular control over what you're capturing. You can grab the meeting's audio and your own microphone on separate tracks, which is a lifesaver for editing later.
Getting it set up to record a Google Meet session is pretty straightforward. Here's a quick walkthrough:
- Tell OBS what to record: In the "Sources" box at the bottom, hit the '+' icon and choose "Window Capture" (on Windows) or "macOS Screen Capture" (on a Mac).
- Pinpoint the Meet window: From the dropdown menu that appears, select your Google Meet browser window. You'll see it pop up in the main OBS preview screen.
- Check your audio: Look at the "Audio Mixer." You should see "Desktop Audio" moving—that’s the sound from the meeting. If you also want to capture your own commentary, make sure your "Mic/Aux" source is on and not muted.
- Hit record: Just click "Start Recording." OBS will now capture everything happening in that Google Meet window.
A Quick Word on Consent
Even when you're using your own screen recorder, you have to tell people. Recording a conversation without permission isn't just bad form; it can be illegal depending on where you and the other participants are. A simple, "Just a heads up, I'm recording this for my notes," is all it takes to be transparent.
Keep in mind that this method uses your local resources. High-definition group video can chew through 12–17 MB per minute. That means a single one-hour meeting can easily create a file over 1 GB in size. If you're on a metered internet connection or a mobile hotspot, this is a huge deal. You can learn more about how Google Meet impacts data plans to avoid any surprise bills.
How to Record on Mobile Devices (Android and iOS)
We’re all taking more meetings on our phones these days, but if you need to record a Google Meet call from your mobile device, you'll run into a frustrating limitation. The Google Meet app for both Android and iOS doesn't have a built-in record button, even for those on a qualifying Google Workspace plan.
Here's the good news: the solution is already on your phone. You can use the native screen recording feature to capture your meeting. It's a straightforward workaround that creates a video file of the entire session right on your device.
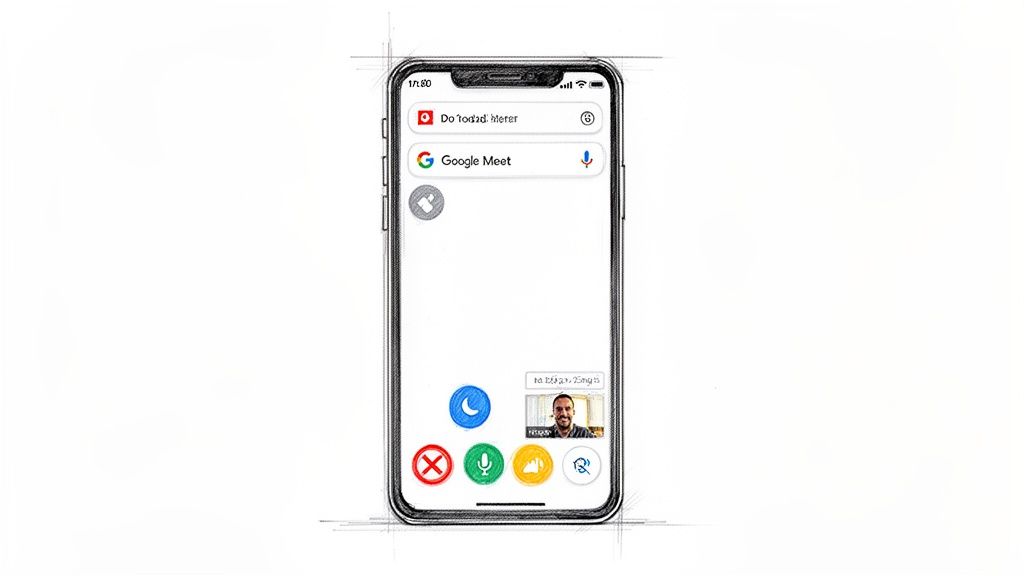
Activating the Screen Recorder on iOS
On an iPhone or iPad, the screen recorder is ready to go from your Control Center. If you don't see the icon—it looks like a solid circle inside another circle—you just need to enable it first.
Here’s how to get it set up and start recording:
- Add the button: First, head to Settings > Control Center. Scroll down and tap the little green '+' icon next to "Screen Recording."
- Find the recorder: Once your meeting is running, swipe down from the top-right corner of your screen (or up from the bottom on older iPhones) to pull up the Control Center.
- Start recording: Tap the Screen Recording icon. You'll get a three-second countdown, and then it's rolling.
You'll know it's working when you see a red bar or oval at the top of your screen. When you're ready to stop, just tap that red indicator and confirm. The video is automatically saved to your Photos app.
Enabling Screen Recording on Android
Most modern Android phones also have a screen recorder baked right into the Quick Settings panel. The process is very similar to iOS, but the exact icons and menu labels can differ a bit depending on who made your phone, whether it's a Samsung, Google Pixel, or OnePlus.
To record your Google Meet call on an Android device:
- Swipe down from the top of the screen to open your Quick Settings.
- Look for the "Screen recorder" tile. You might have to swipe to a second page of icons or edit the panel to add the button if you don't see it.
- When you tap it, a small menu usually pops up asking about your audio source. This part is crucial. To capture what everyone in the meeting is saying, you must select "Device audio" or "Media sounds." If you choose "Microphone," you'll only record your own voice and ambient noise.
- Tap "Start recording," and you're good to go.
A tip from experience: Always, always turn on 'Do Not Disturb' mode before you start recording. I learned this the hard way when a flurry of group chat notifications plastered themselves all over a client presentation I was trying to save. It's a simple flick of a switch that can save you from a lot of embarrassment and editing later.
One last thing to keep in mind is storage space. Video files are huge. A single hour-long recording in HD can easily chew up over 1 GB. Before you start a long meeting, give your phone's storage a quick check to make sure you have enough room. There's nothing worse than having a recording cut off halfway through.
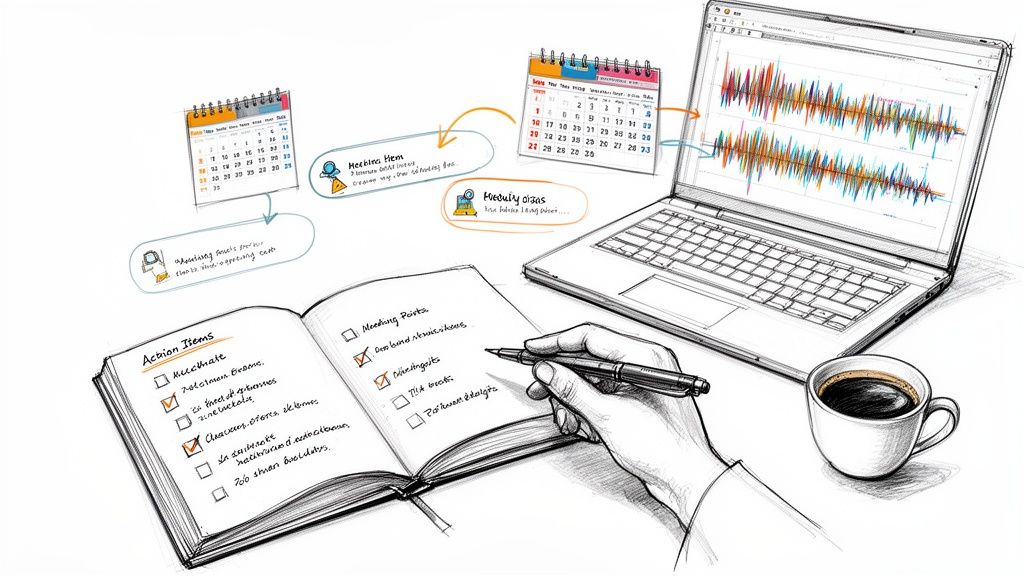
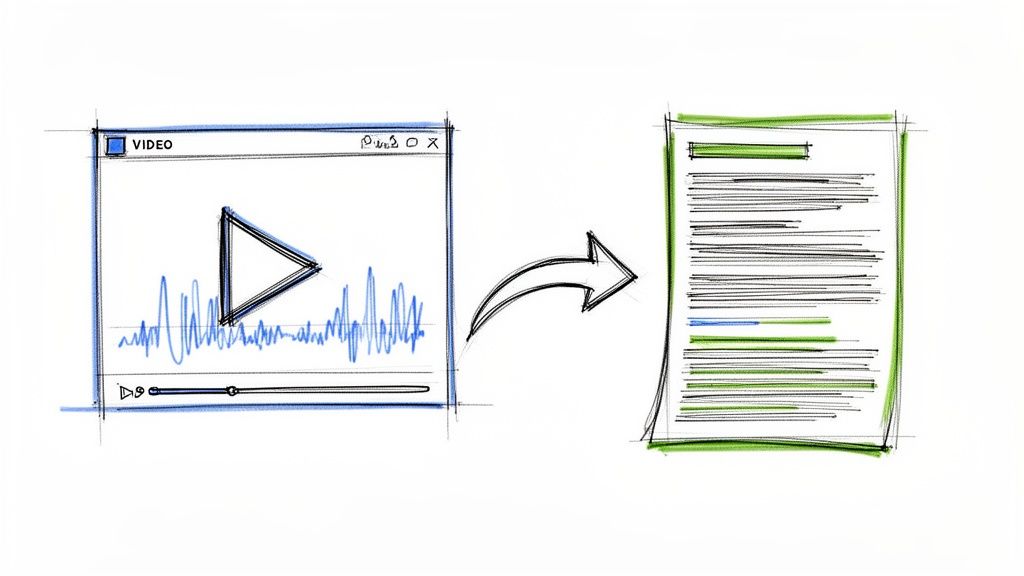
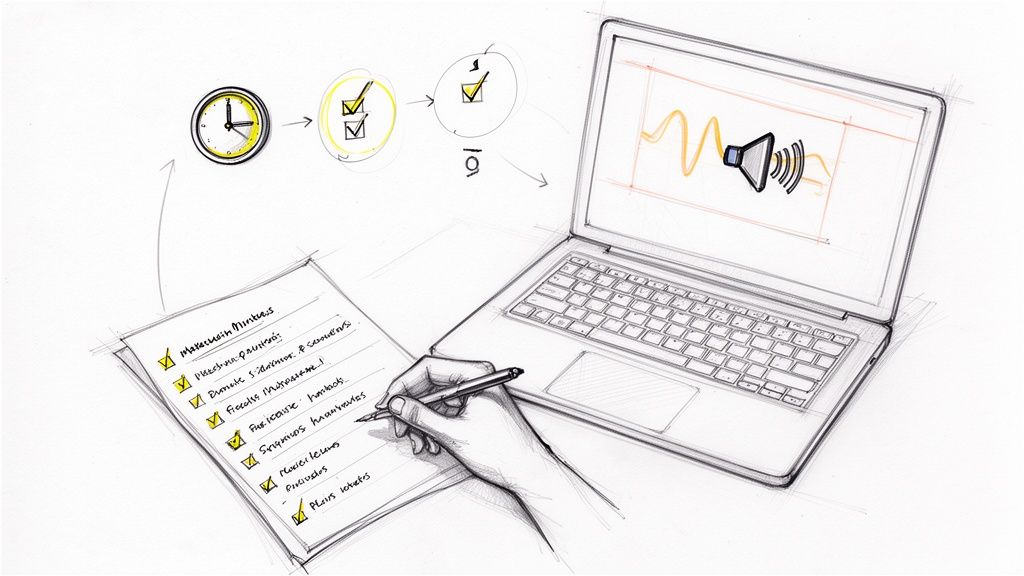
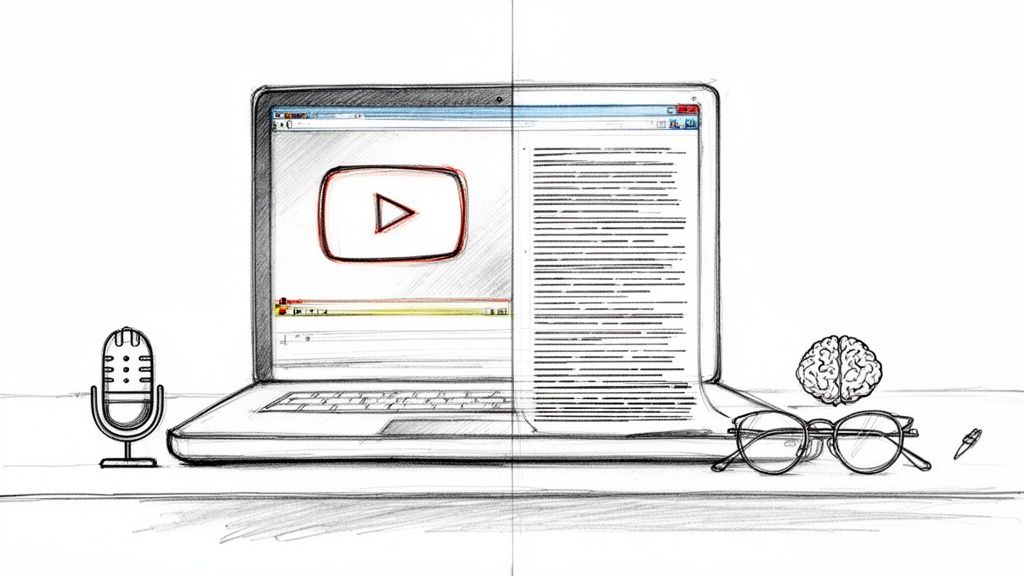
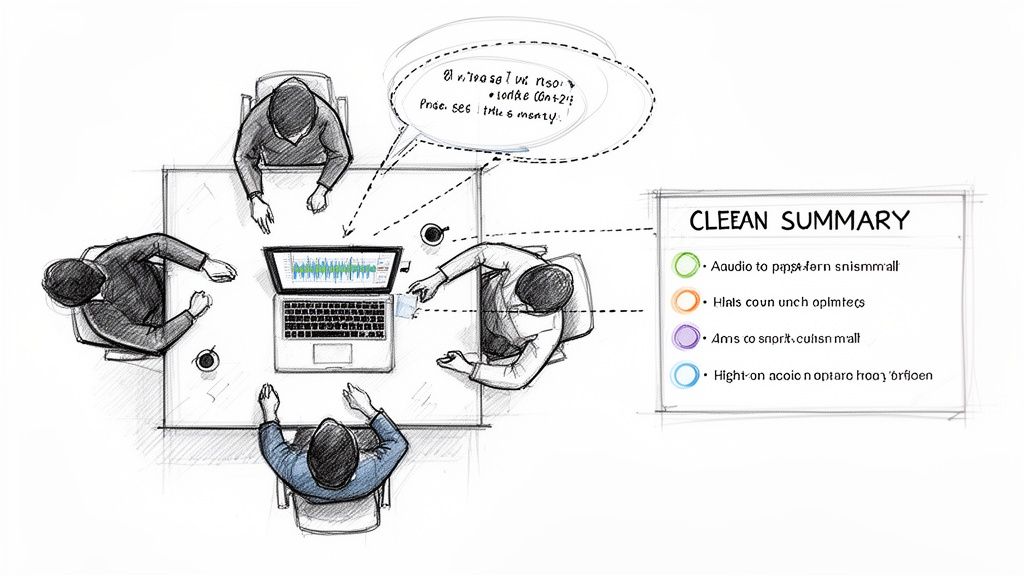
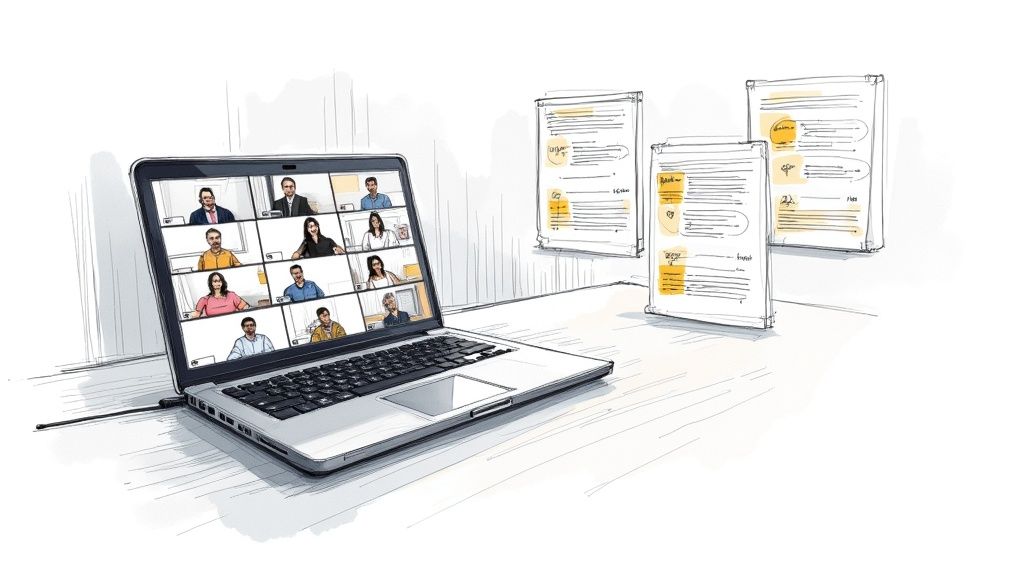
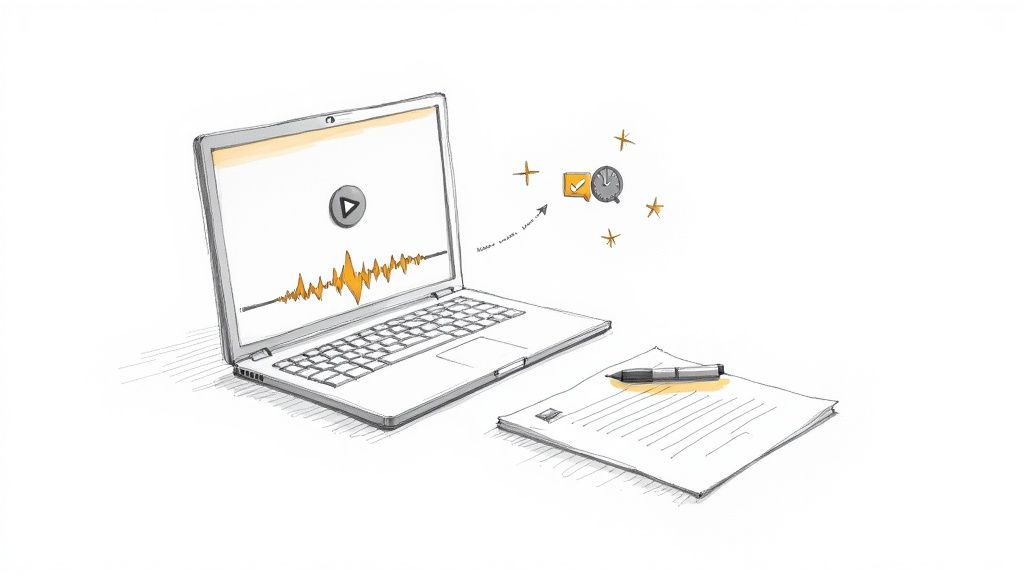
Turn Recordings Into Actionable Intelligence with Whisper AI
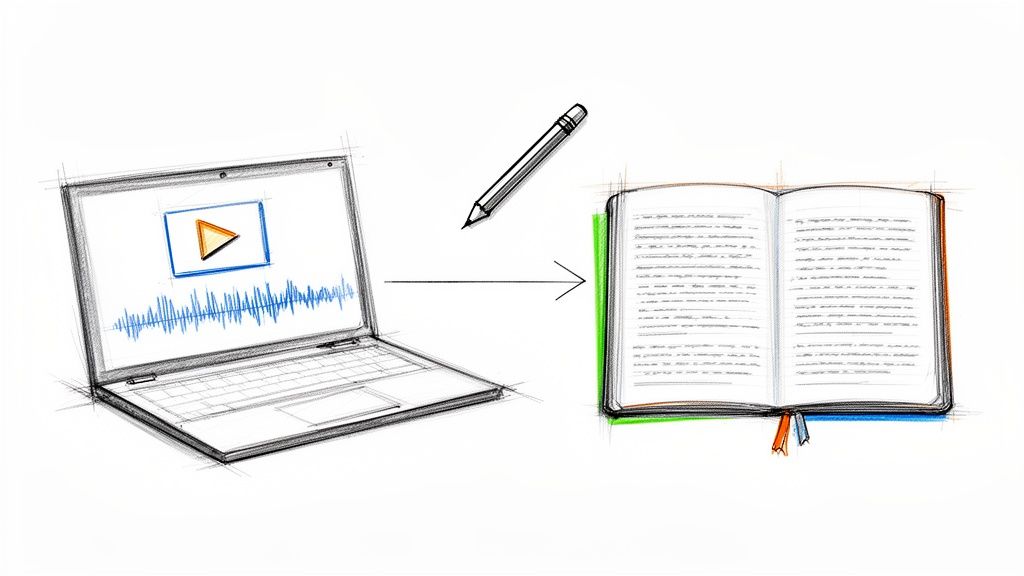
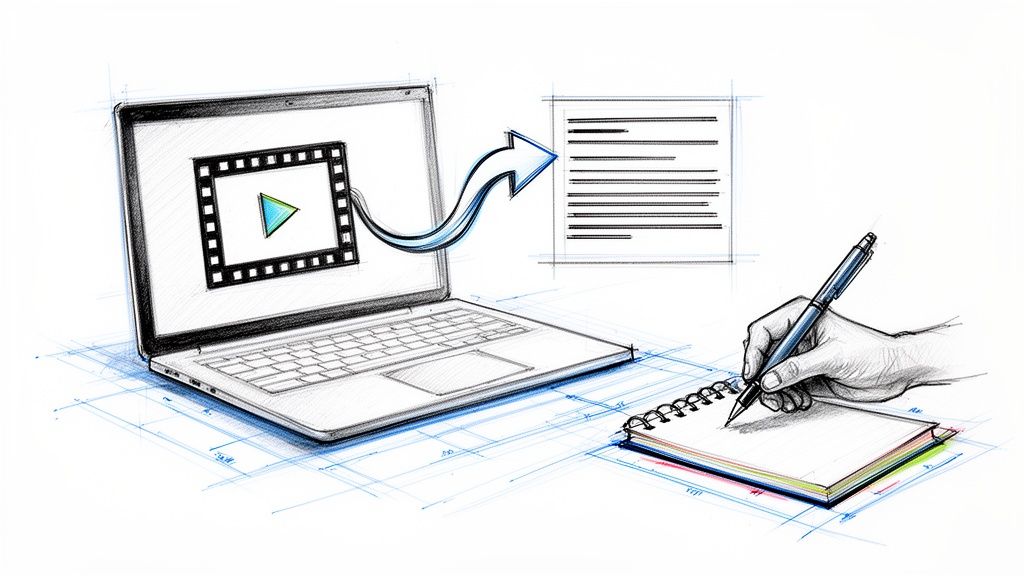
So, you’ve recorded your Google Meet session. Now what? You have the video file, but sitting through it again is probably the last thing you want to do. The real gold—the decisions, the action items, the brilliant ideas—is still trapped inside that hour-long recording.
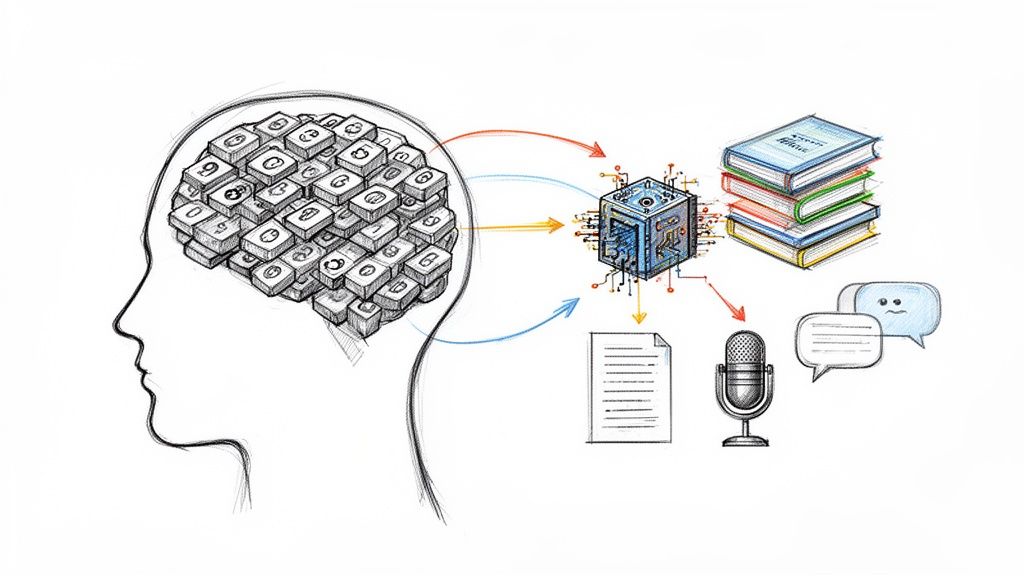
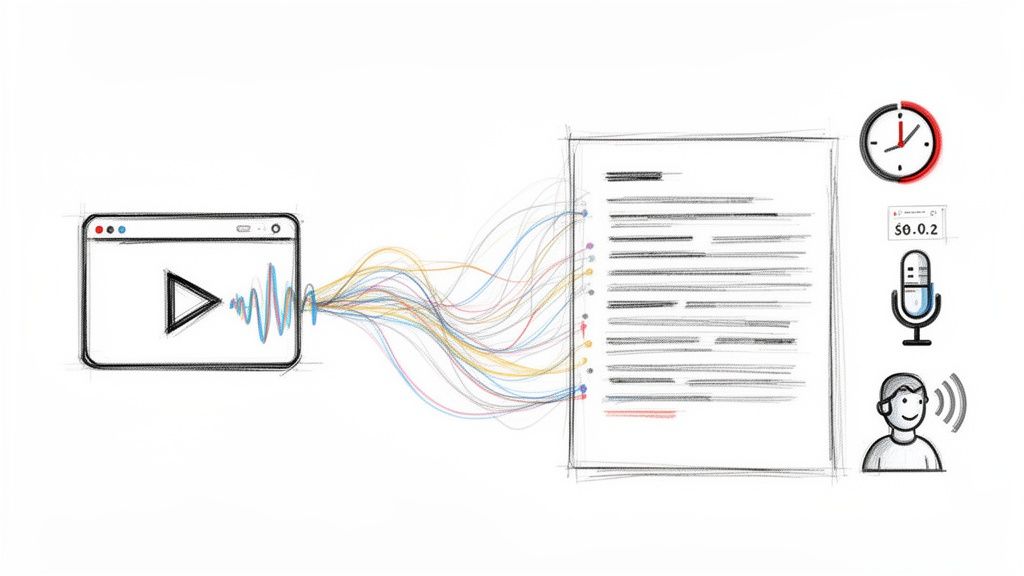
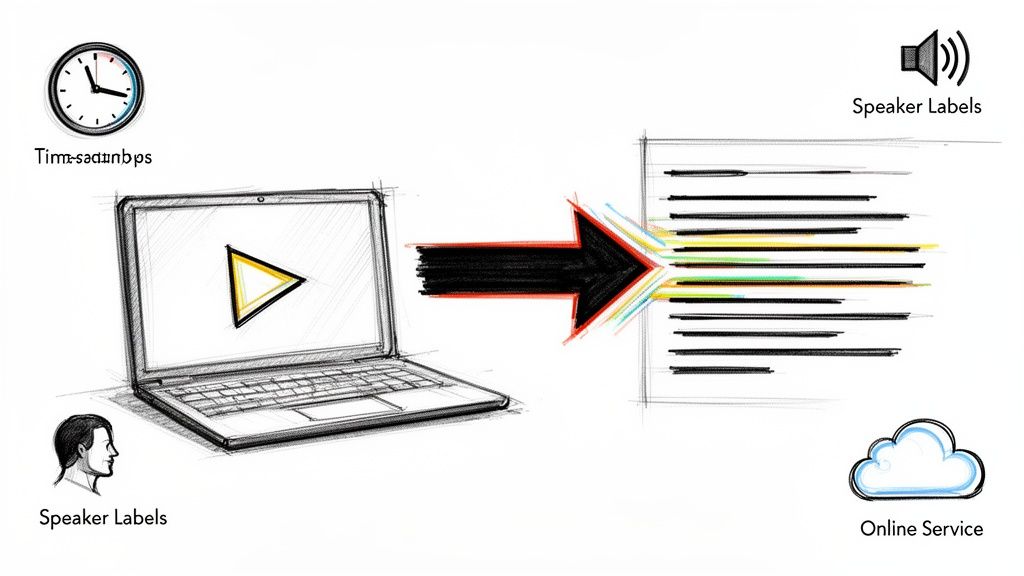
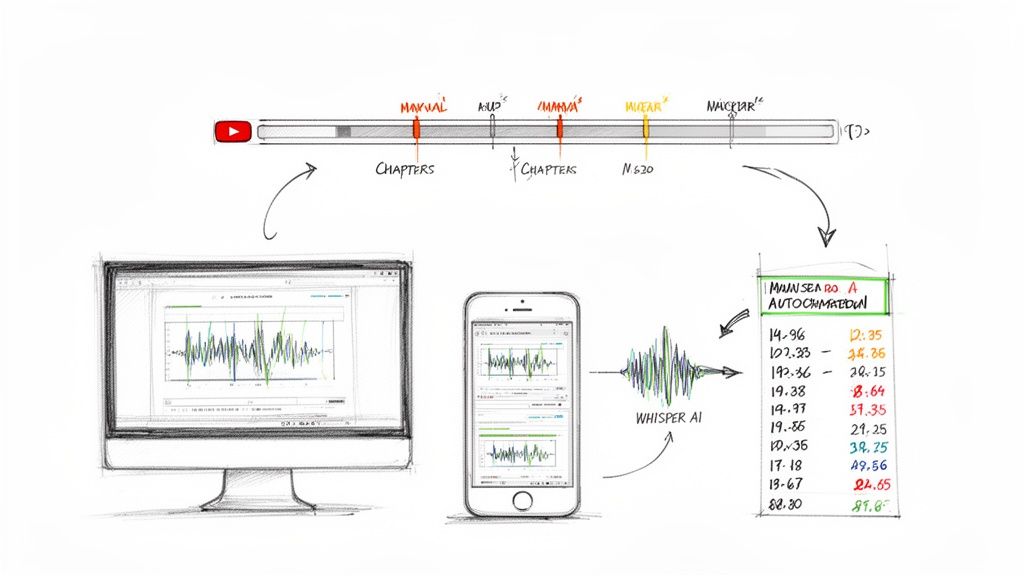
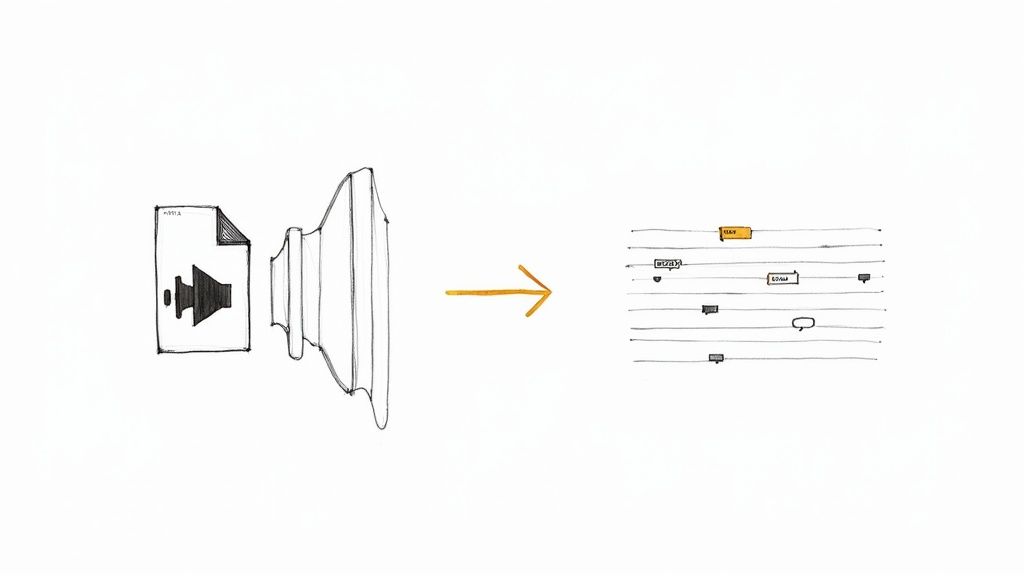
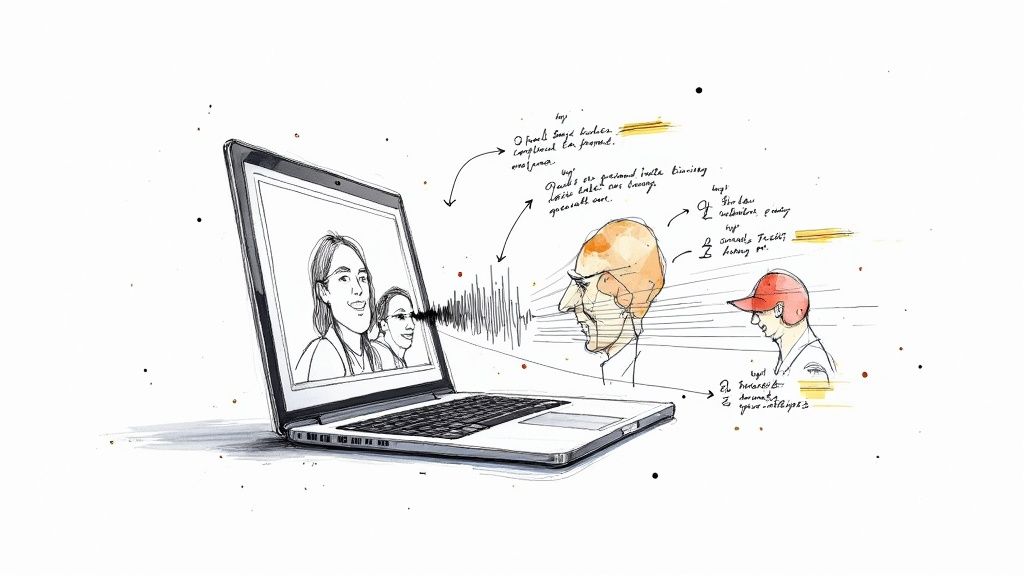
This is where the real work begins, and luckily, it's easier than you think. You can take that raw video file and turn it into something genuinely useful. With a tool like Whisper AI, you just upload your file or even paste a shareable link from Google Drive. The AI handles the rest, quickly generating a complete transcript with each speaker clearly labeled.
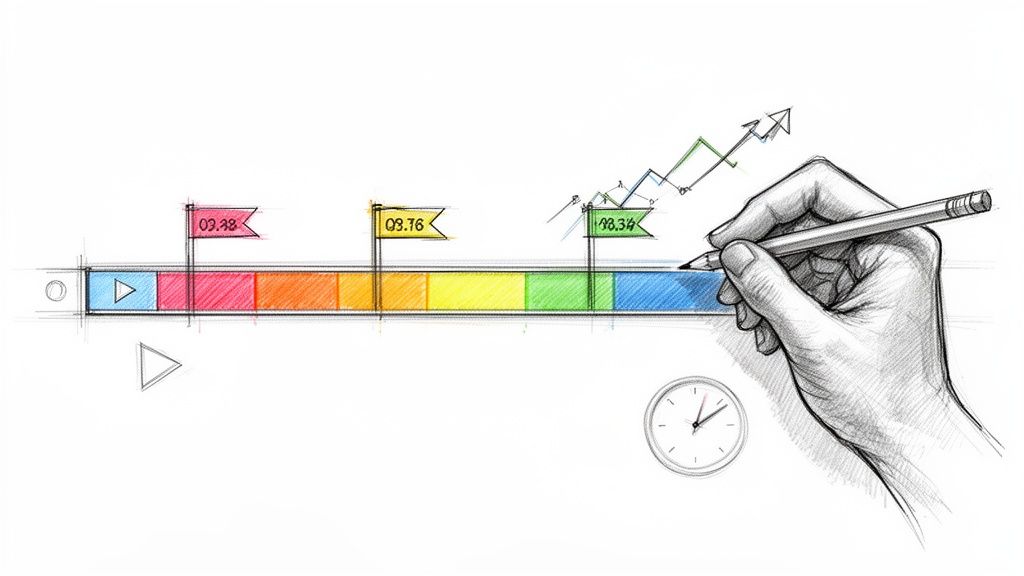
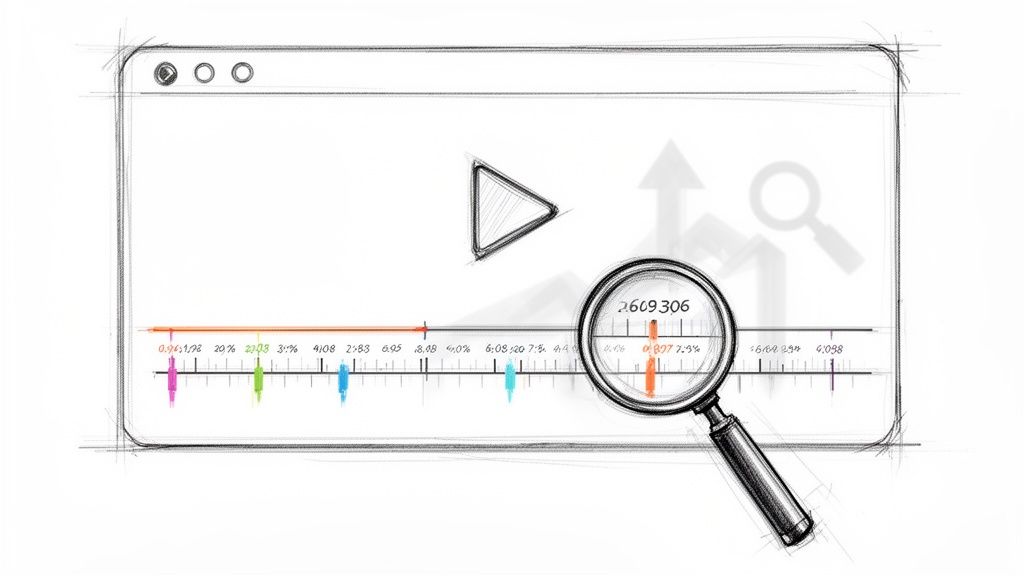
Instead of randomly scrubbing through a video trying to find that one specific comment, imagine just hitting Ctrl+F on a text document. With timestamps next to every line, you can find what you need and jump directly to that moment in the video. It’s a total lifesaver.
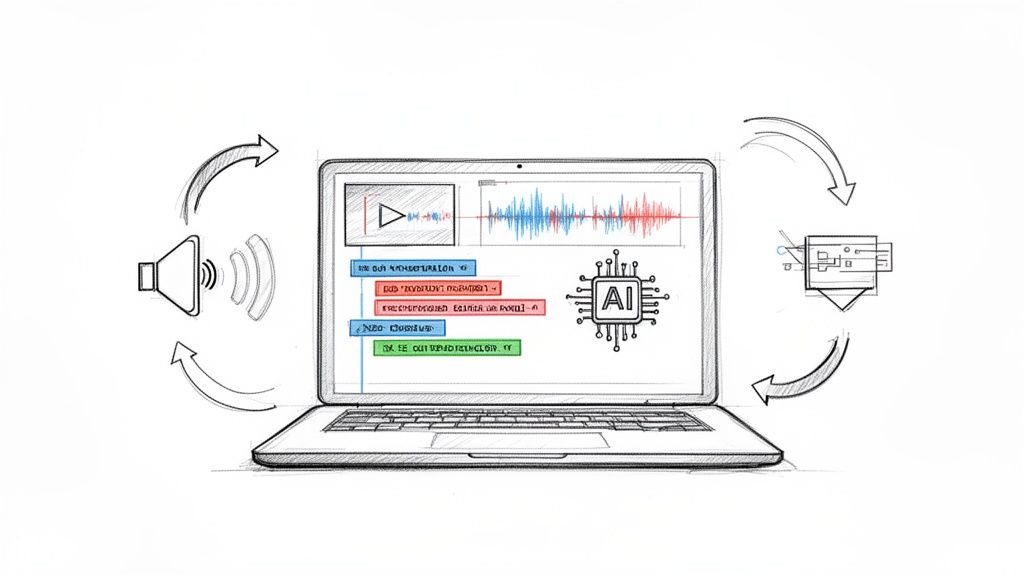
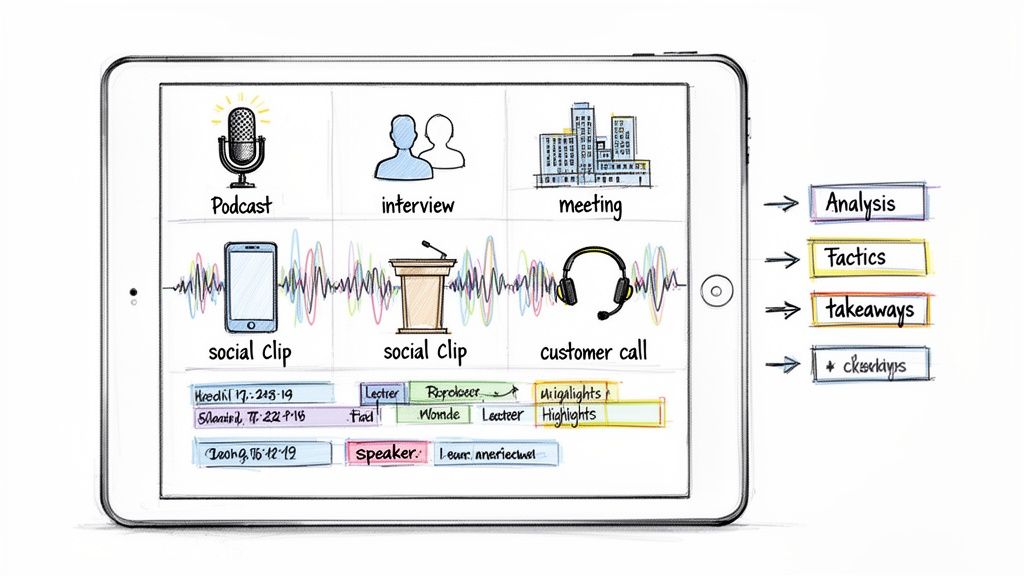
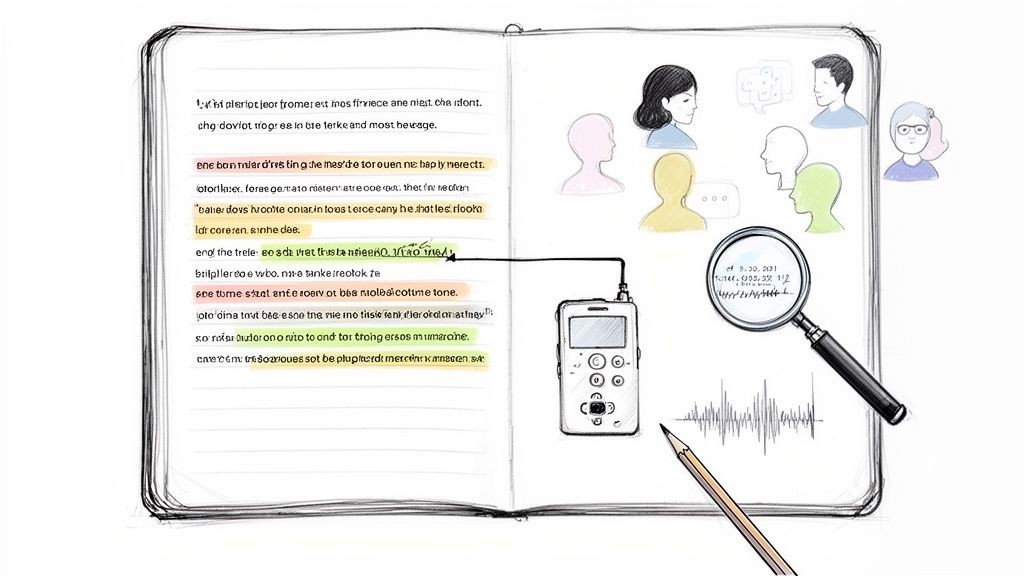
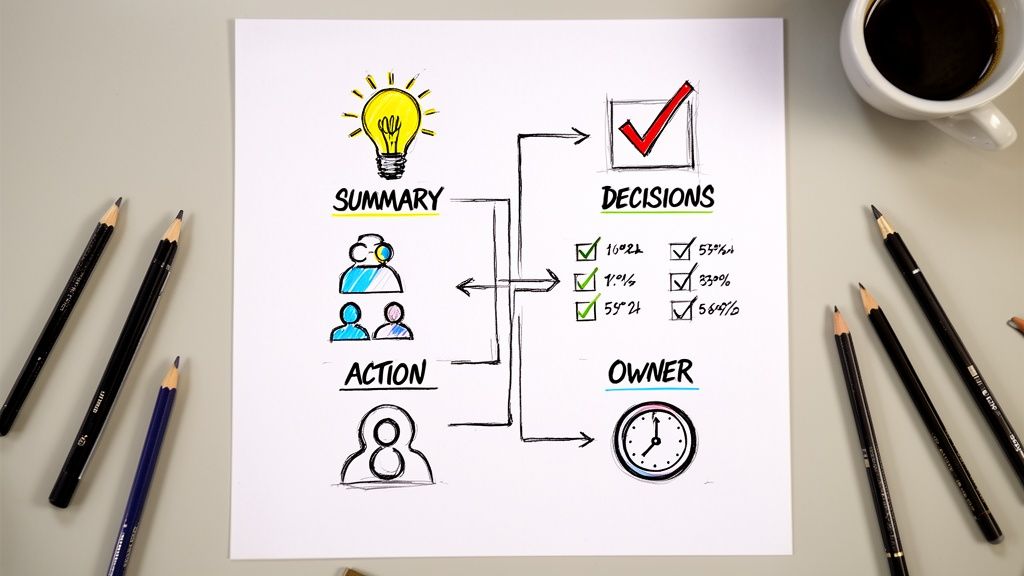
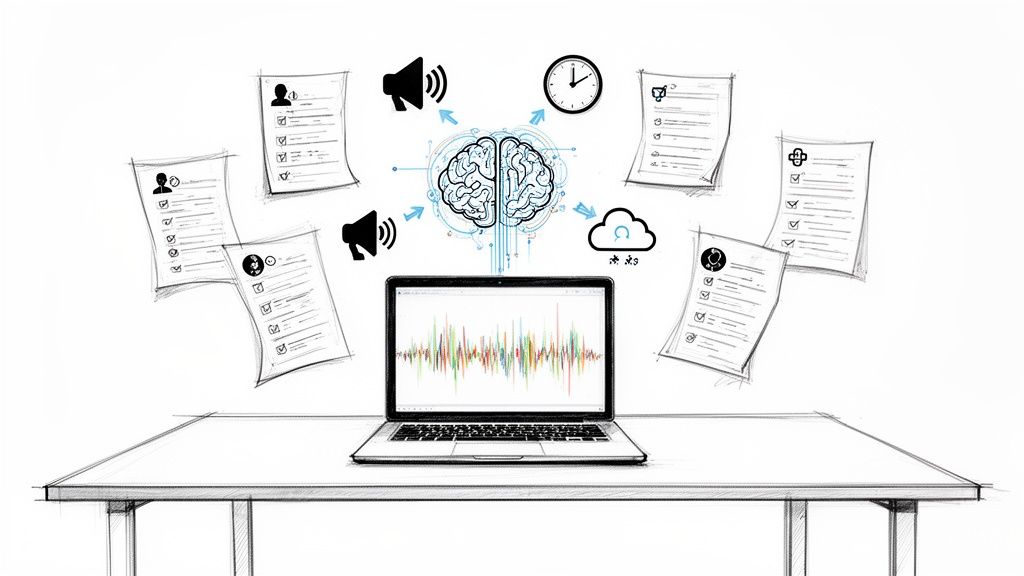
Unlock Insights Instantly
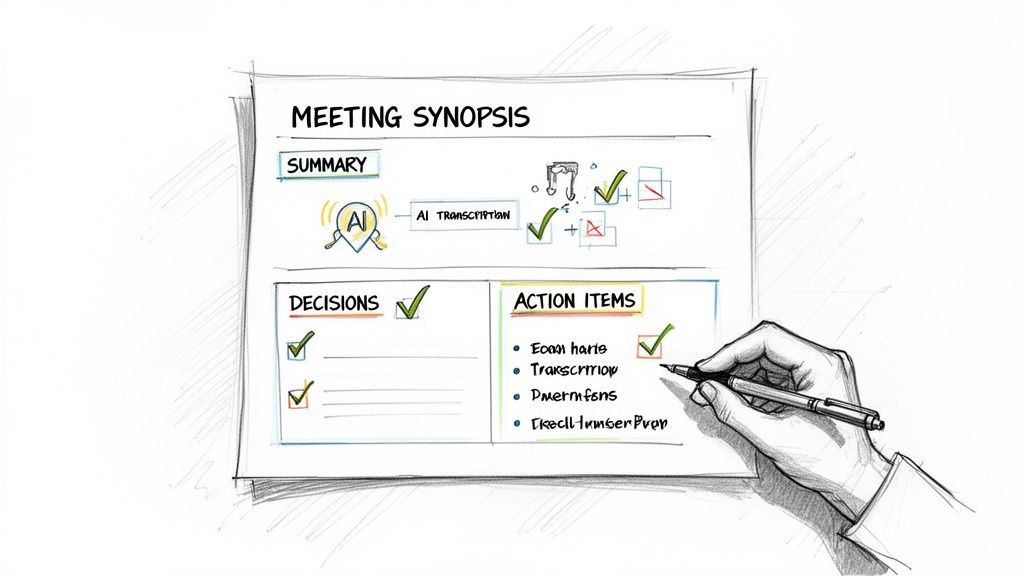
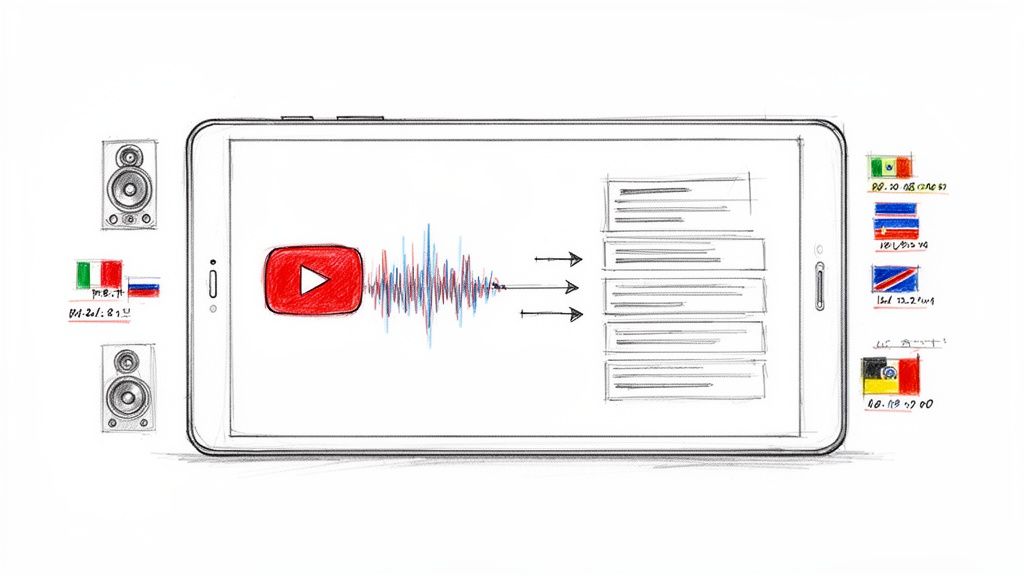
A transcript is great, but the real magic is what you can do with it. Modern AI doesn't just convert speech to text; it understands the context. You get automated summaries and neatly organized bullet points that capture the most important highlights. Suddenly, that 60-minute meeting becomes a two-minute read.
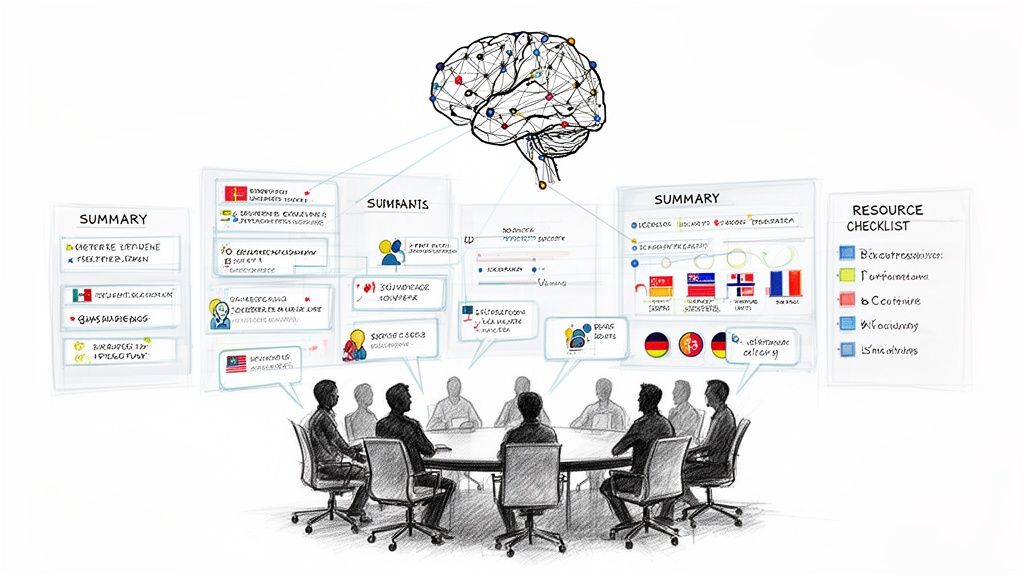
This completely changes how different teams can operate:
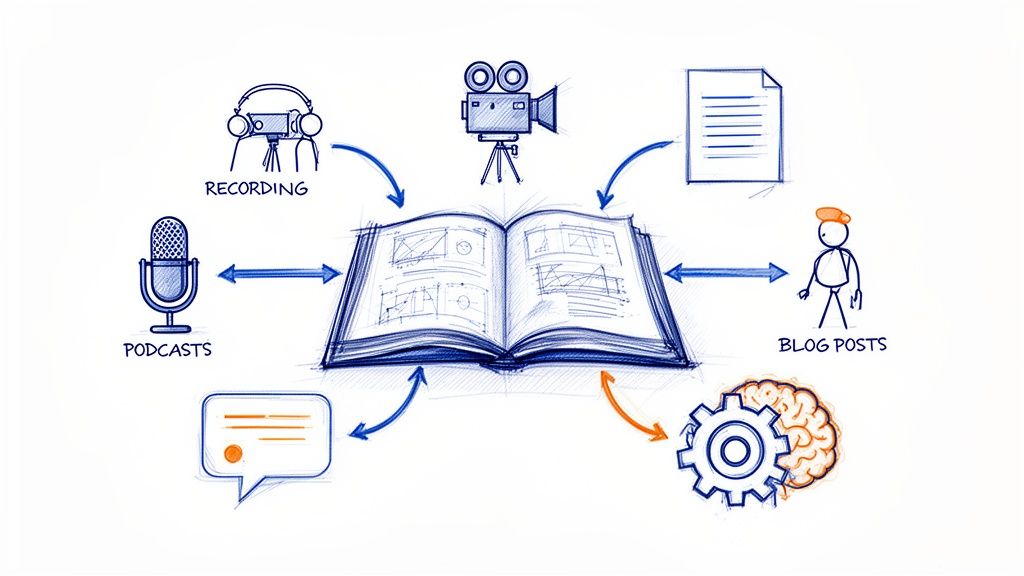
- Marketers can slice and dice a single webinar into dozens of assets—blog posts, social media clips, and email newsletter content—without having to re-watch a thing.
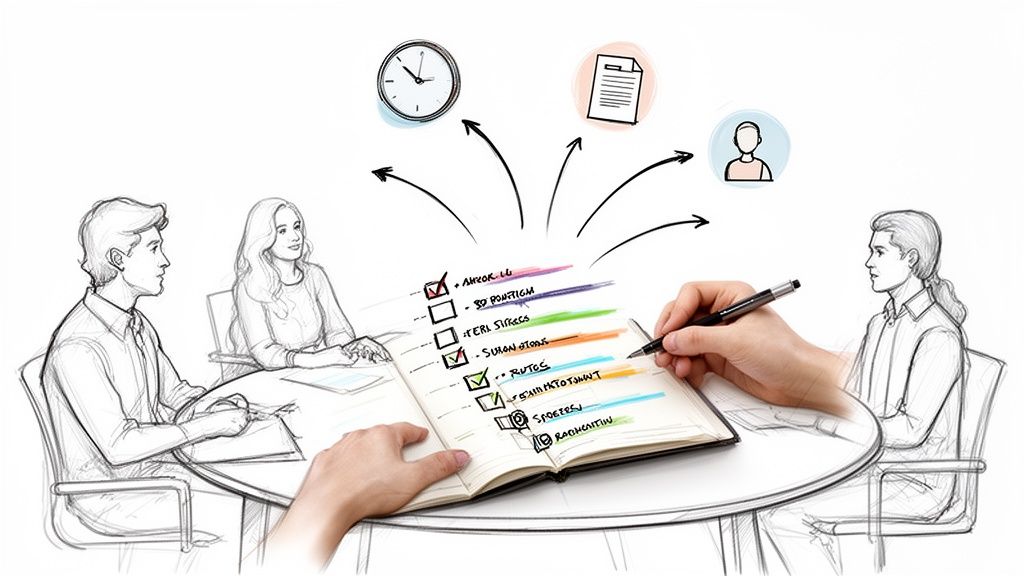
- Researchers can sift through hours of user interviews at lightning speed, pulling out powerful quotes and identifying patterns that would have taken days to find manually.
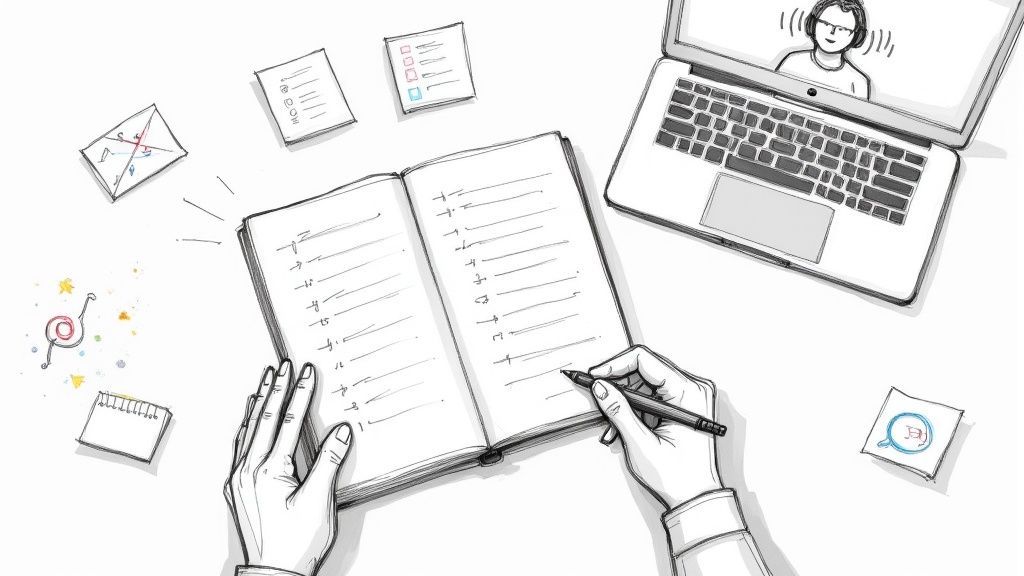
- Project teams get a perfect, searchable record of every check-in. No more "who was going to do that?" debates, because all the decisions and next steps are right there in black and white.
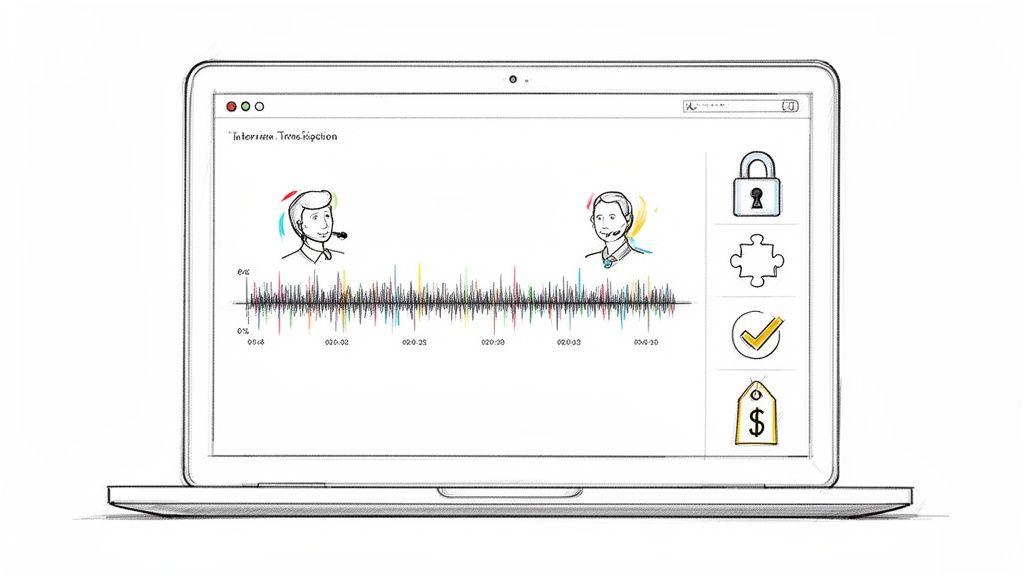
This shift toward smarter recordings is happening everywhere. In fact, many are now relying on AI to turn their video calls into useful data. More than 50,000 users have already processed over 500,000 files with Whisper AI, using it to get quick summaries and highlights from their Google Meet videos. Plus, since files aren't stored after processing, it's a secure choice for sensitive business conversations.
Create a Permanent, Searchable Archive
Once you have your transcript and summary, you can export them to create a lasting record. Save the output as a Google Doc, a Word file, or a PDF. Over time, you build a searchable knowledge base from conversations that would have otherwise been forgotten.
To see just how straightforward this process is, check out our guide on how to use Whisper AI.
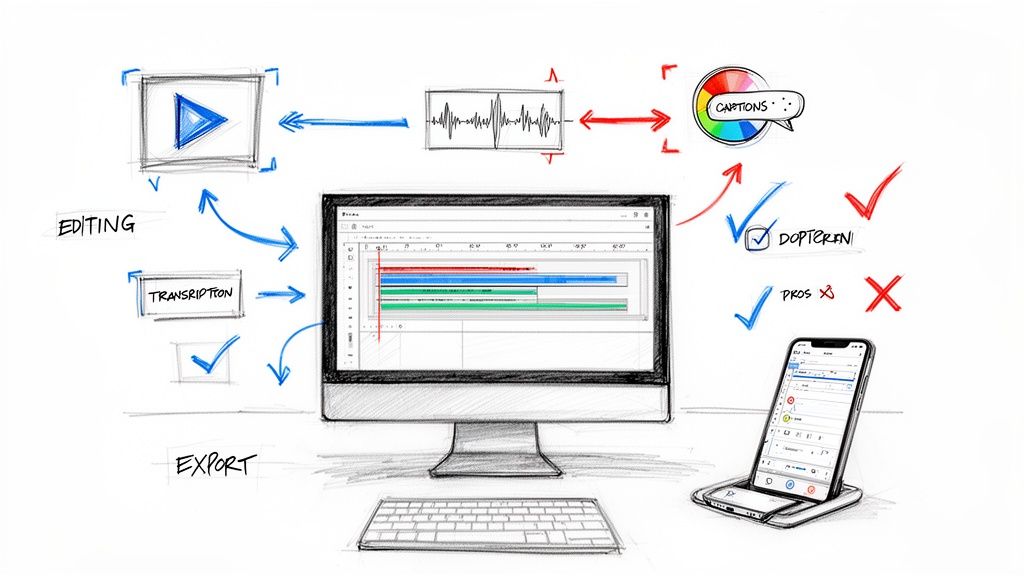
And if you're looking to take your raw footage even further, you can refine the video itself. Exploring the best AI tools for video editing will help you polish your meeting recordings into high-quality content for training, marketing, or internal communications.
Frequently Asked Questions About Recording Google Meet
Even with a step-by-step guide, you can still hit a few snags when trying to record a Google Meet. It happens. Let's walk through some of the most common questions and sticking points people run into so you can record your meetings without any hiccups.
From a mysteriously missing record button to the tricky legal stuff, here are the direct answers you need.
Why Can't I See the Record Button?
This is probably the number one question people have. If you’re hunting for the record button and coming up empty, it almost always boils down to one of two things: your Google account type or your role in the meeting.
The native recording feature isn't available for everyone. It’s a premium tool included with specific paid Google Workspace plans. You’ll need one of these subscriptions to see the option:
- Business Standard
- Business Plus
- Enterprise Tiers
- Education Plus (for staff and students)
If you're using a free, personal Gmail account or if your company is on the Business Starter plan, the feature simply won't be there. Even on an eligible plan, you usually have to be the meeting host or a co-host to start a recording. If you’re just an attendee, the host has to grant you recording privileges first.
Is It Legal to Record a Google Meet Without Permission?
This is a big one, and you absolutely need to get it right. The legality of recording a conversation depends entirely on where you and your participants are located. Different places have different rules, which generally fall into two camps:
- One-Party Consent: In these regions, you're in the clear as long as you are part of the conversation and consent to the recording.
- Two-Party Consent (or All-Party): This is the stricter rule. In these areas, you must get explicit permission from everyone in the meeting before you hit record.
The golden rule is to always act as if you're in a two-party consent state. Just announce it at the start of the call. A simple, "Hey everyone, just a heads-up that I'll be recording this session" is all it takes. Getting that verbal confirmation not only keeps you compliant but also builds trust.
Where Do My Google Meet Recordings Go?
Once you hit "Stop recording," Google takes a few minutes to process the file. When it's ready, the recording is automatically saved to a dedicated folder called "Meet Recordings" inside the meeting organizer's "My Drive" on Google Drive.
The organizer will also get an email with a direct link to the video file, which is super convenient. For a full breakdown on finding, sharing, and organizing these files, check out our guide on where to find Google Meet recordings. A pro tip: rename the file immediately with the date and meeting topic so you can actually find it again weeks later.
How Can I Improve the Audio Quality of My Recording?
A recording is only as good as its audio. If nobody can understand what’s being said, the video is pretty much useless. The single biggest leap in quality comes from ditching your computer’s built-in microphone. A decent external USB microphone can make a night-and-day difference, and you don't have to spend a fortune to get one.
Good meeting etiquette also plays a huge role. Encourage everyone to mute their mics when they aren't speaking. This one small habit cuts out all the distracting background noise—keyboard tapping, dogs barking, random coughs—and keeps the final audio crisp and focused.
With these answers, you're ready to turn those raw video files into a searchable knowledge base. That's where Whisper AI comes in. It takes your recordings and effortlessly transcribes and summarizes them, giving you actionable insights without you having to re-watch a single minute. Stop letting valuable information get lost in long videos. Try Whisper AI for free.